Home>Home Security and Surveillance>How To Set Up Security Cameras At Home
Home Security and Surveillance
How To Set Up Security Cameras At Home
Modified: October 21, 2024
Learn how to set up security cameras at home for enhanced home security and surveillance. Protect your property with our step-by-step guide.
(Many of the links in this article redirect to a specific reviewed product. Your purchase of these products through affiliate links helps to generate commission for Storables.com, at no extra cost. Learn more)
Introduction
Welcome to the ultimate guide on how to set up security cameras at home. In today’s world, ensuring the safety and security of our homes and loved ones is of utmost importance. With advancements in technology, home security cameras have become increasingly accessible and easy to install. By setting up security cameras, you can keep an eye on your property, deter potential intruders, and have peace of mind knowing that your home is protected.
In this comprehensive guide, we will take you through the step-by-step process of setting up security cameras at home. Whether you’re a beginner or have some experience with home surveillance systems, this guide will provide you with all the information you need to get started.
Before we jump into the installation process, let’s talk about some key factors to consider when setting up security cameras. First and foremost, it’s important to determine the areas you want to monitor. Assessing your property and identifying vulnerable points such as entryways, windows, and backyard will help you strategize camera placement. Additionally, deciding on the type of security camera system that suits your needs is crucial. There are various options available, including wireless cameras, wired cameras, and smart home security systems. Each has its own advantages and considerations, so be sure to choose the one that aligns with your requirements.
Once you have a clear understanding of your monitoring needs and have chosen the right security camera system, it’s time to move on to the installation process. This involves mounting the cameras, connecting them to a digital video recorder (DVR) or network video recorder (NVR), configuring motion detection settings, and setting up remote viewing on your devices.
In the following sections, we will detail each step, providing you with practical tips and guidance to ensure a successful installation. By the end of this guide, you will have a fully functional home security camera system that provides you with peace of mind and added security.
Key Takeaways:
- Choose the right security camera system based on your needs, such as camera type, resolution, and budget. Properly position and install the cameras to ensure comprehensive coverage and effective monitoring of your home.
- Set up remote viewing on your devices to monitor your property from anywhere. Configure motion detection settings and consider 24/7 video recording for added security and peace of mind.
Read more: How To Set Up A Webcam As A Security Camera
Step 1: Determine the areas you want to monitor
Before diving into the installation process, it’s essential to assess your property and identify the specific areas you want to monitor. This will help you determine the number and placement of security cameras needed for comprehensive coverage.
Start by taking a walkthrough of your home and its surroundings. Pay close attention to entry points such as doors, windows, and garage doors, as they are common targets for break-ins. Additionally, consider any outdoor areas, such as the backyard, patio, or driveway, that you want to monitor for suspicious activity or potential threats.
Keep in mind that different areas may have different monitoring requirements. For example, you might want to install a camera with a wider field of view in a large backyard, while a narrower lens might be suitable for monitoring a specific entry point.
Consider factors such as lighting conditions, distance, and potential obstructions when deciding camera placement. If an area is poorly lit, you may need to install cameras with night vision capabilities. If there are obstacles, such as trees or shrubs, that could block the camera’s view, you might need to adjust the positioning accordingly.
Another important consideration is privacy. Make sure to respect the privacy of your neighbors and avoid pointing the cameras towards their property or areas where they might have a reasonable expectation of privacy.
Once you have determined the areas you want to monitor, create a rough diagram of your property, marking the locations where you plan to install the cameras. This will serve as a useful reference during the installation process and help ensure that you have adequate coverage.
Remember, the goal is to have comprehensive surveillance coverage of your home and the surrounding areas, providing you with peace of mind and a clear view of any potential security threats.
Step 2: Choose the right security camera system
Once you have determined the areas you want to monitor, the next step is to choose the right security camera system that meets your specific requirements. There are several factors to consider when selecting a system:
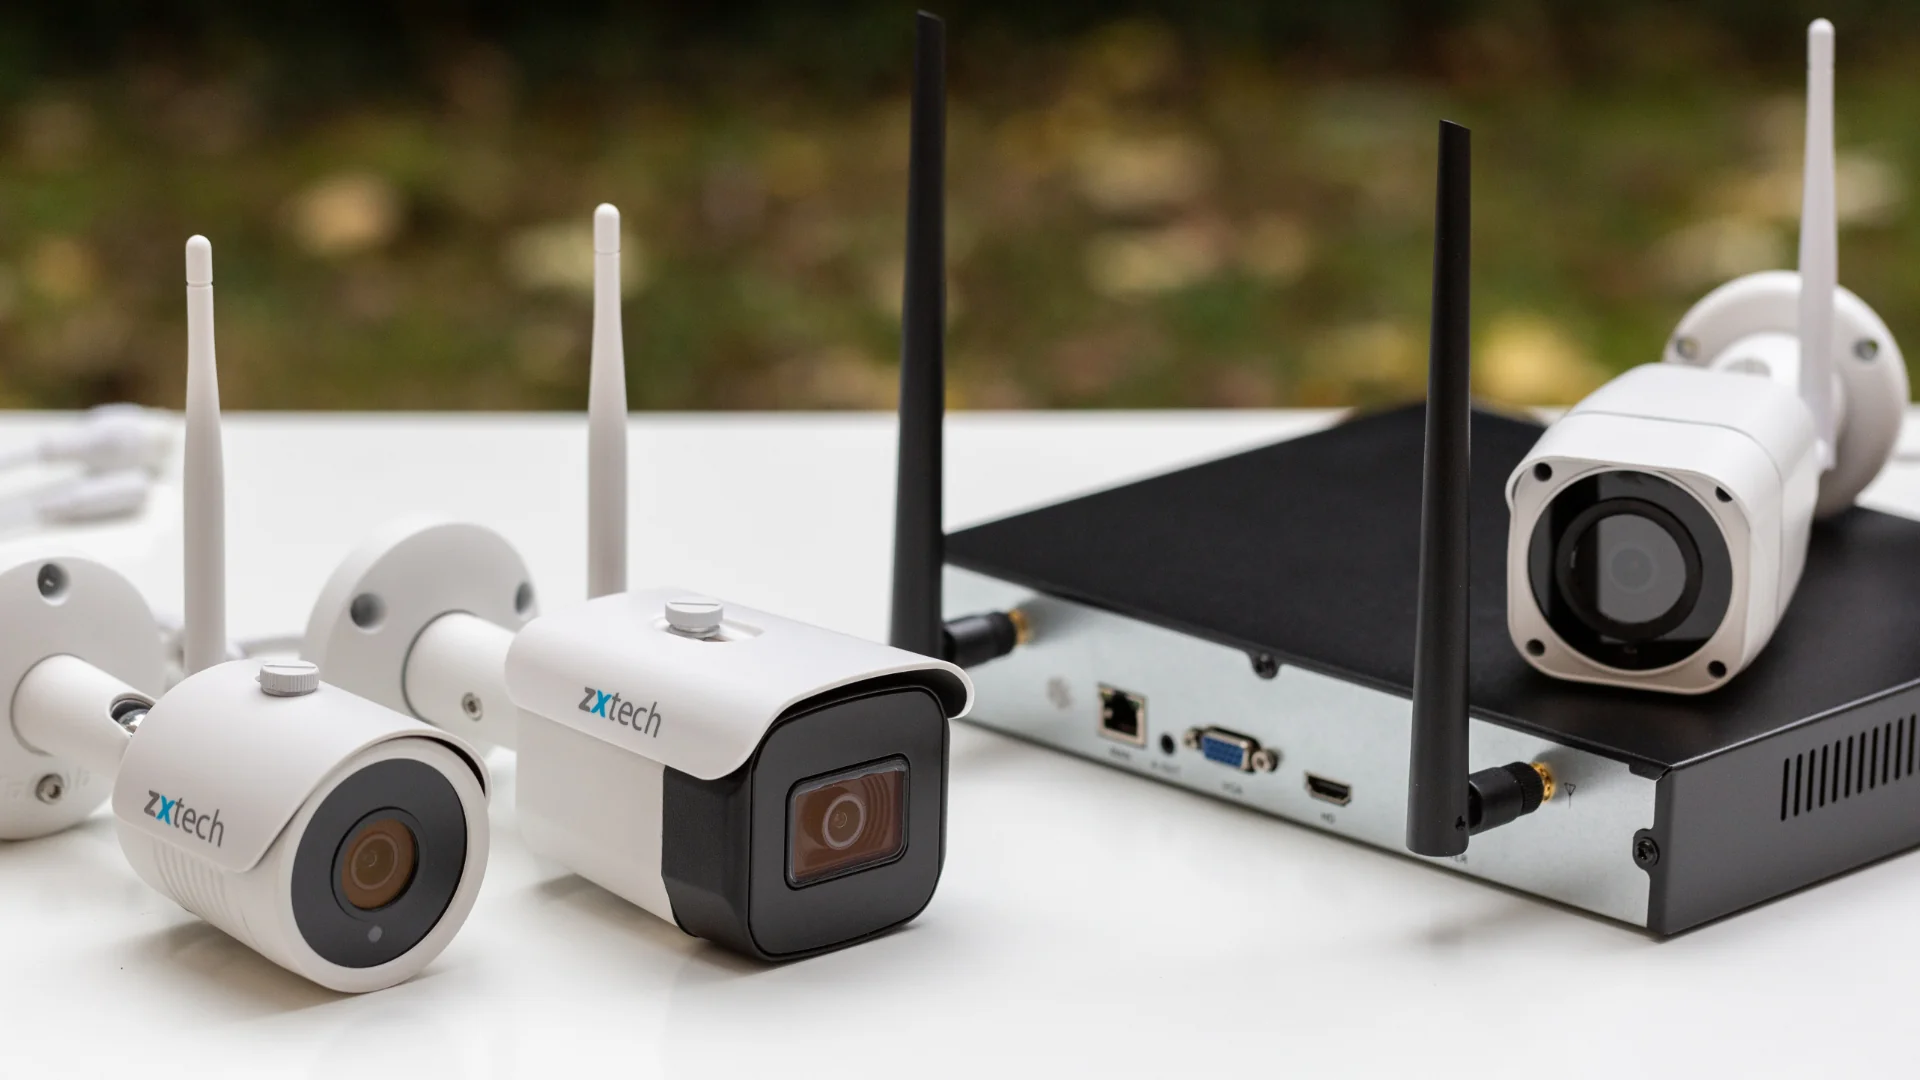
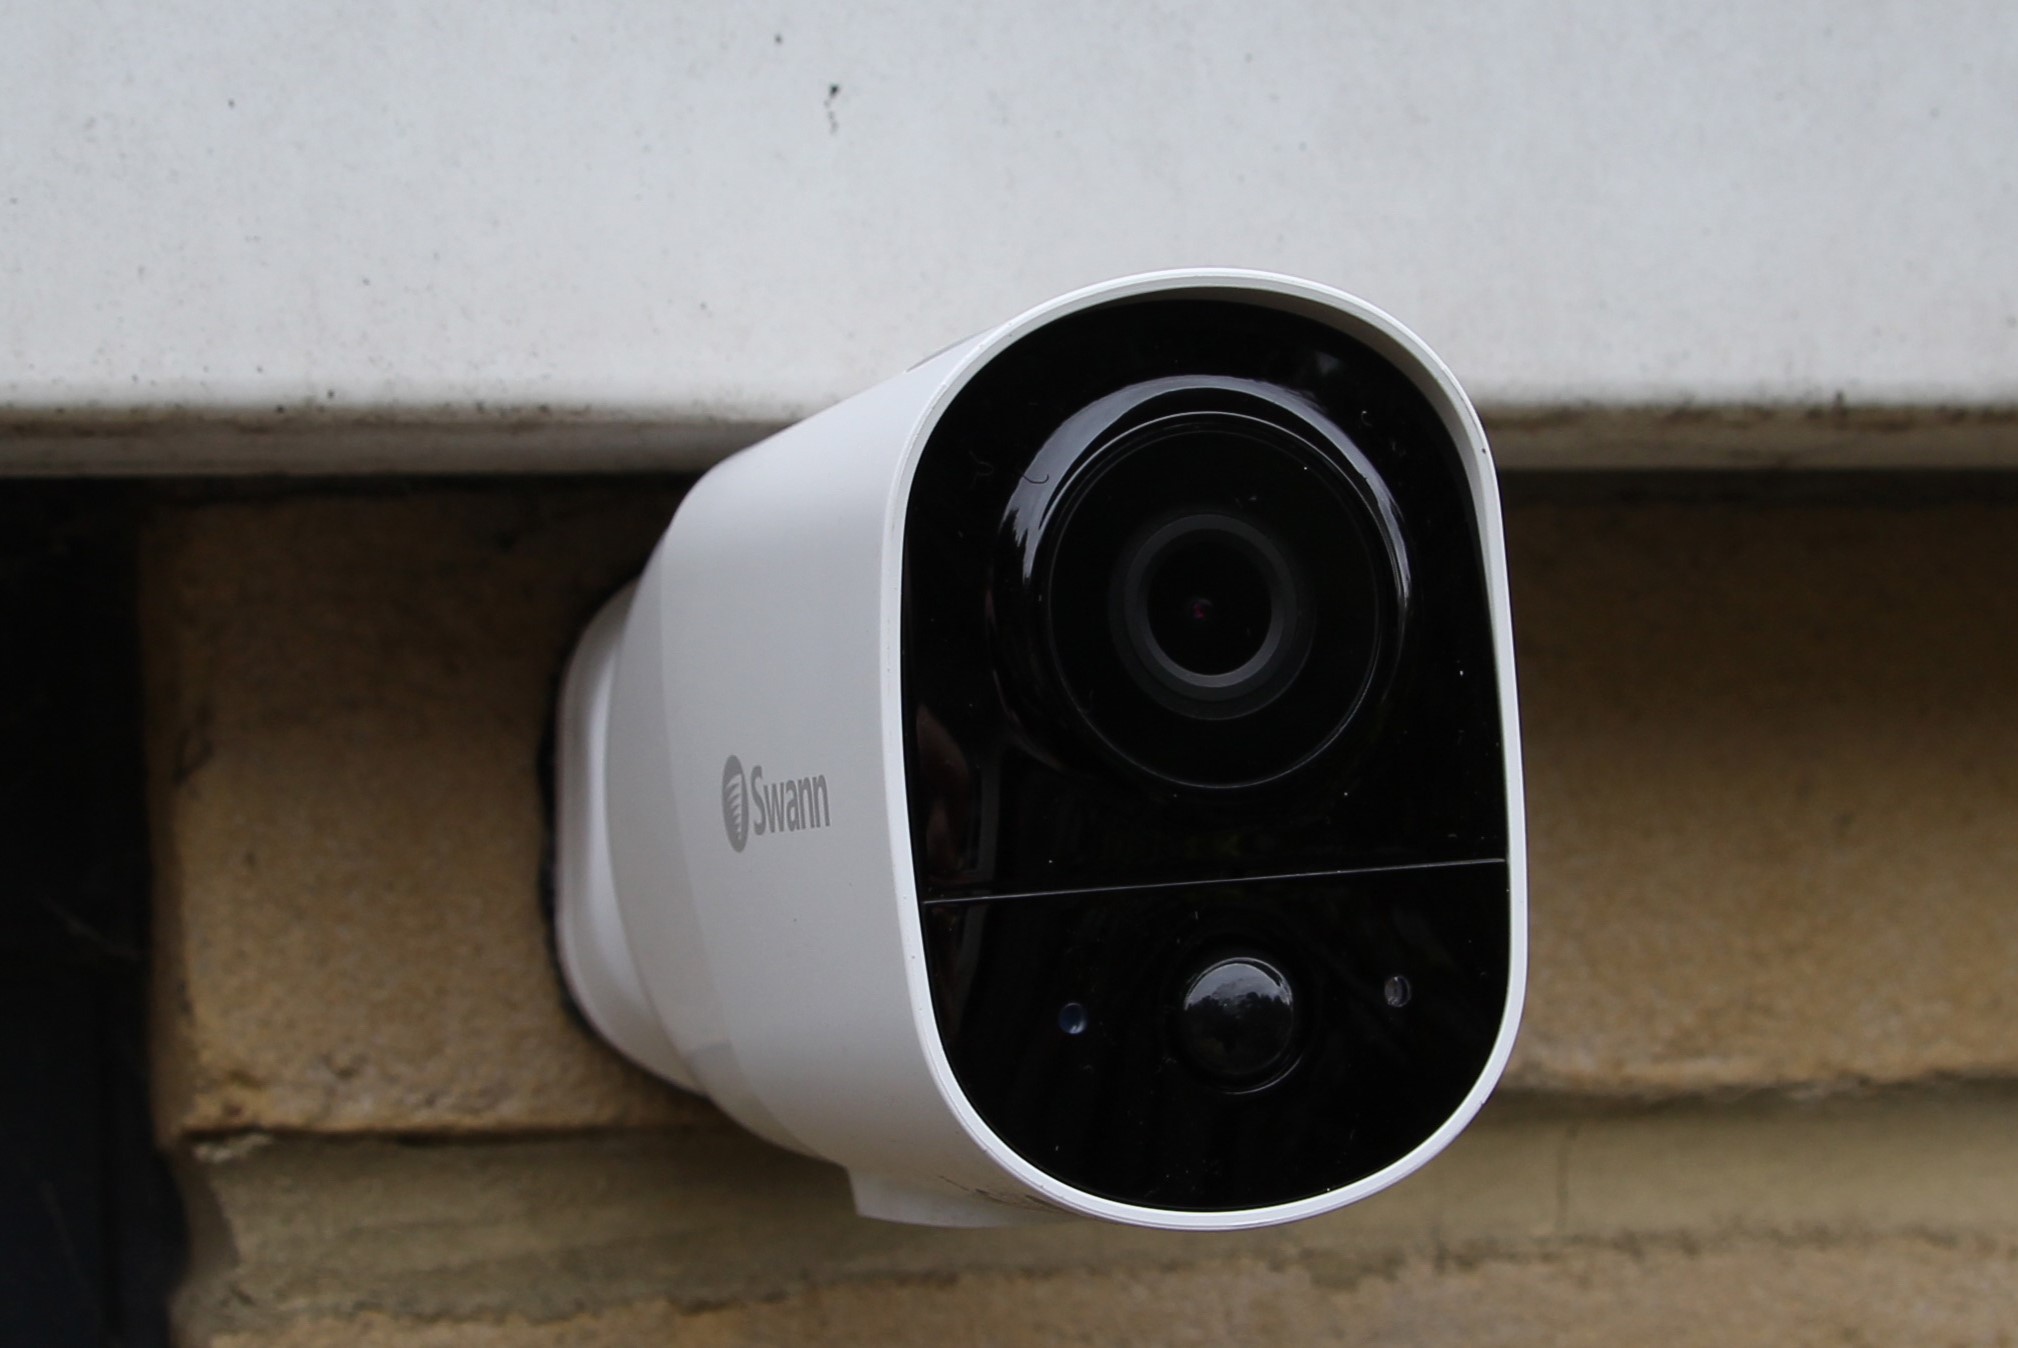
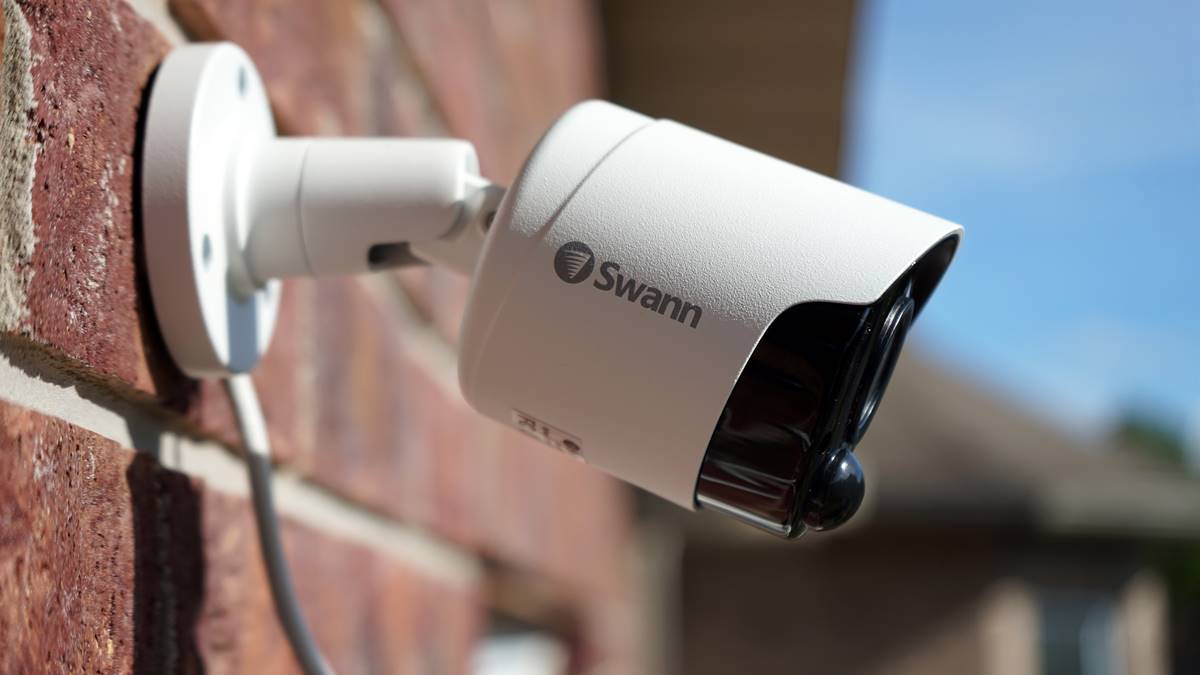
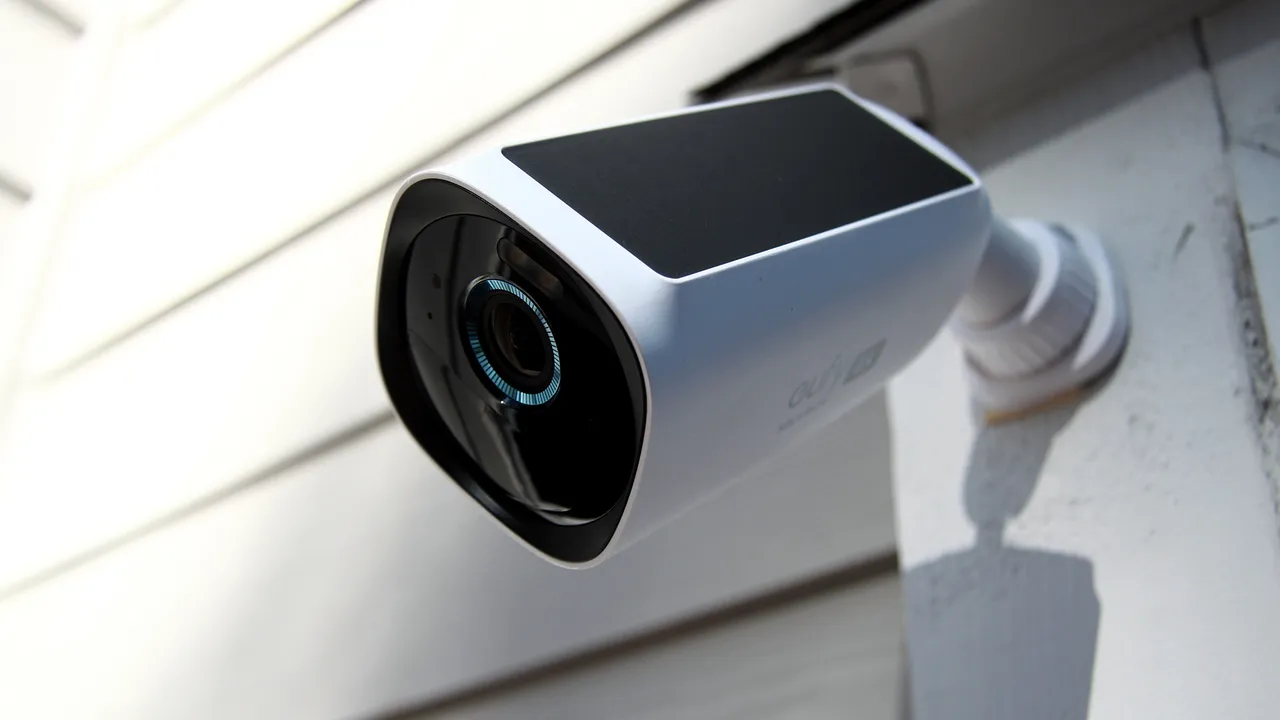
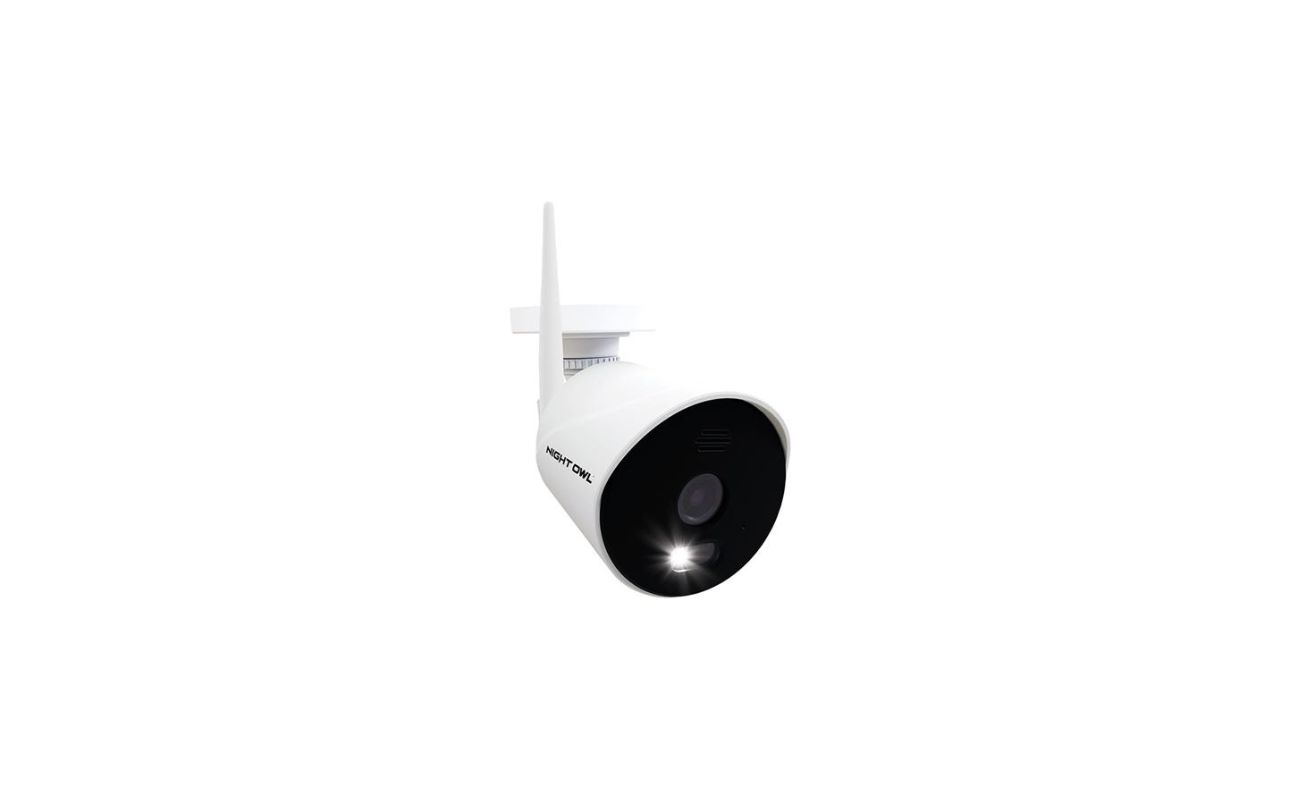
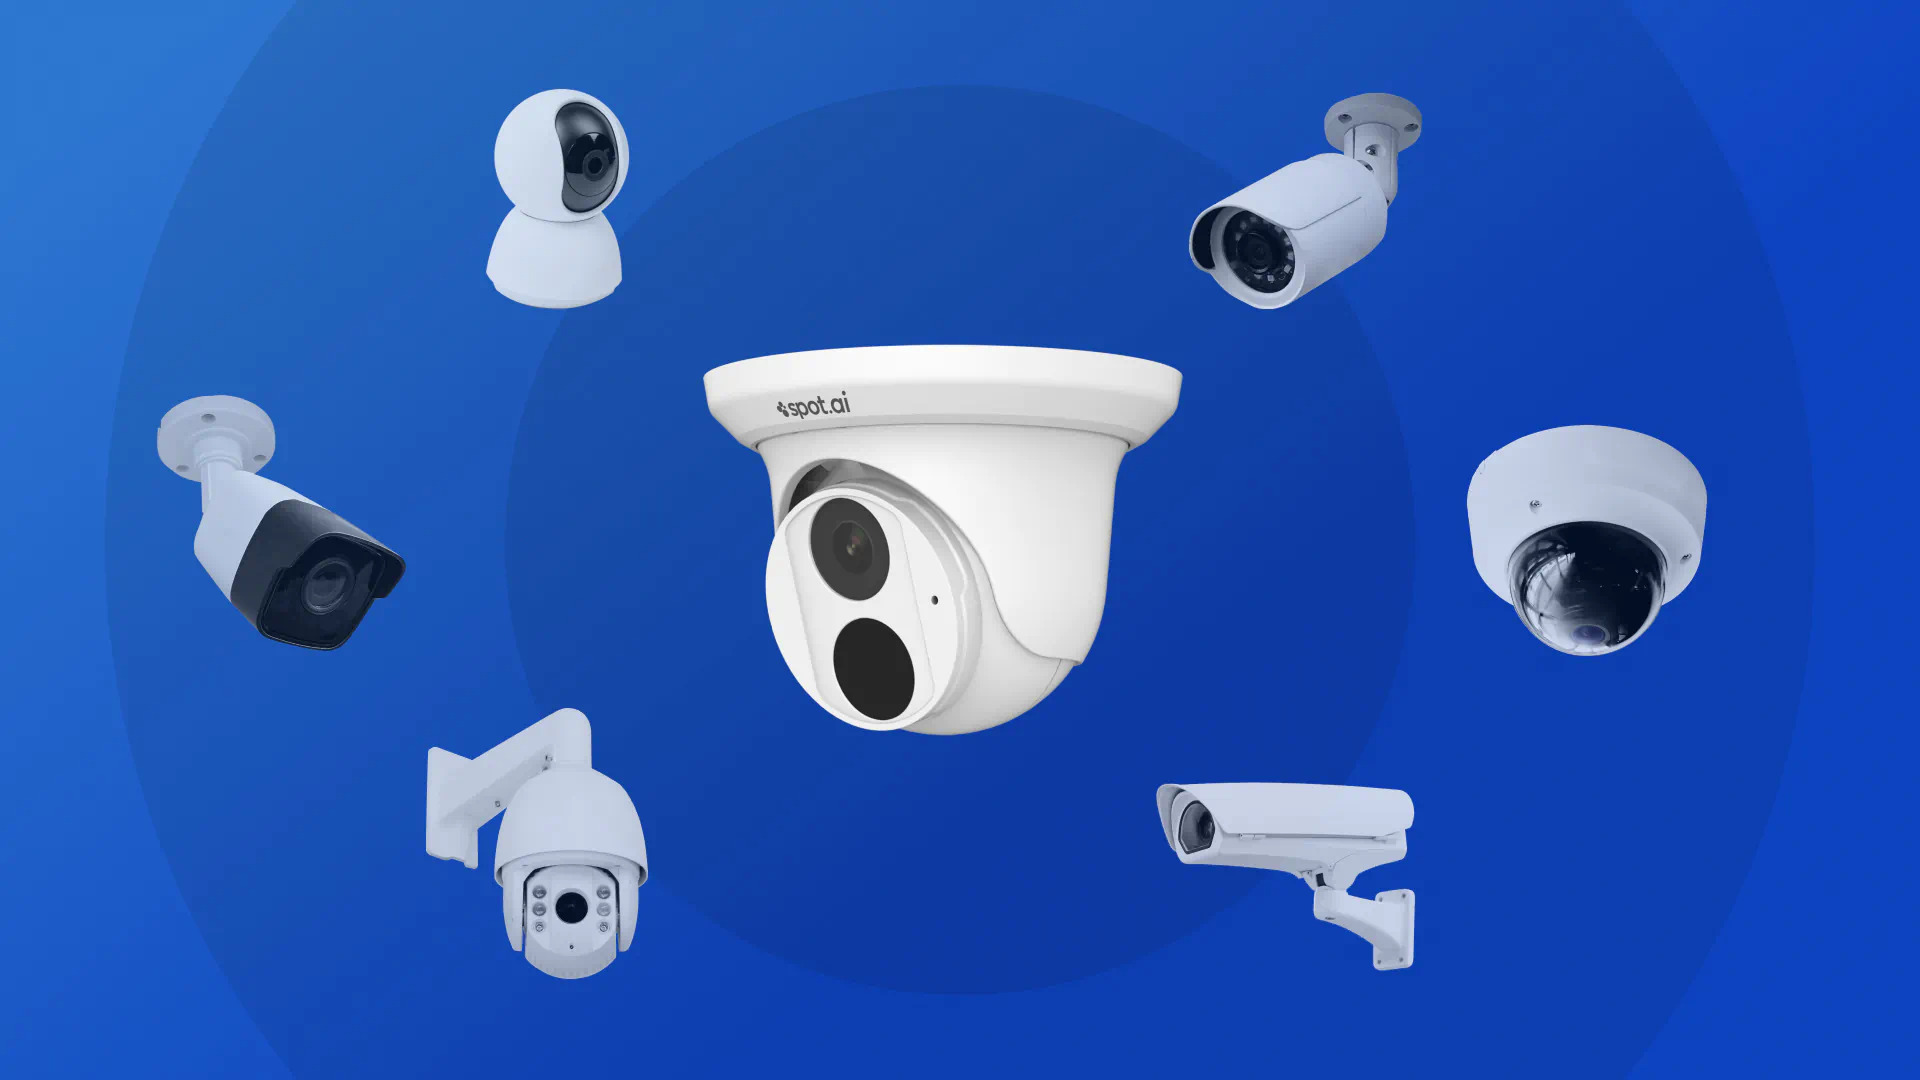
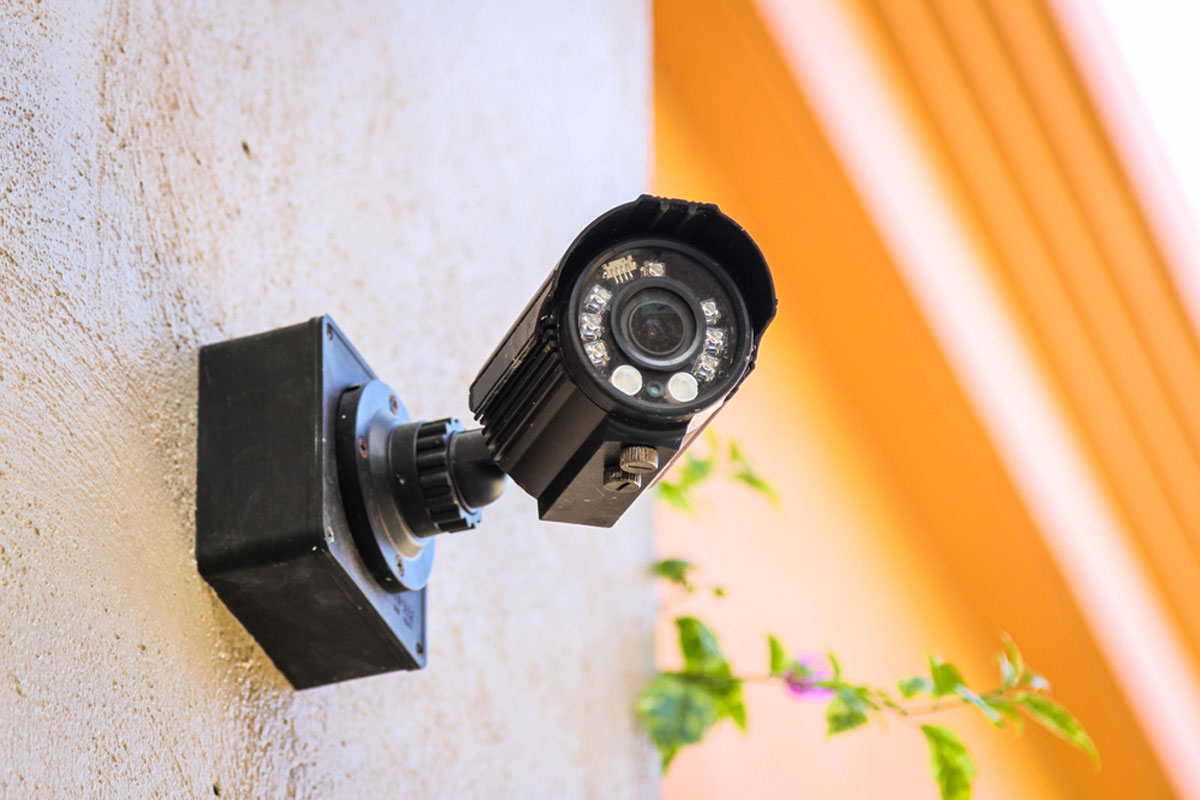
1. Type of Cameras: There are different types of security cameras available, including dome cameras, bullet cameras, PTZ (pan-tilt-zoom) cameras, and wireless cameras. Dome cameras are discreet and can be mounted on ceilings or walls, while bullet cameras are more visible and suitable for outdoor use. PTZ cameras offer the flexibility to pan, tilt, and zoom, and wireless cameras eliminate the need for running cables.
2. Resolution: The resolution of the cameras determines the quality of the video footage. Opt for cameras with high-resolution capabilities, such as 1080p (Full HD) or even 4K, for clear and detailed images.
3. Field of View: Consider the field of view (FOV) of the cameras and choose ones that cover the desired area effectively. Wide-angle lenses provide a broader view, while cameras with adjustable lenses allow you to customize the FOV.
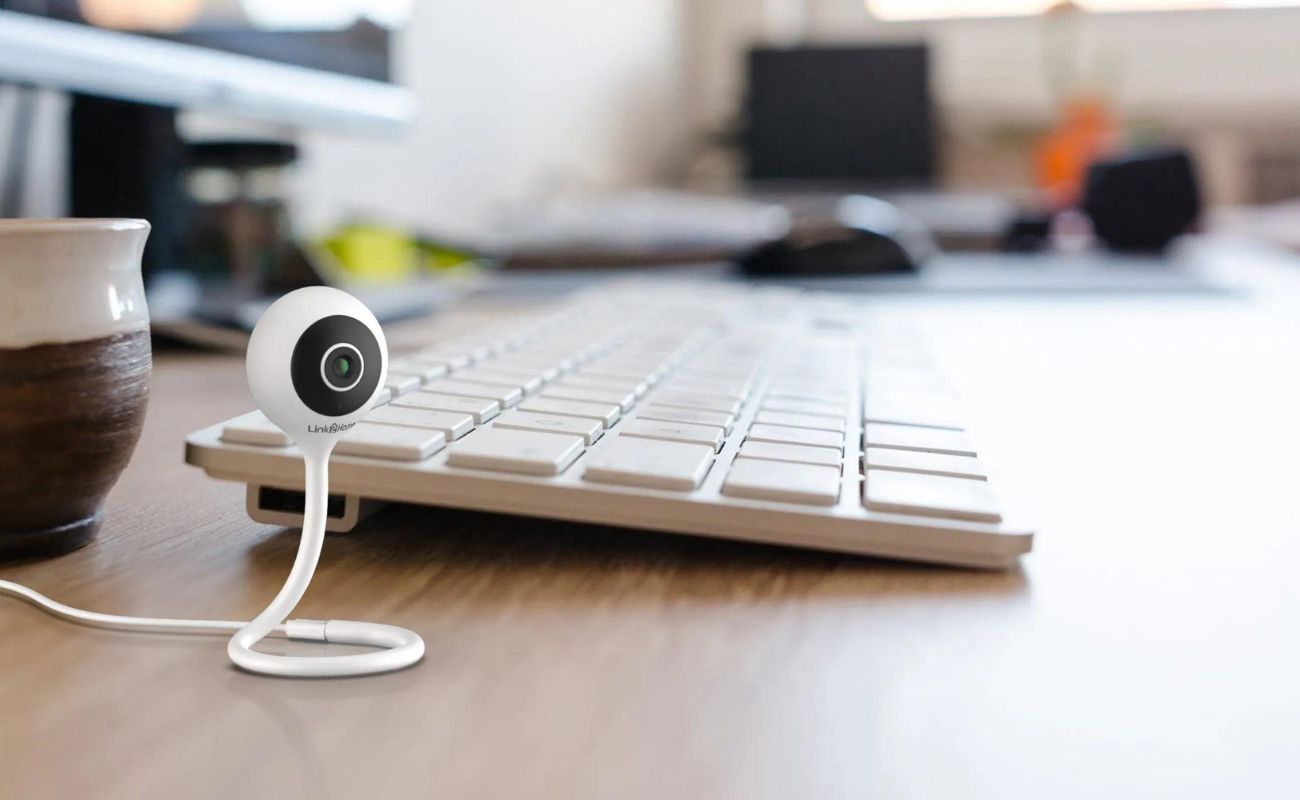
4. Wired or Wireless: Decide whether you want a wired or wireless camera system. Wired systems require running cables to connect the cameras to a central recording device, while wireless systems use Wi-Fi to transmit the video signal. Wired systems generally offer more reliability and stability, while wireless systems provide easier installation and flexibility in camera placement.
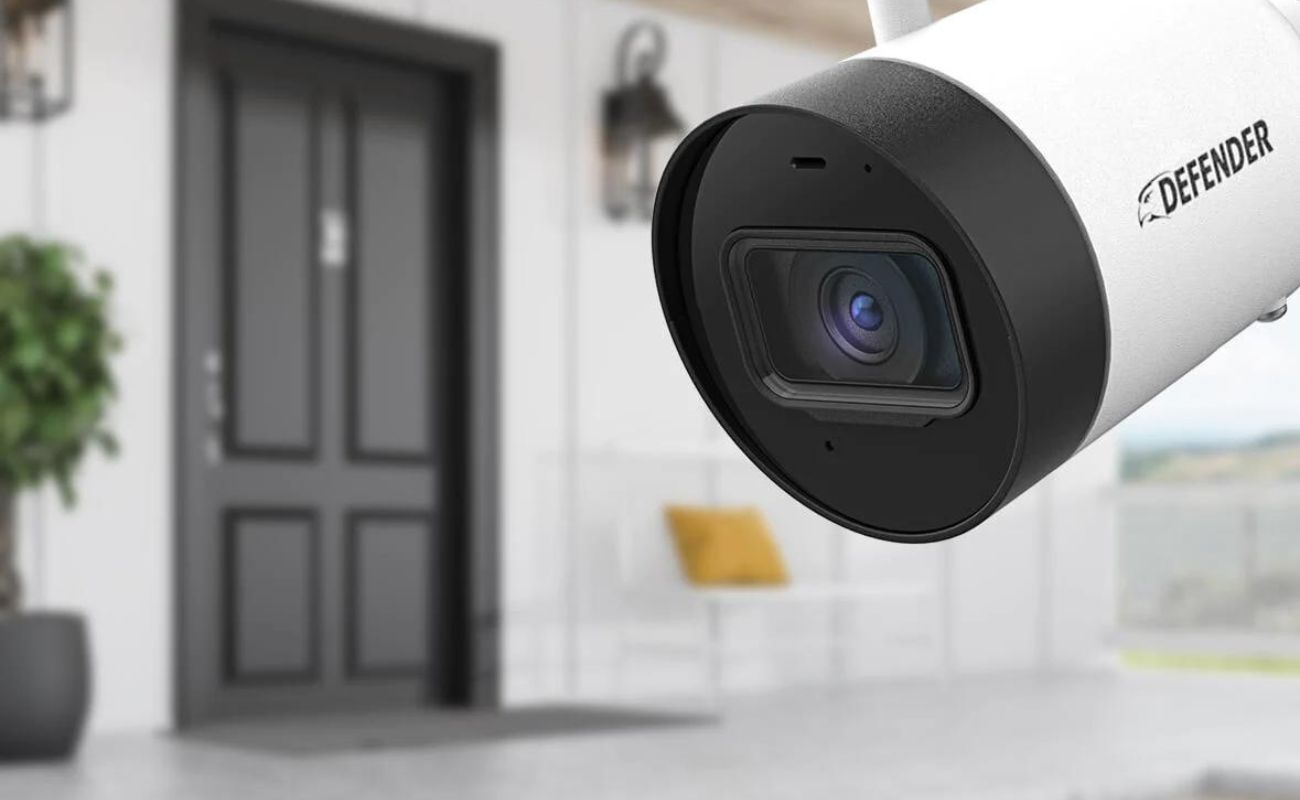
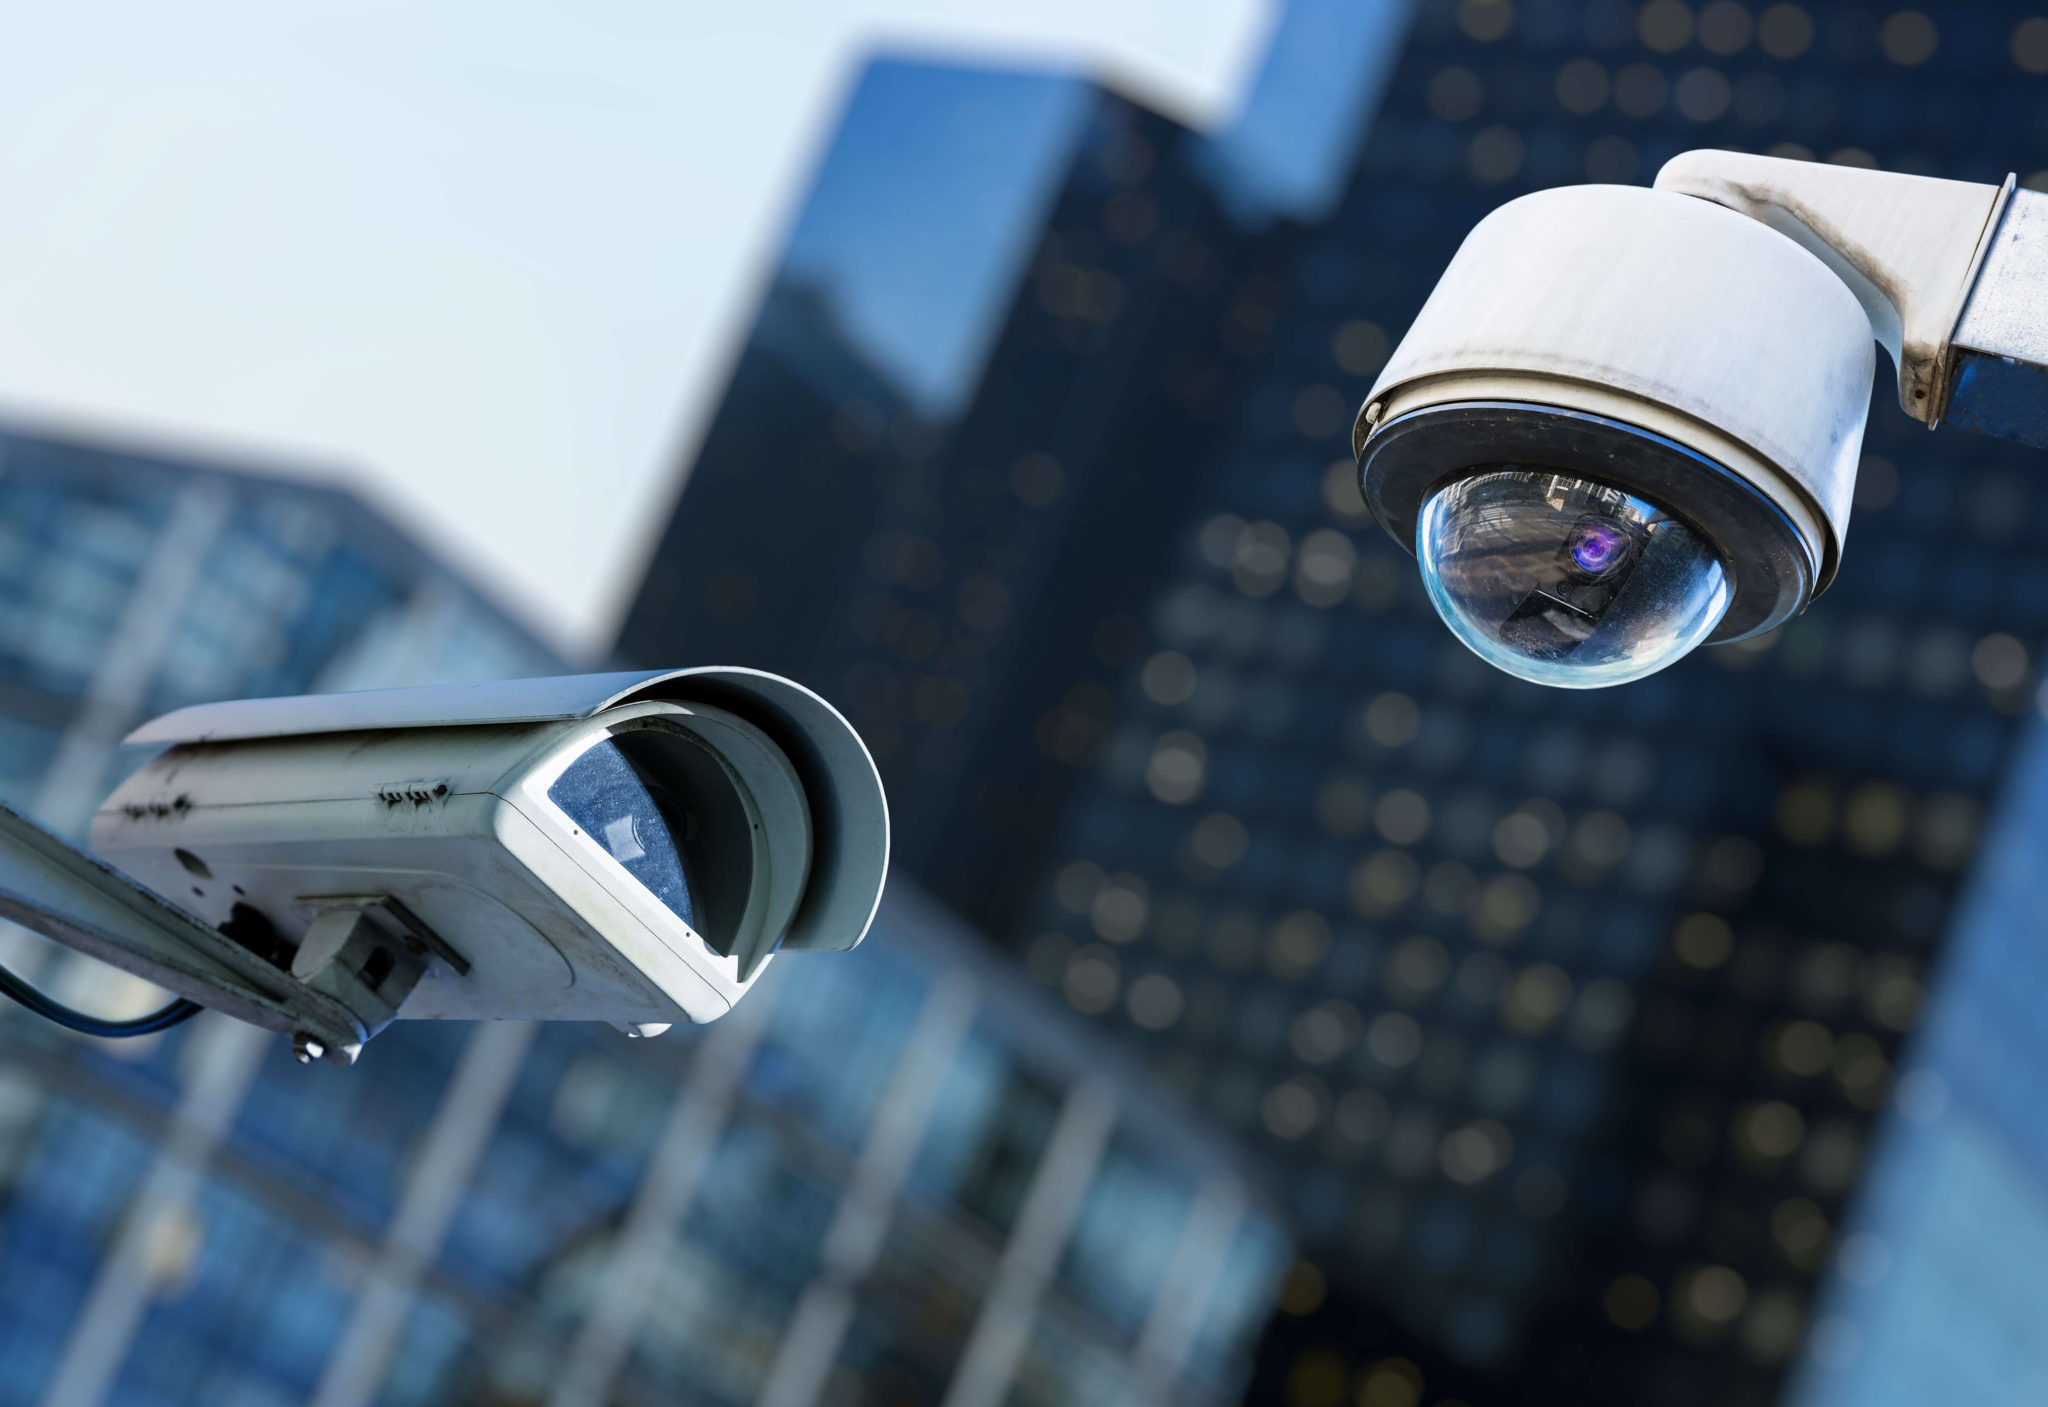
5. Outdoor or Indoor: Consider whether you need cameras specifically designed for outdoor use or if indoor cameras will suffice. Outdoor cameras are built to withstand harsh weather conditions and have features like weatherproofing and vandal resistance.
6. Additional Features: Look for additional features that can enhance the functionality of your security camera system. These may include night vision for low-light surveillance, two-way audio for communication, motion detection for triggering recording, and remote access for viewing footage on your mobile devices.
7. Budget: Determine your budget for the security camera system. Prices can vary significantly depending on the type and quality of cameras, as well as the number of cameras included in the system. Take into account your specific needs and invest in a system that provides reliable performance within your budget.
It’s important to research different brands and read customer reviews to ensure that you choose a reputable and reliable security camera system. Take your time to compare features, consider your specific requirements, and select a system that offers the best combination of functionality, performance, and affordability.
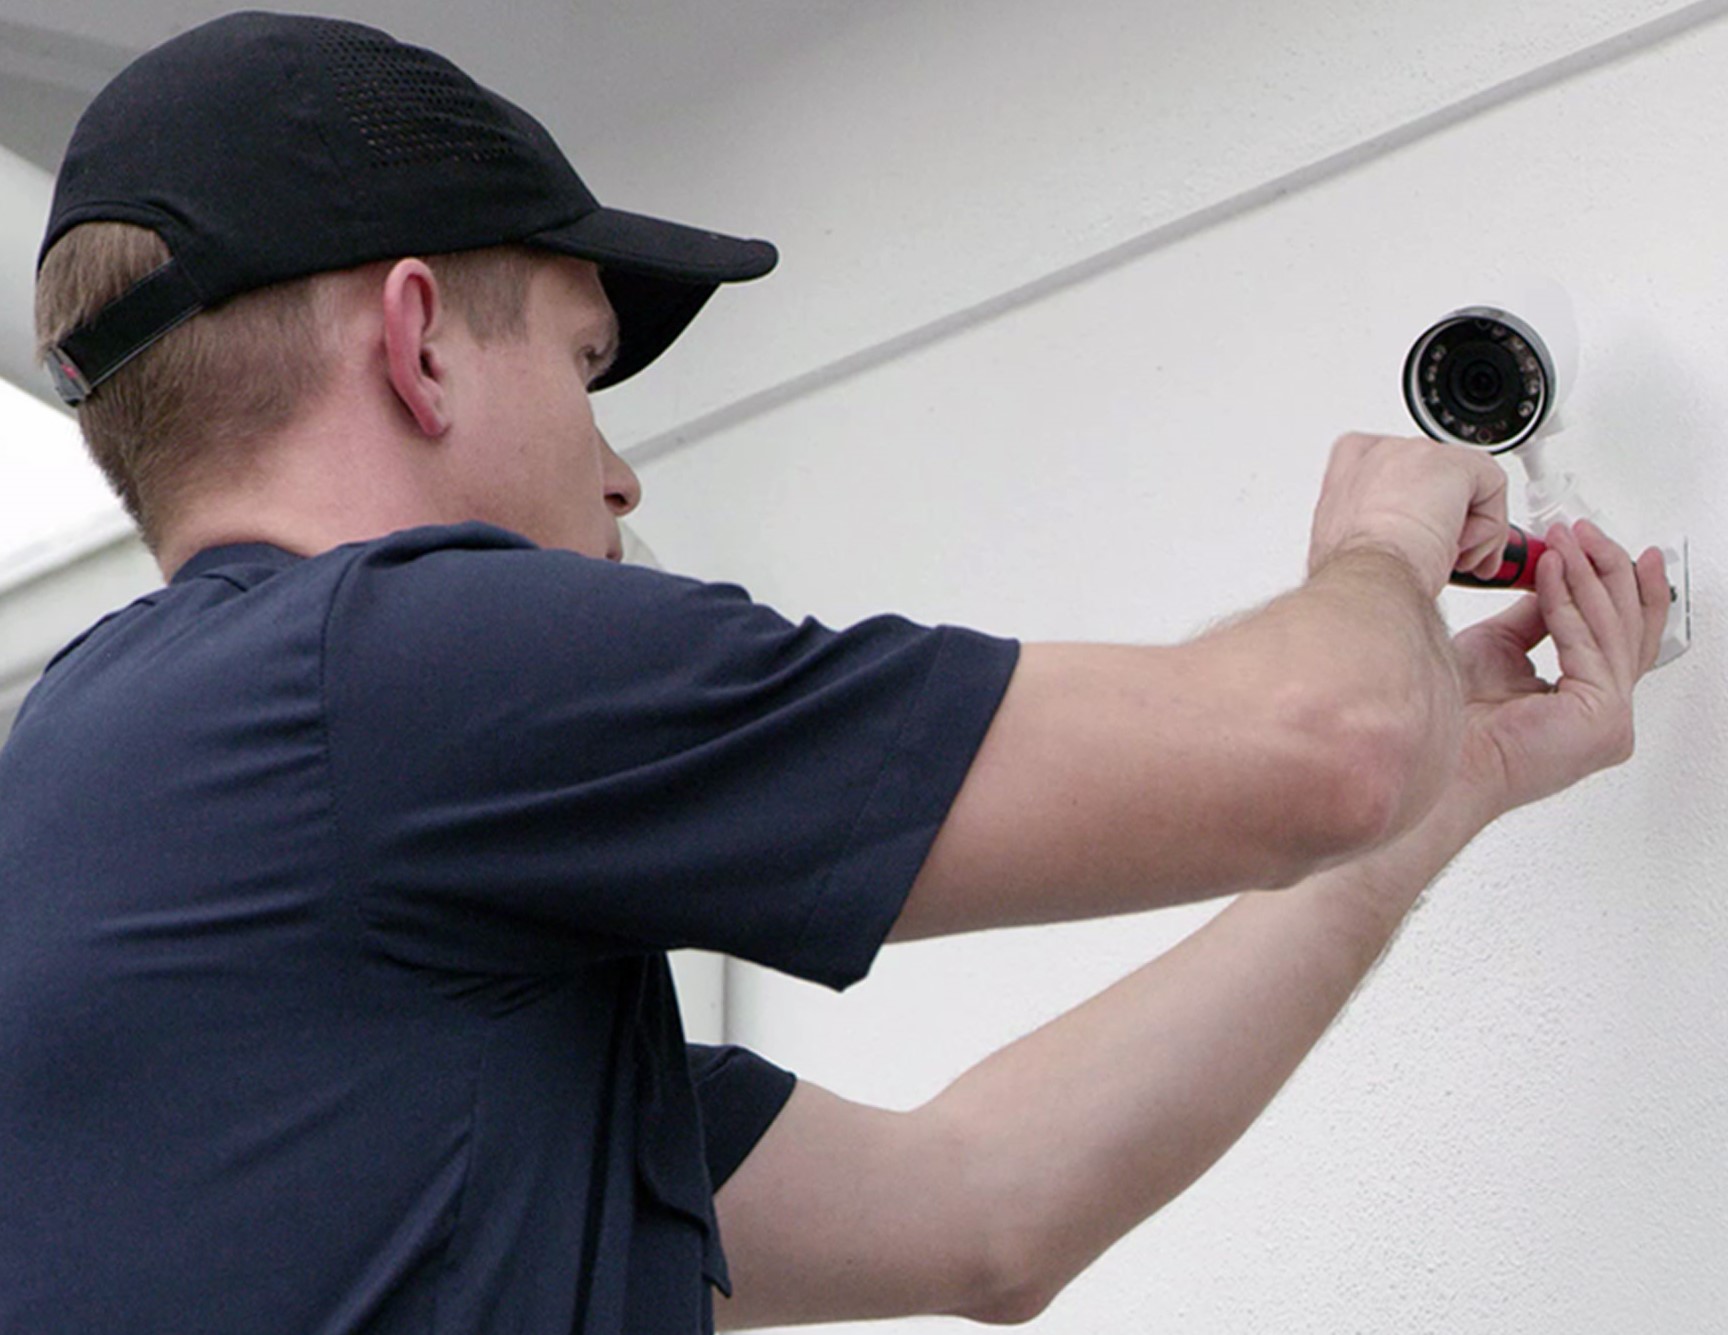
Step 3: Install the security cameras
After choosing the right security camera system, it’s time to proceed with the installation process. Follow these steps to install your security cameras:
1. Gather the necessary tools: Before starting, make sure you have all the required tools, including a ladder, drill, screws, screwdriver, cable clips, and a power supply (if applicable).
2. Mount the cameras: Determine the optimal locations for mounting the cameras based on your earlier assessment. Use a ladder or appropriate equipment to reach higher spots if needed. Ensure that the cameras are securely mounted and positioned to capture the desired area.
3. Run the cables: If you’re installing a wired camera system, run the cables from each camera to the recording device. Conceal the cables along walls or use cable clips to keep them organized and hidden. Be careful not to damage the cables during installation.
4. Connect the power supply: If your cameras require a power supply, connect them to a nearby power outlet or a dedicated power source. If you’re using a wireless camera system, skip this step as the cameras will be powered by batteries or a separate power source.
5. Test the cameras: Once the cameras are installed and connected, test them to ensure they are functioning properly. Check the angle, focus, and clarity of the video feed. Adjust the cameras if necessary to get the best view of the monitored area.
6. Secure the cameras: Take steps to secure your cameras against tampering or theft. This can include using tamper-resistant screws or installing a protective housing or dome cover for outdoor cameras.
7. Consider professional installation: If you’re unsure about the installation process or prefer professional assistance, consider hiring a licensed security system installer. They will ensure that the cameras are installed correctly and provide guidance on optimal camera placement.
Remember to refer to the manufacturer’s instructions and guidelines specific to your security camera system during the installation process. Following these steps will help you set up your security cameras effectively and ensure proper functionality.
Step 4: Position the cameras strategically
The positioning of your security cameras plays a vital role in their effectiveness. Proper camera placement allows for optimal coverage and ensures that important areas are captured. Follow these tips to position your cameras strategically:
1. Entry points: Place cameras near all entry points, such as doors and windows. This includes both front and back entrances, as well as any side or basement doors. Position the cameras at an angle where they can clearly capture anyone approaching or entering the premises.
2. High-traffic areas: Identify areas with high foot traffic, such as hallways, staircases, or common areas, and position cameras to monitor these spaces. This will help you keep track of movements and any suspicious activity in these areas.
3. Line of sight: Ensure that there are no obstructions that obstruct the camera’s view. Objects like trees, shrubs, or fences can block the camera’s line of sight, making it less effective. Trim vegetation or adjust the camera’s placement to guarantee an unobstructed view.
4. Point of vulnerability: Identify any areas that are particularly vulnerable, such as blind spots or secluded corners. Ensure that these areas are covered by positioning cameras to monitor them effectively.
5. Height: Consider the ideal height for camera placement. Mount cameras at a height that provides a clear view of the area while minimizing the risk of tampering. For outdoor cameras, a height of about 9 to 10 feet is generally recommended.
6. Consider camera angle: Adjust the camera angle to maximize the field of view. Tilt the camera downward slightly to capture the area closer to the camera, while also ensuring that the camera covers a wider space beyond the immediate vicinity.
7. Indoor vs. outdoor: For outdoor cameras, ensure that they are weatherproof and positioned to withstand the elements. Indoor cameras can be placed inconspicuously to monitor specific rooms or areas of interest within the house.
8. Neighborhood considerations: Be mindful of the privacy of your neighbors. Position your cameras so that they do not invade their privacy or capture any areas where they would have a reasonable expectation of privacy.
Remember to periodically review and adjust the camera positions if needed. Regularly evaluate the effectiveness of the camera placements and make any necessary changes to ensure optimal coverage and surveillance of your property.
When setting up security cameras at home, make sure to place them at all entry points, such as doors and windows, and also consider areas with valuable items. Additionally, ensure that the cameras are positioned high enough to avoid tampering.
Read more: How To Set Up Home Security Camera
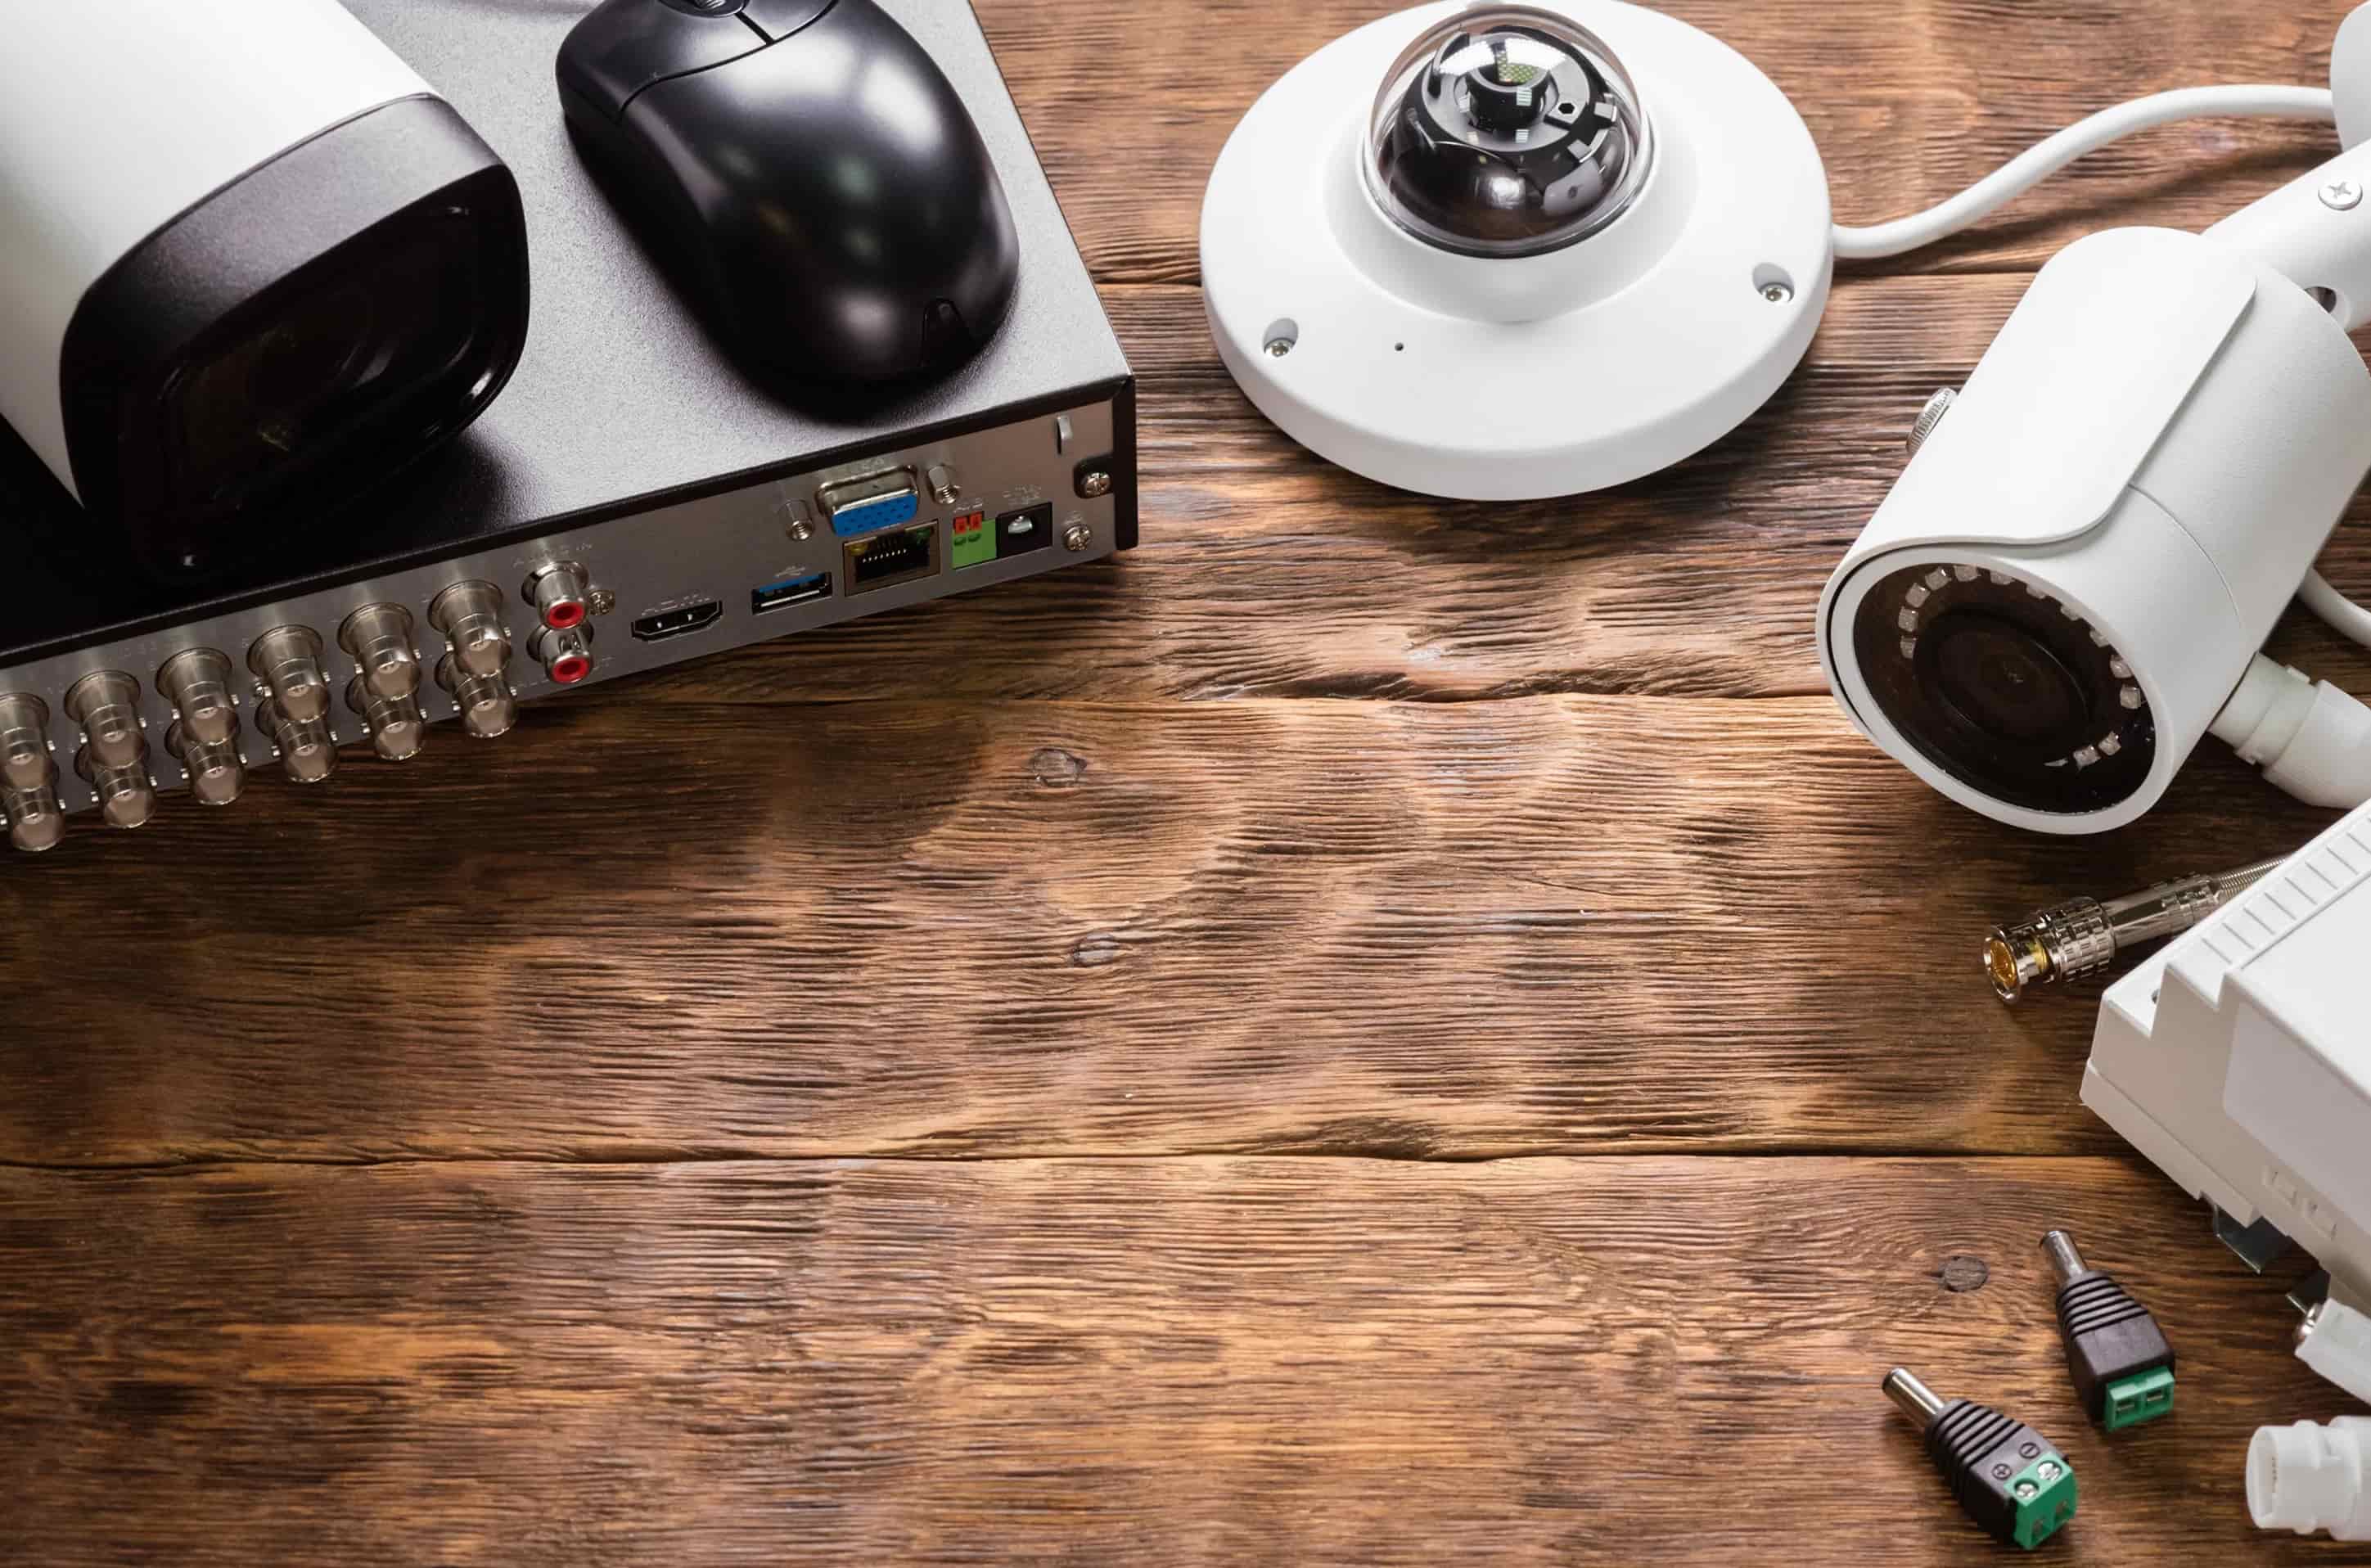
Step 5: Connect the cameras to a DVR or NVR
After positioning your security cameras, the next step is to connect them to a Digital Video Recorder (DVR) or Network Video Recorder (NVR). These devices act as the central hub for storing and accessing the video footage captured by the cameras. Follow these steps to connect the cameras to a DVR or NVR:
1. Choose the appropriate recorder: Select a DVR or NVR that is compatible with your cameras and meets your storage and recording needs. Make sure it has the necessary number of video inputs to accommodate all your cameras.
2. Place the recorder: Find a secure and easily accessible location to place the DVR or NVR. It should be protected from potential tampering or damage. Consider connecting the recorder to a power supply and a stable network connection for remote access.
3. Connect the cameras: Use the provided cables (usually BNC or Ethernet cables) to connect each camera to the video inputs on the DVR or NVR. Ensure that each camera is securely connected and properly labeled to correspond with the video input it is connected to.
4. Power on the devices: Connect the power supply to the DVR or NVR, and turn it on. The cameras should start receiving power from the recorder once they are properly connected.
5. Configure the recorder: Follow the manufacturer’s instructions to set up the DVR or NVR. This may involve configuring network settings, creating user accounts, and setting up storage options for video recordings.
6. Test the connection: Access the DVR or NVR interface to ensure that the cameras are connected and functioning correctly. Check the live view to verify that the cameras are capturing video and that the footage is being recorded by the recorder.
7. Adjust settings: Customize the settings on the DVR or NVR as per your preferences. This may include adjusting the recording resolution, enabling motion detection, setting up email alerts, and scheduling recording times.
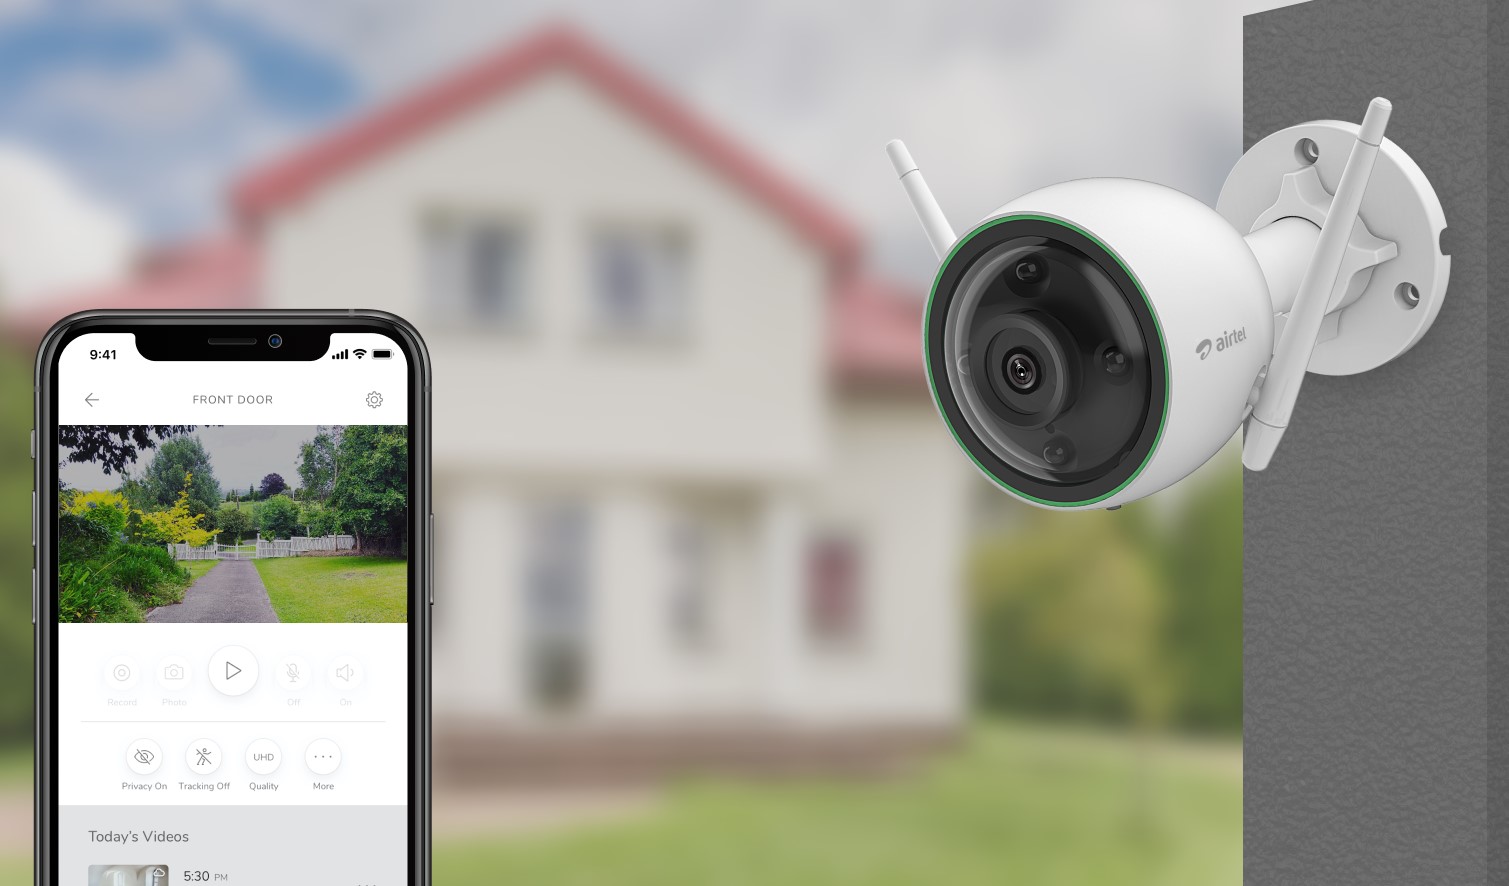
8. Ensure remote access: If you want to view camera footage remotely on your mobile device or computer, configure the DVR or NVR for remote access. This typically involves setting up port forwarding on your router and creating a unique username and password for access.
Make sure to consult the instruction manual or contact the manufacturer’s support if you encounter any difficulties during the connection process. By connecting the cameras to a DVR or NVR, you can effectively store, manage, and access the video footage captured by your security cameras.
Step 6: Set up remote viewing on your devices
In today’s digital age, the ability to remotely access your security camera footage is essential for added convenience and peace of mind. By setting up remote viewing on your devices, such as smartphones, tablets, or computers, you can monitor your home or property from virtually anywhere. Follow these steps to set up remote viewing:
1. Ensure network connectivity: Make sure your DVR or NVR is connected to the internet, either via an Ethernet cable or a Wi-Fi connection. Ensure that your network has a reliable internet connection for seamless remote access.
2. Configure port forwarding: Access your router’s settings and enable port forwarding for the port used by your DVR or NVR. This allows incoming connections from the internet to reach your security camera system. Consult your router’s documentation or contact your internet service provider for assistance in setting up port forwarding.
3. Create a DDNS account: Dynamic Domain Name System (DDNS) allows you to access your security camera system using a unique web address, even if your internet service provider assigns you a dynamic IP address. Create an account with a DDNS provider and follow their instructions to set up your personalized domain name.
4. Configure DDNS on the DVR or NVR: Access the settings on your DVR or NVR and enter your DDNS account information. This will link your security camera system to your personalized domain name, making it accessible remotely.
5. Install mobile apps or software: Download and install the mobile app or software provided by your security camera system manufacturer. This allows you to access live video feeds and recorded footage from your devices.
6. Set up remote access: Launch the mobile app or software and follow the instructions to add your security camera system. This typically involves entering the DDNS domain name, port number, and login credentials for your DVR or NVR.
7. Test remote viewing: Once the setup is complete, test the remote viewing functionality. Ensure that you can access the live video feeds and recorded footage from your devices while connected to a remote network, such as cellular data or a different Wi-Fi network.
8. Secure your remote access: To enhance security, change the default login credentials on your DVR or NVR and enable encryption for remote connections. Regularly update the software and firmware of your security camera system to stay protected against potential vulnerabilities.
By setting up remote viewing on your devices, you can monitor your property in real-time, receive motion alerts, and review recorded video footage whenever and wherever you are. It adds a layer of flexibility and convenience to your home security system.
Step 7: Configure motion detection settings
Motion detection is a valuable feature that allows your security camera system to detect and capture any movement within its field of view. By configuring motion detection settings, you can receive alerts and record specific events, saving storage space and providing a more efficient way of monitoring your home. Follow these steps to configure motion detection settings:
1. Access the camera settings: Launch the software or app associated with your security camera system and navigate to the camera settings. Look for the option to configure motion detection.
2. Enable motion detection: Turn on the motion detection feature for the specific camera you want to configure. This option is usually found within the camera settings or preferences.
3. Adjust sensitivity: Set the sensitivity level of the motion detection to determine how easily the camera will detect movement. Higher sensitivity means even the slightest motion will trigger an alert or recording, while lower sensitivity may require more significant movement to activate the feature. Experiment with different sensitivity levels to find the balance that suits your needs.
4. Select motion detection areas: Some security camera systems allow you to define specific areas within the camera’s field of view where you want to monitor motion. This allows for more granular control over what triggers the motion detection feature. For example, you may choose to exclude areas with constant movement, such as a busy road.
5. Adjust detection zone: If your camera doesn’t have the option to define specific motion detection areas, you can still adjust the detection zone. This allows you to limit the camera’s field of view for motion detection purposes. Remove any areas that are not of interest or where there may be frequent motion to avoid unnecessary alerts or recordings.
6. Set recording duration: Determine the length of time the camera records after detecting motion. This might range from a few seconds to several minutes depending on your preferences and storage capacity. Longer recording durations can capture more details but use more storage space.
7. Configure alerts: Enable motion detection alerts to receive notifications on your mobile devices or via email when motion is detected. Set up the desired notification preferences, such as sound alerts, vibration, or push notifications. You may also have the option to schedule when motion detection alerts are active, such as during specific hours or days.
8. Test motion detection: After configuring the motion detection settings, test the feature to ensure it is functioning correctly. Walk in front of the camera or move objects within its field of view to trigger the motion detection. Verify that you receive alerts and that the camera starts recording when motion is detected.
By configuring motion detection settings, you can tailor your security camera system to focus on specific areas and events of interest. This not only helps minimize false alarms but also provides you with a more efficient and effective way of monitoring your home.
Step 8: Set up 24/7 video recording
Setting up 24/7 video recording ensures that your security camera system captures continuous footage, providing a comprehensive record of events in and around your home. This feature is especially valuable in situations where motion detection may not be sufficient, or when you want to review a specific time period in detail. Follow these steps to set up 24/7 video recording:
1. Check storage capacity: Ensure that your DVR or NVR has sufficient storage capacity to accommodate continuous video recording. This will depend on factors such as the number of cameras and the desired recording quality and duration. Consider upgrading your storage capacity if necessary.
2. Select recording mode: Access the settings on your security camera system and choose the recording mode. Look for options like “Continuous Recording” or “24/7 Recording” to enable this feature.
3. Configure recording parameters: Determine the resolution and frame rate for the 24/7 recording. Higher resolution and frame rates will result in higher-quality video but will also consume more storage space. Choose the settings that strike the right balance between video quality and storage capacity.
4. Set up recording schedule: Decide when you want the 24/7 recording to be active. You can opt for continuous recording at all times, or you may choose to schedule specific times or days for continuous recording. This can help optimize storage usage and focus on periods when activity is more likely to occur.
5. Consider motion-based recording: Some security camera systems offer the option of combining 24/7 recording with motion-based recording. This means that the cameras will capture continuous footage, but the system will also create separate clips specifically for motion events. This can make it easier to navigate and review recordings when specific events occur.
6. Manage storage: Regularly monitor your storage usage to ensure that you have enough capacity for continuous recording. Consider implementing features like overwrite or automatic deletion of old recordings to free up space when necessary. If available, you can also connect external storage devices to expand the storage capacity of your system.
7. Review recordings: After setting up 24/7 video recording, periodically review the captured footage to identify any significant events or occurrences. This can be particularly helpful in cases where an incident may have occurred outside of the motion detection range or during periods when you were not actively monitoring the system.
By setting up 24/7 video recording, you can have a complete recording of all activities taking place in and around your home. This provides you with additional reassurance, as well as a valuable resource for investigating any incidents that may occur.
Read more: How To Set Up Cobra Security Cameras
Conclusion
Setting up security cameras at home is a proactive step towards enhancing the safety and security of your property. With the advancements in technology, it has become easier than ever to install and manage a security camera system. By following the steps outlined in this guide, you can have a comprehensive surveillance system that provides you with peace of mind and the ability to monitor your home remotely.
In Step 1, we emphasized the importance of determining the areas you want to monitor. By assessing your property and identifying vulnerable points, you can strategically position the cameras to provide optimal coverage. Step 2 guided you in choosing the right security camera system based on your specific requirements, such as type of cameras, resolution, and budget.
In Steps 3 and 4, we discussed the installation process and the strategic positioning of the cameras. Proper installation and placement are crucial to ensure that the cameras effectively capture the desired areas and deter potential intruders. Connecting the cameras to a DVR or NVR was covered in Step 5, allowing you to store and access the recorded footage conveniently.
Step 6 explained how to set up remote viewing on your devices, enabling you to monitor your property from anywhere at any time. Step 7 highlighted the importance of configuring motion detection settings, ensuring that you are promptly notified of any suspicious activity. Lastly, in Step 8, we discussed the option of setting up 24/7 video recording for comprehensive coverage and the ability to review footage in detail.
It’s important to remember that every home and security camera system is unique. Be sure to refer to the specific instructions and guidelines provided by the manufacturer of your cameras and recording devices. Regularly check and update your system to maintain optimal performance and security.
By implementing these steps and customizing your security camera system to suit your needs, you can enjoy the benefits of enhanced home security and peace of mind. Whether you’re at home or away, you can have a watchful eye over your property and loved ones, knowing that your home is protected by a reliable and efficient surveillance system.
Frequently Asked Questions about How To Set Up Security Cameras At Home
Was this page helpful?
At Storables.com, we guarantee accurate and reliable information. Our content, validated by Expert Board Contributors, is crafted following stringent Editorial Policies. We're committed to providing you with well-researched, expert-backed insights for all your informational needs.