Home>Ideas and Tips>DIY Guide To Installing A Stone Veneer Accent Wall
Ideas and Tips
DIY Guide To Installing A Stone Veneer Accent Wall
Modified: October 28, 2024
Transform your home with our DIY guide to installing a stone veneer accent wall. Learn step-by-step tips for a professional finish.
(Many of the links in this article redirect to a specific reviewed product. Your purchase of these products through affiliate links helps to generate commission for Storables.com, at no extra cost. Learn more)
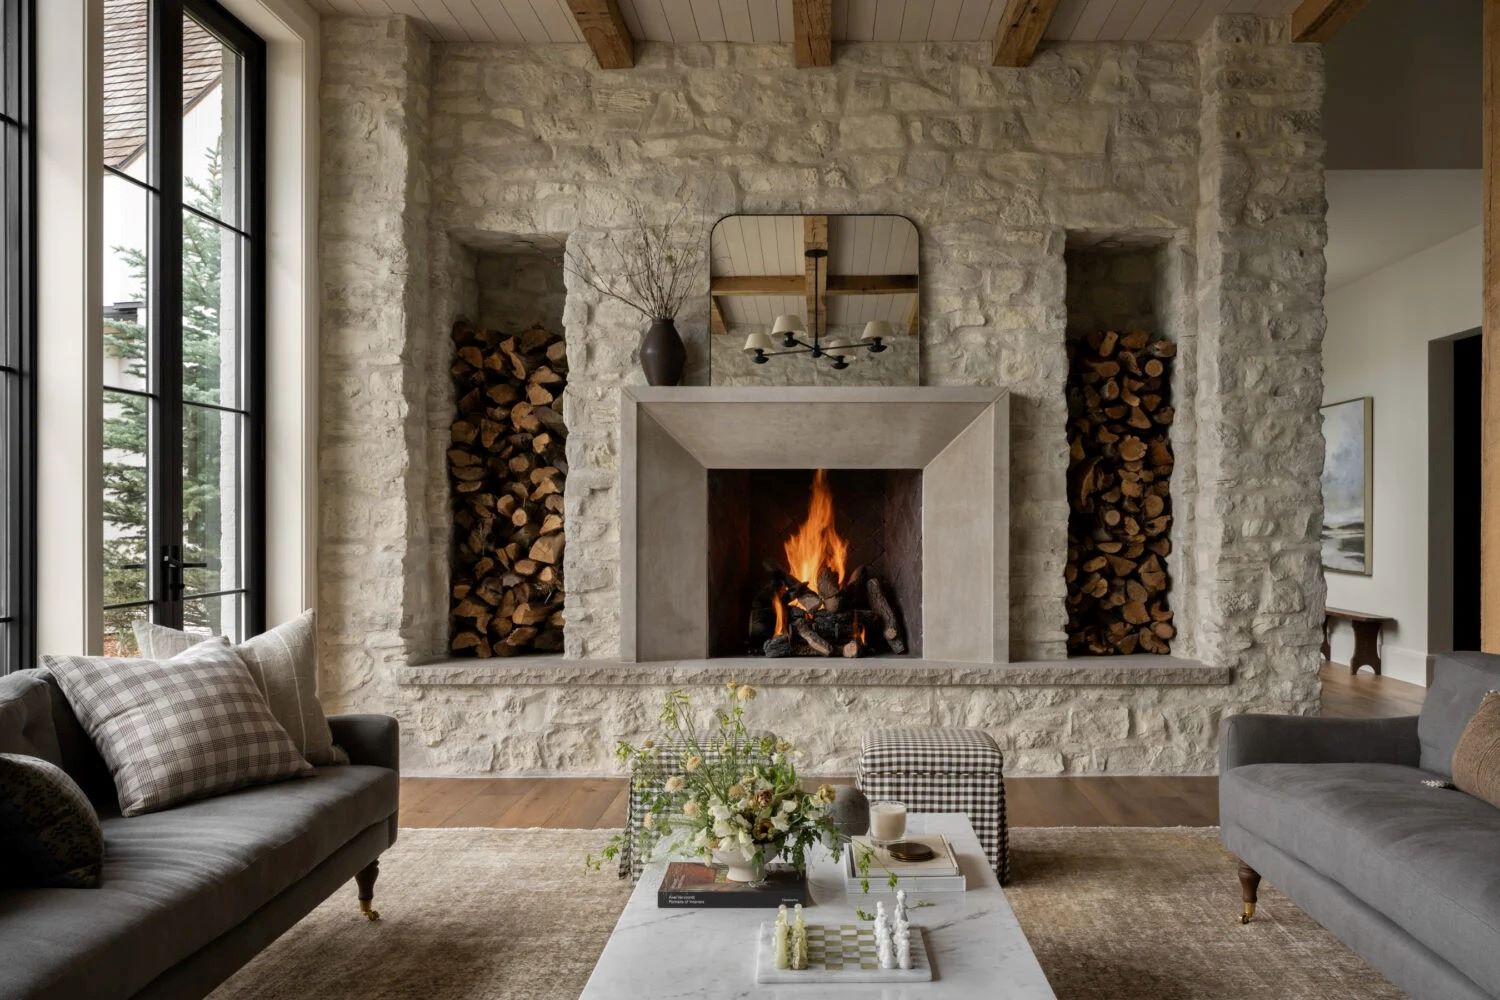
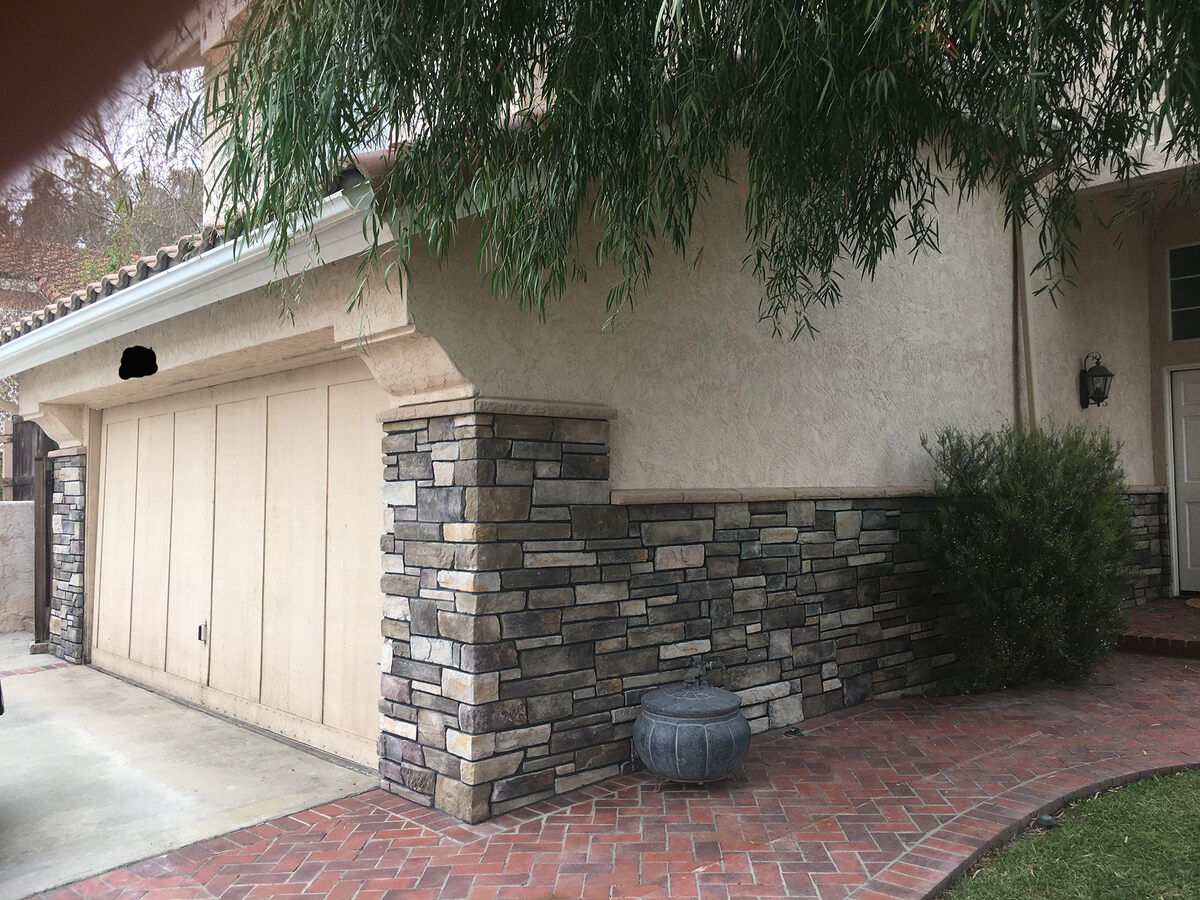
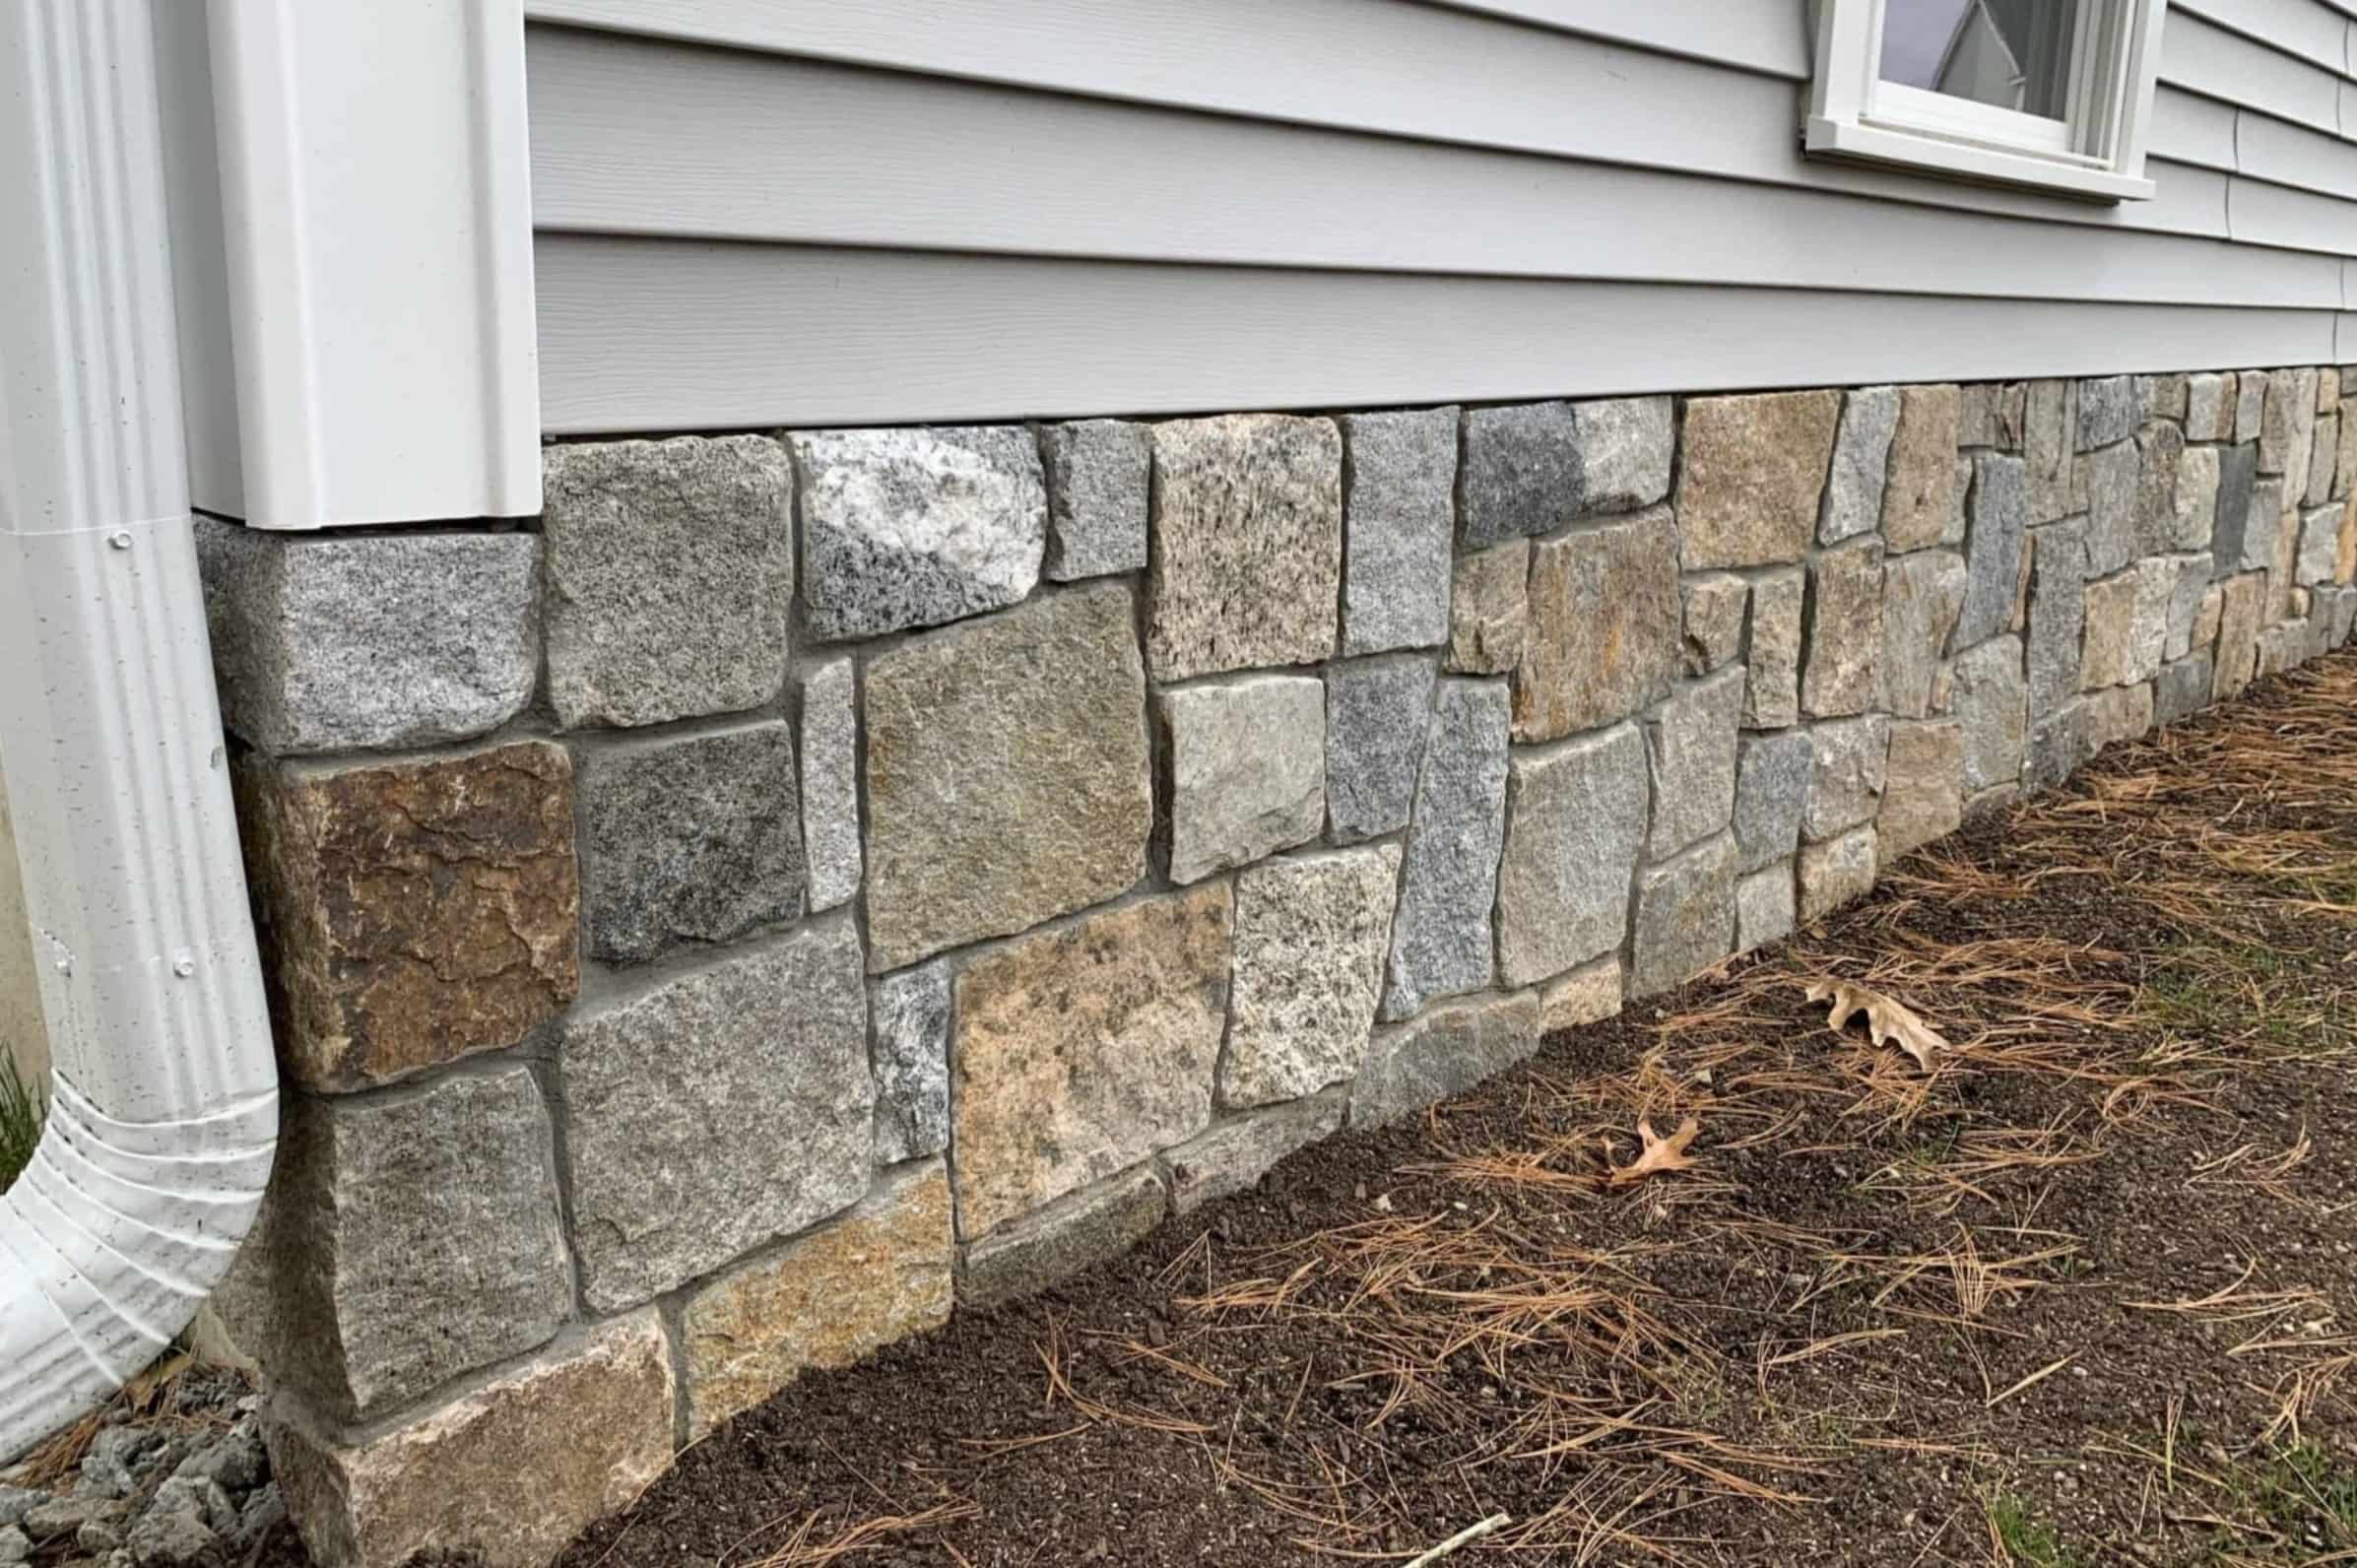
Creating a stunning stone veneer accent wall is a fantastic way to add elegance and character to any room in your home. Whether you're looking to transform a living room, kitchen, or bedroom, this DIY guide will walk you through the steps to install a beautiful stone veneer accent wall, providing you with the tools and techniques needed to achieve professional-looking results.
Why Choose Stone Veneer?
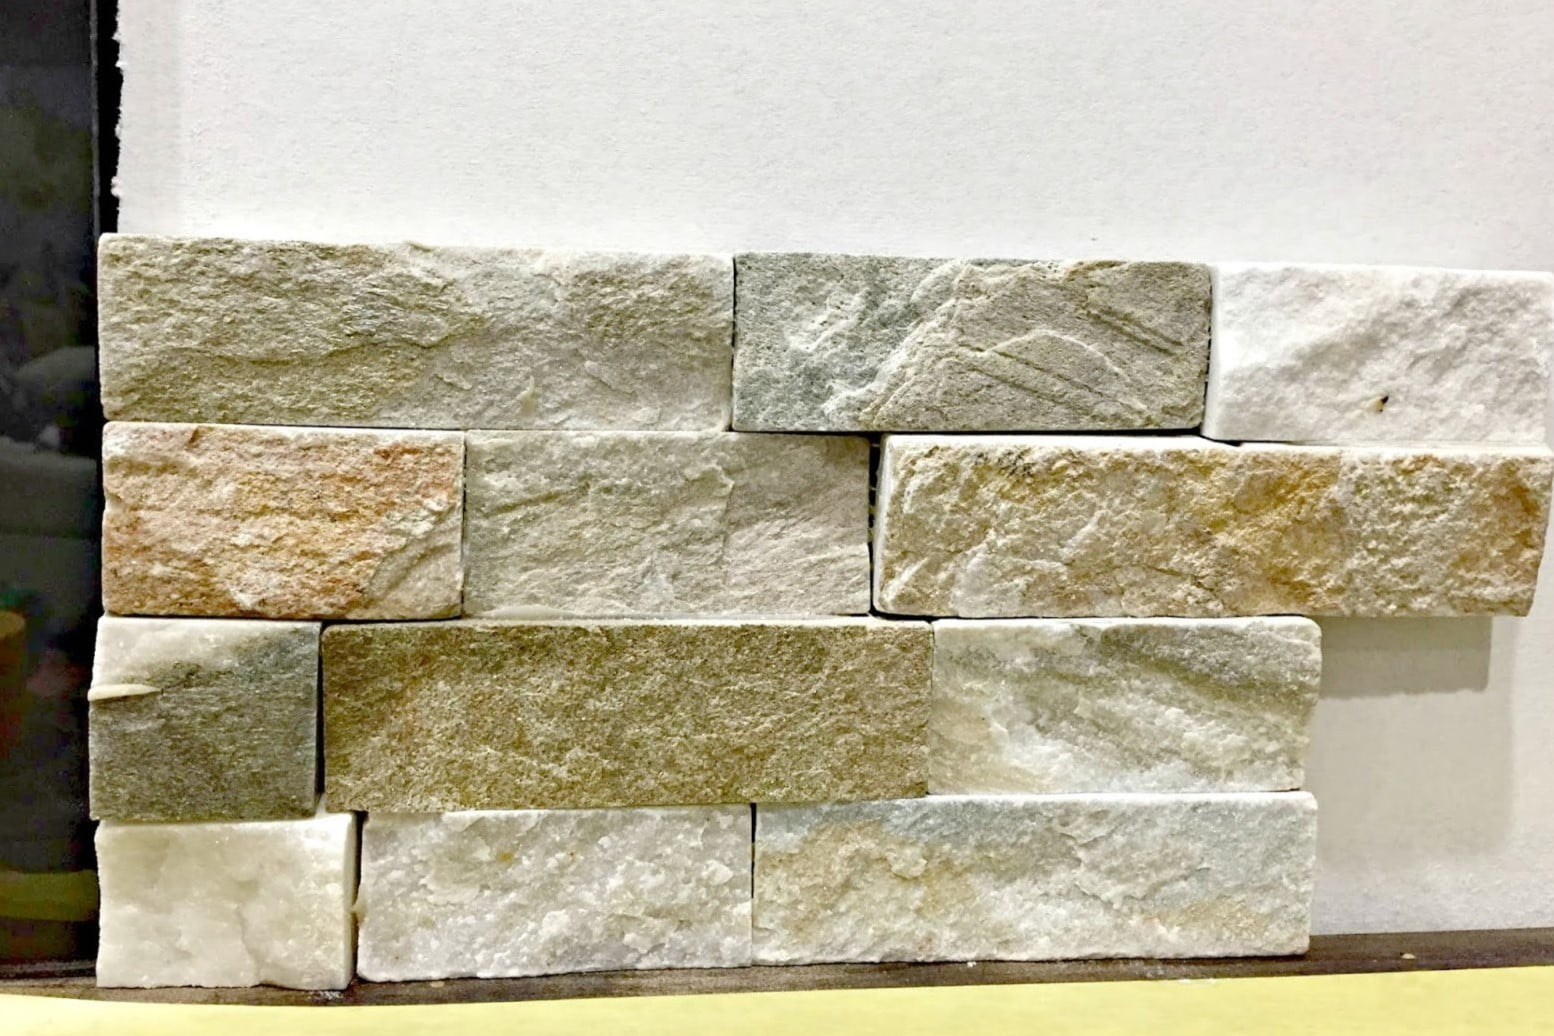
Stone veneer is an excellent choice for several reasons. It offers the aesthetic appeal of real stone without the weight and complexity of traditional stone installation. Faux stone veneer is lighter, easier to install, and more budget-friendly. It can be applied directly to most surfaces, including drywall, concrete, or brick, making it versatile for both indoor and outdoor applications.
Tools and Materials Needed
Before you begin, it's essential to gather all the necessary tools and materials. Here’s a comprehensive list:
-
Tools:
- Trowel or notched trowel for applying mortar
- Level for ensuring straight rows
- Utility knife for cutting cement board (if needed)
- Pencil and straightedge for marking studs and layout
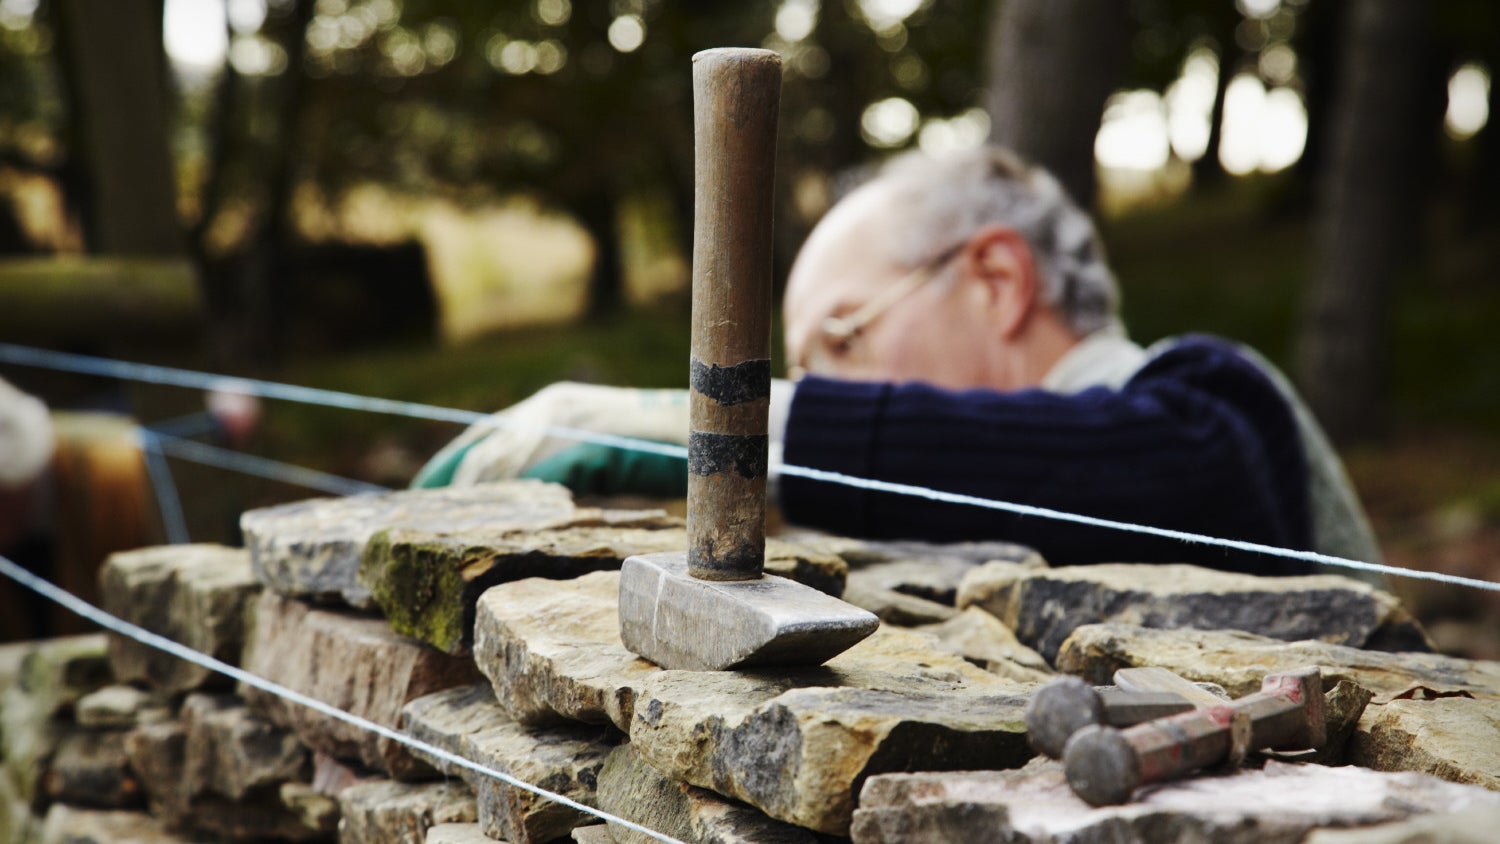
- Hammer for tapping stones into place
- Caulking gun for sealing gaps
- Drill with screwdriver bit for securing cement board (if using)
- Tape measure for measuring and marking walls
- Safety goggles and gloves for protection
-
Materials:
- Faux stone veneer panels (available in various lengths and styles)
- Thin-set adhesive (supplied in kits or purchased separately)
- Cement board (optional, for added stability)
- Electrical box extensions (if moving switches or outlets)
- Drop cloths or plastic sheets for protecting floors and surfaces
- Painter’s tape for marking areas to be covered
- Utility knife blade for cutting stone veneer (if necessary)
Preparing the Space
Before you start installing your stone veneer accent wall, it's crucial to prepare the space thoroughly. This step ensures a smooth and efficient installation process.
-
Clear the Room:
Move all furniture, curtains, and other items out of the room. If this is not possible, cover everything with sheets of painter’s plastic or drop cloths to prevent dust and debris from spreading. -
Protect Floors:
Cover carpeted flooring with drop cloths. For hardwood or tile floors, place a layer of cardboard or thin hardboard underneath the drop cloths to protect them from damage. -
Remove Trim:
Pry off the baseboard trim on the wall where the stone will go, as well as on adjacent walls. If you plan to reinstall the same trim, pull the nails from the back of the trim using an end cutter or locking pliers. Remove chair rail or crown molding if necessary. -
Mark Studs:
If you decide to leave the drywall in place, mark the center of each stud with a chalk line so you’ll know where to drive cement-board screws. Use a stud finder or another method to locate the center of each stud at the top and bottom of the wall. Then stretch a chalk line between these marks and snap it. -
Score Cement Board (if using):
If you’re using cement board, mark it and line up your drywall square with the mark. Drag the tip of the scoring tool along the edge of the square to score the cement board. Repeat this process two or three times until you cut through the fiberglass mesh reinforcing. -
Break Cement Board (if using):
Bend the cement board to snap it along the scored line. Then cut through the mesh on the back of the board with a utility knife. Clean up any rough edges with a utility knife.
Installing Cement Board (if using)
If you choose to add cement board for extra stability, follow these steps:
-
Attach Cement Board:
Use screws to attach cement board to the wall framing. Ensure that screws are driven into studs for maximum stability. -
Secure Electrical Components:
Move switches and outlets out to the surface of the stone by adding electrical box extensions.
Applying Thin-Set Adhesive
Thin-set adhesive is crucial for bonding stone veneer securely to your wall surface. Here’s how you apply it:
-
Clean Application Area:
Clean any dust or grease from both the application area and back of the stone veneer panels. -
Apply Adhesive:
Spread a 1/8-inch-thick layer of thin-set adhesive across the back of each stone panel using a notched trowel or spreader. -
Press Stones into Place:
Place each stone panel onto the clean substrate, ensuring it’s evenly pressed against it. Allow the masonry adhesive to cure for 24 hours before proceeding with additional rows.
Laying Out Your Accent Wall
Planning your accent wall layout is essential for a smooth installation process. Here’s how you can do it:
-
Mockup Layout:
Create a mockup of your accent wall layout on the floor using paper or cardboard. This will help you visualize how the stones will be arranged and ensure accurate placement. -
Mark Dimensions:
Mark out dimensions on your mockup that match those of your actual wall, including windows, light switches, and outlets. -
Plan Stone Placement:
Lay out your stones on the mockup in various arrangements until you find one that looks best to you. Once satisfied with the layout, leave this mockup in place for easy reference during installation.
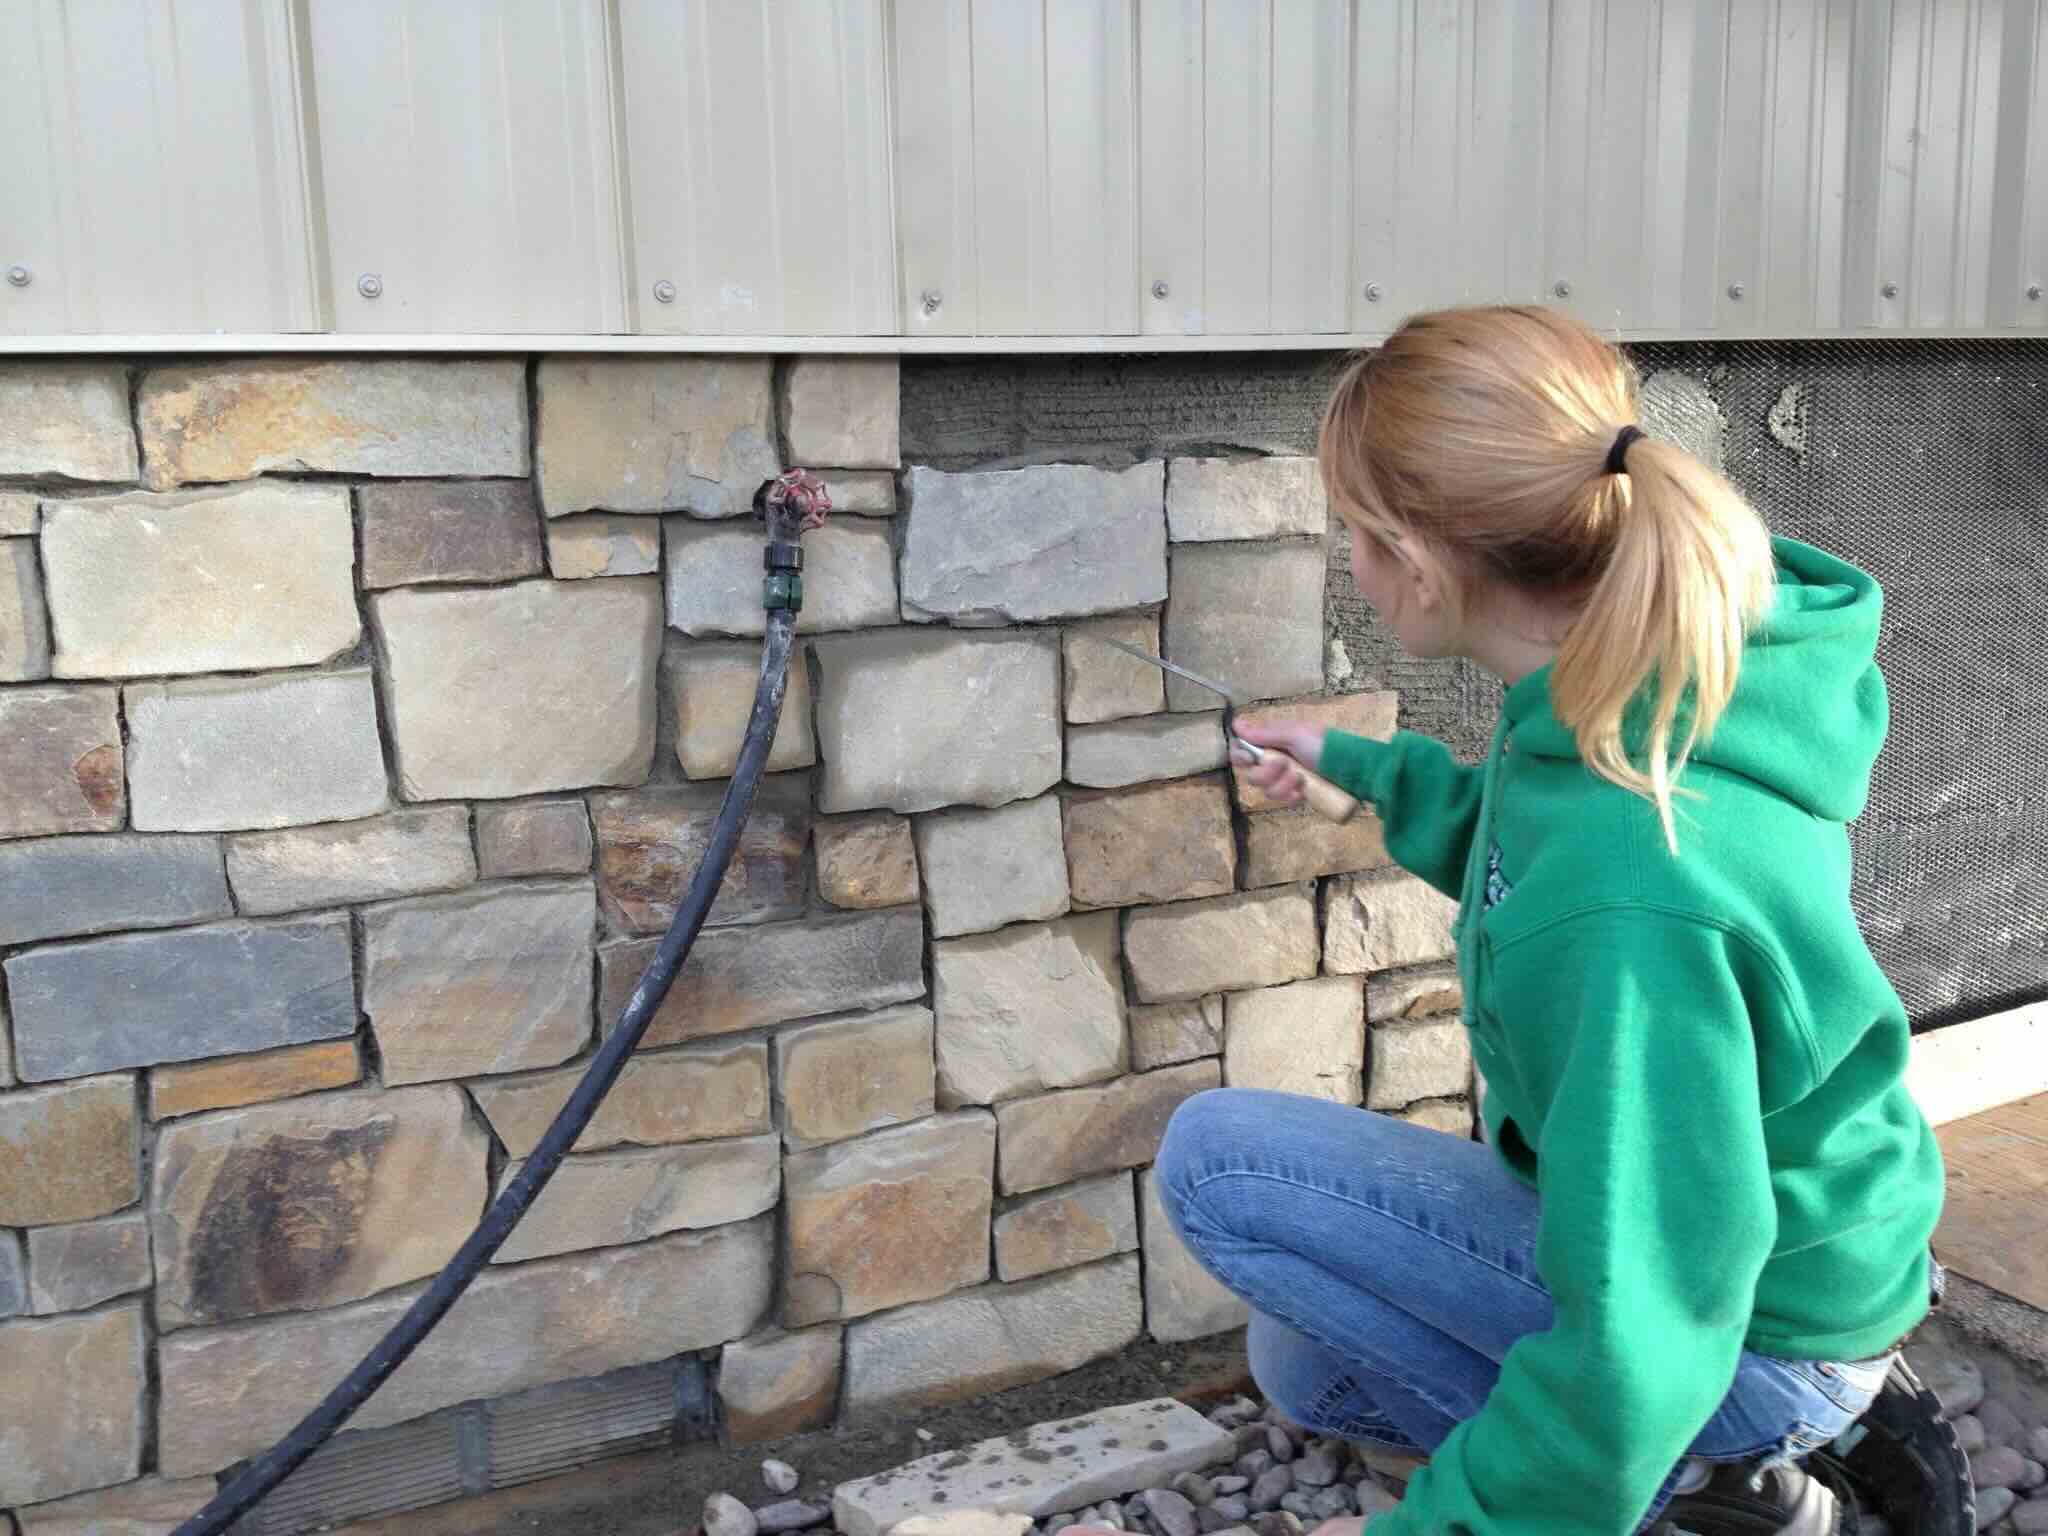
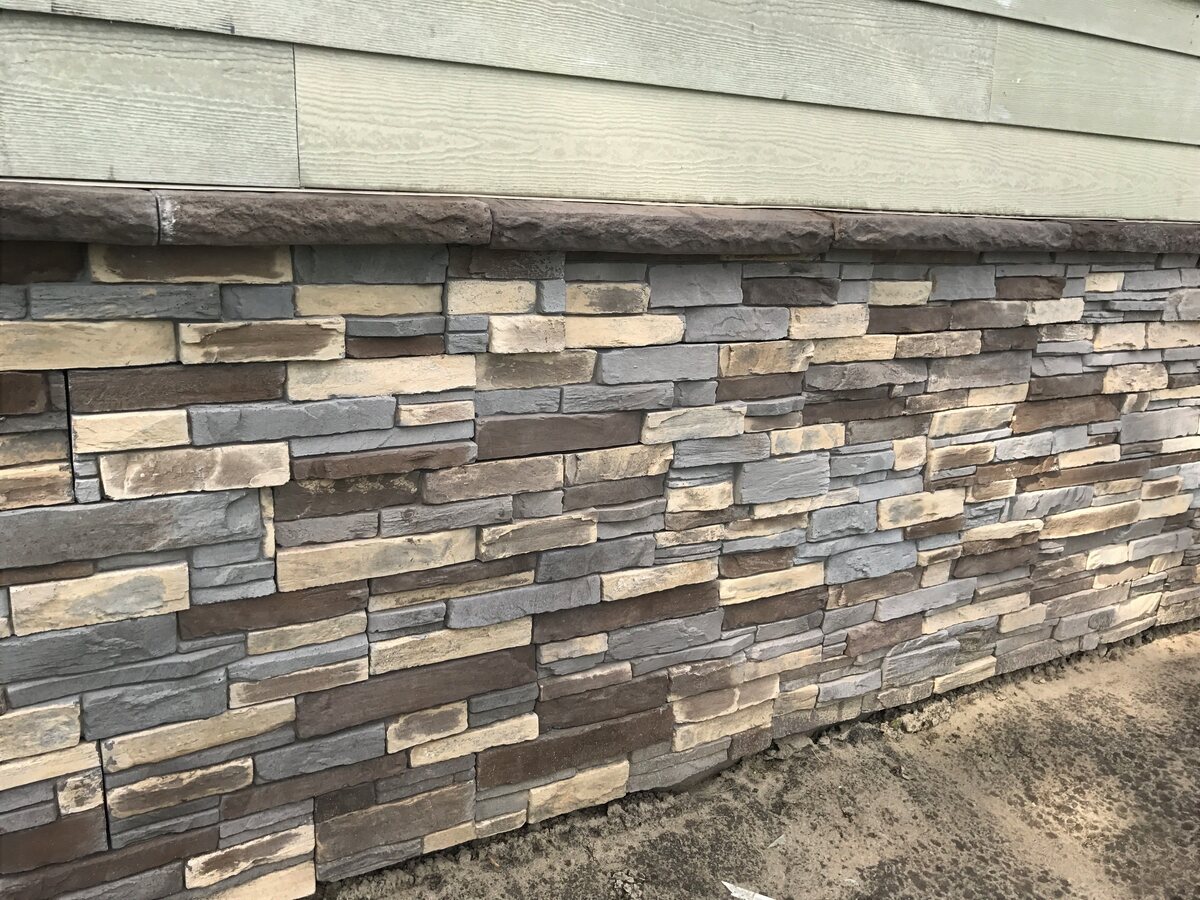
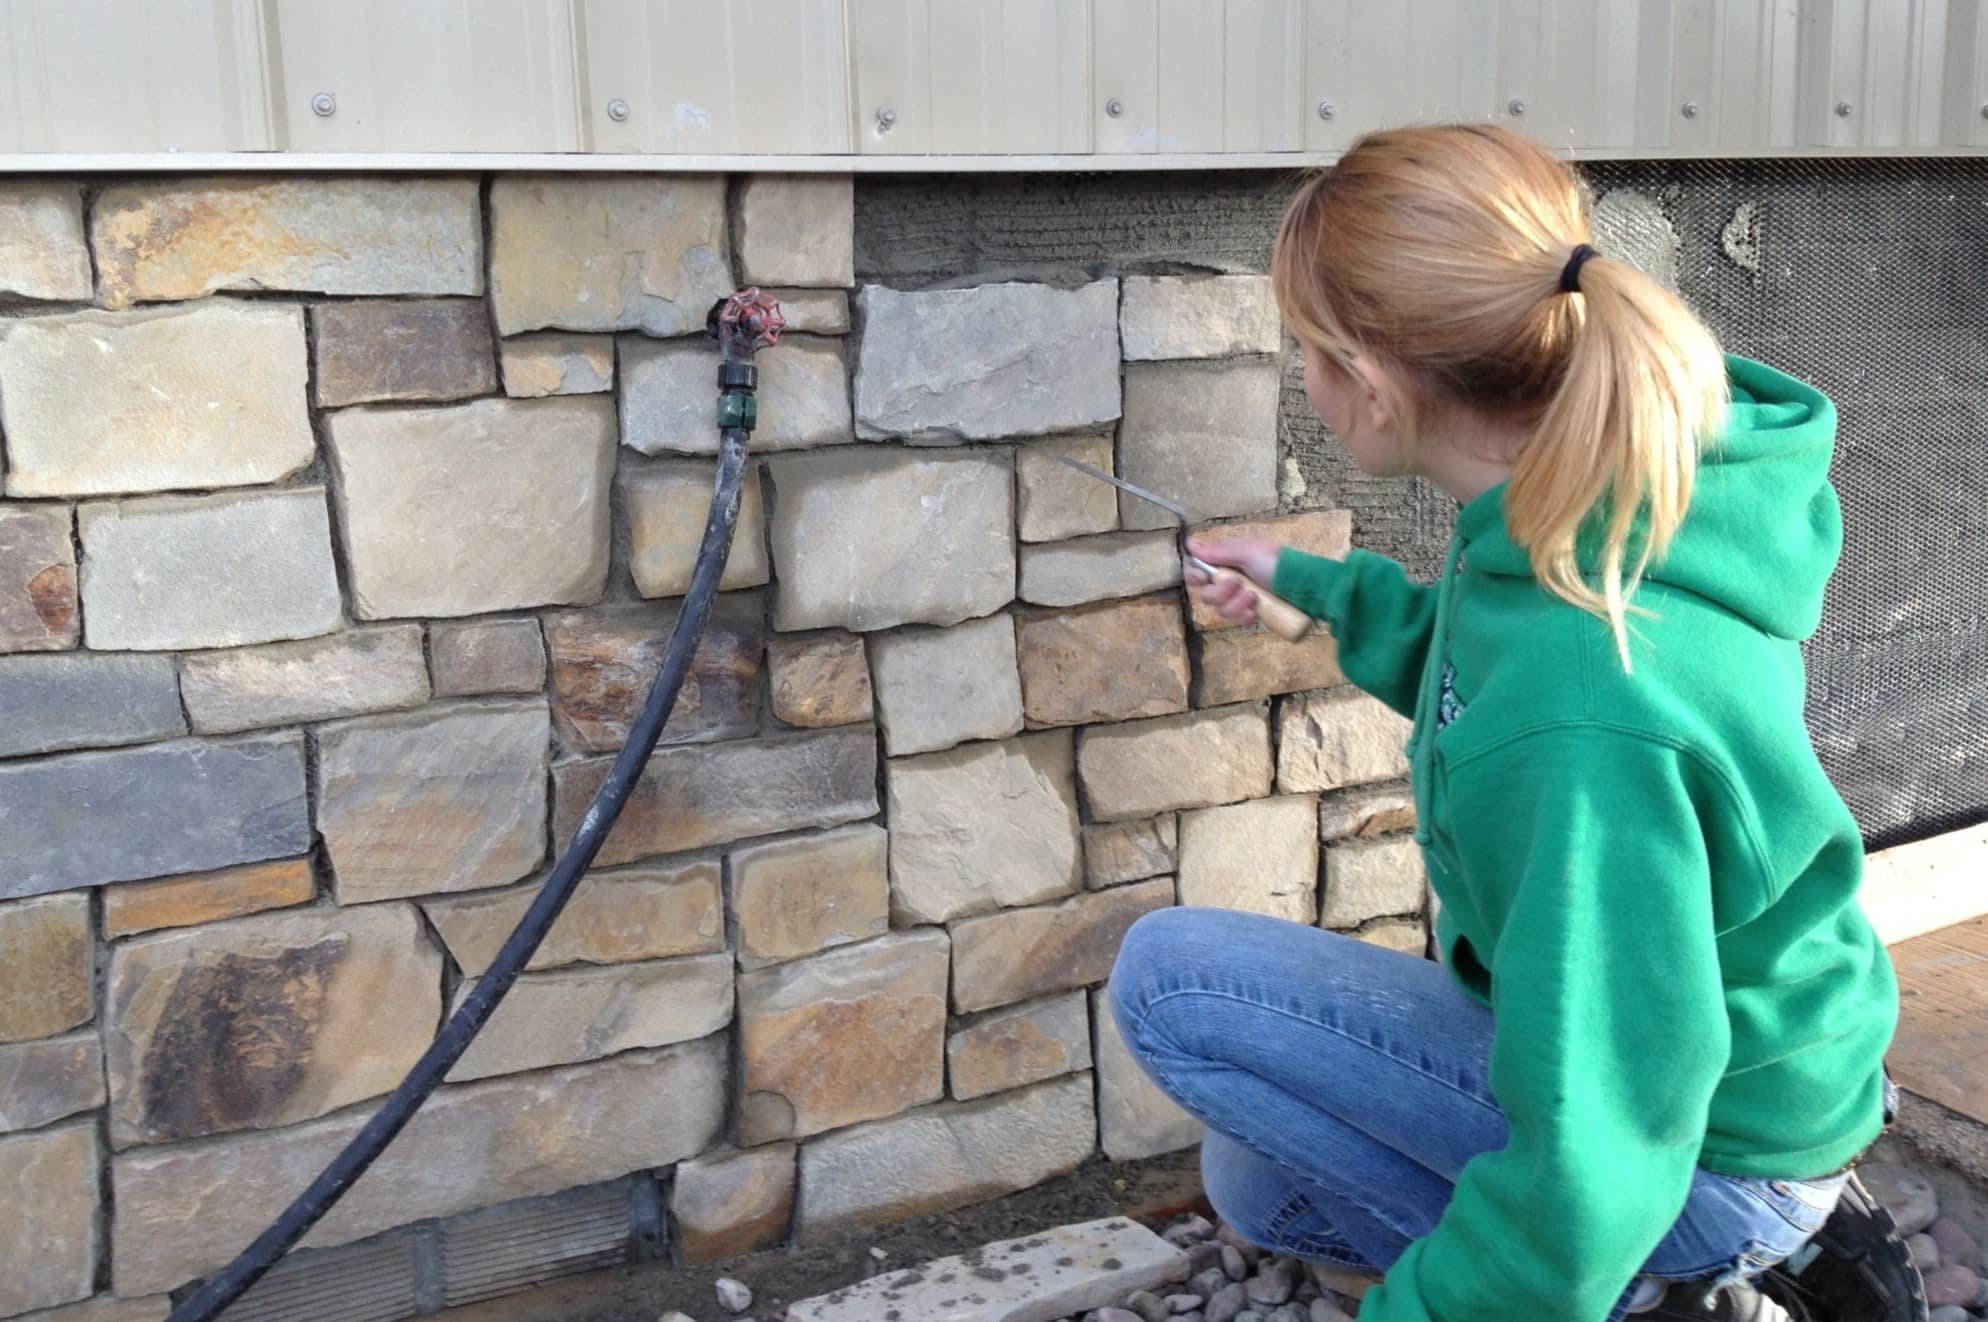
Installing the Stone Veneer
Now it’s time to start installing your stone veneer accent wall:
-
Choose Starting Point:
Select a starting point on one end of the wall and work in a pattern to keep track of which row of stone you are working on. -
Prepare First Stone:
Lightly wet the back of your first stone using a spray bottle or damp cloth. This moisture will help the mortar cure properly if using mortar-based installation method (more on this later). -
Apply Mortar (if using):
If you’re using mortar-based installation method (like described in), mix up another batch of mortar and apply about ½ inch thick across the back of each stone panel before sticking them onto the wall. -
Stick Stones onto Wall:
Place each prepared stone onto the wall, pressing firmly to ensure it adheres well to both scratch coat (if using) and thin-set adhesive applied earlier. -
Align Rows:
Use a straightedge or level to ensure rows are well-aligned and evenly spaced. -
Continue Installing Rows:
Continue working in rows until all stones have been applied to your accent wall.
Tips for Moving Stones
If you find that you need to move a stone after installation, just pull it off the wall and remoisten both the wall and back of the stone before reinstalling it. This ensures proper adhesion without damaging either surface.
Grouting the Wall
Grouting is an optional step but adds an extra layer of protection and aesthetic appeal:
-
Prepare Grout Mix:
Mix grout according to manufacturer’s instructions. -
Apply Grout:
Spread grout between seams using a grout float or trowel, pressing firmly into gaps between stones. -
Clean Excess Grout:
Use a damp sponge or cloth to remove excess grout from surface of stones while still wet. -
Allow Grout to Cure:
Let grout cure according to manufacturer’s instructions before sealing if desired.
Read more: How To Install Stone Veneer Fireplace
Sealing Your Accent Wall
Sealing your accent wall can protect it from stains and enhance its appearance:
-
Choose Sealer Type:
Select a suitable sealer type based on your specific needs (e.g., water-based vs solvent-based). -
Apply Sealer:
Follow manufacturer’s instructions for applying sealer evenly across entire surface of accent wall using appropriate tools like brushes or rollers. -
Allow Sealer to Cure:
Allow sealer to cure according to manufacturer’s instructions before exposing area to moisture or heavy use.
Conclusion
Creating a stunning stone veneer accent wall is within reach with these simple steps and tips provided above Whether you choose mortarless veneer like Evolve Stone or traditional mortar-based method, following these guidelines ensures professional-looking results that add elegance and character to any room in your home.
Remember always follow safety precautions when working with power tools and materials like cement board or thin-set adhesives; wear protective gear such as safety goggles and gloves at all times during installation process.
With patience persistence creativity you can transform ordinary spaces into extraordinary ones using beautiful faux stone veneer accent walls!
Additional Resources
For more detailed instructions videos tutorials check out resources listed below:
- YouTube Tutorials: Watch step-by-step video guides on installing faux stone veneer accent walls like those found on YouTube channels such as StoneSelex.
- Manufacturer Guides: Refer manufacturer guidelines provided by companies like Evolve Stone or Lowe’s for specific product recommendations tips.
- DIY Blogs & Websites: Visit blogs websites dedicated DIY projects such as Tidbits-Cami Family Handyman for additional inspiration guidance throughout installation process.
By combining these resources tips outlined above you’ll be well-equipped tackle challenging yet rewarding project installing stunning faux stone veneer accent wall
Was this page helpful?
At Storables.com, we guarantee accurate and reliable information. Our content, validated by Expert Board Contributors, is crafted following stringent Editorial Policies. We're committed to providing you with well-researched, expert-backed insights for all your informational needs.


0 thoughts on “DIY Guide To Installing A Stone Veneer Accent Wall”