Home>Construction & Tools>Building Materials>How To Attach Stone Veneer
Building Materials
How To Attach Stone Veneer
Modified: October 25, 2024
Learn how to attach stone veneer with our comprehensive guide. Find the best building materials and techniques for a successful installation. Discover expert tips and tricks now!
(Many of the links in this article redirect to a specific reviewed product. Your purchase of these products through affiliate links helps to generate commission for Storables.com, at no extra cost. Learn more)
Introduction
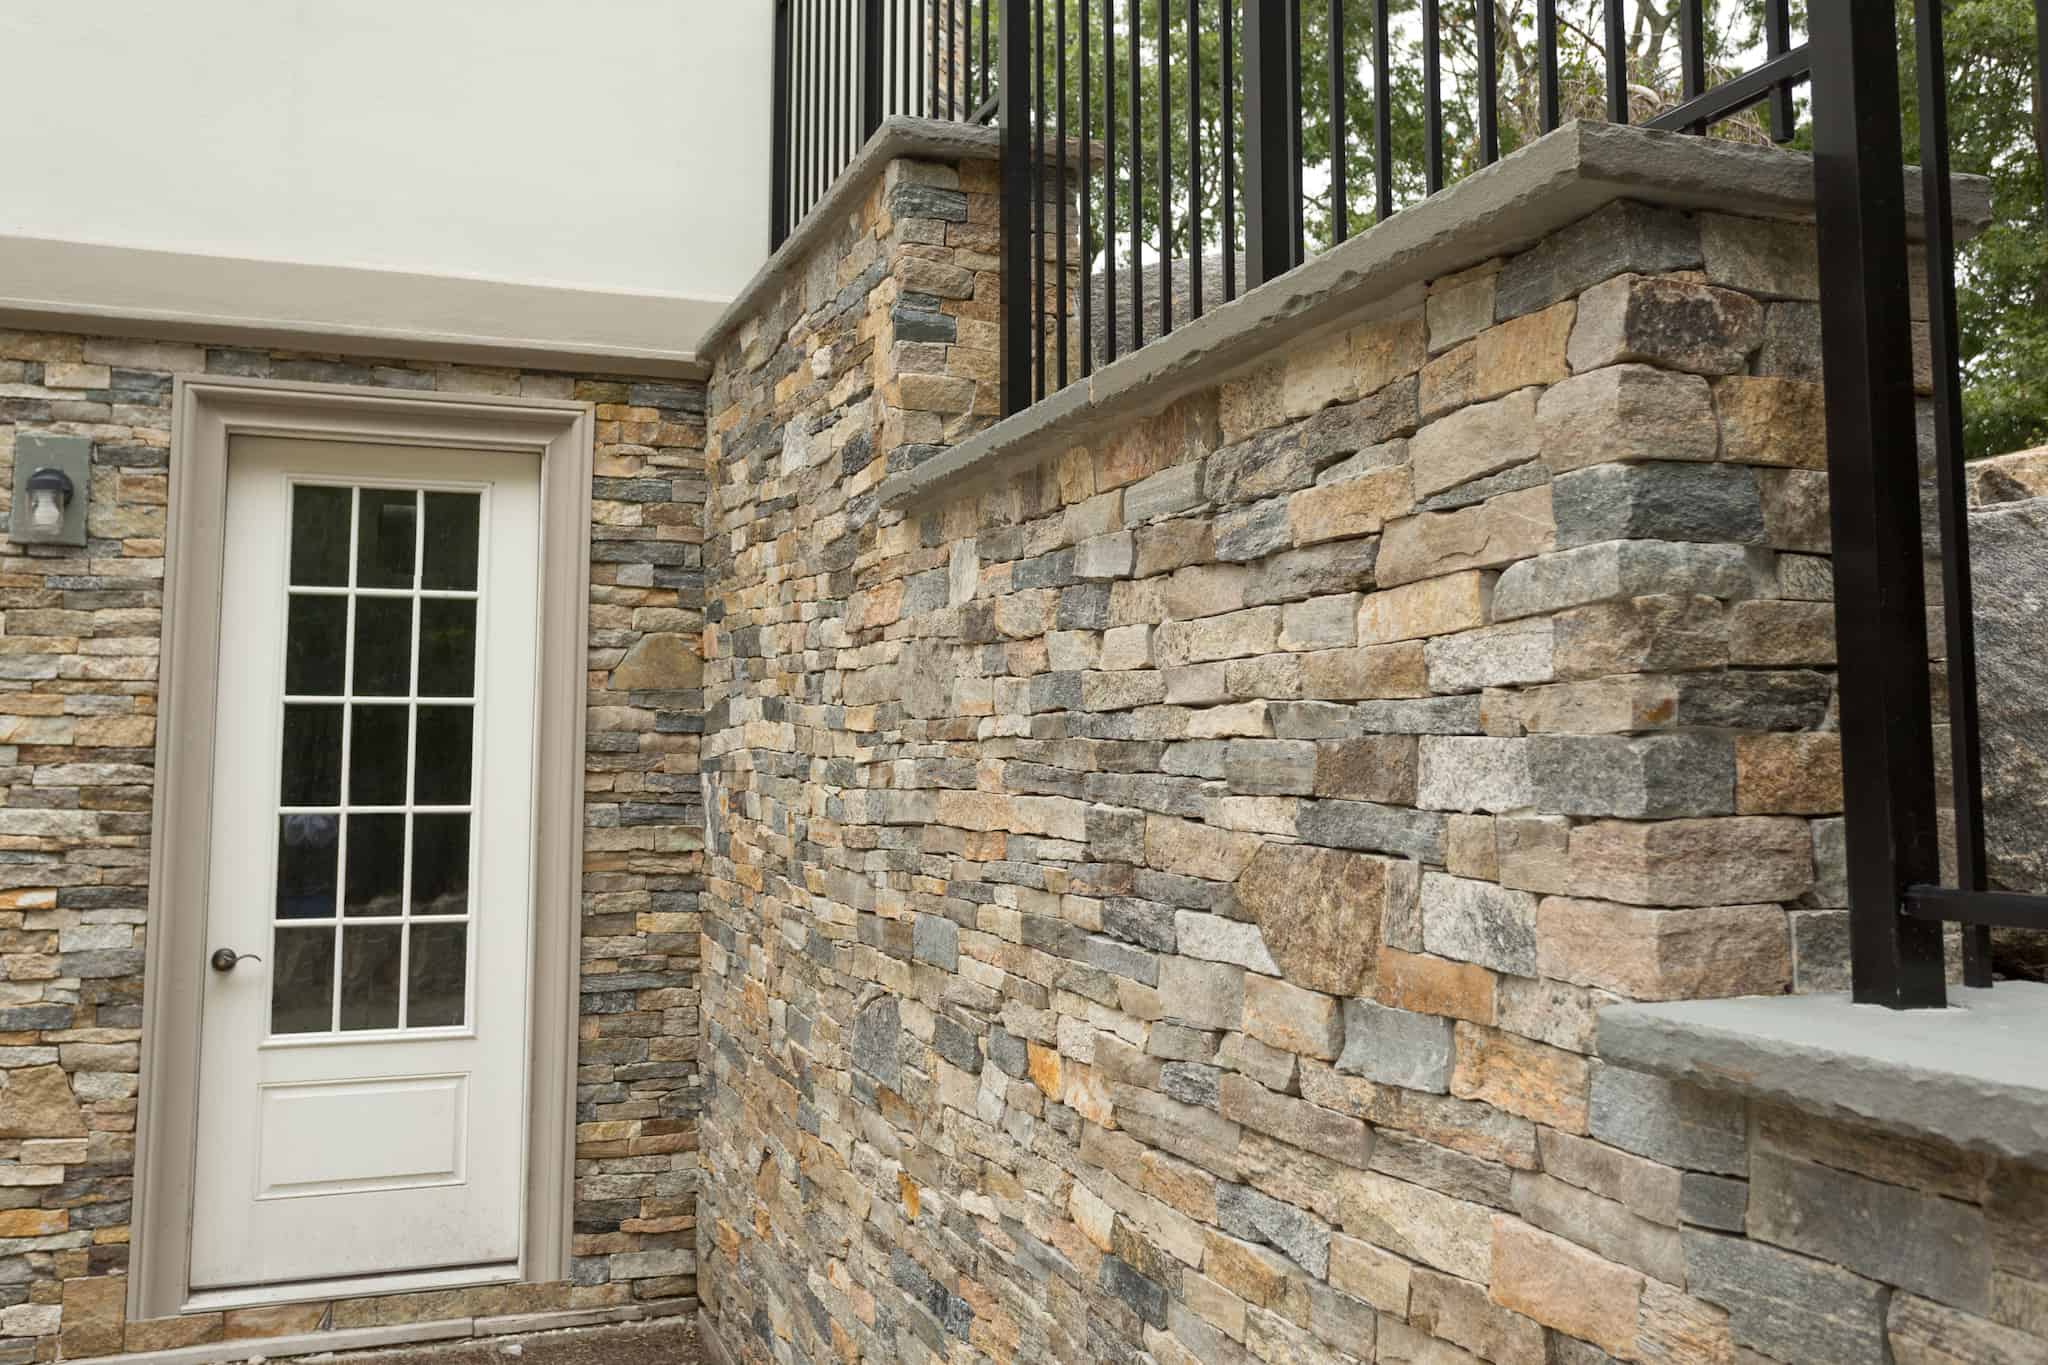
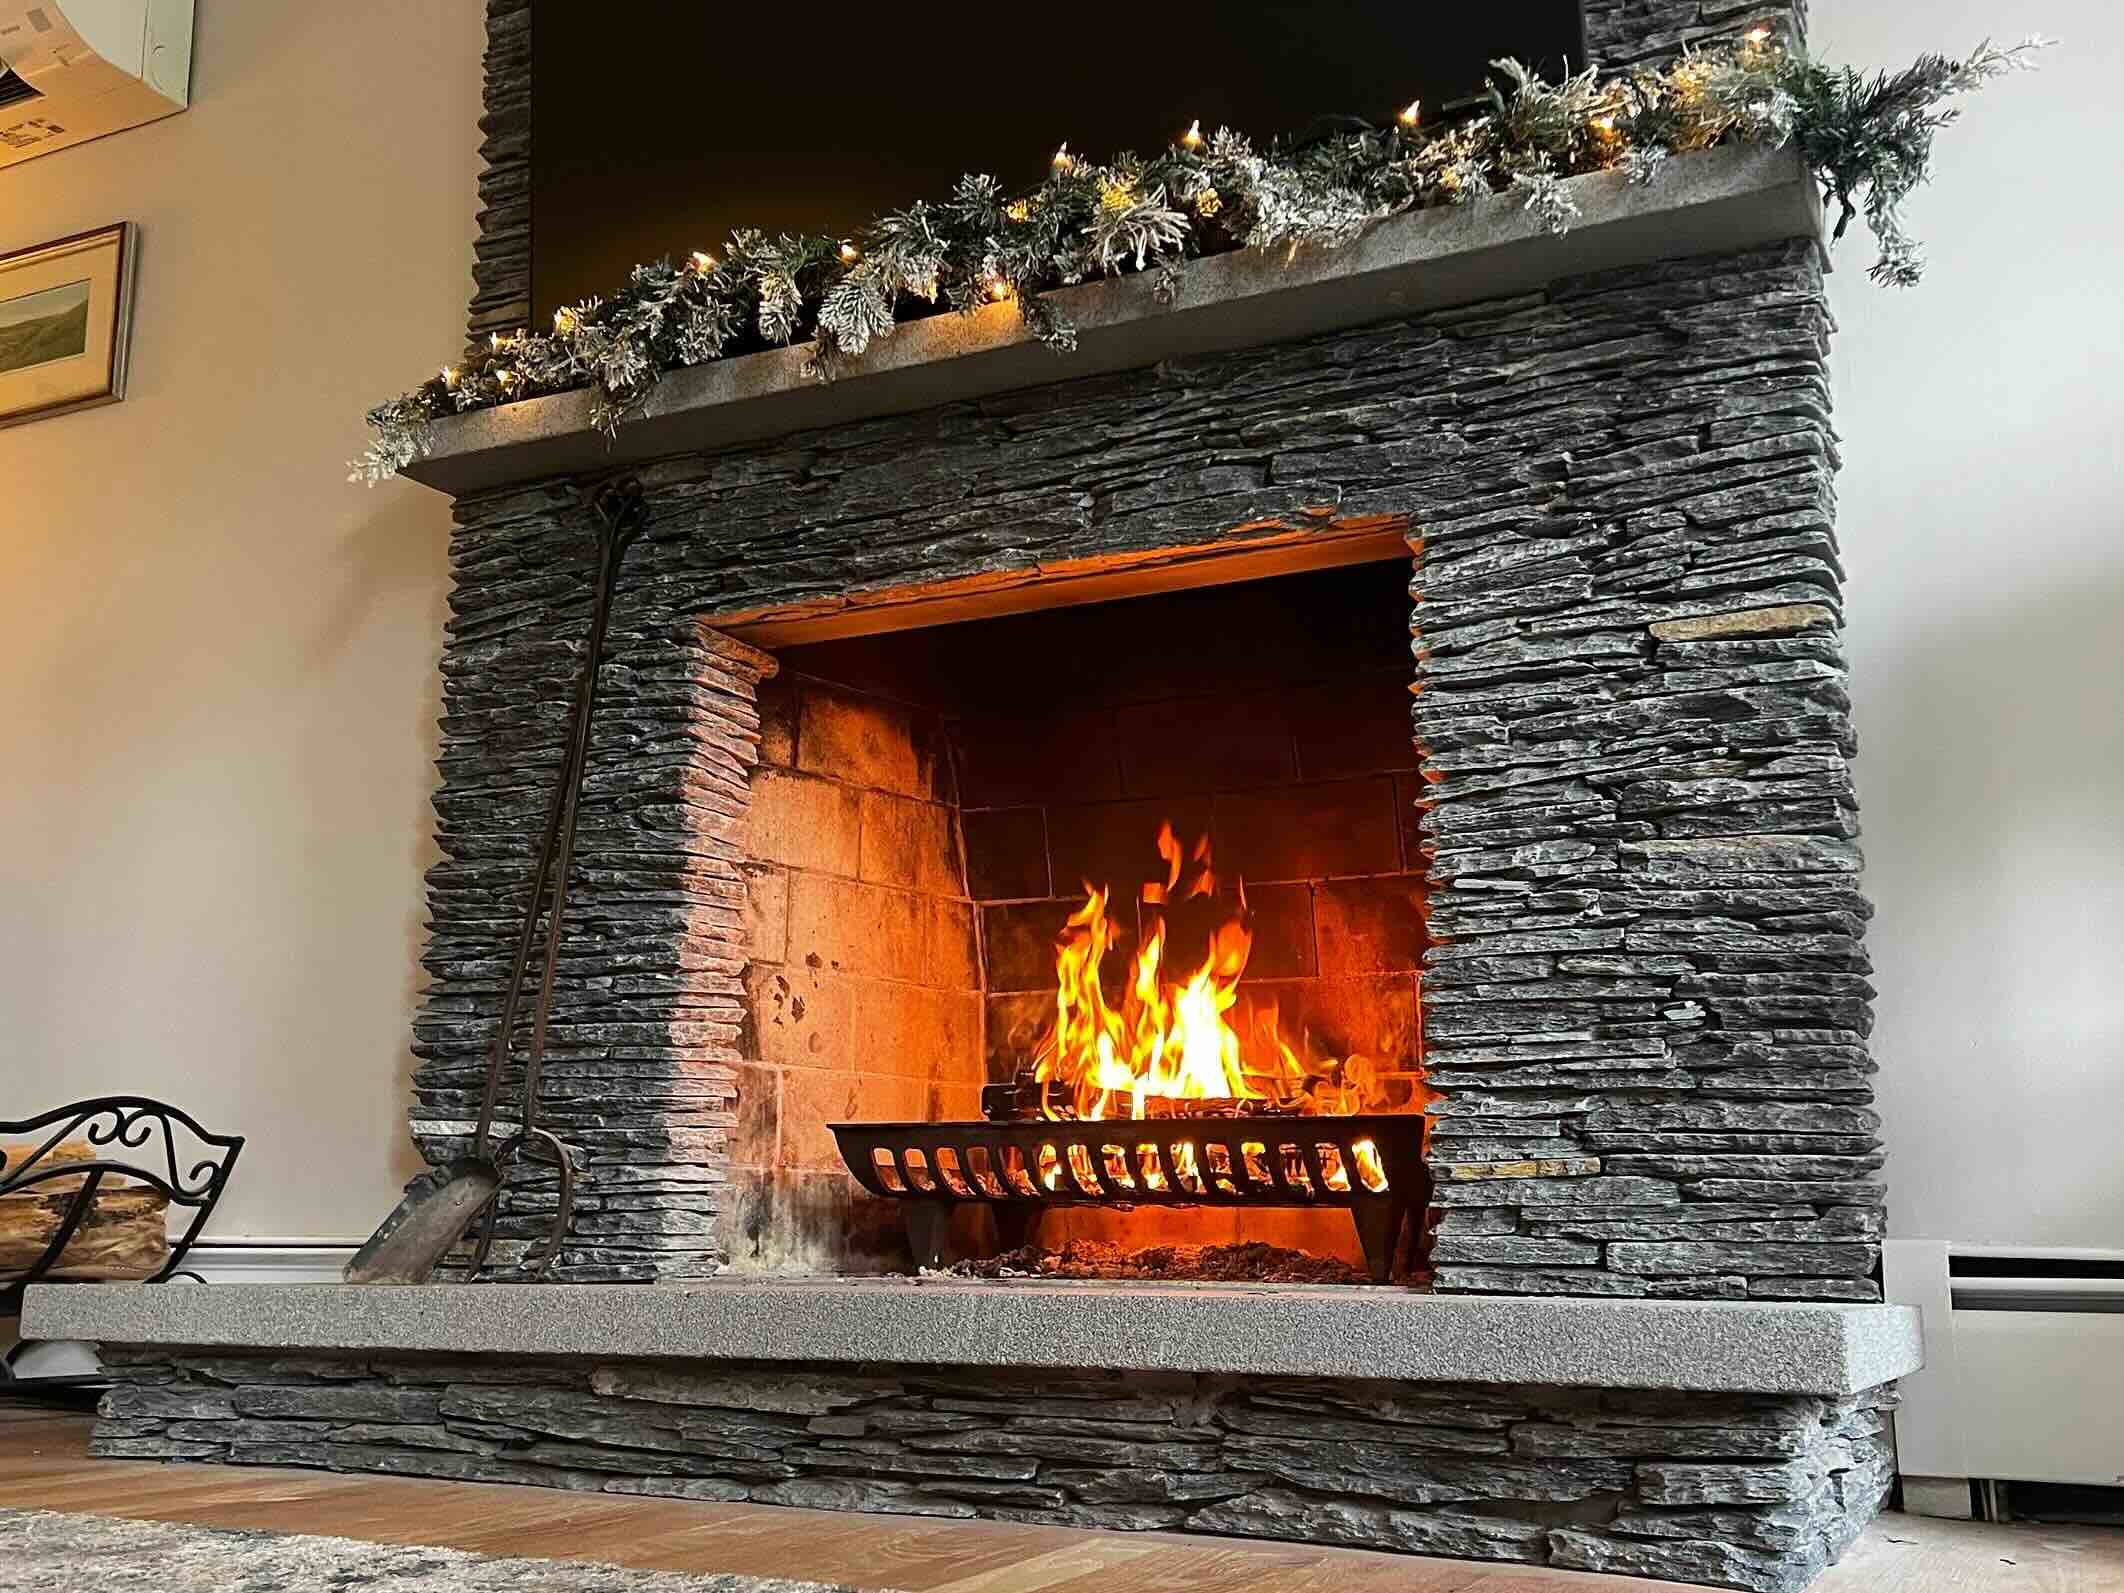
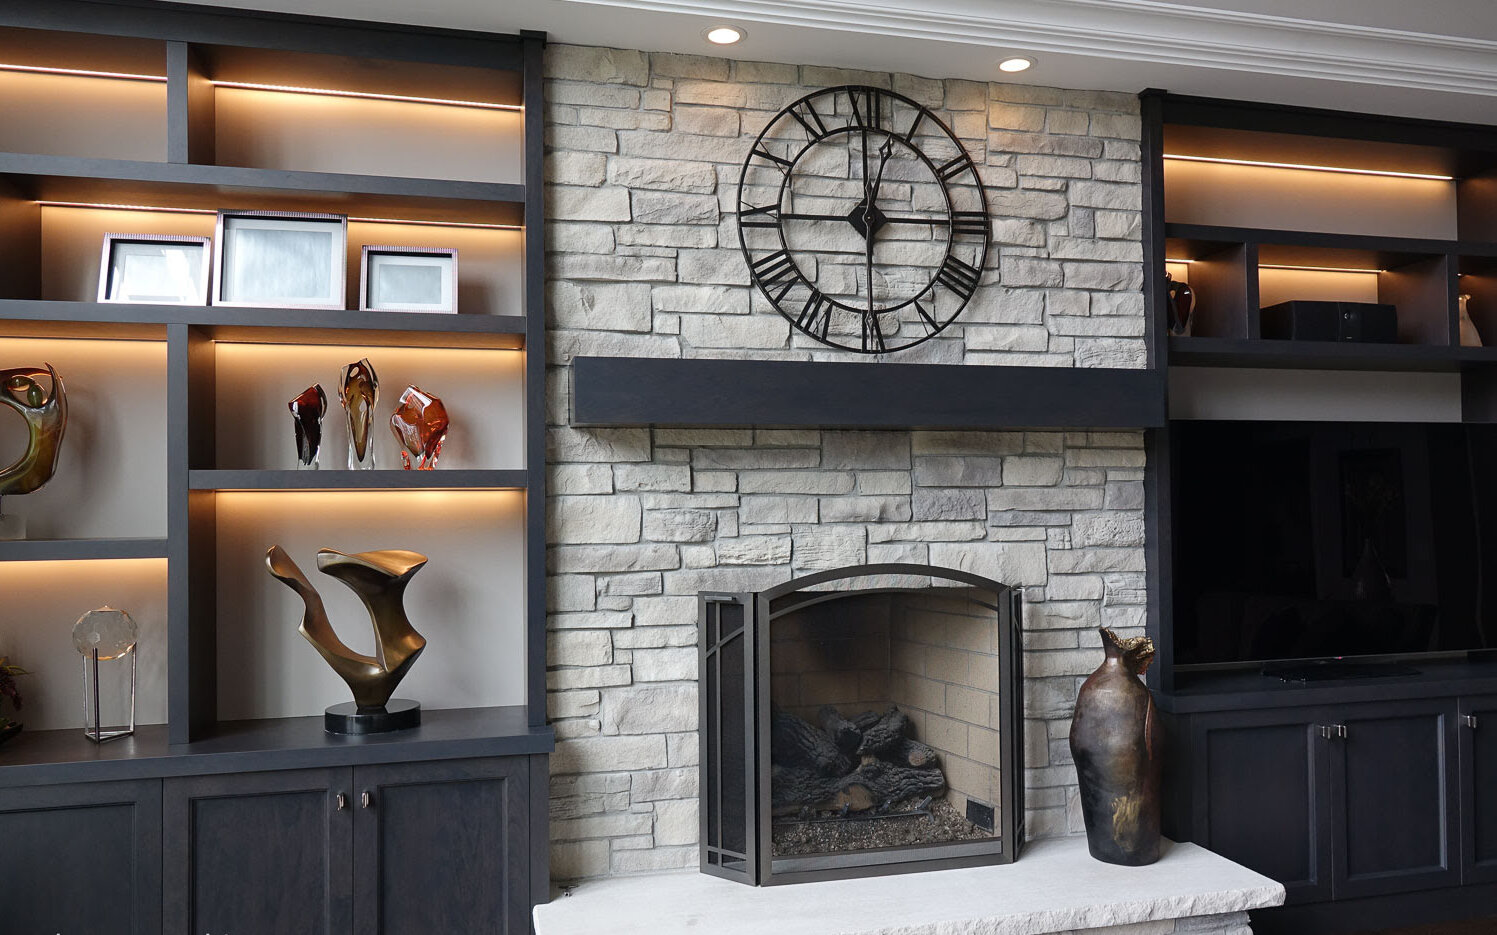
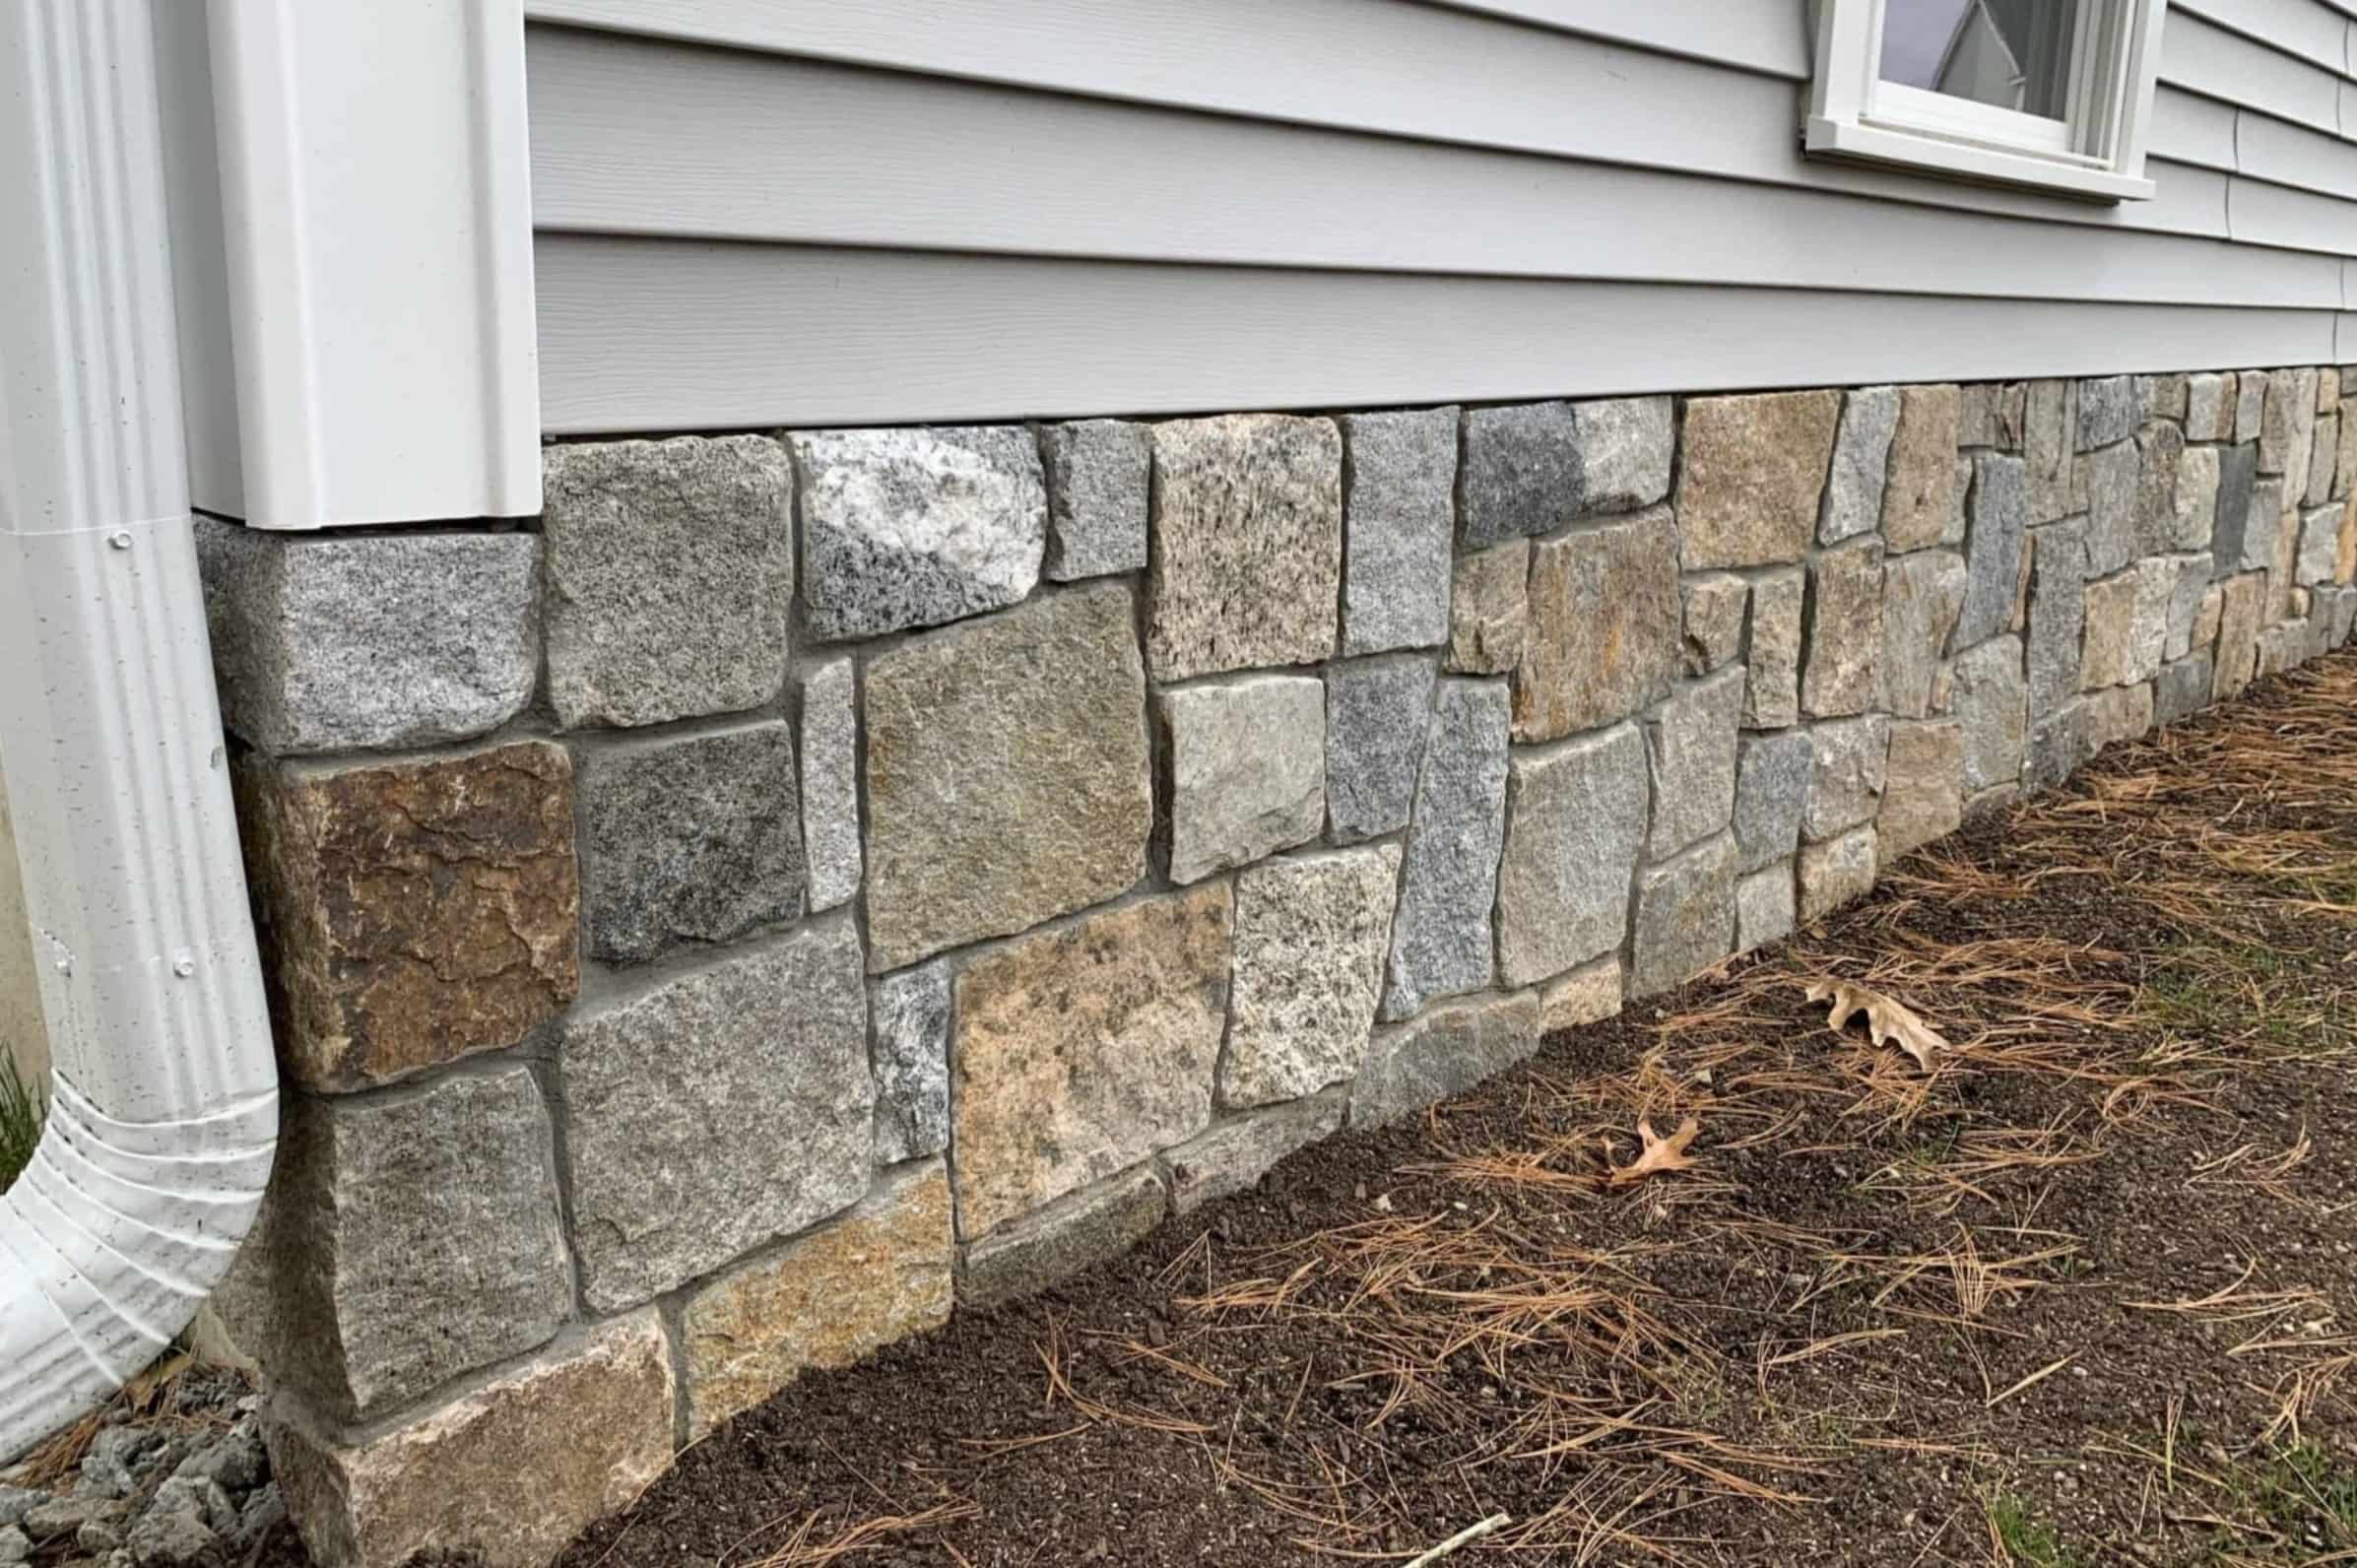
So, you've decided to enhance the aesthetic appeal of your home or business with the timeless beauty of stone veneer. Congratulations! Stone veneer offers a luxurious and sophisticated look that can elevate the ambiance of any space, indoors or out. Whether you're aiming to create a cozy fireplace, an eye-catching accent wall, or a stunning exterior facade, attaching stone veneer is a fantastic way to achieve a distinctive, natural look without the expense and weight of full-thickness stone.
In this comprehensive guide, we'll walk you through the process of attaching stone veneer, providing expert tips and insights to ensure your project's success. From preparing the surface and applying the mortar to the final touches, you'll gain the knowledge and confidence to tackle this project like a seasoned professional. So, roll up your sleeves and get ready to embark on a rewarding journey of transforming your space with the enduring charm of stone veneer. Let's dive in!
Key Takeaways:
- Transform your space with the timeless beauty of stone veneer by following expert tips for attaching it. From preparing the surface to applying mortar and finishing touches, achieve a professional-quality installation.
- Elevate your environment with the enduring charm of stone veneer. With precision and dedication, create a visually striking and enduring enhancement to your space, infusing it with character, warmth, and natural splendor.
Read more: How Thick Is Stone Veneer
Tools and Materials Needed
Before diving into the stone veneer attachment process, it’s crucial to gather the essential tools and materials. Here’s a comprehensive list to ensure you have everything at your fingertips:
Tools:
- Measuring tape
- Level
- Chalk line
- Trowel
- Notched trowel
- Grout bag
- Wire brush
- Masonry saw or angle grinder
- Bucket
- Drill with mixing paddle attachment
- Hammer
- Protective gloves and goggles
Materials:
- Stone veneer
- Scratch coat mortar
- Stone veneer mortar
- Metal lath
- Builder's felt or house wrap
- Corrosion-resistant screws or nails
- Waterproofing membrane
- Flashing
- Weep screed
- Concrete bonding adhesive
- Expansion joint material
Having these tools and materials on hand will streamline the stone veneer attachment process and help you achieve professional-quality results. Once you’ve gathered everything you need, it’s time to move on to preparing the surface for the stone veneer installation.
Preparing the Surface
Proper surface preparation is the cornerstone of a successful stone veneer installation. Before applying the veneer, it’s essential to ensure that the surface is clean, structurally sound, and capable of supporting the additional weight. Here’s a step-by-step guide to preparing the surface:
Read more: What Is Stone Veneer Siding
Inspect and Clean the Surface:
Begin by thoroughly inspecting the surface where the stone veneer will be attached. Remove any dirt, debris, or loose materials using a wire brush or pressure washer. It’s crucial to create a clean and rough surface to promote strong mortar adhesion.
Repair and Reinforce:
If you encounter any cracks, holes, or structural issues, address them before proceeding. Patch any imperfections with an appropriate filler or mortar, ensuring that the surface is uniform and free of defects. Additionally, consider reinforcing the surface with metal lath to provide a secure base for the stone veneer.
Apply Waterproofing and Flashing:
Depending on the location of the installation, it may be necessary to apply a waterproofing membrane to protect the underlying structure from moisture. Install flashing around windows, doors, and other openings to direct water away from the surface and prevent potential water damage.
Install Weep Screed and Expansion Joints:
For exterior installations, incorporate weep screed at the base of the wall to allow moisture to escape. Additionally, install expansion joint material to accommodate any movement and minimize the risk of cracks in the veneer.
By meticulously preparing the surface, you’ll create a stable and durable foundation for the stone veneer, setting the stage for a seamless and long-lasting installation. With the surface ready, you can move on to the next crucial step: applying the mortar.
Read more: How To Clean Exterior Stone Veneer
Applying the Mortar
Once the surface is meticulously prepared, the next pivotal step in attaching stone veneer is applying the mortar. The mortar serves as the adhesive that bonds the veneer to the surface, providing strength and stability. Here’s a detailed overview of the mortar application process:
Prepare the Mortar:
Start by mixing the scratch coat mortar according to the manufacturer’s instructions. This initial layer of mortar will create a rough surface for the veneer to grip onto. Use a drill with a mixing paddle attachment to achieve a smooth and consistent mortar mixture.
Apply the Scratch Coat:
Using a trowel, apply the scratch coat mortar to the prepared surface, ensuring an even and uniform layer. The thickness of the scratch coat will depend on the manufacturer’s recommendations and the specific requirements of your project. Once applied, use a notched trowel to create grooves in the mortar, promoting a strong bond with the stone veneer.
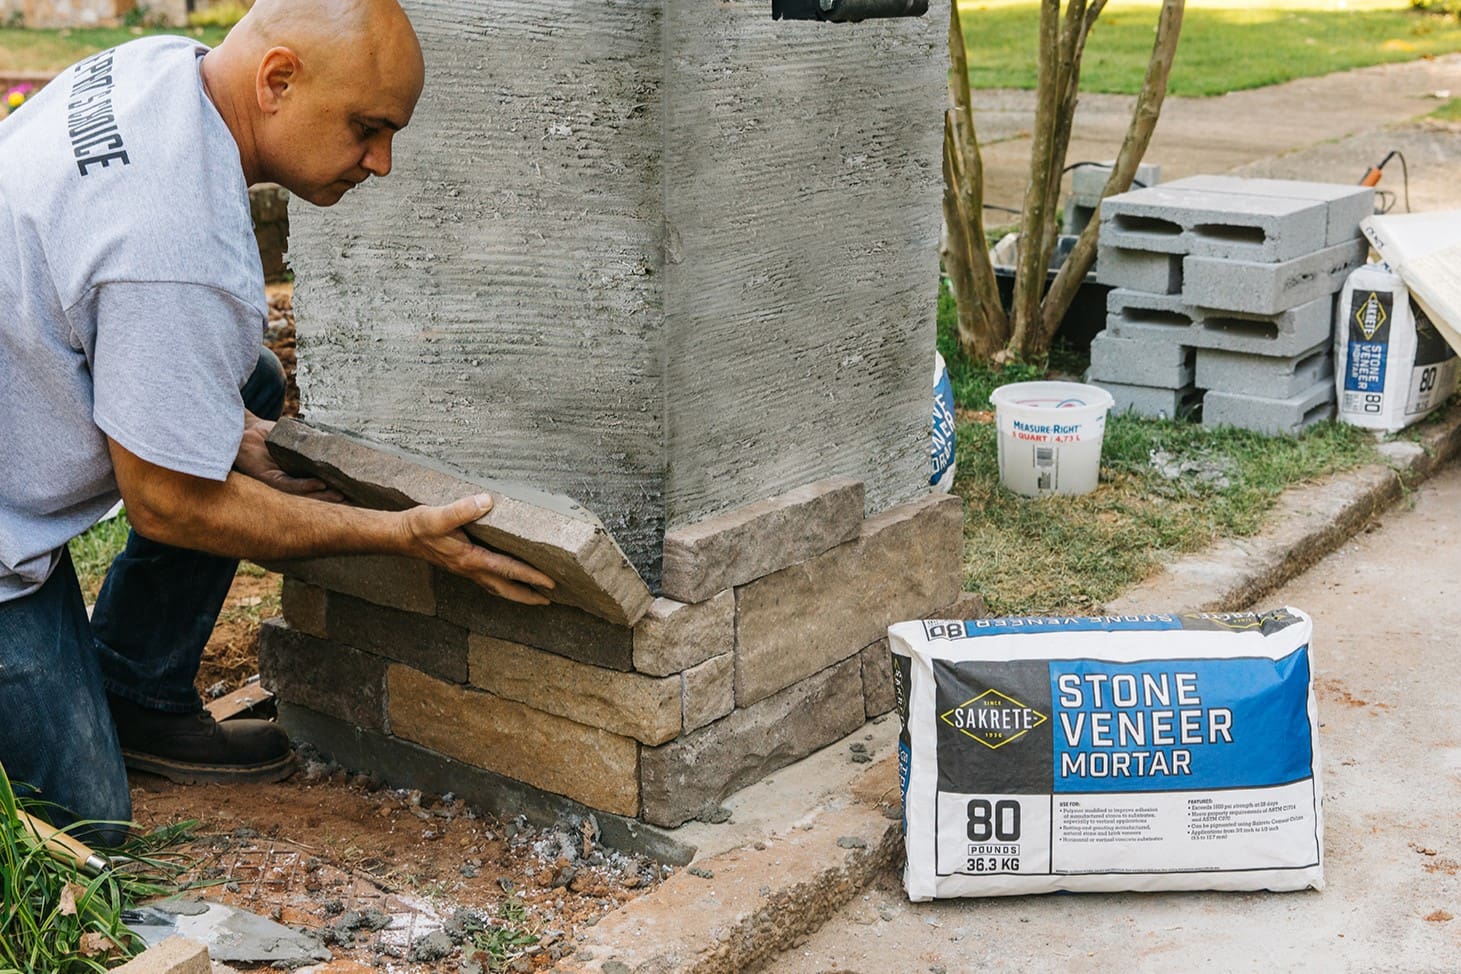
Mix the Stone Veneer Mortar:
Prepare the stone veneer mortar as directed, ensuring that it reaches the ideal consistency for proper adhesion. Consistency is key, as the mortar must support the weight of the veneer while maintaining a secure bond with the surface.
Read more: How To Install Stone Veneer Fireplace
Butter the Veneer:
Using a grout bag or trowel, apply a layer of stone veneer mortar to the back of each veneer piece, commonly referred to as “buttering.” This process ensures full coverage and creates a strong bond between the veneer and the scratch coat.
By mastering the art of mortar application, you’ll lay the groundwork for a resilient and visually stunning stone veneer installation. With the mortar in place, it’s time to delve into the intricacies of attaching the stone veneer itself.
Attaching the Stone Veneer
Now comes the exciting stage of attaching the stone veneer, where you’ll witness the transformation of your space as the captivating beauty of the stone comes to life. This process requires precision and attention to detail to ensure a flawless and enduring installation. Let’s explore the steps involved in attaching the stone veneer:
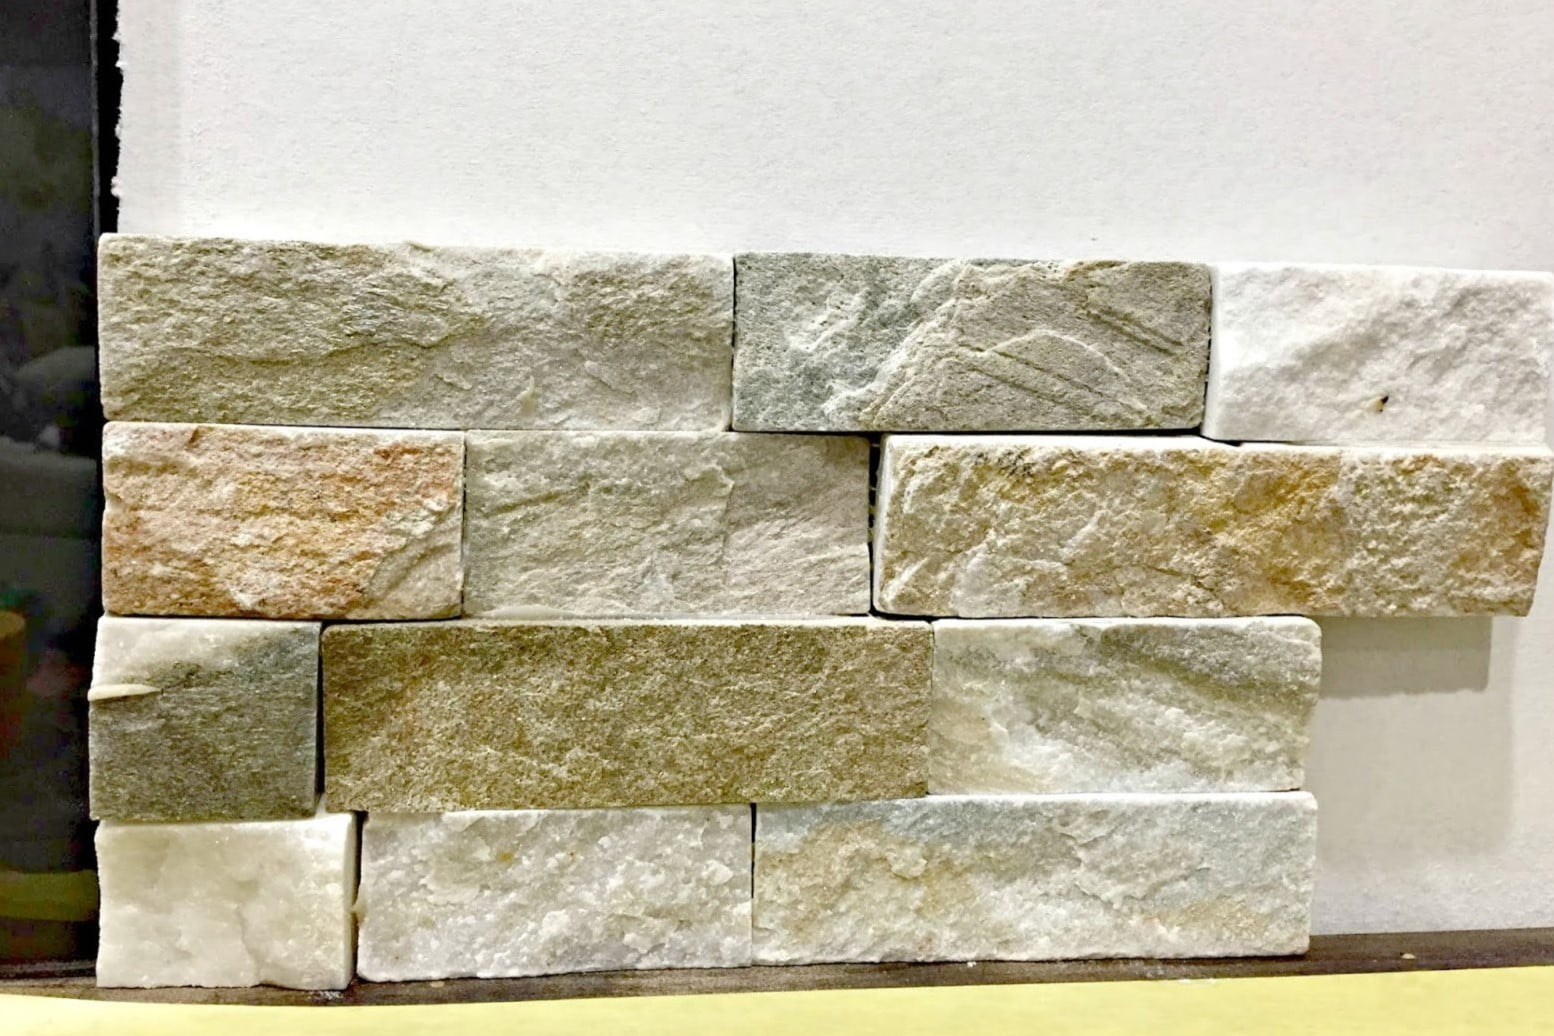
Plan the Layout:
Before attaching the veneer, carefully plan the layout to achieve a balanced and visually appealing arrangement. Use a measuring tape, level, and chalk line to map out the positioning of the veneer pieces, ensuring that the pattern and spacing align with your vision for the project.
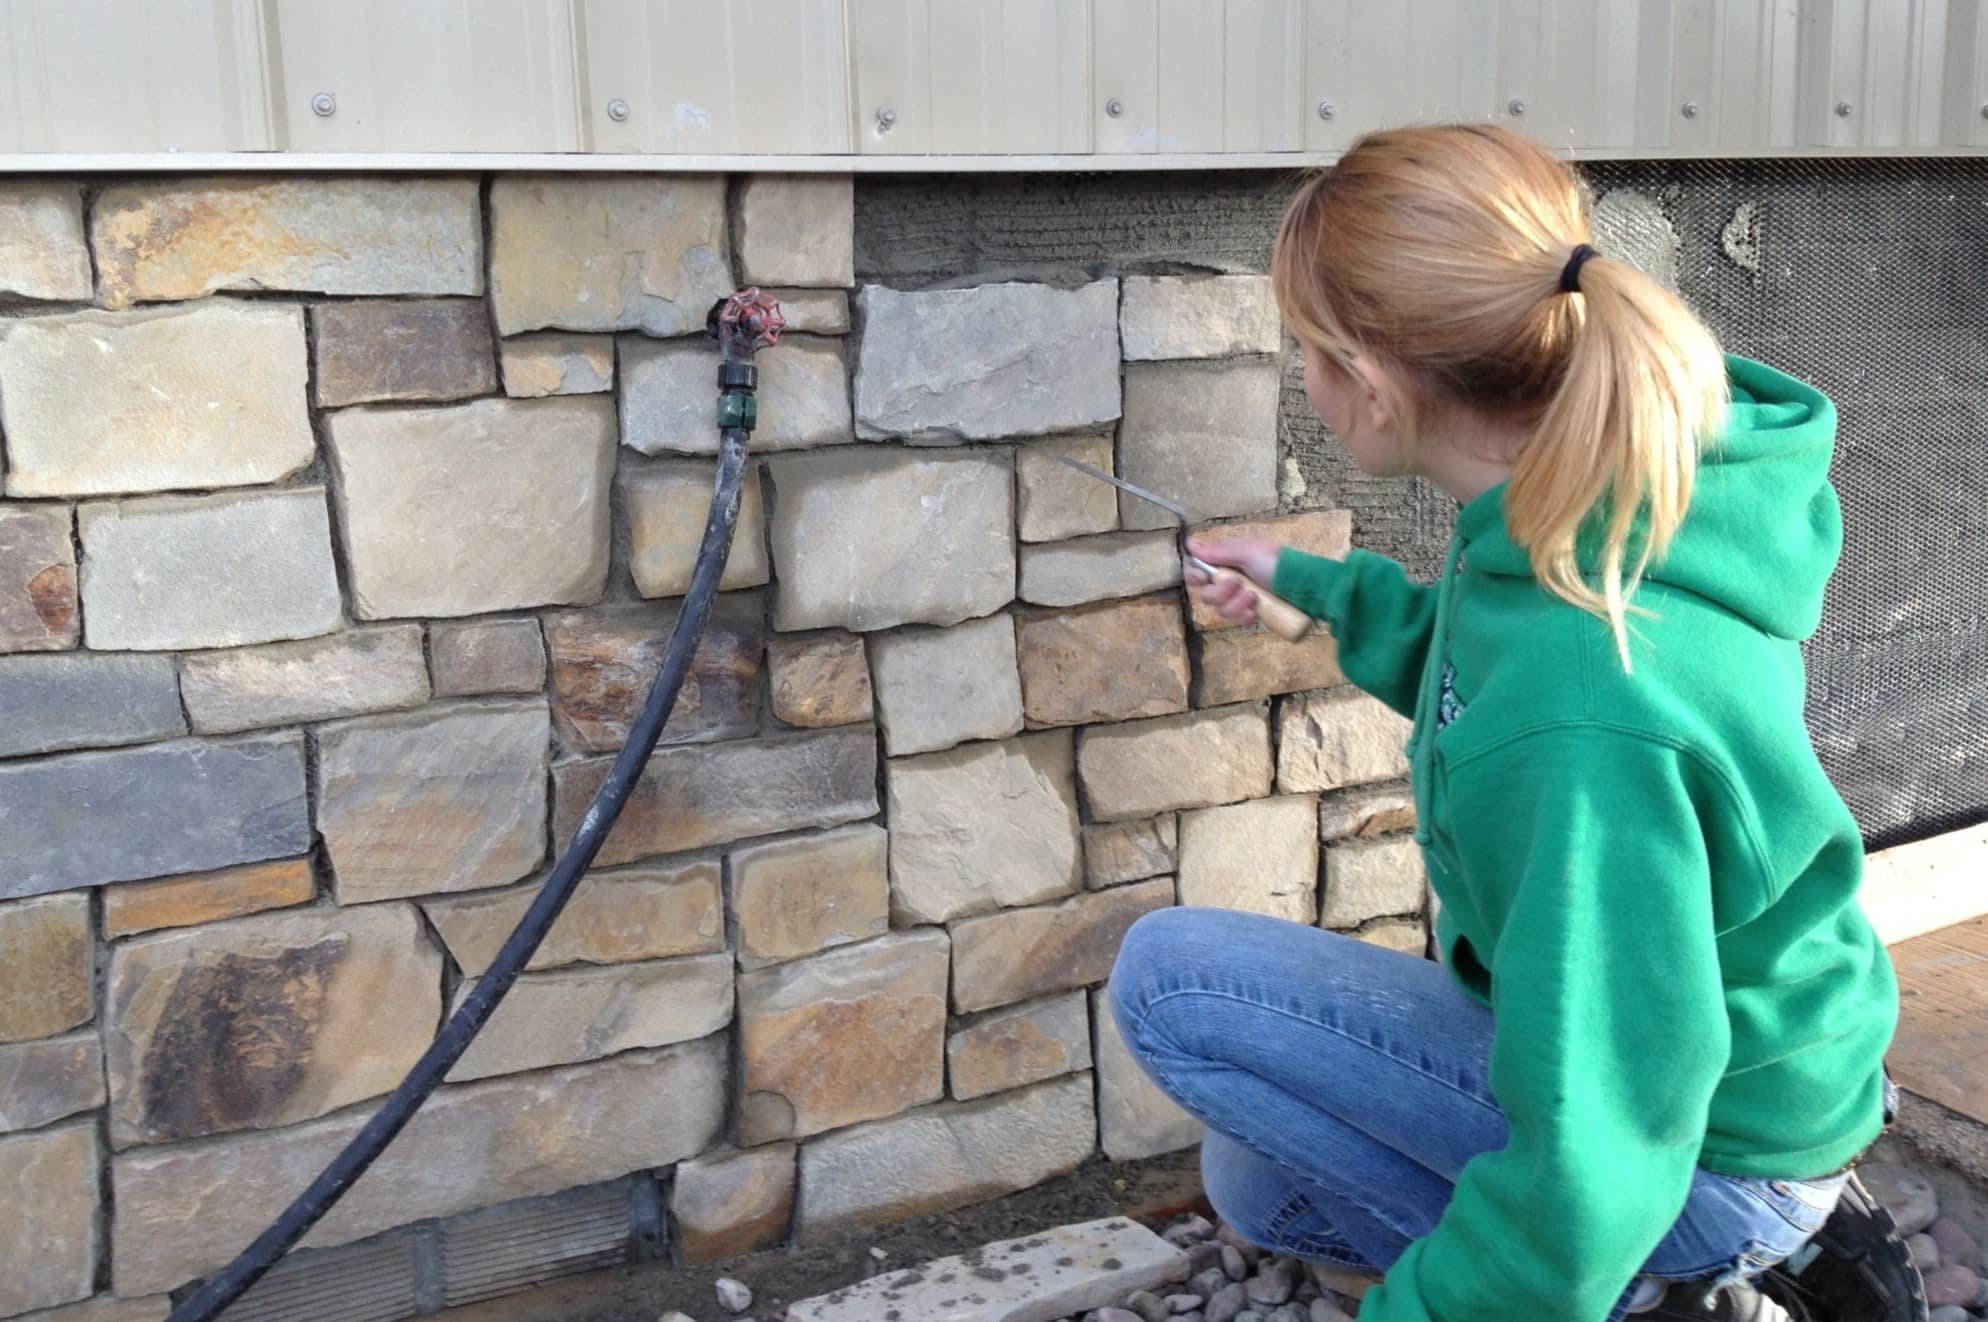
Apply the Veneer:
Starting from the bottom and working upwards, press each buttered veneer piece firmly into place, ensuring a snug fit and consistent mortar coverage. Pay close attention to the alignment and joint spacing, making adjustments as needed to maintain a uniform and harmonious appearance.
Read more: How To Build A Stone Veneer Column
Cut and Shape the Veneer:
For areas that require custom-fitted pieces, use a masonry saw or angle grinder to precisely cut and shape the veneer to fit the designated spaces. This step demands patience and accuracy to achieve seamless transitions and a polished overall look.
Secure the Veneer:
As you progress, securely fasten the veneer pieces to the surface using corrosion-resistant screws or nails, following the manufacturer’s guidelines for placement and quantity. This step reinforces the attachment and ensures the longevity of the installation.
Check for Consistency:
Periodically step back and assess the placement of the veneer, confirming that the pattern, alignment, and overall appearance meet your expectations. Making adjustments as you go will guarantee a professional and visually striking outcome.
By meticulously attaching the stone veneer, you’ll bring your vision to fruition, infusing your space with the enduring allure of natural stone. With the veneer securely in place, the final touches will elevate the installation to its full potential.
Finishing Touches
As the stone veneer installation nears completion, it’s time to focus on the finishing touches that will elevate the project to a stunning and polished finish. These final steps add finesse and refinement, ensuring that the installation not only meets but exceeds your expectations. Let’s delve into the essential finishing touches:
Read more: How To Repair Cracked Stone Veneer
Grout the Joints:
Once the veneer pieces are securely in place, fill the joints with grout to enhance the overall appearance and strengthen the bond between the stones. Choose a grout color that complements the veneer, and meticulously fill the joints to achieve a seamless and cohesive look.
Clean the Surface:
After grouting, carefully clean the surface of the stone veneer to remove any excess mortar or grout residue. A damp sponge or cloth can be used to gently wipe the surface, revealing the natural beauty of the stone while ensuring a tidy and professional presentation.
Apply Sealant:
Consider applying a high-quality sealant to the stone veneer to enhance its durability and resistance to stains and moisture. The sealant will safeguard the veneer, preserving its luster and protecting it from the elements, ultimately prolonging the lifespan of the installation.
Inspect and Touch Up:
Thoroughly inspect the entire installation, paying close attention to the joints, edges, and any exposed areas. Address any imperfections or gaps, and touch up the grout or mortar as needed to achieve a flawless and uniform appearance.
Read more: How To Cut Stone Veneer Panels
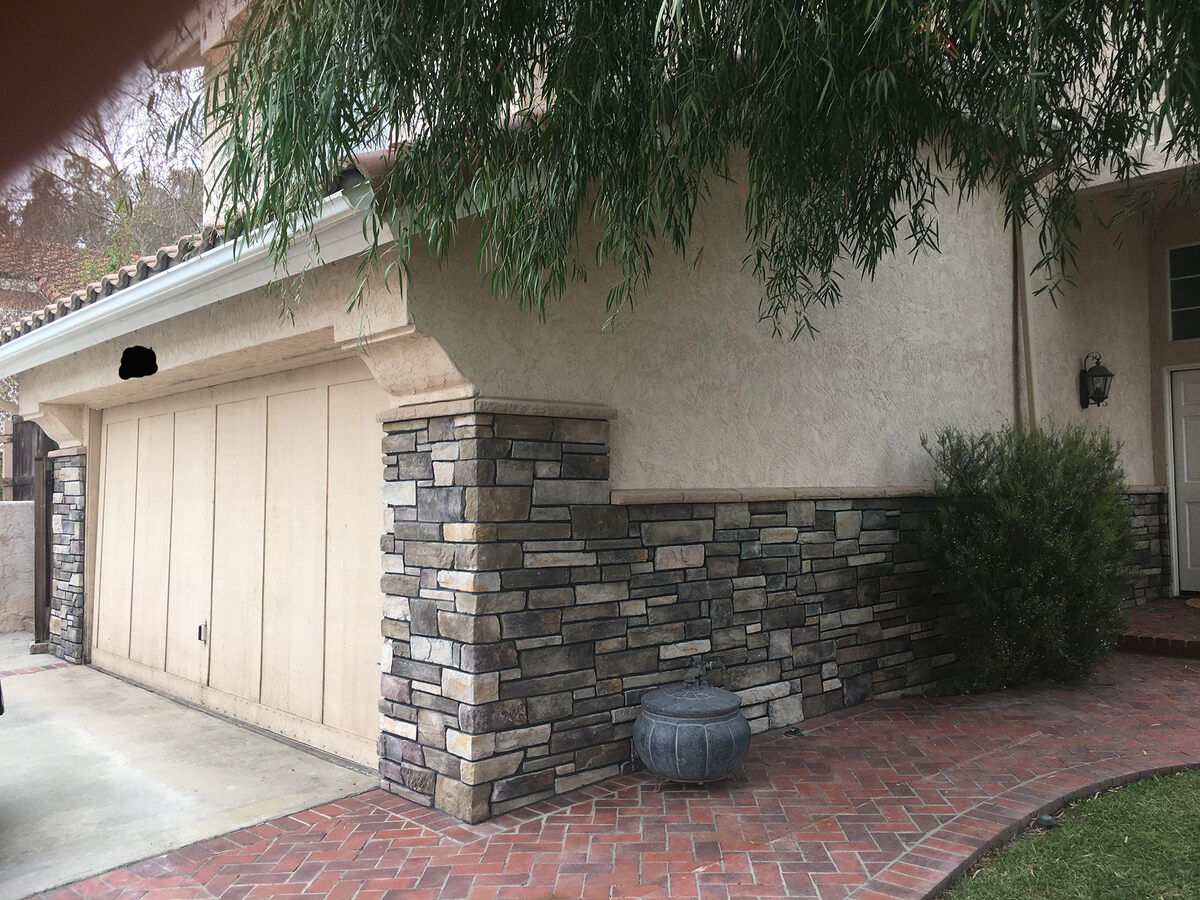
Step Back and Admire:
Once the finishing touches are complete, take a moment to step back and admire the transformation. Revel in the timeless beauty and captivating allure of the stone veneer, appreciating the meticulous craftsmanship and attention to detail that have brought your vision to life.
With the finishing touches in place, your stone veneer installation stands as a testament to the enduring charm and sophistication of natural stone. The meticulous attention to detail and dedication to achieving a flawless finish have culminated in a captivating and timeless enhancement to your space.
Conclusion
Congratulations on successfully navigating the intricate process of attaching stone veneer! By embracing this transformative project, you’ve not only elevated the visual appeal of your space but also imbued it with the enduring elegance and natural allure of stone. As you reflect on the journey from preparation to the finishing touches, it’s evident that every step has contributed to a captivating and enduring installation.
Throughout this guide, you’ve discovered the essential tools, materials, and techniques required to achieve a professional-quality stone veneer installation. From meticulously preparing the surface to applying the mortar and attaching the veneer, each phase has demanded precision, patience, and a keen eye for detail. The finishing touches have added finesse and refinement, culminating in a visually striking and enduring enhancement to your environment.
As you bask in the beauty of the completed installation, take pride in the craftsmanship and dedication that have brought your vision to life. The timeless appeal of stone veneer now graces your space, infusing it with character, warmth, and a touch of natural splendor. Whether it’s an accent wall, a fireplace surround, or an exterior facade, the stone veneer serves as a captivating focal point that sets your space apart.
As you admire the artistry and sophistication of the stone veneer, remember that this transformation is not merely aesthetic; it’s a testament to your creativity, resourcefulness, and commitment to enhancing your surroundings. The enduring charm of stone veneer will continue to captivate and inspire, enriching your space for years to come.
So, as you revel in the timeless beauty and enduring allure of your stone veneer installation, take a moment to appreciate the journey that has led to this remarkable transformation. Your space now stands as a testament to the power of natural materials to elevate and enrich our environments, infusing them with character, sophistication, and a touch of timeless elegance.
Frequently Asked Questions about How To Attach Stone Veneer
Was this page helpful?
At Storables.com, we guarantee accurate and reliable information. Our content, validated by Expert Board Contributors, is crafted following stringent Editorial Policies. We're committed to providing you with well-researched, expert-backed insights for all your informational needs.
0 thoughts on “How To Attach Stone Veneer”