Home>Construction & Tools>Building Materials>How To Install Stone Veneer On Cement Board
Building Materials
How To Install Stone Veneer On Cement Board
Modified: August 17, 2024
Learn how to install stone veneer on cement board with our step-by-step guide. Find the best building materials and tips for a successful installation.
(Many of the links in this article redirect to a specific reviewed product. Your purchase of these products through affiliate links helps to generate commission for Storables.com, at no extra cost. Learn more)
Introduction
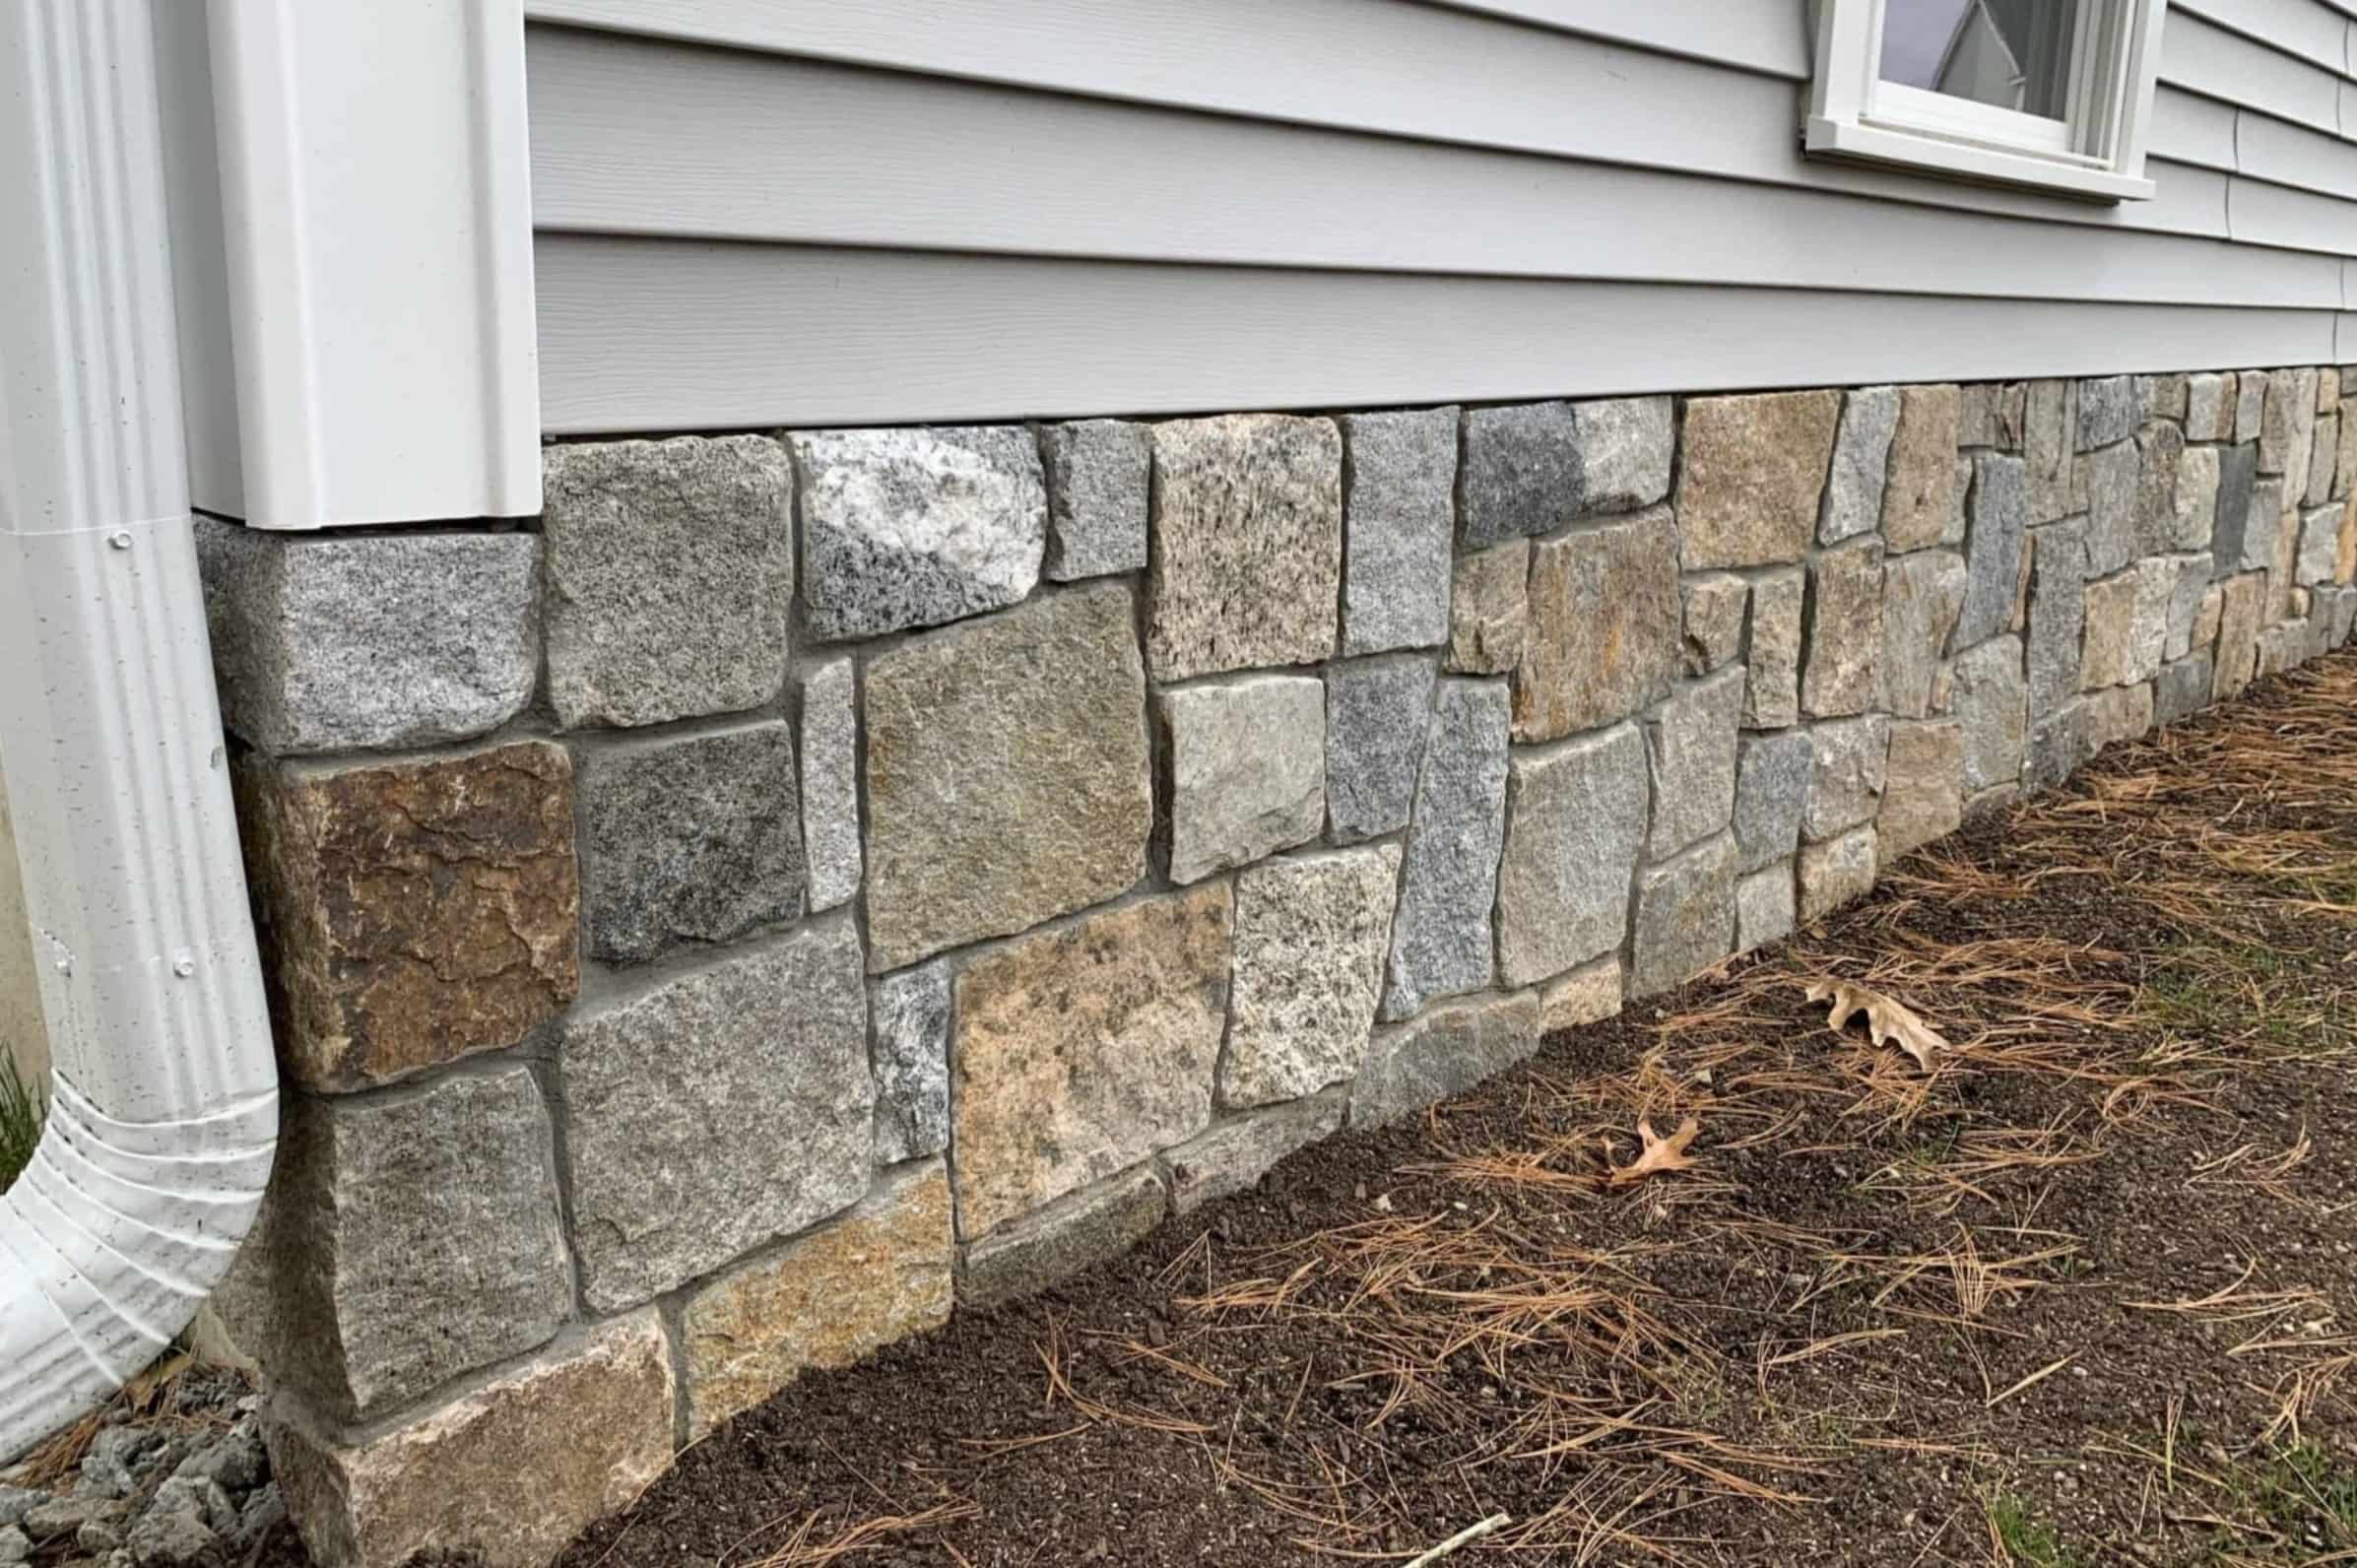
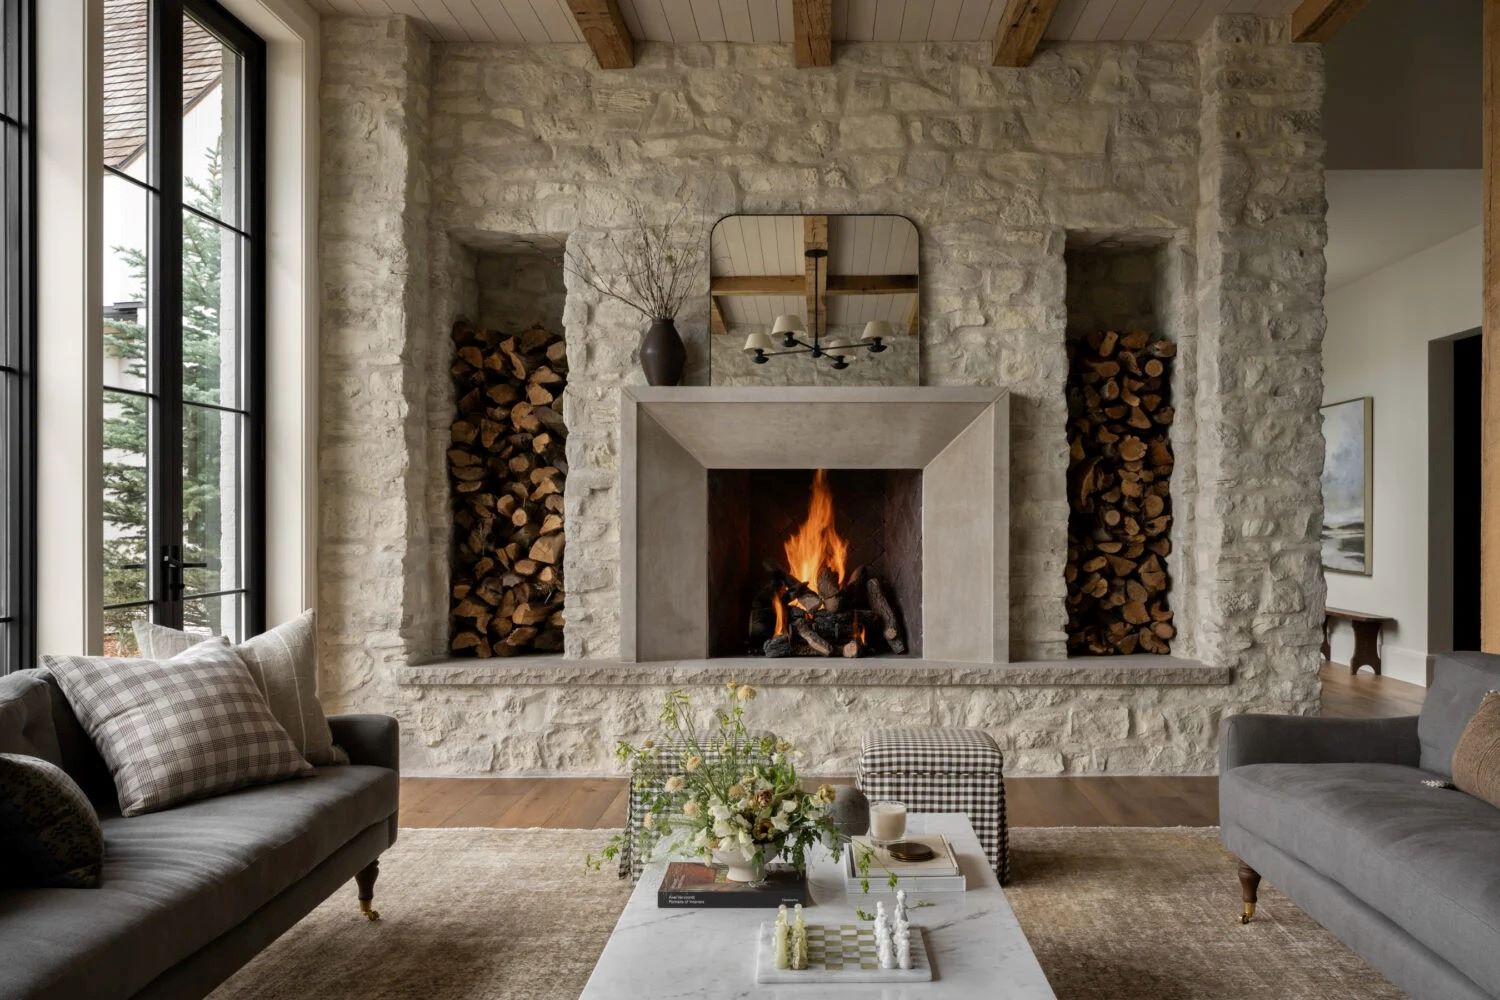
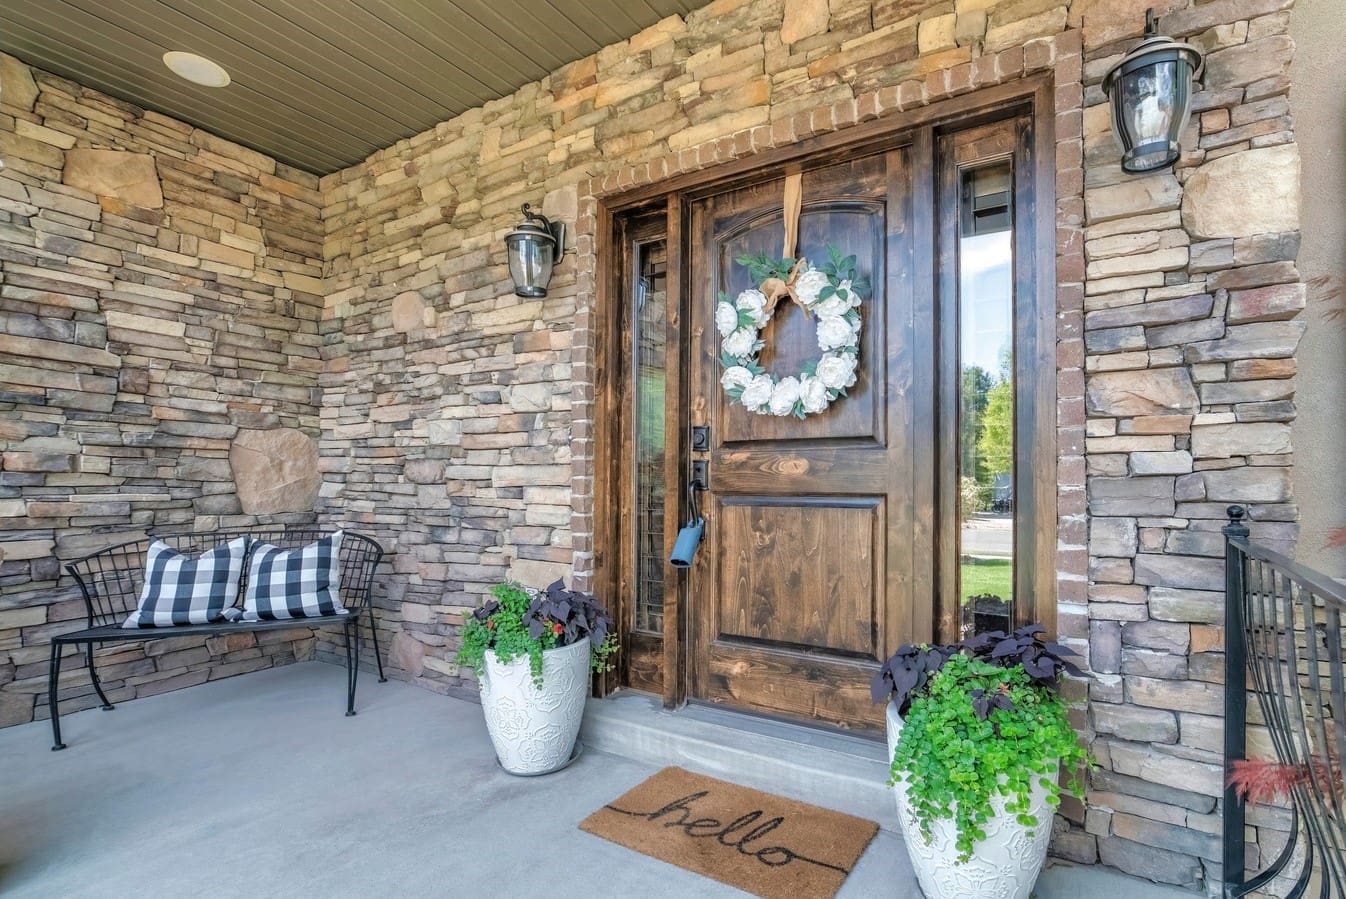
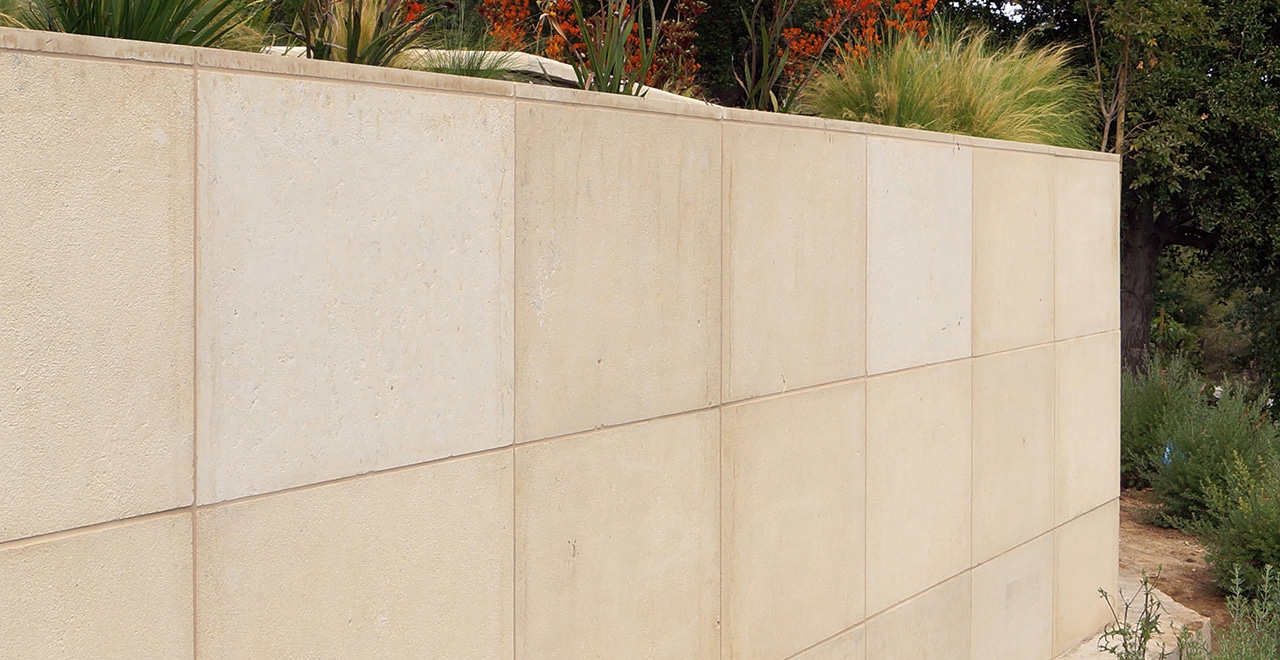
Stone veneer is a versatile and visually appealing option for enhancing the aesthetic appeal of any interior or exterior space. Whether you’re looking to revamp your home’s facade, create a stunning accent wall, or add a touch of elegance to a fireplace surround, stone veneer offers a cost-effective and durable solution. In this comprehensive guide, we’ll walk you through the step-by-step process of installing stone veneer on cement board, enabling you to achieve professional-looking results with ease.
Before diving into the installation process, it’s essential to understand the fundamental principles and techniques involved in this project. From preparing the surface to applying the scratch coat and installing the stone veneer, each step plays a crucial role in ensuring a successful and long-lasting outcome. By following these guidelines and using the right materials and tools, you’ll be well-equipped to tackle this project with confidence.
Whether you’re a seasoned DIY enthusiast or a first-time homeowner eager to embark on a home improvement venture, this guide will equip you with the knowledge and skills needed to execute the installation process effectively. With a little patience, attention to detail, and the right approach, you’ll soon be admiring the timeless beauty of your newly installed stone veneer.
Key Takeaways:
- Installing stone veneer on cement board requires meticulous preparation, precise application, and attention to detail. The process demands patience and craftsmanship to create a visually stunning and enduring home enhancement.
- Stone veneer’s timeless beauty and durability add warmth and authenticity to any space. The installation journey not only transforms the home but also cultivates valuable skills and a sense of accomplishment.
Read more: How To Install Stone Veneer Fireplace
Materials and Tools Needed
Before diving into the installation process, it’s crucial to gather all the necessary materials and tools to ensure a smooth and efficient workflow. Here’s a comprehensive list of items you’ll need to complete the stone veneer installation on cement board:
Materials:
- Stone veneer
- Cement board
- Galvanized metal lath
- Mortar mix
- Waterproofing membrane
- Scratch coat mix
- Latex additive
- Grout
- Sealer
Tools:
- Measuring tape
- Pencil
- Straight edge
- Level
- Tin snips
- Wire cutters
- Trowel
- Notched trowel
- Bucket
- Drill/driver
- Masonry bit
- Grout bag
- Protective gloves and eyewear
Ensuring that you have all the required materials and tools at your disposal will streamline the installation process and minimize interruptions. Additionally, it’s important to prioritize safety by wearing appropriate protective gear, such as gloves and eyewear, when handling materials and using tools.
By having a clear understanding of the materials and tools needed for the project, you’ll be well-prepared to move on to the next crucial step: preparing the surface for the stone veneer installation.
Preparing the Surface
Proper surface preparation is essential for ensuring the longevity and stability of the stone veneer installation. Before applying the stone veneer, it’s crucial to prepare the surface, which involves the following steps:
Read more: How To Install Stacked Stone Veneer
1. Assessing the Substrate:
The substrate, typically cement board, should be structurally sound, clean, and free from any contaminants that could hinder the adhesion of the stone veneer. Inspect the surface for any damage or irregularities that may need to be addressed before proceeding.
2. Installing Galvanized Metal Lath:
Attach galvanized metal lath to the cement board using appropriate fasteners, ensuring that the lath is securely and evenly affixed. This step provides a stable base for the scratch coat, promoting strong adhesion and preventing potential cracking or shifting of the veneer.
3. Applying Waterproofing Membrane:
Apply a waterproofing membrane over the metal lath to protect the substrate from moisture infiltration. This membrane acts as a barrier, safeguarding the integrity of the installation and preventing water-related damage over time.
4. Mixing the Scratch Coat:
Prepare the scratch coat mix by combining mortar mix with a latex additive, following the manufacturer’s instructions. The latex additive enhances the flexibility and bond strength of the scratch coat, contributing to a more robust and resilient base for the stone veneer.
Read more: How To Install Stone Veneer Over Stucco
5. Applying the Scratch Coat:
Using a trowel, apply the scratch coat evenly over the prepared surface, ensuring a consistent thickness. The scratch coat serves as the foundational layer for the stone veneer, offering a textured surface that promotes adhesion and stability.
By meticulously executing these surface preparation steps, you’ll establish a solid foundation for the subsequent installation of the stone veneer. This meticulous approach sets the stage for a successful and visually stunning outcome, ensuring that your stone veneer remains a timeless and enduring feature of your space.
Applying the Scratch Coat
Once the surface has been meticulously prepared, the next crucial step in the stone veneer installation process is applying the scratch coat. The scratch coat serves as the foundational layer that facilitates strong adhesion and support for the stone veneer. Here’s a detailed overview of the process:
1. Mixing the Scratch Coat:
Prepare the scratch coat mix by combining the specified mortar mix with water and a latex additive, following the manufacturer’s guidelines. The latex additive enhances the flexibility and bond strength of the scratch coat, ensuring a durable and resilient base for the stone veneer.
2. Consistency and Texture:
Ensure that the scratch coat mixture achieves the ideal consistency and texture, resembling a thick, creamy paste. This uniform texture is essential for facilitating proper adhesion and creating a stable surface for the subsequent placement of the stone veneer.
Read more: How Thick Is Stone Veneer
3. Application Technique:
Using a trowel, apply the scratch coat evenly over the prepared surface, maintaining a consistent thickness of approximately 3/8 to 1/2 inch. Work methodically to cover the entire area with the scratch coat, paying close attention to achieving a uniform and level surface.
4. Texturing the Surface:
Before the scratch coat sets, use a notched trowel or a comb trowel to create a textured surface. This texturing process involves making horizontal grooves or “scratches” in the scratch coat, providing a roughened surface that promotes strong adhesion of the stone veneer.
5. Curing and Dampening:
Allow the scratch coat to cure for the specified duration, typically following the manufacturer’s recommendations. During the curing process, it’s essential to keep the scratch coat damp by lightly misting it with water at regular intervals, promoting proper hydration and strength development.
By meticulously executing the process of applying the scratch coat, you’ll establish a sturdy and well-prepared surface that sets the stage for the seamless installation of the stone veneer. This meticulous approach ensures that the stone veneer adheres securely and maintains its integrity over time, resulting in a visually captivating and enduring enhancement to your space.
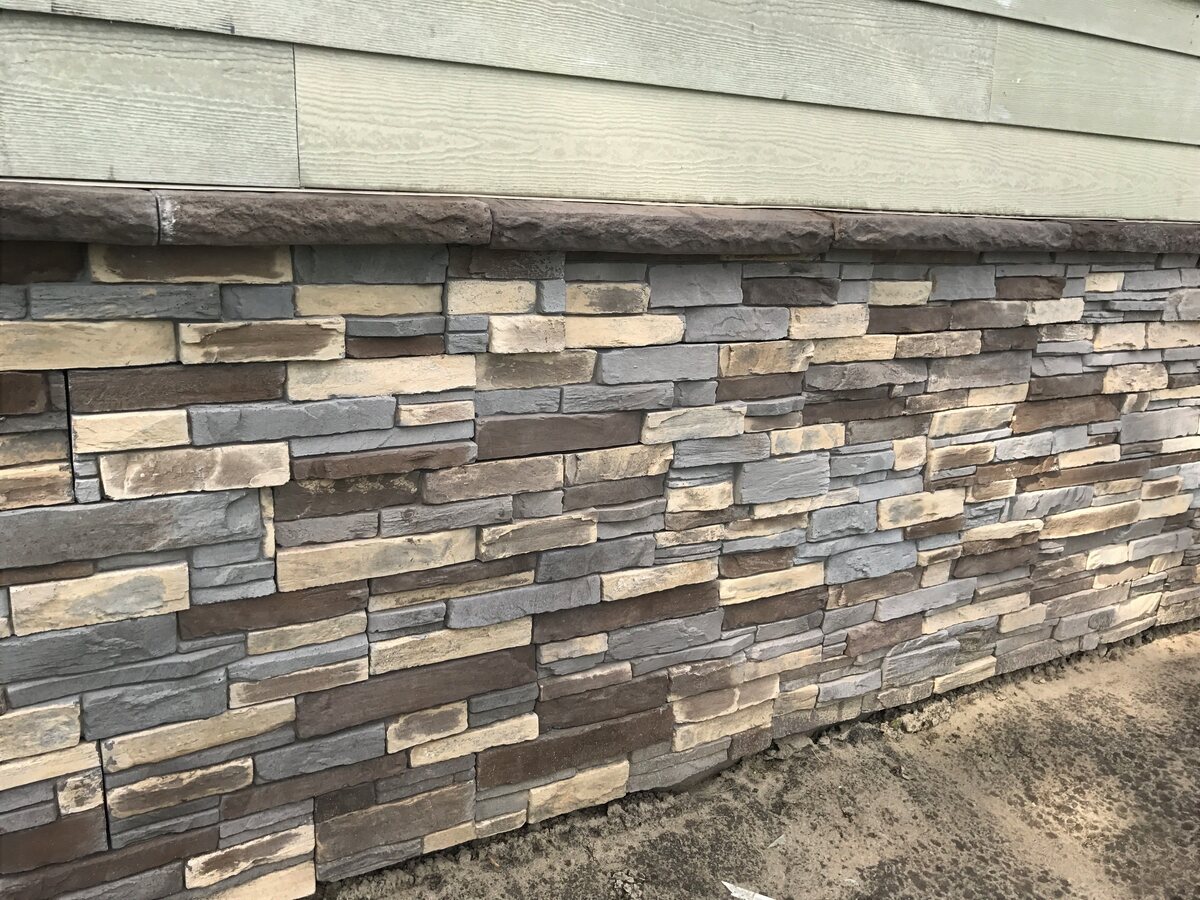
Installing the Stone Veneer
With the surface meticulously prepared and the scratch coat applied, the next pivotal phase of the stone veneer installation process involves the actual placement and securing of the stone veneer. This step demands precision, attention to detail, and a methodical approach to achieve a visually stunning and durable outcome. Here’s a comprehensive guide to installing the stone veneer:
1. Selecting and Arranging the Stone Veneer:
Before applying mortar, carefully select and arrange the stone veneer pieces according to your desired pattern and design. This preparatory step allows you to visualize the layout and ensure a cohesive and visually appealing arrangement of the stones.
2. Mixing Mortar:
Prepare the mortar mix according to the manufacturer’s instructions, achieving the appropriate consistency for optimal adhesion. Consistency is key, as it ensures that the mortar effectively secures the stone veneer in place while allowing for minor adjustments during the installation process.
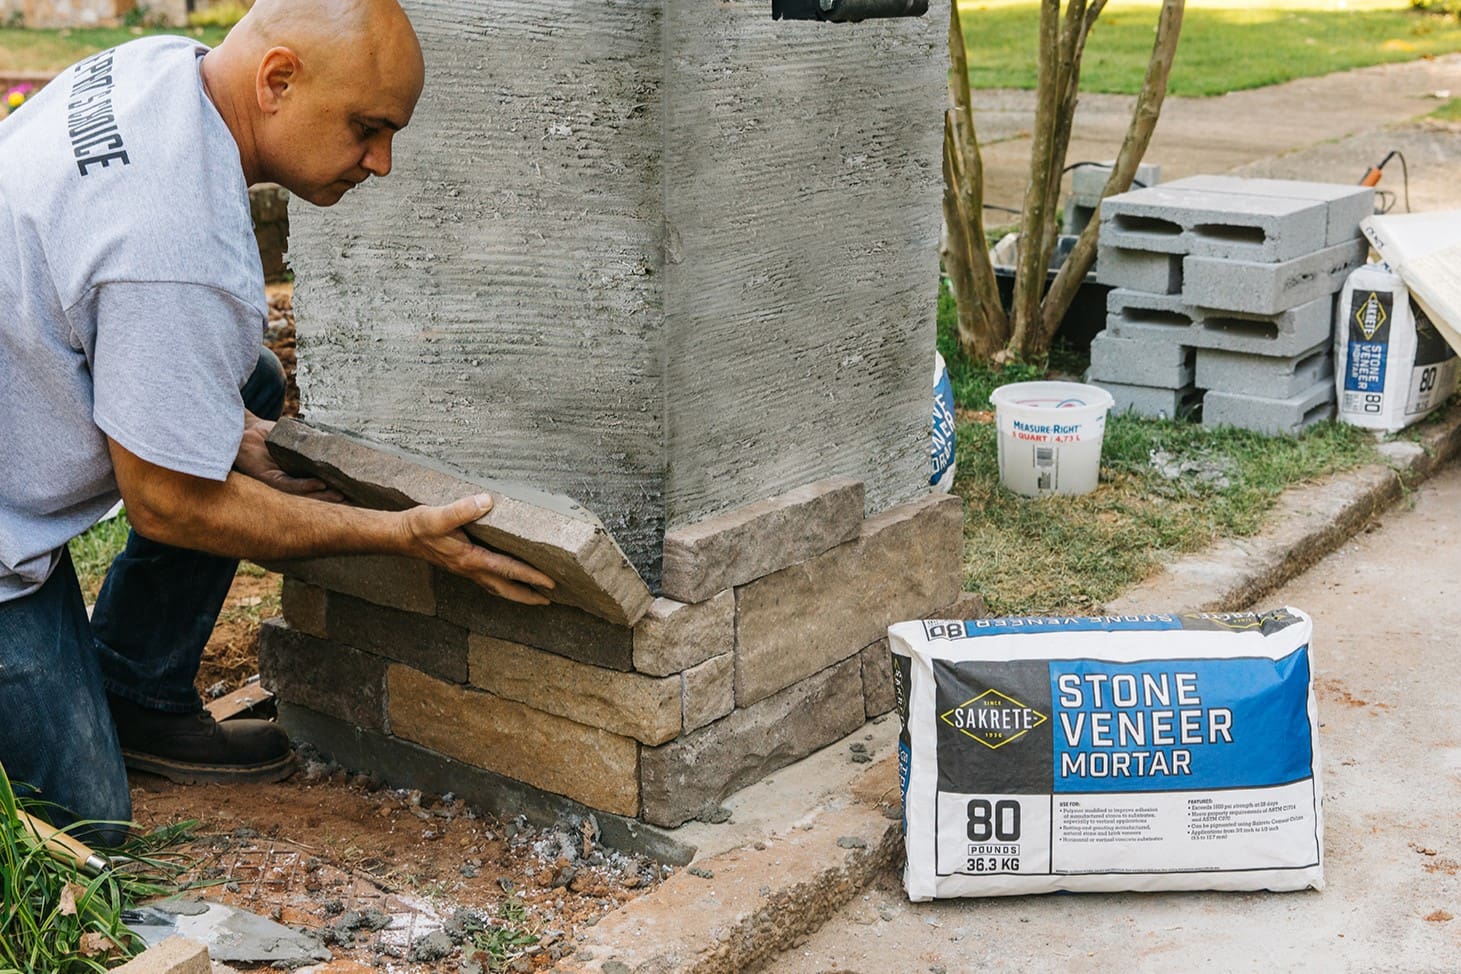
3. Applying Mortar and Placing the Stones:
Using a trowel, apply mortar to the back of each stone veneer piece, ensuring complete coverage. Carefully press the mortar-coated stone veneer onto the scratch coat, holding it in place for a few seconds to establish a secure bond. Repeat this process, maintaining consistent spacing between the stones.
4. Making Adjustments and Custom Cuts:
As you progress, be prepared to make minor adjustments to the placement of the stones to achieve a balanced and harmonious arrangement. Additionally, use a wet saw or masonry blade to make custom cuts as needed, ensuring a precise fit and seamless integration of the stone veneer.
5. Maintaining Level and Alignment:
Regularly check the level and alignment of the installed stone veneer, making necessary adjustments to ensure a uniform and visually pleasing surface. Paying attention to these details during the installation process is crucial for achieving professional-looking results.
By following these meticulous steps and maintaining a keen eye for detail, you’ll successfully install the stone veneer, transforming your space with its timeless beauty and enduring appeal. The careful placement and secure adhesion of the stone veneer contribute to a visually captivating and long-lasting enhancement to your interior or exterior environment.
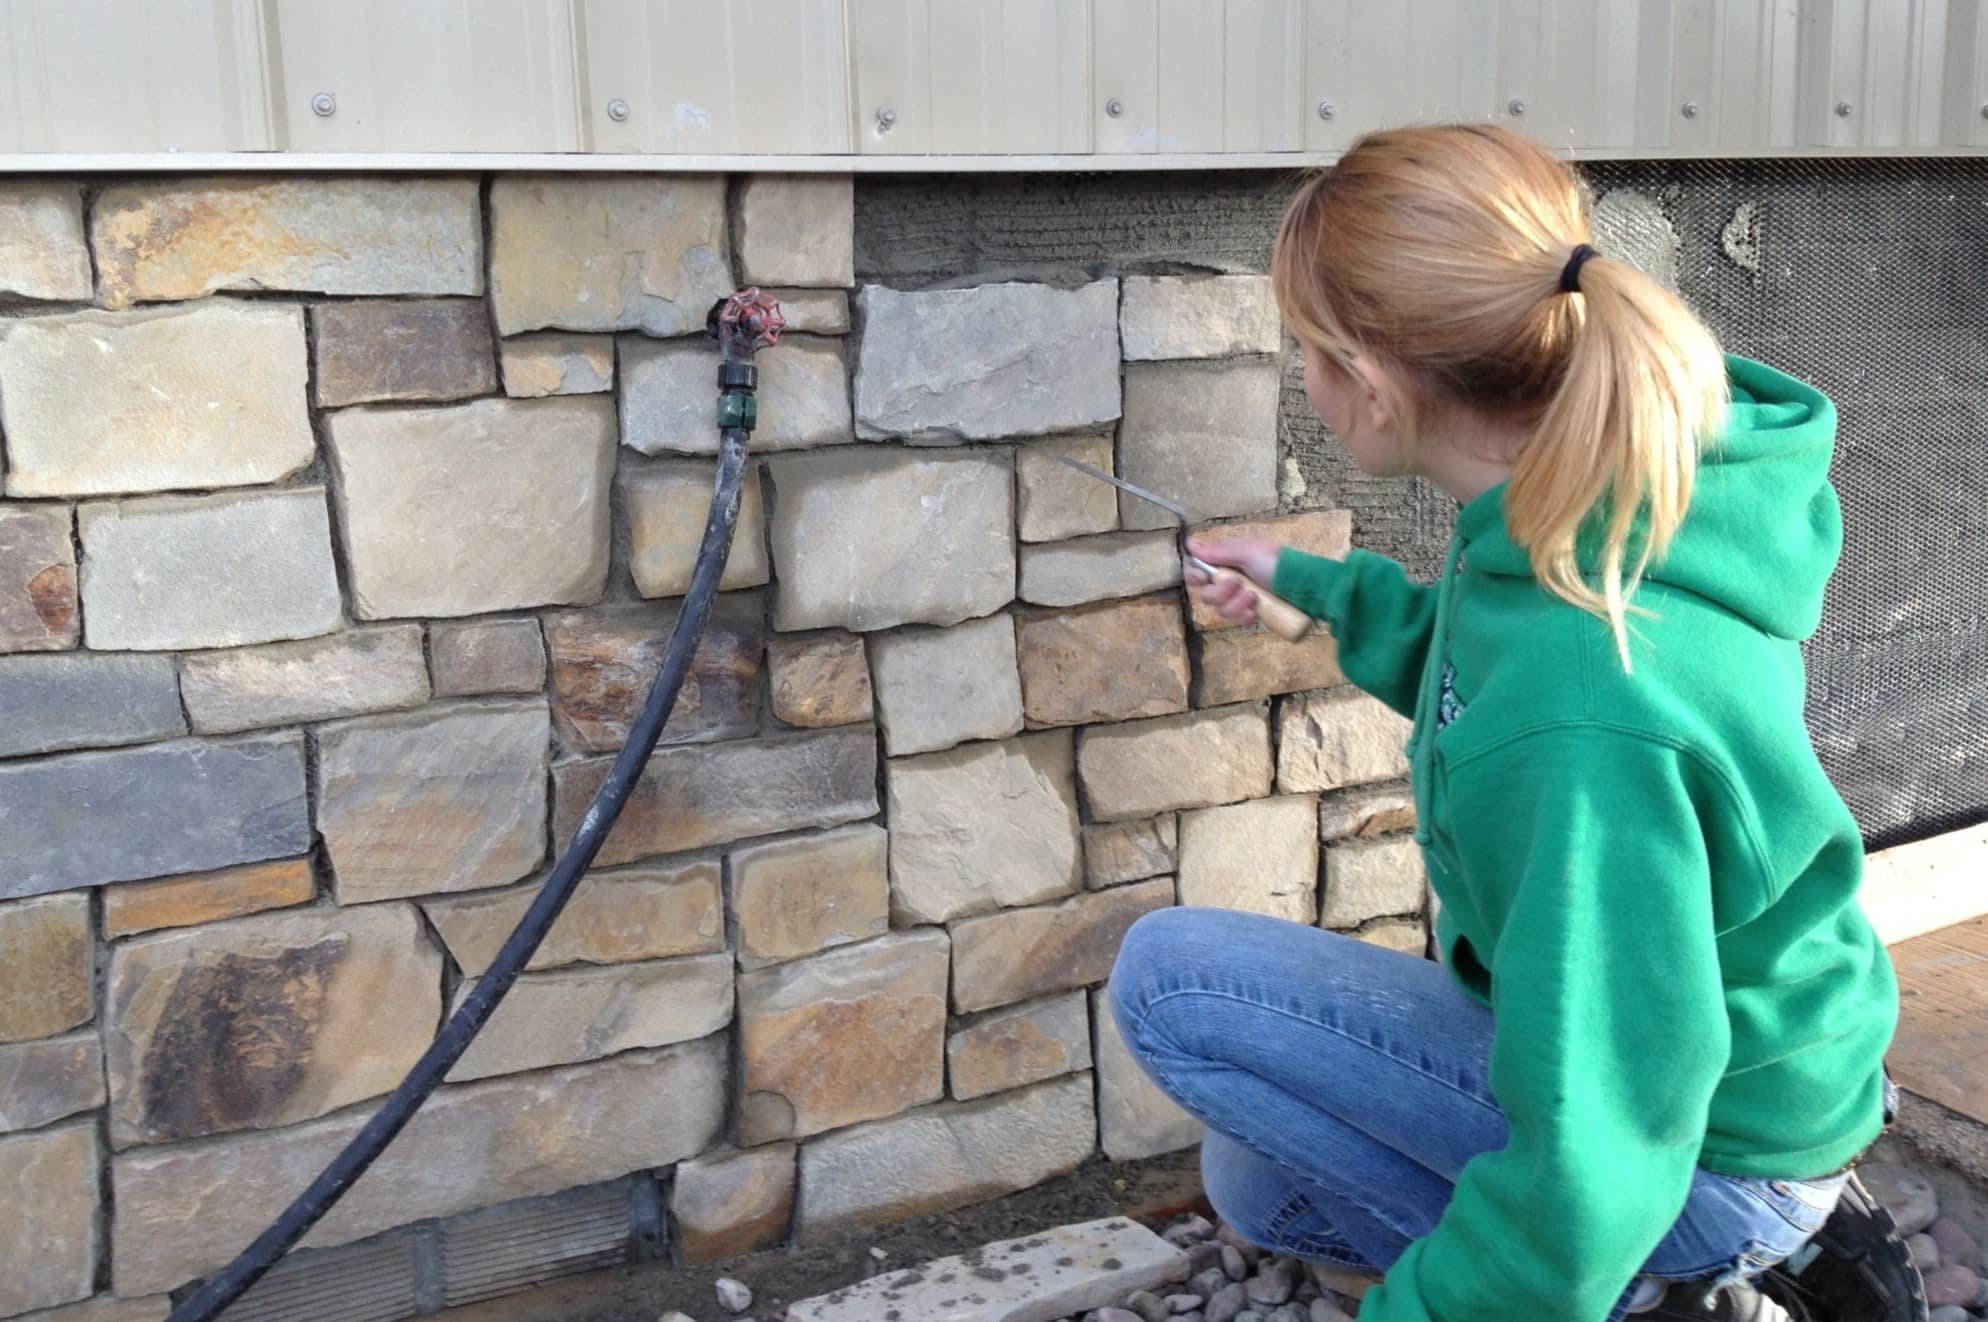
Grouting and Sealing
After the successful installation of the stone veneer, the final phases of grouting and sealing are essential to enhance the durability, visual appeal, and longevity of the installation. These critical steps contribute to the overall cohesiveness and protection of the stone veneer, ensuring a polished and enduring finish. Here’s a comprehensive guide to grouting and sealing the stone veneer:
1. Preparing the Grout:
Choose a grout color that complements the stone veneer and prepare the grout mixture according to the manufacturer’s instructions. Ensure that the grout achieves the ideal consistency for effective application and filling of the gaps between the stones.
2. Applying the Grout:
Using a grout bag or a grout float, carefully fill the gaps between the stone veneer pieces with the prepared grout. Work methodically to ensure thorough coverage and a uniform appearance, taking care not to leave any gaps or air pockets within the grout lines.
Read more: How To Install Vertical Hardie Board Siding
3. Smoothing and Cleaning:
After applying the grout, use a damp sponge to smooth the grout lines and remove any excess grout from the surface of the stones. This process contributes to a clean and polished appearance, while ensuring that the grout lines are properly filled and leveled.
4. Allowing the Grout to Cure:
Allow the grout to cure for the specified duration, typically following the manufacturer’s recommendations. During this curing period, it’s important to protect the grout from excessive moisture and physical disturbances to facilitate proper hardening and strength development.
5. Sealing the Stone Veneer:
Once the grout has fully cured, apply a high-quality sealer specifically designed for stone veneer. The sealer enhances the stone’s natural colors, provides protection against stains and moisture, and contributes to the overall longevity and resilience of the installation.
By meticulously executing the grouting and sealing process, you’ll elevate the visual impact and durability of the stone veneer installation, ensuring that it remains a timeless and enduring feature of your space. The combination of expertly applied grout and a protective sealer contributes to a visually captivating and long-lasting enhancement that enhances the beauty and value of your interior or exterior environment.
Conclusion
Embarking on the journey of installing stone veneer on cement board opens the door to a transformative and visually captivating home improvement project. From the meticulous surface preparation to the precise placement of each stone veneer piece, every step in the installation process contributes to the creation of a stunning and enduring feature within your space. As you conclude this endeavor, it’s essential to reflect on the key takeaways and the lasting impact of your efforts.
First and foremost, the installation of stone veneer on cement board demands a meticulous approach and a keen eye for detail. Each phase, from preparing the surface to grouting and sealing, requires precision and patience to ensure a seamless and visually appealing outcome. By embracing these principles, you’ve not only enhanced the aesthetic appeal of your space but also cultivated valuable skills and knowledge in the realm of home improvement.
Furthermore, the enduring beauty and durability of stone veneer serve as a testament to the timeless allure of natural materials. The rich textures, earthy hues, and inherent character of stone veneer create a captivating visual impact that transcends fleeting trends, adding a touch of elegance and authenticity to your environment.
As you admire the completed installation, take pride in the fact that you’ve contributed to the enduring charm and value of your home. The stone veneer serves as a testament to your dedication to craftsmanship and your commitment to creating a space that exudes warmth, character, and enduring beauty.
Lastly, the installation of stone veneer on cement board represents not only a tangible enhancement to your space but also a journey of creativity, perseverance, and accomplishment. Your dedication to this project has resulted in a visually striking and enduring feature that will be cherished for years to come.
In conclusion, the installation of stone veneer on cement board is a testament to the transformative power of craftsmanship, the timeless allure of natural materials, and the enduring value of creating a space that resonates with warmth and authenticity. As you bask in the beauty of your completed installation, may it serve as a reminder of the enduring impact of your dedication and creativity.
Frequently Asked Questions about How To Install Stone Veneer On Cement Board
Was this page helpful?
At Storables.com, we guarantee accurate and reliable information. Our content, validated by Expert Board Contributors, is crafted following stringent Editorial Policies. We're committed to providing you with well-researched, expert-backed insights for all your informational needs.
0 thoughts on “How To Install Stone Veneer On Cement Board”