Home>Ideas and Tips>How To Build A Raised Garden Bed For Vegetables

Ideas and Tips
How To Build A Raised Garden Bed For Vegetables
Modified: November 1, 2024
Learn how to build a raised garden bed for vegetables with our step-by-step guide. Improve soil quality and drainage for a thriving garden.
(Many of the links in this article redirect to a specific reviewed product. Your purchase of these products through affiliate links helps to generate commission for Storables.com, at no extra cost. Learn more)
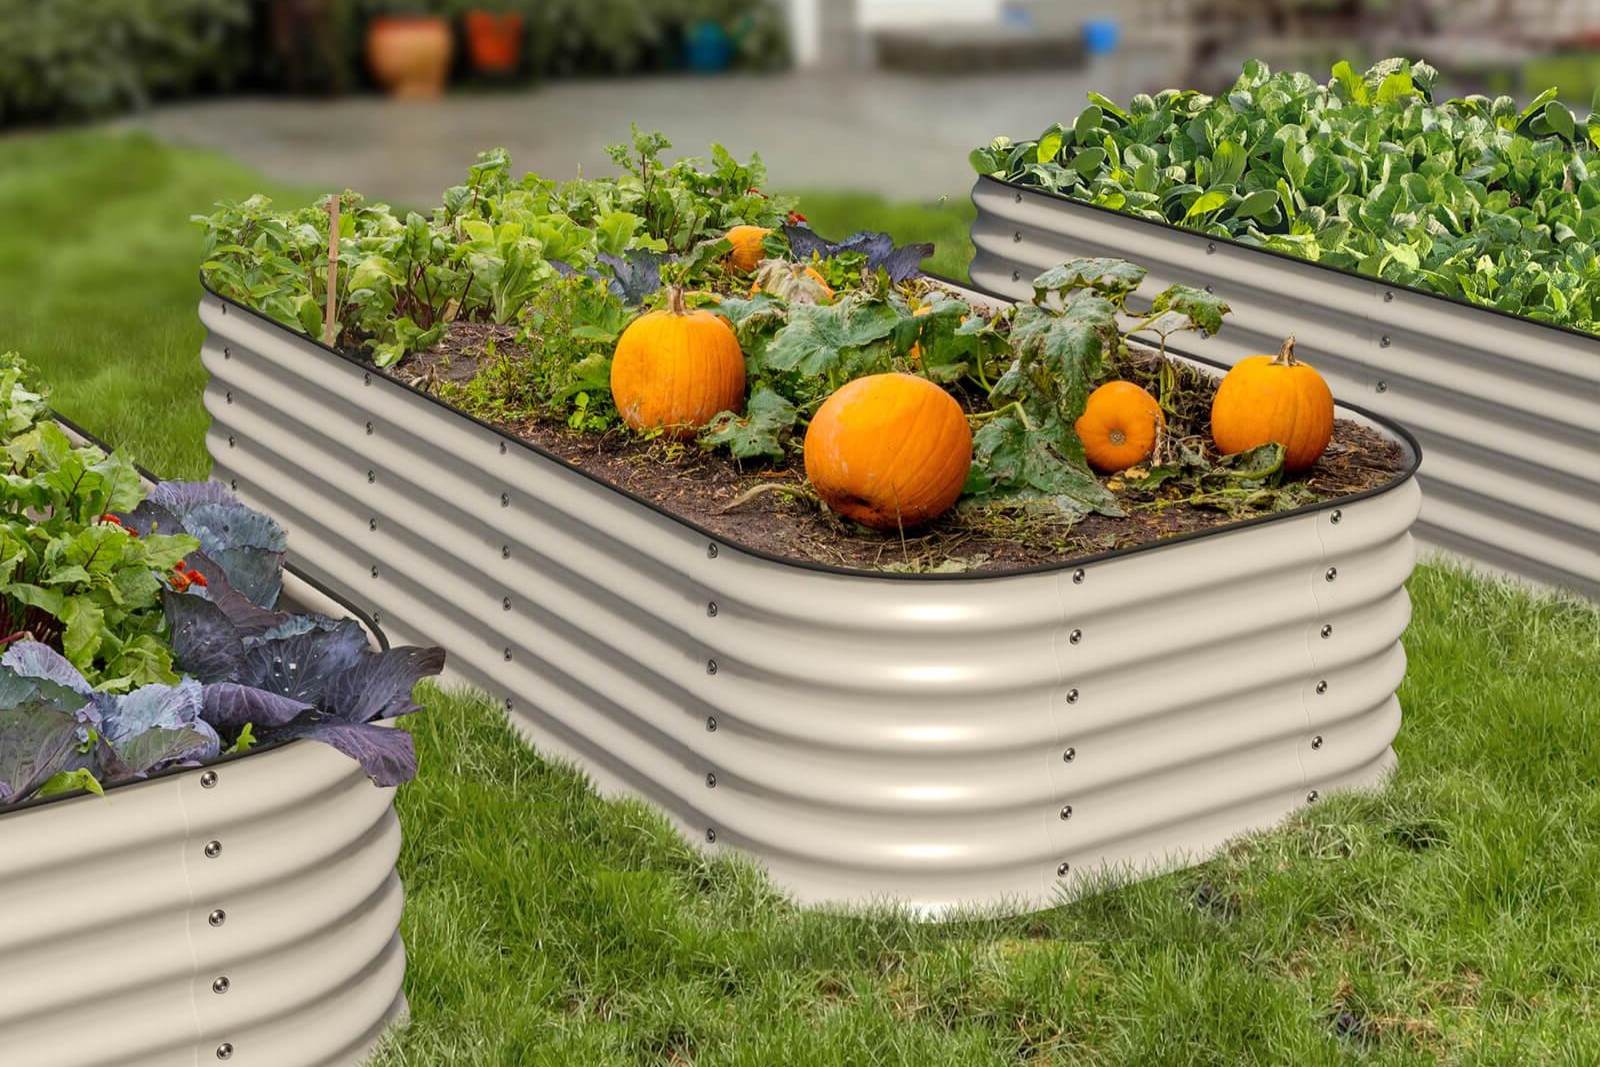
Building a raised garden bed for vegetables is a fantastic way to grow your own food, even if you don't have a lot of space. Raised garden beds are elevated above the ground, which means better drainage and soil quality. Plus, they're easier to maintain and can be a real back-saver. Let's dive into how you can build your own raised garden bed.
Introduction
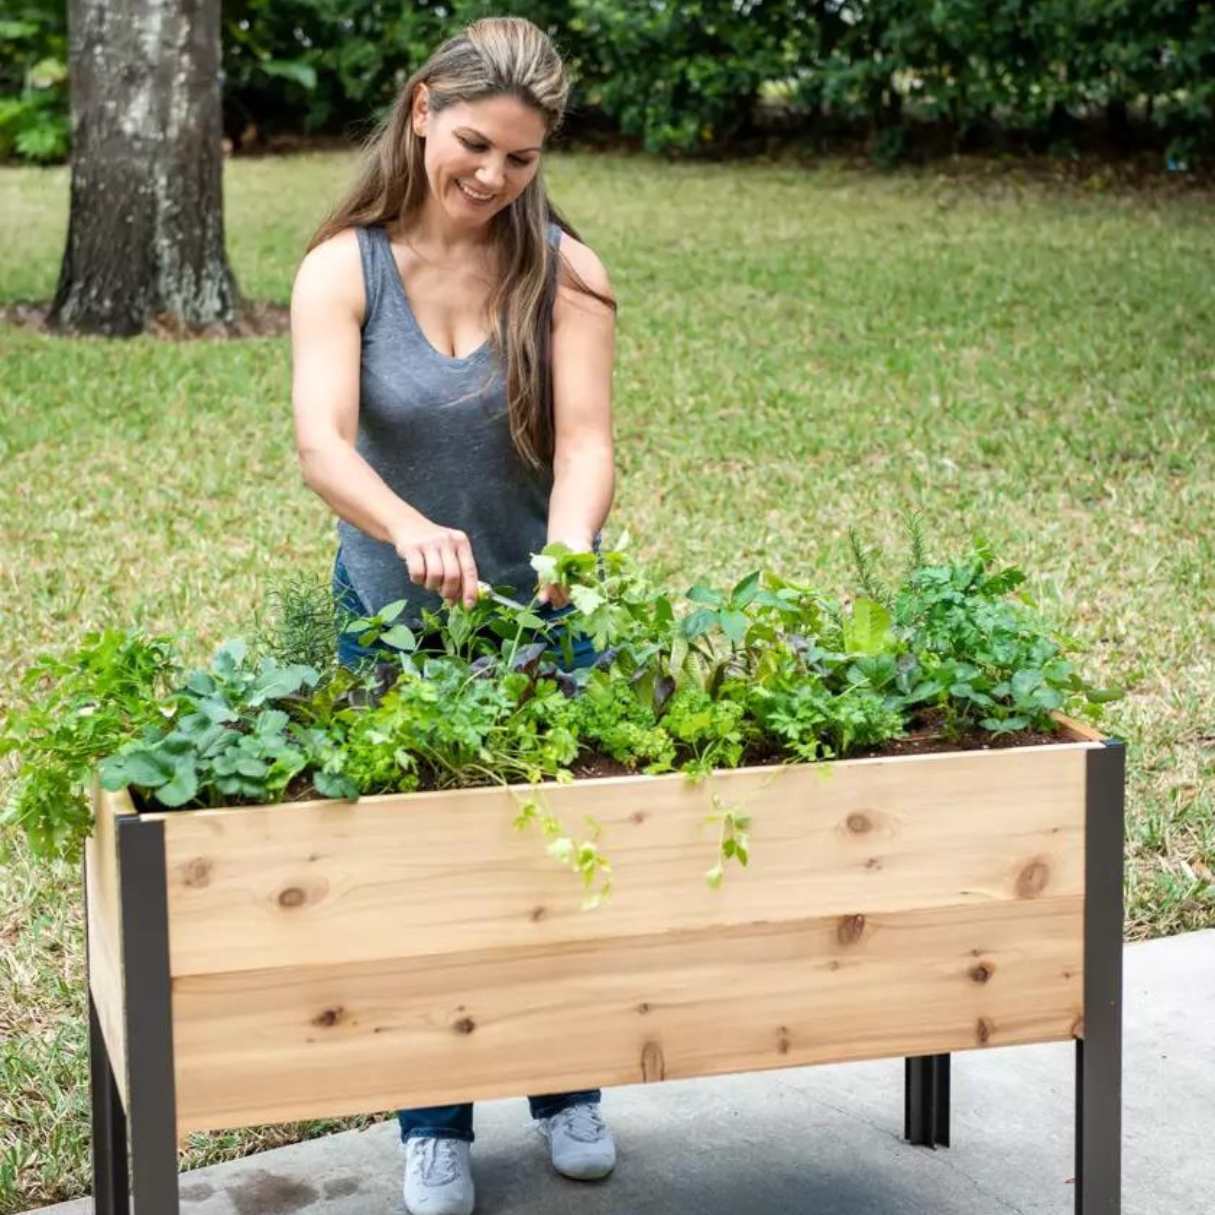
Building a raised garden bed for vegetables is a great idea for several reasons. First, it allows for better control over the soil quality. You can fill the bed with high-quality soil that's perfect for growing vegetables. Second, raised beds have better drainage, which is crucial for healthy plant growth. Third, they can be easier to manage, especially for people with mobility issues. Finally, raised beds can be placed almost anywhere, making them ideal for small spaces or urban gardens.
Read more: How To Build A Stone Raised Garden Bed
Materials Needed
Before you start building your raised garden bed, you'll need to gather some materials. Here's a list of what you'll need:
- Wood or Stone: The primary material for the bed's frame. You can use wood (like cedar or redwood) or stone (like cobbled pavers).
- Soil: High-quality vegetable garden soil that drains well and is rich in nutrients.
- Landscape Fabric: This helps prevent soil from escaping through gaps in the frame.
- Gravel or Mulch: Optional materials for better drainage and weed suppression.
- Tools:
- Hammer or mallet
- Level
- Tape measure
- Saw (circular or hand saw)
- Drill (if using screws)
- Shovel or spade
- Wheelbarrow
- Gardening gloves
Design Options
There are several design options for raised garden beds, each with its own set of pros and cons. Let's look at a few popular choices.
Wood Raised Beds
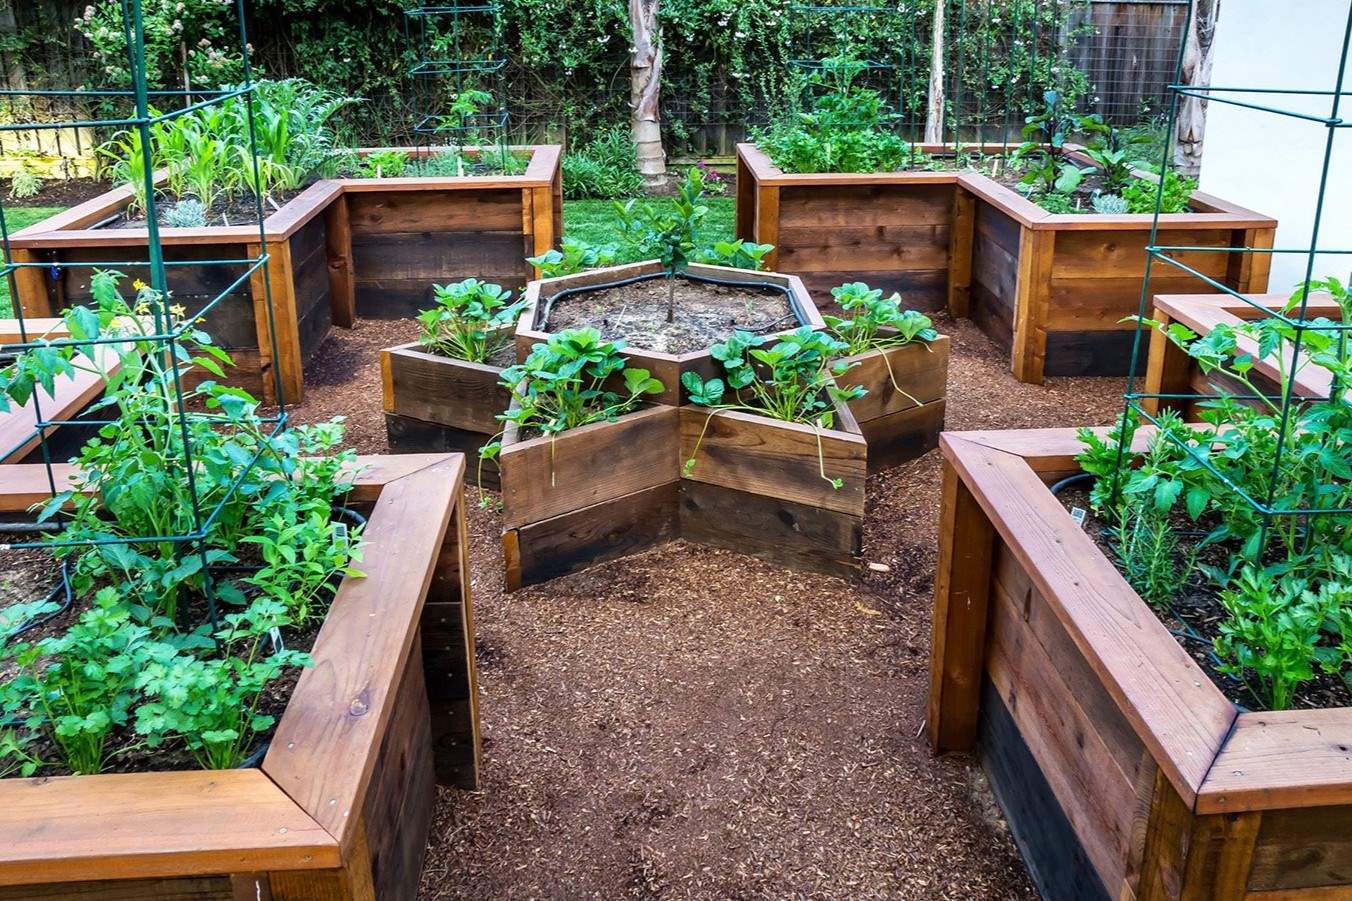
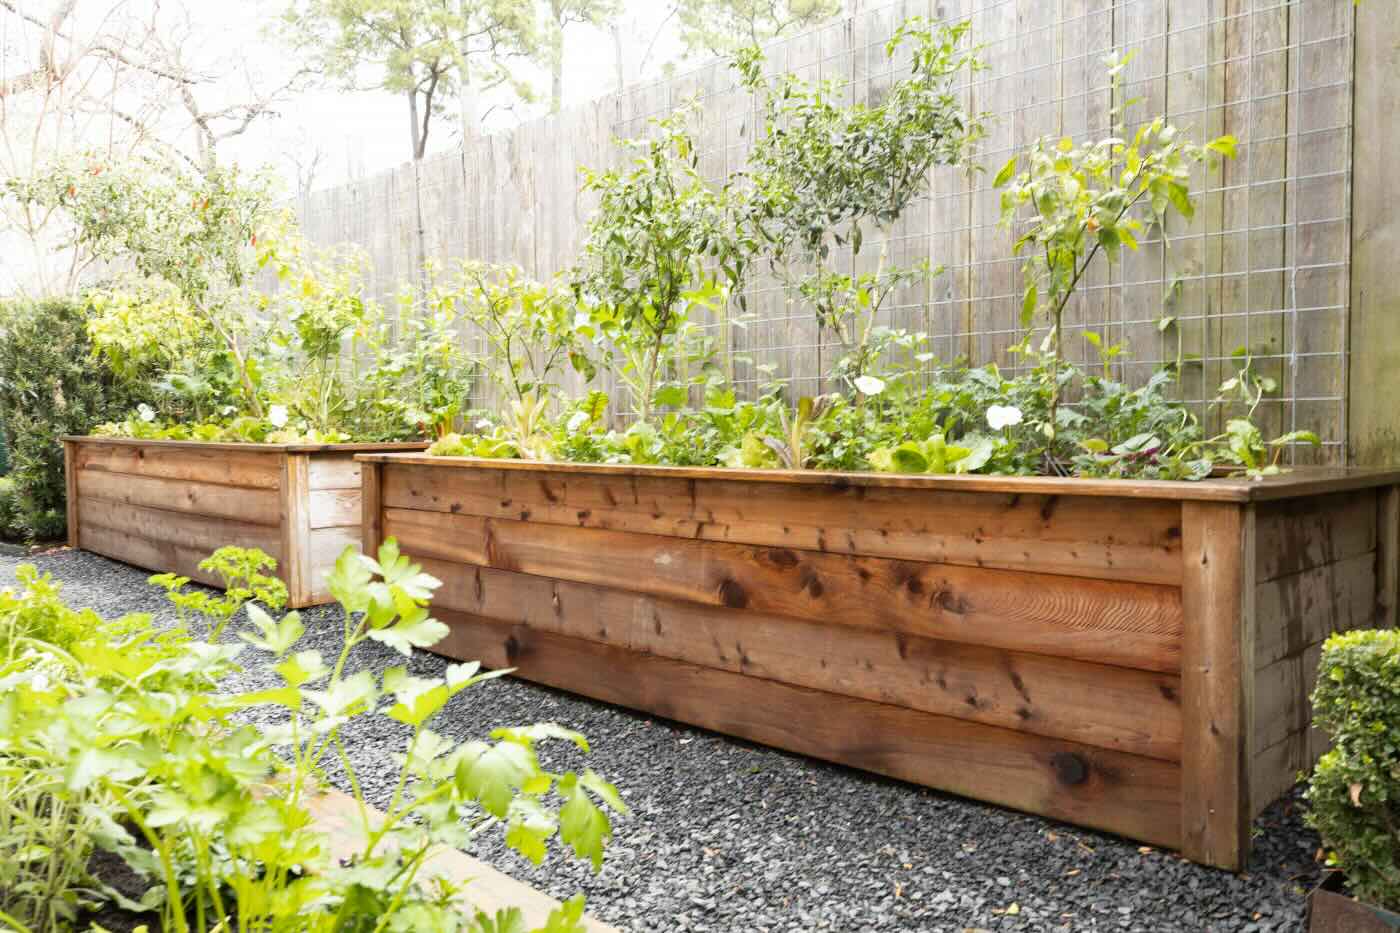
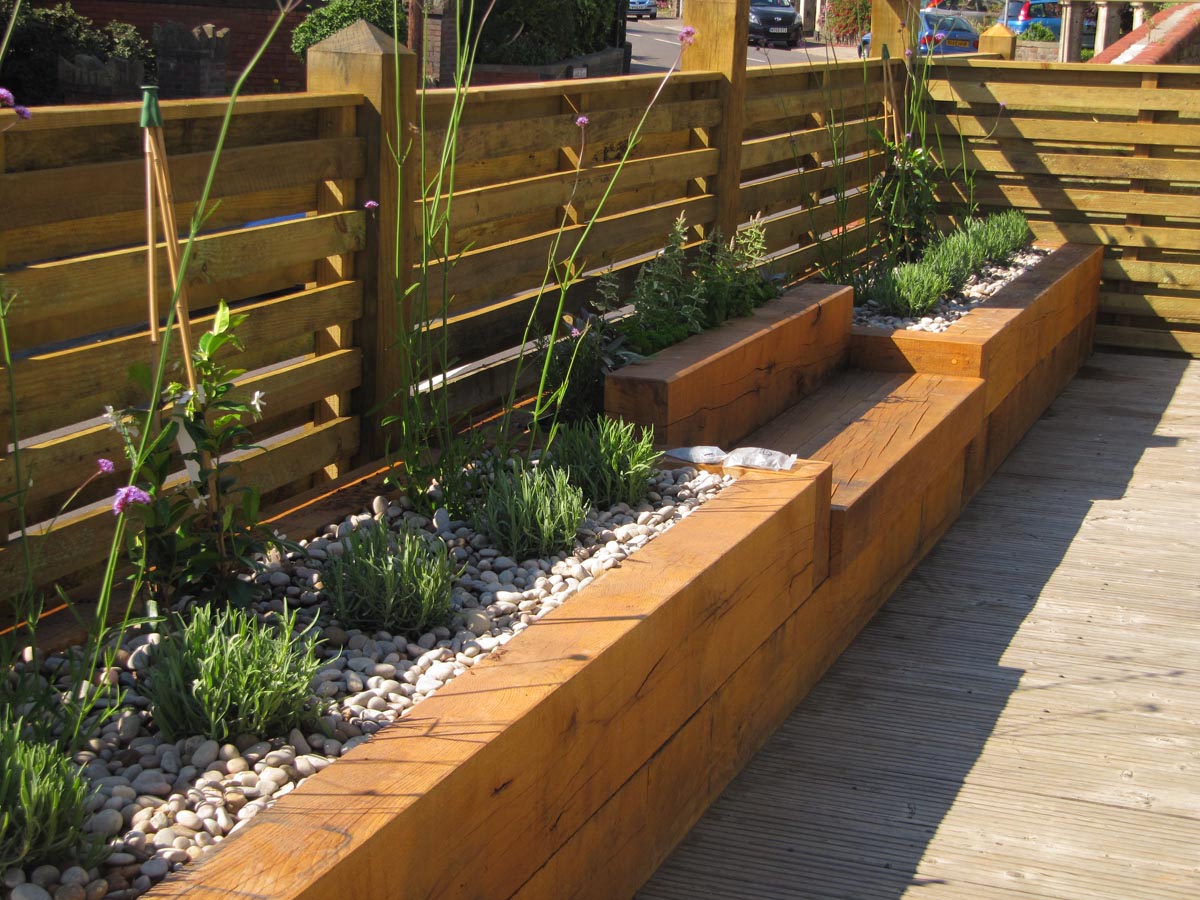
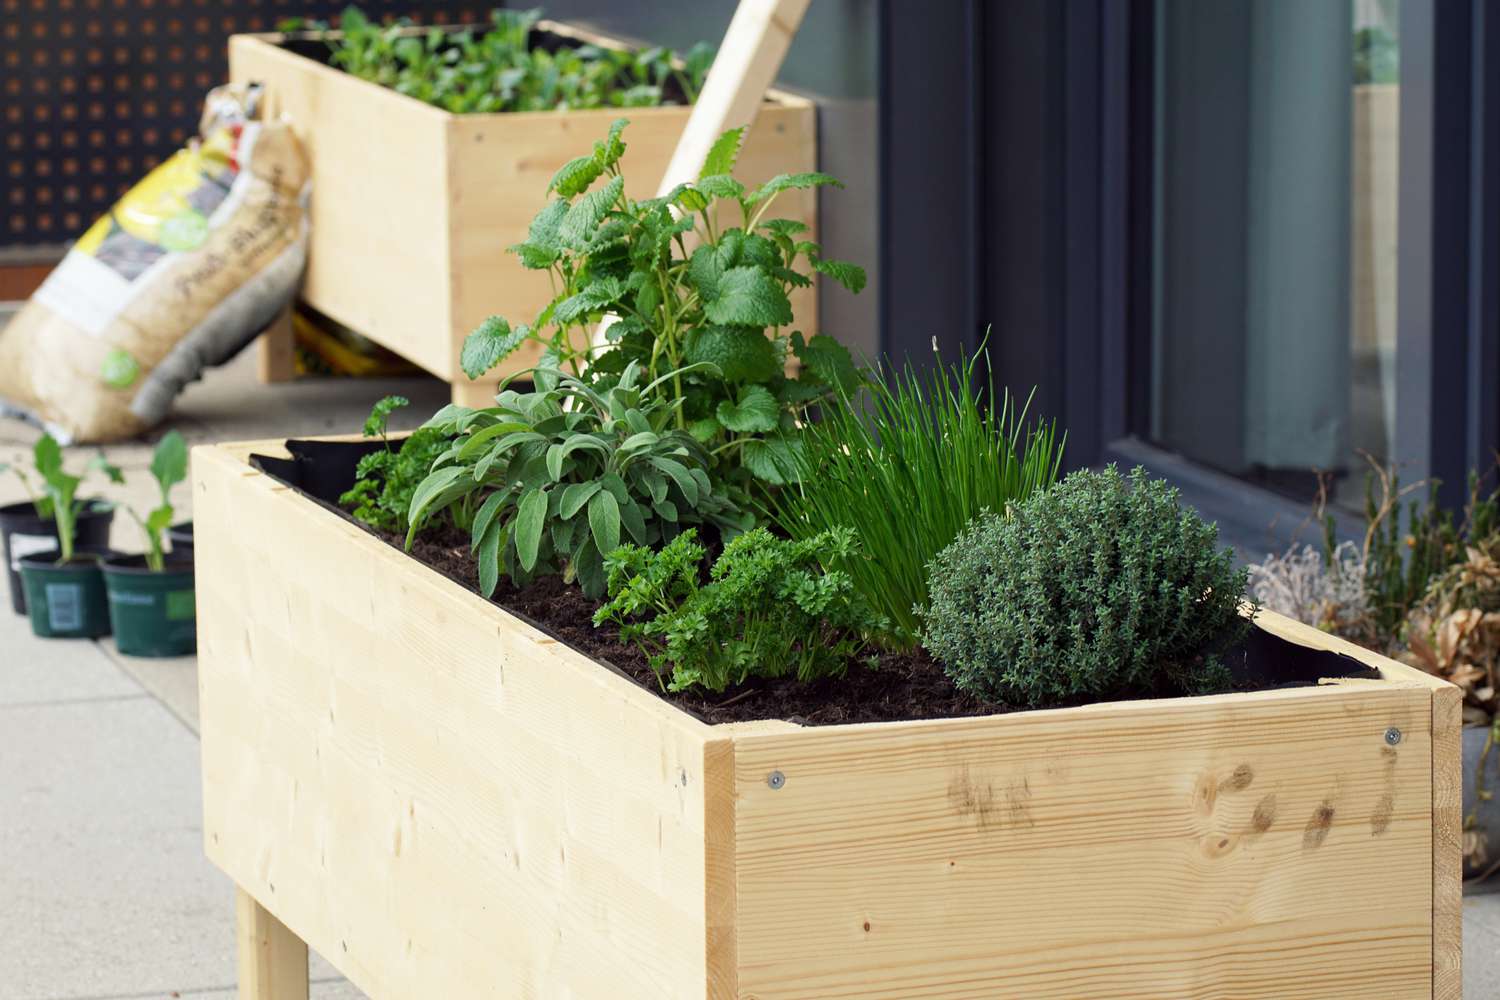
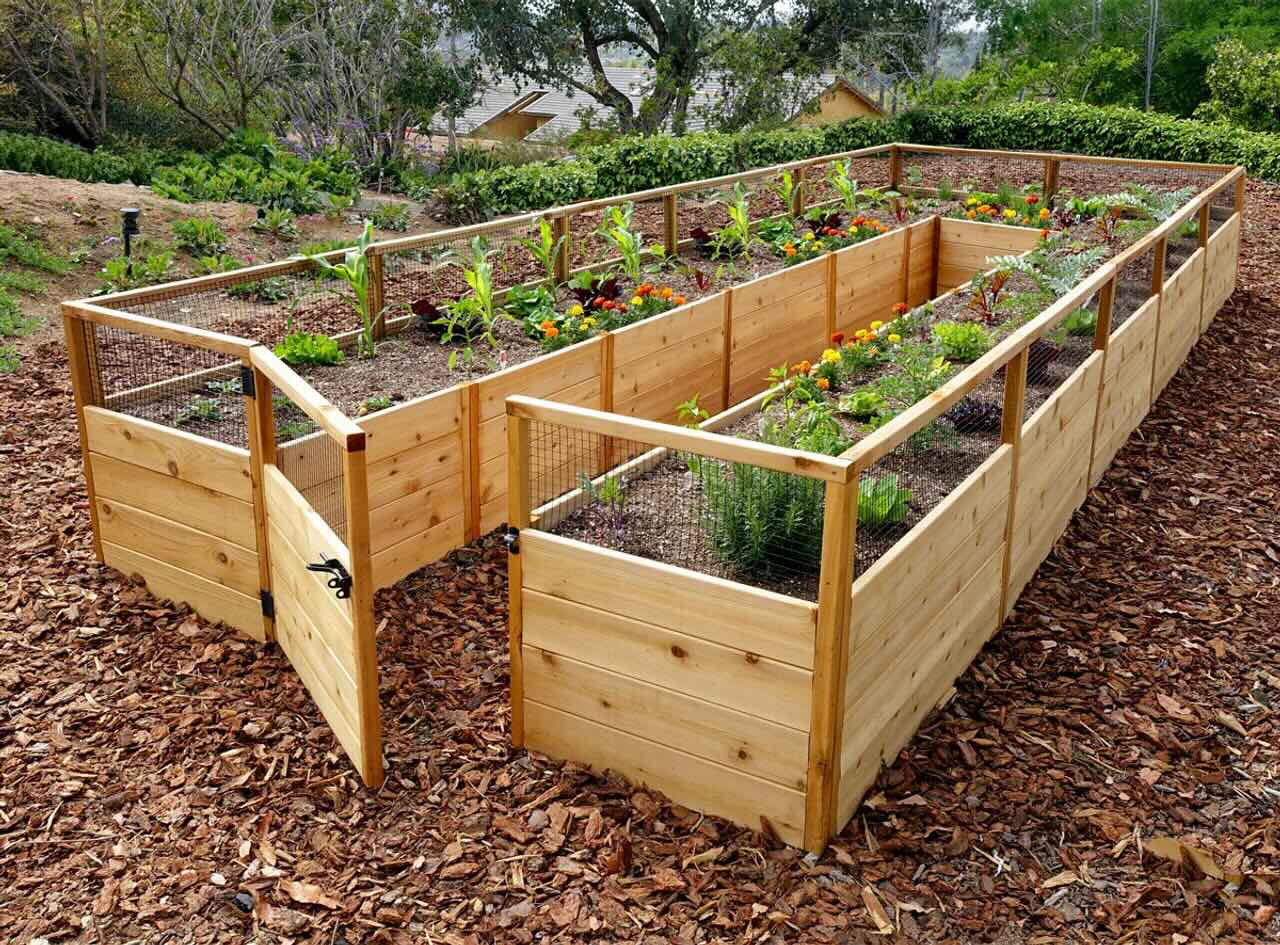
Wooden raised beds are a common choice. They can be built using dimensional lumber available at most home improvement stores. Here are some pros and cons of using wood:
Pros:
- Height: You can build the bed as high as you like, which is great for people with physical limitations.
- Longevity: If you use rot-resistant wood, these beds can last for many years with minimal maintenance.
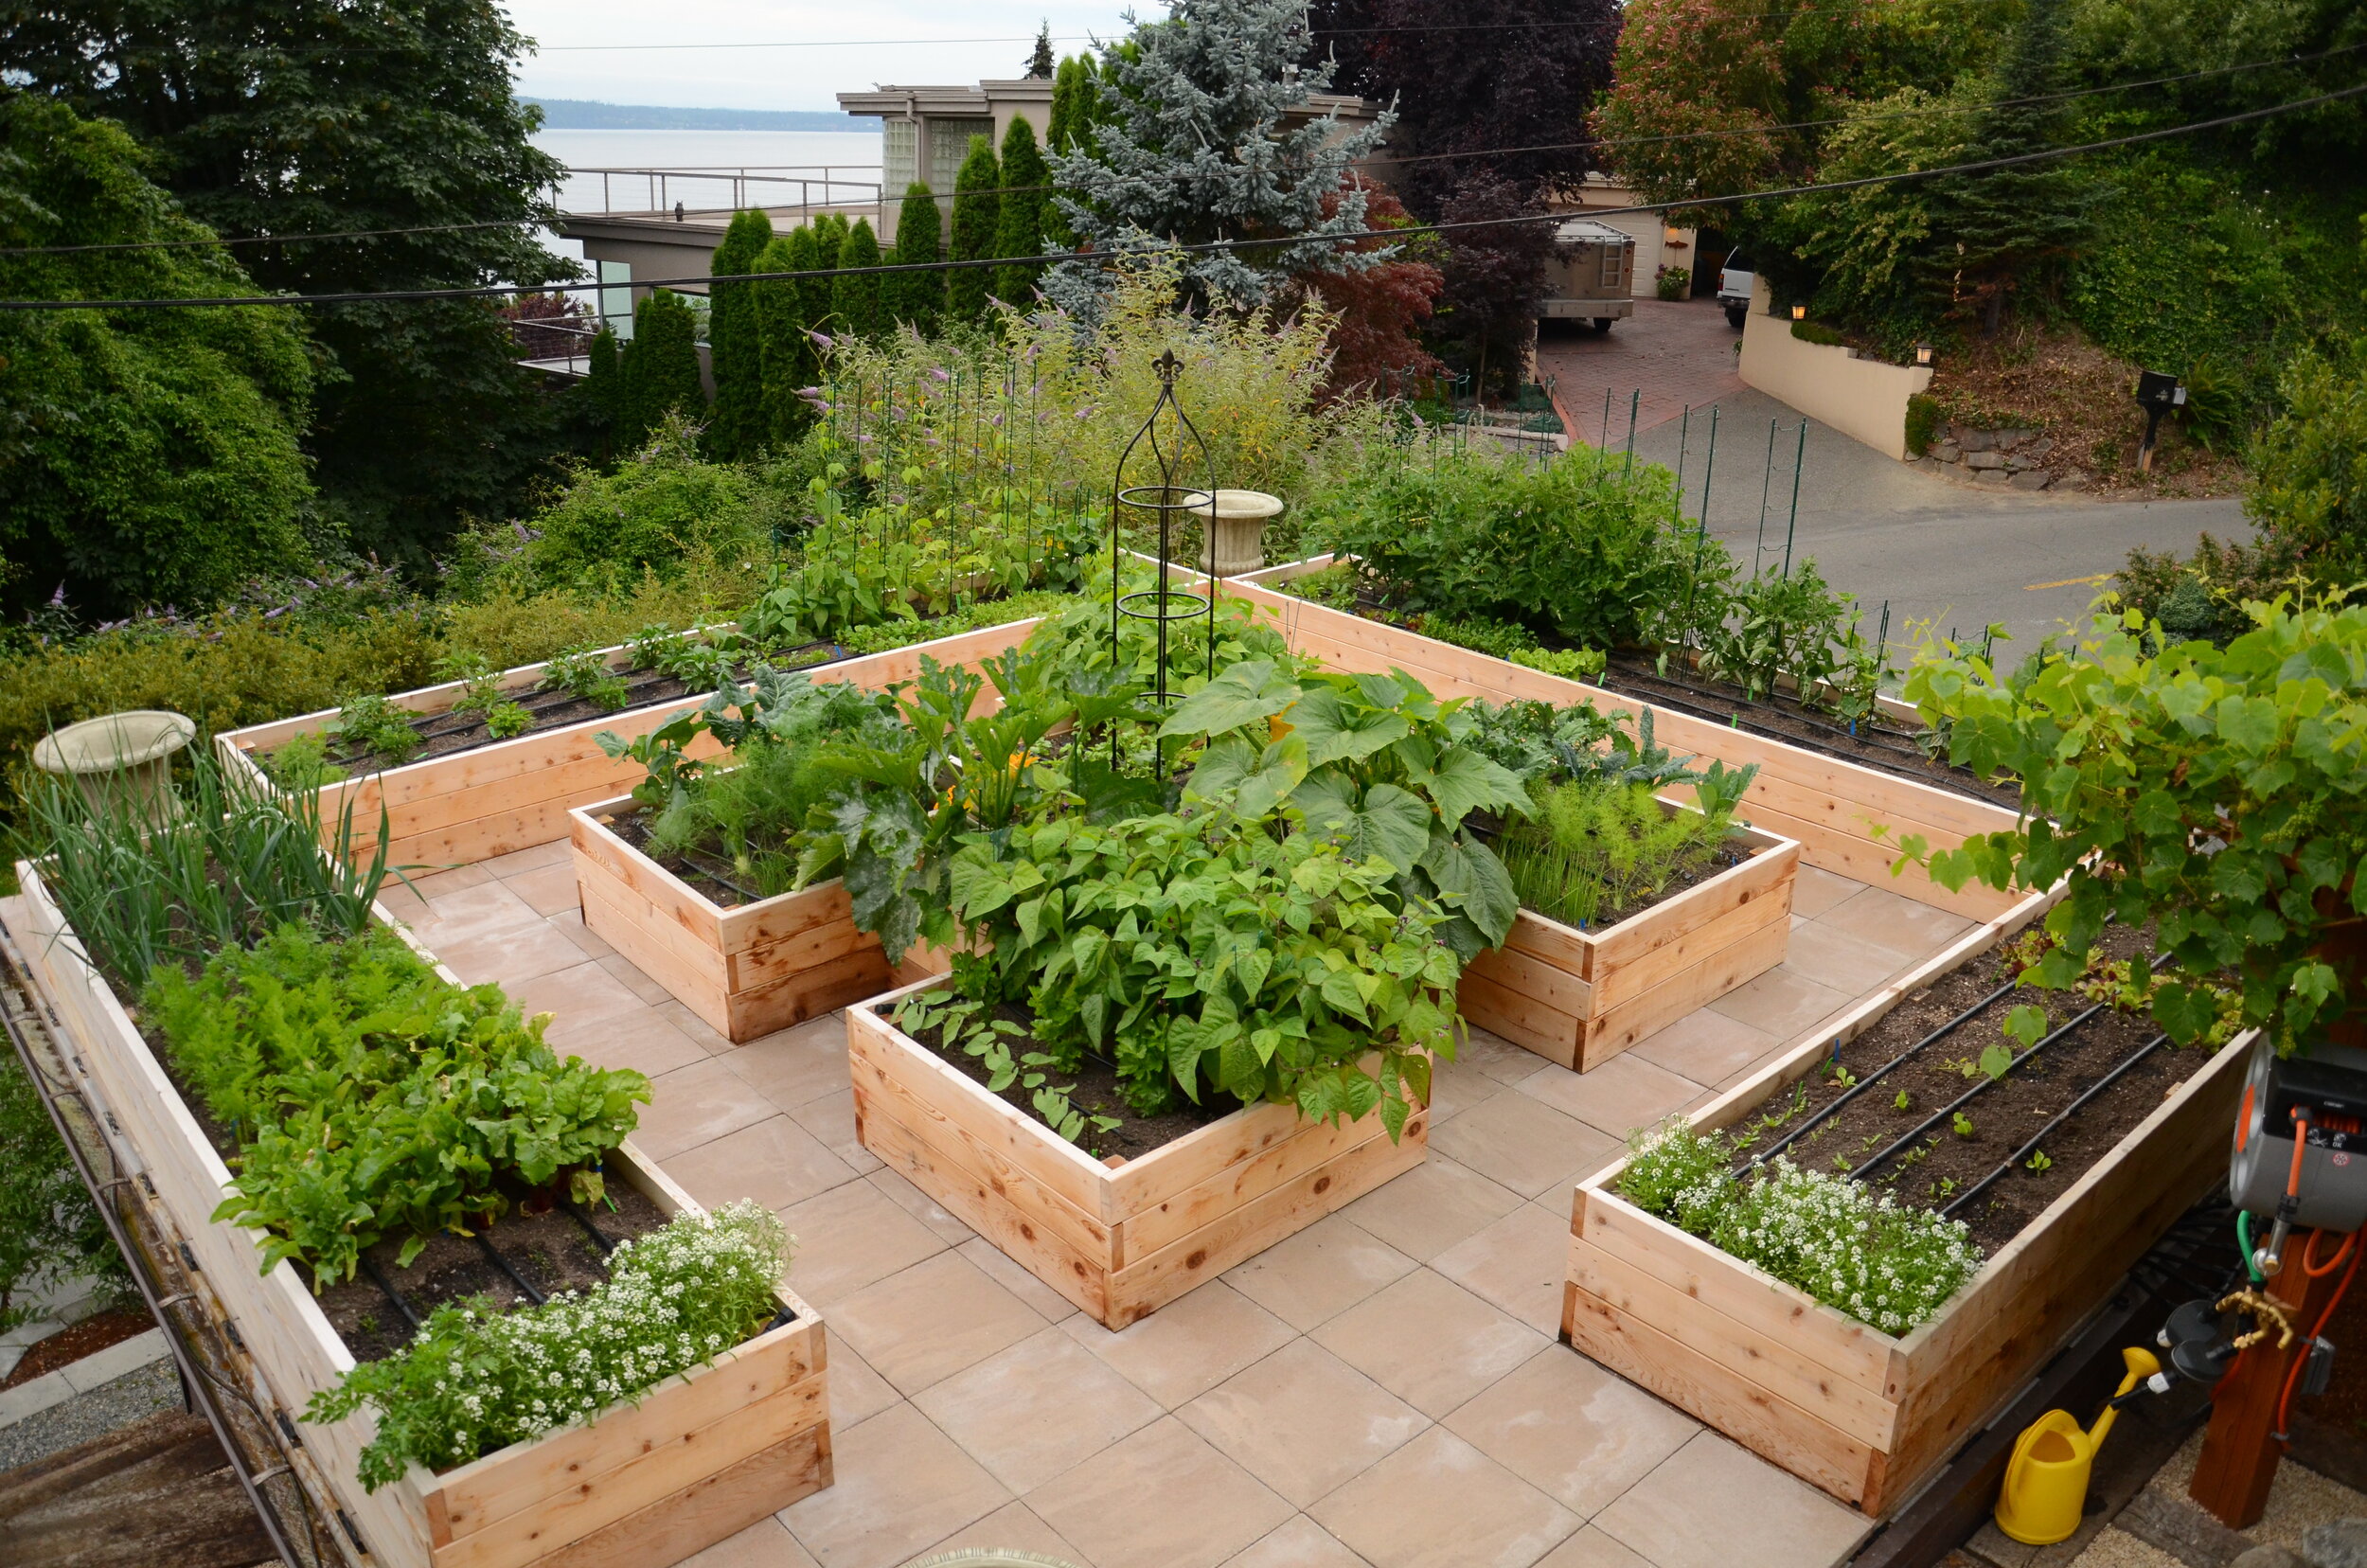
- Shape: The limited shape options can actually be a benefit; a garden filled with rectangular beds all the same size can look beautifully organized.
Cons:
- Cost: The upfront cost of purchasing supplies can be high, especially if you're on a tight budget.
- Shape: If you're not skilled at carpentry, you'll probably need to stick to creating rectangular or square beds. Fancy shapes will be too advanced for most DIY projects.
Stone Raised Beds
Stone raised beds offer a more rustic and durable alternative to wood. Here’s how to build them:
Materials Needed:
- Cobbled pavers or stone slabs
- Landscape fabric
- Gravel or mulch (optional)
- Trowel or mallet
- Level
Steps:
- Level the Ground: Ensure the area where you plan to build the bed is level. Use a tamper to compact the ground if necessary.
- Lay Down Landscape Fabric: Cut enough landscape fabric so that one end can be tucked underneath the bottom layer of stones and the rest will be flush against the bottom and middle stone layers on the inside of the bed.
- Build the Bottom Layer: Use flat stones on one side and tumbled stones on the other for better stability.
- Glue Stones Together: Use masonry glue to secure each stone as you build up the wall.
- Add Soil: Once the stone wall is complete, shovel in high-quality vegetable garden soil.
Hybrid Raised Beds
If you want a combination of both wood and stone, you can create hybrid raised beds:
Steps:
- Build Wooden Frame: Use dimensional lumber to create a rectangular frame for your raised bed.
- Add Stone Layers: Place cobbled pavers or stone slabs inside the wooden frame for added durability and aesthetics.
- Add Soil: Fill in between the stones with high-quality vegetable garden soil.
Step-by-Step Instructions
Step 1: Plan Your Garden Bed
Before you start building, it's essential to plan out your garden bed carefully:
- Measure Your Space: Determine how much space you have available in your yard or garden area.
- Decide on Size: Choose a size that fits comfortably within your space but also allows enough room for easy access and maintenance.
- Consider Shape: While rectangular shapes are easy to build, consider more organic shapes if they better suit your garden's design.
Step 2: Prepare the Site
Once you have planned out your garden bed, prepare the site by:
- Clearing Debris: Remove any debris or weeds from the area where you'll be building your raised garden bed.
- Leveling Ground: Ensure that the ground is level using a tamper or shovel if necessary.
- Mark Out Area: Use stakes and twine or graph paper to mark out where each corner of your raised bed will go.
Read more: How To Build A Cedar Raised Garden Bed
Step 3: Build Your Frame
Now it's time to start building your frame:
For Wood Raised Beds:
- Cut Lumber: Cut dimensional lumber into required lengths for sides and corners of your raised bed frame.
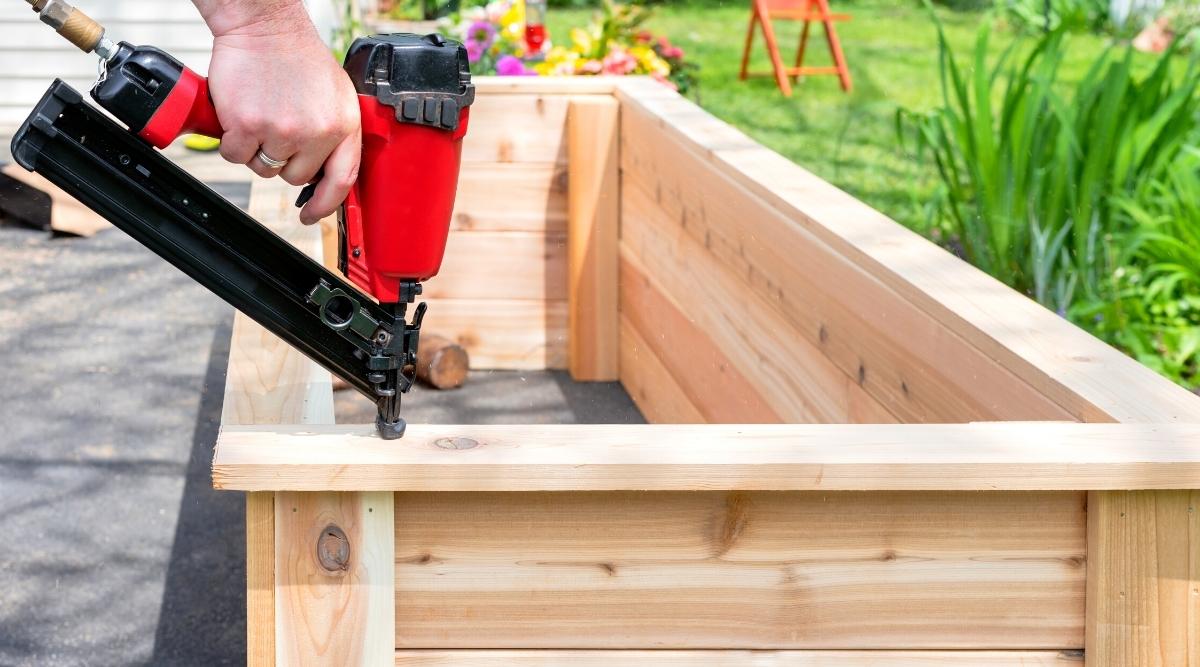
- Assemble Frame: Use screws or nails to assemble the frame pieces together at corners using corner brackets if necessary.
- Secure Frame: Ensure all corners are secure before moving on to adding soil or other materials inside.
For Stone Raised Beds:
- Lay Down Bottom Layer: Place flat stones along one side of where you want each corner of your raised bed wall.
- Add Middle Layer: Place tumbled stones on top of flat ones ensuring stability throughout structure’s height.
- Glue Stones Together: Use masonry glue between each stone layer ensuring no gaps remain between them which could allow soil leakage over time!
Step 4: Add Landscape Fabric
Landscape fabric helps prevent soil from coming out through gaps between stones/wooden planks:
- Cut Fabric: Cut enough landscape fabric so that one end can be tucked underneath bottom layer while rest remains flush against middle/top layers inside bed’s perimeter!
- Secure Fabric: Tuck under bottom layer ensuring no gaps remain between fabric & stone/wooden planks!
Step 5: Fill With Soil
Once frame & landscape fabric are ready fill up space between them high-quality vegetable garden soil ensuring proper drainage throughout structure’s height!
Optional Steps:
- Add Gravel/Mulch Layer: For better drainage & weed suppression add gravel/mulch layer above soil level!
- Plant Vegetables: Once soil settles down plant desired vegetables following specific spacing requirements based upon type being planted!
Tips & Tricks
Here are some additional tips & tricks which might come handy during construction process:
- Use Rot-Resistant Wood: If using wooden planks opt rot-resistant types like cedar/redwood ensuring longevity despite harsh weather conditions!
- Avoid Overcrowding: Plant vegetables at appropriate distances avoiding overcrowding which might lead poor growth/low yields!
- Regular Maintenance: Regularly inspect structure checking integrity ensuring no damage occurs over time requiring immediate repairs/replacements accordingly!
Conclusion
Building raised garden beds offers numerous benefits including improved drainage/soil quality making it easier grow variety vegetables even limited spaces By following steps outlined above combined tips/tricks provided earlier you’ll be well-equipped create beautiful functional space perfect growing your favorite fruits/vegetables year-round Happy gardening
Was this page helpful?
At Storables.com, we guarantee accurate and reliable information. Our content, validated by Expert Board Contributors, is crafted following stringent Editorial Policies. We're committed to providing you with well-researched, expert-backed insights for all your informational needs.

0 thoughts on “How To Build A Raised Garden Bed For Vegetables”