Home>Gardening & Outdoor>Landscaping Ideas>How To Build A Cedar Raised Garden Bed
Landscaping Ideas
How To Build A Cedar Raised Garden Bed
Modified: August 30, 2024
Learn how to create a beautiful and functional cedar raised garden bed with our expert landscaping ideas. Enhance your outdoor space today!
(Many of the links in this article redirect to a specific reviewed product. Your purchase of these products through affiliate links helps to generate commission for Storables.com, at no extra cost. Learn more)
Introduction
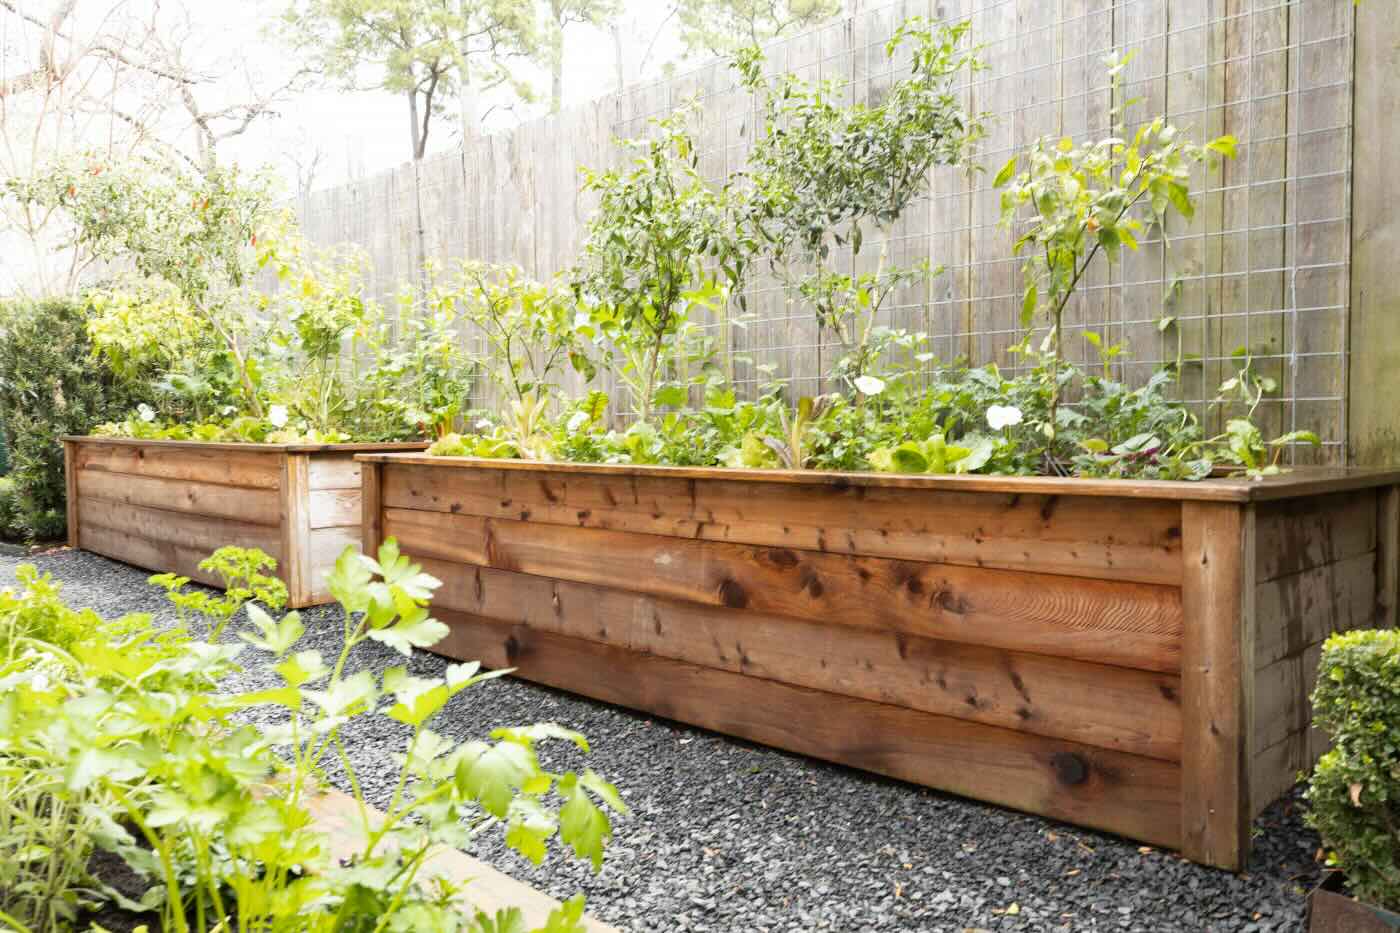
Welcome to the world of raised garden beds! If you're looking to elevate your gardening game and create a stunning, functional, and sustainable garden space, building a cedar raised garden bed is an excellent place to start. Whether you're a seasoned gardener or a green-thumbed novice, this project offers a fantastic opportunity to unleash your creativity and cultivate a thriving garden oasis right in your backyard.
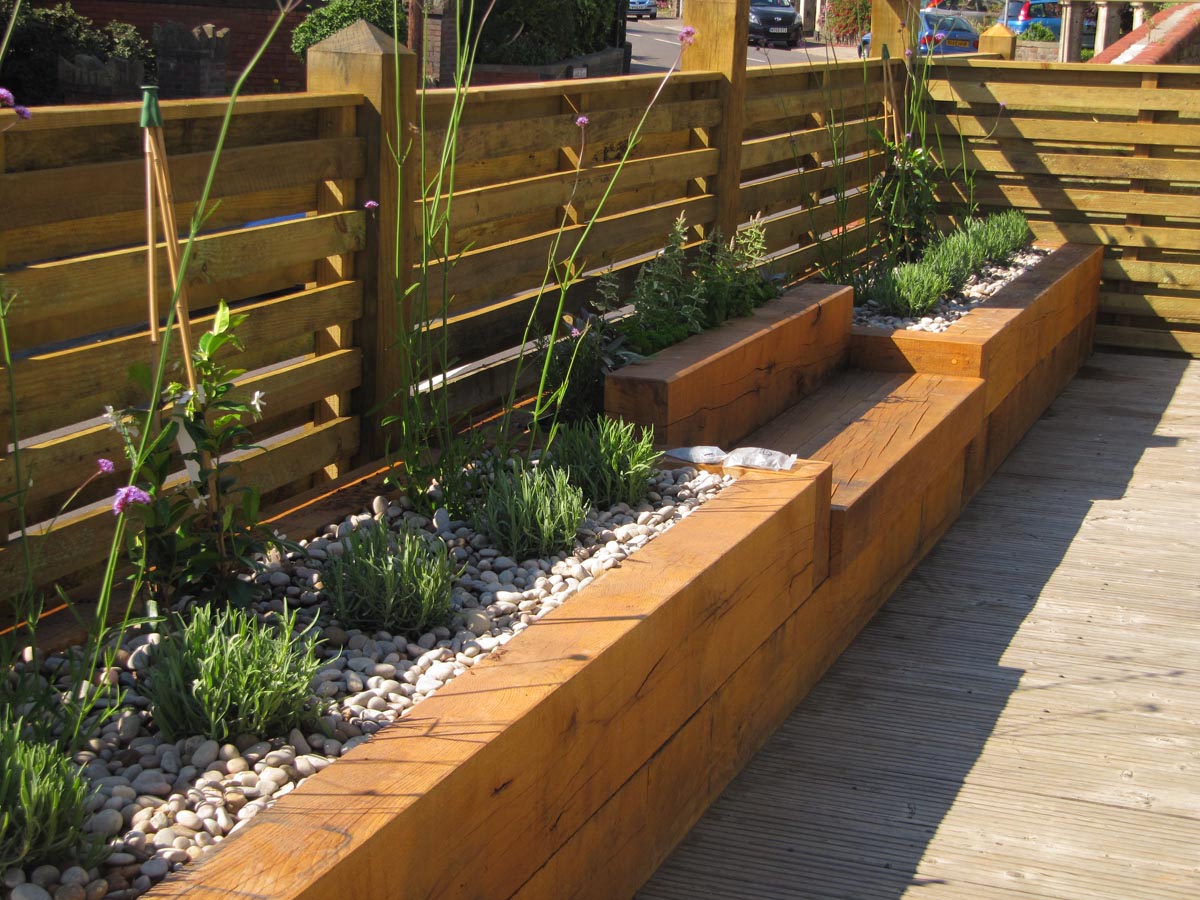
Cedar raised garden beds are not only aesthetically pleasing but also incredibly practical. The natural beauty and durability of cedar make it an ideal choice for constructing a raised bed that will withstand the elements while adding a touch of rustic charm to your outdoor space. By following a few simple steps, you can craft a custom-sized raised garden bed that suits your specific gardening needs and complements your landscape design.
In this comprehensive guide, we'll walk you through the process of building a cedar raised garden bed, from gathering the materials and tools to planting your favorite flowers, herbs, or vegetables. Whether you're aiming to grow a bountiful vegetable garden, create a vibrant floral display, or cultivate a mix of both, a cedar raised garden bed provides the perfect foundation for your gardening aspirations.
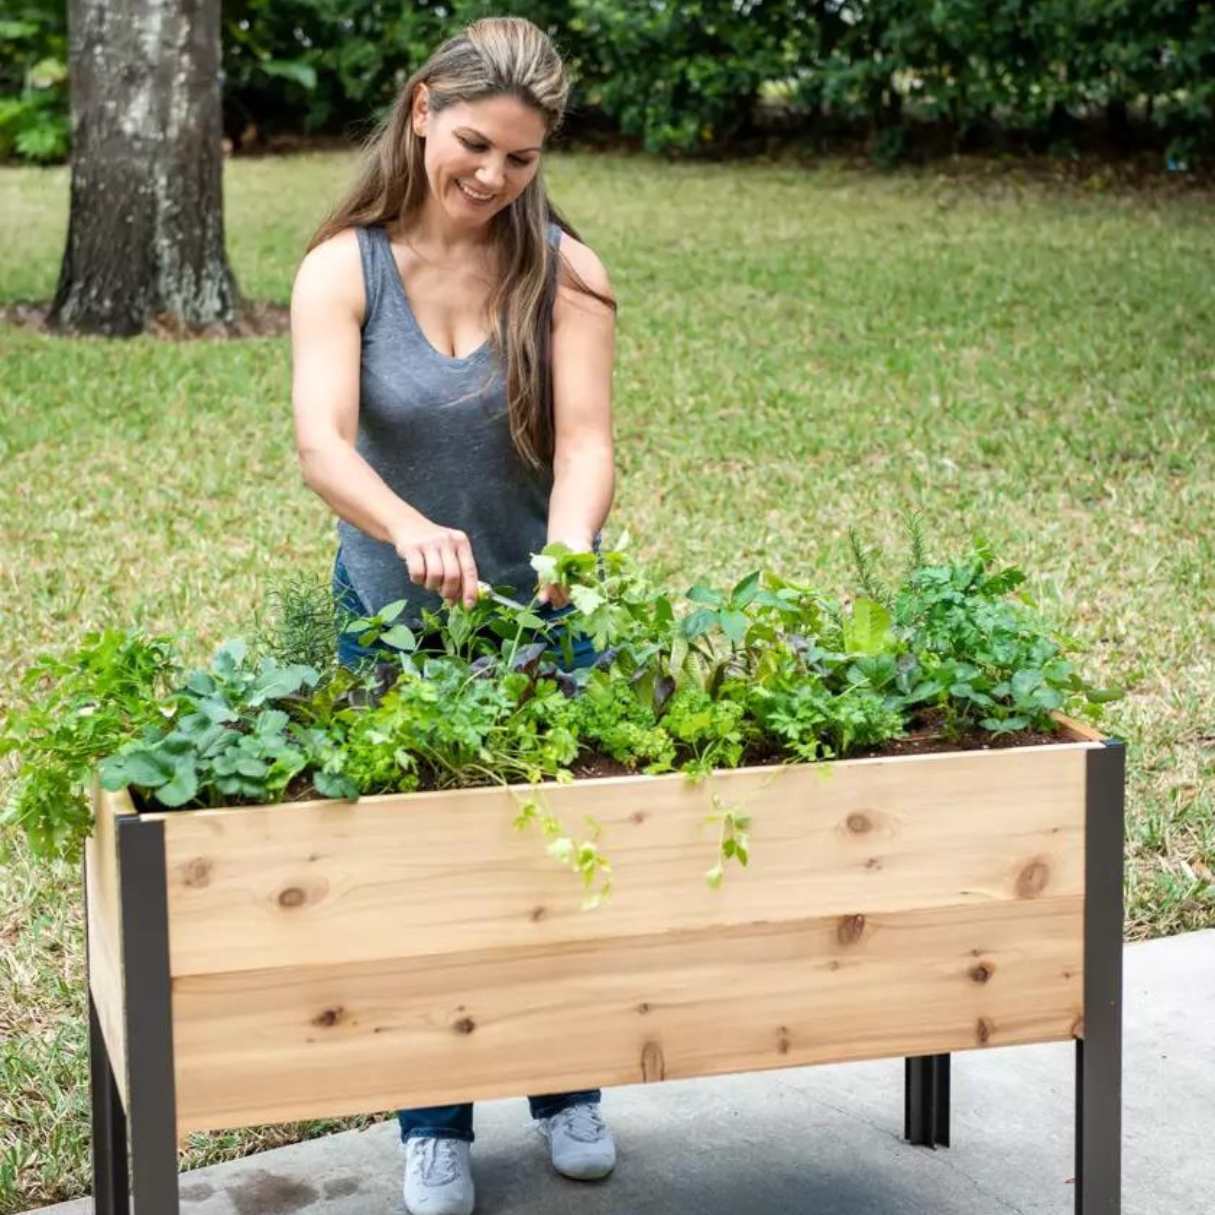
By the time you've completed this project, you'll have a beautiful and functional raised garden bed that not only enhances the visual appeal of your outdoor space but also offers a practical and ergonomic gardening solution. So, roll up your sleeves, grab your tools, and let's embark on this exciting journey to build a cedar raised garden bed that will become the centerpiece of your outdoor sanctuary.
Key Takeaways:
- Building a cedar raised garden bed is a fun and creative way to enhance your outdoor space, and it provides a sustainable and beautiful foundation for growing your favorite plants.
- By carefully assembling the cedar frame, adding nutrient-rich soil, and planting a variety of greenery, you can create a thriving garden oasis right in your backyard, bringing joy and natural beauty to your outdoor sanctuary.
Read more: How To Build A Stone Raised Garden Bed
Step 1: Gather Materials and Tools
Before diving into the construction of your cedar raised garden bed, it's essential to gather all the necessary materials and tools. This step sets the foundation for a smooth and efficient building process, ensuring that you have everything at hand to bring your vision to life.
Materials:
-
Cedar Boards: Opt for high-quality cedar boards, as they offer natural resistance to rot and insects, making them ideal for outdoor use. The dimensions of the boards will depend on the size of the raised bed you intend to build.
-
Galvanized Screws or Nails: Choose corrosion-resistant fasteners to secure the cedar boards, ensuring the longevity of your raised garden bed.
-
Landscape Fabric: This will be used to line the bottom of the raised bed, preventing soil from escaping while allowing for proper drainage.
-
Cardboard or Newspaper: These materials can be used to smother existing grass or weeds at the bed's location, providing a clean foundation for your raised garden bed.
-
Soil: Depending on the size of your raised bed, you'll need a sufficient amount of high-quality soil to fill it.
-
Compost and Mulch: These organic materials will enrich the soil and promote healthy plant growth within the raised bed.
Tools:
-
Measuring Tape: Essential for accurately determining the dimensions of the cedar boards and ensuring precise cuts.
-
Circular Saw or Handsaw: To cut the cedar boards to the required lengths.
-
Drill: Needed for pre-drilling holes and driving screws or nails into the cedar boards.
-
Level: Ensures that the raised bed's frame is perfectly horizontal, providing stability and a professional finish.
-
Work Gloves and Safety Glasses: To protect your hands and eyes during the construction process.
-
Shovel or Garden Trowel: For filling the raised bed with soil and planting your chosen greenery.
By gathering these materials and tools, you'll be well-prepared to embark on the next steps of building your cedar raised garden bed. With everything in place, you can proceed with confidence, knowing that you have the essentials to create a stunning and functional addition to your outdoor space.
Step 2: Cut the Cedar Boards
With the materials and tools assembled, it's time to move on to the next crucial step in building your cedar raised garden bed: cutting the cedar boards. This step requires precision and attention to detail to ensure that the boards are accurately sized and ready for assembly.
Begin by measuring and marking the cedar boards according to the dimensions of the raised bed you intend to construct. Using a measuring tape and a pencil, carefully mark the cutting lines on the boards, ensuring that the measurements are precise. Whether you're using a circular saw or a handsaw, it's essential to follow the marked lines closely to achieve clean and accurate cuts.
When cutting the cedar boards, prioritize safety by wearing appropriate protective gear, including safety glasses and work gloves. This will safeguard your eyes and hands from any wood debris or splinters during the cutting process. Additionally, maintaining a stable cutting surface and securing the boards firmly in place will contribute to a smooth and controlled cutting experience.
As you proceed with cutting the cedar boards, pay close attention to the angles and dimensions required for the various sections of the raised bed. Whether you're creating a rectangular, square, or custom-shaped raised bed, precision in cutting the boards is paramount to achieving a seamless and sturdy frame.
Once the boards are cut to the specified lengths, take a moment to inspect the edges and make any necessary adjustments to ensure that they fit together seamlessly during assembly. Smooth out any rough edges or splinters using sandpaper, creating a uniform and professional finish that enhances the overall aesthetic appeal of the raised garden bed.
By meticulously cutting the cedar boards to the precise dimensions and angles, you're laying the groundwork for a well-constructed and visually appealing raised garden bed. This step sets the stage for the subsequent assembly process, bringing you one step closer to realizing your vision of a beautiful and functional cedar raised garden bed.
Step 3: Assemble the Frame
With the cedar boards cut to the required dimensions, it's time to bring the raised garden bed to life by assembling the frame. This pivotal step forms the structural core of the raised bed, laying the foundation for its stability and visual appeal.
Begin by arranging the cut cedar boards in the desired configuration, whether it's a classic rectangular shape, a square design, or a custom layout tailored to your specific gardening needs. Position the boards on a flat and level surface, ensuring that they align seamlessly to form the perimeter of the raised bed.
Next, use galvanized screws or nails to secure the cedar boards at the corners, creating sturdy and durable joints that will withstand the test of time. Pre-drilling pilot holes before driving in the fasteners helps prevent the wood from splitting and ensures a secure connection between the boards.
As you progress with assembling the frame, periodically check for squareness and alignment using a carpenter's square and a level. This meticulous attention to detail ensures that the frame remains perfectly perpendicular and level, resulting in a professional and visually pleasing outcome.
If you're building a taller raised bed, consider adding additional support in the form of internal braces or stakes to reinforce the structure and prevent bowing or shifting over time. This extra reinforcement contributes to the long-term stability of the raised bed, especially when filled with soil and subjected to the elements.
Once the frame is securely assembled and all joints are reinforced, take a moment to admire your handiwork. The sight of the sturdy cedar frame taking shape is a testament to your craftsmanship and dedication to creating a beautiful and functional garden space.
By completing the assembly of the frame, you've reached a significant milestone in the construction of your cedar raised garden bed. The frame serves as the backbone of the raised bed, setting the stage for the subsequent steps of adding the bottom, filling it with soil, and bringing your garden to life. With the frame in place, you're one step closer to enjoying the fruits of your labor and witnessing the transformation of your outdoor space into a flourishing garden oasis.
Step 4: Add the Bottom
With the sturdy frame of your cedar raised garden bed assembled, the next crucial step is to add the bottom, which serves as a barrier between the soil and the ground below. This essential component not only helps contain the soil within the raised bed but also plays a vital role in promoting proper drainage and preventing the intrusion of weeds and pests.
To begin, lay a layer of landscape fabric across the interior bottom of the cedar frame. The landscape fabric acts as a protective barrier, inhibiting the growth of weeds while allowing water to drain freely from the soil. Ensure that the fabric extends to cover the entire base of the raised bed, trimming any excess material as needed.
Following the placement of the landscape fabric, consider adding a layer of cardboard or several sheets of newspaper over the fabric. This additional step further suppresses weed growth and provides an eco-friendly solution for smothering any existing vegetation beneath the raised bed. The cardboard or newspaper will naturally decompose over time, enriching the soil while serving as a sustainable weed deterrent.
With the weed-suppressing layers in place, it's time to introduce the star of the show – the soil. Fill the cedar raised garden bed with a high-quality soil mix, ensuring that it reaches the desired level within the frame. Whether you're cultivating a vegetable garden, a vibrant flower bed, or a combination of both, the soil serves as the lifeblood of your garden, providing essential nutrients and a hospitable environment for plant growth.
As you fill the raised bed with soil, take the opportunity to assess the depth and consistency, making any necessary adjustments to achieve a level surface. Use a garden rake or trowel to evenly distribute the soil, creating a uniform foundation for your future plantings.
In addition to the soil, consider incorporating compost and mulch into the mix to enrich the growing medium and promote healthy plant development. These organic amendments contribute valuable nutrients to the soil, fostering a thriving ecosystem within your raised garden bed.
By adding the bottom to your cedar raised garden bed and filling it with nutrient-rich soil, you've laid the groundwork for a flourishing garden that's ready to accommodate a diverse array of plants. This pivotal step sets the stage for the final phase of planting your garden, bringing you one step closer to reaping the rewards of your labor and witnessing the beauty of your carefully nurtured greenery.
When building a cedar raised garden bed, make sure to use galvanized or stainless steel screws to prevent rusting and ensure the longevity of the bed.
Step 5: Fill with Soil
Filling your cedar raised garden bed with soil is a transformative and pivotal step that sets the stage for the vibrant growth and flourishing beauty of your garden. As you pour the soil into the raised bed, envision the potential of this fertile ground to nurture a diverse array of plants, from luscious vegetables to colorful blooms.
The soil you choose plays a crucial role in the success of your garden. Opt for a high-quality, well-draining soil mix that provides a balanced foundation for plant growth. Consider a blend that incorporates organic matter, such as compost and peat moss, to enrich the soil with essential nutrients and improve its water retention capacity. This nutrient-rich soil will create an optimal environment for your plants to thrive, promoting robust root development and abundant foliage.
As you fill the raised bed with soil, aim for a level surface that reaches the desired depth within the frame. Use a garden rake or trowel to evenly distribute the soil, ensuring that it extends to all corners and edges of the raised bed. Pay attention to achieving a uniform soil depth, as this will contribute to consistent moisture levels and root development across your garden.
The act of filling the raised bed with soil is a moment of anticipation and promise, as you prepare the canvas for your gardening aspirations. Whether you're envisioning rows of vibrant vegetables, a tapestry of aromatic herbs, or a kaleidoscope of blossoming flowers, the soil serves as the nurturing medium that will support and sustain your garden's growth.
Consider the specific needs of the plants you intend to cultivate and tailor the soil mix accordingly. Some plants thrive in well-draining, sandy soil, while others prefer a loamy texture that retains moisture. By customizing the soil composition to accommodate the preferences of your chosen plants, you set the stage for a harmonious and thriving garden ecosystem.
In addition to the soil, consider incorporating a layer of mulch on the surface of the raised bed. Mulch helps conserve moisture, suppresses weed growth, and regulates soil temperature, creating a hospitable environment for your plants. Organic mulching materials, such as wood chips or straw, not only enhance the visual appeal of the garden but also contribute to the overall health of the soil and plants.
As you complete the process of filling your cedar raised garden bed with soil, take a moment to appreciate the potential that lies within this fertile expanse. The soil represents the foundation of your gardening journey, offering a nurturing environment in which your greenery will take root, flourish, and ultimately yield the bountiful rewards of your labor.
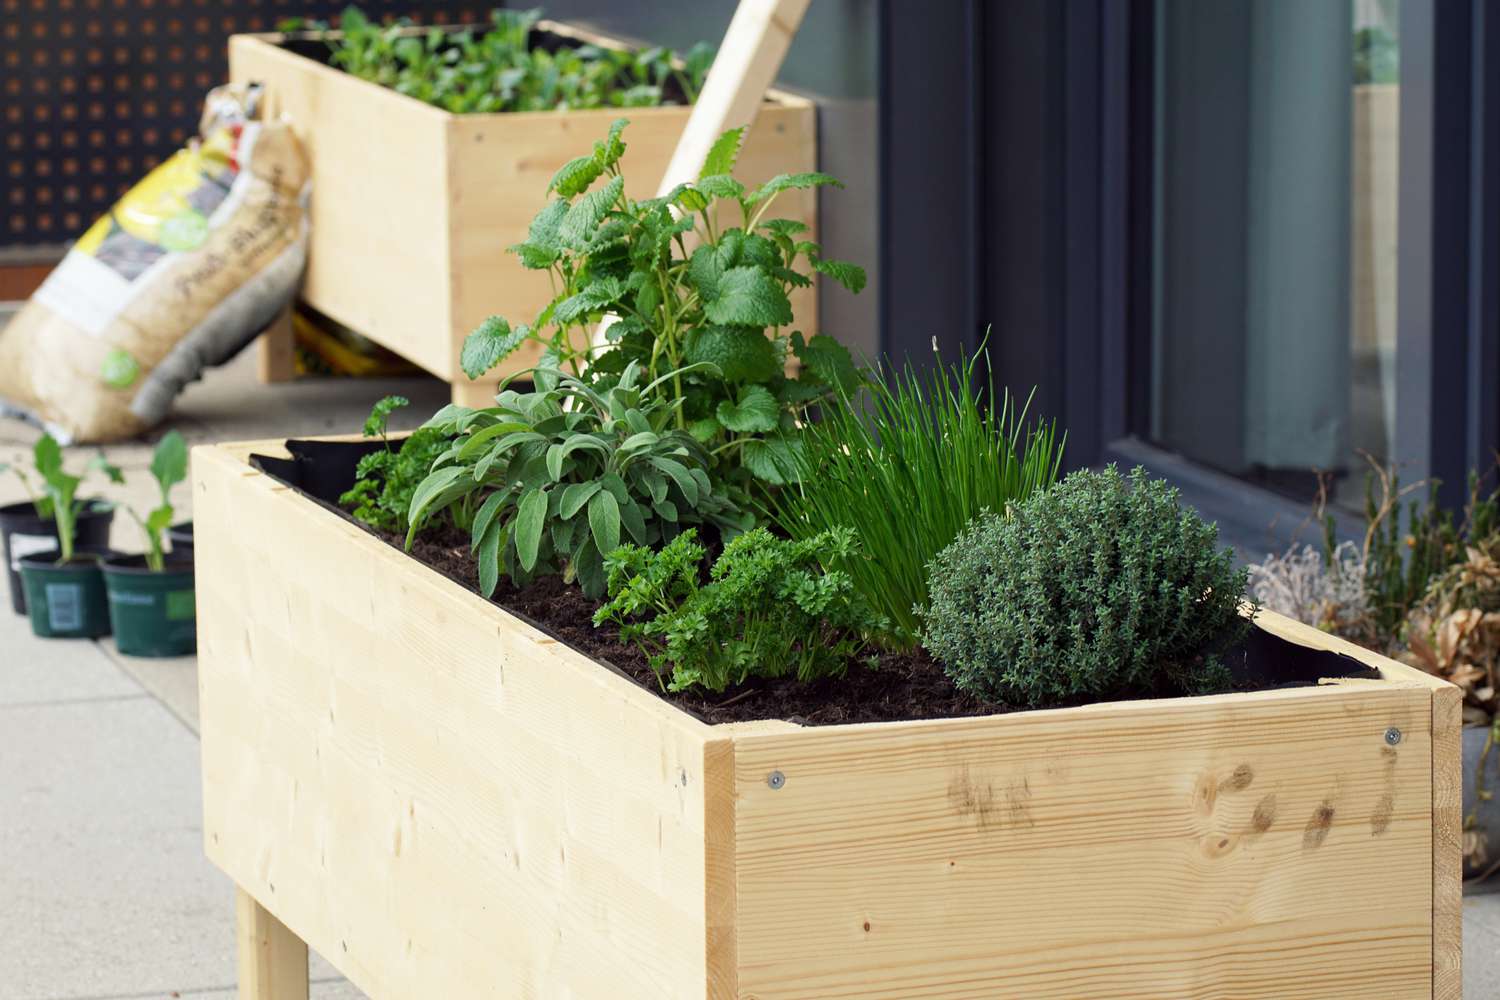
Step 6: Plant Your Garden
With the soil in place and the raised bed primed for planting, it's time to bring your garden to life. This step marks the culmination of your efforts, as you carefully select and nurture the greenery that will grace your cedar raised garden bed.
Begin by considering the layout and arrangement of your garden. Whether you're cultivating a vegetable patch, a herb garden, or a floral paradise, thoughtful planning can maximize the visual impact and productivity of your space. Take into account the sunlight exposure, spacing requirements, and the growth habits of the plants you intend to cultivate. This strategic approach will ensure that each plant thrives and contributes to the overall beauty and functionality of your garden.
When selecting plants for your raised bed, consider a mix of varieties that complement each other in terms of aesthetics and practicality. For a vegetable garden, choose a diverse selection of crops that thrive in your climate and offer a range of flavors and textures. Incorporate leafy greens, vibrant tomatoes, crisp cucumbers, and robust root vegetables to create a rich tapestry of edible delights.
If you're leaning towards a floral display, explore an assortment of annuals, perennials, and flowering shrubs that bloom at different times, ensuring a continuous spectacle of color throughout the seasons. Embrace a palette of hues and textures, from delicate petals to lush foliage, to create a visually captivating and dynamic garden landscape.
As you plant your chosen greenery, pay attention to spacing and depth requirements, ensuring that each plant has ample room to grow and thrive. Gently loosen the roots and position the plants at the appropriate depth, then backfill with soil and gently tamp around the base to provide stability.
Consider incorporating companion planting strategies to enhance the health and productivity of your garden. Pairing compatible plants can deter pests, improve pollination, and optimize space utilization, fostering a harmonious and mutually beneficial ecosystem within your raised bed.
Once your garden is planted, provide ample water to help the plants establish themselves in their new environment. Monitor the moisture levels regularly and adjust your watering routine based on the specific needs of the plants and the prevailing weather conditions.
As you witness the first tender shoots emerge and the vibrant colors of your garden come to life, take pride in the transformation you've orchestrated. Your cedar raised garden bed is now a living, breathing testament to your dedication and creativity, offering a sanctuary of natural beauty and abundance right in your own backyard.
Conclusion
As you stand back and admire the culmination of your efforts, the completion of your cedar raised garden bed marks the beginning of a transformative journey. This beautifully crafted and meticulously nurtured garden space is not just a physical addition to your outdoor landscape; it represents a sanctuary of growth, vitality, and natural beauty.
The process of building and cultivating a cedar raised garden bed is a testament to your passion for gardening and your commitment to creating a sustainable and visually captivating outdoor oasis. From the initial selection of materials to the final planting of your chosen greenery, every step has been infused with your creativity, care, and vision for a thriving garden space.
Your cedar raised garden bed stands as a symbol of sustainability and environmental consciousness. By choosing cedar, a naturally durable and rot-resistant wood, you've embraced a material that harmonizes with the surrounding landscape while offering long-lasting functionality. This eco-friendly approach to gardening reflects a deep respect for the natural world and a commitment to nurturing a greener, more sustainable environment.
Beyond its practical benefits, your raised garden bed embodies the potential for growth and renewal. As you carefully fill it with nutrient-rich soil and tenderly plant your chosen greenery, you're sowing the seeds of a vibrant and flourishing garden. The raised bed becomes a canvas for your gardening aspirations, a space where you can cultivate a diverse array of plants, from bountiful vegetables to captivating flowers, and witness the cycle of life unfold before your eyes.
Moreover, your cedar raised garden bed is a testament to the power of creativity and craftsmanship. The meticulous cutting and assembly of the cedar boards, the thoughtful selection of plants, and the strategic arrangement of your garden reflect your artistic sensibilities and your ability to transform raw materials into a living work of art. This fusion of creativity and functionality elevates your outdoor space, infusing it with a sense of natural elegance and purposeful design.
As you embark on this journey of gardening and stewardship, your cedar raised garden bed becomes a focal point for relaxation, inspiration, and connection with nature. It invites you to immerse yourself in the rhythms of the natural world, to nurture and tend to the greenery that thrives within its confines, and to reap the bountiful rewards of your labor.
In conclusion, your cedar raised garden bed is more than a structure; it's a testament to your dedication, creativity, and reverence for the beauty of the natural world. It stands as a living embodiment of your passion for gardening, a source of joy and fulfillment, and a lasting legacy of your commitment to sustainable living and the timeless art of cultivating a flourishing garden.
Frequently Asked Questions about How To Build A Cedar Raised Garden Bed
Was this page helpful?
At Storables.com, we guarantee accurate and reliable information. Our content, validated by Expert Board Contributors, is crafted following stringent Editorial Policies. We're committed to providing you with well-researched, expert-backed insights for all your informational needs.

0 thoughts on “How To Build A Cedar Raised Garden Bed”