Home>Construction & Tools>Building Materials>How To Build Brick Raised Beds
Building Materials
How To Build Brick Raised Beds
Modified: October 18, 2024
Learn how to build brick raised beds using high-quality building materials. Create a durable and attractive garden feature with our step-by-step guide.
(Many of the links in this article redirect to a specific reviewed product. Your purchase of these products through affiliate links helps to generate commission for Storables.com, at no extra cost. Learn more)
Introduction
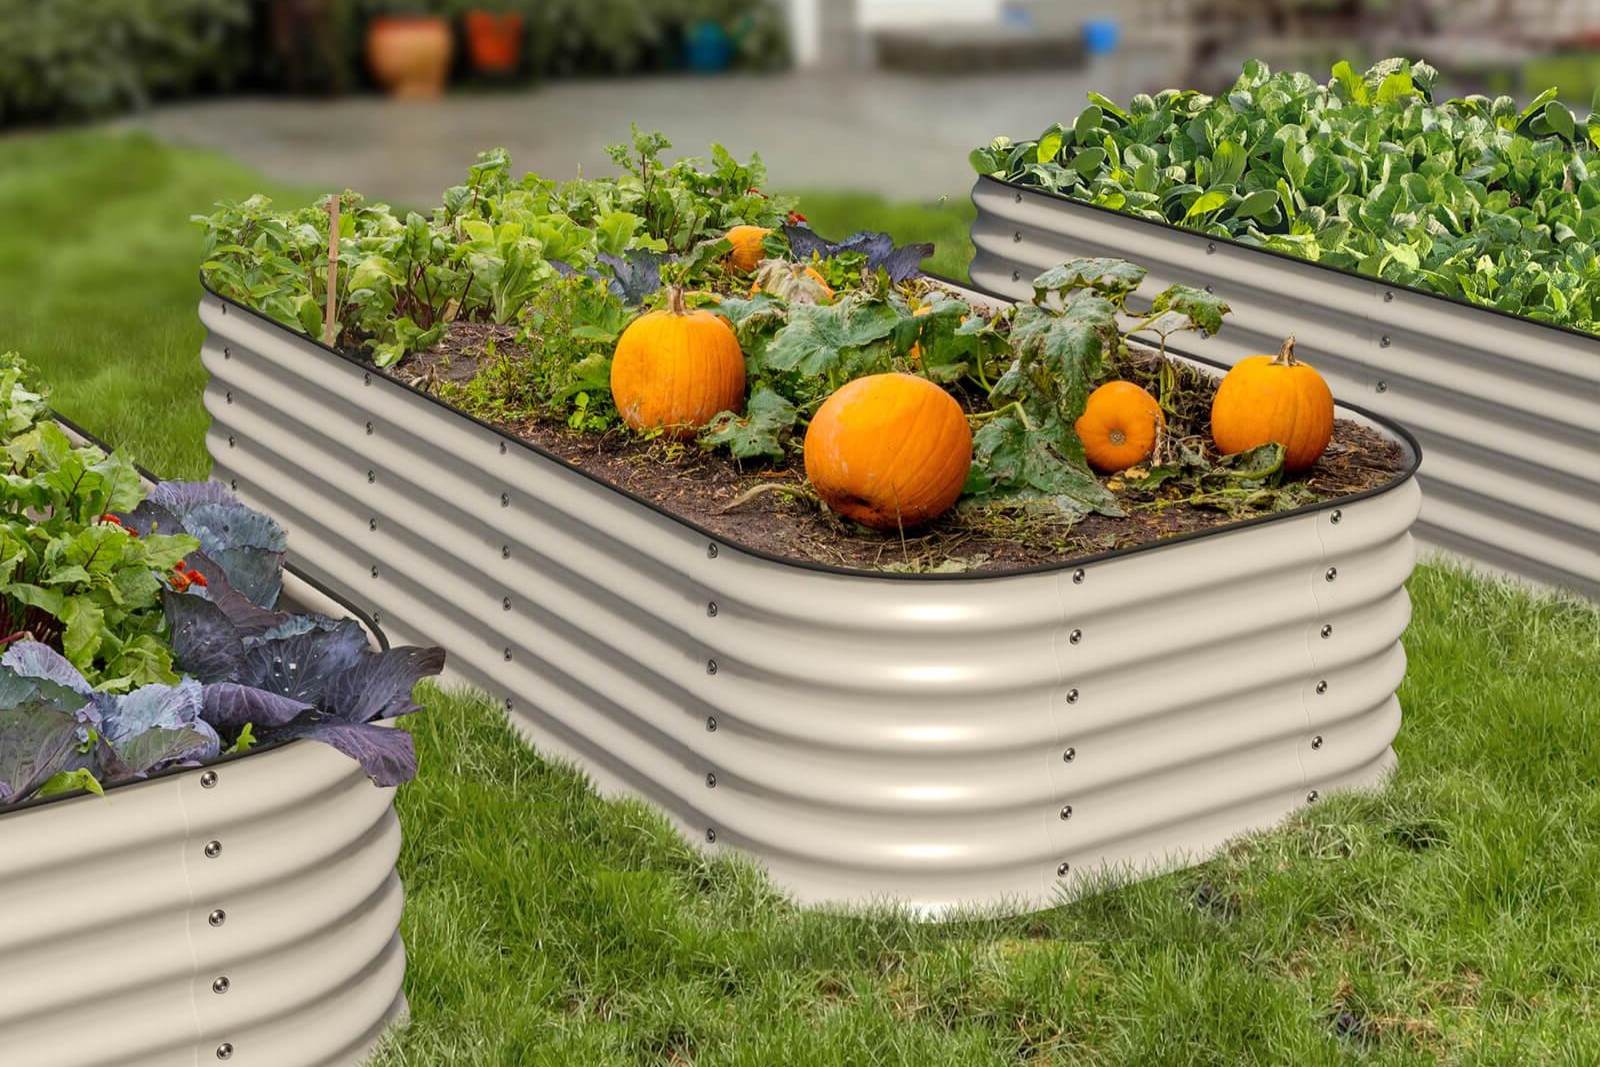
Welcome to the world of gardening, where the possibilities are as endless as the beauty that nature provides. If you’re considering building a raised garden bed, using bricks as the building material can be a durable and visually appealing choice. Whether you’re a seasoned gardener or just starting out, building a brick raised bed can add a touch of elegance to your outdoor space while providing a practical solution for cultivating plants.
In this guide, we’ll explore the step-by-step process of building a brick raised bed, from selecting the materials to planting your favorite flowers or vegetables. We’ll also delve into the factors to consider when choosing the location, preparing the site, and maintaining the raised bed. By the end of this journey, you’ll be equipped with the knowledge and inspiration to create a stunning brick raised bed that enhances both the aesthetic and productivity of your garden.
So, roll up your sleeves, grab your gardening gloves, and let’s embark on this rewarding endeavor of building a brick raised bed that will elevate your gardening experience.
Key Takeaways:
- Building a brick raised bed involves careful planning, from selecting the ideal location to laying the bricks with precision. It’s a rewarding journey that combines craftsmanship and nature’s beauty.
- Once your brick raised bed is built, filling it with high-quality soil and planting your favorite greenery is the next step. Ongoing maintenance ensures a thriving garden sanctuary that reflects your dedication to gardening.
Read more: How To Make A Raised Garden Bed With Bricks
Materials Needed
Before diving into the construction of your brick raised bed, it’s essential to gather all the necessary materials. Here’s a list of items you’ll need to bring your vision to life:
- Bricks: Choose high-quality bricks that are suitable for outdoor use. Opt for a quantity that matches the dimensions of your desired raised bed.
- Mortar: Select a durable mortar that is designed for bricklaying. This will ensure the stability and longevity of your raised bed.
- Shovel: A sturdy shovel will be indispensable for excavating the site and preparing the ground for the base of the raised bed.
- Level: To ensure that your raised bed is even and well-aligned, a level will be essential for achieving precision during the construction process.
- Tape Measure: Accurate measurements are crucial for creating a well-proportioned raised bed. A tape measure will help you maintain consistency and precision.
- Landscape Fabric: This material will serve as a barrier to prevent weeds from infiltrating your raised bed while allowing water to drain effectively.
- Gloves: Protect your hands during the construction process by wearing durable gardening gloves.
- Soil: Once your raised bed is constructed, you’ll need a high-quality soil mix to fill it. Consider a blend that is suitable for the specific plants you intend to grow.
- Plants or Seeds: Depending on your gardening goals, select the plants or seeds that will thrive in your raised bed environment.
- Watering Can or Hose: To keep your newly planted raised bed hydrated, a watering can or hose will be essential for maintaining optimal moisture levels.
By ensuring that you have all these materials on hand, you’ll be well-prepared to begin the construction of your brick raised bed without unnecessary interruptions or delays.
Choosing the Location
When it comes to building a brick raised bed, the location plays a pivotal role in the success of your gardening endeavors. Before breaking ground, take the time to carefully select the ideal spot for your raised bed. Here are some factors to consider when choosing the location:
- Sunlight: Assess the sunlight patterns in your outdoor space. Most plants thrive in full sun, so aim to position your raised bed in an area that receives at least 6-8 hours of sunlight per day. However, if you plan to grow shade-loving plants, such as certain varieties of lettuce or spinach, a partially shaded area may be more suitable.
- Accessibility: Consider the accessibility of the raised bed. Ensure that it’s conveniently located for watering, weeding, and harvesting. If you have mobility considerations, choose a location that is easily reachable and navigable.
- Drainage: Evaluate the drainage patterns in the chosen area. Avoid low-lying spots that may become waterlogged, as excessive moisture can adversely impact plant health. Additionally, ensure that the location allows for proper water runoff to prevent flooding during heavy rainfall.
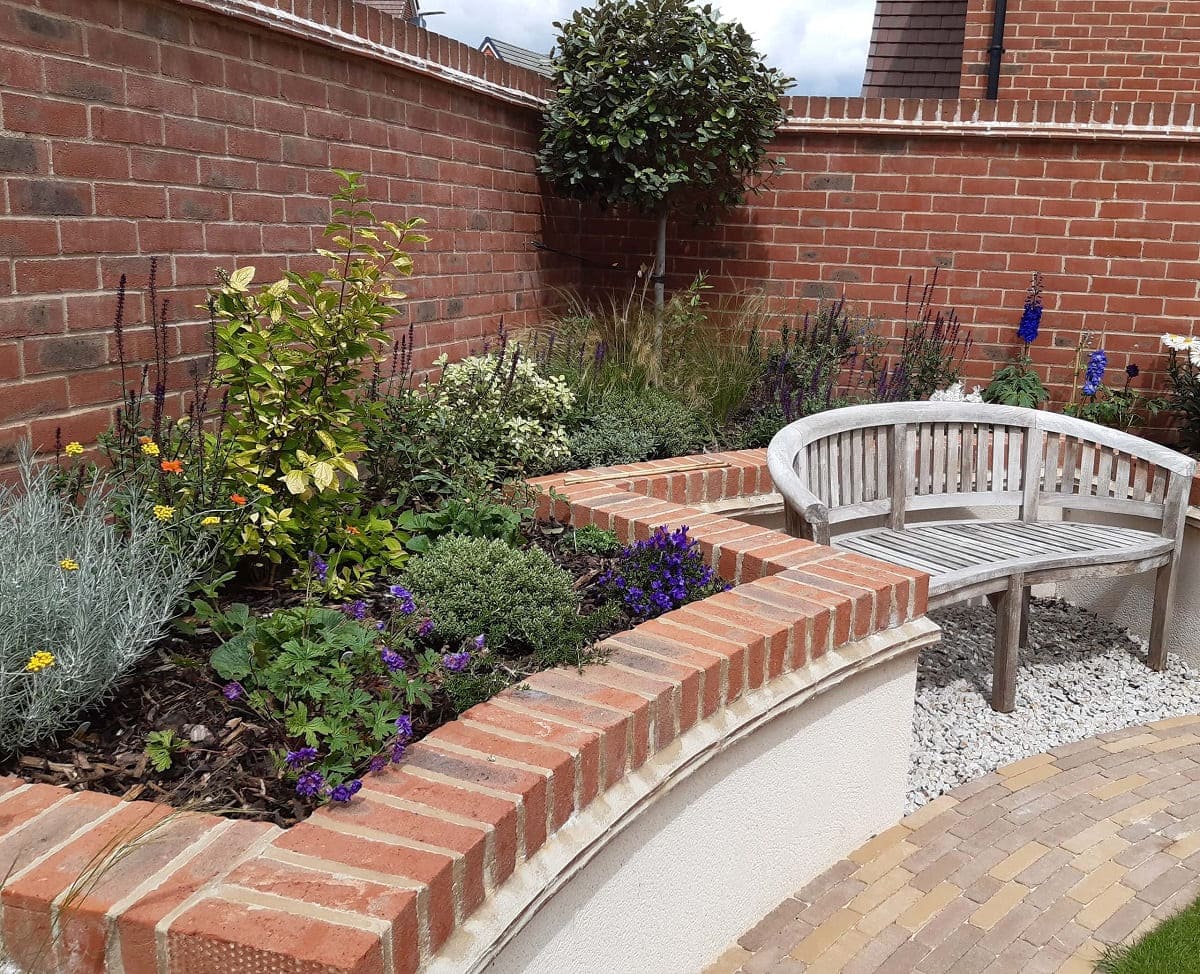
- Aesthetic Appeal: Take into account the visual impact of the raised bed within your garden landscape. Consider how it will complement the surrounding elements and contribute to the overall aesthetic appeal of your outdoor space.
- Space Considerations: Determine the size and shape of the raised bed based on the available space. Whether you’re opting for a rectangular, square, or circular design, ensure that it harmonizes with the dimensions of your garden while leaving ample room for pathways and other features.
By carefully considering these factors, you can select a location that optimizes the growing conditions for your plants while integrating seamlessly into your garden environment. Once you’ve identified the perfect spot, you’re ready to move on to the next steps of preparing the site and constructing your brick raised bed.
Preparing the Site
With the location of your brick raised bed determined, it’s time to prepare the site for construction. This crucial step sets the foundation for a successful and enduring raised bed. Here’s a comprehensive guide to preparing the site:
- Clear the Area: Begin by clearing the selected area of any debris, rocks, or existing vegetation. This will provide a clean canvas for building your raised bed and prevent potential obstructions during the construction process.
- Excavate the Ground: Use a shovel to excavate the ground to the desired depth for the base of your raised bed. Remove any grass, roots, or weeds to create a level surface for laying the foundation.
- Level the Ground: Once the ground is excavated, use a level to ensure that the surface is even and free of any uneven spots. This step is crucial for establishing a stable and well-balanced foundation for your raised bed.
- Install Landscape Fabric: To prevent weed growth and maintain optimal soil conditions, lay landscape fabric over the prepared area. Trim the fabric to fit the dimensions of your raised bed, securing it in place to create a barrier against unwanted vegetation.
- Mark the Layout: Use stakes and string to outline the dimensions and shape of your raised bed on the prepared site. This visual guide will help you visualize the final placement and ensure that the dimensions align with your gardening plans.
By meticulously preparing the site, you’ll create a solid foundation for the construction of your brick raised bed. This groundwork sets the stage for the next steps, including building the base and laying the bricks to bring your vision to fruition.
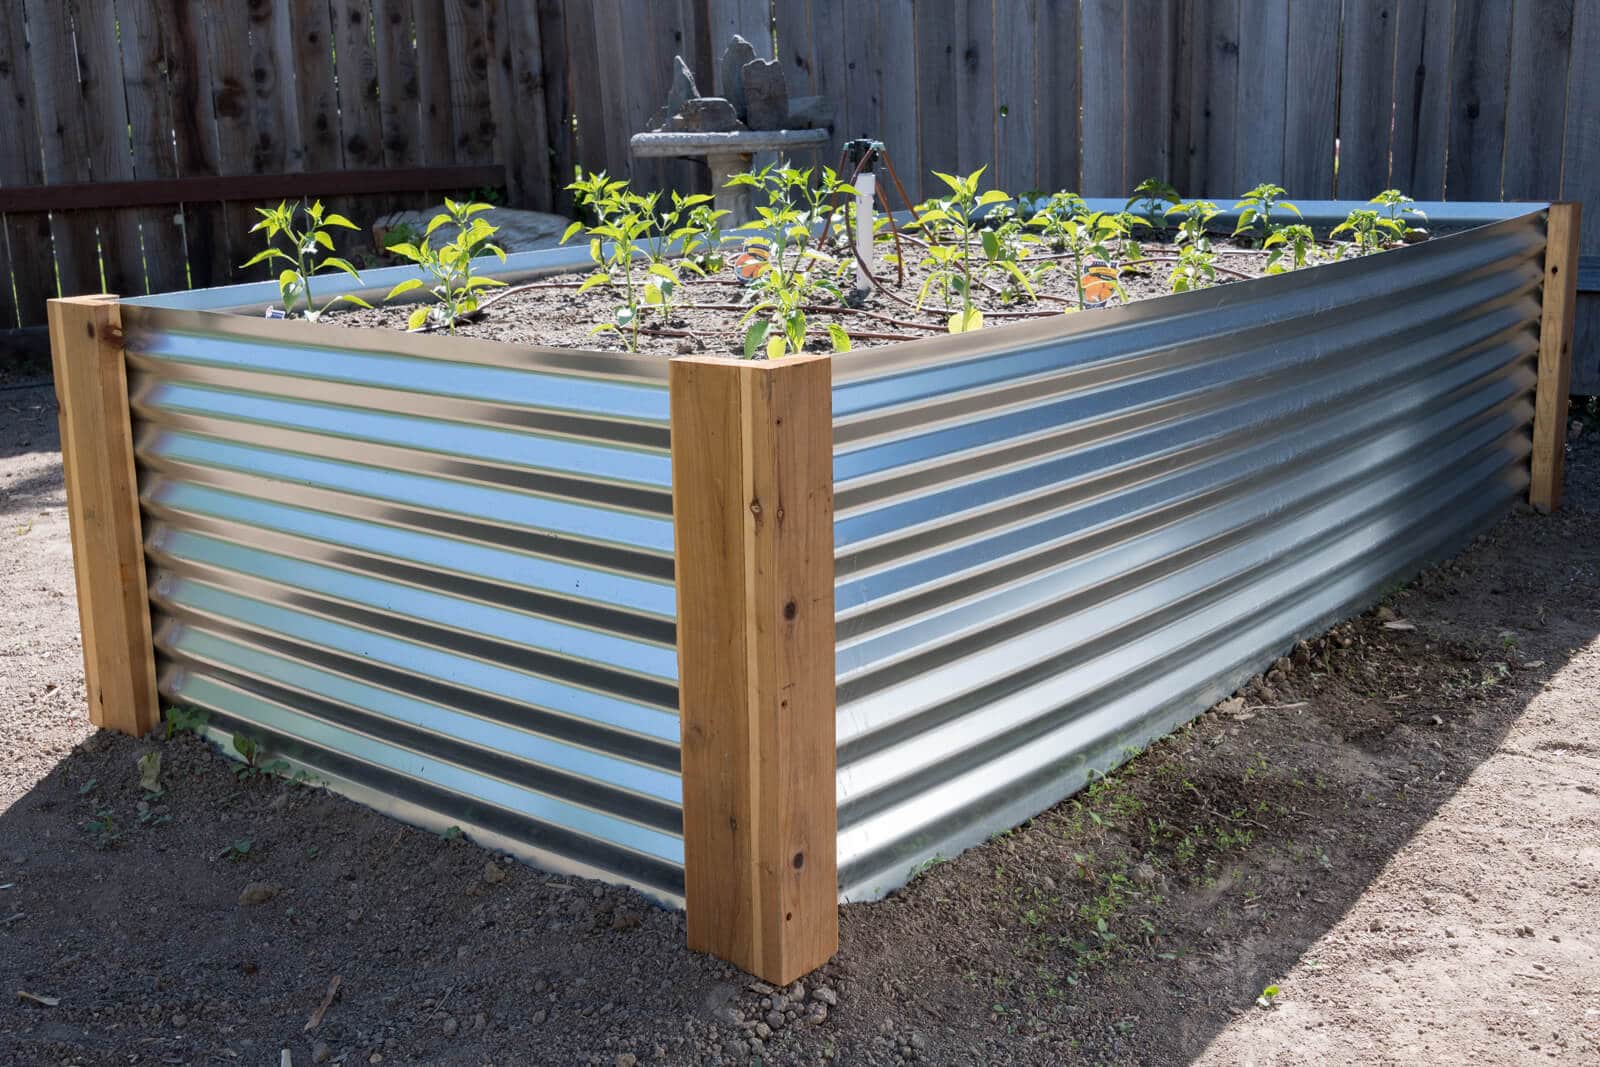
Building the Base
With the site prepared, it’s time to embark on the construction of the base for your brick raised bed. The base serves as the fundamental support structure, providing stability and durability for your raised bed. Follow these steps to build a solid base:
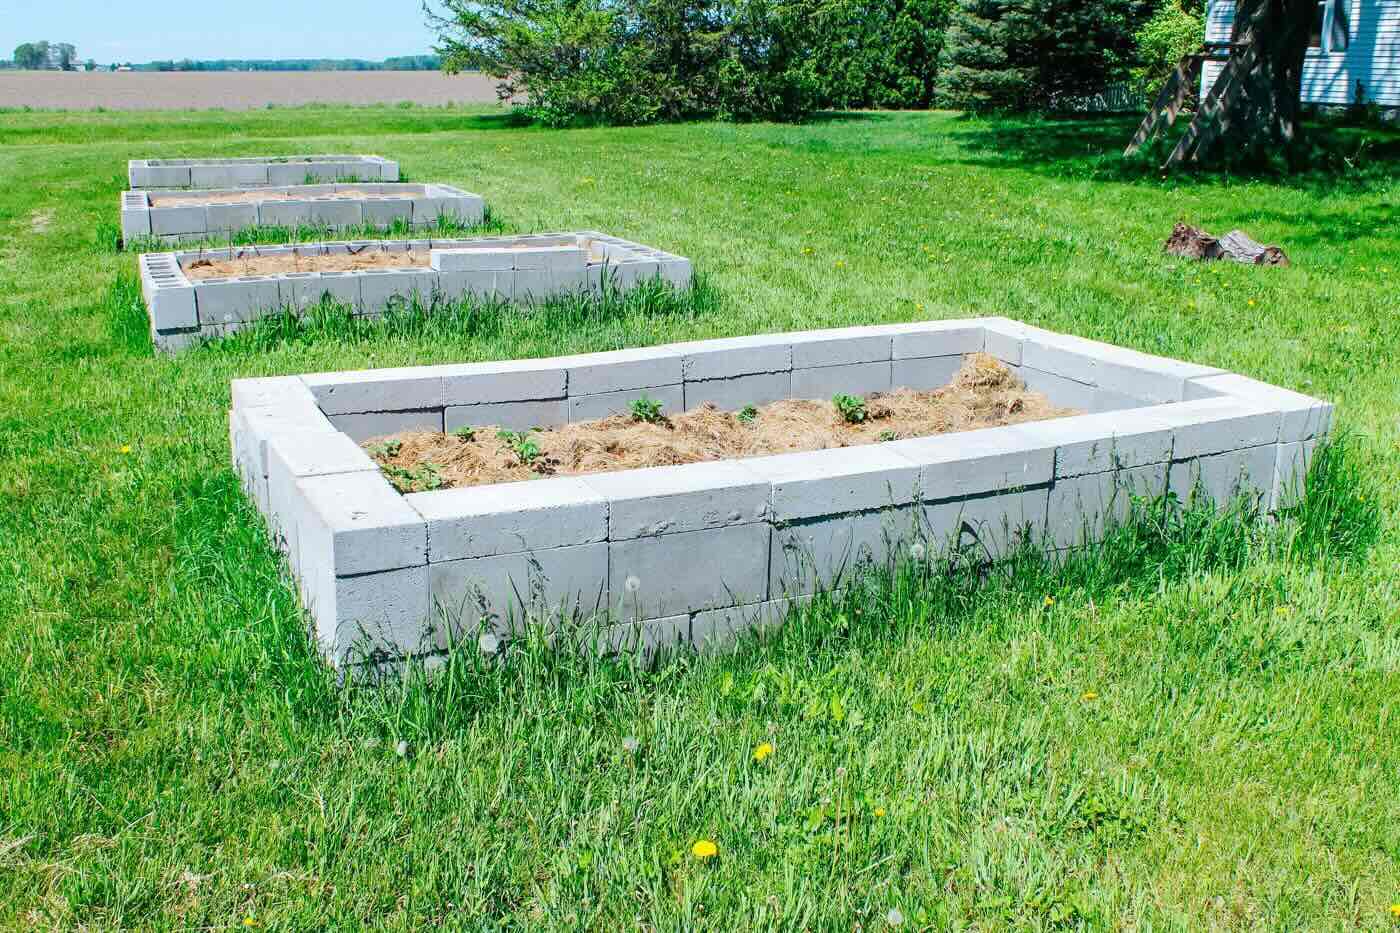
- Choose a Solid Foundation: Select a durable material, such as concrete blocks or compacted gravel, to create a stable foundation for your raised bed. This will prevent the bricks from shifting and settling over time.
- Level the Base Material: Whether you opt for concrete blocks or compacted gravel, ensure that the base material is level and well-compacted. Use a level to verify that the surface is even, making any necessary adjustments to achieve a uniform base.
- Establish the Dimensions: Position the base material according to the dimensions of your raised bed, ensuring that it extends to the full perimeter of the bed. This will provide consistent support for the bricks and contribute to the overall stability of the structure.
- Verify Alignment: Use a tape measure to confirm that the base material is aligned with the intended dimensions of your raised bed. This step is crucial for maintaining the desired shape and size of the structure.
- Compact the Base: If you’re using compacted gravel, ensure that it is firmly packed to create a solid and reliable base. Use a compactor or tamper to achieve the necessary density, promoting long-term stability for your raised bed.
By meticulously constructing a sturdy base, you’ll lay the groundwork for a robust and enduring brick raised bed. This foundational step sets the stage for the next phase of the construction process, where you’ll bring the classic beauty of bricks to life as you lay the foundation for your raised bed.
When building brick raised beds, make sure to use bricks that are designed for outdoor use and can withstand the elements. Additionally, use a level to ensure the bricks are evenly stacked and secure them in place with mortar for added stability.
Read more: How To Build A Cedar Raised Garden Bed
Laying the Bricks
As you transition from building the base to the next phase of construction, laying the bricks is where the vision of your brick raised bed begins to take shape. This step requires precision and attention to detail to ensure a visually appealing and structurally sound result. Follow these steps to expertly lay the bricks for your raised bed:
- Prepare the Mortar: Mix the mortar according to the manufacturer’s instructions, ensuring a consistent and workable texture for laying the bricks.
- Begin at the Corners: Start by placing the first corner bricks, applying mortar to the ends to secure them in place. Use a level to ensure that the bricks are plumb and level, making adjustments as needed.
- Continue the Course: Lay the subsequent bricks in a staggered pattern, applying mortar to the ends and edges to create a strong bond between the bricks. Check the alignment and levelness of each brick as you progress along the course.
- Maintain Consistent Joints: Use spacers or a consistent method to maintain uniform joint spacing between the bricks. This attention to detail will contribute to the overall aesthetic appeal of the raised bed.
- Trim Bricks as Needed: If necessary, use a masonry saw or chisel to trim bricks to fit the dimensions of the raised bed, ensuring a seamless and professional finish.
- Clean Excess Mortar: As you lay the bricks, periodically remove any excess mortar that squeezes out from the joints. This will result in a clean and polished appearance for your raised bed.
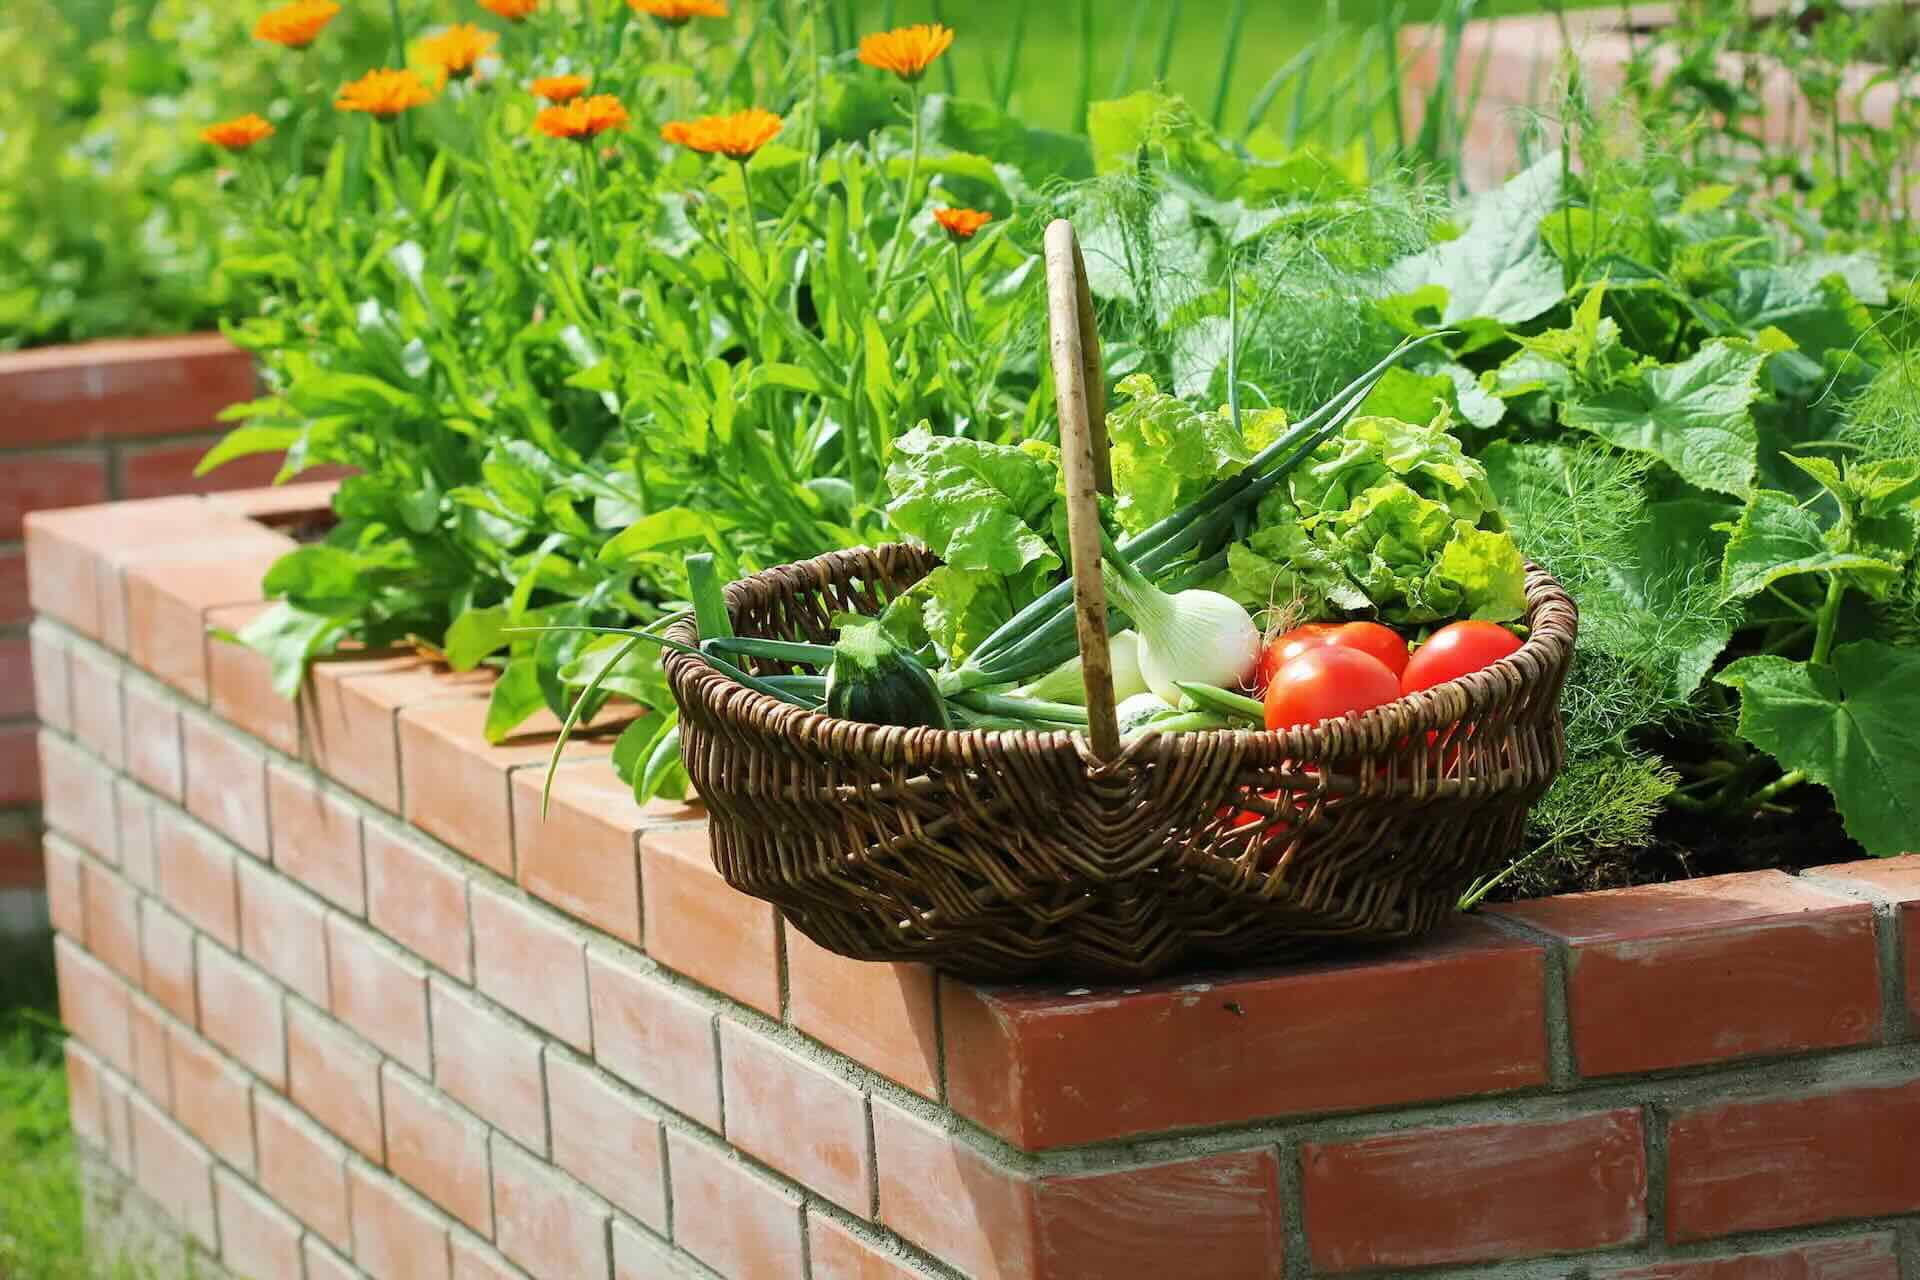
By meticulously laying the bricks, you’ll create a visually striking and structurally robust raised bed that showcases the timeless allure of brick craftsmanship. This phase sets the stage for the final steps of filling the bed with soil, planting your favorite greenery, and enjoying the fruits of your labor in a stunning brick raised bed.
Filling the Bed with Soil
With the brick structure of your raised bed elegantly in place, it’s time to bring life to the enclosure by filling it with nutrient-rich soil. The soil you choose will directly impact the health and vitality of the plants you intend to cultivate. Follow these steps to ensure the optimal filling of your raised bed with soil:
- Select High-Quality Soil: Choose a premium quality soil mix that is tailored to the specific needs of the plants you plan to grow. Consider factors such as drainage, aeration, and nutrient content when selecting the soil.
- Layer the Soil: Begin by evenly distributing a layer of soil at the base of the raised bed. Gradually fill the bed with soil, ensuring that it reaches the desired level for planting while allowing ample space for root growth.
- Amend the Soil as Needed: Depending on the plant varieties you intend to cultivate, consider incorporating organic matter, compost, or specialized amendments to enhance the soil’s fertility and structure.
- Level and Smooth the Surface: Use a rake or gardening tool to level and smooth the surface of the soil within the raised bed. This will create a uniform and inviting planting environment for your greenery.
- Consider Raised Bed Gardening Mixes: If you prefer a convenient option, consider using pre-mixed raised bed gardening soil blends, which are formulated to provide an optimal growing medium for a wide range of plants.
By thoughtfully filling your raised bed with high-quality soil, you’ll establish the essential groundwork for nurturing healthy and thriving plant life. This step brings your raised bed to life, setting the stage for the exciting process of planting and witnessing the beauty of nature flourishing within the confines of your meticulously crafted brick enclosure.
Planting in the Raised Bed
As the soil enriches the interior of your brick raised bed, the stage is set for the exciting and rewarding process of planting. Whether you’re cultivating vibrant flowers, robust vegetables, or a combination of both, the planting phase allows you to infuse your raised bed with the colors and textures of nature. Here’s a comprehensive guide to planting in your raised bed:
- Plan Your Layout: Consider the growth habits, space requirements, and sunlight preferences of the plants you intend to cultivate. Create a planting layout that optimizes space and promotes harmonious growth among different varieties.
- Transplant Seedlings or Direct Sow Seeds: Depending on your preference and the specific plant varieties, you can either transplant seedlings from nursery pots or directly sow seeds into the prepared soil of the raised bed.
- Follow Planting Depth and Spacing Guidelines: Adhere to the recommended planting depths and spacing guidelines for each plant species. This will ensure that the plants have ample room to thrive and access the necessary resources for healthy growth.
- Water Thoroughly: After planting, thoroughly water the soil to provide essential hydration to the newly introduced plants. Monitor the moisture levels and adjust the watering frequency based on the specific requirements of the plant species.
- Mulch for Moisture Retention: Consider applying a layer of organic mulch around the base of the plants to conserve soil moisture, suppress weed growth, and promote a favorable microclimate within the raised bed.
- Stake or Support Tall Plants: If you’re growing tall or vining plants, install stakes, trellises, or other supports to encourage upright growth and prevent sprawling, enhancing the visual appeal of your raised bed.
By carefully planting in your raised bed, you’ll bring the vision of your garden to life within the charming confines of the brick enclosure. This phase marks the transition from construction to cultivation, inviting the beauty of nature to flourish in the meticulously crafted environment you’ve created.
Maintenance and Care
Once your brick raised bed is adorned with the vibrant greenery of your chosen plants, it’s essential to provide ongoing maintenance and care to ensure the health and vitality of your garden. By nurturing your plants and preserving the structural integrity of the raised bed, you’ll create an enduring and thriving outdoor oasis. Here’s a guide to the maintenance and care of your raised bed:
- Watering: Monitor the moisture levels in the soil and water your plants as needed. Be mindful of fluctuations in temperature and seasonal rainfall patterns, adjusting your watering schedule accordingly to maintain optimal soil moisture.
- Weeding: Regularly inspect the raised bed for any signs of weeds and promptly remove them to prevent competition for resources and maintain a tidy and well-kept garden space.
- Fertilization: Consider the nutritional needs of your plants and apply organic fertilizers or compost as necessary to replenish essential nutrients in the soil and support robust growth.
- Pruning and Deadheading: Trim and deadhead your plants as needed to encourage healthy growth, prolong blooming periods, and maintain the aesthetic appeal of your garden bed.
- Pest and Disease Management: Keep a watchful eye for signs of pests or diseases, taking proactive measures to address any issues and preserve the health of your plants.
- Structural Integrity: Periodically inspect the brick structure of the raised bed to ensure that it remains stable and secure. Make any necessary repairs or adjustments to maintain the integrity of the enclosure.
By diligently tending to the maintenance and care of your brick raised bed, you’ll create an environment where your plants can thrive while preserving the enduring beauty of the meticulously crafted structure. This ongoing commitment to nurturing your garden will yield a bountiful and visually captivating outdoor sanctuary.
Conclusion
Congratulations on embarking on the journey of building a brick raised bed, where the timeless allure of brick craftsmanship converges with the vibrant beauty of nature. As you’ve navigated through the construction, filling, planting, and nurturing phases, you’ve not only created a stunning garden feature but also cultivated an environment that reflects your passion for gardening and the natural world.
With the solid foundation of the brick structure, the nurturing embrace of nutrient-rich soil, and the flourishing greenery that adorns the raised bed, you’ve crafted an outdoor sanctuary that embodies both elegance and vitality. The raised bed stands as a testament to your dedication to creating a harmonious space where plants thrive and beauty abounds.
As you continue to tend to the needs of your garden, from watering and weeding to nurturing and preserving, you’ll witness the ever-evolving tapestry of colors and textures that unfold within the confines of your meticulously crafted brick enclosure. Each bloom and harvest will be a testament to your commitment to creating a space where the wonders of nature can flourish.
May your brick raised bed serve as a source of inspiration, a haven for tranquility, and a canvas for your gardening aspirations. As you revel in the fruits of your labor and the splendor of your garden, may the timeless charm of the brick enclosure continue to captivate and enrich your outdoor space for years to come.
With each passing season, your raised bed will tell a story of growth, vitality, and the enduring beauty of nature, reflecting the care and devotion you’ve poured into its creation. As you savor the sights, scents, and flavors that emanate from your garden, may you find joy in the bountiful rewards of your labor and the boundless wonders of the natural world.
So, take a moment to bask in the tranquility of your garden oasis, where the elegance of brick and the vibrancy of nature intertwine, creating a space that beckons you to immerse yourself in the timeless artistry of gardening.
Frequently Asked Questions about How To Build Brick Raised Beds
Was this page helpful?
At Storables.com, we guarantee accurate and reliable information. Our content, validated by Expert Board Contributors, is crafted following stringent Editorial Policies. We're committed to providing you with well-researched, expert-backed insights for all your informational needs.


0 thoughts on “How To Build Brick Raised Beds”