Home>Gardening & Outdoor>Landscaping Ideas>How To Build A Waist-High Raised Garden Bed
Landscaping Ideas
How To Build A Waist-High Raised Garden Bed
Modified: October 19, 2024
Discover the best landscaping ideas with our guide on how to build a waist-high raised garden bed. Create a beautiful and functional garden space with our step-by-step instructions.
(Many of the links in this article redirect to a specific reviewed product. Your purchase of these products through affiliate links helps to generate commission for Storables.com, at no extra cost. Learn more)
Introduction
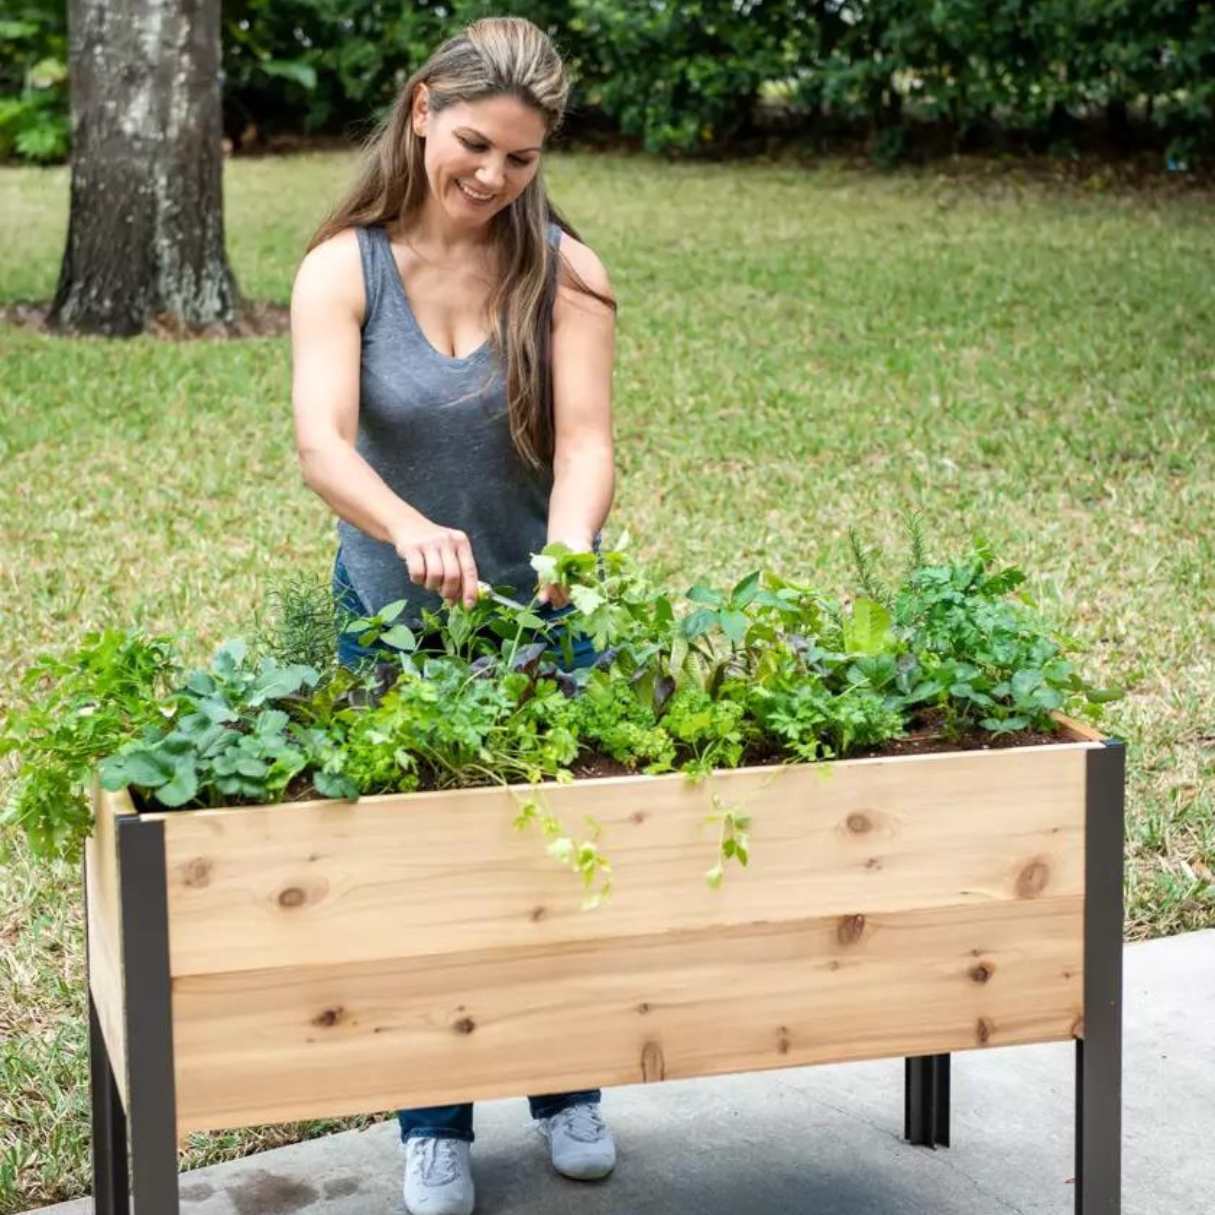
Are you looking to elevate your gardening game and create a stunning focal point in your outdoor space? Building a waist-high raised garden bed might just be the perfect project for you. Whether you're a seasoned gardener or a novice with a green thumb, this innovative gardening solution offers a multitude of benefits and endless possibilities for cultivating a thriving and visually appealing garden.
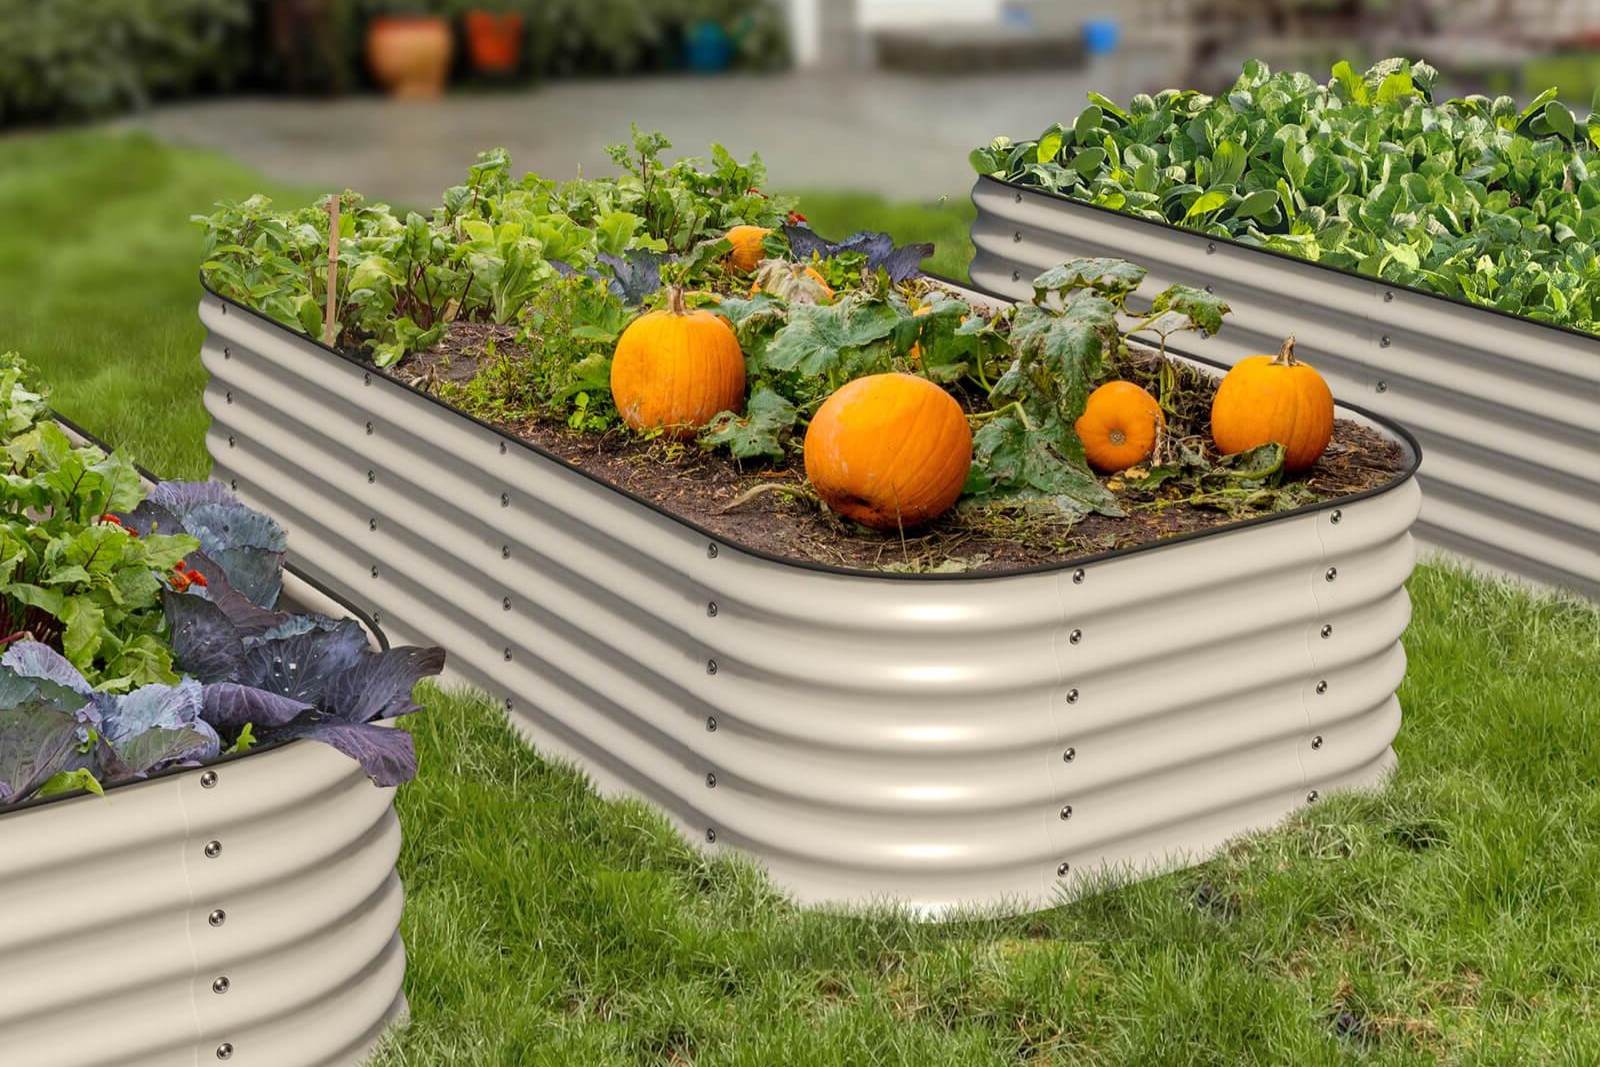
A waist-high raised garden bed is a versatile and practical option for those seeking to grow a variety of plants, flowers, herbs, or vegetables. By elevating the planting area to a comfortable height, this type of garden bed eliminates the need for excessive bending or kneeling, making it an ideal choice for individuals with mobility limitations or back problems. Additionally, the raised design provides better drainage and aeration for the soil, resulting in healthier plant growth and reduced risk of waterlogging.
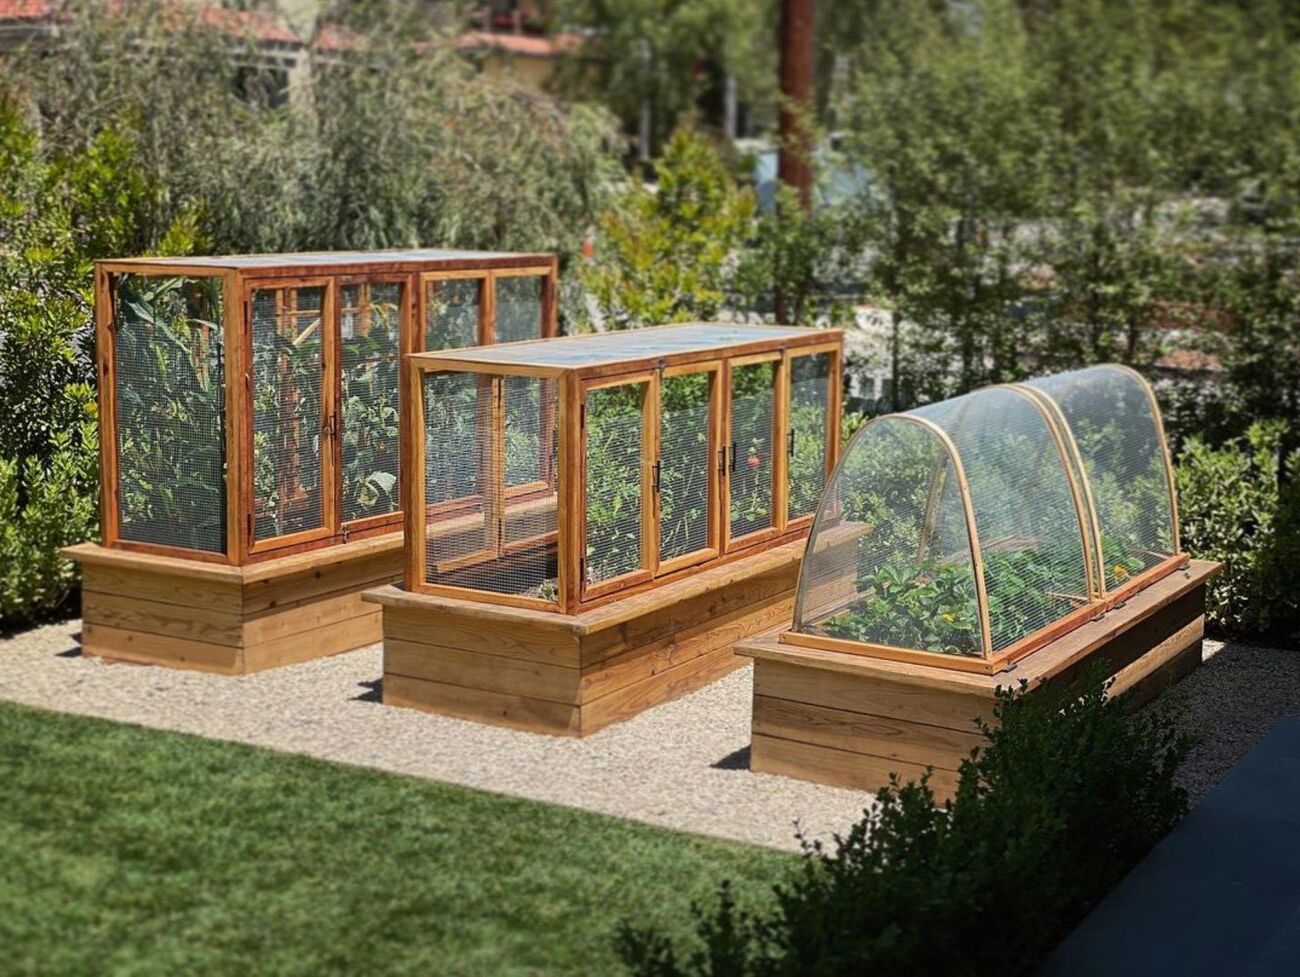
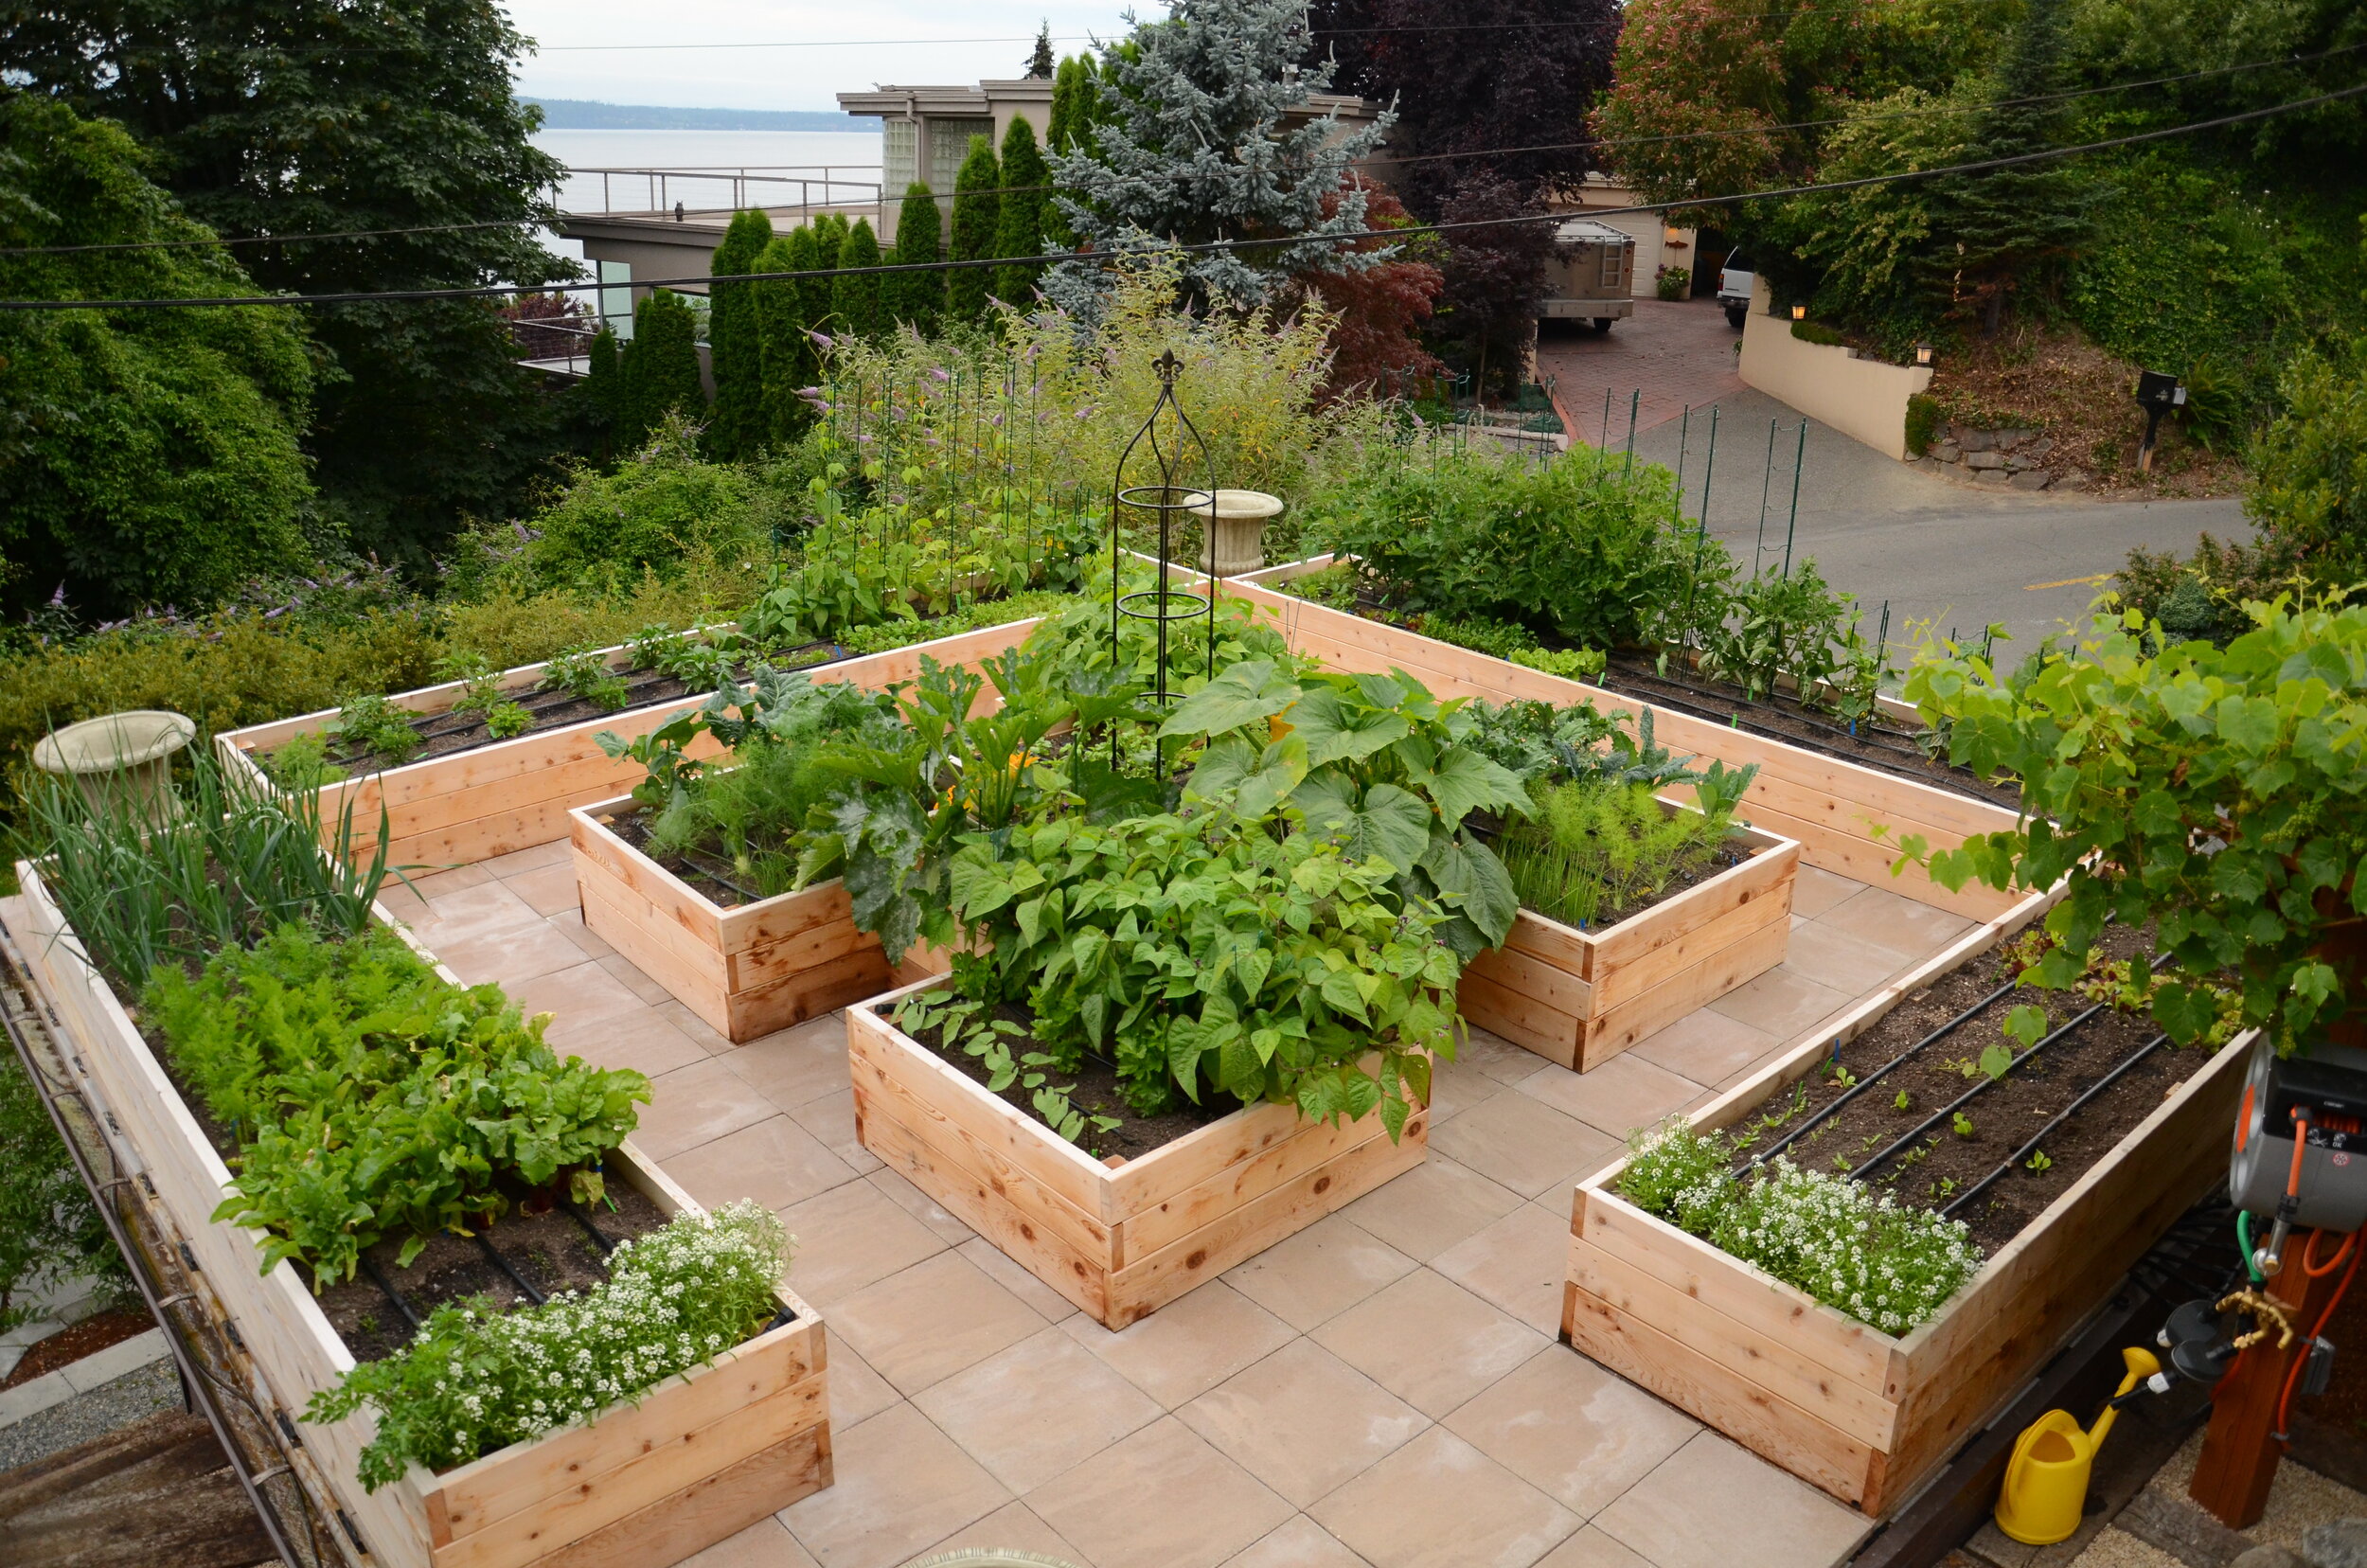
One of the most appealing aspects of a waist-high raised garden bed is its adaptability to various outdoor spaces. Whether you have a spacious backyard, a cozy patio, or a limited urban balcony, this type of garden bed can be customized to fit your specific needs and spatial constraints. Its elevated structure also serves as a natural barrier against pests and critters, offering a layer of protection for your precious plants.
Beyond its functional advantages, a waist-high raised garden bed presents an opportunity for creative expression and aesthetic enhancement. With the freedom to choose the materials, dimensions, and design elements, you can seamlessly integrate the raised bed into your existing landscape, adding a touch of charm and character to your outdoor oasis.
In the following sections, we will guide you through the step-by-step process of building your own waist-high raised garden bed, from selecting the ideal location to planting your favorite blooms or cultivating a bountiful harvest of fresh produce. Get ready to embark on a rewarding journey of gardening innovation and design as we delve into the construction and cultivation of this elevated garden feature.
Key Takeaways:
- Elevate your gardening game with a waist-high raised garden bed. It’s perfect for growing plants, flowers, and veggies, and it’s accessible for everyone, even those with mobility limitations.
- Building a waist-high raised garden bed is a creative and rewarding project. It offers a sturdy and visually appealing space for nurturing a thriving garden, bringing natural beauty to your outdoor oasis.
Read more: How To Build A Stone Raised Garden Bed
Materials and Tools Needed
Building a waist-high raised garden bed requires a selection of materials and tools to ensure a sturdy and visually appealing result. Before embarking on this project, gather the following items:
Materials:
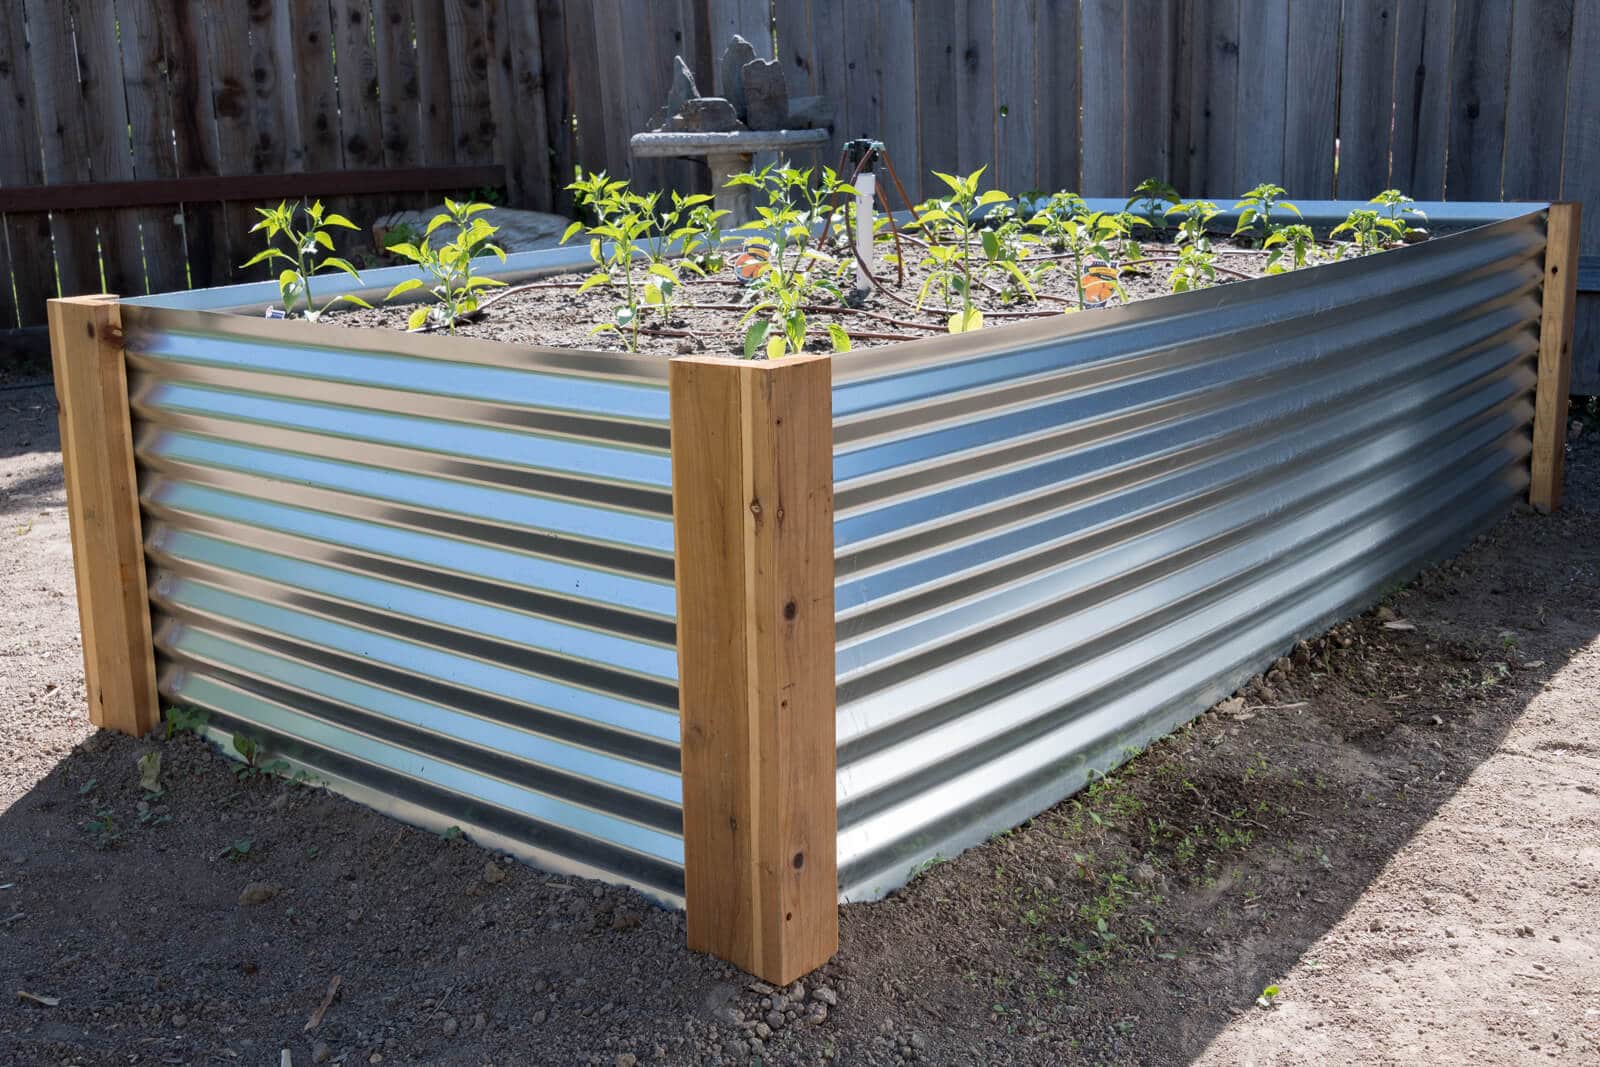
- Lumber: Opt for durable, weather-resistant lumber such as cedar or redwood. The dimensions will depend on the desired size of your raised bed.
- Screws or Nails: Choose corrosion-resistant screws or nails to secure the lumber and withstand outdoor conditions.
- Landscape Fabric: This will help prevent weeds from growing up into the raised bed while allowing proper drainage.
- Bottom Layer Material: Options include hardware cloth or plywood to create a barrier between the soil and the ground.
- Soil: Select high-quality soil suitable for the types of plants you intend to grow. Consider a mix of topsoil, compost, and other organic matter for optimal plant nutrition.
Tools:
- Measuring Tape: Essential for accurately determining the dimensions of the raised bed and marking the lumber for cutting.
- Saw: Depending on the type of lumber chosen, a handsaw or power saw will be necessary for cutting the wood to the required lengths.
- Drill or Hammer: Use a drill with appropriate bits or a hammer to assemble the lumber securely.
- Level: Ensures that the raised bed frame is even and stable.
- Gloves and Safety Gear: Protect your hands and eyes with gloves and safety goggles while handling lumber and tools.
- Wheelbarrow or Garden Cart: Useful for transporting soil and other materials to the construction site.
- Shovel or Spade: For filling the raised bed with soil and planting your chosen greenery.
By gathering these materials and tools, you'll be well-prepared to embark on the construction of your waist-high raised garden bed. With careful planning and attention to detail, you can create a functional and visually appealing garden feature that will enhance your outdoor space and provide a bountiful harvest or a vibrant display of flora.
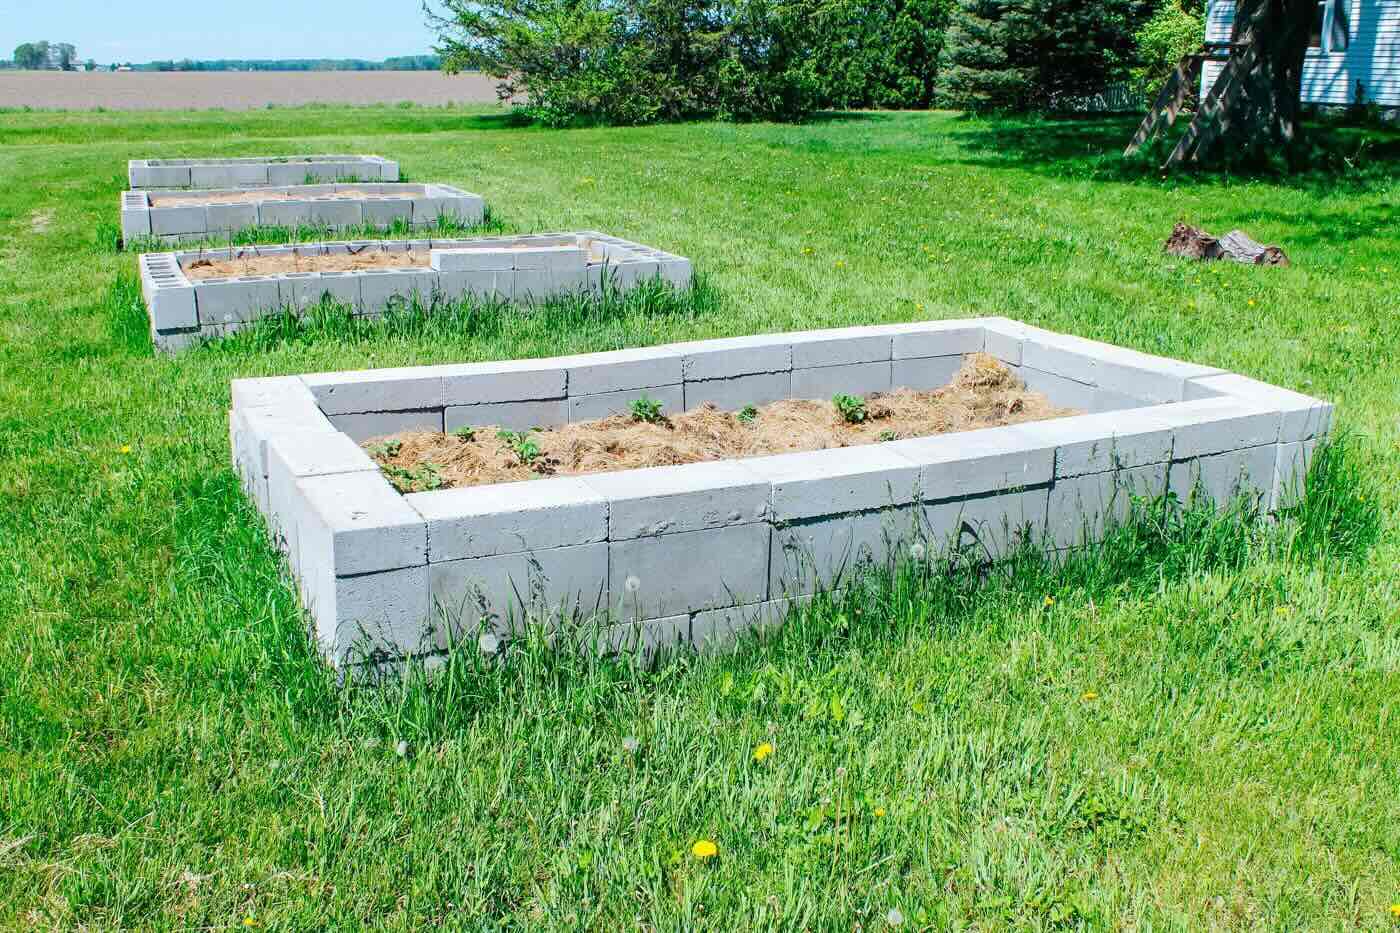
Step 1: Choose a Location
Selecting the perfect location for your waist-high raised garden bed is a crucial first step in the construction process. The chosen spot should receive an adequate amount of sunlight, typically at least six hours per day, to support the healthy growth of plants. Additionally, consider the accessibility of the location, ensuring that it is convenient for regular maintenance and harvesting.
When assessing potential locations, take note of any existing landscaping features, such as trees or shrubs, that could potentially obstruct sunlight or root systems that may interfere with the raised bed. It's also important to evaluate the ground's levelness, as a flat surface will facilitate the construction process and contribute to the stability of the raised bed.
Furthermore, consider the proximity to a water source for easy irrigation. While waist-high raised garden beds require less bending and kneeling, having a nearby water supply simplifies the task of keeping the plants adequately hydrated.
If you're planning to grow edible plants, it's advisable to avoid areas that may be exposed to chemical runoff or pollutants. Choosing a location away from potential sources of contamination will help ensure the safety and quality of your homegrown produce.
Lastly, take into account the aesthetic aspect. The raised bed should complement the overall landscape and contribute to the visual appeal of the outdoor space. By carefully considering these factors, you can identify the ideal location that will promote the flourishing of your garden while seamlessly integrating with your outdoor environment.
Once you've identified the perfect spot, you're ready to move on to the next step in the construction process, marking the area and preparing for the assembly of the raised bed frame.
Step 2: Measure and Mark the Area
With the location for your waist-high raised garden bed selected, it's time to proceed with measuring and marking the designated area. This crucial step sets the foundation for the precise construction of the raised bed, ensuring that it fits seamlessly into your outdoor space.
Begin by using a measuring tape to determine the desired dimensions of the raised bed. Consider the available space and the specific requirements of the plants you intend to grow. Whether you envision a compact raised bed for a patio or a more expansive one for a backyard garden, accurate measurements are essential for creating a well-proportioned and visually appealing structure.
Once the dimensions are established, use stakes or spray paint to mark the perimeter of the raised bed area. This visual guide will serve as a reference point for the subsequent construction steps, helping to maintain alignment and symmetry throughout the process.
After marking the perimeter, take the time to assess the levelness of the ground within the designated area. Use a level to ensure that the surface is even, as this will contribute to the stability and uniformity of the raised bed. If the ground is uneven, consider using soil or gravel to create a level foundation for the raised bed frame.
In addition to marking the perimeter, it's beneficial to outline the pathways around the raised bed, if applicable. This delineation can help define the overall layout of your outdoor space and contribute to a cohesive and organized garden design.
By meticulously measuring and marking the area for your waist-high raised garden bed, you are laying the groundwork for a successful and visually harmonious construction process. With the dimensions clearly defined and the ground prepared, you are now ready to move on to the next step: building the frame of the raised bed.
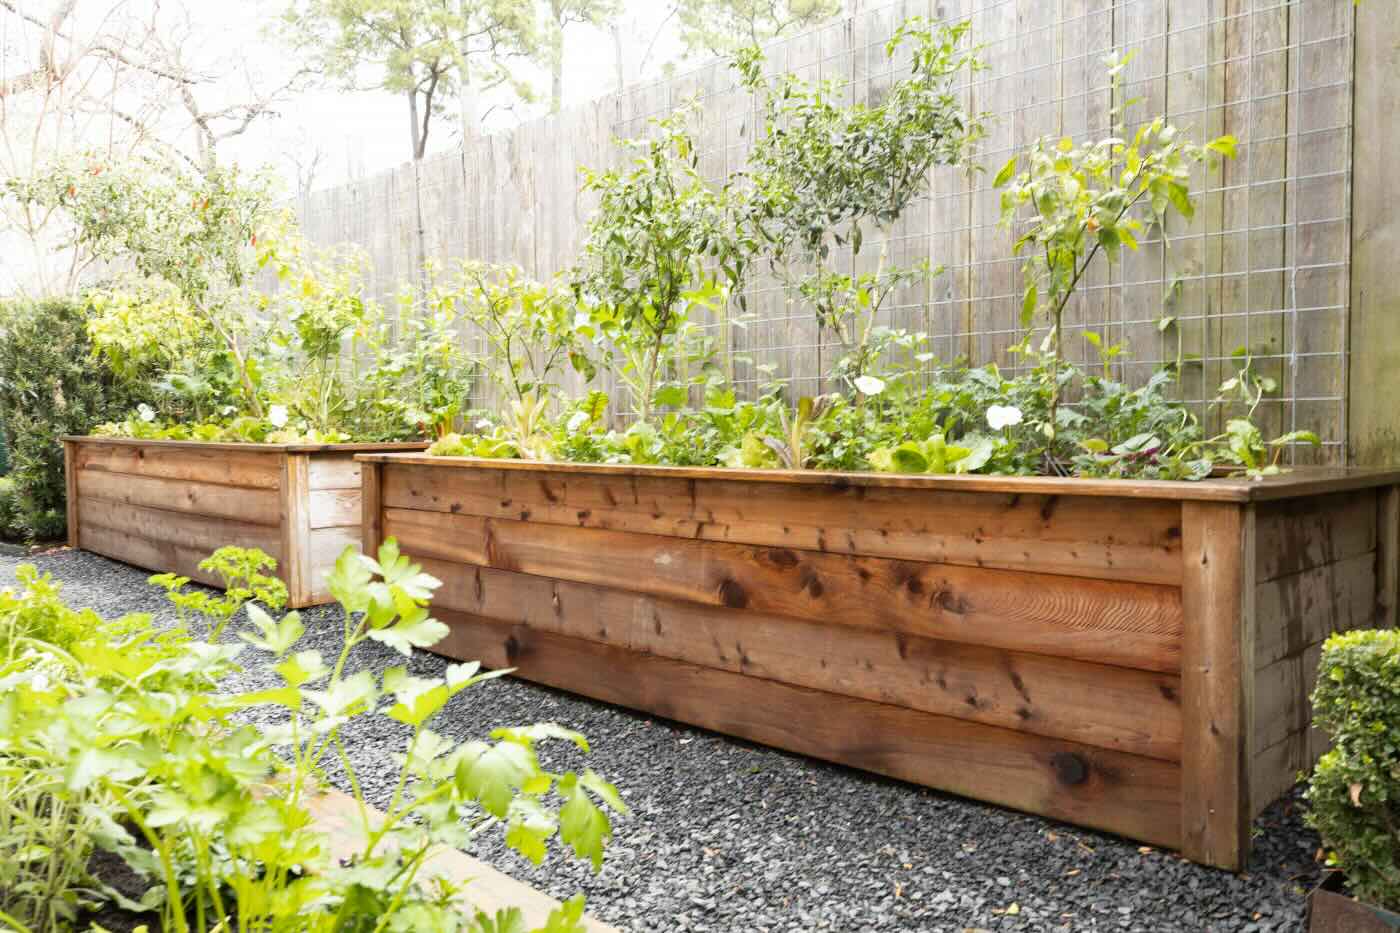
Step 3: Build the Frame
Building the frame of your waist-high raised garden bed is a pivotal stage that sets the structural foundation for your gardening endeavor. This step involves assembling the lumber to create a sturdy and visually appealing enclosure for the planting area.
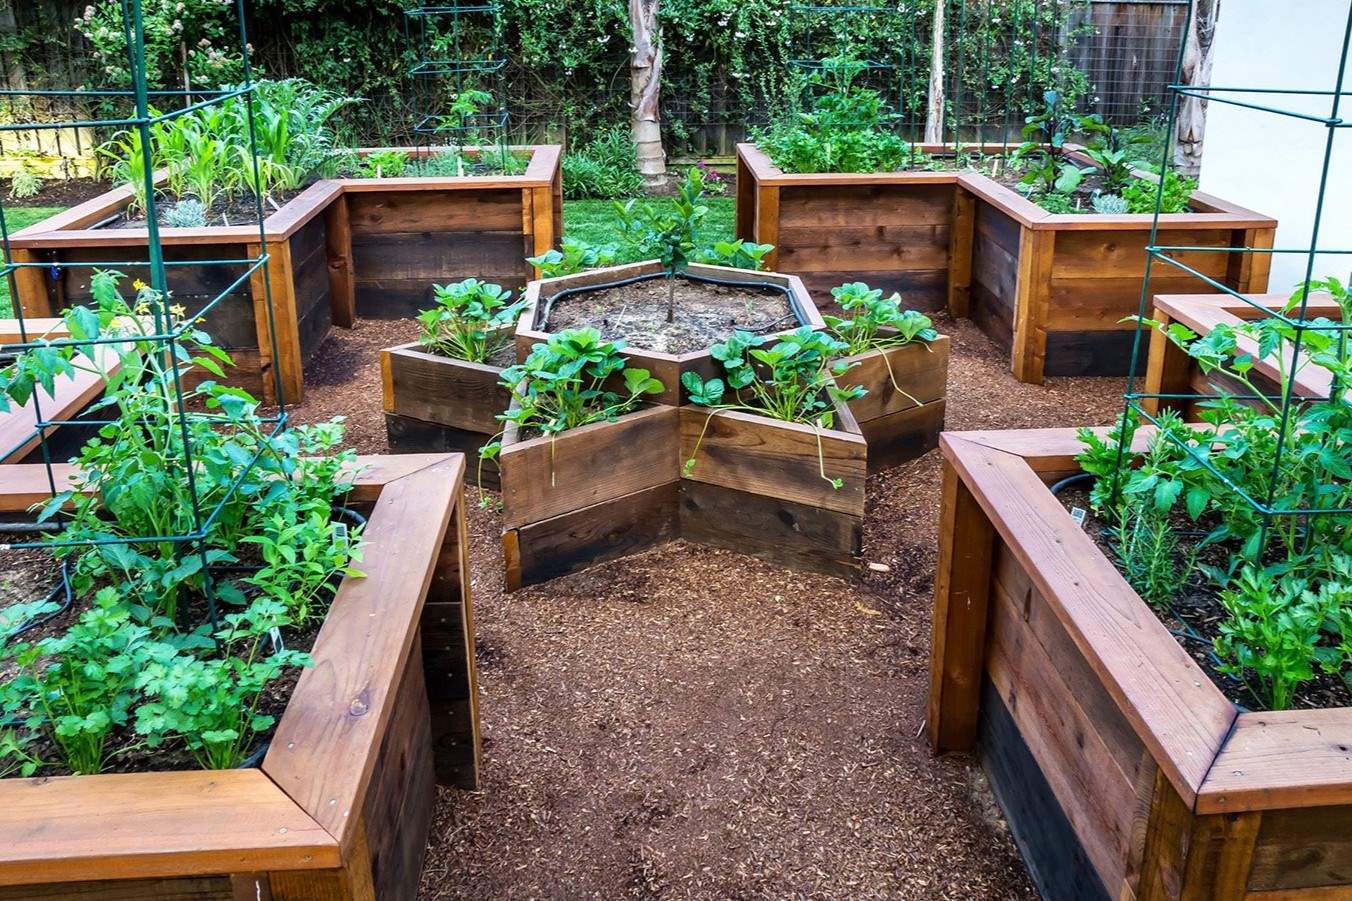
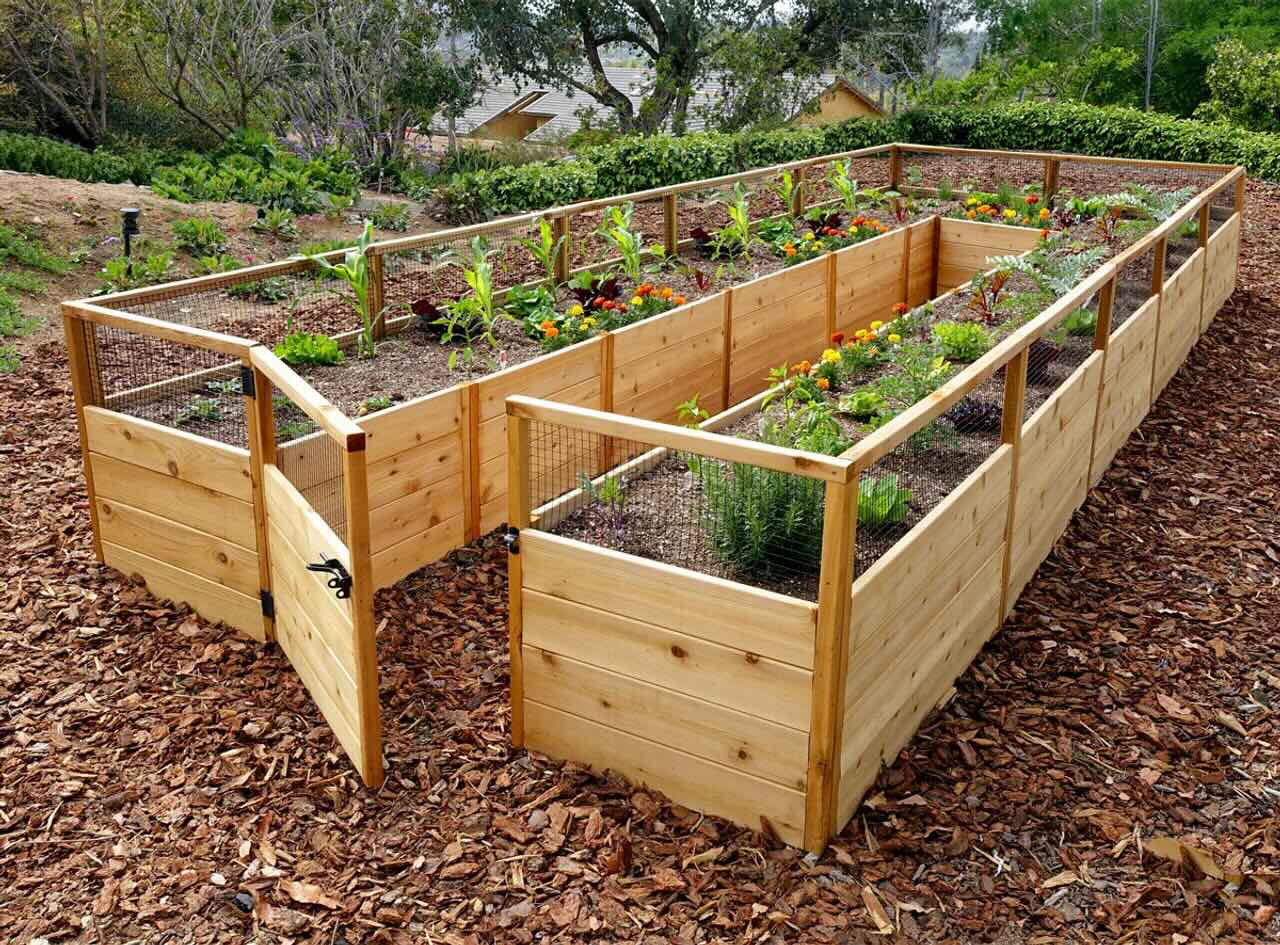
Begin by cutting the lumber to the predetermined dimensions, ensuring precision and accuracy to achieve a seamless fit. Depending on the desired height and width of the raised bed, use a saw to carefully trim the lumber to the required lengths. Whether you opt for a classic rectangular design or a more unconventional shape, such as an L-shaped or U-shaped configuration, attention to detail during the cutting process is essential for achieving a polished and professional result.
Once the lumber is cut to size, assemble the pieces to form the frame of the raised bed. Position the lumber according to the designated layout, using screws or nails to securely join the corners and connect the individual sections. It's important to maintain alignment and ensure that the frame is level and stable throughout the assembly process. A level can be used to verify the evenness of the frame, making any necessary adjustments to guarantee a uniform and structurally sound construction.
As you construct the frame, consider incorporating additional support, such as corner braces or crossbars, to enhance the stability and longevity of the raised bed. These reinforcements can contribute to the overall durability of the structure, particularly when accommodating a substantial volume of soil and plantings.
Furthermore, take the opportunity to assess the visual appeal of the frame, considering the aesthetic impact of the chosen lumber and the overall design. The frame of the raised bed serves as a prominent feature in your outdoor space, and its appearance can significantly contribute to the overall ambiance and visual allure of your garden.
By meticulously crafting the frame of your waist-high raised garden bed, you are laying the groundwork for a functional, durable, and visually captivating gardening space. With the frame securely assembled, you are now poised to progress to the subsequent steps, culminating in the fulfillment of your gardening vision within the elevated confines of your newly constructed raised bed.
Step 4: Add the Bottom Layer
With the frame of your waist-high raised garden bed securely in place, the next crucial step is to add the bottom layer, which serves as a barrier between the soil within the raised bed and the ground below. This layer plays a pivotal role in promoting proper drainage, preventing the intrusion of weeds, and safeguarding the integrity of the raised bed structure.
One of the primary considerations when adding the bottom layer is the choice of material. Hardware cloth, a durable wire mesh, is a popular option for creating a barrier against burrowing pests while allowing water to drain freely. Alternatively, plywood can be used to effectively block weed growth and prevent soil from directly contacting the ground. Whichever material you select, ensure that it is cut to fit snugly within the frame of the raised bed, covering the entire bottom surface.
Before placing the bottom layer material, it's advisable to line the interior sides of the raised bed with landscape fabric. This additional layer further inhibits weed growth and helps maintain the integrity of the bottom barrier. Once the fabric is in place, carefully position the chosen bottom layer material within the frame, ensuring a secure and even fit.
As you add the bottom layer, take the opportunity to inspect the frame for any signs of instability or misalignment. Making any necessary adjustments at this stage will contribute to the overall durability and functionality of the raised bed. Additionally, consider reinforcing the corners or edges of the bottom layer material to further fortify the structure and prevent shifting over time.
By meticulously adding the bottom layer to your waist-high raised garden bed, you are establishing a solid foundation for the subsequent stages of the construction process. This essential layer not only contributes to the structural integrity of the raised bed but also plays a critical role in creating an optimal environment for the healthy growth of your chosen plants. With the bottom layer securely in place, you are now prepared to progress to the next phase: filling the raised bed with nutrient-rich soil, bringing you one step closer to realizing your gardening aspirations within this elevated and carefully crafted space.
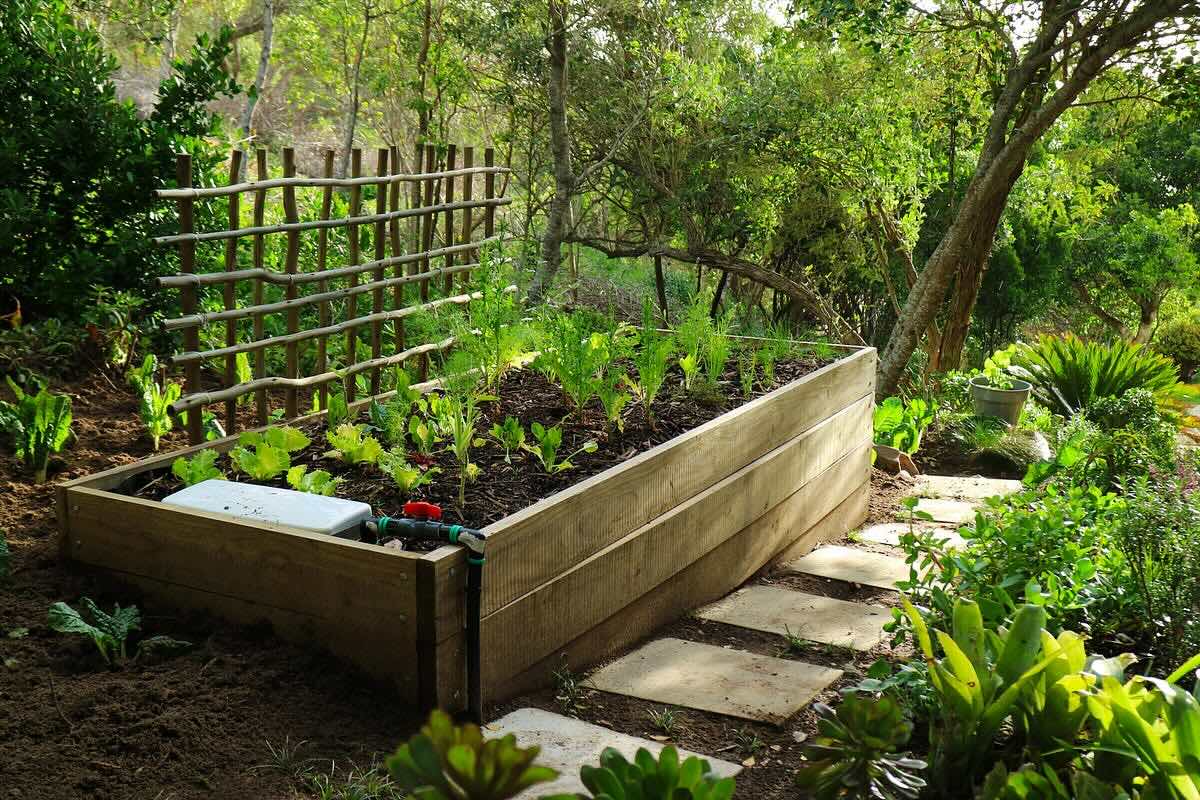
When building a waist-high raised garden bed, make sure to use untreated, rot-resistant wood to prevent chemicals from leaching into your soil.
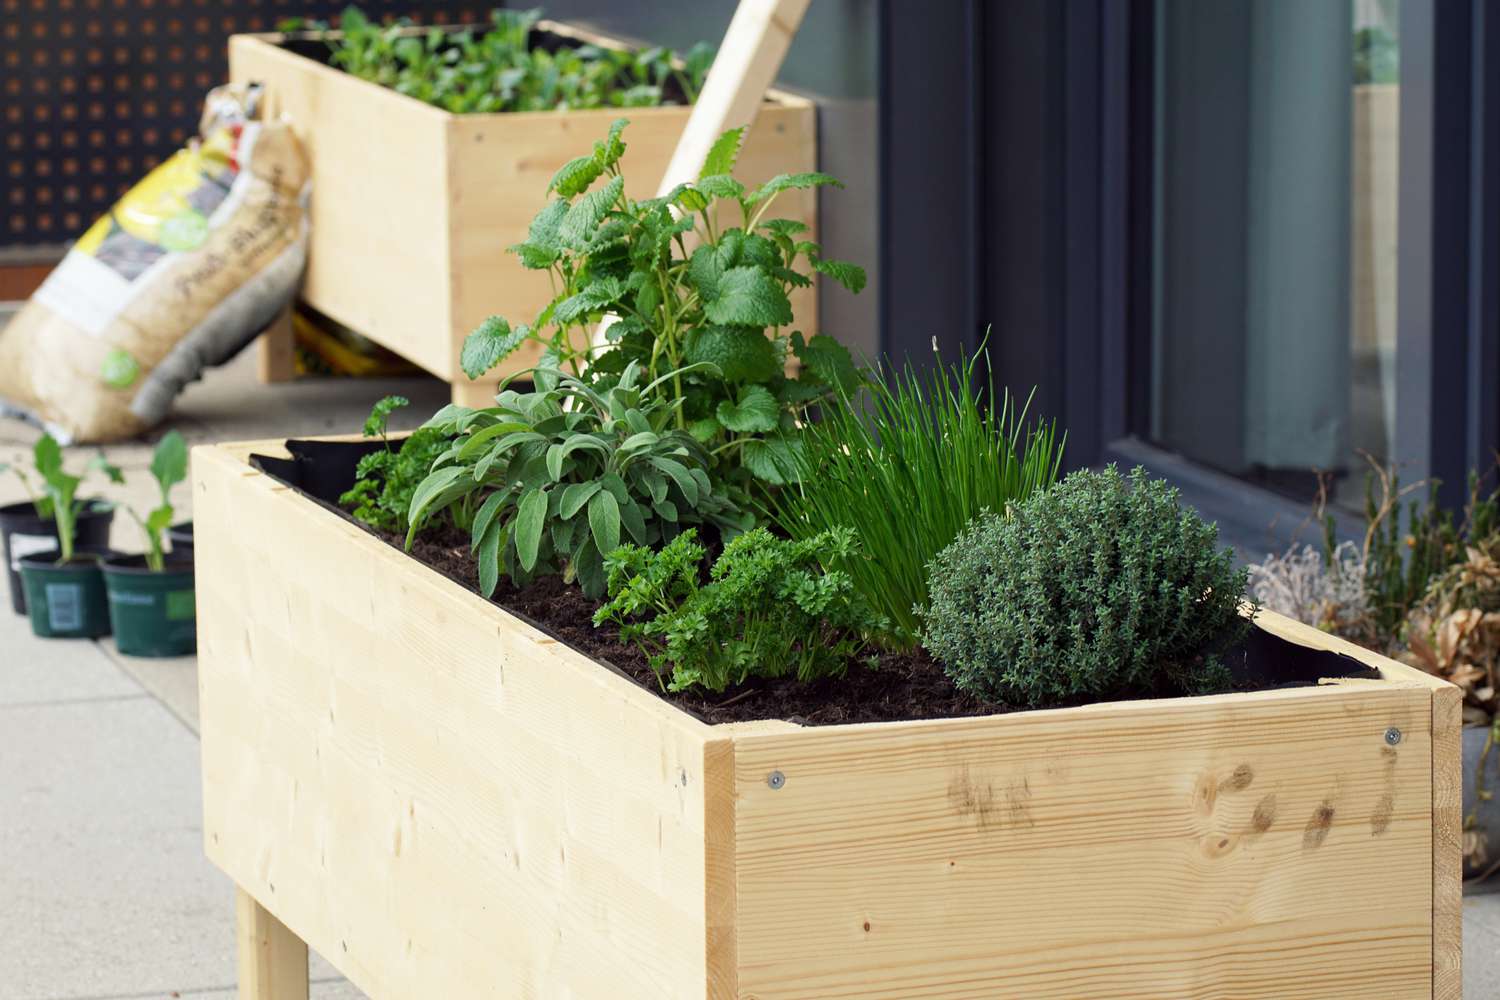
Step 5: Fill with Soil
Filling your waist-high raised garden bed with nutrient-rich soil is a pivotal step that sets the stage for the successful cultivation of a thriving and vibrant garden. The quality and composition of the soil within the raised bed play a fundamental role in providing essential nutrients, supporting robust root development, and fostering optimal growing conditions for your chosen plants.
When selecting soil for your raised bed, prioritize a high-quality mix that offers a balanced combination of nutrients, proper drainage, and aeration. A blend of topsoil, compost, and organic matter is often recommended to create a fertile and well-structured growing medium. This nutrient-rich soil composition provides a solid foundation for healthy plant growth and contributes to the overall vitality of your garden.
As you begin filling the raised bed with soil, distribute the mixture evenly, ensuring that it reaches all corners and edges of the frame. Use a shovel or garden trowel to level the soil, maintaining a uniform depth throughout the planting area. Pay attention to the soil's moisture level, aiming for a slightly moist but not overly saturated consistency to promote optimal growing conditions for your plants.
Consider the specific requirements of the plants you intend to grow and adjust the soil composition accordingly. For example, if you plan to cultivate vegetables, herbs, or flowering plants, tailor the soil mixture to meet the unique needs of each type of greenery. By customizing the soil composition to accommodate the preferences of your chosen plants, you can create an environment that fosters robust growth and abundant yields.
Furthermore, take into account the depth of the soil within the raised bed, ensuring that it provides ample space for the root systems of your plants to establish and thrive. The elevated design of the raised bed allows for a deeper layer of soil, which can be particularly advantageous for cultivating vegetables, root crops, and plants with extensive root structures.
As you fill the raised bed with soil, take the opportunity to envision the potential of this elevated gardening space. Visualize the lush foliage, vibrant blooms, or bountiful harvests that will soon grace this carefully nurtured environment. With the soil in place, you are now poised to embark on the final phase of this transformative gardening journey: planting your chosen greenery and bringing your vision of a flourishing garden to life within the elevated confines of your meticulously constructed raised bed.
Read more: How To Build A Cedar Raised Garden Bed
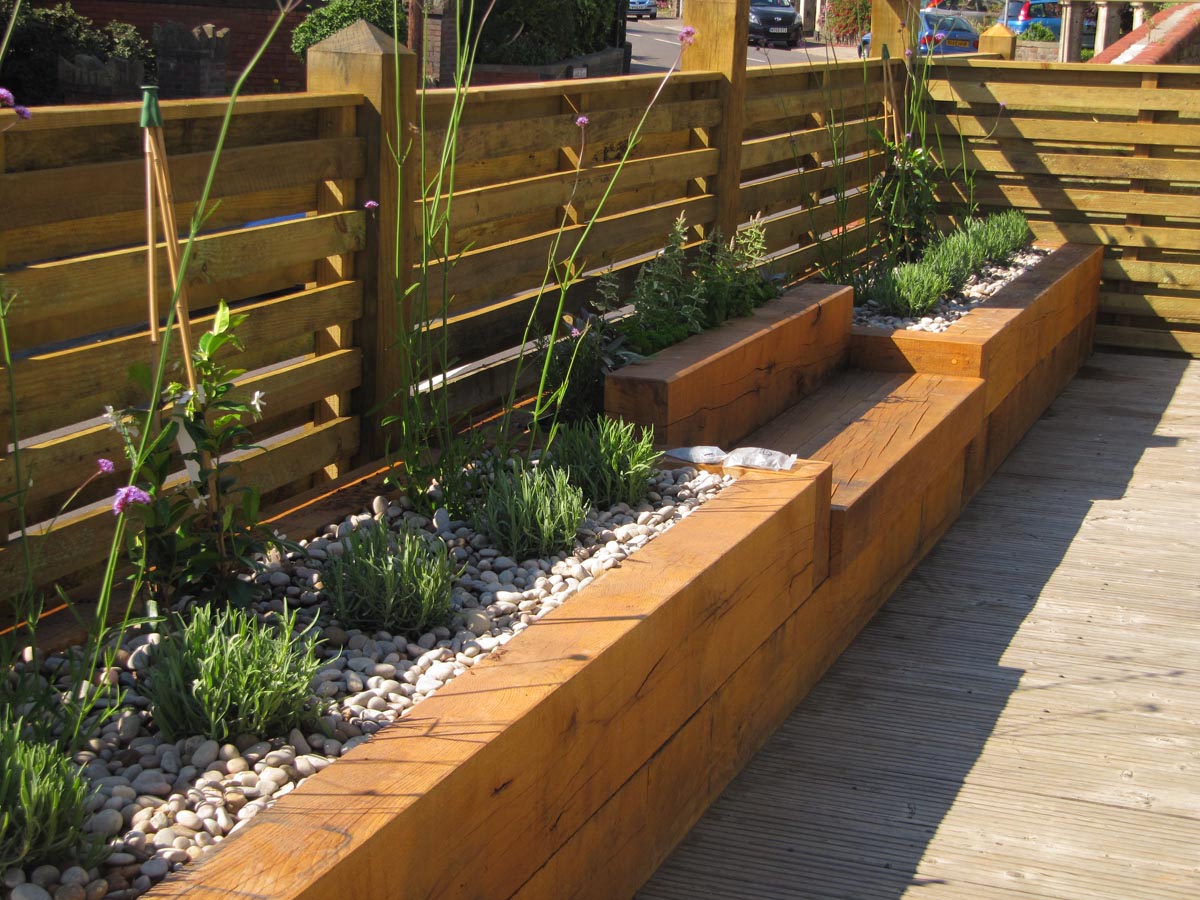
Step 6: Plant Your Garden
With the waist-high raised garden bed meticulously constructed and filled with nutrient-rich soil, the time has come to bring your gardening vision to life by planting a diverse array of greenery within this elevated and carefully nurtured space.
Before commencing the planting process, take a moment to envision the layout and composition of your garden bed. Consider the specific varieties of plants, flowers, herbs, or vegetables that you intend to cultivate, and visualize their placement within the raised bed. Whether you aspire to create a vibrant floral display, cultivate a bountiful harvest of fresh produce, or establish a fragrant herb garden, thoughtful planning and consideration of each plant's requirements are essential for achieving a harmonious and thriving garden.
As you embark on the planting process, carefully arrange your chosen greenery within the raised bed, taking into account factors such as sunlight exposure, spacing, and compatibility between different plant species. Pay attention to the unique needs of each type of greenery, ensuring that they are positioned to optimize their growth and complement the overall composition of the garden bed.
When planting flowers or ornamental plants, aim to create visually appealing arrangements by incorporating a variety of colors, textures, and heights. Consider the seasonal blooming patterns of the plants to achieve a continuous and dynamic display of floral beauty within the raised bed.
For those cultivating vegetables or herbs, strategically plan the placement of each variety to maximize sunlight exposure and facilitate efficient harvesting. Take into consideration the growth habits and space requirements of the plants, ensuring that they have ample room to flourish and thrive within the raised bed.
As you carefully position each plant within the soil, take the opportunity to nurture and care for them, fostering their growth and development within this elevated gardening space. Gently pat the soil around the base of each plant, providing a stable foundation for their root systems and ensuring that they are securely anchored within the raised bed.
With each plant carefully nestled within the soil, envision the transformation that will unfold within this elevated garden bed. Visualize the vibrant blooms, lush foliage, or abundant harvests that will soon grace this meticulously curated space, bringing a touch of natural beauty and vitality to your outdoor environment.
By planting your chosen greenery within the waist-high raised garden bed, you are not only creating a visually captivating and bountiful garden but also nurturing a space that embodies the fulfillment of your gardening aspirations. As you witness the growth and flourishing of your carefully selected plants within this elevated and thoughtfully crafted environment, you are poised to reap the rewards of your dedication and creativity, savoring the beauty and abundance that this unique gardening feature has to offer.
Conclusion
In conclusion, the construction and cultivation of a waist-high raised garden bed represent a transformative journey that combines innovation, functionality, and creative expression in the realm of gardening. This elevated gardening solution offers a multitude of benefits, from promoting accessibility and ergonomic comfort to providing a versatile platform for cultivating a diverse array of plants, flowers, herbs, or vegetables.
The process of building a waist-high raised garden bed begins with careful consideration of the location, ensuring that it receives adequate sunlight, is easily accessible, and complements the overall landscape. By meticulously measuring and marking the area, constructing the frame, adding the bottom layer, and filling the raised bed with nutrient-rich soil, a solid foundation is established for the subsequent stage: planting a vibrant and thriving garden within this elevated space.
The act of planting and nurturing a diverse array of greenery within the raised bed represents the culmination of this transformative journey. Whether creating a visually captivating floral display, cultivating a bountiful harvest of fresh produce, or establishing a fragrant herb garden, the planting process embodies the realization of a carefully nurtured and thoughtfully curated gardening vision.
The waist-high raised garden bed serves as a testament to the fusion of functionality and aesthetic appeal, offering a space where gardening enthusiasts can unleash their creativity, nurture their green thumb, and reap the rewards of their dedication. This innovative gardening feature not only enhances the outdoor environment but also provides a platform for fostering a deeper connection with nature and savoring the beauty and abundance that the garden has to offer.
As the carefully selected plants within the raised bed flourish and thrive, they breathe life into this elevated gardening space, creating a vibrant and dynamic focal point within the outdoor landscape. The waist-high raised garden bed stands as a testament to the transformative power of gardening, offering a canvas for cultivating natural beauty, fostering a sense of fulfillment, and embracing the joys of nurturing a thriving garden within an elevated and carefully crafted environment.
In essence, the construction and cultivation of a waist-high raised garden bed represent a harmonious blend of innovation, functionality, and creative expression, culminating in the creation of a visually captivating, bountiful, and transformative gardening space.
Now that you've mastered building a waist-high raised garden bed, why not delve into what to plant in these elevated spaces? Our guide on Raised Garden Beds offers insightful tips on selecting the right plants to thrive above ground. If your interests lean more towards edible yields, our Vegetable Gardening article is perfect, covering all you need to grow a lush vegetable garden. For hands-on creators, don't miss our latest Woodworking Projects, featuring exciting DIY ideas for 2024 that promise to enhance any space creatively.
Frequently Asked Questions about How To Build A Waist-High Raised Garden Bed
Was this page helpful?
At Storables.com, we guarantee accurate and reliable information. Our content, validated by Expert Board Contributors, is crafted following stringent Editorial Policies. We're committed to providing you with well-researched, expert-backed insights for all your informational needs.

0 thoughts on “How To Build A Waist-High Raised Garden Bed”