Home>Ideas and Tips>Upgrading Your Home’s Garage with a DIY Automated 3D Printed Storage System

Ideas and Tips
Upgrading Your Home’s Garage with a DIY Automated 3D Printed Storage System
Modified: October 28, 2024
Upgrade your garage with a DIY automated 3D printed storage system. Enhance organization, save space, and boost efficiency with custom storage solutions.
(Many of the links in this article redirect to a specific reviewed product. Your purchase of these products through affiliate links helps to generate commission for Storables.com, at no extra cost. Learn more)
Introduction
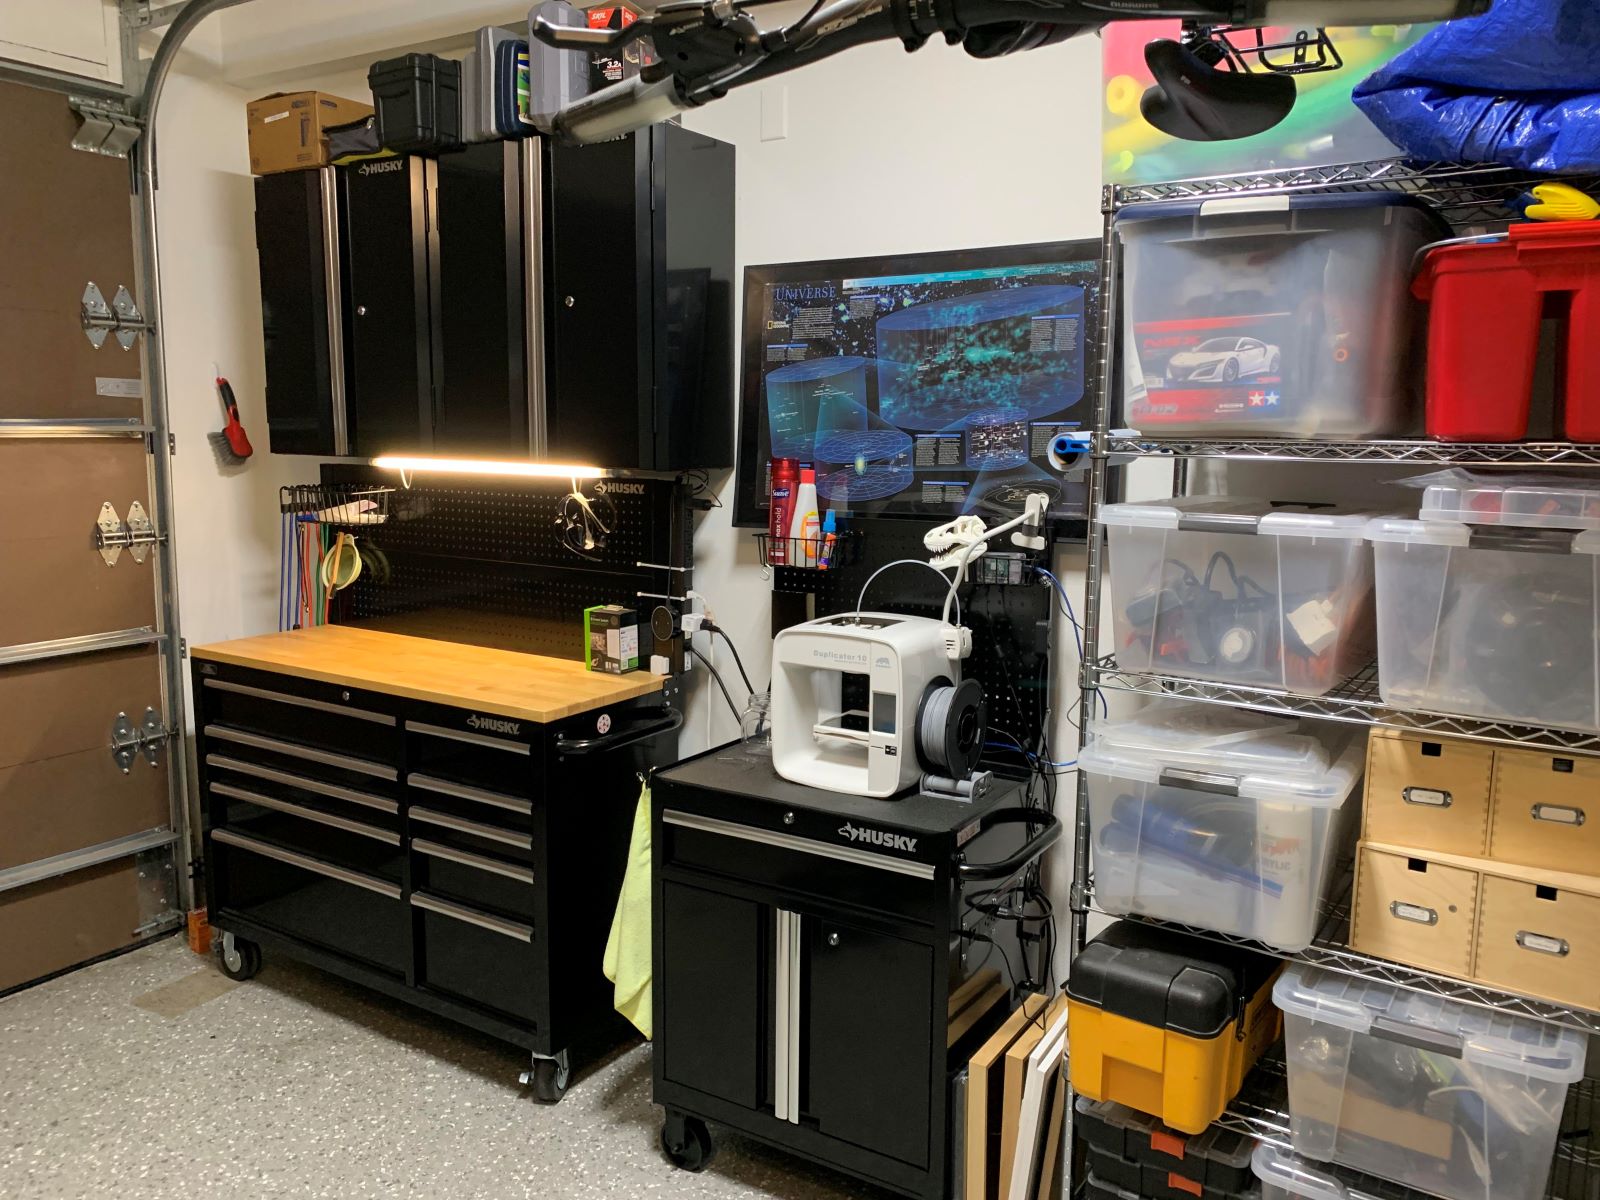
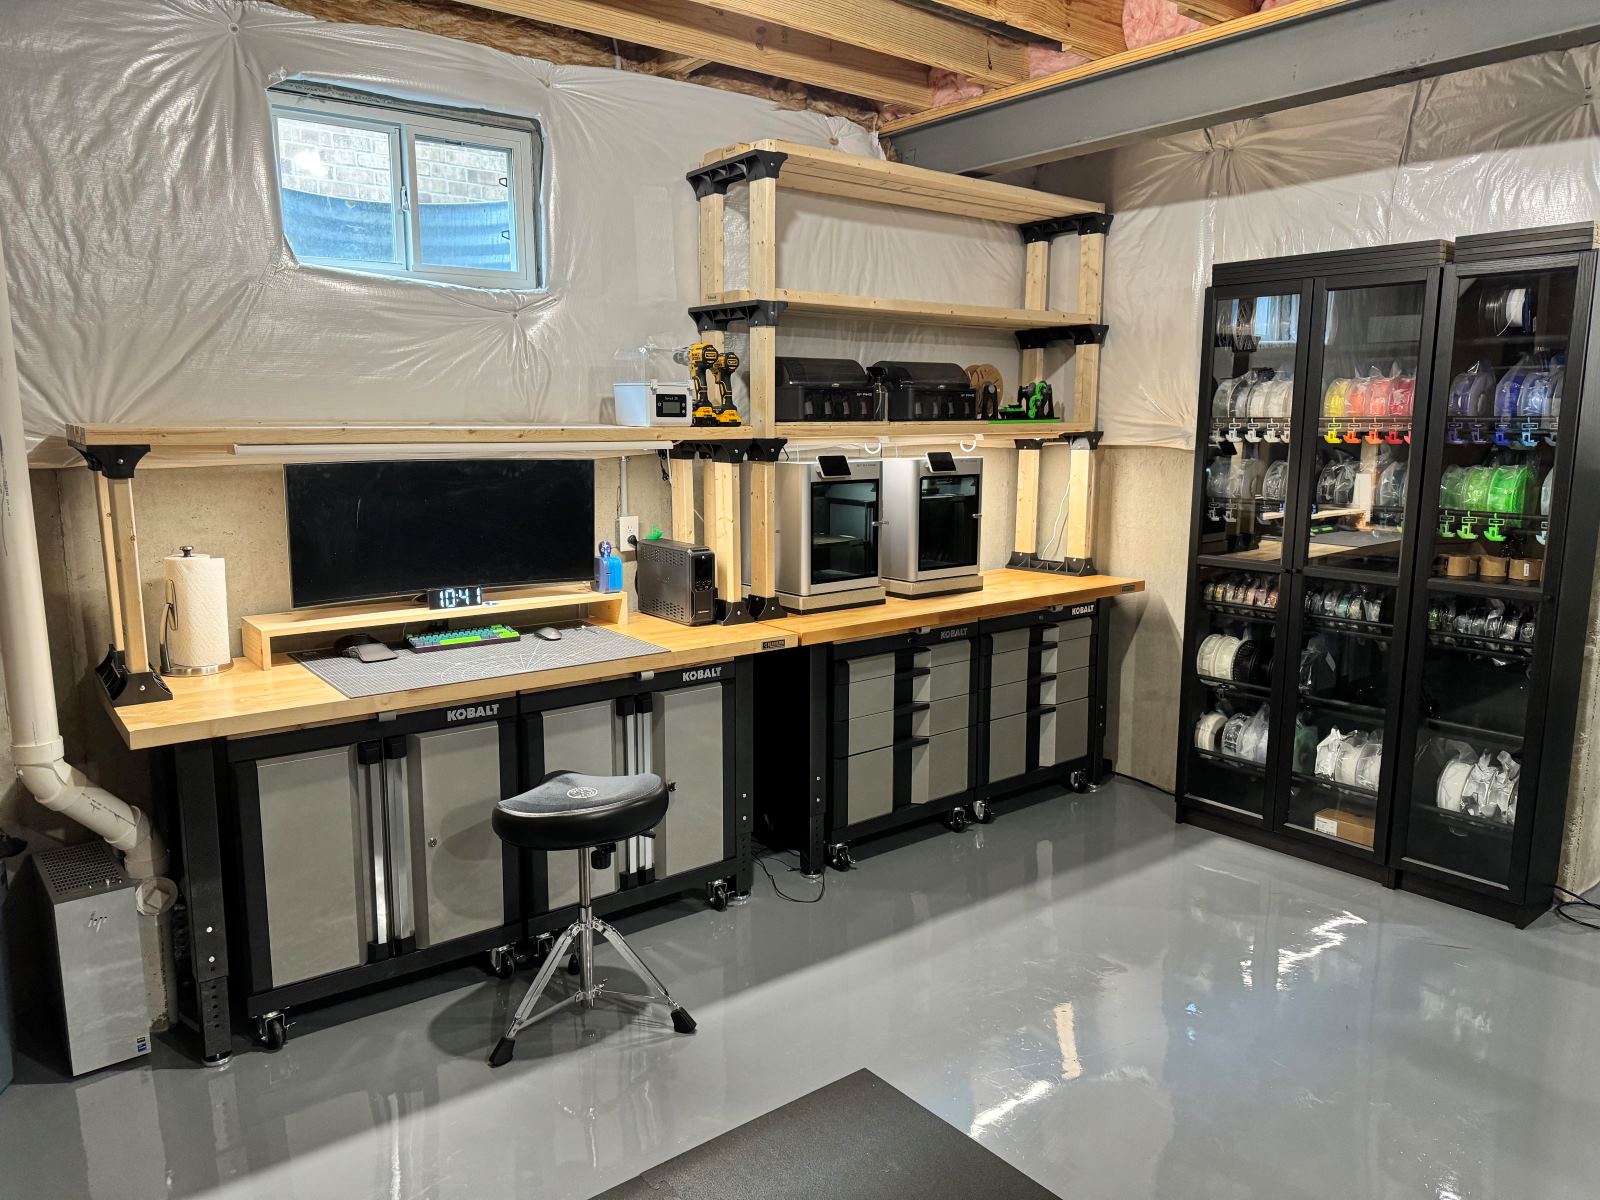
The garage is often the unsung hero of the home, serving as a storage space for tools, equipment, and various household items. However, as the years go by, garages can quickly become cluttered and disorganized, making it difficult to find what you need when you need it. One effective way to upgrade your garage is by implementing a DIY automated 3D printed storage system. This approach not only saves space but also enhances efficiency and organization.
In this article, we will delve into the world of 3D printing and explore how you can create a custom storage system tailored to your specific needs. We will discuss various methods for designing and printing these organizers, including the use of reference images and 3D scanning. Additionally, we will highlight some of the best practices and tools available for optimizing your 3D printing process.
Understanding the Basics of 3D Printing
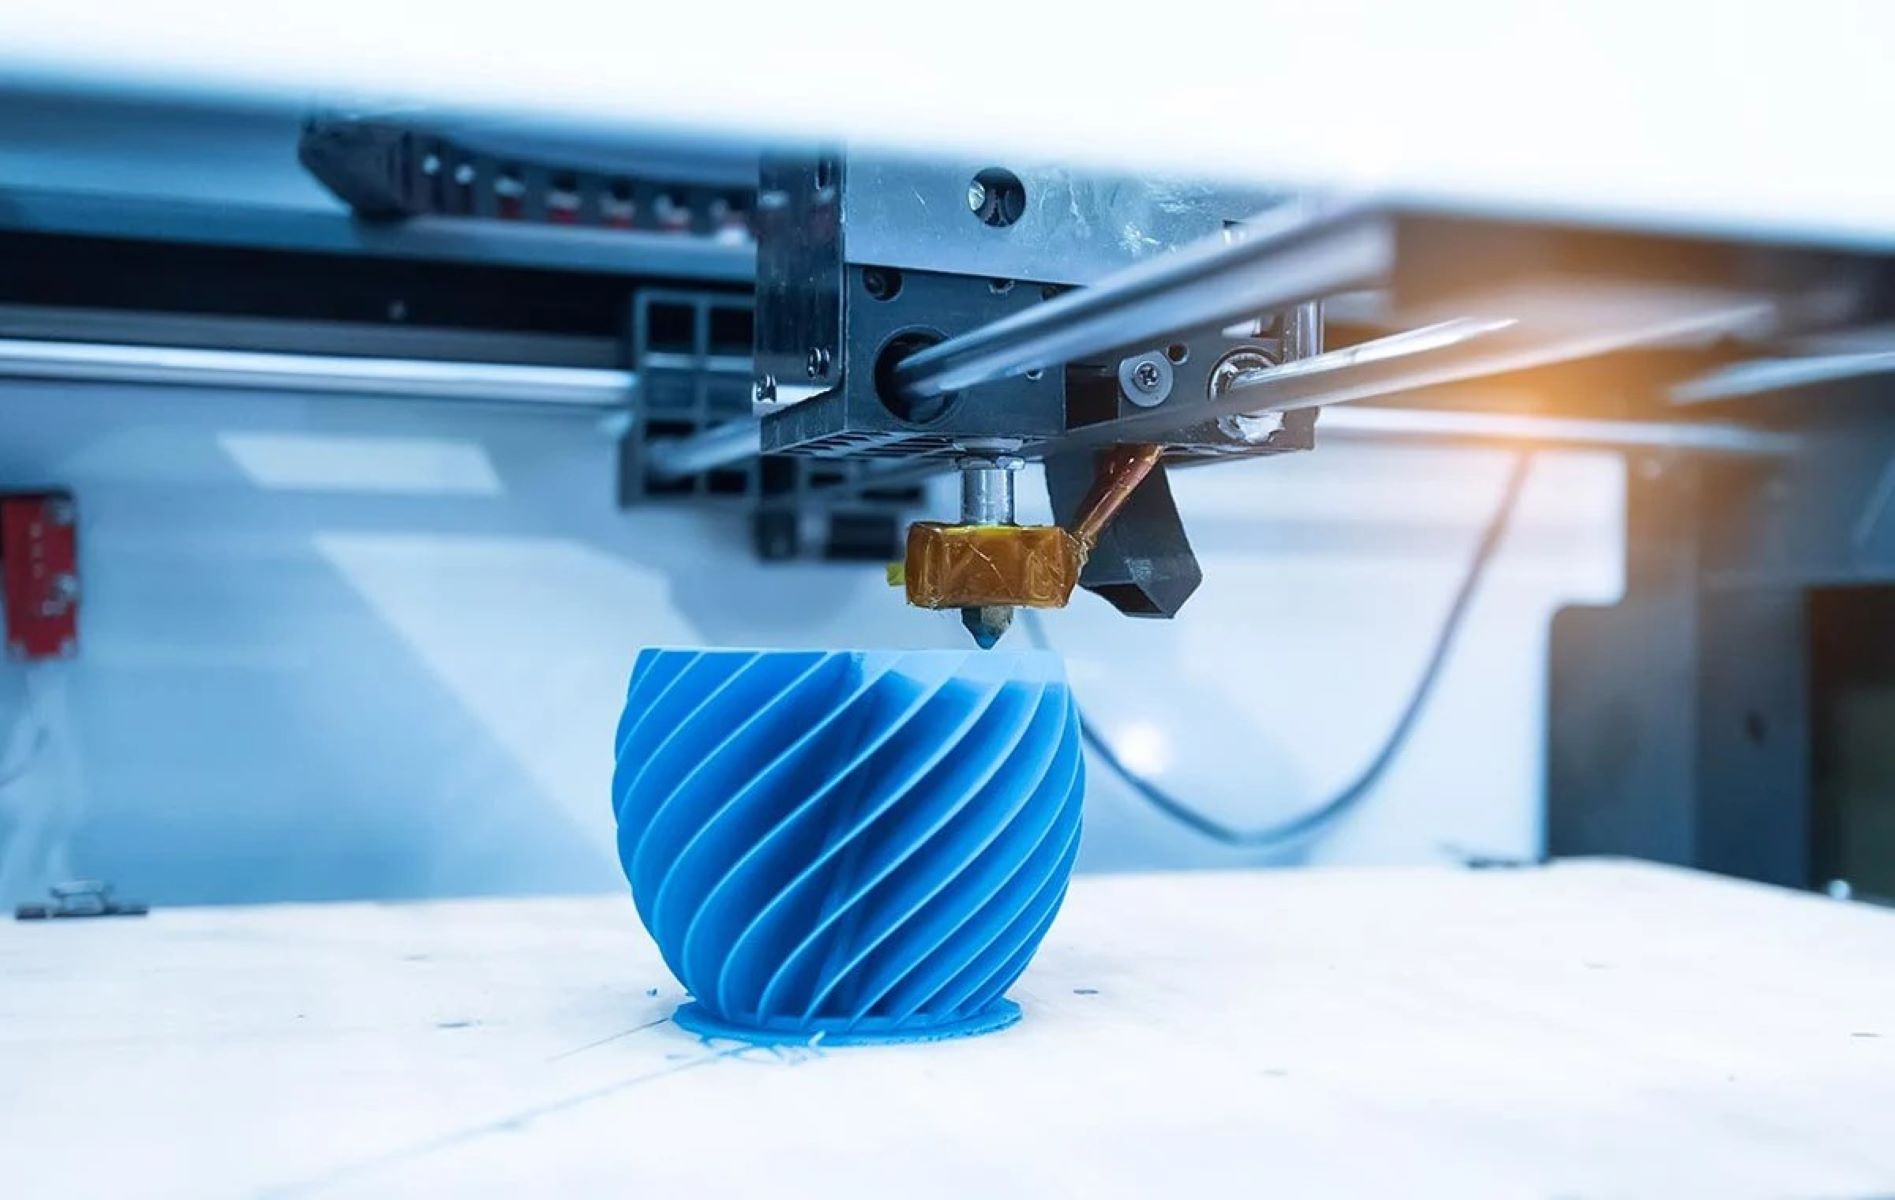
Before diving into the project, it's essential to understand the basics of 3D printing. 3D printing is a process that creates three-dimensional solid objects from digital files. It works by layering materials such as plastics, metals, and ceramics according to the design specifications.
For our garage storage project, we will primarily be using PLA (Polylactic Acid) or PETG (Polyethylene Terephthalate Glycol) filaments. These materials are popular choices due to their ease of use and durability.
Tools and Materials Needed
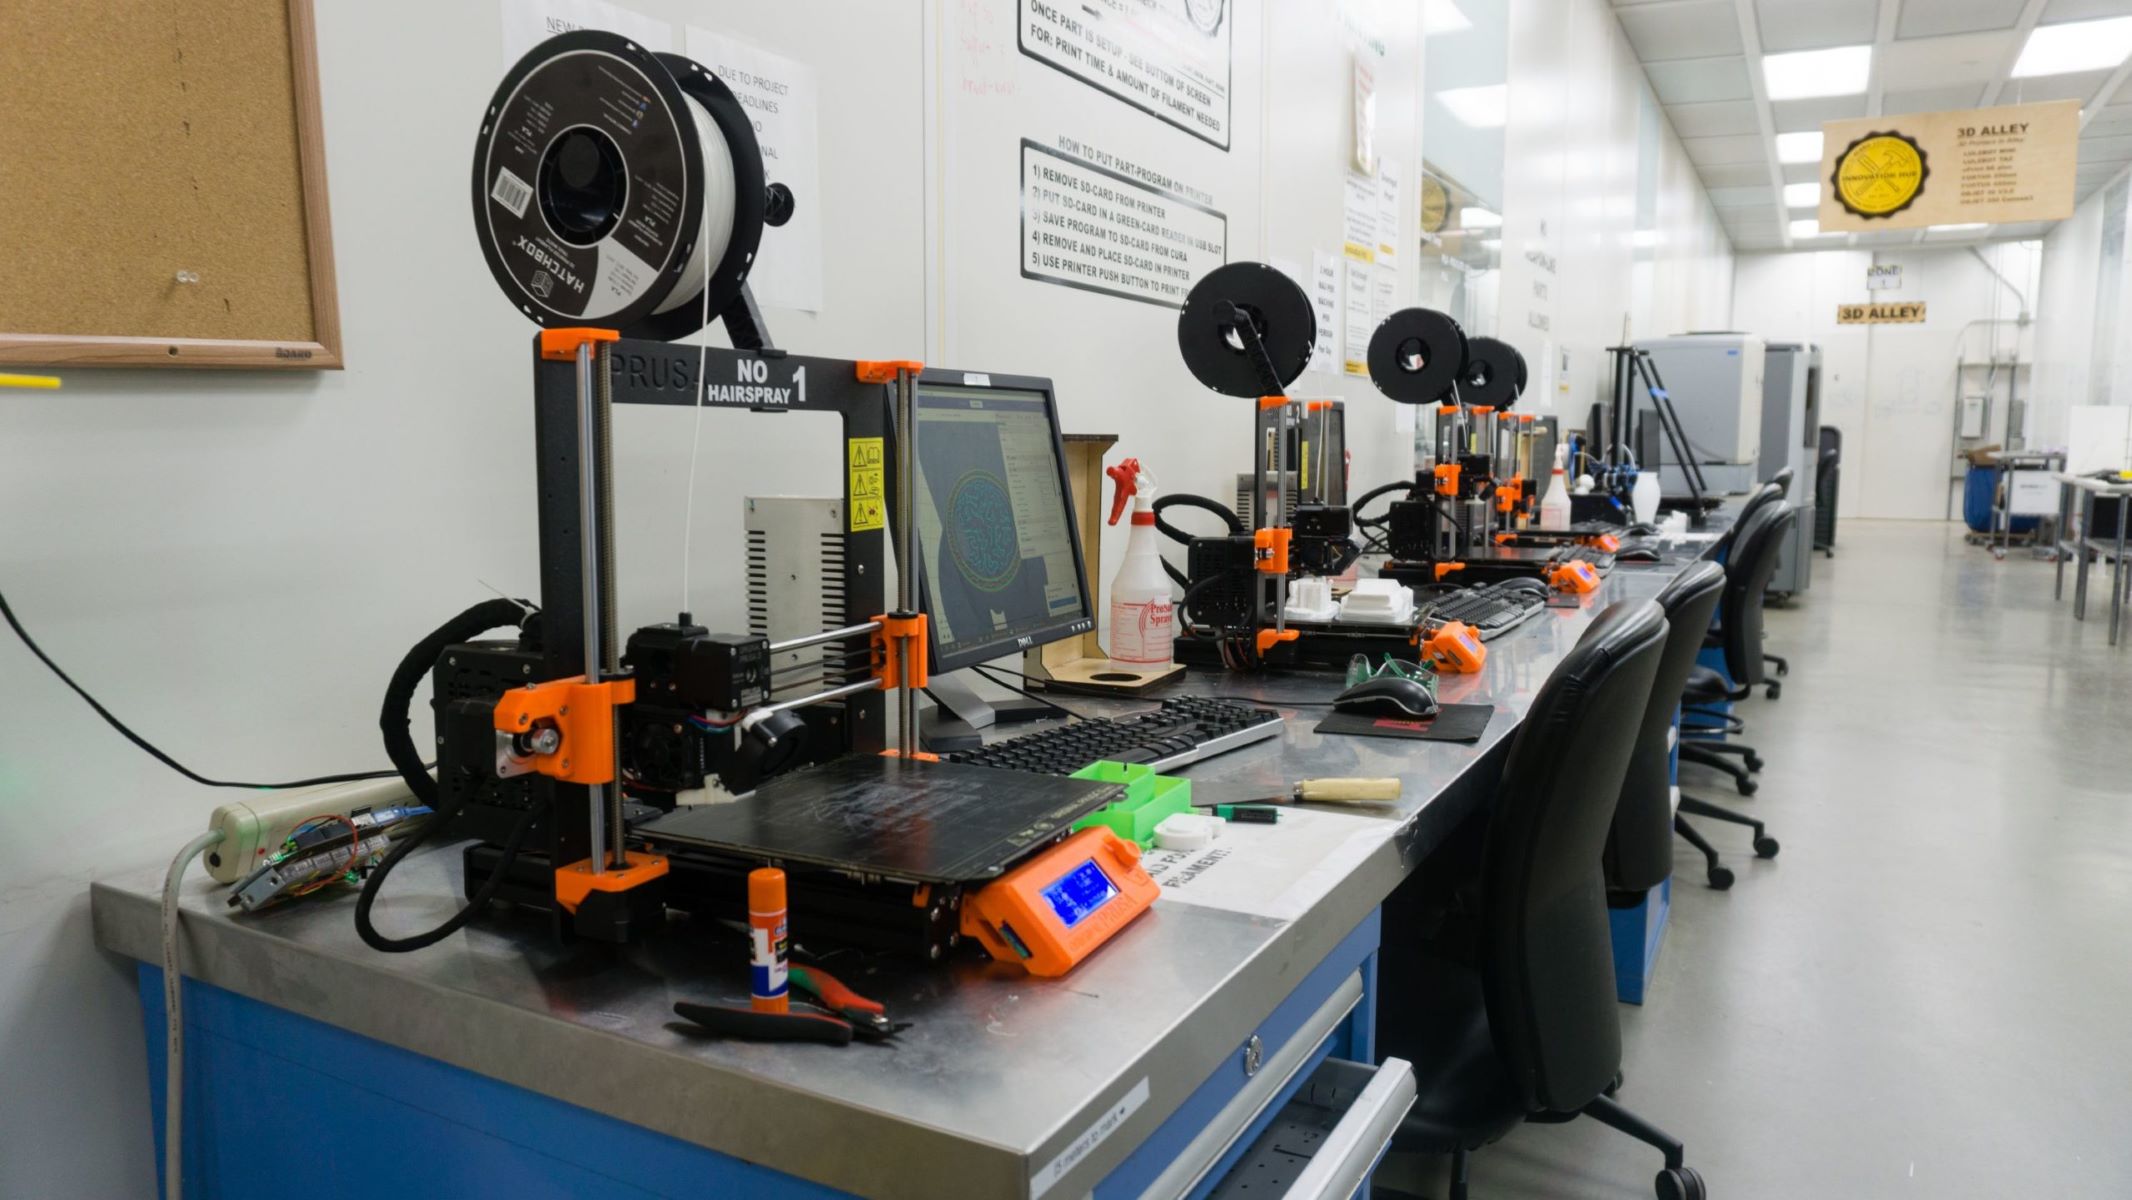
- 3D Printer: A reliable 3D printer is the backbone of this project. Popular models include the Bambu Lab X1 Carbon and the Prusa i3 MK3s.
- Filament: PLA or PETG filaments are recommended for their strength and ease of printing.
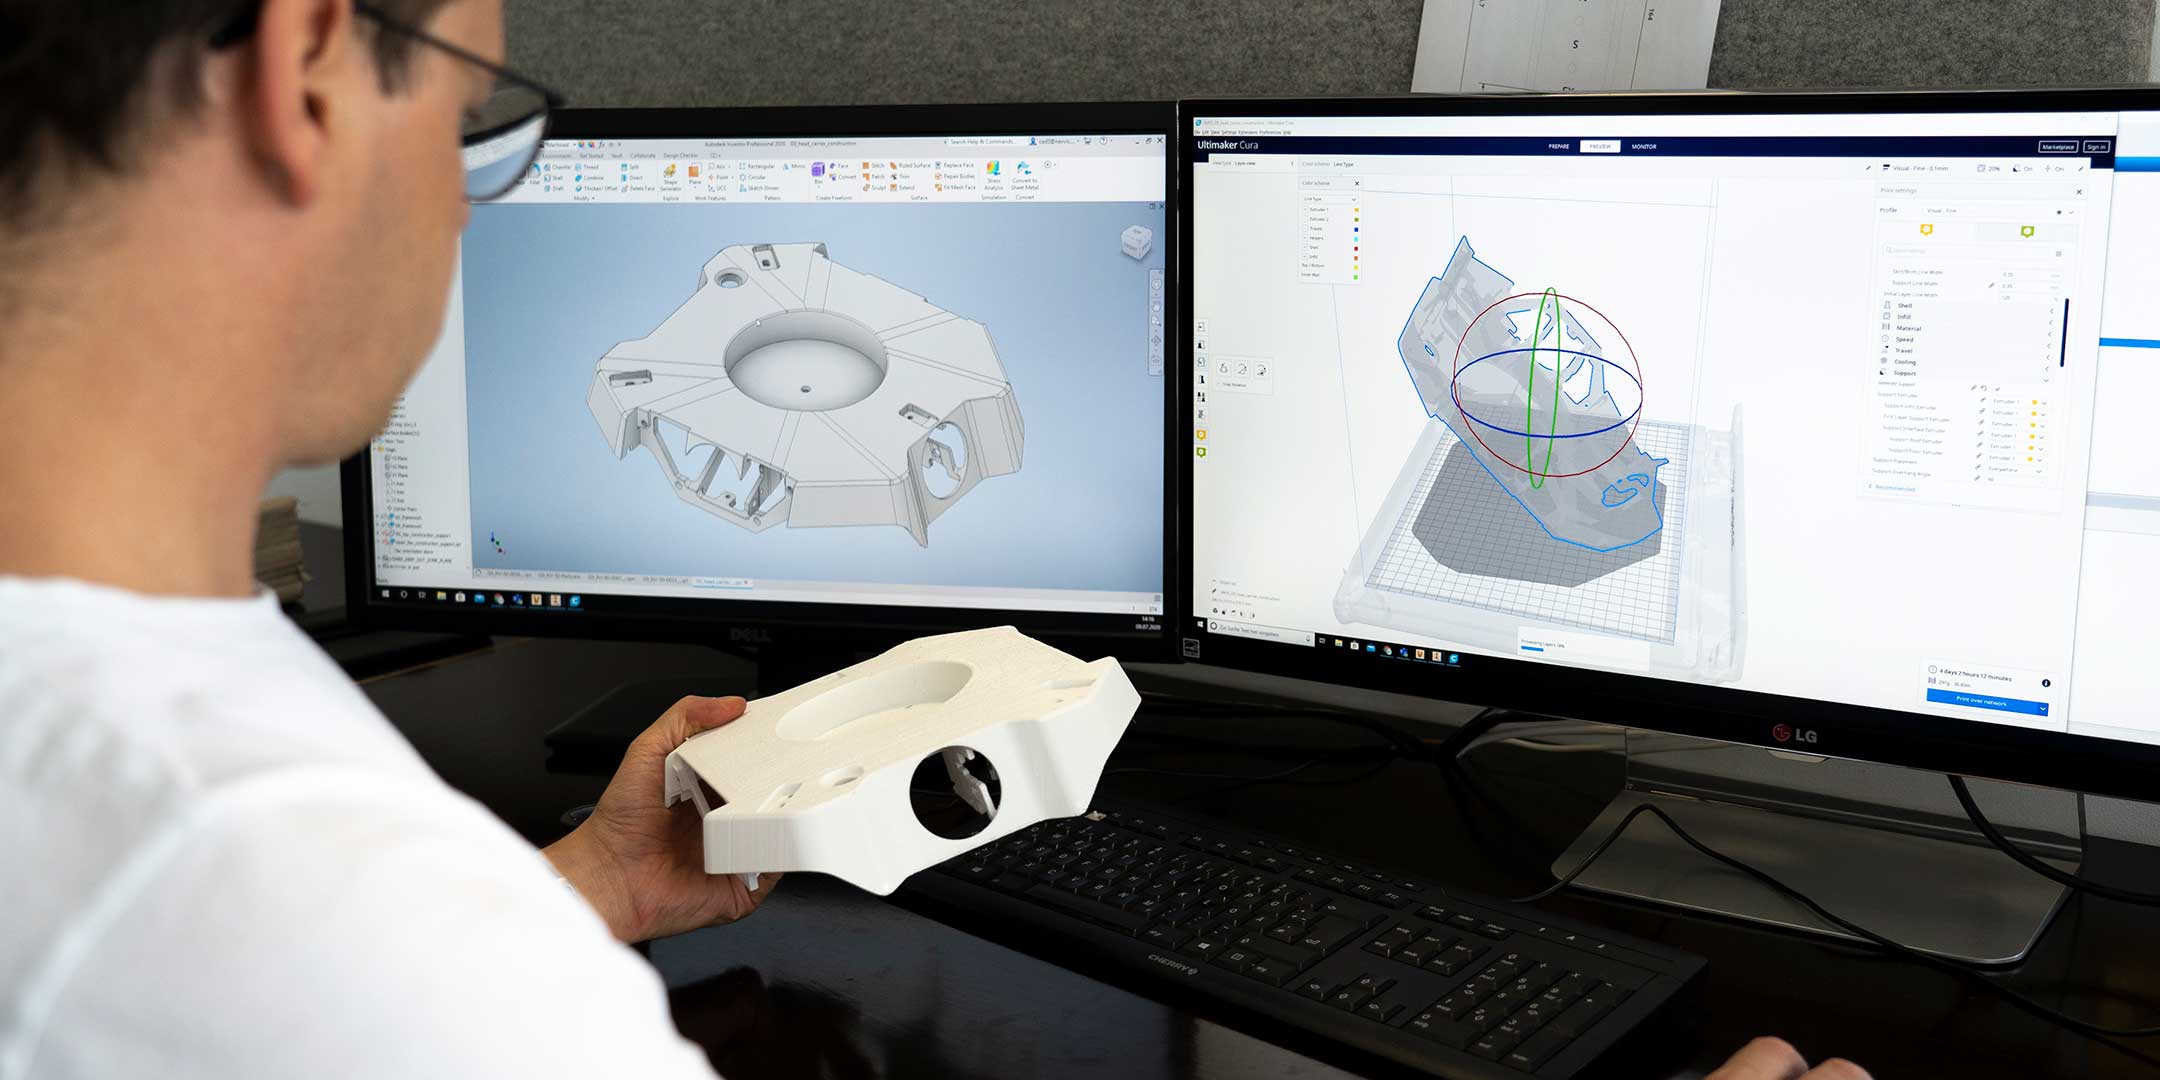
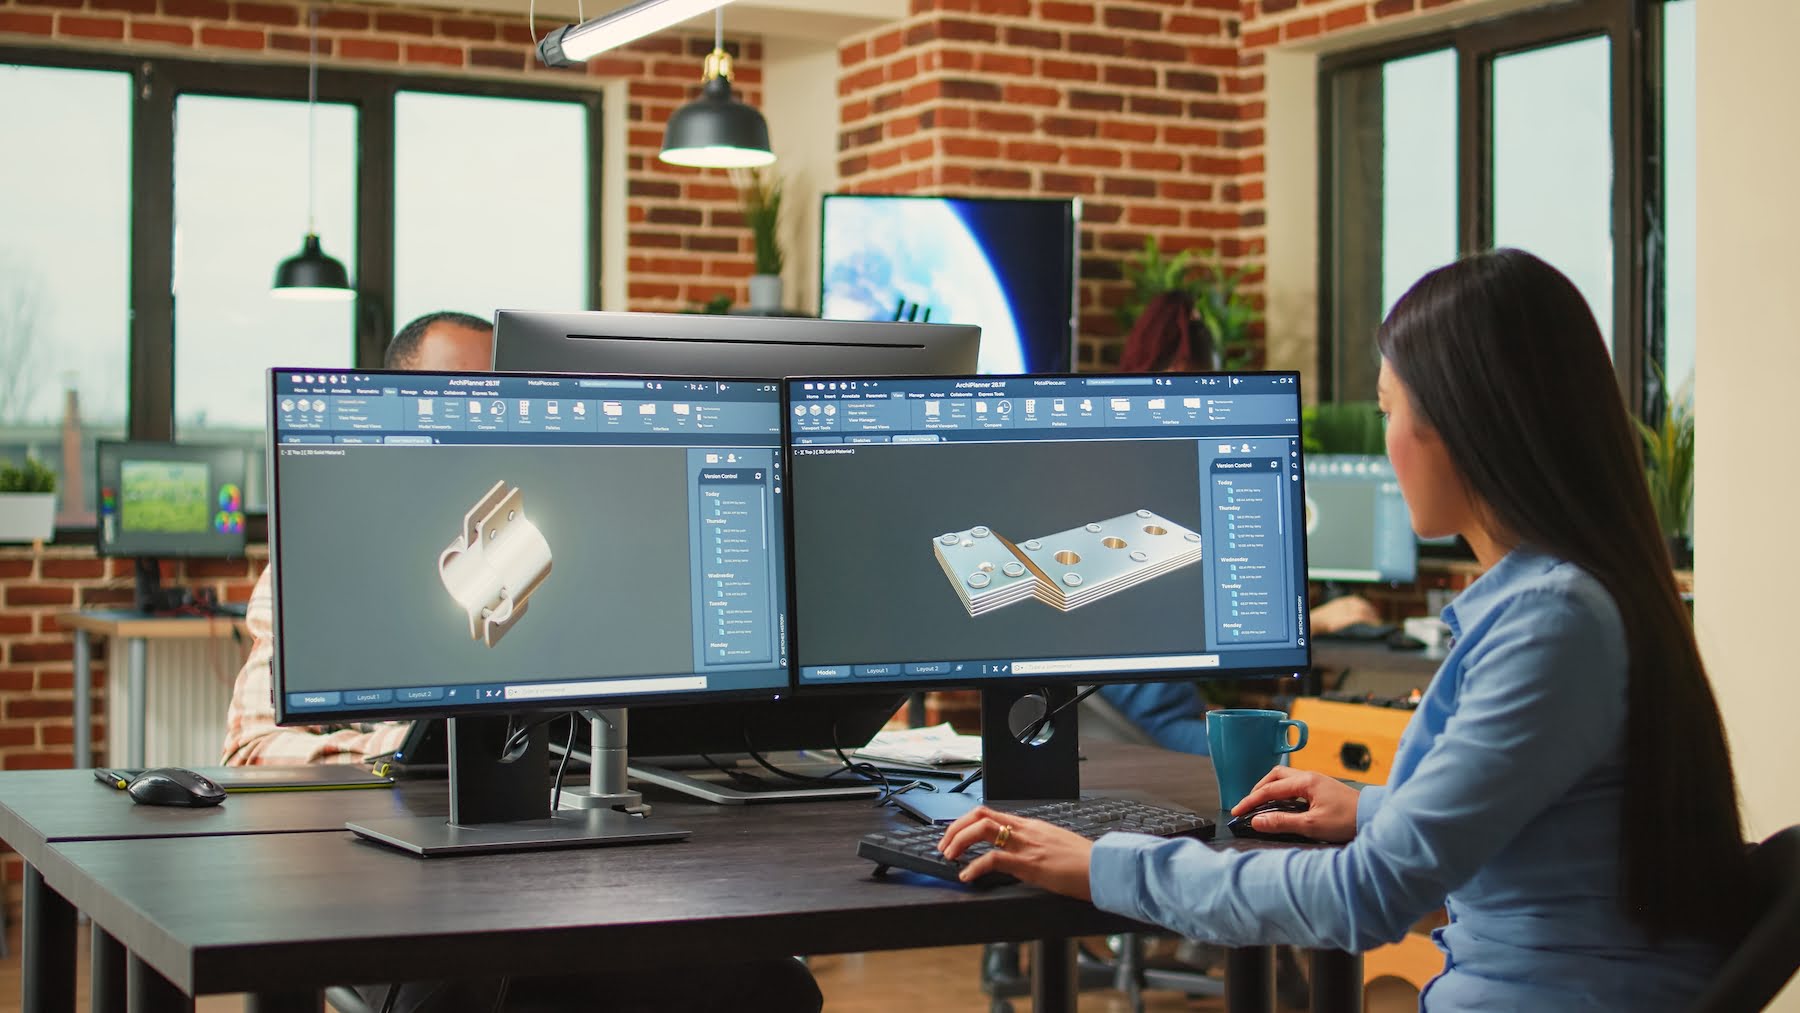
- Design Software: Autodesk Fusion360 or similar CAD software is necessary for designing the storage units.
- Reference Images: Having clear images of the tools and items you want to store will help in creating accurate designs.
- 3D Scanner (Optional): A 3D scanner can be used to scan objects directly, which can then be used as reference points in your design.
Designing Your Custom Storage Units
Designing your custom storage units involves several steps:
-
Measure and Record Dimensions:
- Start by measuring the dimensions of the tools and items you want to store. This will help you create accurate designs.
-
Choose a Grid System:
- One popular method is using the Gridfinity system. This involves dividing the space into a grid where storage bins can be placed in various sizes and orientations.
-
Use Reference Images:
- Use reference images of the tools to ensure that your designs fit perfectly. This can be done using software like Autodesk Fusion360 where you can import images and create models around them.
-
3D Scanning (Optional):
- If you have access to a 3D scanner, you can scan the objects directly. This method is particularly useful if you need precise measurements or complex shapes.
-
Create Parameterized Models:
- Use CAD software like Fusion360 to create parameterized models that can be easily tweaked for different sizes and shapes. This makes it easier to create multiple units with minimal effort.
Example Design Process
Let's take an example of designing a custom tool organizer for measuring tools and sockets:
-
Measure Dimensions:
- Measure the dimensions of your measuring tools and sockets. For instance, if you have a square-shaped tool with dimensions 205mm x 130mm, you can start designing around these measurements.
-
Gridfinity System:
- Divide the length and width by 42 (the standard grid size) and round up to determine the number of grid units required. In this case, it would be approximately 5 units in length and 3 units in width.
-
Create Container Model:
- Use Autodesk Fusion360 or similar software to create a container model based on these dimensions. You can use pre-existing templates from Zack Freedman’s Gridfinity introduction video for ease of use.
-
Add Features:
- Add features like stabilizing profiles at the sides to make the boxes more rigid, especially if you're using softer materials like PETG.
- Include rail grids that can be glued or screwed into your drawer or case for secure placement.
-
Optimize for FFF Process:
- Optimize your design for Fused Filament Fabrication (FFF) by reducing print time, material usage, and ensuring best rigidity for PLA or PETG filaments.
Printing Your Storage Units
Once you have designed your storage units, it's time to print them:
-
Prepare Your Printer:
- Ensure your 3D printer is calibrated correctly with the right nozzle size and layer height settings optimized for your chosen filament.
-
Slice Your Model:
- Use slicing software like Cura or Slic3r to prepare your model for printing by generating G-code.
-
Print Your Units:
- Start printing your units according to your slicing settings. For optimal results, use a heated bed if available and monitor temperature swings during printing.
-
Post-Processing:
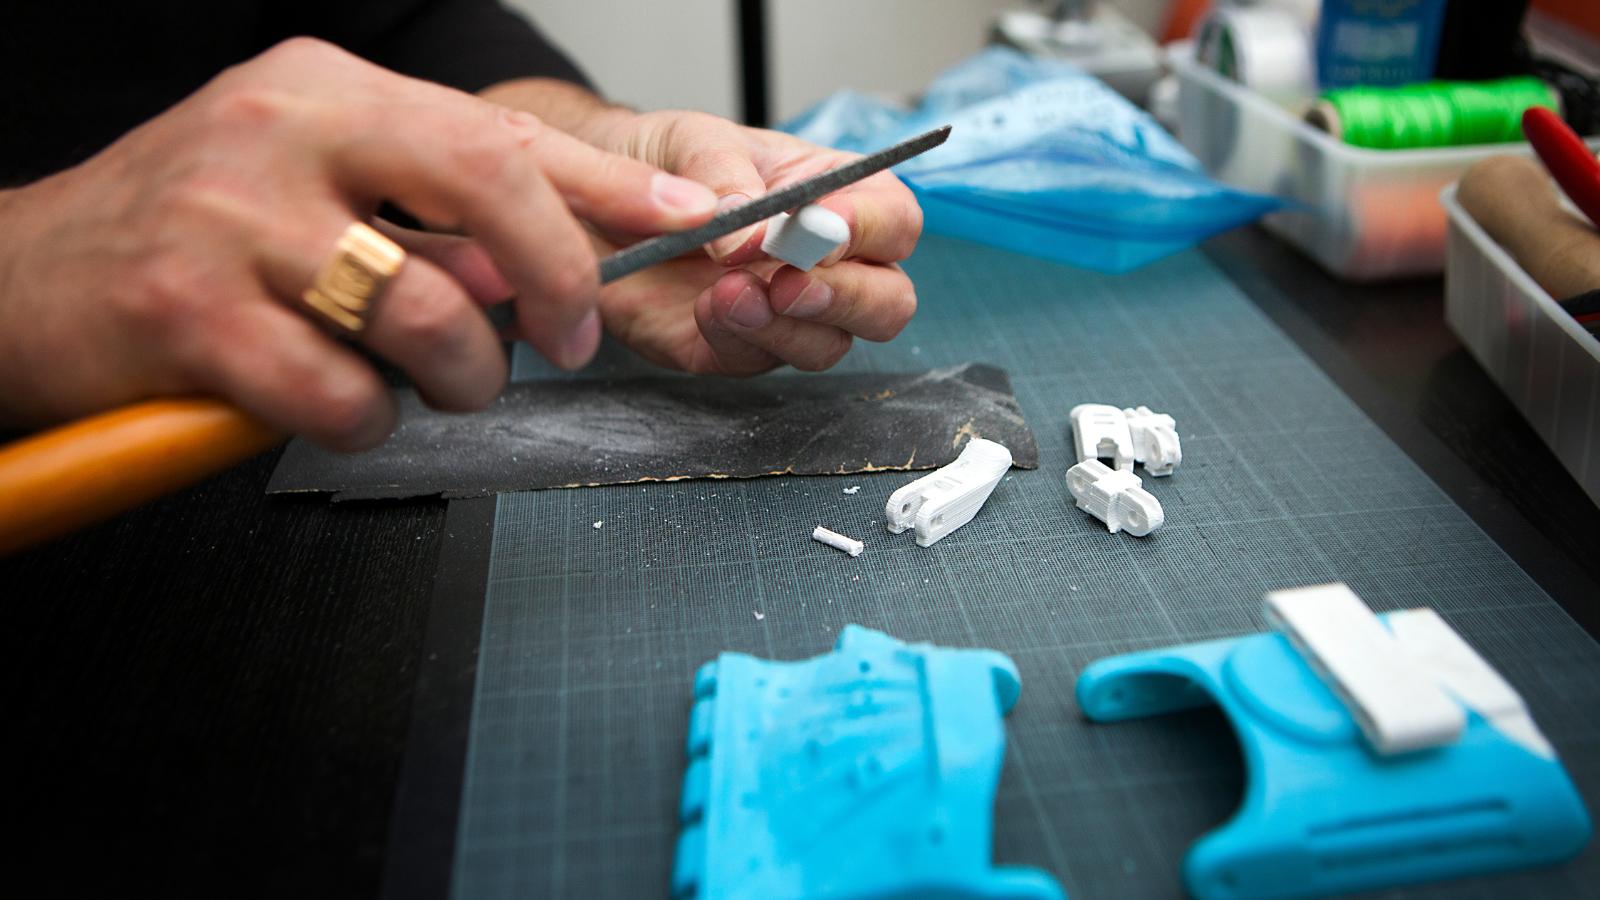
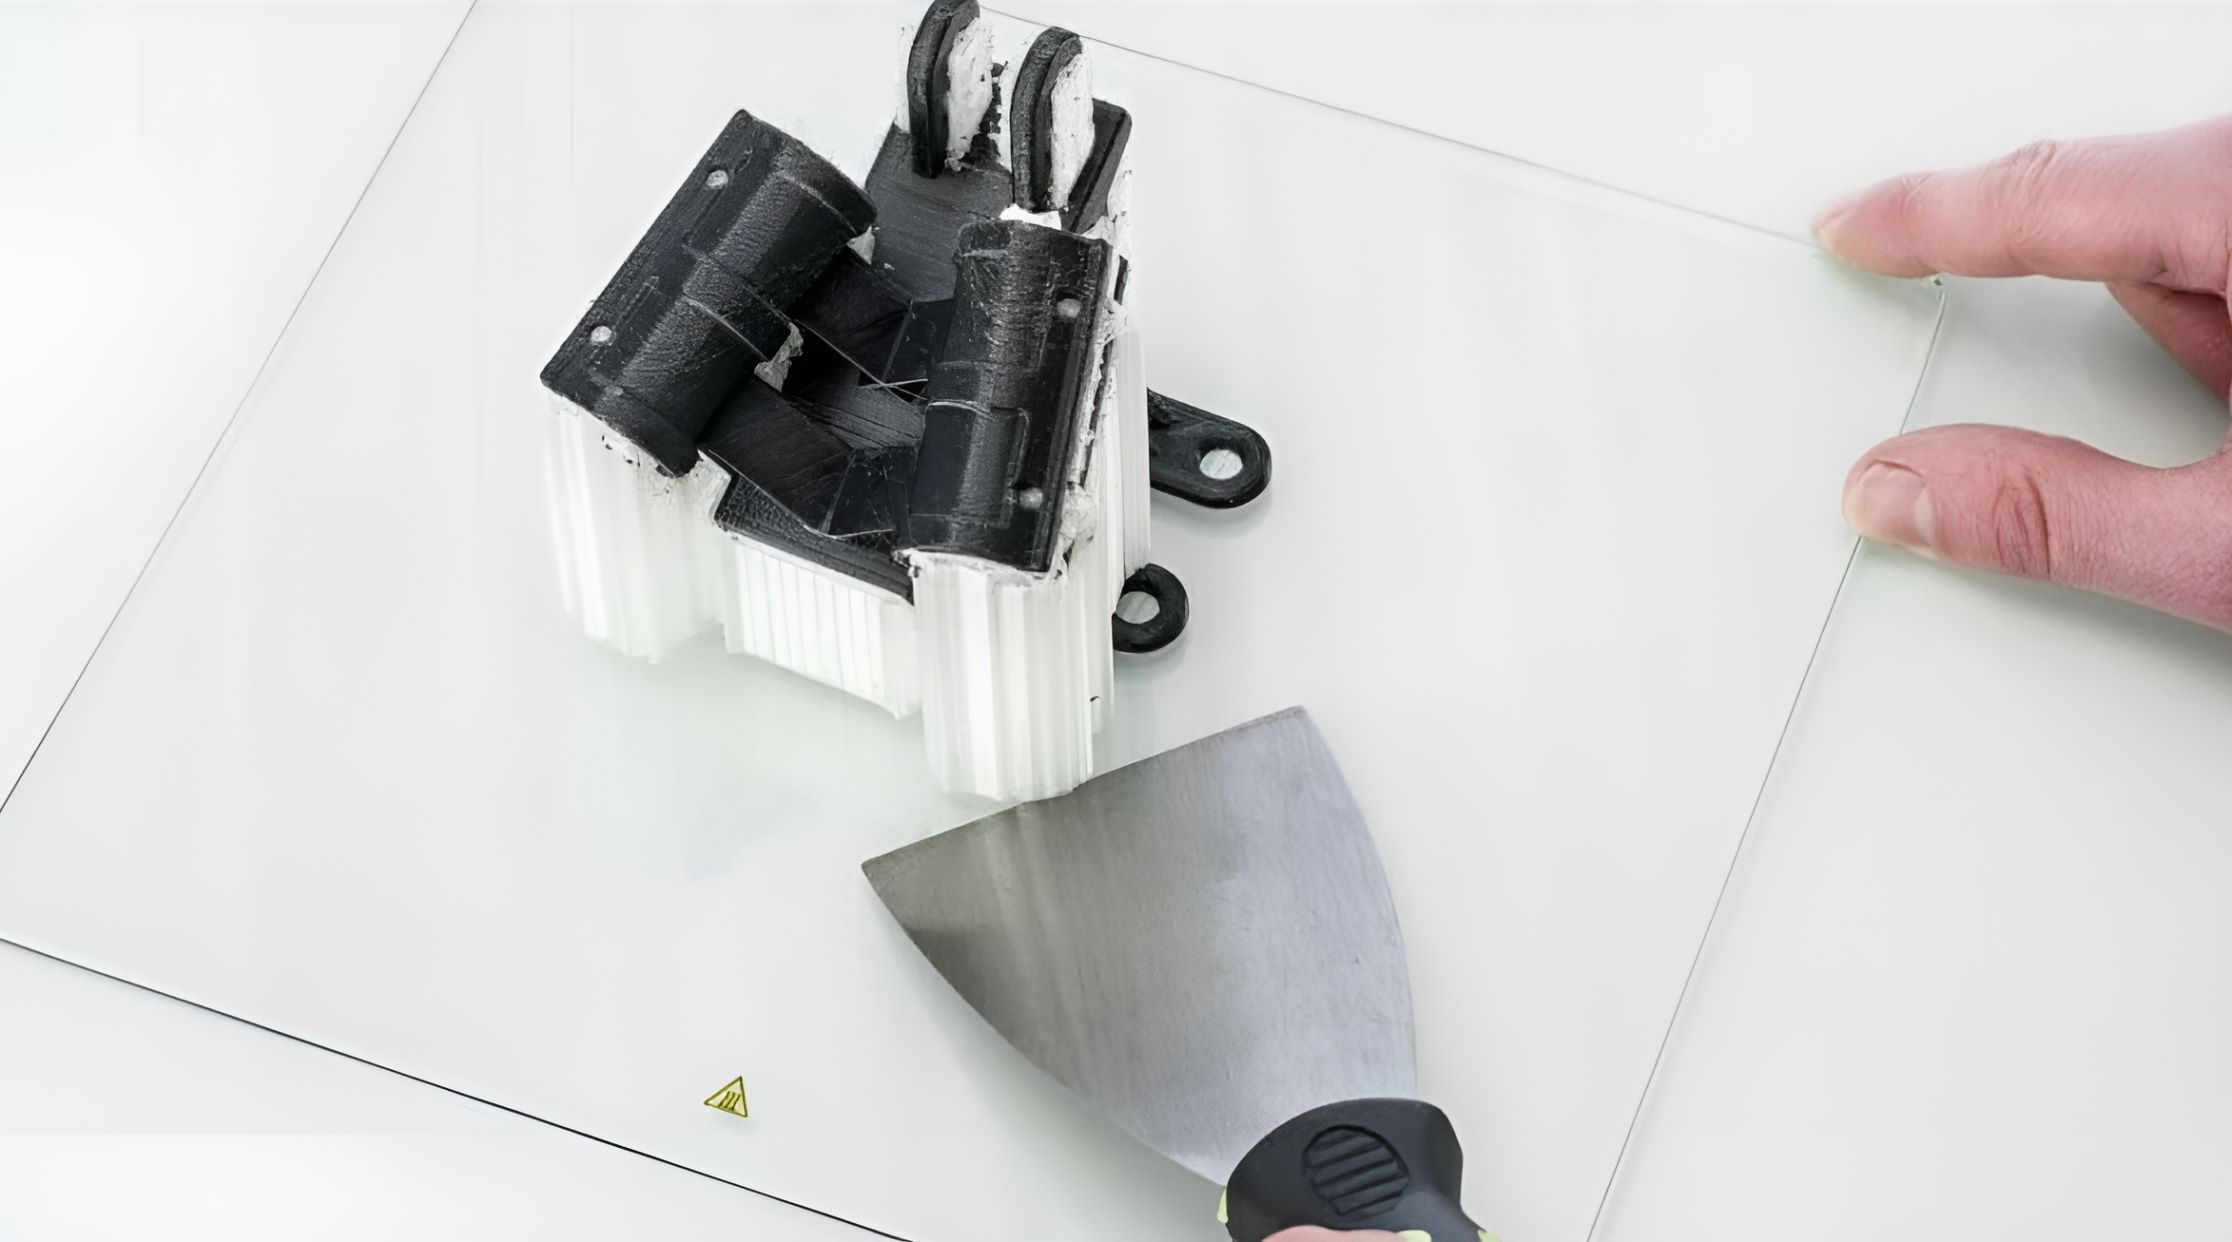
- After printing, remove any support material if necessary and sand down any rough edges for a smoother finish.
Assembling Your Automated Storage System
Assembling your automated storage system involves several steps:
-
Stacking Boxes:
- The ability to stack boxes securely is crucial for efficient use of vertical space in drawers or shelves. Use stabilizing profiles and rail grids designed into each box for stability.
-
Labeling Boxes:
- Implement a dual-label system where labels are visible from above when boxes are in drawers but also from the side when stacked vertically.
-
Integration with Drawer/Rail Grids:
- Glue or screw rail grids into your drawer or case so that each box fits snugly into place without shifting around.
-
Customization Options:
- Since these units are custom-made, you can easily adapt them to fit specific needs by tweaking existing models or creating new ones from scratch using CAD software.
Benefits of DIY Automated 3D Printed Storage System
Implementing a DIY automated 3D printed storage system offers numerous benefits:
-
Customization:
- Each unit can be tailored specifically to fit your tools and equipment, ensuring maximum efficiency in storage.
-
Space Optimization:
- By stacking boxes securely, you can fill vertical space more efficiently than traditional storage methods.
-
Durability:
- Using high-quality filaments like PLA or PETG ensures durability even under harsh conditions such as temperature swings.
-
Cost-Effective:
- While initial investment in tools and materials may seem high, long-term savings from reduced clutter and improved workflow make it cost-effective in the long run.
-
Community Support:
- Many designs are available online through platforms like Printables.com or Thingiverse, making it easier for beginners to get started without extensive CAD experience.
Conclusion
Upgrading your home's garage with a DIY automated 3D printed storage system is an excellent way to enhance organization and efficiency while saving space effectively. By following these steps—measuring dimensions, choosing a grid system like Gridfinity, using reference images or 3D scanning for accuracy—and optimizing designs for FFF processes—you can create custom storage units that fit perfectly into your garage setup.
Whether you're a seasoned DIY enthusiast or just starting out with 3D printing projects, this guide provides a comprehensive overview of how you can transform your garage into an organized haven using cutting-edge technology available today.
So why wait? Dive into the world of 3D printing today and start organizing your garage like never before
Was this page helpful?
At Storables.com, we guarantee accurate and reliable information. Our content, validated by Expert Board Contributors, is crafted following stringent Editorial Policies. We're committed to providing you with well-researched, expert-backed insights for all your informational needs.



0 thoughts on “Upgrading Your Home’s Garage with a DIY Automated 3D Printed Storage System”