Home>Interior Design>How To Apply Polyurethane: Pointers From Professionals

Interior Design
How To Apply Polyurethane: Pointers From Professionals
Modified: January 19, 2024
Learn valuable tips and tricks from interior design professionals on how to expertly apply polyurethane for flawless finishes in your home.
(Many of the links in this article redirect to a specific reviewed product. Your purchase of these products through affiliate links helps to generate commission for Storables.com, at no extra cost. Learn more)
Introduction
When it comes to interior design, one of the most crucial aspects to consider is the choice of materials and finishes. Polyurethane is a versatile and popular choice for protecting and enhancing various surfaces, such as wooden furniture, floors, and cabinets. Applying polyurethane correctly not only provides a beautiful, durable finish but also helps protect the surface from daily wear and tear.
While there are professionals who specialize in applying polyurethane, it’s also a task that can be completed by homeowners who are willing to put in a little effort and attention to detail. In this article, we will provide you with some valuable insights and pointers from professionals on how to apply polyurethane effectively and achieve exceptional results.
Before we dive into the process of applying polyurethane, let’s first discuss the importance of choosing the right type of polyurethane for your project. There are two main types to consider: oil-based polyurethane and water-based polyurethane.
Oil-based polyurethane is known for its durability and longevity. It has a warm amber hue that adds richness to the surface it’s applied on. However, keep in mind that oil-based polyurethane has a strong odor and requires proper ventilation during application and drying time.
On the other hand, water-based polyurethane is a more eco-friendly and low-odor alternative. It dries quickly and has a clear finish, making it ideal for surfaces that you want to retain their natural appearance.
With your polyurethane chosen, let’s move on to the next step: preparing the surface. This is a crucial step as it ensures that the polyurethane adheres well and provides a smooth, even finish. Stay tuned for our next section on how to properly prepare the surface for polyurethane application.
Key Takeaways:
- Achieve exceptional results by choosing the right polyurethane, preparing the surface thoroughly, and applying thin, even coats with attention to detail and patience.
- Enhance the beauty and durability of interior surfaces with polyurethane by following professional pointers, including proper surface preparation, applying multiple coats, and finishing with sanding and buffing.
Read more: How To Apply Polyurethane To Wood Floors
Choosing the Right Polyurethane
When it comes to applying polyurethane, choosing the right type for your project is essential. As mentioned earlier, you have two main options: oil-based polyurethane and water-based polyurethane. Let’s take a closer look at each one to help you make an informed decision.
Oil-Based Polyurethane:
Oil-based polyurethane is known for its durability and longevity. It provides a hard and durable finish that can withstand heavy use and exposure to various elements. This makes it an excellent choice for high-traffic areas such as floors, tabletops, and wooden cabinets.
In addition to its durability, oil-based polyurethane also offers a warm and rich amber hue that enhances the natural beauty of wood. It adds depth and character to the surface it’s applied on, giving it a more traditional and classic look.
However, there are a few things to consider when using oil-based polyurethane. Firstly, it has a strong odor and emits harmful volatile organic compounds (VOCs) during application and the drying process. It is crucial to have proper ventilation in the area where you are applying it to ensure your safety and to minimize the odor.
Secondly, oil-based polyurethane has a longer drying time compared to water-based polyurethane. You’ll need to allow ample time for the coats to dry and cure before moving on to the next steps of the application process.
Water-Based Polyurethane:
Water-based polyurethane is a popular choice for those looking for low odor and easy cleanup. It is a more environmentally friendly alternative to oil-based polyurethane as it emits fewer harmful vapors during application and drying.
This type of polyurethane dries quickly, allowing for faster and more efficient application. It also has a clear finish, making it great for surfaces where you want to maintain the natural look of the material, such as wooden furniture with a light or natural stain.
Water-based polyurethane is less prone to yellowing over time, making it an ideal choice for lighter surfaces that could be affected by the amber hue of oil-based polyurethane.
However, it’s important to note that water-based polyurethane may not be as durable as oil-based polyurethane, especially in high-traffic areas. It may require more frequent reapplication and maintenance to ensure optimal protection and longevity.
Now that you have a better understanding of the differences between oil-based and water-based polyurethane, you can make an informed decision based on your project’s specific needs and preferences. In the next section, we will discuss how to properly prepare the surface before applying polyurethane.
Preparing the Surface
Before you start applying polyurethane, it is crucial to properly prepare the surface to ensure a smooth and flawless finish. Here are some important steps to follow when preparing the surface:
Clean the Surface: Begin by thoroughly cleaning the surface you’ll be applying polyurethane to. Remove any dirt, dust, or debris using a vacuum cleaner or a soft cloth. If there are any stains or grease spots, use a mild detergent or cleaner to remove them. Rinse the surface with clean water and allow it to dry completely.
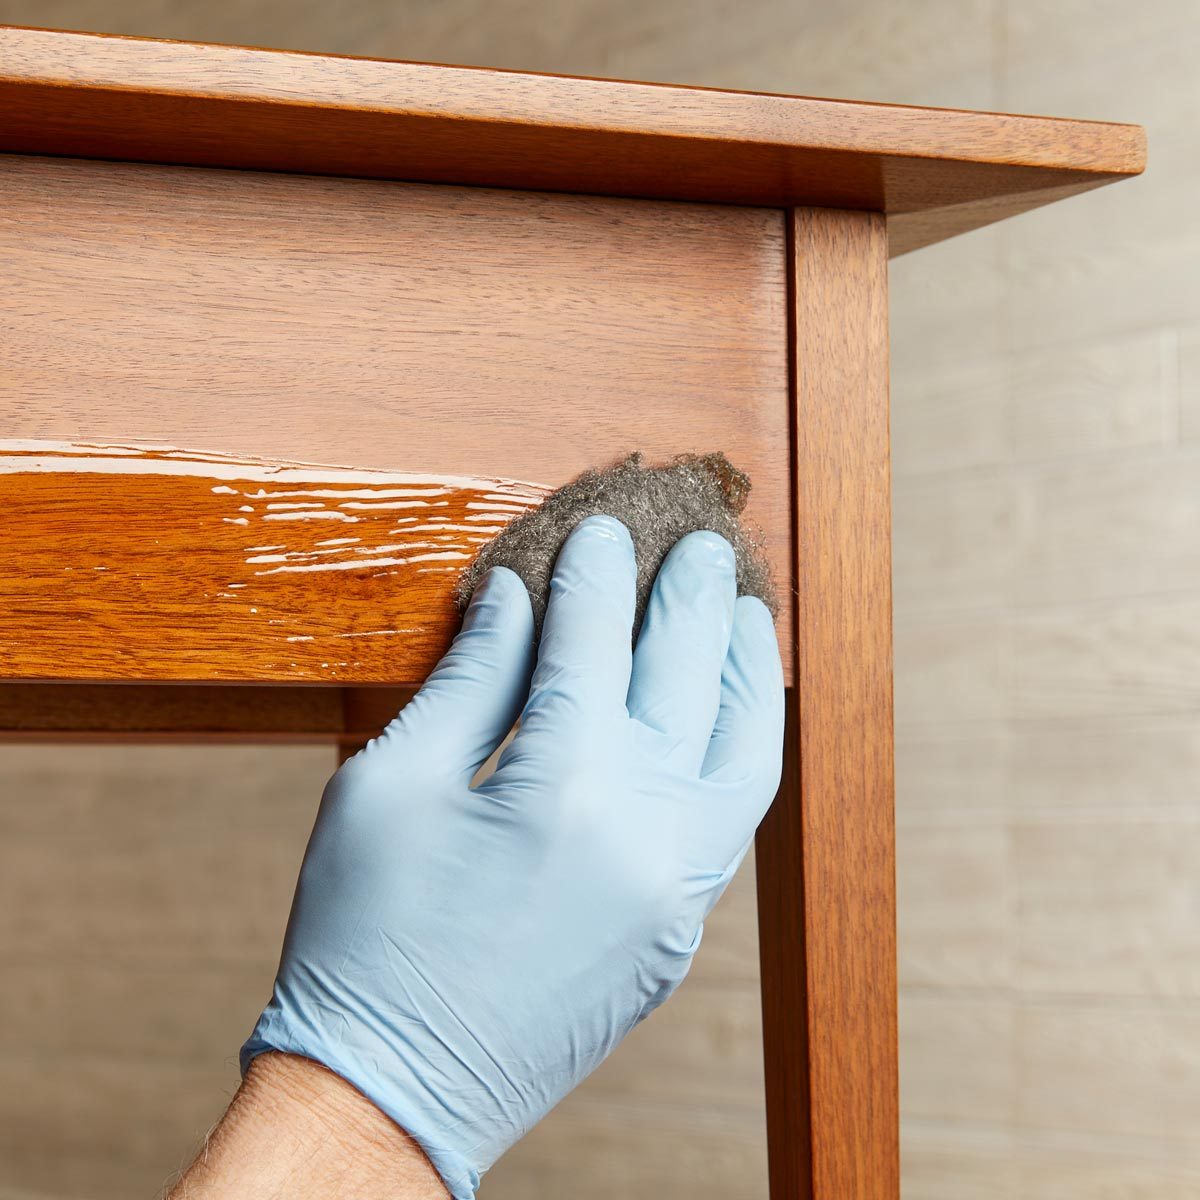
Sand the Surface: Next, it’s important to sand the surface to create a smooth and even texture. Start with a coarse-grit sandpaper (around 120 or 150 grit) and sand in the direction of the wood grain. This will help remove any imperfections and ensure proper adhesion of the polyurethane. Gradually move to finer-grit sandpaper (220 or higher) to achieve a smoother surface.
Remove Dust: After sanding, use a tack cloth or a microfiber cloth to remove any dust or residue from the surface. Be thorough in this step, as any remaining particles can affect the final finish of the polyurethane.
Fill in Imperfections: If there are any small cracks, holes, or imperfections on the surface, now is the time to address them. Use wood filler or putty to fill in these areas and allow it to dry according to the manufacturer’s instructions. Once dry, sand the filled areas with fine-grit sandpaper to ensure a smooth and even surface.
Smooth the Edges: Pay attention to the edges and corners of the surface, as these areas can be tricky to coat evenly. Use a sanding block or sandpaper to smooth out any sharp edges or rough spots. This will help the polyurethane adhere evenly and provide a consistent finish.
Final Cleaning: Before you begin applying the polyurethane, make sure to do a final cleaning of the surface. Use a tack cloth or a microfiber cloth to remove any remaining dust or particles. This will ensure that the polyurethane adheres smoothly and prevents any contaminants from affecting the final finish.
By following these steps, you will be well on your way to preparing the surface for polyurethane application. With a clean, smooth, and properly prepped surface, you can now move on to the next step: applying the first coat of polyurethane. Stay tuned for our next section on how to achieve a professional-looking finish!
Applying the First Coat
Now that you have prepared the surface, it’s time to start applying the first coat of polyurethane. This step is crucial in creating a strong foundation for the subsequent coats and ensuring a professional-looking finish. Here are the steps to follow:
1. Stir the Polyurethane: Before you begin, thoroughly stir the polyurethane with a stir stick. This will ensure that any settling or separation is properly mixed and that the polyurethane is ready for application.
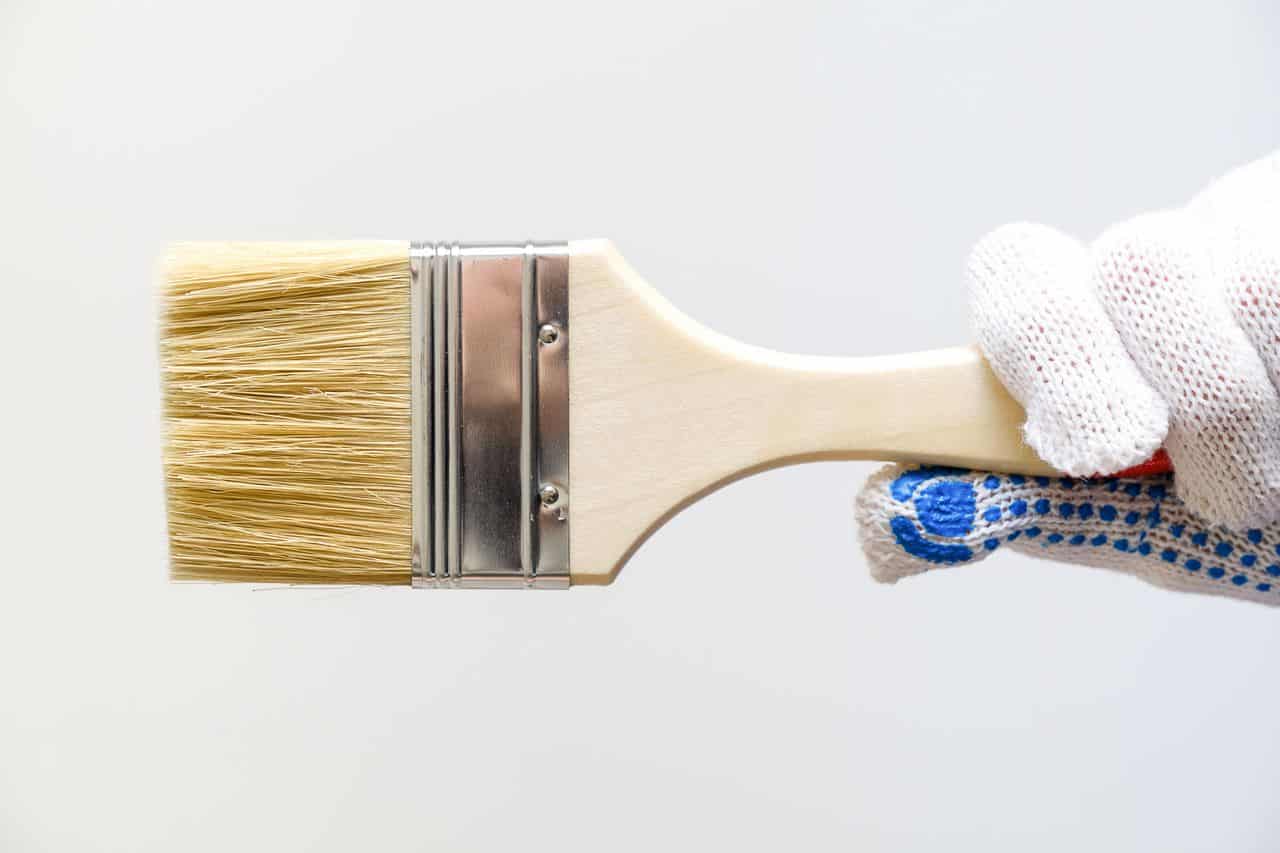
2. Choose the Right Applicator: The type of applicator you choose will depend on the size of the surface and personal preference. For larger areas, a foam brush or a synthetic bristle brush works well. For smaller or intricately detailed surfaces, a foam pad or a lint-free cloth may be more suitable.
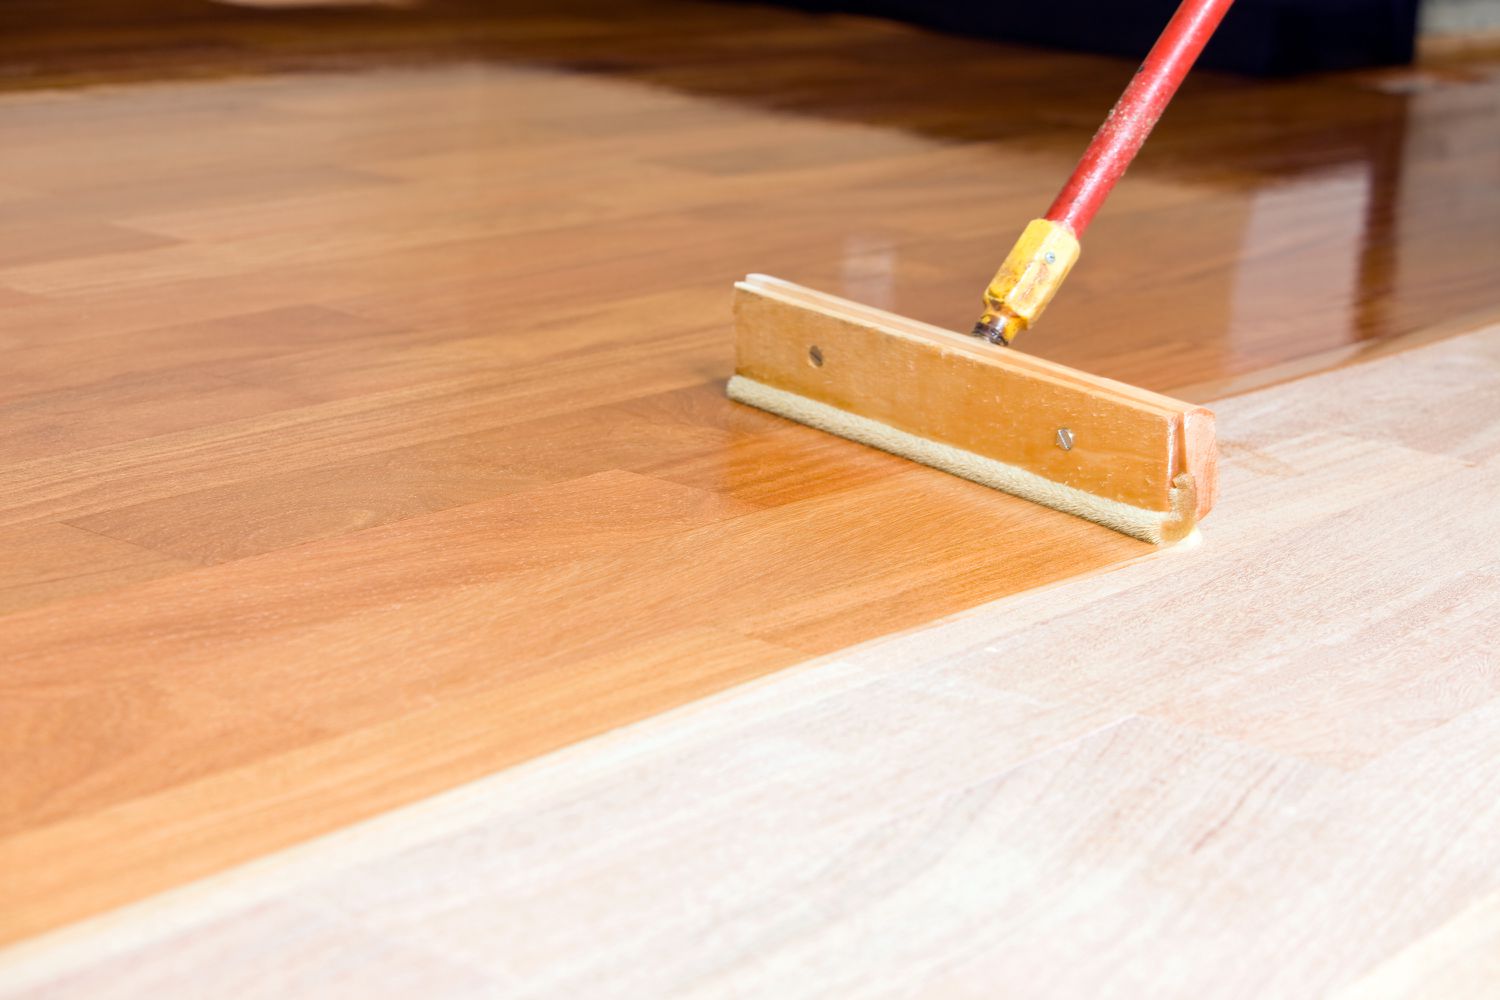
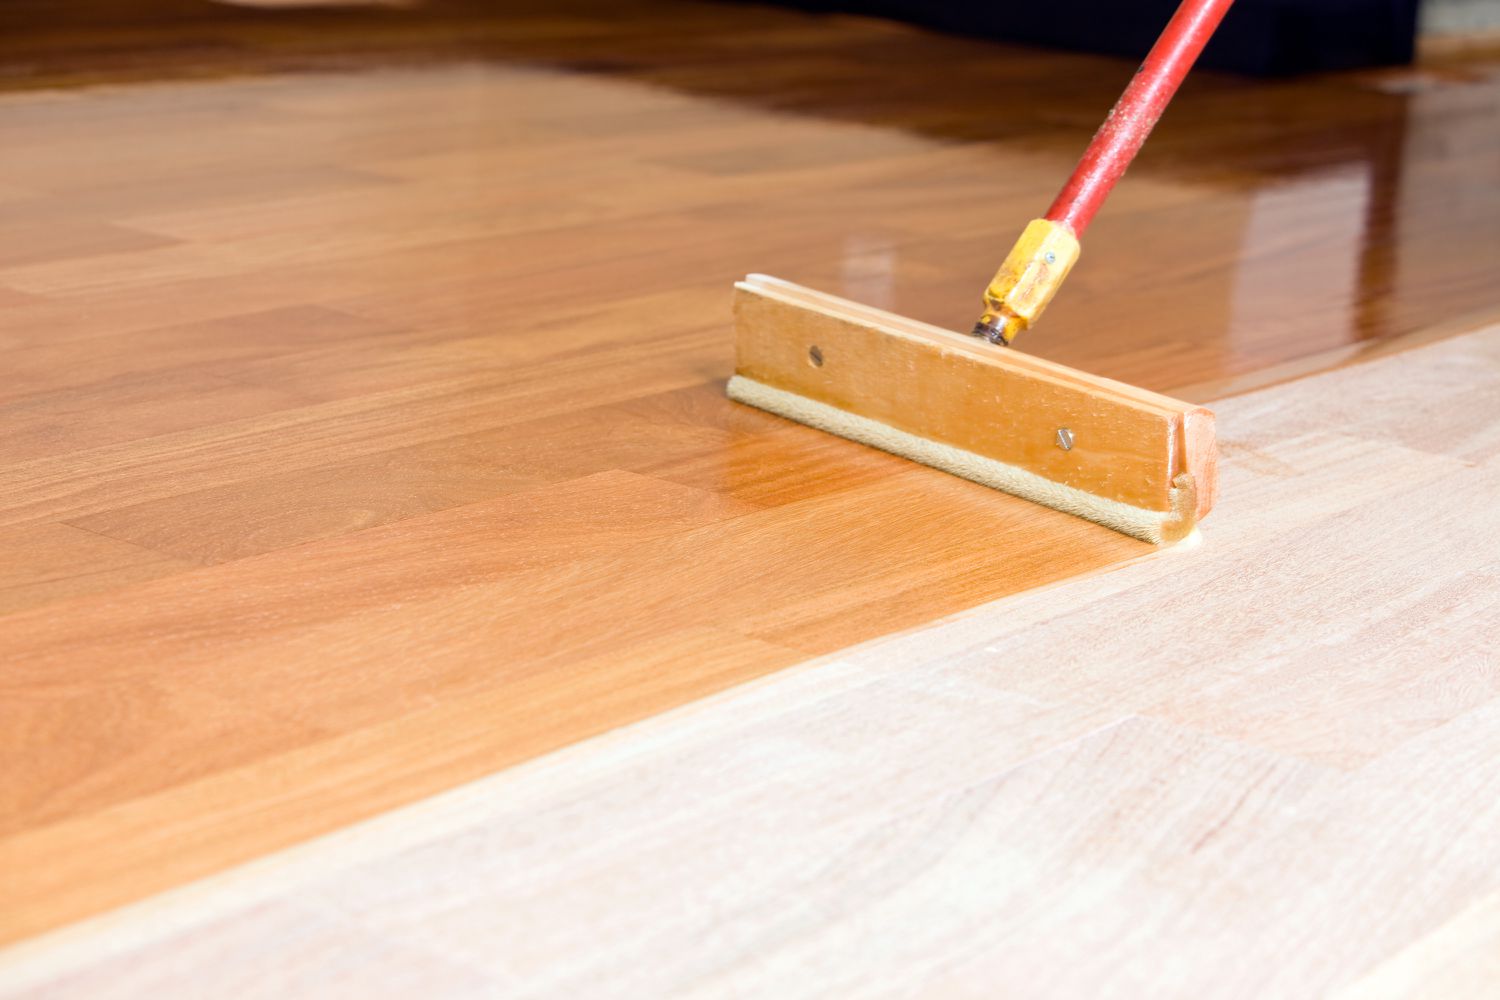
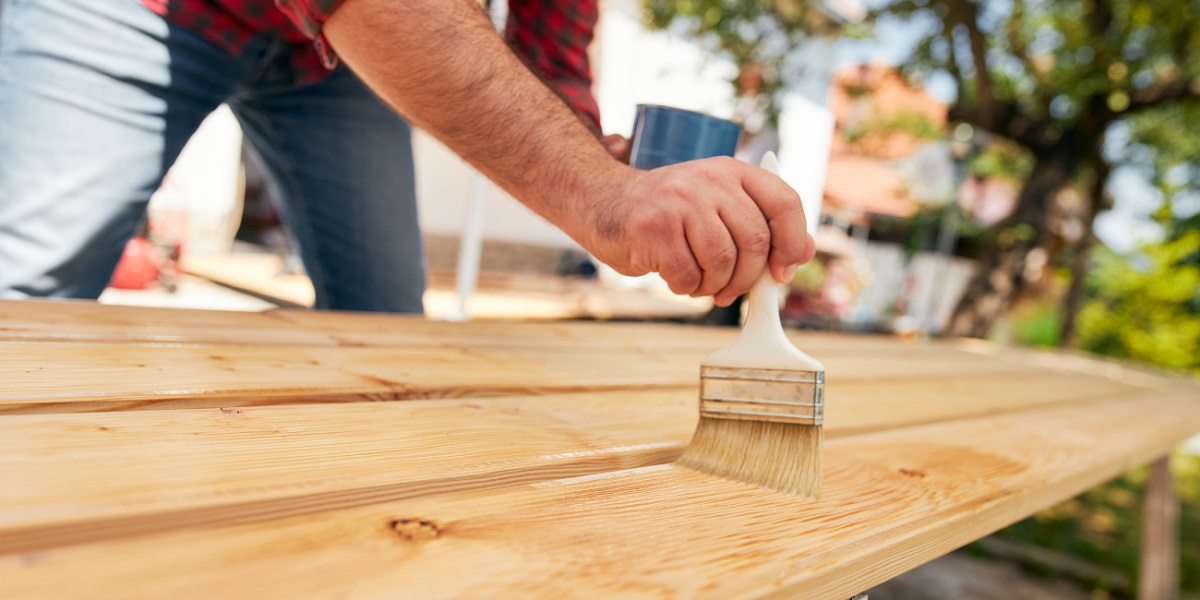
3. Apply the Polyurethane: Dip your selected applicator into the polyurethane and start applying it to the surface. Work in small sections, moving with the grain of the wood. Apply a thin, even coat, making sure to feather out any brush strokes or drips. Take your time to ensure thorough coverage, but avoid over-applying the polyurethane, as this can lead to uneven drying and potential issues later on.
4. Maintain a Wet Edge: As you work, make sure to maintain a wet edge to avoid lap marks or uneven drying. This means that you should slightly overlap each stroke with the previous one, while the polyurethane is still wet. This technique helps ensure a seamless finish and prevents visible lines or inconsistencies.
5. Check for Bubbles: As you apply the polyurethane, keep an eye out for any bubbles that may occur. If you notice bubbles forming, gently run a foam brush or roller over the area to eliminate them. This will help achieve a smoother and more professional finish.
6. Allow the Polyurethane to Dry: Once you have completed applying the first coat, allow the polyurethane to dry according to the manufacturer’s instructions. This typically takes several hours, so it’s important to plan accordingly. During this time, make sure to keep the area well-ventilated to promote proper drying and minimize odors.
7. Lightly Sand the Surface: After the first coat has dried, lightly sand the surface with a fine-grit sandpaper (around 220 grit). This will smooth out any imperfections or raised wood fibers, creating a smooth and even surface for the next coat of polyurethane.
8. Remove Dust: Once again, use a tack cloth or a microfiber cloth to remove any sanding dust from the surface. This step is crucial to ensure a clean and flawless finish in the subsequent coats of polyurethane.
By following these steps, you will be well on your way to achieving a beautiful and professional-looking finish with your first coat of polyurethane. Now, it’s time to move onto the next step: sanding the first coat to prepare for the application of subsequent coats.
Sanding the First Coat
After applying the first coat of polyurethane, it’s essential to sand the surface to create a smooth and even base for the subsequent coats. Sanding also helps remove any imperfections or brush marks that may have occurred during the application process. Here are the steps to effectively sand the first coat:
1. Gather the Materials: You’ll need a sanding block or sandpaper (around 220 grit), a tack cloth or a microfiber cloth, and a clean, dust-free work area.
2. Begin Sanding: Start by lightly sanding the surface, moving in the direction of the grain. Do not press too hard, as you want to remove any imperfections without removing too much of the polyurethane. Sanding should be gentle and even across the entire surface.
3. Check Your Progress: Periodically stop and check your progress by running your hand across the surface. You want it to feel smooth and have a consistent texture. If there are still areas that feel rough or have visible imperfections, continue sanding those spots until they are smooth and even.
4. Remove Dust: Once you have finished sanding, use a tack cloth or a microfiber cloth to remove any sanding dust from the surface. Be thorough in this step, as any remaining dust particles can affect the final finish of the subsequent coats.
5. Evaluate the Surface: Take a close look at the sanded surface to ensure it is smooth and free of any imperfections. If necessary, lightly sand any remaining rough spots or imperfections to achieve a flawless base for the next coat of polyurethane.
6. Clean the Work Area: Before you proceed to apply the subsequent coats of polyurethane, take the time to wipe down and clean your work area. This ensures that no dust or debris will settle on the surface while applying the next coat.
7. Apply Additional Coats: Once you’re satisfied with the sanded surface, you can proceed with applying additional coats of polyurethane following the same steps as before. Remember to lightly sand between each coat to create a smooth surface and improve adhesion.
Sanding the first coat of polyurethane is an essential step in achieving a professional-looking finish. It helps create a smooth and even surface while removing any imperfections. Now that your first coat has been sanded, you’re ready to move on to applying the second coat of polyurethane. Stay tuned for our next section on how to achieve a flawless finish with the second coat!
When applying polyurethane, always sand between coats with a fine-grit sandpaper to ensure a smooth and even finish. This will help the next coat adhere properly and result in a professional-looking outcome.
Read more: How To Store Polyurethane
Applying the Second Coat
After sanding the first coat of polyurethane, it’s time to apply the second coat. This step is crucial in building up the protective layer and achieving a flawless and durable finish. Here are the steps to effectively apply the second coat:
1. Prepare the Polyurethane: Thoroughly stir the polyurethane with a stir stick to ensure it is well-mixed and ready for application. It’s important to use the same type of polyurethane as the first coat to ensure compatibility and a consistent finish.
2. Choose the Applicator: Select the same type of applicator that you used for the first coat, whether it’s a foam brush, a synthetic bristle brush, a foam pad, or a lint-free cloth. Consider the size and intricacy of the surface to determine the most suitable applicator.
3. Apply the Polyurethane: Dip your applicator into the polyurethane and start applying it to the surface, following the same techniques as you did for the first coat. Work in small sections, moving with the grain of the wood, and apply a thin, even coat. Remember to maintain a wet edge to avoid lap marks.
4. Feather Out Brush Strokes: As you apply the second coat, feather out any brush strokes or drips from the first coat. This will help achieve a seamless and consistent finish across the entire surface.
5. Check for Bubbles: Keep an eye out for any bubbles that may form during application. If you notice bubbles, gently run a foam brush or roller over the area to eliminate them. This will ensure a smooth and professional finish.
6. Allow the Polyurethane to Dry: Once you have completed applying the second coat, allow the polyurethane to dry according to the manufacturer’s instructions. This may take several hours, so be patient and avoid touching or disturbing the surface during this time.
7. Lightly Sand the Surface: After the second coat has dried, lightly sand the surface with a fine-grit sandpaper (around 220 grit). This step will help smooth out any imperfections, bumps, or drips that may have occurred during the application process. Sanding also creates a better surface for the subsequent coats of polyurethane.
8. Remove Dust: Once again, use a tack cloth or a microfiber cloth to remove any sanding dust from the surface. This ensures a clean and flawless base for the next coat of polyurethane and prevents any contaminants from affecting the final finish.
9. Apply Additional Coats (If Necessary): Depending on the desired level of protection and appearance, you may choose to apply additional coats of polyurethane. Repeat the same steps of sanding, removing dust, and applying each coat, allowing for proper drying time between each application.
By following these steps, you will be able to achieve a flawless and professional finish with the second coat of polyurethane. Remember to take your time and pay attention to detail to ensure the best results. In the next section, we will discuss sanding the second coat to further refine the surface before applying any additional coats.
Sanding the Second Coat
After applying the second coat of polyurethane, it’s important to sand the surface to further refine and smoothen the finish. Sanding the second coat helps remove any imperfections, smooth out brush strokes, and prepare the surface for additional coats (if necessary). Here are the steps to effectively sand the second coat:
1. Gather the Materials: You will need a sanding block or sandpaper (around 220 grit), a tack cloth or a microfiber cloth, and a clean, dust-free work area.
2. Begin Sanding: Start by lightly sanding the surface with a sanding block or sandpaper. It’s important to sand gently and evenly to avoid removing too much polyurethane. Sand in the direction of the grain to ensure a smooth result. Avoid applying too much pressure, as you want to achieve a consistent and even smoothness.
3. Check Your Progress: Periodically stop and run your hand across the sanded surface to check for smoothness. If you feel any rough areas or imperfections, continue sanding those spots until they are smooth and even. Be mindful of not oversanding, as it can remove too much of the polyurethane and affect the final finish.
4. Remove Dust: Once you have finished sanding, use a tack cloth or a microfiber cloth to remove any sanding dust from the surface. It’s crucial to remove all dust particles before applying any additional coats of polyurethane to ensure a clean and flawless finish.
5. Evaluate the Surface: Take a close look at the sanded surface to ensure it is smooth and free of imperfections. If necessary, lightly sand any remaining rough spots or imperfections to achieve a flawless base for additional coats of polyurethane.
6. Wipe Down the Work Area: Before proceeding with any additional coats of polyurethane, make sure to wipe down and clean your work area. This will prevent any dust or debris from settling on the surface while you apply the next coat.
7. Apply Additional Coats (If Necessary): Depending on the desired level of protection, you may choose to apply additional coats of polyurethane. Follow the same steps of sanding, removing dust, and applying each coat, allowing for proper drying time between each application. Remember to maintain a wet edge and use thin, even coats to achieve the best results.
By following these steps, you will be able to effectively sand the second coat of polyurethane and achieve a smooth and professional finish. Sanding helps refine the surface, removing any imperfections and preparing it for additional coats if needed. In the next section, we will discuss the process of applying additional coats and achieving the final finish. Stay tuned!
Applying Additional Coats (If Necessary)
When it comes to applying polyurethane, the number of coats required depends on the level of protection and the desired finish you want to achieve. While two coats may be sufficient for some projects, others may require additional coats to enhance durability and create a more polished look. Here are some important considerations when applying additional coats:
1. Evaluate the Surface: Before deciding to apply more coats, take a close look at the surface. Assess whether the existing coats have provided adequate coverage and if the surface appears smooth and even. If you notice any areas that are uneven, rough, or incomplete, applying additional coats may be necessary.
2. Sanding Between Coats: When applying multiple coats, it’s important to lightly sand the surface between each coat. This helps create a smooth and consistent finish, removes any imperfections, and promotes better adhesion between the layers. Use a fine-grit sandpaper (around 220 grit) and follow the same sanding techniques as before. After sanding, make sure to remove all sanding dust before proceeding with the next coat.
3. Applying the Additional Coats: Follow the same steps as before to apply additional coats of polyurethane. Stir the polyurethane thoroughly, choose the appropriate applicator, and apply thin, even coats, working in the direction of the grain. Maintain a wet edge to prevent lap marks and ensure a seamless finish. Allow each coat to dry according to the manufacturer’s instructions before sanding and applying the next coat.
4. Assessing the Finish: After each coat, assess the final finish to determine if additional coats are needed. Look for consistency, smoothness, and any areas that may need improvement. If you’re satisfied with the depth of color, level of sheen, and overall appearance, you may choose to stop at this point. However, if you desire a more durable or glossy finish, you can continue applying additional coats until you achieve the desired result.
5. Drying and Curing Time: Keep in mind that polyurethane requires sufficient drying and curing time between coats. Follow the manufacturer’s instructions for the specific product you are using, as drying times may vary between different types and brands. It’s important to be patient and give each coat ample time to dry before proceeding to the next step.
Remember to maintain proper ventilation during the application and drying process, and to protect the area from dust and debris. This will help ensure a clean and flawless finish. By applying additional coats as needed and paying attention to detail, you can achieve a beautifully protected and aesthetically pleasing surface with polyurethane.
In the next section, we will discuss the final steps of sanding and buffing to create a smooth and polished finish. Stay tuned to learn how to bring out the best in your polyurethane-coated surface!
Final Sanding and Buffing
After applying all the necessary coats of polyurethane and allowing them to dry and cure, it’s time to complete the final steps of sanding and buffing to achieve a smooth and polished finish. These steps are important in enhancing the appearance and feel of the polyurethane-coated surface. Here’s how to perform the final sanding and buffing:
1. Gather the Materials: You will need a sanding block or sandpaper (around 320 or 400 grit), a tack cloth or a microfiber cloth, and a buffing pad or a soft cloth.
2. Lightly Sand the Surface: Begin by lightly sanding the surface with a fine-grit sandpaper. The goal here is not to remove the polyurethane; instead, it’s to smooth out any imperfections or rough areas that may have occurred during the previous coats. Sand gently and evenly, following the direction of the wood grain. This will create a smooth and consistent surface.
3. Remove Sanding Dust: After sanding, use a tack cloth or a microfiber cloth to remove any sanding dust from the surface. Be thorough in this step, as any dust particles left behind can affect the final finish.
4. Buff the Surface: To achieve a glossy and polished finish, use a buffing pad or a soft cloth to buff the surface. Apply gentle pressure and move the pad or cloth in a circular motion. This will help bring out the shine of the polyurethane and create a smooth, lustrous appearance. Continue buffing until you achieve the desired level of gloss and smoothness.
5. Evaluate the Finish: Take a moment to assess the finished surface. Look for any remaining imperfections, dust particles, or areas that may need further buffing. If necessary, repeat the sanding and buffing process until you are satisfied with the final result.
6. Clean the Surface: After buffing, use a clean, lint-free cloth to gently wipe down and clean the surface. This will remove any residual dust or debris, leaving you with a pristine and polished polyurethane finish.
7. Proceed with Final Touches: Depending on the project and the desired outcome, you may wish to apply a final layer of wax or polish to further enhance the shine and protection of the polyurethane-coated surface. Follow the instructions provided with the wax or polish product, and ensure the polyurethane coats have fully cured before applying any additional substances.
By completing the final sanding and buffing steps, you will achieve a smooth, glossy, and professionally finished polyurethane surface. The careful attention to detail and these final touches will enhance the overall appearance while providing added protection for your furniture, floors, or other surfaces.
As a reminder, always follow the manufacturer’s instructions when applying polyurethane and consult professionals if you have any uncertainties or specific requirements for your project. With the right approach and a bit of patience, you can achieve stunning results and enjoy the beauty of a well-coated and protected surface.
Finally, congratulations on completing the process of applying polyurethane! Your hard work and dedication have paid off, and you can now admire the beautifully finished result.
Conclusion
Applying polyurethane to surfaces such as wood furniture, floors, and cabinets is a valuable skill that can significantly enhance the overall appearance and durability of your interior design. By following the pointers from professionals that we have discussed in this article, you can achieve exceptional results and create a beautiful finish that withstands daily wear and tear.
Choosing the right type of polyurethane, whether oil-based or water-based, is the first step in ensuring a successful application process. Consider factors such as durability, color, and drying time to select the most suitable option for your project.
Preparing the surface is a crucial step that should not be overlooked. Thoroughly cleaning the surface, sanding it to create a smooth texture, and filling in any imperfections will provide a solid foundation for the polyurethane and ensure optimal adhesion.
When applying the polyurethane, always aim for thin, even coats, ensuring a wet edge and feathering out brush strokes. Taking your time, eliminating bubbles, and allowing sufficient drying time between coats are essential for achieving a professional-looking finish.
If needed, sanding between coats will help create a smooth and flawless surface, ready for each subsequent layer of polyurethane. Remember to remove dust before each new application to maintain a clean and even finish.
Once all the desired coats have been applied, the final steps of sanding and buffing will refine the surface and bring out its natural shine. Be diligent in evaluating the finish and continue sanding and buffing if necessary to achieve the desired result.
By following these steps and paying attention to detail, you can achieve a polished, durable, and aesthetically pleasing finish with polyurethane. Remember to always consult the manufacturer’s instructions and seek professional guidance when needed to ensure the best outcome for your specific project.
Now that you have a strong understanding of how to apply polyurethane effectively, it’s time to put your knowledge to practice and enjoy transforming your interior spaces with stunning finishes that stand the test of time.
So go ahead, embrace your creativity, and let your interior design shine with the beauty and protection of polyurethane!
Frequently Asked Questions about How To Apply Polyurethane: Pointers From Professionals
Was this page helpful?
At Storables.com, we guarantee accurate and reliable information. Our content, validated by Expert Board Contributors, is crafted following stringent Editorial Policies. We're committed to providing you with well-researched, expert-backed insights for all your informational needs.




0 thoughts on “How To Apply Polyurethane: Pointers From Professionals”