Articles
How To Apply Underlayment To A Roof
Modified: August 27, 2024
Learn the step-by-step process of applying underlayment to your roof with our helpful articles. Ensure your roof is protected with proper installation techniques.
(Many of the links in this article redirect to a specific reviewed product. Your purchase of these products through affiliate links helps to generate commission for Storables.com, at no extra cost. Learn more)
Introduction
When it comes to installing a new roof or replacing an old one, underlayment plays a crucial role in protecting your home from water damage and increasing the longevity of your roof. Underlayment is a waterproof membrane that is installed between the roofing material and the deck of the roof. It acts as a secondary barrier against moisture, preventing leaks and providing added insulation.
In this article, we will walk you through the step-by-step process of applying underlayment to a roof. Whether you are a professional roofer or a DIY enthusiast, these guidelines will help you ensure a proper and secure installation.
Before we dive into the details, it is important to emphasize the significance of a well-installed underlayment. It acts as a protective shield, guarding your home against water intrusion, wind-driven rain, and ice dams. Additionally, underlayment provides an extra layer of insulation, reducing heat loss during the winter months and improving the energy efficiency of your home.
Now that we understand the importance of underlayment, let’s explore the step-by-step process of applying it to your roof. From preparing the roof surface to trimming excess underlayment, we will cover everything you need to know to achieve a professional-grade installation.
Key Takeaways:
- Properly preparing the roof surface, measuring and cutting underlayment accurately, and securing each layer with care are essential steps in achieving a successful underlayment installation.
- Thoroughly inspecting the underlayment, promptly addressing any damage, and ensuring proper adhesion are crucial for maintaining the integrity and longevity of your roof’s protective barrier.
Step 1: Preparing the Roof
Before you start applying underlayment, it is crucial to properly prepare the roof surface. This step is essential for ensuring a smooth and durable installation. Here are the key tasks involved in preparing the roof:
- Clean the roof: Remove any debris, dirt, or loose materials from the roof surface. Use a broom or a leaf blower to sweep away leaves, branches, and other debris. Clearing the roof of obstructions will provide a clean and even surface for the underlayment.
- Inspect for damage: Carefully examine the roof for any signs of damage, such as cracks, missing shingles, or rot. Repair any issues before proceeding with the underlayment installation. Addressing these problems in advance will help prevent further damage and ensure the underlayment adheres properly.
- Repair leaks: If you notice any leaks or areas of water intrusion, locate the source of the leak and fix it. Repairing leaks before applying the underlayment will prevent moisture from seeping into the structure and causing damage in the future.
- Check the roof slope: Determine the pitch or slope of your roof. The slope will affect the type of underlayment material you choose and the installation method. Consult the manufacturer’s recommendations to ensure you select the appropriate underlayment for your roof slope.
- Prepare necessary tools: Gather all the tools and equipment you will need for the installation process. These may include a utility knife, measuring tape, roofing nails, a hammer or nail gun, a roofing stapler, and a ladder or scaffolding, depending on the height and accessibility of your roof.
By thoroughly preparing the roof surface, you will create the ideal foundation for the underlayment installation. This will ensure the underlayment adheres properly and provides optimal protection against moisture and other environmental elements.
Step 2: Gathering Materials
Before you can begin applying underlayment to your roof, it’s important to gather all the necessary materials. Having everything ready beforehand will help streamline the installation process and ensure a smooth workflow. Here are the materials you will need:
- Underlayment: Depending on your roof slope and local building codes, you may choose between asphalt-saturated felt underlayment or synthetic underlayment. Make sure to select a high-quality underlayment that offers excellent waterproofing and durability.
- Roofing nails: Choose roofing nails that are suitable for your underlayment material and thickness. These nails will be used to secure the underlayment to the roof deck. Opt for corrosion-resistant nails to prevent rust and ensure a long-lasting installation.
- Roofing staples: If you are using synthetic underlayment, you will need roofing staples instead of nails. These staples provide a secure attachment and are specially designed for synthetic materials.
- Utility knife: A sharp utility knife will come in handy for cutting the underlayment to size and making precise cuts around vents, skylights, or other roof protrusions.
- Measuring tape: Accurate measurements are crucial when cutting the underlayment. Use a measuring tape to ensure the correct dimensions and avoid wastage.
- Hammer or nail gun: To secure the underlayment, you will need a hammer or a nail gun. Choose a tool that you are comfortable using and that allows for efficient and precise nail placement.
- Protective gear: Don’t forget to prioritize safety. Wear protective gear such as gloves, safety goggles, and non-slip footwear to protect yourself during the installation process.
Make a checklist of all the materials you will need and double-check it before you start. Having everything readily available will save you time and minimize any potential delays during the underlayment installation.
Step 3: Measuring and Cutting Underlayment
Once you have gathered all the necessary materials, it’s time to measure and cut the underlayment to fit your roof. Properly sizing the underlayment will ensure a precise and snug fit, minimizing the risk of water intrusion and ensuring optimal performance. Here’s how to measure and cut the underlayment:
- Start with the first row: Begin at the bottom edge of your roof and measure the width of the first row. Use a measuring tape to determine the distance from the eave to the edge of the roof. Keep in mind any necessary overlaps with other roofing components, such as drip edges or flashings.
- Cut the initial piece: Using a utility knife, cut the first piece of underlayment to the measured width. Ensure that the edges are straight and clean for a proper fit.
- Measure subsequent rows: Move up the roof, measuring and cutting subsequent rows of underlayment. Take into account any overlaps required by the manufacturer’s recommendations or local building codes.
- Cut around obstacles: For vents, chimneys, skylights, or any other roof protrusions, carefully measure and cut the underlayment around them. Use accurate measurements and make precise cuts to ensure a tight seal.
- Label each piece: As you cut each piece of underlayment, label them to indicate their proper placement on the roof. This will help you keep track of the order and sequence of installation.
Accuracy is vital when measuring and cutting the underlayment. Take your time to ensure precise measurements and clean cuts. Remember, the underlayment acts as a protective barrier, so any gaps or misaligned cuts could compromise its effectiveness.
Having all the underlayment pieces cut and labeled will make the installation process much smoother, and you’ll be ready to move on to the next step: applying the first layer of underlayment.
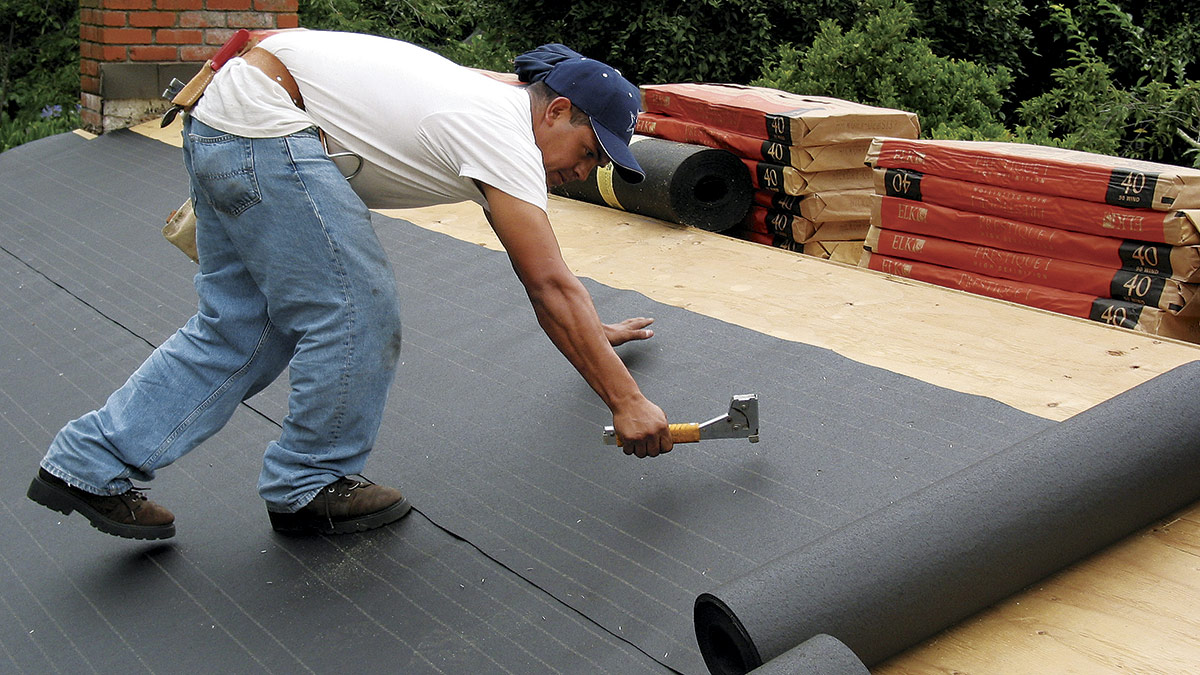
Step 4: Applying the First Underlayment Layer
With the underlayment pieces measured and cut, it’s time to start applying the first layer to your roof. This initial layer will serve as the foundation for the subsequent layers and provide an additional barrier against moisture. Follow these steps to properly apply the first underlayment layer:
- Position the first piece: Begin at the lower edge of the roof and position the first piece of underlayment, making sure it aligns with the edge of the roof deck. Leave a small overhang (about 1-2 inches) beyond the eave to allow for proper water drainage.
- Secure the underlayment: Attach the underlayment to the roof deck using roofing nails or staples. Place fasteners along the edges and in the field of the underlayment, following the manufacturer’s recommendations for spacing. Ensure a secure attachment without overdriving the nails or staples, which could damage the underlayment.
- Smooth out any wrinkles or bubbles: As you secure the underlayment, smooth out any wrinkles or bubbles that may have formed. A flat and even underlayment surface is crucial for optimal performance and adhesion of subsequent layers.
- Pull taut and overlap: As you move up the roof, pull each subsequent piece of underlayment taut to eliminate any slack. Overlap each piece with the previous one according to the manufacturer’s instructions. This overlapping ensures a continuous and watertight barrier.
- Seal the overlaps: Use roofing cement or a compatible adhesive to seal the overlaps of the underlayment. Apply a thin bead of adhesive along the top edge of the underlayment and press the overlapping piece into place. This will create a tight and secure seal against water infiltration.
Remember to work carefully and systematically as you apply the first underlayment layer. Secure each piece properly, smooth out any imperfections, and ensure tight overlaps. Taking the time to perform this step correctly will lay the foundation for a successful underlayment installation and a well-protected roof.
Step 5: Securing Underlayment to the Roof
Once you have applied the first layer of underlayment, the next step is to secure it to the roof deck. Properly fastening the underlayment will ensure it stays in place during inclement weather conditions and provides maximum protection. Follow these steps to securely fasten the underlayment to the roof:
- Choose the appropriate fasteners: Depending on the type of underlayment you are using, select the appropriate fasteners. For asphalt-saturated felt underlayment, use roofing nails with large heads to prevent tearing. For synthetic underlayment, use roofing staples designed specifically for synthetic materials.
- Position the fasteners: Place the fasteners along the edges of the underlayment, spacing them according to the manufacturer’s recommendations. Typically, nails or staples should be inserted every 6-12 inches along the edges and within the field of the underlayment.
- Drive the fasteners: Use a hammer or a nail gun to drive the nails or staples through the underlayment and into the roof deck. Ensure that the fasteners are securely embedded, but be careful not to overdrive them, as this can damage the underlayment or compromise its effectiveness.
- Avoid overdriving nails: When using nails, take extra care to avoid hammering them too forcefully, which can cause them to go through the underlayment and penetrate the roof deck. This can create potential entry points for water and compromise the integrity of the underlayment.
- Check for secure attachment: Periodically check to ensure that the underlayment is securely attached to the roof deck. Any loose or poorly fastened areas should be addressed immediately to prevent potential damage or water infiltration.
Properly securing the underlayment is crucial for its overall performance and longevity. Take the time to drive the fasteners correctly and ensure a secure attachment throughout the installation. This will provide peace of mind knowing that your underlayment will stay in place and provide adequate protection for your roof.
When applying underlayment to a roof, start at the bottom and work your way up, overlapping each row by at least 6 inches. Make sure to smooth out any wrinkles or bubbles to ensure a tight seal.
Step 6: Overlapping Underlayment Sheets
In order to create a watertight and seamless barrier, it is important to properly overlap the underlayment sheets during installation. Overlapping ensures that any potential entry points for water are minimized and that the entire roof surface is effectively protected. Follow these steps to correctly overlap the underlayment sheets:
- Determine the overlap distance: Consult the manufacturer’s recommendations to determine the required overlap distance for your specific underlayment product. The overlap distance typically ranges from 4 to 6 inches.
- Position the second underlayment sheet: Take the second sheet of underlayment and position it so that it overlaps the edge of the first sheet. Align the edges and ensure that the overlap distance is consistent throughout.
- Secure the second sheet: Using the appropriate fasteners, secure the second underlayment sheet to the roof deck along the edges and field, just like you did with the first sheet. Ensure that the fasteners are adequately driven and hold the underlayment in place.
- Seal the overlap: To create a watertight seal, apply roofing cement or a compatible adhesive along the top edge of the first underlayment sheet. Press the overlapping edge of the second sheet into the adhesive, applying firm pressure to ensure a tight bond.
- Repeat the process: Continue overlapping and securing subsequent sheets of underlayment, following the same procedure. Maintain consistent overlap distances and periodically check for proper alignment and secure attachment.
Having a proper overlap between underlayment sheets is crucial for preventing water infiltration and ensuring the overall effectiveness of the underlayment system. Take the time to align the sheets correctly, apply adequate fasteners, and seal the overlaps to create a robust and watertight barrier.
Step 7: Applying Additional Underlayment Layers
Once the first layer of underlayment is securely in place, it’s time to apply additional layers for added protection and durability. The number of additional layers you will need may vary depending on your specific roofing project and local building codes. Follow these steps to apply the additional underlayment layers:
- Measure and cut the underlayment: Measure and cut each piece of underlayment for the subsequent layers, just as you did for the first layer. Ensure that the dimensions and overlaps are consistent with the manufacturer’s recommendations.
- Position the second layer: Start at the bottom of the roof and position the second layer of underlayment, ensuring it overlaps the first layer according to the recommended distance. Align the edges and smooth out any wrinkles or bubbles.
- Secure the second layer: Use the appropriate fasteners to secure the second layer to the roof deck. Drive nails or staples along the edges and field, following the same spacing guidelines as before.
- Continue with additional layers: Repeat the process of measuring, cutting, positioning, and securing each subsequent layer of underlayment. Maintain consistent overlaps and secure attachment for each layer.
- Seal the overlaps: As with the first layer, apply roofing cement or a compatible adhesive along the top edge of each layer’s overlap. Press down firmly to create a tight and watertight seal.
Building codes and manufacturer’s guidelines may specify the number of underlayment layers required, so it is important to adhere to these recommendations. The additional layers of underlayment provide an extra level of protection against water intrusion and help ensure the longevity of your roof.
Remember to work carefully and methodically as you apply the additional underlayment layers. Take your time to ensure proper alignment, secure attachment, and effective sealing of each layer. This will help to create a robust and reliable underlayment system for your roof.
Step 8: Securing the Final Layer
As you approach the final layer of underlayment, it’s important to ensure that it is securely fastened to the roof deck. This layer acts as the last line of defense against moisture and provides the finishing touch to your underlayment installation. Follow these steps to properly secure the final layer:
- Measure and cut the final layer: Measure and cut the underlayment for the final layer, ensuring that it aligns with the edges of the roof and any necessary overlaps. Double-check the dimensions to avoid any wastage or miscalculations.
- Position the final layer: Begin at the bottom edge of the roof and position the final layer of underlayment, ensuring a proper overlap with the previous layer. Smooth out any wrinkles or bubbles and align the edges with precision.
- Secure the final layer: Use the appropriate fasteners, such as roofing nails or staples, to secure the final layer to the roof deck. Drive them along the edges and field of the underlayment, following the manufacturer’s guidelines on spacing.
- Check for secure attachment: Periodically check for any loose areas or improperly fastened sections of the final layer. Secure any loose edges or corners with additional fasteners to ensure a reliable and sturdy installation.
- Seal the overlaps: Apply roofing cement or a compatible adhesive along the top edge of the final layer’s overlap. Press the overlapping section into the adhesive, ensuring a tight and waterproof seal between the layers.
By securely fastening the final layer of underlayment, you are completing the installation process with confidence and ensuring the integrity of your roof’s protective barrier. Take the time to properly align the final layer, drive the fasteners securely, and seal the overlaps to achieve maximum performance.
Once the final layer is in place and properly secured, you are ready to move on to the next step of trimming any excess underlayment.
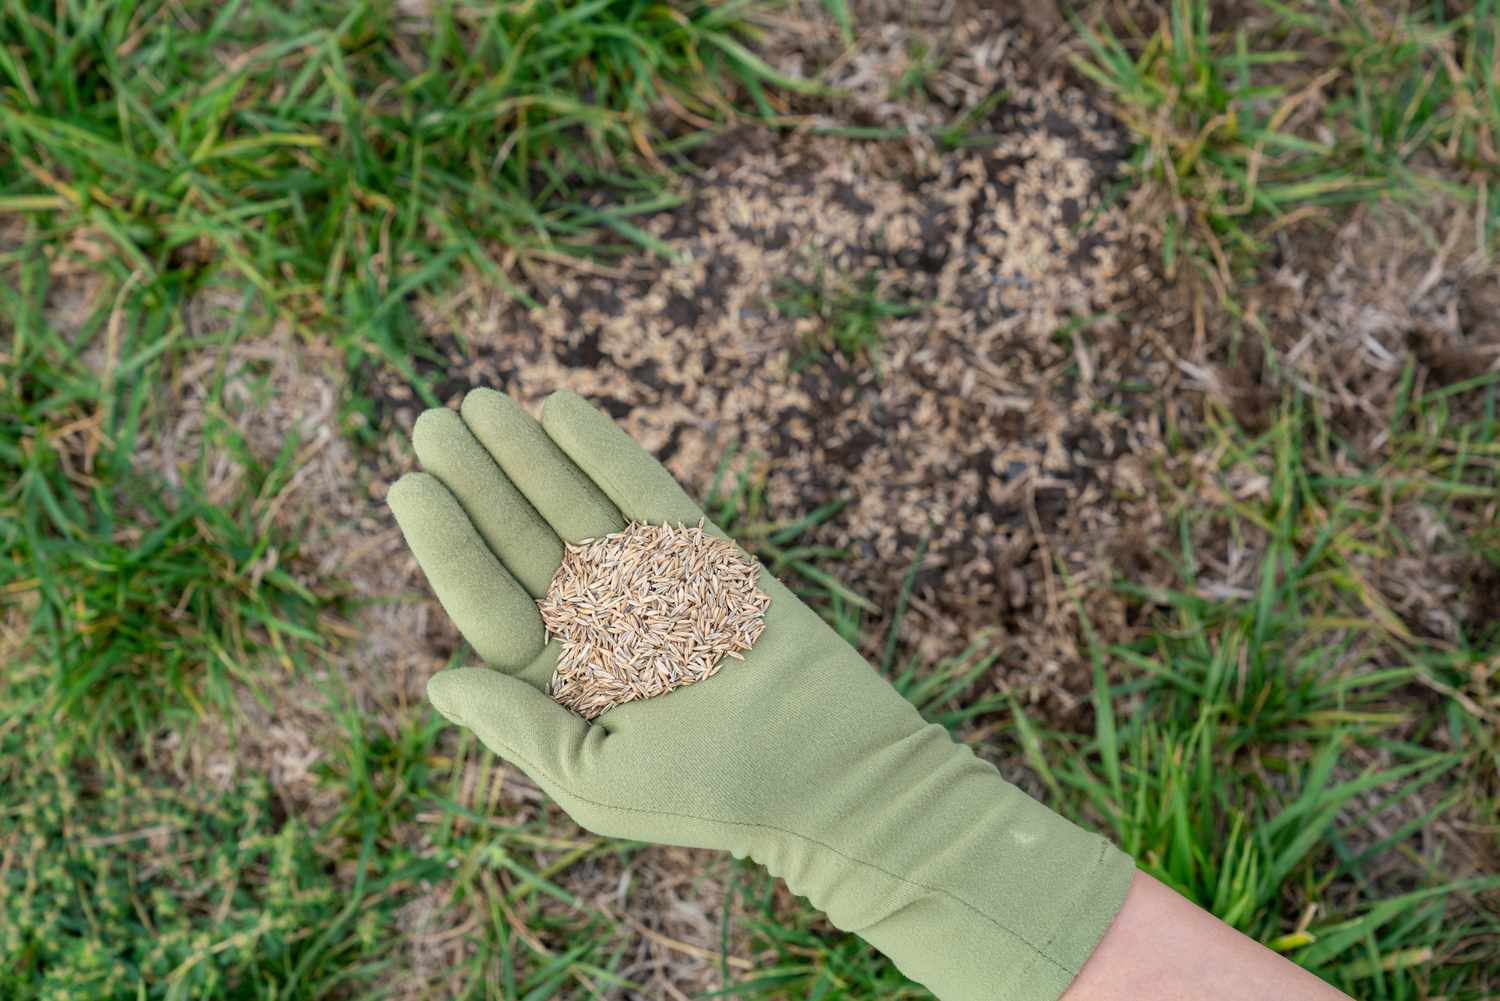
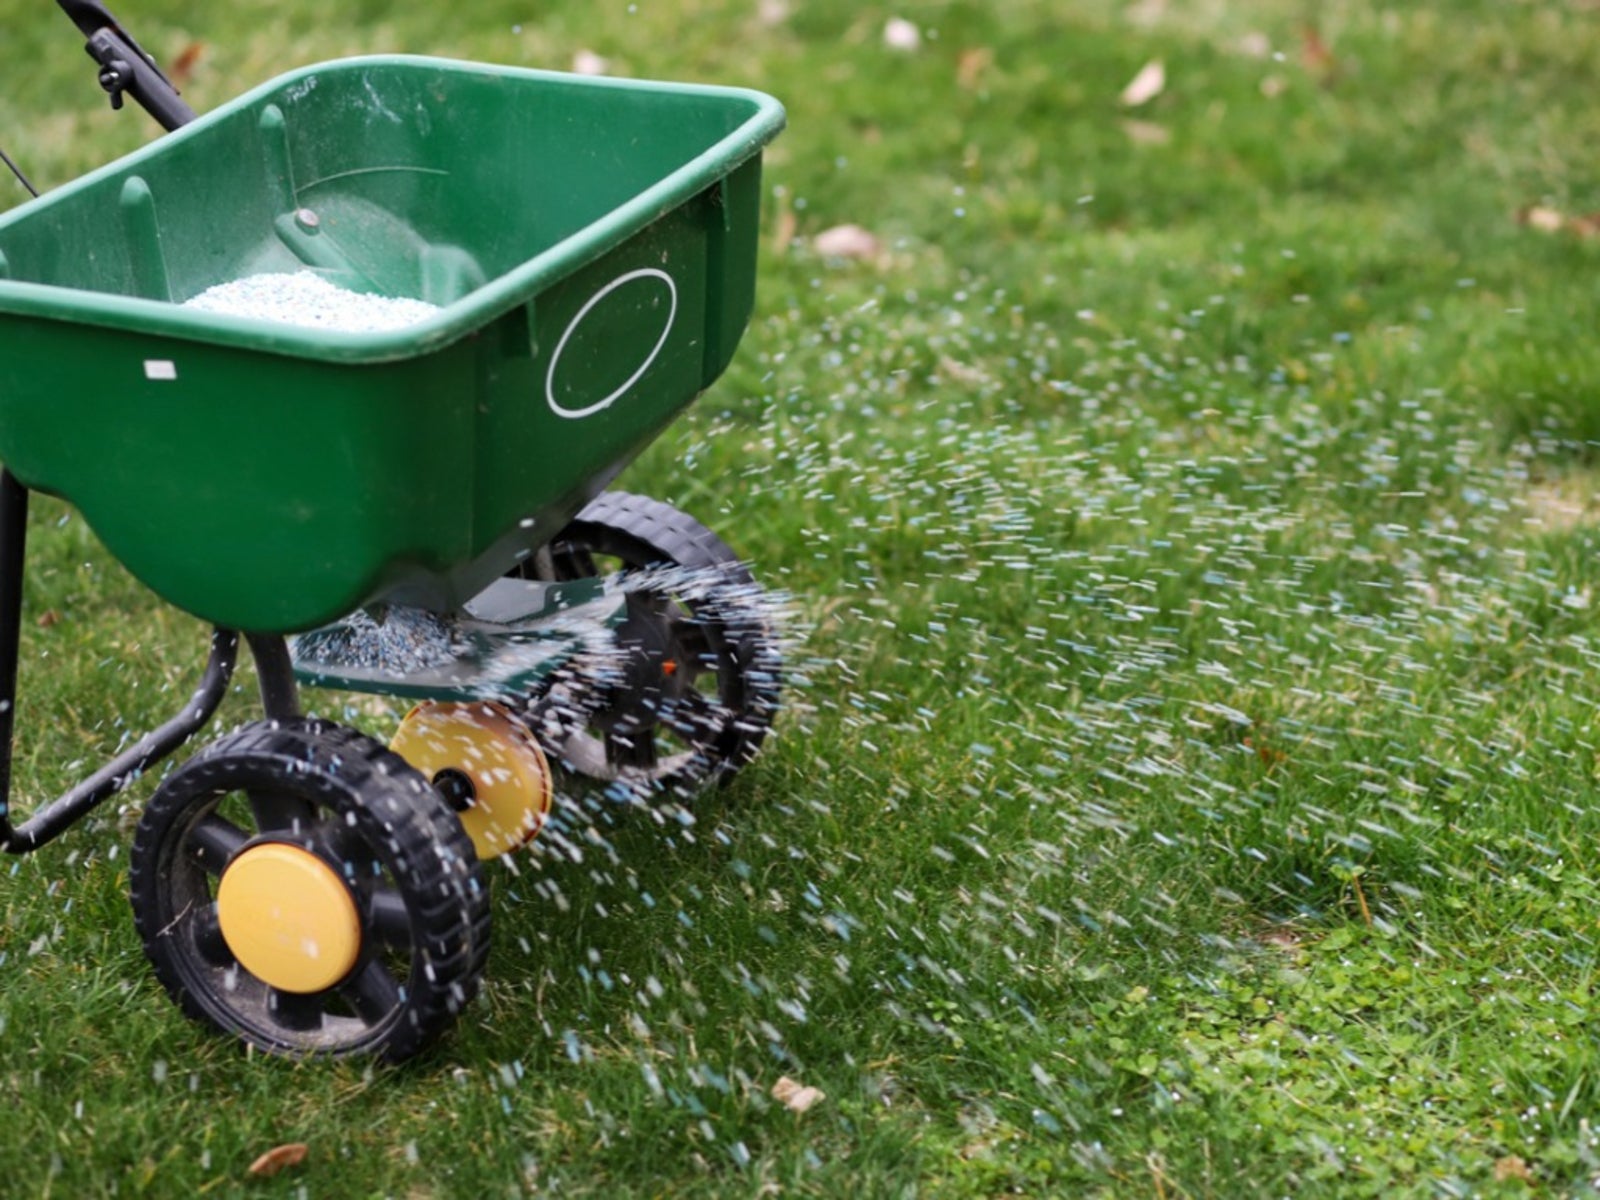
Read more: How To Apply Fertilizer To Plants
Step 9: Trim Excess Underlayment
After securing the final layer of underlayment, it’s important to trim any excess material to achieve a neat and professional-looking finish. Trimming the excess underlayment not only enhances the aesthetic appearance of the roof but also helps prevent the underlayment from getting damaged or lifted by wind. Follow these steps to trim the excess underlayment:
- Inspect the roof edges: Carefully examine the edges of the roof where the underlayment extends beyond the edge. Look for any loose or protruding areas that need to be trimmed.
- Use a utility knife: With a sharp utility knife, carefully trim the excess underlayment along the roof edges. Be cautious not to cut into the underlying roofing material or unintentionally expose any unprotected areas of the roof.
- Trim around roof protrusions: Pay special attention to any roof protrusions, such as vents, chimneys, or skylights. Use precise cuts to ensure a clean and professional look around these areas.
- Check for proper fit: As you trim the excess underlayment, periodically check for a snug and tidy fit along the roof edges. Ensure that the trimmed edges are straight and align neatly with the contours of the roof.
- Remove trimmed underlayment: Collect and dispose of the trimmed underlayment properly. Keep the work area clean and organized throughout the trimming process.
Trimming excess underlayment is the final step in achieving a visually appealing and well-installed roofing system. Take your time to ensure precise cuts, paying close attention to the larger edges and the areas surrounding roof protrusions. By carefully trimming the excess underlayment, you’ll achieve a clean and professional finish that enhances the overall appearance of your roof.
Once the excess underlayment has been trimmed, it’s important to conduct a thorough inspection of the entire roof and address any damage or repair needs before proceeding to the last step: final inspection.
Step 10: Inspecting and Repairing Any Damage
After completing the underlayment installation, it is crucial to conduct a comprehensive inspection of your roof to ensure its integrity and identify any potential damage that needs to be addressed. By thoroughly inspecting and promptly repairing any issues, you can safeguard your roof against water intrusion and other potential problems. Follow these steps to inspect and repair any damage:
- Examine the underlayment: Carefully inspect the entire underlayment surface, checking for any tears, punctures, or areas that may have been compromised during the installation process. Look for signs of damage caused by wind, animals, or other external factors.
- Check for proper adhesion: Ensure that the underlayment is securely adhered to the roof deck, with no loose or lifted sections. Pay close attention to the edges and overlaps, as these areas are more prone to damage or detachment.
- Inspect roof penetrations: Conduct a thorough examination of any roof penetrations, such as vents, chimneys, skylights, or pipes. Check for proper flashing and seals, and repair any areas where water could potentially enter the roof structure.
- Look for signs of leaks: Investigate the interior of your home for any signs of leaks, such as water stains or mold growth. These can indicate that the underlayment may not be effectively protecting your roof and require immediate attention.
- Repair or replace damaged underlayment: If you identify any damage or areas of concern during the inspection, take the necessary steps to repair or replace the underlayment accordingly. This may involve patching small tears or replacing larger sections of damaged underlayment.
- Address other roofing issues: Use this opportunity to address any other roofing issues you may come across during the inspection. Take care of missing or damaged shingles, deteriorated flashing, or any issues that may compromise the overall integrity of your roof.
It is crucial to be proactive in addressing any damage or potential issues with your roof’s underlayment. Ignoring or delaying repairs can lead to further damage, increased costs, and potentially more extensive repairs down the line.
By conducting a thorough inspection and promptly repairing any damage, you can ensure that your underlayment provides the necessary protection for your roof and home.
Once you have completed the inspection and made any necessary repairs, you can take pride in the successful installation of your underlayment and the enhanced protection it offers for your roof.
Conclusion
Applying underlayment to a roof is a crucial step in ensuring its longevity and protection against water damage. By following the step-by-step guidelines outlined in this article, you can confidently install underlayment and create a robust barrier against moisture.
From preparing the roof surface and gathering the necessary materials to measuring, cutting, and securing the underlayment layers, each step plays a vital role in achieving a successful installation. Ensuring proper overlaps, securing the underlayment with suitable fasteners, and trimming excess material help optimize the underlayment’s performance and create a neat and professional finish.
Additionally, conducting a thorough inspection and promptly addressing any damage or repair needs are essential for maintaining the underlayment’s integrity and protecting your roof structure. Regular maintenance and vigilant monitoring can help identify potential issues and prevent costly damage in the future.
Remember to consult local building codes and manufacturer’s guidelines when selecting the appropriate underlayment material and installation techniques. Understanding your roof’s specifications and requirements will ensure an installation that complies with safety standards and provides optimal performance.
By applying underlayment correctly, you are investing in the long-term protection and durability of your roof. This waterproof membrane serves as a second line of defense against water intrusion, helping to prevent leaks, reduce moisture-related problems, and prolong the lifespan of your roof.
Whether you are a DIY enthusiast or a professional roofer, following these steps will enable you to accomplish a successful underlayment installation. However, if you are unsure about any aspect of the process, it is advisable to seek professional assistance to ensure a quality installation.
With a properly installed underlayment, you can have peace of mind knowing that your roof is well-protected from the elements and will continue to safeguard your home for years to come.
Frequently Asked Questions about How To Apply Underlayment To A Roof
Was this page helpful?
At Storables.com, we guarantee accurate and reliable information. Our content, validated by Expert Board Contributors, is crafted following stringent Editorial Policies. We're committed to providing you with well-researched, expert-backed insights for all your informational needs.


0 thoughts on “How To Apply Underlayment To A Roof”