Articles
How Many Coats of Polyurethane On Stairs
Modified: October 20, 2024
Looking for articles on how many coats of poly to use on stairs? Find all the information you need to protect and enhance your staircase with the right amount of polyurethane.
(Many of the links in this article redirect to a specific reviewed product. Your purchase of these products through affiliate links helps to generate commission for Storables.com, at no extra cost. Learn more)
Introduction
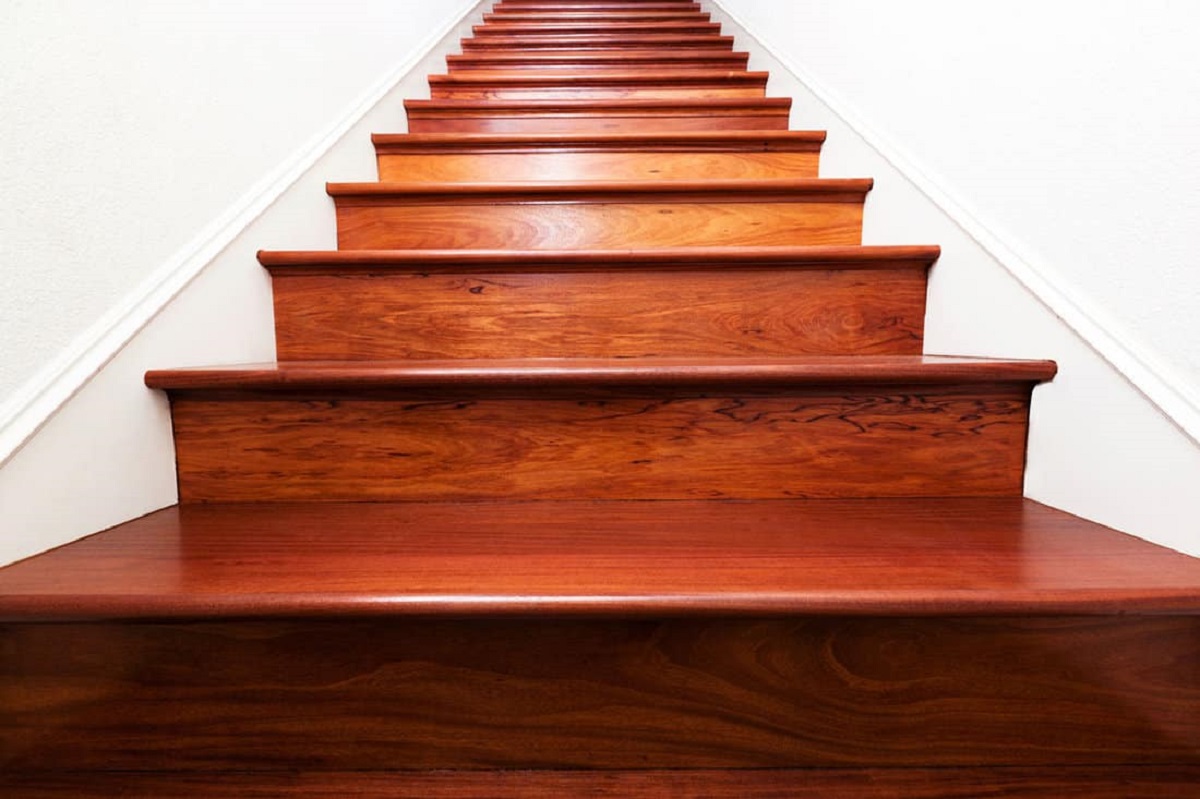
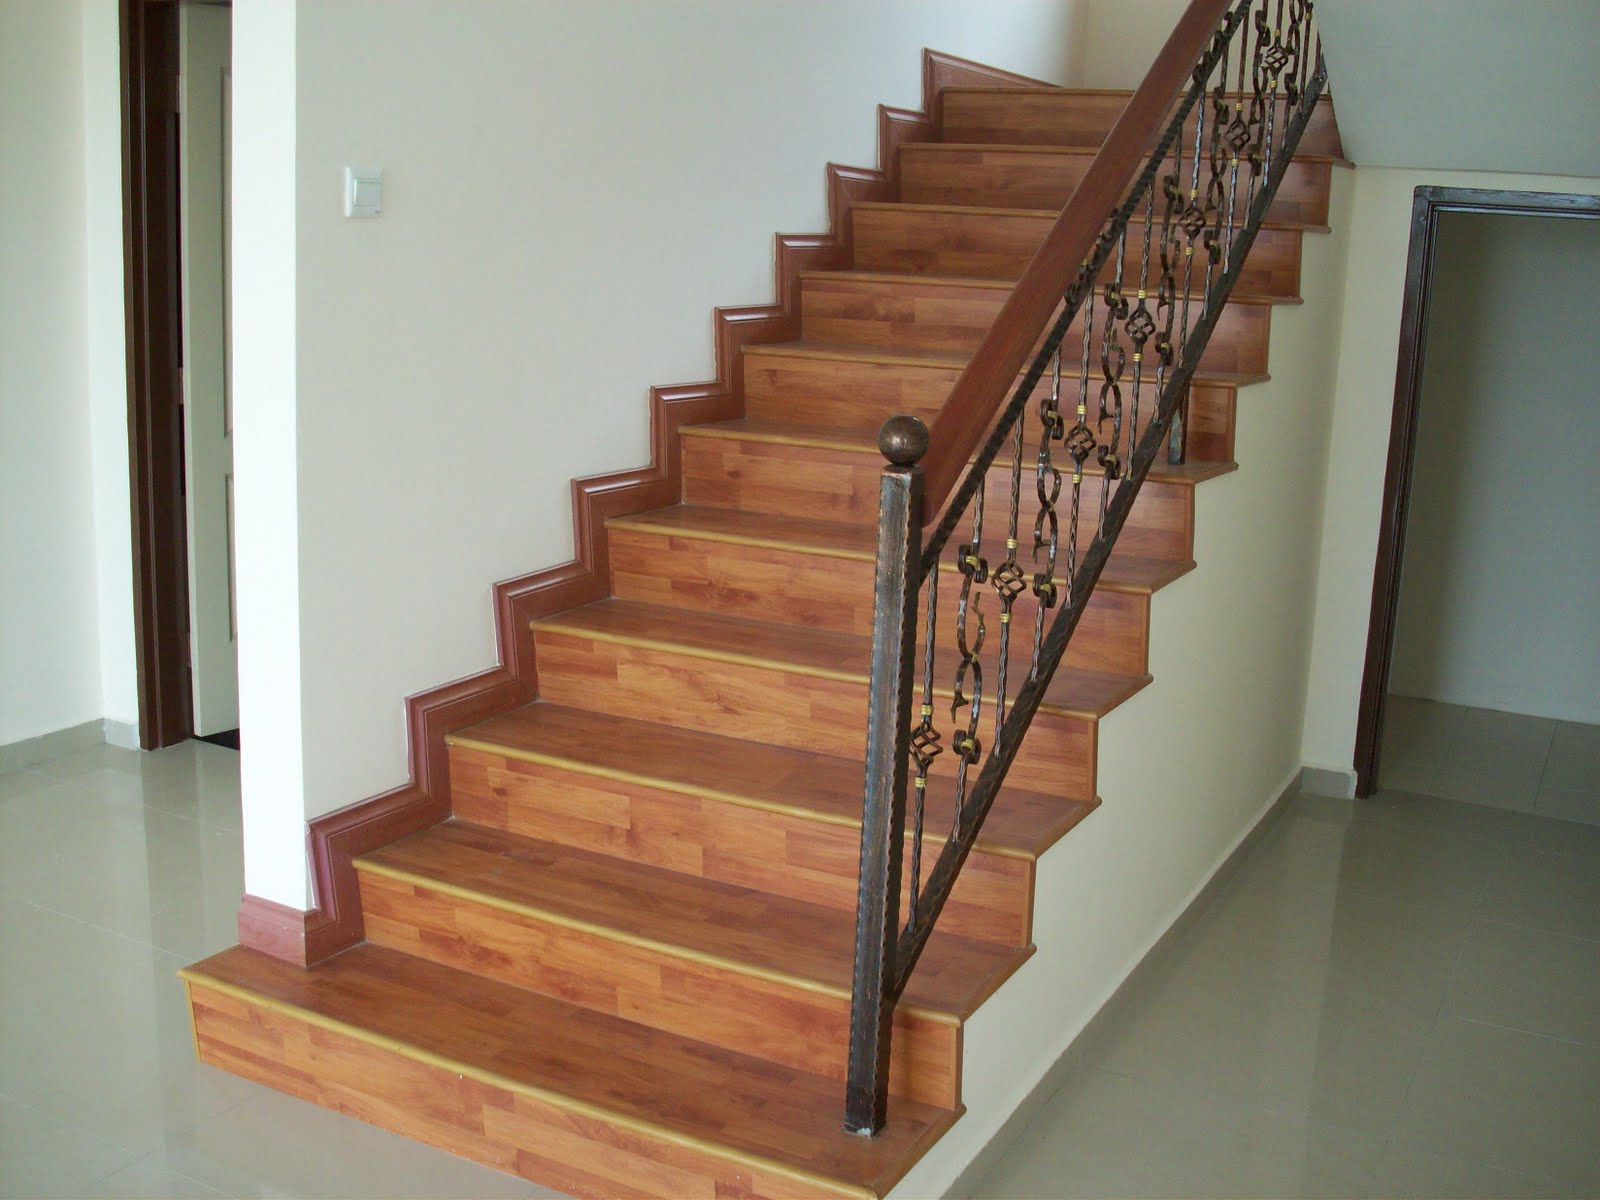
When it comes to enhancing the beauty and durability of your staircase, applying a coat of polyurethane can make a world of difference. Polyurethane is a protective coating that provides a glossy finish while offering protection against wear and tear, scratches, and moisture damage. However, one common question that arises is how many coats of polyurethane should be applied on stairs to achieve the desired results?
In this article, we will explore the factors to consider when determining the number of coats of polyurethane for stairs. We will also provide step-by-step instructions on how to apply polyurethane on your staircase, ensuring a flawless finish that lasts for years to come.
Understanding Polyurethane for Stairs
Polyurethane is a type of varnish that is commonly used for finishing wood surfaces, including staircases. It is a clear, protective coating that can be applied over stain or bare wood, enhancing the natural beauty of the material while providing a protective barrier. Polyurethane is available in different finishes, including satin, semi-gloss, and high-gloss, allowing you to choose the level of sheen that best complements your staircase.
Factors to Consider
Before deciding on the number of coats of polyurethane for your stairs, there are a few factors to consider:
- Type of Wood: Different types of wood absorb polyurethane differently. Softer woods may require more coats to achieve adequate coverage and protection, while harder woods may require fewer coats.
- Usage: Consider the level of foot traffic your staircase receives. If it is heavily used, it may benefit from an extra coat or two of polyurethane for added durability.
- Personal Preference: Some people prefer a more glossy finish, while others prefer a softer sheen. Your personal preference will also influence the number of coats you choose to apply.
Recommended Number of Coats for Stairs
As a general guideline, applying two to three coats of polyurethane is typically sufficient for most staircases. This ensures adequate coverage and protection without excessive buildup. However, it is always best to refer to the manufacturer’s instructions and recommendations for the specific brand of polyurethane you are using.
Steps for Applying Polyurethane on Stairs
(To be continued…)
Key Takeaways:
- Achieve a stunning and durable staircase finish by applying 2-3 coats of polyurethane, considering wood type, usage, and personal preference. Proper preparation and attention to detail are crucial for a flawless result.
- Understand polyurethane properties, apply even coats, and perform thorough sanding for a smooth finish. Follow manufacturer’s guidelines and take your time to achieve a visually appealing and long-lasting staircase.
Understanding Polyurethane for Stairs
Polyurethane is a versatile and durable coating that is commonly used for finishing wood surfaces, including staircases. It is a clear, protective layer that enhances the natural beauty of the wood while providing a glossy finish. Understanding how polyurethane works and its benefits will help you make informed decisions about applying it to your stairs.
There are two main types of polyurethane: oil-based and water-based. Both types have their advantages and considerations when it comes to application. Oil-based polyurethane tends to provide a warmer, amber-toned finish and requires more time for drying and curing. On the other hand, water-based polyurethane dries faster and has a lower odor. It also retains the natural color of the wood better and is less likely to yellow over time.
Polyurethane acts as a protective barrier on the surface of the wood, guarding against scratches, stains, and moisture damage. It creates a hard and durable surface that helps extend the life of your staircase. Additionally, it adds an attractive sheen to the wood, enhancing its natural grain.
When choosing the finish for your polyurethane, consider the aesthetic you want to achieve. Satin finishes provide a soft sheen that is not too glossy or dull. They are great at hiding minor imperfections and are commonly used for staircases. If you prefer a shinier look, you can opt for a semi-gloss or high-gloss finish.
Before applying polyurethane, it is essential to prepare the stairs properly. Start by cleaning the surface thoroughly to remove any dirt, dust, or debris. Sanding the stairs helps create a smooth surface and promotes better adhesion of the polyurethane. After sanding, ensure that the stairs are free from dust by using a tack cloth or vacuum.
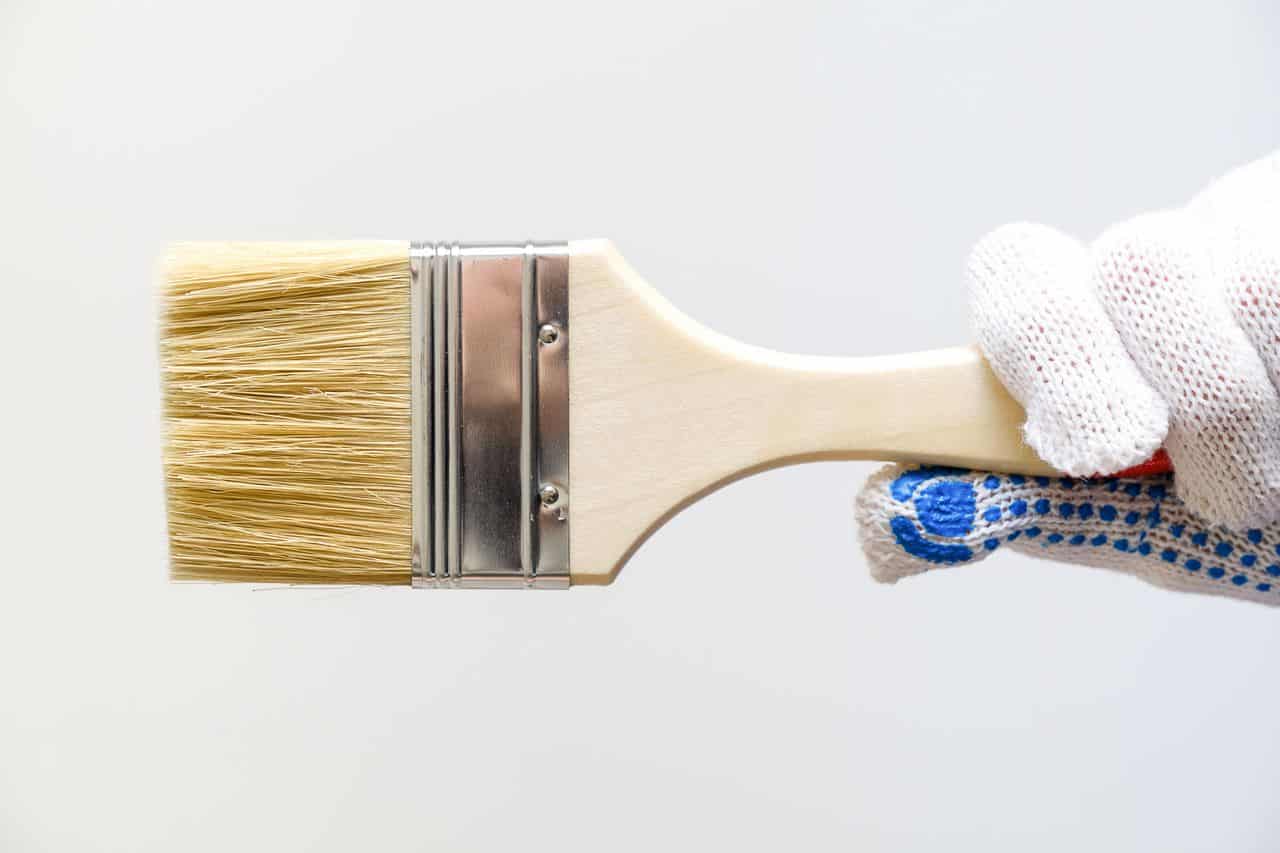
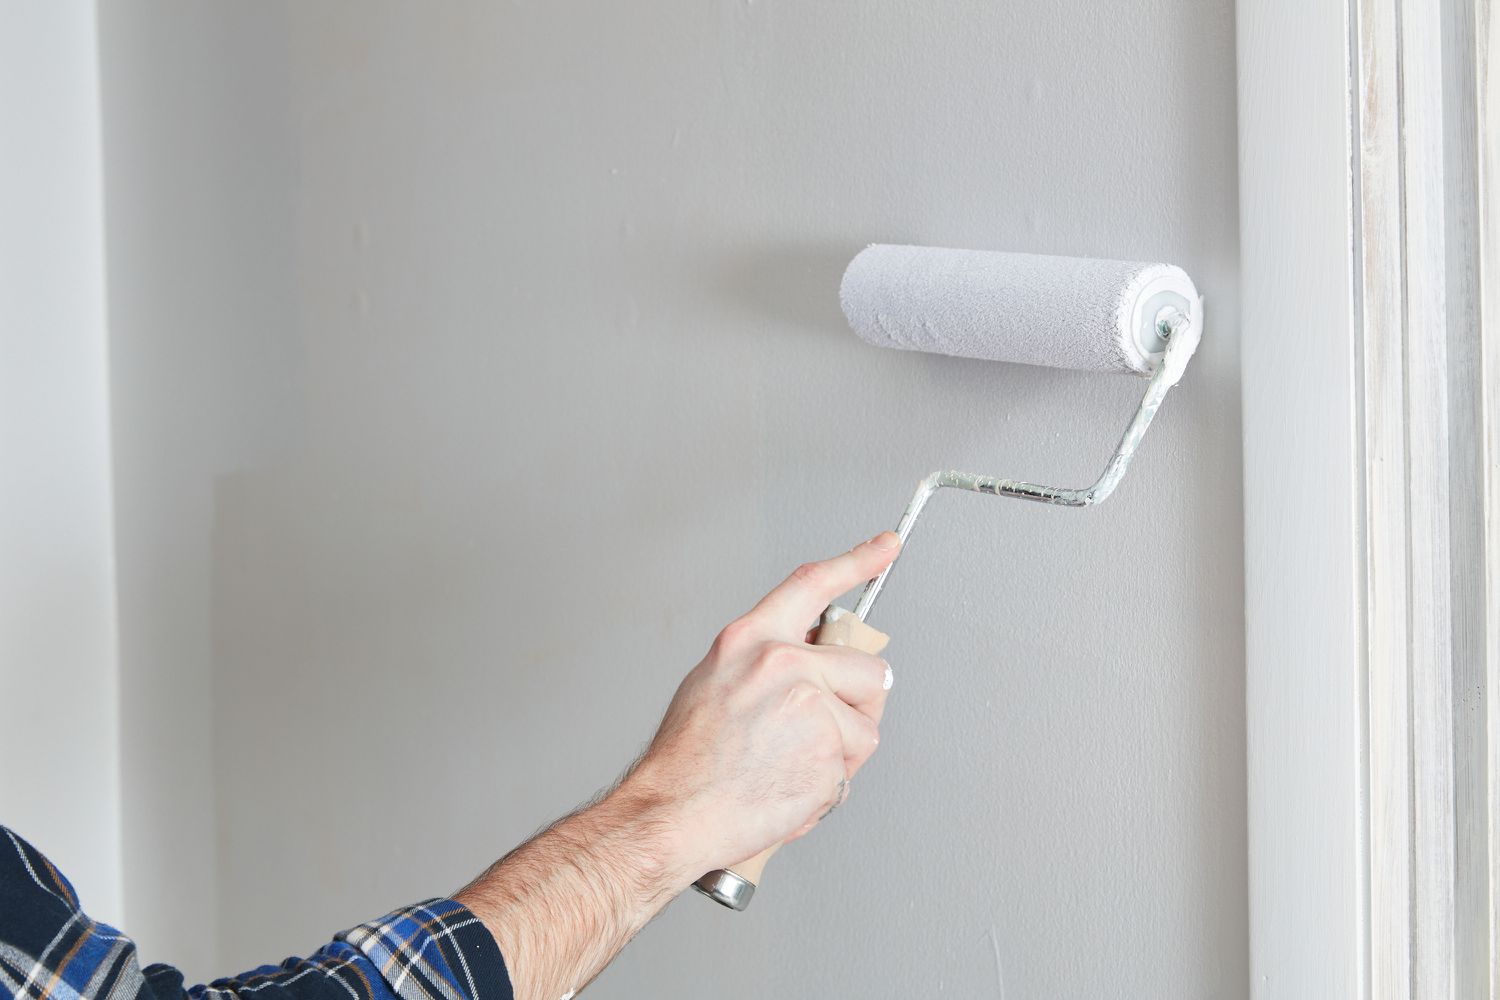
Applying polyurethane to stairs can be done using a brush, roller, or sprayer. Brushes are commonly used for a more controlled application, especially in intricate areas such as balusters and corners. If you choose to use a roller or sprayer, make sure to apply the polyurethane evenly for a consistent finish.
When applying polyurethane, it’s important to follow the manufacturer’s instructions regarding drying and curing times. Applying multiple thin coats is generally recommended, as thick coats can lead to uneven drying and a less desirable finish. Sanding between coats may be necessary to remove imperfections and ensure proper adhesion.
By understanding the properties of polyurethane and following the proper application techniques, you can achieve a beautifully finished staircase that is not only visually appealing but also well-protected against daily wear and tear.
Factors to Consider
Before deciding on the number of coats of polyurethane for your stairs, there are several important factors to consider. These factors will help you determine the optimal number of coats needed for your specific staircase.
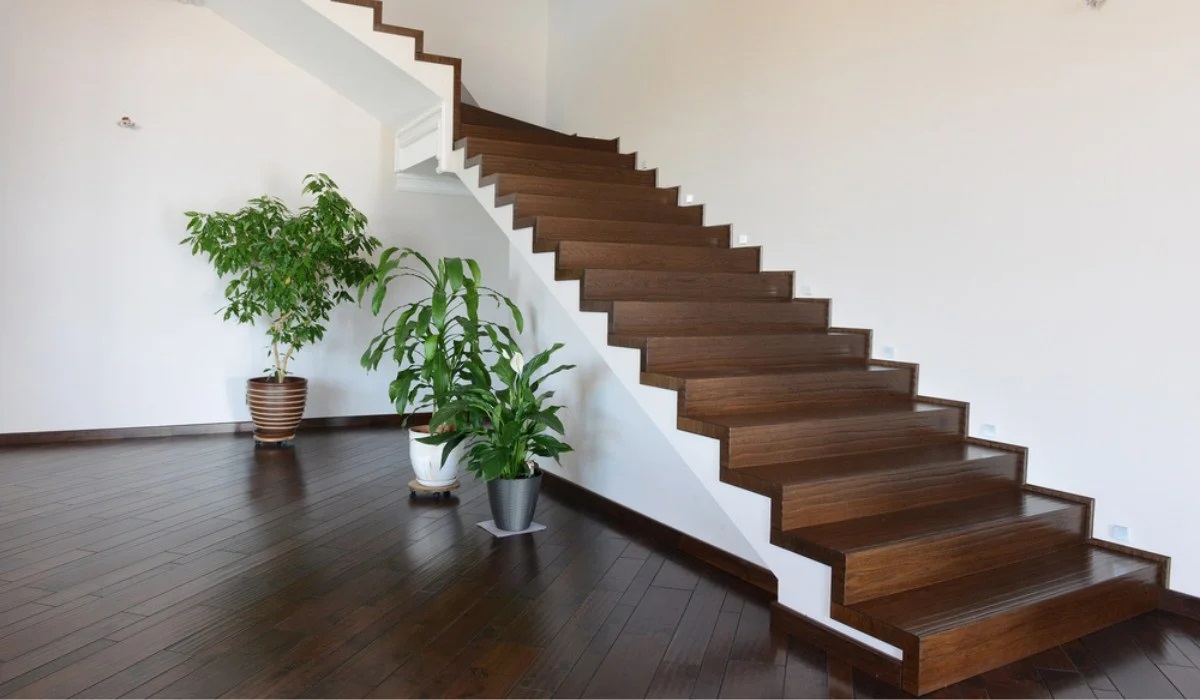
Type of Wood: Different types of wood absorb polyurethane differently. Softer woods such as pine or maple tend to absorb more polyurethane, requiring additional coats for adequate coverage and protection. Harder woods, like oak or mahogany, tend to require fewer coats. It’s important to consider the type of wood your stairs are made of to determine the appropriate number of coats.
Usage: Another crucial factor to consider is the level of foot traffic your staircase receives. If your stairs are heavily used, they will experience more wear and tear over time. In this case, applying an extra coat or two of polyurethane can provide added durability and prolong the life of your stairs.
Personal Preference: Your personal preference plays a significant role in determining the number of coats of polyurethane for your stairs. Some people prefer a more glossy finish, while others may opt for a more natural or matte look. The desired level of sheen and appearance will influence the number of coats you choose to apply. It’s important to take into account what appeals to you and aligns with your overall aesthetic vision.
Environmental Conditions: The environmental conditions can also impact the number of coats of polyurethane needed. If you live in a humid area or your staircase is exposed to moisture, applying an extra coat can provide added protection against moisture damage.
Drying and Curing Time: It’s important to consider the drying and curing time of the polyurethane you are using. Each brand and type of polyurethane has different recommendations for drying and curing. Ensure that you allow sufficient time between coats to allow for proper drying and adhesion. Rushing the process can lead to uneven or compromised results.
By taking these factors into consideration, you can make an informed decision about the number of coats of polyurethane needed for your stairs. It’s always a good idea to refer to the manufacturer’s instructions and recommendations for the specific polyurethane product you are using, as they may provide additional guidance based on their formulation.
Next, we will discuss the recommended number of coats for stairs to achieve optimal results.
Recommended Number of Coats for Stairs
When it comes to the number of coats of polyurethane for stairs, a general guideline is to apply two to three coats. This number is typically sufficient to achieve adequate coverage and protection for most staircases. However, it’s important to note that the actual number of coats may vary depending on the factors mentioned earlier, such as the type of wood, usage, personal preference, and environmental conditions.
For softer woods like pine or maple, which tend to absorb more polyurethane, you may need to apply an additional coat or two to ensure thorough coverage. This will provide a more consistent and protective finish. On the other hand, harder woods like oak or mahogany may require fewer coats due to their natural density and ability to retain the polyurethane better.
If your staircase experiences heavy foot traffic or is exposed to moisture, applying an extra coat can provide added durability and protection. This additional coat acts as an extra barrier against wear and tear and can help prevent moisture damage and staining.
Additionally, personal preference plays a significant role in determining the number of coats. If you prefer a more glossy finish, you may opt to apply an extra coat to achieve the desired level of sheen. Conversely, if you prefer a more natural or matte appearance, you may choose to apply fewer coats to maintain a more subtle finish.
It’s important to follow the manufacturer’s instructions and recommendations for the specific polyurethane product you are using. They may provide specific guidelines based on the formulation and properties of their product. These instructions will outline the recommended number of coats, drying times, and any other special considerations.
When applying polyurethane, it’s crucial to apply multiple thin coats rather than one thick coat. Thin coats allow for better adhesion and drying, resulting in a more even and seamless finish. Sanding between coats may be necessary to remove any imperfections and ensure a smooth surface for the subsequent coats.
By considering the type of wood, usage, personal preference, and following the manufacturer’s instructions, you can determine the optimal number of coats to achieve a beautifully finished staircase that is protected and durable.
In the next section, we will discuss the step-by-step process for applying polyurethane on stairs.
Steps for Applying Polyurethane on Stairs
Applying polyurethane on stairs is a multi-step process that requires careful preparation and attention to detail. By following these steps, you can ensure a smooth and professional-looking finish for your staircase.
Step 1: Preparing the Stairs
Before you begin the polyurethane application, it’s crucial to prepare the stairs properly:
- Start by removing any carpeting, paint, or existing finishes from the stairs. You want to work on a clean and bare wood surface.
- Sand the entire staircase to create a smooth and even surface. Use fine-grit sandpaper and sand in the direction of the wood grain to avoid scratches or damage to the wood.
- After sanding, thoroughly clean the stairs to remove any dust or debris. You can use a vacuum or a tack cloth to ensure that the surface is free from any particles.
Step 2: Applying the First Coat
Once the stairs are properly prepared, you can begin applying the polyurethane:
- Stir the polyurethane thoroughly to ensure that any settling is mixed well.
- Using a high-quality brush, apply a thin and even coat of polyurethane to the entire staircase. Start from the top and work your way down to prevent any drips or runs.
- Make sure to brush in the direction of the wood grain to achieve a smooth and uniform finish. Take your time and pay attention to any nooks, corners, or intricate areas of the stairs.
- Allow the first coat to dry according to the manufacturer’s instructions. This typically takes a few hours, but it may vary depending on the specific polyurethane product you are using and the environmental conditions.
Step 3: Sanding and Applying Additional Coats
After the first coat has dried, you will need to sand the stairs and apply additional coats:
- Lightly sand the stairs with fine-grit sandpaper. This will help remove any imperfections, such as dust particles or brush strokes, and prepare the surface for the next coat.
- Clean the stairs again to remove any dust or debris. A vacuum or tack cloth works well for this purpose.
- Apply subsequent coats of polyurethane following the same process as the first coat. Remember to brush in the direction of the wood grain and maintain a thin and even application.
- Allow each coat to dry completely before sanding and applying the next coat. The drying time may vary, so refer to the manufacturer’s instructions for guidance.
Step 4: Final Sanding and Finishing Touches
Once you have applied the desired number of coats, it’s time for the final sanding and finishing touches:
- Lightly sand the stairs one last time to remove any imperfections or roughness. Use a fine-grit sandpaper and be gentle to avoid damaging the polyurethane finish.
- Wipe down the stairs with a clean, lint-free cloth to remove any sanding dust or residue.
- Inspect the stairs for any touch-ups or areas that may need additional coats or refinishing. Make any necessary adjustments to ensure a flawless finish.
- Once you are satisfied with the appearance of the stairs, allow the final coat of polyurethane to dry completely before allowing foot traffic on the staircase. This may take several days, so be patient and follow the manufacturer’s recommendations.
By following these steps, you can achieve a well-protected and visually appealing staircase with a professional-looking polyurethane finish. Remember to take your time, apply thin coats, and pay attention to detail to ensure the best results.
Apply at least 3 coats of polyurethane on stairs for durability. Sand lightly between coats for a smooth finish. Allow each coat to dry completely before applying the next.
Read more: How Many Coats Of Polyurethane On Floor
Preparing the Stairs
Properly preparing the stairs is an essential step before applying polyurethane. Preparing the surface ensures that the polyurethane adheres well and results in a smooth and durable finish. Follow these steps to prepare the stairs for polyurethane application:
- Remove any existing finishes: If your stairs have any paint, varnish, or other coatings, you will need to remove them before applying polyurethane. Use a paint stripper or sandpaper to strip away the existing finish. Ensure that the stairs are clean and free from any residual residue.
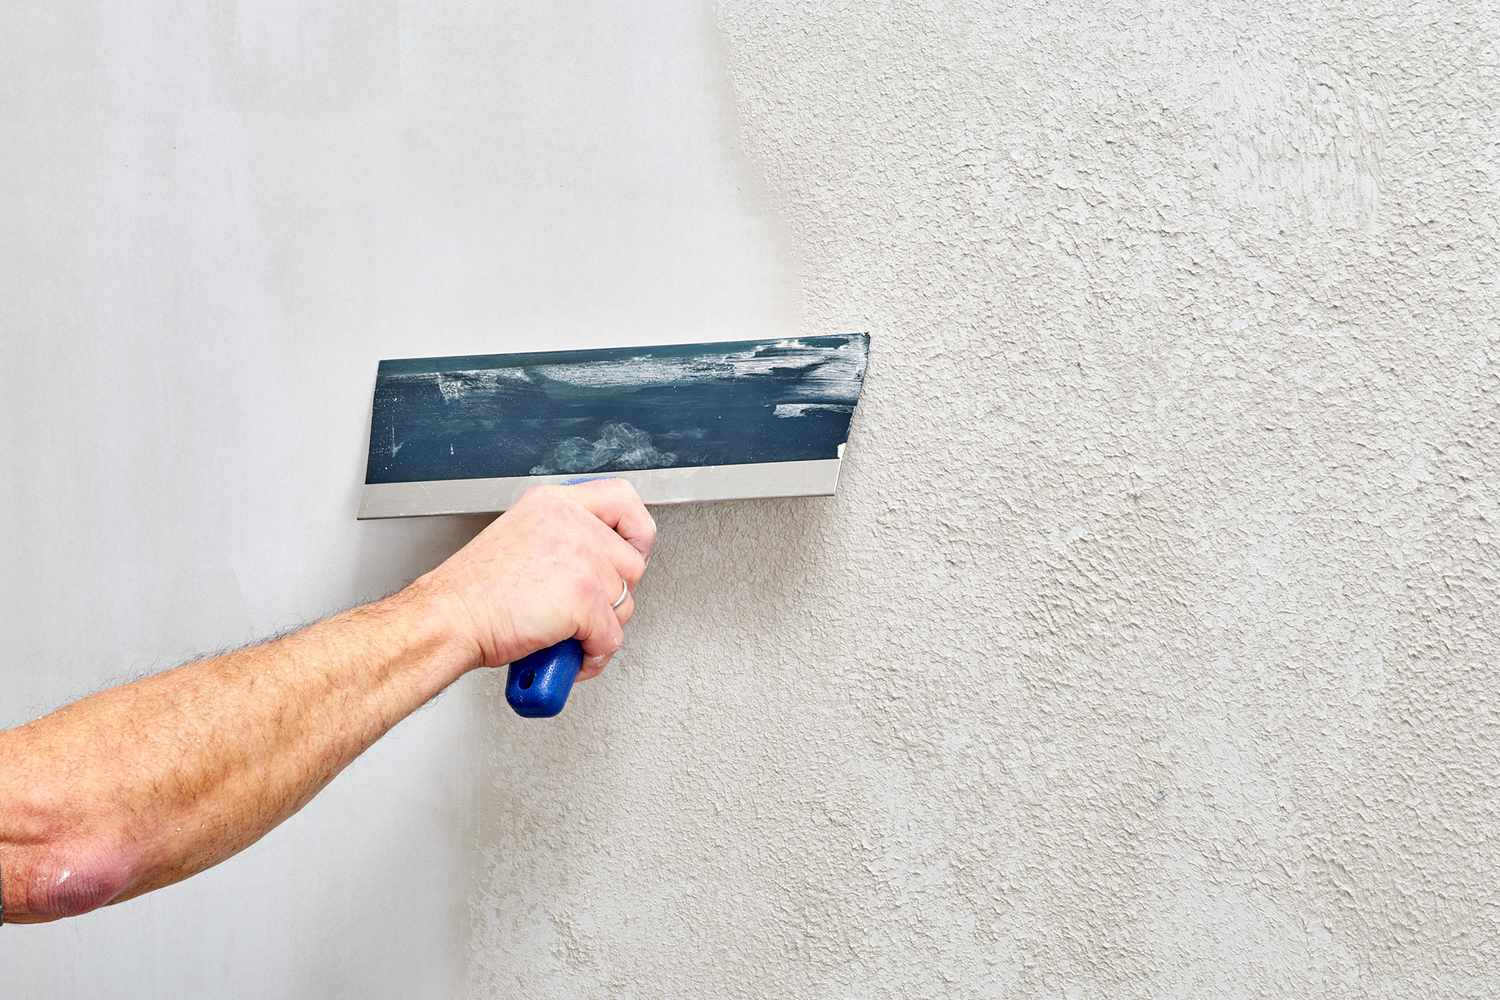
- Repair any damage: Inspect the stairs for any dents, scratches, or other damage. Use wood filler to repair any imperfections. Once the filler is dry, sand the repaired areas to make them smooth and even with the rest of the staircase.
- Sand the stairs: Sanding the stairs is crucial to create an even and clean surface for the polyurethane application. Start by using coarse-grit sandpaper to remove any rough patches or unevenness on the wood. Gradually switch to finer grit sandpaper to achieve a smooth finish. Sand in the direction of the wood grain to avoid scratches or damage. It’s important to remove all traces of the previous finish and achieve a clean, bare wood surface.
- Clean the stairs: After sanding, thoroughly clean the stairs to remove any dust, debris, or sanding residue. Use a vacuum cleaner or a brush to remove loose particles. Wipe down the stairs with a damp cloth or tack cloth to ensure that the surface is completely clean. Make sure the stairs are dry before proceeding to the next step.
- Tape off adjacent areas: If there are areas adjacent to the stairs that you want to protect from the polyurethane, such as walls or handrails, use painter’s tape to tape them off. This will ensure clean lines and prevent any accidental spills or drips on unwanted surfaces.
Properly preparing the stairs sets the foundation for a successful polyurethane application. It ensures that the polyurethane adheres well, resulting in a smooth and durable finish. Taking your time during this step will save you from potential issues and improve the overall quality of the final result. Now that the stairs are properly prepared, you can proceed to apply the polyurethane coats following the recommended guidelines.
Applying the First Coat
Once you have prepared the stairs for polyurethane application, it’s time to apply the first coat. The first coat sets the foundation for the subsequent coats and plays a crucial role in achieving a smooth and durable finish. Follow these steps to apply the first coat of polyurethane:
- Choose the right tools: Select high-quality tools for applying the polyurethane. A good quality brush with synthetic bristles is often preferred for its ability to hold and distribute the polyurethane evenly. Ensure that the brush is clean and free from any dust or debris before starting.
- Stir the polyurethane: Give the polyurethane a thorough stir using a mixing stick or a clean stirrer. This helps to ensure that any settling or separation of the polyurethane is properly mixed, resulting in an even application.
- Start from the top: Begin the application process from the top of the stairs and work your way down. This helps to prevent drips or runs on areas you have already coated.
- Apply an even coat: Dip the brush into the polyurethane and remove any excess by gently tapping it against the side of the container. Apply a thin and even coat of polyurethane to the stairs, working in the direction of the wood grain. Brush the polyurethane on the entire surface of each step, ensuring complete coverage.
- Pay attention to corners and edges: Use a smaller brush or a foam brush to reach corners, edges, and other hard-to-reach areas. Take your time and be meticulous in applying the polyurethane evenly in these areas to ensure a consistent finish.
- Check for any drips or runs: As you apply the polyurethane, keep an eye out for any drips or runs that may occur. If you notice any, quickly smooth them out with the brush to prevent them from drying and causing an uneven finish.
- Allow proper drying time: After applying the first coat of polyurethane, allow it to dry according to the manufacturer’s instructions. This typically takes a few hours, but it may vary depending on the specific type of polyurethane you are using and the environmental conditions.
After the first coat has dried, you can assess the result and determine if any further coats are required. If the coverage is even and you are satisfied with the level of sheen, you may choose to proceed with additional coats of polyurethane. However, if you notice any areas that require touch-ups or additional coats for better coverage, you can address them in the subsequent steps.
It’s important to note that polyurethane dries clear, so it’s common for the first coat to appear streaky or uneven. Subsequent coats will help achieve a more uniform and smooth finish. Sanding between coats may be necessary to remove any imperfections and ensure proper adhesion of the subsequent coats.
By applying the first coat carefully and ensuring even coverage, you are on your way to achieving a beautiful and long-lasting finish on your stairs. Once the first coat is dry, you can proceed with sanding and applying additional coats to achieve the desired level of protection and aesthetics.
Sanding and Applying Additional Coats
After applying the first coat of polyurethane on your stairs, the next step is to sand the surface and apply additional coats. This process helps to ensure a smooth and even finish, as well as providing added durability to your staircase. Follow these steps for sanding and applying additional coats:
- Lightly sand the stairs: Use a fine-grit sandpaper or sanding pad to lightly sand the surface of the stairs. This step helps to remove any imperfections, such as dust particles or brush strokes, and promotes better adhesion of the subsequent coats. Sand in the direction of the wood grain and be careful not to sand too aggressively, as it can damage the polyurethane layer.
- Clean the stairs: After sanding, thoroughly clean the stairs to remove any sanding residue or debris. You can use a vacuum or a tack cloth to ensure that the surface is completely clean and ready for the next coat.
- Apply subsequent coats: Using the same application process as the first coat, apply subsequent coats of polyurethane. Dip your brush into the polyurethane, remove any excess, and brush on a thin and even coat. Make sure to brush in the direction of the wood grain for a consistent finish. Pay attention to any areas that may require more coverage for an even and uniform appearance.
- Allow each coat to dry: After applying each coat, allow it to dry completely before sanding and applying the next coat. The drying time may vary depending on the specific polyurethane product and environmental conditions. Refer to the manufacturer’s instructions for recommended drying times.
- Sand between coats: It’s important to sand between coats to remove any imperfections and create a smooth surface for the subsequent coats. Use a fine-grit sandpaper or sanding pad and lightly sand the stairs. Sanding helps to eliminate any brush marks, bubbles, or dust particles that may have settled on the polyurethane. After sanding, clean the stairs again to remove any sanding residue before applying the next coat.
- Repeat the process: Continue applying coats, sanding, and cleaning until you achieve the desired level of protection and aesthetic appeal. For most staircases, two to three coats of polyurethane are sufficient. However, depending on the type of wood, personal preference, and desired level of durability, you may choose to apply more coats. Always refer to the manufacturer’s guidelines and recommendations for the specific polyurethane product.
By sanding between coats and applying subsequent coats of polyurethane, you are building up a strong protective layer on your stairs. Each coat adds to the overall durability of the finish, providing long-lasting protection against wear and tear. Take your time during this process, ensuring even application and allowing sufficient drying time between coats.
Once you have applied the desired number of coats, you can proceed to the final steps of sanding and finishing touches to achieve a beautifully finished staircase.
Final Sanding and Finishing Touches
After applying multiple coats of polyurethane on your stairs, the final steps involve sanding and adding the finishing touches. These steps help to achieve a smooth and flawless finish, ensuring that your staircase looks stunning and is well-protected. Follow these steps for the final sanding and finishing touches:
- Lightly sand the stairs: Use a fine-grit sandpaper or sanding pad to lightly sand the surface of the stairs. This step helps to remove any remaining imperfections, such as brush marks or dust particles. Sand in the direction of the wood grain, being careful not to sand too aggressively and remove too much of the polyurethane. The goal is to achieve a smooth and even finish.
- Remove sanding residue: After sanding, use a clean cloth or vacuum to remove any sanding residue or debris from the stairs. Make sure the surface is completely clean and free from any particles before proceeding to the next step.
- Inspect for touch-ups: Carefully inspect the stairs for any areas that may need touch-ups or additional coats. Look for any unevenness or spots that may have been missed during the previous coats. If needed, apply touch-ups to ensure an even and consistent appearance throughout the staircase.
- Allow the final coat to dry: Once you are satisfied with the overall finish, allow the stairs to dry completely. This may take several days, depending on the type of polyurethane and the recommended drying time provided by the manufacturer. Be patient and avoid placing any objects or walking on the stairs until they are fully dried and cured.
- Final finishing touches: After the final coat has dried, you can make some final finishing touches to enhance the appearance and protection of the stairs. Applying a protective wax or polish can add an extra layer of shine and protection to the polyurethane finish. Follow the instructions provided by the wax or polish manufacturer for application and drying times.
- Reinstall any hardware: If you had to remove any hardware, such as handrails or brackets, during the polyurethane application process, now is the time to reinstall them. Ensure that all hardware is securely fastened, and double-check for any loose or missing screws or bolts.
By performing the final sanding and finishing touches, you are adding the final touches to your staircase, ensuring that it looks polished and fully protected. Take your time during these steps to achieve the best results and create a beautiful and long-lasting finish on your stairs.
Once all the finishing touches are complete, your newly coated and finished staircase is ready to be admired and enjoyed. Regular maintenance, such as gentle cleaning and periodic reapplication of polyurethane, will help to keep your stairs looking their best for years to come.
Conclusion
Applying polyurethane on stairs is an effective way to enhance the beauty and durability of your staircase. By following the recommended number of coats and applying the polyurethane correctly, you can achieve a stunning finish that protects your stairs from wear and tear. Here’s a summary of the key points to keep in mind:
Understanding the properties of polyurethane is crucial for a successful application. Polyurethane provides a protective barrier that enhances the natural beauty of the wood while offering resistance to scratches, stains, and moisture damage.
Factors such as the type of wood, usage, personal preferences, and environmental conditions should be considered when determining the number of coats to apply. Generally, two to three coats of polyurethane are recommended, but adjustments may be needed based on specific circumstances.
The process of applying polyurethane involves thorough preparation, including removing existing finishes, repairing any damage, and sanding the stairs to create a smooth surface. It is important to apply each coat evenly, following the manufacturer’s instructions regarding drying and curing times.
Sanding between coats and performing the final sanding and finishing touches helps ensure a smooth and flawless finish. It’s important to pay attention to detail during each step to achieve the desired results.
By following these guidelines and taking the time to properly prepare and apply polyurethane, you can transform your staircase into a focal point of your home. The polyurethane finish will not only protect your stairs but also enhance their natural beauty, providing a durable and visually appealing surface for years to come.
Remember, maintaining your staircase is also crucial for preserving the polyurethane finish. Regular cleaning and periodic reapplication of polyurethane will help keep your stairs looking their best and prolong their lifespan.
With the knowledge and techniques outlined in this article, you have the tools to embark on a successful polyurethane application journey. So go ahead and give your staircase the attention it deserves, and enjoy the beautiful and long-lasting results of your efforts.
Frequently Asked Questions about How Many Coats Of Polyurethane On Stairs
Was this page helpful?
At Storables.com, we guarantee accurate and reliable information. Our content, validated by Expert Board Contributors, is crafted following stringent Editorial Policies. We're committed to providing you with well-researched, expert-backed insights for all your informational needs.


0 thoughts on “How Many Coats of Polyurethane On Stairs”