Articles
How Many Coats Of Polyurethane On Floor
Modified: January 5, 2024
Looking for articles on how many coats of polyurethane to apply on a floor? Get expert advice and find the right number of coats for a durable finish.
(Many of the links in this article redirect to a specific reviewed product. Your purchase of these products through affiliate links helps to generate commission for Storables.com, at no extra cost. Learn more)
Introduction
Polyurethane is a popular choice for finishing floors due to its durability, resistance to wear and tear, and its ability to enhance the natural beauty of wood. When it comes to applying polyurethane on a floor, one common question that arises is how many coats should be applied to achieve the desired results.
While there is no one-size-fits-all answer to this question, understanding the factors that influence the number of coats will help you make an informed decision. In this article, we will explore the factors to consider when determining the number of coats of polyurethane to apply, the benefits of multiple coats, and potential drawbacks to be aware of.
Whether you are refinishing an existing floor or applying polyurethane to a new floor installation, getting the right number of coats is crucial for achieving the best possible finish, protecting your floors, and ensuring their longevity.
Key Takeaways:
- Achieving the perfect finish with polyurethane on your floor depends on factors like wood type, desired sheen, and traffic level. Multiple coats offer enhanced protection and durability, but consider potential drawbacks and manufacturer guidelines.
- Balancing protection and aesthetics is key when determining the number of coats of polyurethane for your floor. Consider wood type, desired finish, and level of traffic, and consult professionals for optimal results.
Understanding Polyurethane
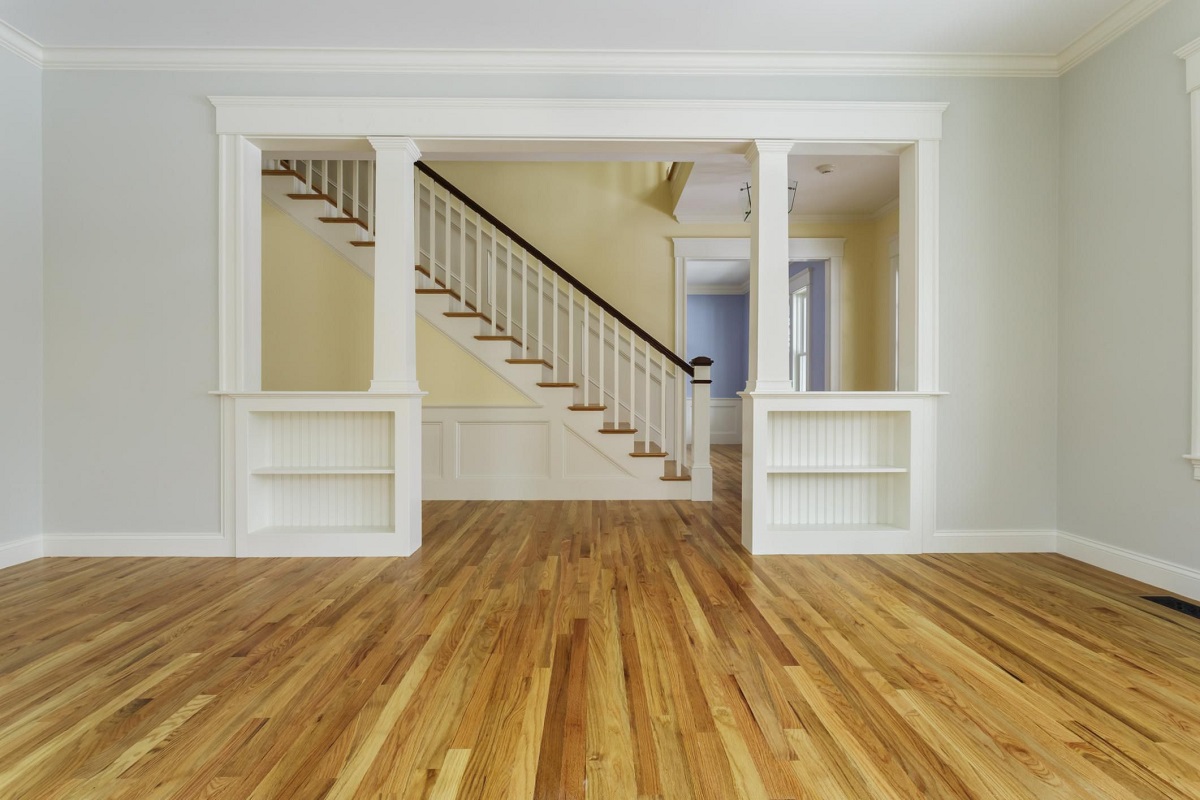
Polyurethane is a type of clear, protective finish that is commonly used on hardwood floors. It is known for its ability to resist scratches, stains, and moisture, making it an ideal choice for high-traffic areas in homes and commercial spaces.
There are two main types of polyurethane: oil-based and water-based. Oil-based polyurethane has a longer drying time and emits strong fumes during application, but it provides a durable and high-gloss finish. Water-based polyurethane, on the other hand, dries faster, has a lower odor, and offers a clear and matte finish.
When selecting a polyurethane product for your floors, consider the level of traffic in the area, the desired finish, and your application preferences. Both oil-based and water-based polyurethane can provide excellent protection and enhance the natural beauty of the wood; the choice ultimately depends on your specific needs.
Polyurethane is available in different sheens, including high gloss, semi-gloss, and satin. The sheen determines the level of shine on the floor’s surface. High gloss offers a reflective finish, while satin gives a more muted and natural appearance.
Before applying polyurethane, it’s important to ensure that the floor is clean, dry, and free from dust or debris. Any imperfections or previous finishes should be properly sanded and smoothed out for the best results.
In summary, polyurethane is a versatile and durable finish that provides protection and enhances the beauty of hardwood floors. Understanding the different types and finishes of polyurethane will help you choose the right product for your floor and achieve the desired results.
Factors to Consider
When determining the number of coats of polyurethane to apply on a floor, several factors should be taken into consideration:
- Type of Wood: The type of wood you are working with can impact the number of coats needed. Softer woods, such as pine or fir, tend to absorb more polyurethane and may require additional coats for adequate protection. Harder woods, like oak or maple, typically need fewer coats.
- Desired Finish: The level of gloss or sheen you desire for your floors will also influence the number of coats. Higher gloss finishes may require additional coats to achieve the desired shine, while a more matte or satin finish may require fewer coats.
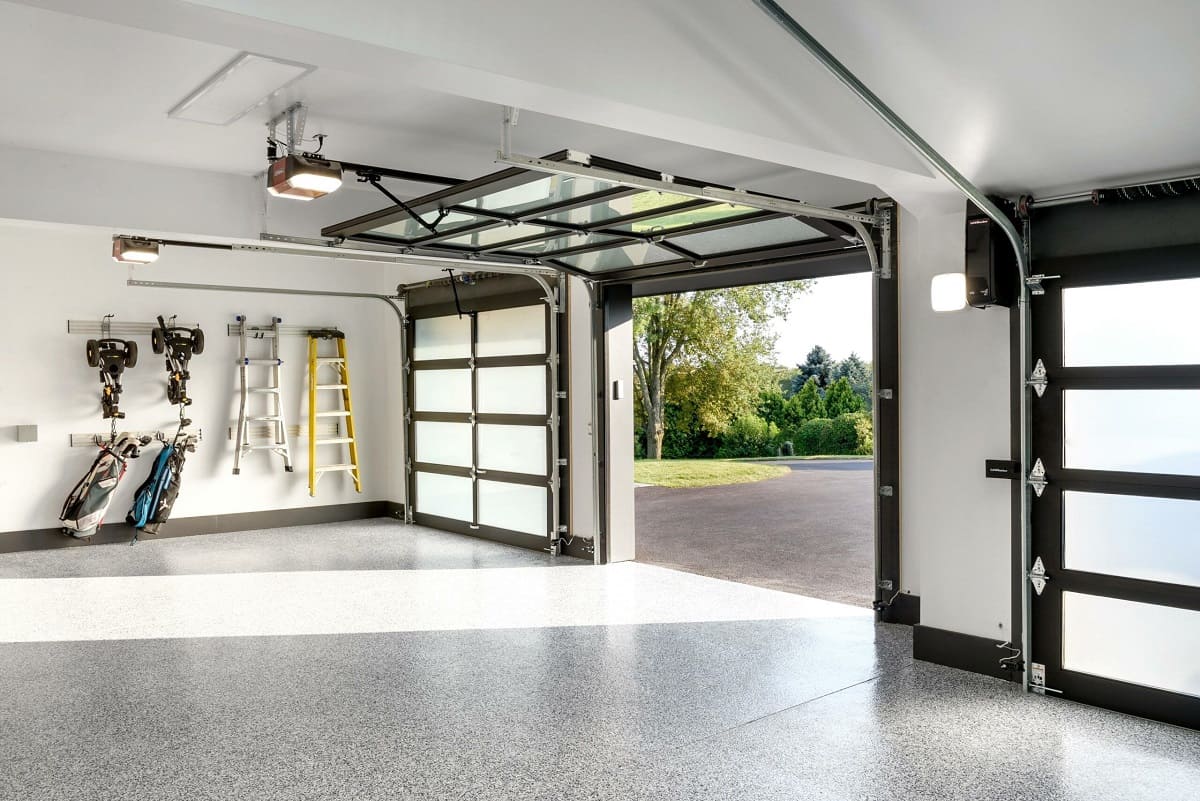
- Level of Traffic: Consider the amount of foot traffic the floor will endure. Areas with heavy foot traffic, such as entryways or hallways, may benefit from additional coats of polyurethane to provide extra protection against wear and tear.
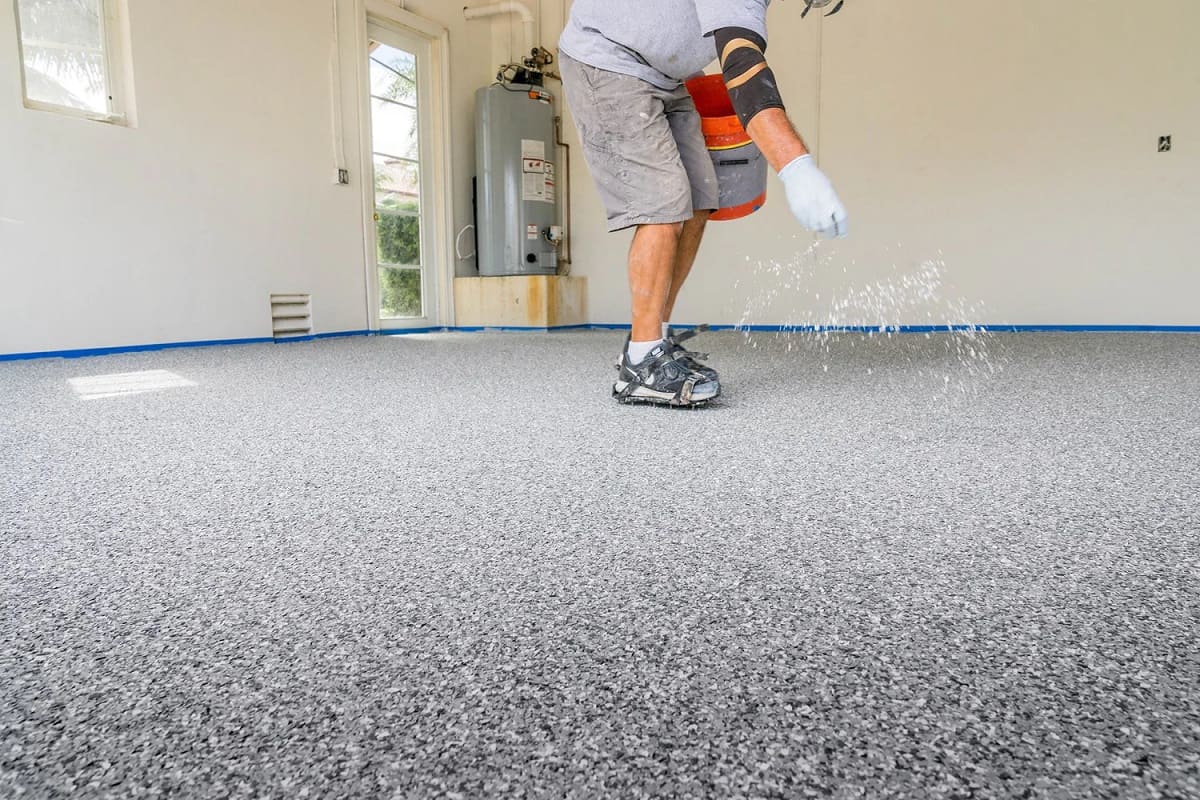
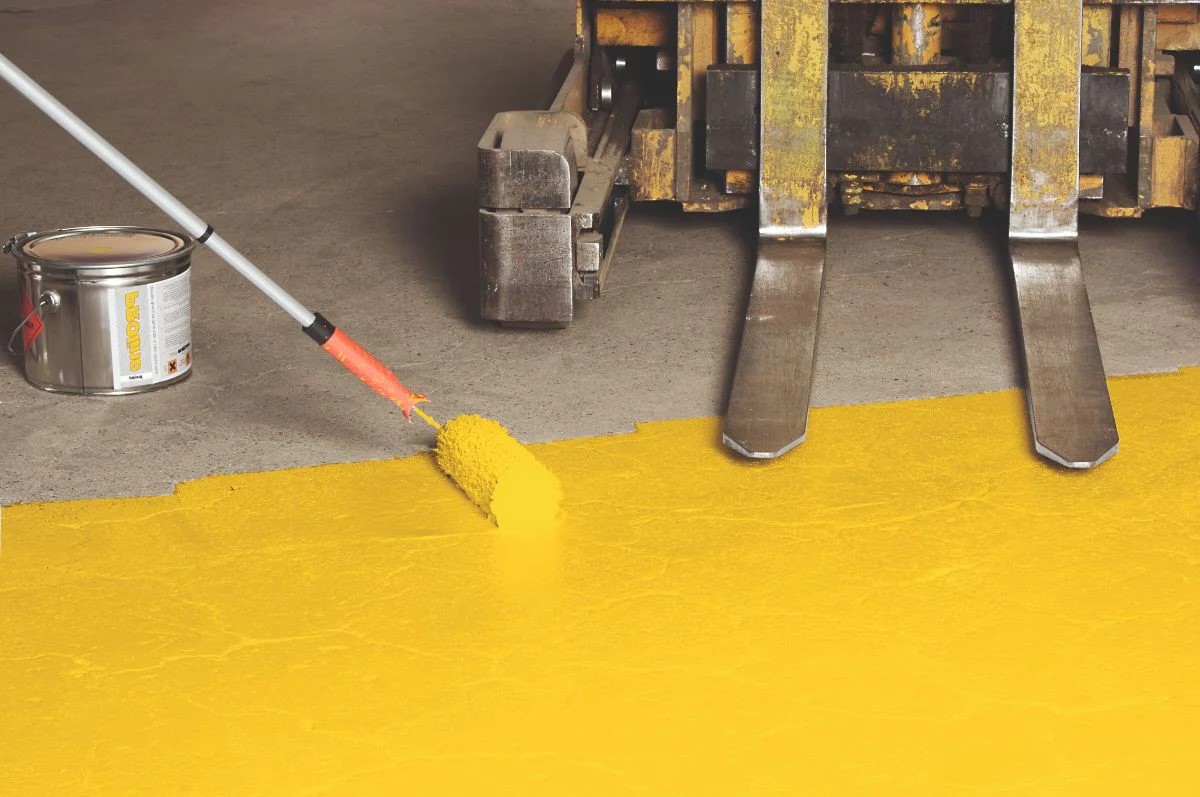
- Application Method: The application method you choose can affect the number of coats needed. Applying polyurethane with a brush or roller tends to leave thicker coats, while using a sprayer may result in thinner coats that may require more applications.
- Environmental Conditions: Environmental factors, such as temperature and humidity, can impact the drying time and adhesion of polyurethane. In high humidity or cooler temperatures, additional coats may be required to achieve proper protection and finish.
It’s important to keep in mind that these factors may vary depending on the specific product and manufacturer’s recommendations for application. Always refer to the product instructions and consult with professionals, if needed, to determine the best approach for your specific situation.
By considering these factors, you can make an informed decision about the number of coats of polyurethane to apply, ensuring the longevity, protection, and aesthetic appeal of your floors.
Application Process
The application process for polyurethane requires careful preparation and attention to detail to ensure a successful and long-lasting finish. Here are the general steps to follow:
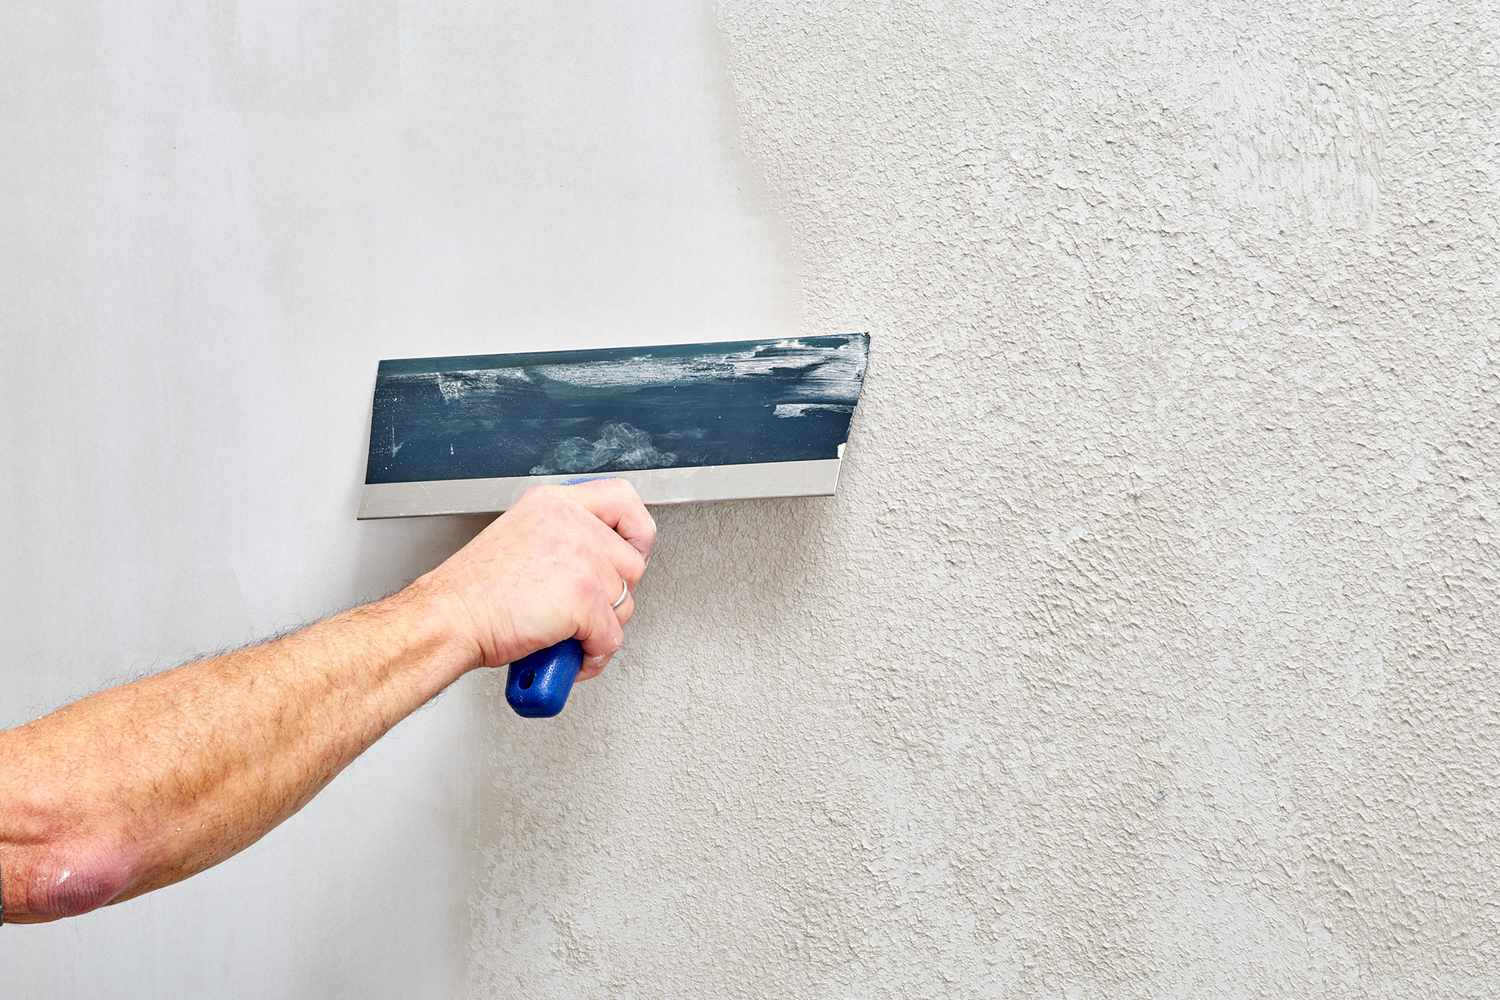
- Prepare the Surface: Start by cleaning the floor thoroughly, removing any dirt, dust, or debris. If necessary, sand the surface to remove any imperfections or previous finishes. Make sure the floor is dry and free from any moisture.
- Stir the Polyurethane: Before application, stir the polyurethane gently to mix it well. Avoid shaking vigorously as this can introduce bubbles into the mixture, which can leave an uneven finish on the floor.
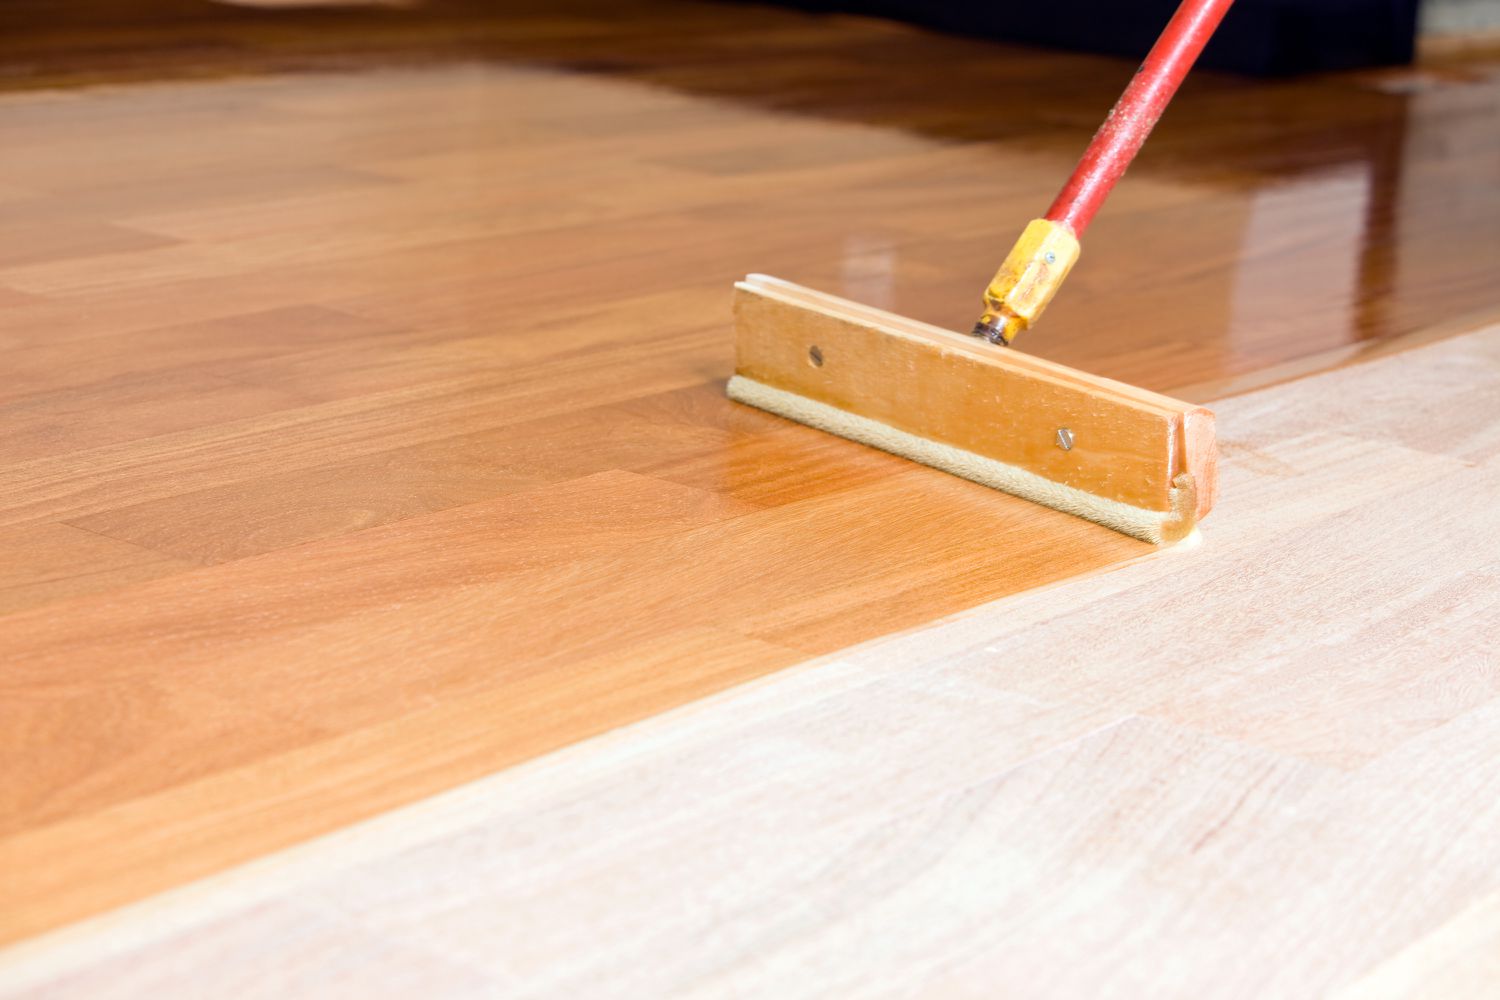
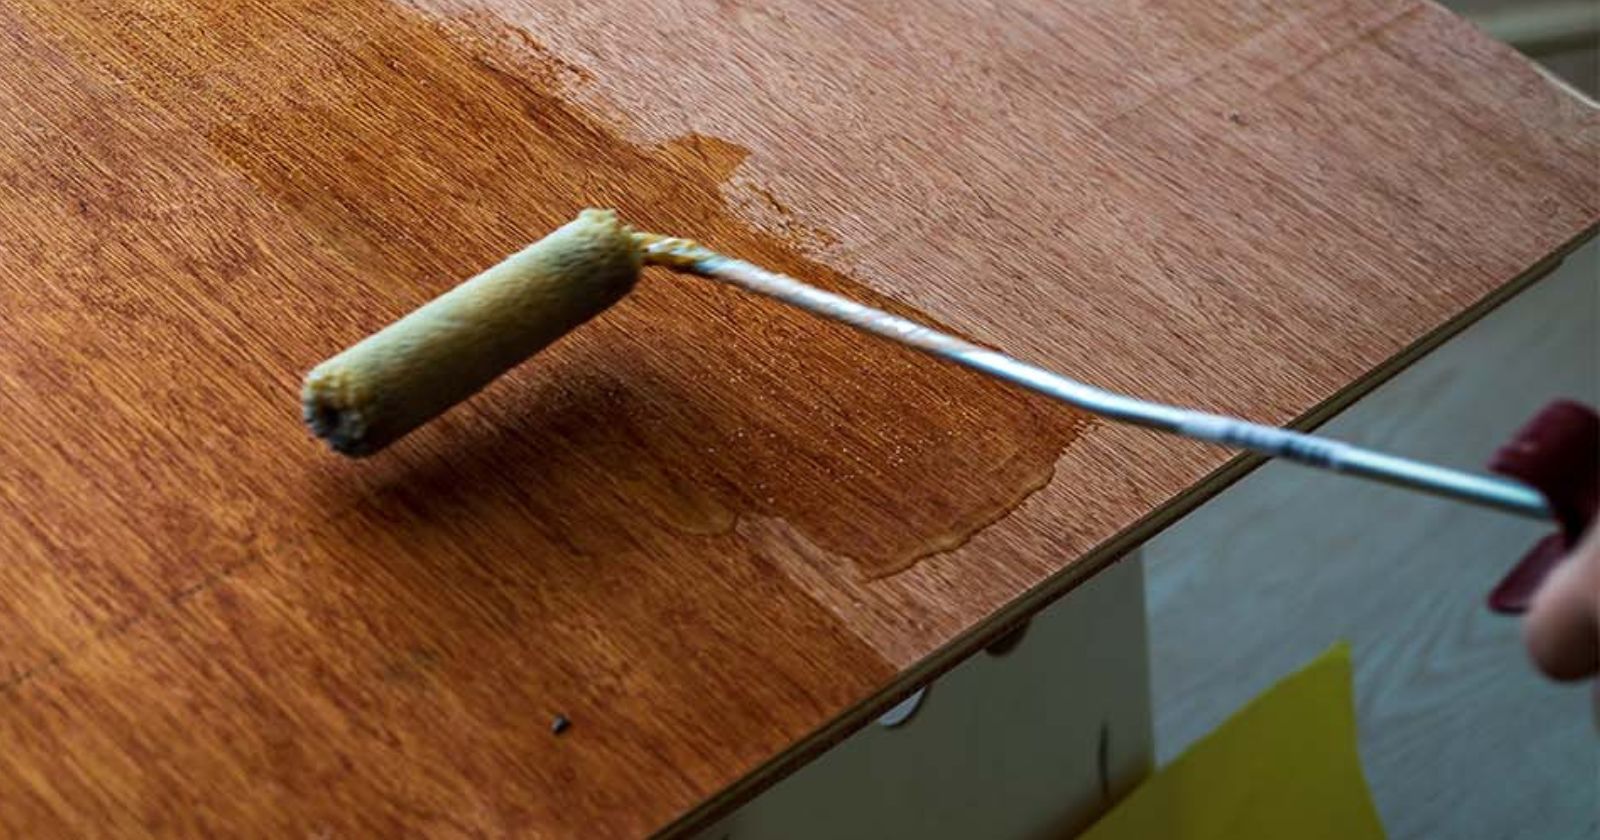
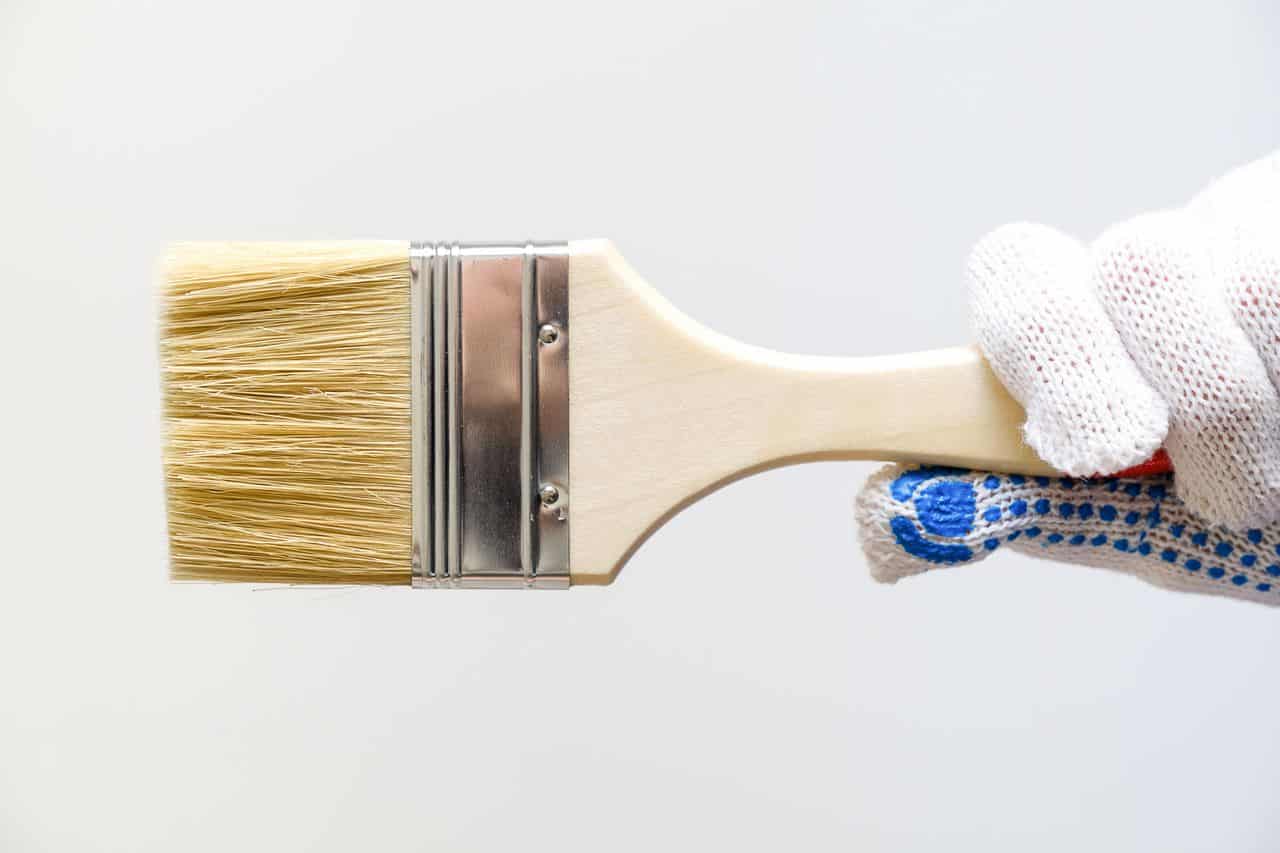
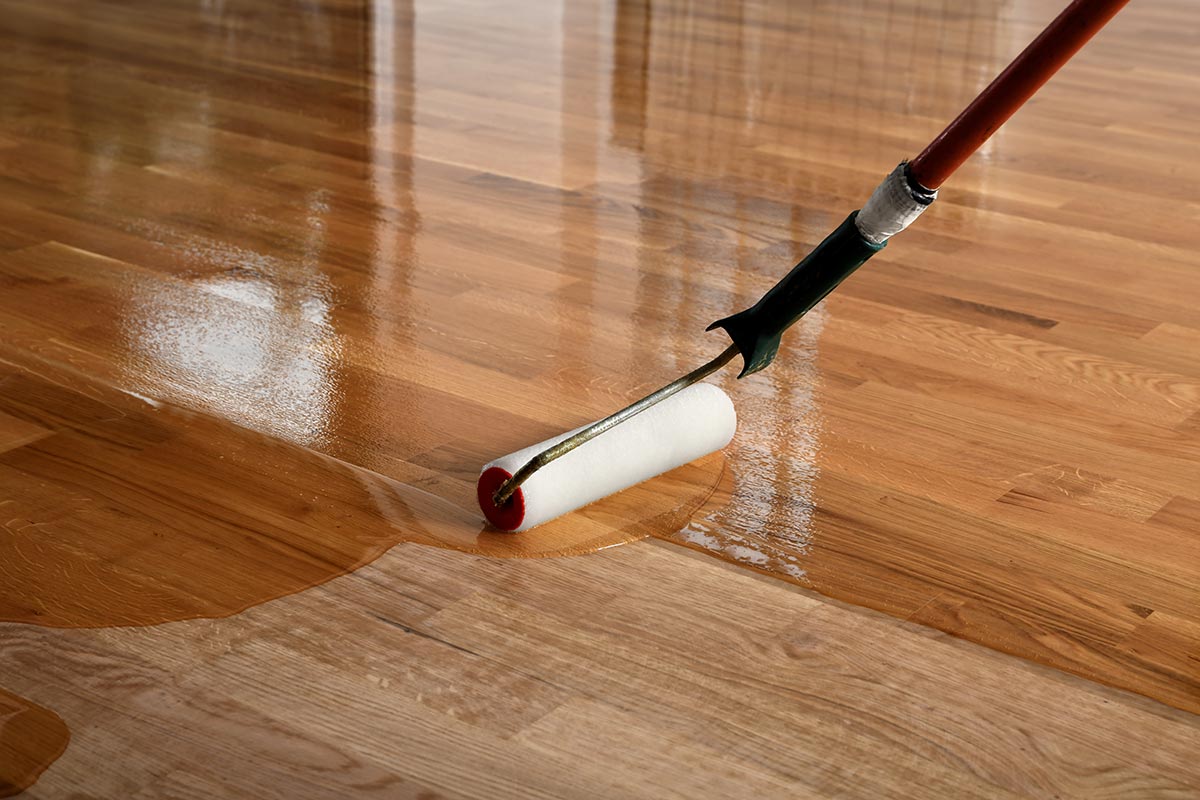
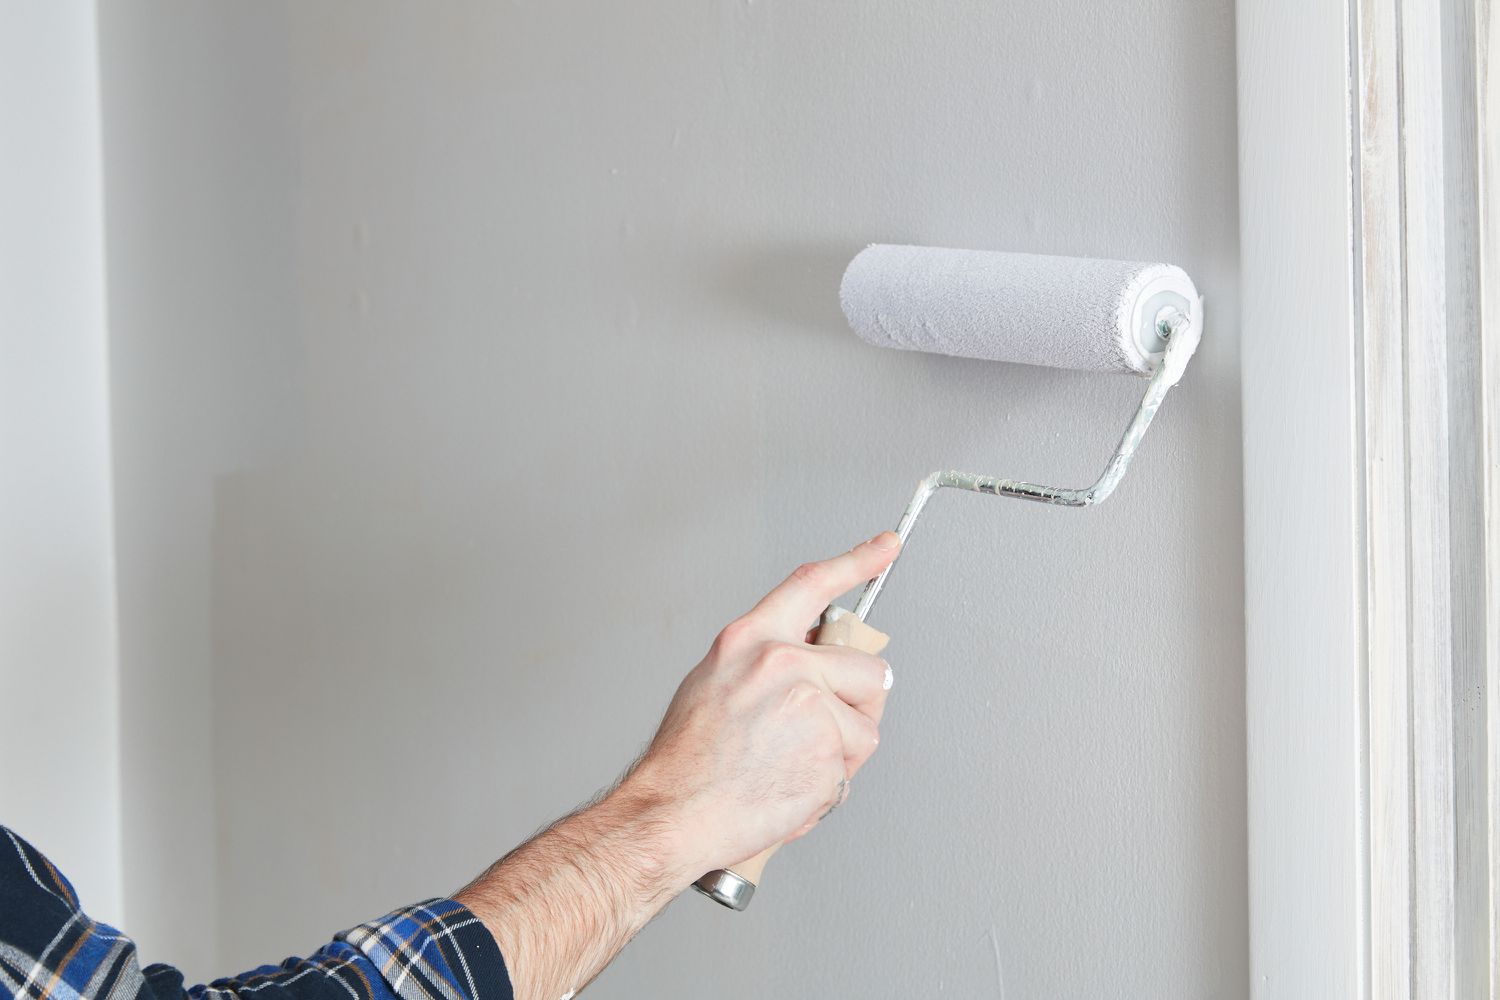
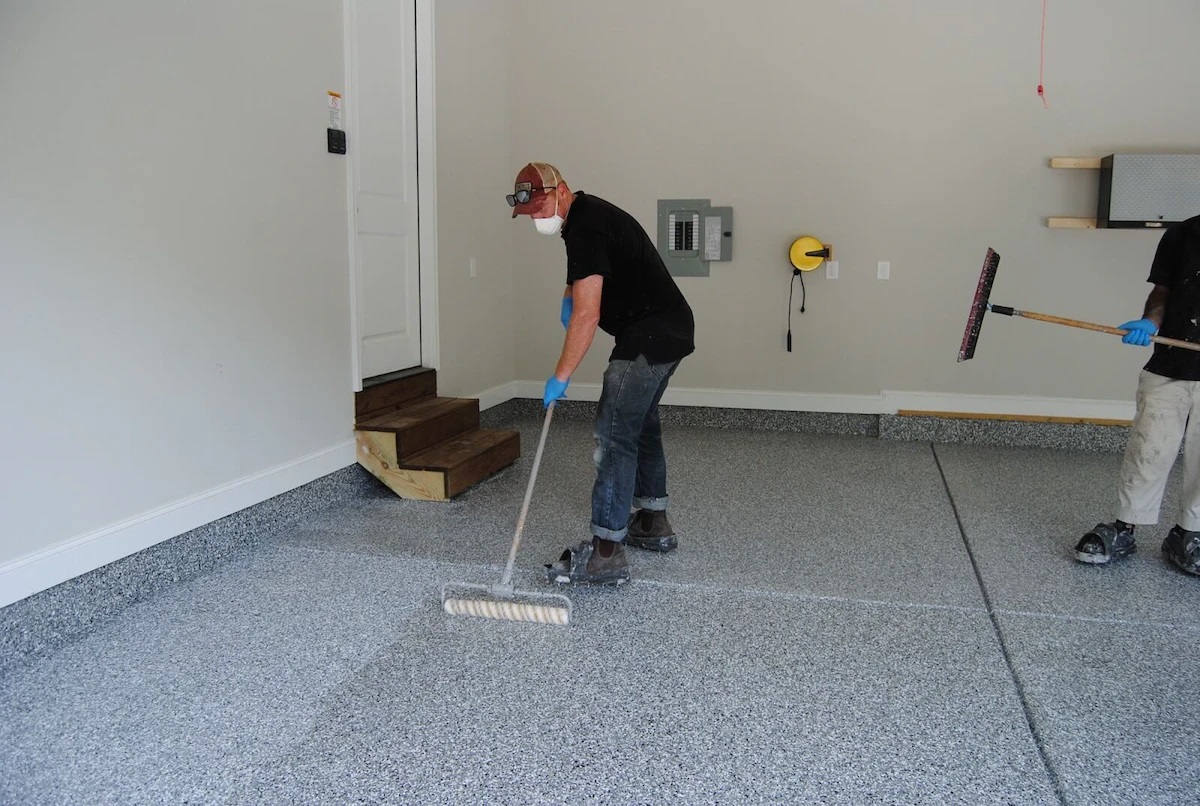
- Apply the First Coat: Use a high-quality synthetic bristle brush, a lambswool applicator, or a roller to apply the first coat of polyurethane. Start from one corner of the room and work your way towards the exit to avoid trapping yourself. Apply an even, thin layer, following the grain of the wood.
- Sand between Coats: After the first coat has dried according to the manufacturer’s instructions, lightly sand the surface using fine-grit sandpaper. This step helps to smooth any imperfections and provides a better bond for subsequent coats of polyurethane. Thoroughly clean the floor after sanding to remove any dust or debris.
- Apply Additional Coats: Depending on the desired level of protection and sheen, apply additional coats of polyurethane following the same process as the first coat. Allow each coat to dry completely and lightly sand between each coat to achieve a smooth finish.
- Final Sanding and Cleaning: Once the final coat has dried, perform a final sanding using a very fine-grit sandpaper to smoothen any imperfections. Clean the floor thoroughly to remove any sanding residue or debris.
It’s important to note that the drying time between coats may vary depending on the specific product and environmental conditions. Refer to the manufacturer’s instructions for accurate drying times and ventilation requirements.
Remember to work in a well-ventilated area and wear appropriate protective gear, such as gloves and a mask, during the application process.
Following these steps and taking care during the application process will help you achieve a professional-looking finish and ensure the longevity of your polyurethane-coated floors.
Apply 3-4 coats of polyurethane on a floor for optimal protection and durability. Sand lightly between coats for a smooth finish.
Benefits of Multiple Coats
Applying multiple coats of polyurethane on your floors offers several benefits that contribute to their overall beauty and durability. Here are some of the advantages of using multiple coats:
- Enhanced Protection: Each additional coat of polyurethane adds an extra layer of protection to your floors, making them more resistant to scratches, stains, and daily wear and tear. This is especially important in high-traffic areas where the floor is subject to constant use and potential damage.
- Improved Durability: Multiple coats of polyurethane create a thicker barrier on the surface of the wood, increasing its overall durability. This helps to extend the lifespan of your floors, reducing the need for frequent refinishing or repairs.
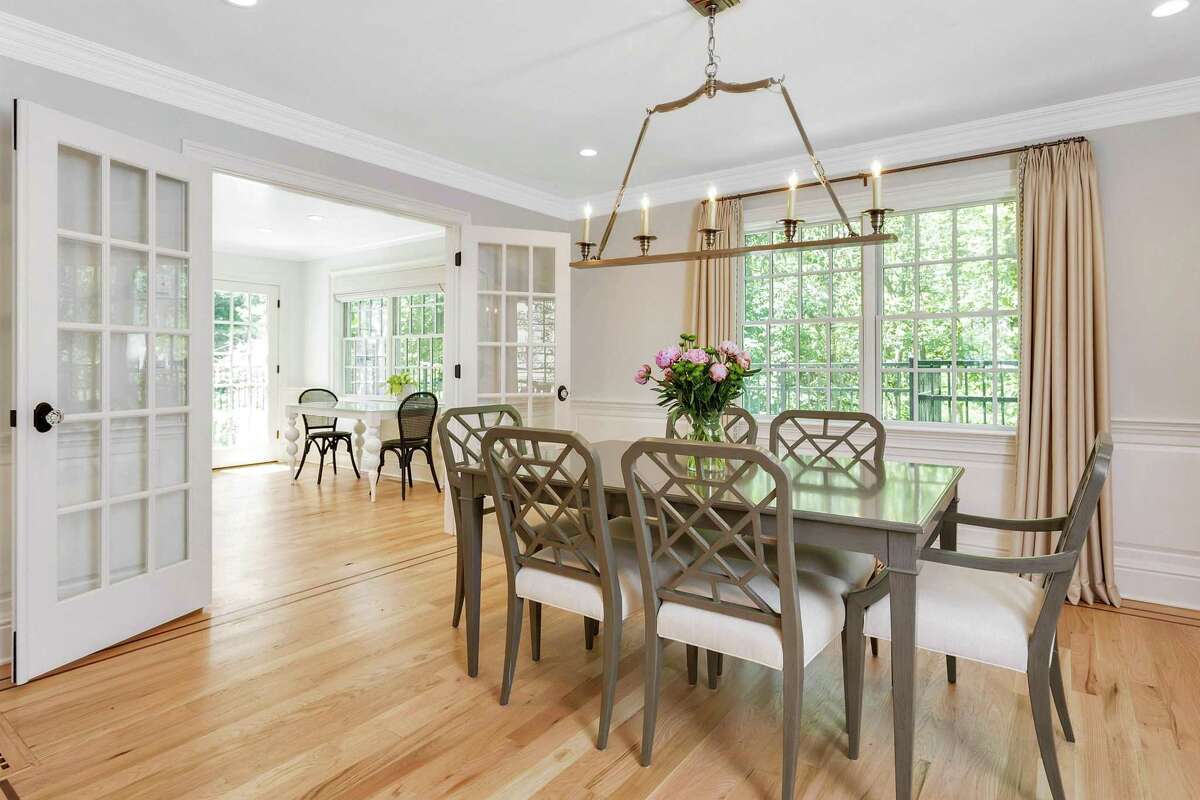
- Enhanced Aesthetic Appeal: Each layer of polyurethane brings out the natural beauty of the wood, enhancing its color, grain patterns, and depth. The multiple coats provide a richer and more lustrous finish, giving your floors a stunning and luxurious appearance.
- Higher Sheen: If you desire a high-gloss or glossy finish, multiple coats of polyurethane can help achieve that desired sheen. The additional layers build up the shine and reflectivity, creating a more polished and glamorous look.
- Better Moisture Resistance: Multiple coats of polyurethane form a stronger barrier against moisture, reducing the risk of water damage or warping of the wood. This is especially beneficial in areas prone to spills or high humidity levels.
By opting for multiple coats of polyurethane, you not only enhance the visual appeal of your floors but also ensure their long-term protection and longevity. It is an investment that pays off in the form of beautiful, durable, and well-protected hardwood floors.
Read more: How Many Coats of Polyurethane On Stairs
Potential Drawbacks
While there are numerous benefits to applying multiple coats of polyurethane, it’s important to be aware of potential drawbacks as well. Here are some considerations:
- Increased Drying Time: Applying multiple coats of polyurethane requires additional drying time between each layer. This can extend the overall time it takes to complete the project and may require you to temporarily avoid using the space.
- Greater Expense: Using multiple coats of polyurethane will require more product, which can increase the cost of the project. Additionally, if you opt for a professional application, the cost may also be higher due to the extra time and effort involved in applying multiple coats.
- Possible Overwhelm of Sheen: If you apply too many coats or use a high-gloss polyurethane, there is a risk of overwhelming the natural beauty of the wood and creating an overly shiny or artificial appearance.
- Difficulty in Application: Each additional coat adds complexity to the application process. It can be challenging to achieve an even and smooth finish with multiple coats, especially if you are not experienced in applying polyurethane.
- Increased Maintenance: While multiple coats of polyurethane offer added protection, they may also necessitate more frequent maintenance. The shine and finish may need periodic buffing or touch-ups over time to maintain their pristine condition.
It’s important to weigh these potential drawbacks against the benefits and your specific needs. Assess the level of maintenance and budget you are willing to commit to achieve the desired results.
Consulting with a flooring professional can also help you make an informed decision based on your unique circumstances and the condition of your floors.
Determining the Right Number of Coats
Determining the optimal number of coats of polyurethane for your floor depends on a variety of factors. While there is no definitive answer, here are some guidelines to help you make an informed decision:
- Manufacturer Guidelines: Start by checking the manufacturer’s instructions for the polyurethane product you’re using. They often provide recommendations for the number of coats needed to achieve the best results. Following their guidelines ensures that you are using the product as intended.
- Type of Wood: Consider the type of wood you are working with. Softer woods generally require more coats to achieve adequate protection and a desirable finish. Harder woods may require fewer coats. Research the characteristics of your specific wood species to determine its typical requirements.
- Desired Finish: Determine the level of sheen or gloss you desire for your floors. Higher gloss finishes typically require more coats to achieve the desired level of shine. If you prefer a more matte or satin finish, fewer coats may be sufficient.
- Level of Traffic: Assess the level of foot traffic the floor will endure. High-traffic areas benefit from extra coats of polyurethane to provide enhanced protection against wear and tear. Areas with less foot traffic may not require as many coats.
- Personal Preference: Consider your personal preference and aesthetic goals. Some individuals prefer a thicker finish with a more pronounced grain pattern, while others prefer a more natural and subtle look. Be mindful of striking a balance between protection and the appearance you desire.
It is recommended to start with at least two coats of polyurethane for most hardwood floors. Assess the finish after these initial coats have dried to determine if additional coats are necessary. Perform a visual and tactile inspection to ensure that the desired level of protection and aesthetic appeal has been achieved.
Keep in mind that each additional coat will add more time and effort to the application process. It’s essential to weigh the benefits against the potential drawbacks, such as increased drying time and cost.
Ultimately, the right number of coats will depend on your specific circumstances, preferences, and the specific recommendations from the product manufacturer. Consulting with professionals in the field can provide valuable insight and guidance based on their expertise and experience.
Conclusion
When it comes to determining the number of coats of polyurethane to apply on your floor, careful consideration of various factors is essential. While there is no one-size-fits-all answer, understanding the characteristics of your wood, desired finish, level of traffic, and following manufacturer’s guidelines are key in making an informed decision.
Applying multiple coats of polyurethane offers several benefits, including enhanced protection, improved durability, a higher sheen, and better moisture resistance. However, there are also potential drawbacks to consider, such as increased drying time, higher expense, and the possibility of overwhelming the natural beauty of the wood.
Having a clear understanding of these factors allows you to strike a balance between protection and aesthetics. By determining the right number of coats, you can ensure the longevity of your floors, enhance their visual appeal, and provide the necessary protection against daily wear and tear.
Remember to follow the proper application process, including appropriate preparation of the surface, using high-quality materials, and keeping in mind environmental conditions. If you’re unsure or inexperienced in applying polyurethane, consulting with professionals can provide valuable guidance and ensure optimal results.
In conclusion, selecting the right number of coats of polyurethane for your flooring project is crucial for achieving the desired durability, protection, and aesthetics. By considering the specific characteristics of your wood, desired finish, and level of traffic, you can make an informed decision that will result in beautiful, long-lasting floors that withstand the test of time.
Frequently Asked Questions about How Many Coats Of Polyurethane On Floor
Was this page helpful?
At Storables.com, we guarantee accurate and reliable information. Our content, validated by Expert Board Contributors, is crafted following stringent Editorial Policies. We're committed to providing you with well-researched, expert-backed insights for all your informational needs.


0 thoughts on “How Many Coats Of Polyurethane On Floor”