Home>Interior Design>How To Paint OSB: 4 Professional Tips For A Smoother Finish
Interior Design
How To Paint OSB: 4 Professional Tips For A Smoother Finish
Modified: May 6, 2024
Learn how to achieve a flawless interior design with these 4 expert tips for painting OSB. Transform your space with a smoother finish today!
(Many of the links in this article redirect to a specific reviewed product. Your purchase of these products through affiliate links helps to generate commission for Storables.com, at no extra cost. Learn more)
Introduction
Welcome to our guide on how to paint OSB (oriented strand board) and achieve a smoother finish. OSB is a versatile and cost-effective material commonly used in construction, furniture, and interior design. While OSB provides strength and durability, it may not have the most appealing aesthetic on its own. Thankfully, painting OSB is a great way to transform its appearance and enhance the overall look of a space.
However, painting OSB can be a bit tricky if you don’t follow the proper techniques. In this article, we’ll share four professional tips to help you achieve a smooth and professional finish when painting OSB. Whether you are looking to update your furniture, revamp a room, or create a unique design element, these tips will ensure your painted OSB looks flawless.
So, let’s dive in and learn how to get the best results when painting OSB!
Key Takeaways:
- Transform the look of OSB with these 4 professional tips for a flawless finish. Clean, prime, choose the right paint, and apply multiple coats for a stunning and durable result.
- Achieve a smoother and more professional finish when painting OSB by following expert tips. Prepare the surface, use the right primer and paint, and apply multiple thin coats for long-lasting results.
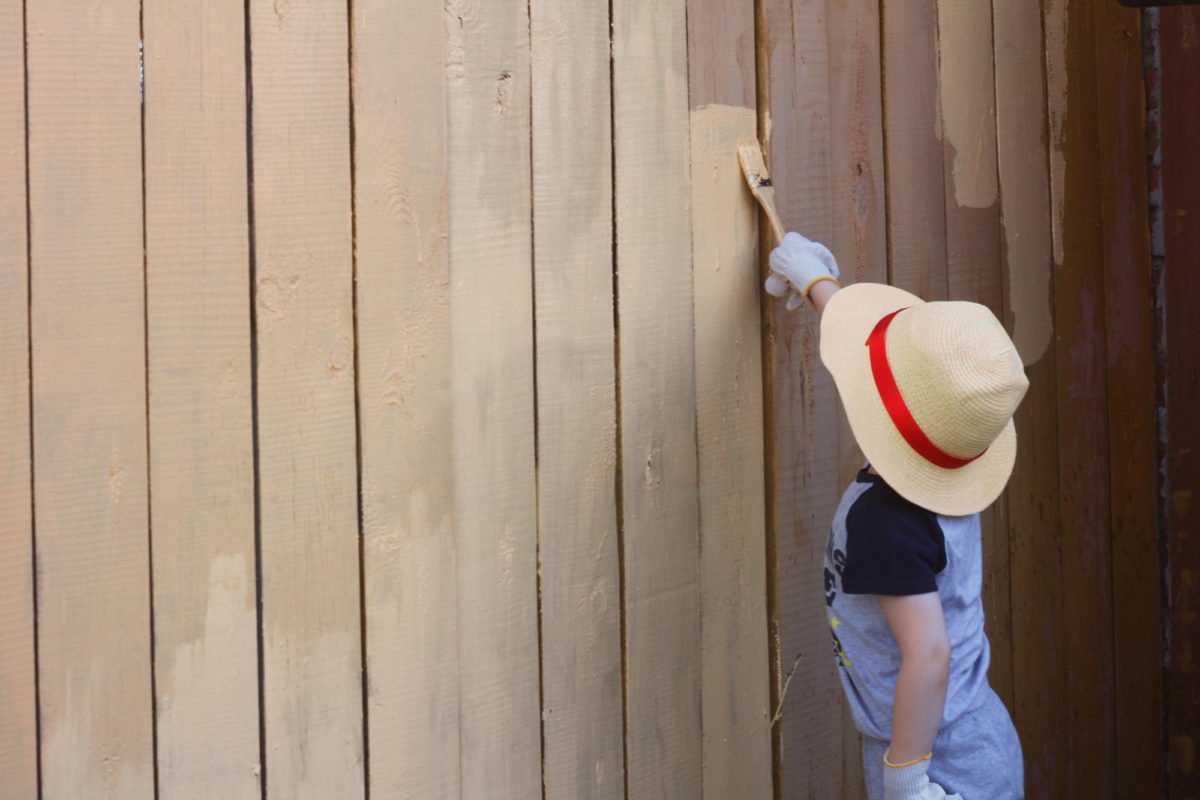
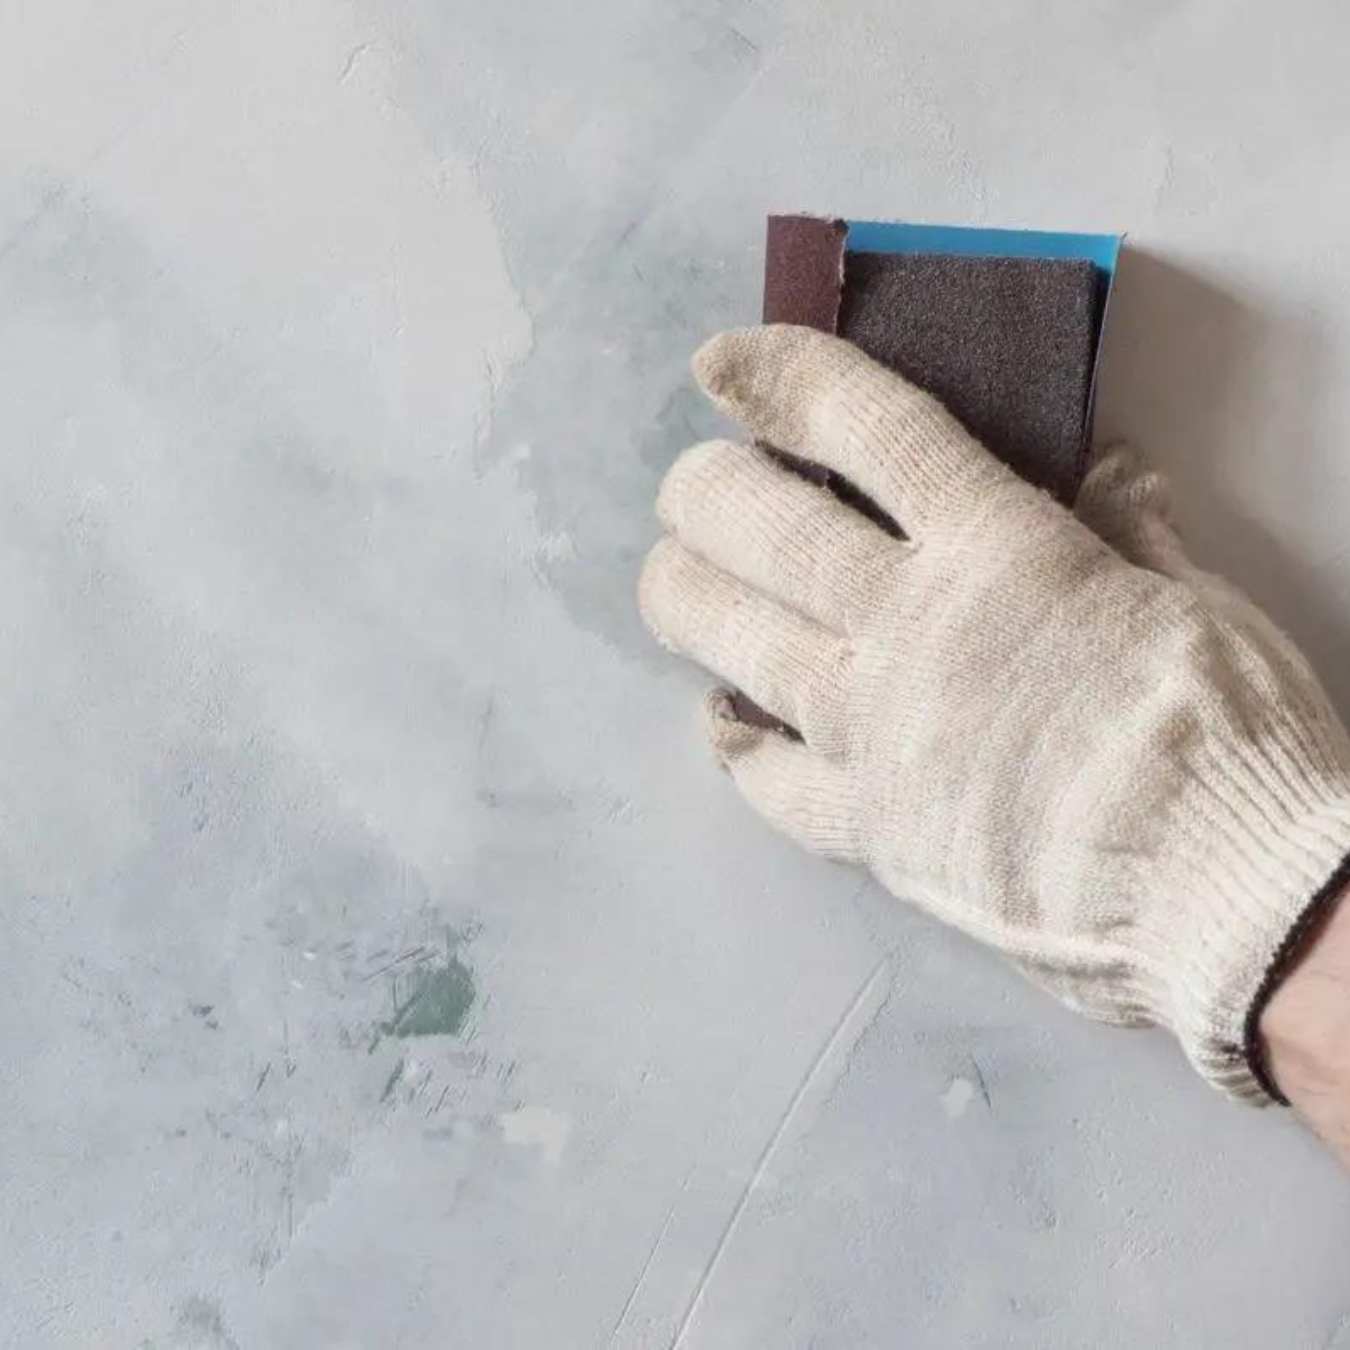
Tip 1: Clean and Prepare the Surface
Before you start painting OSB, it’s crucial to clean and prepare the surface properly. Since OSB is made of wood strands, it can have rough and uneven areas that need to be addressed before painting. Follow these steps to ensure a smooth and paint-ready surface:
- Remove any dirt and debris: Use a broom or vacuum cleaner to remove any dust, dirt, and loose particles from the surface of the OSB. This step is essential to ensure the paint adheres properly.
- Smooth out rough spots: Inspect the OSB for any rough edges or splinters that could affect the paint’s finish. Use sandpaper or a sanding block to gently smooth out these areas. Be careful not to oversand and weaken the structure of the OSB.
- Fill in any gaps or holes: If you come across any noticeable gaps or holes in the OSB, fill them with a wood filler or spackle. Smooth it out with a putty knife and allow it to dry completely before moving on.
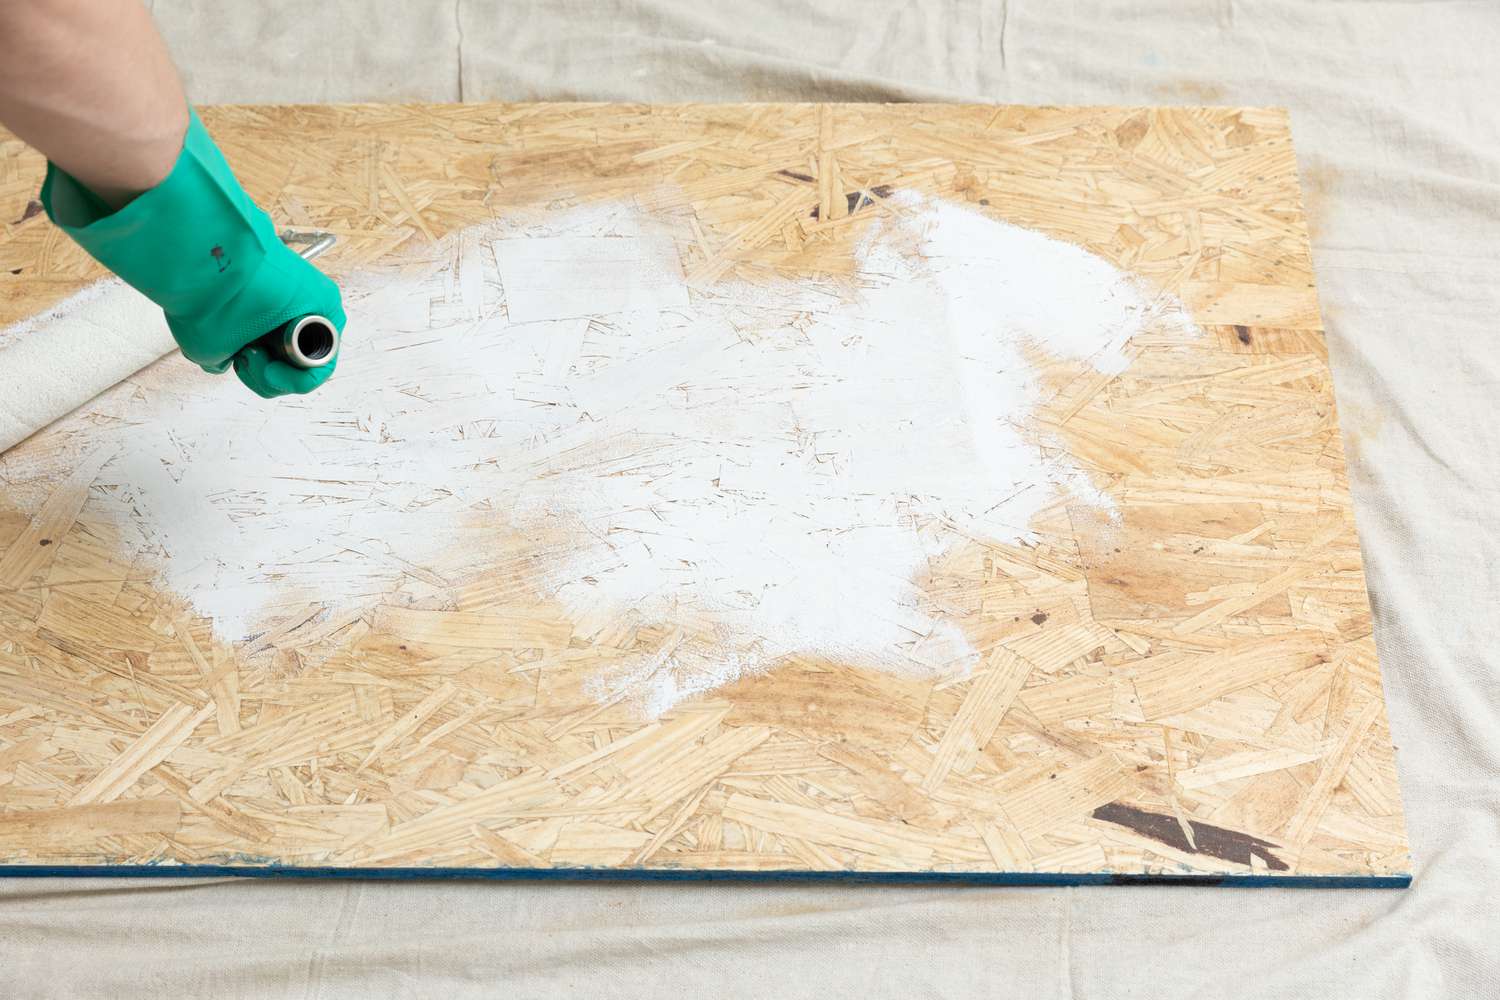
- Prime the surface: Applying a primer to the OSB helps seal the wood and create a smooth base for the paint. Choose a primer specifically formulated for porous surfaces like OSB. Apply the primer evenly using a brush or roller, following the manufacturer’s instructions.
By thoroughly cleaning and preparing the OSB surface, you’ll create the ideal foundation for a flawless paint job. Taking the time to address any imperfections will result in a more professional and long-lasting finish.
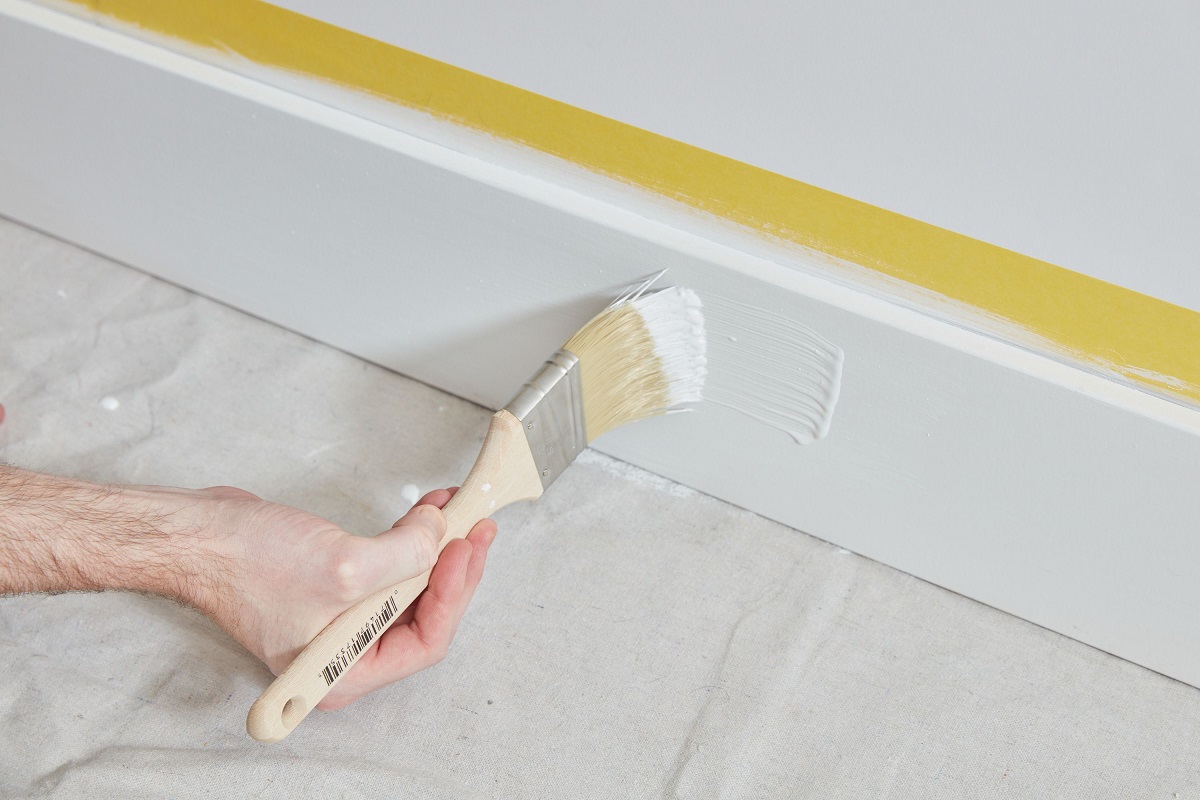
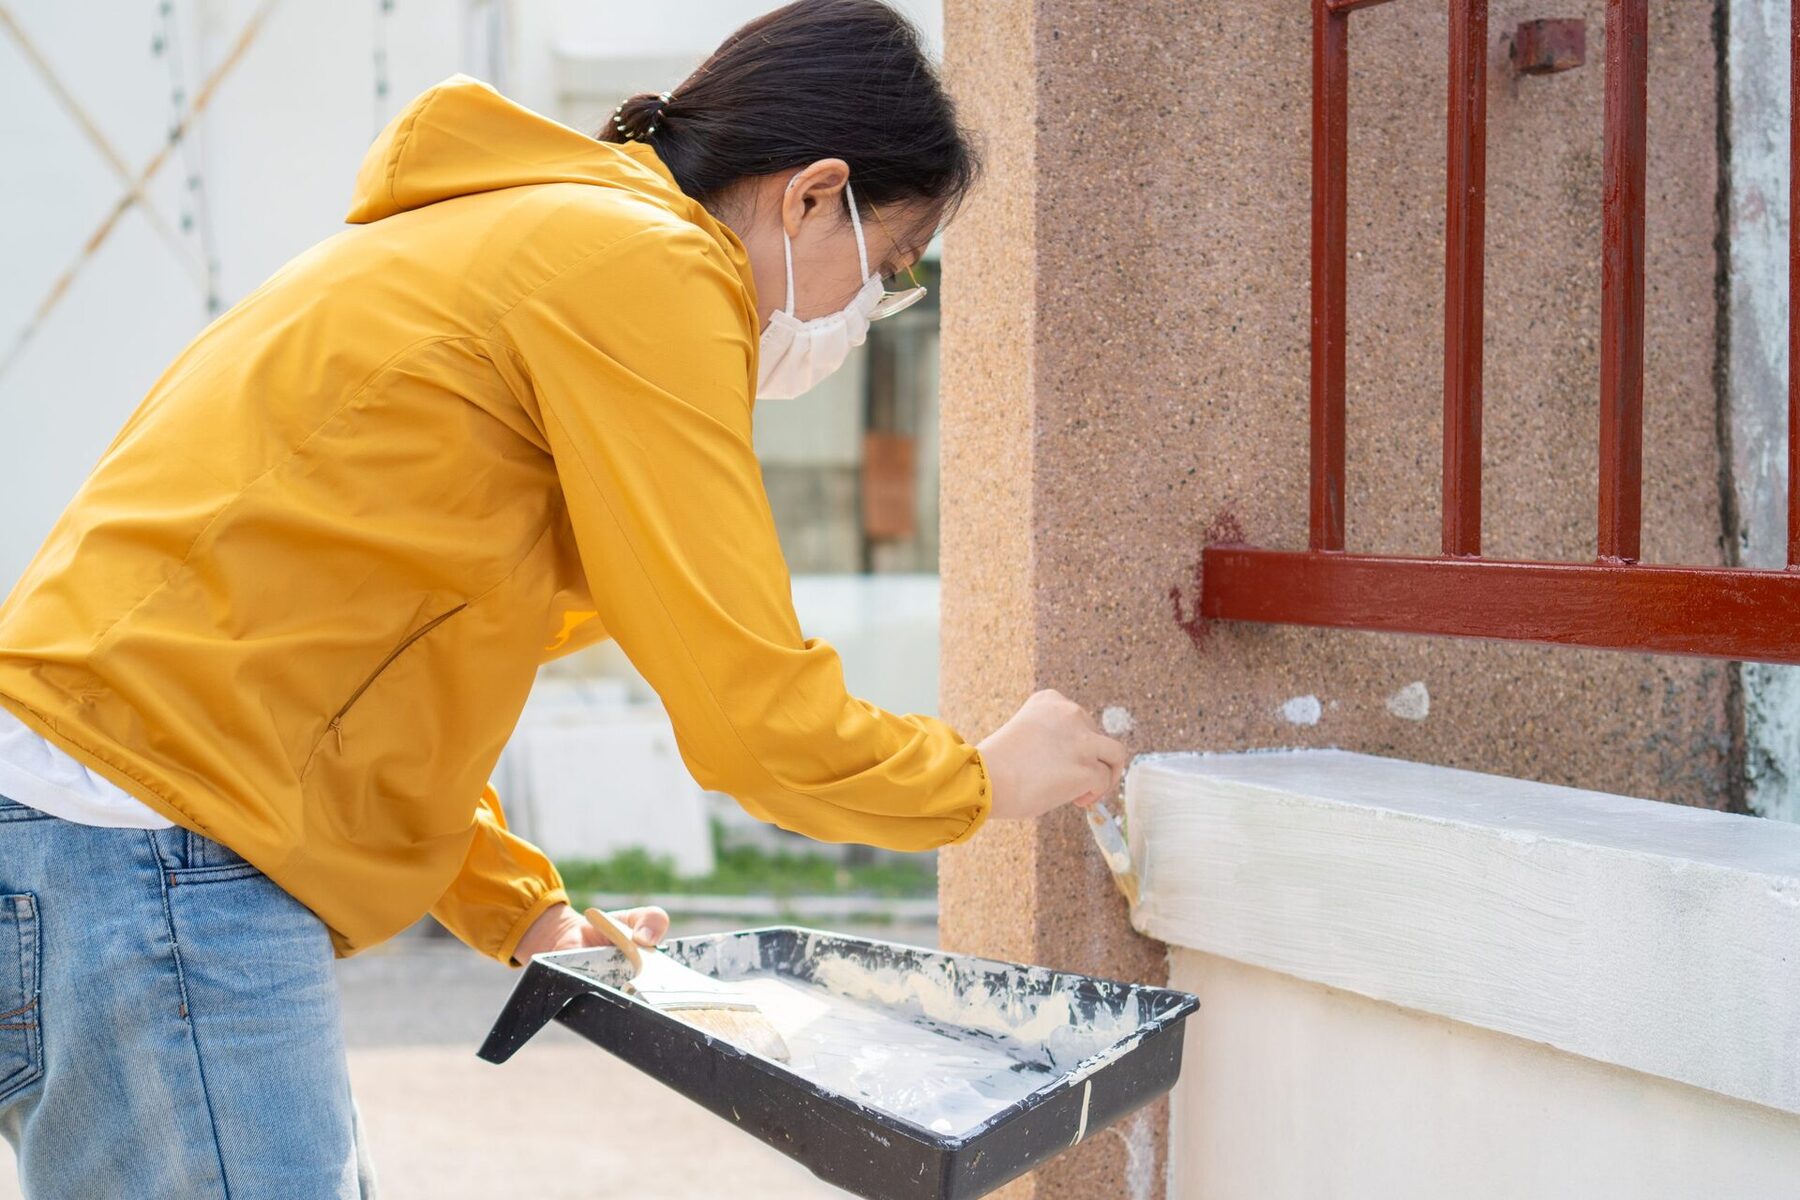
Tip 2: Apply a Primer
Once you have cleaned and prepared the OSB surface, the next step is to apply a primer. Primer acts as a foundation for the paint, helping it adhere better to the OSB and ensuring a smoother and more even finish. Here’s what you need to know:
- Choose the right primer: When selecting a primer for OSB, opt for a product that is specifically designed for porous surfaces and suitable for use on wood. Look for a high-quality primer that offers good coverage and promotes adhesion.
- Prepare the primer: Before applying the primer, make sure to stir it well to ensure proper consistency. This will help distribute the pigments and other components evenly.
- Apply the primer: Use a brush or roller to apply the primer in smooth, even strokes. Pay attention to covering the entire surface of the OSB. It’s essential to apply the primer in thin coats to avoid any drips or uneven build-up. Allow the primer to dry completely before moving on to the next step.
- Sand the primed surface (optional): Depending on the condition of the OSB and the finish you desire, you may choose to lightly sand the primed surface. This step can help further smooth out any imperfections and create a more refined surface for the final paint layers.
By applying a primer, you create a smooth and consistent base for the paint, enhancing its overall appearance and durability. It also helps the paint adhere better to the OSB and prevents it from soaking into the wood fibers, resulting in a more vibrant and long-lasting finish.
Before painting OSB, apply a coat of primer to seal the surface and improve paint adhesion. This will result in a smoother and more professional finish.
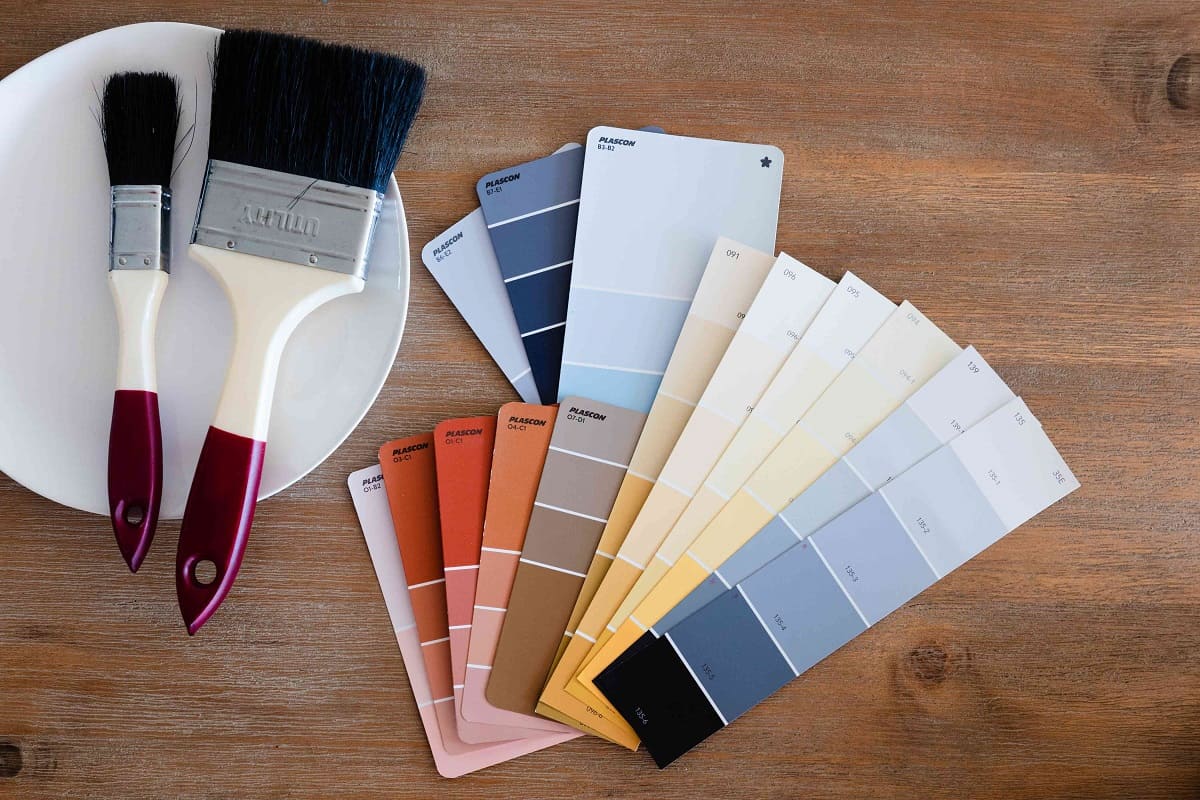
Tip 3: Use the Right Paint
Choosing the right type of paint is crucial when it comes to achieving a flawless finish on your painted OSB. Here are some considerations to keep in mind:
- Opt for a high-quality paint: Investing in a high-quality paint will ensure better coverage, durability, and overall performance. Look for paints specifically formulated for use on wood and porous surfaces.
- Consider the desired finish: Determine whether you want a matte, satin, or glossy finish for your painted OSB. Different paint finishes can create different effects and contribute to the overall aesthetic of the space.
- Choose the right sheen: The sheen of the paint refers to its level of shine, ranging from flat (no shine) to semi-gloss or gloss (high shine). Consider the amount of traffic the painted surface will receive and the level of maintenance you’re willing to undertake when choosing the sheen.
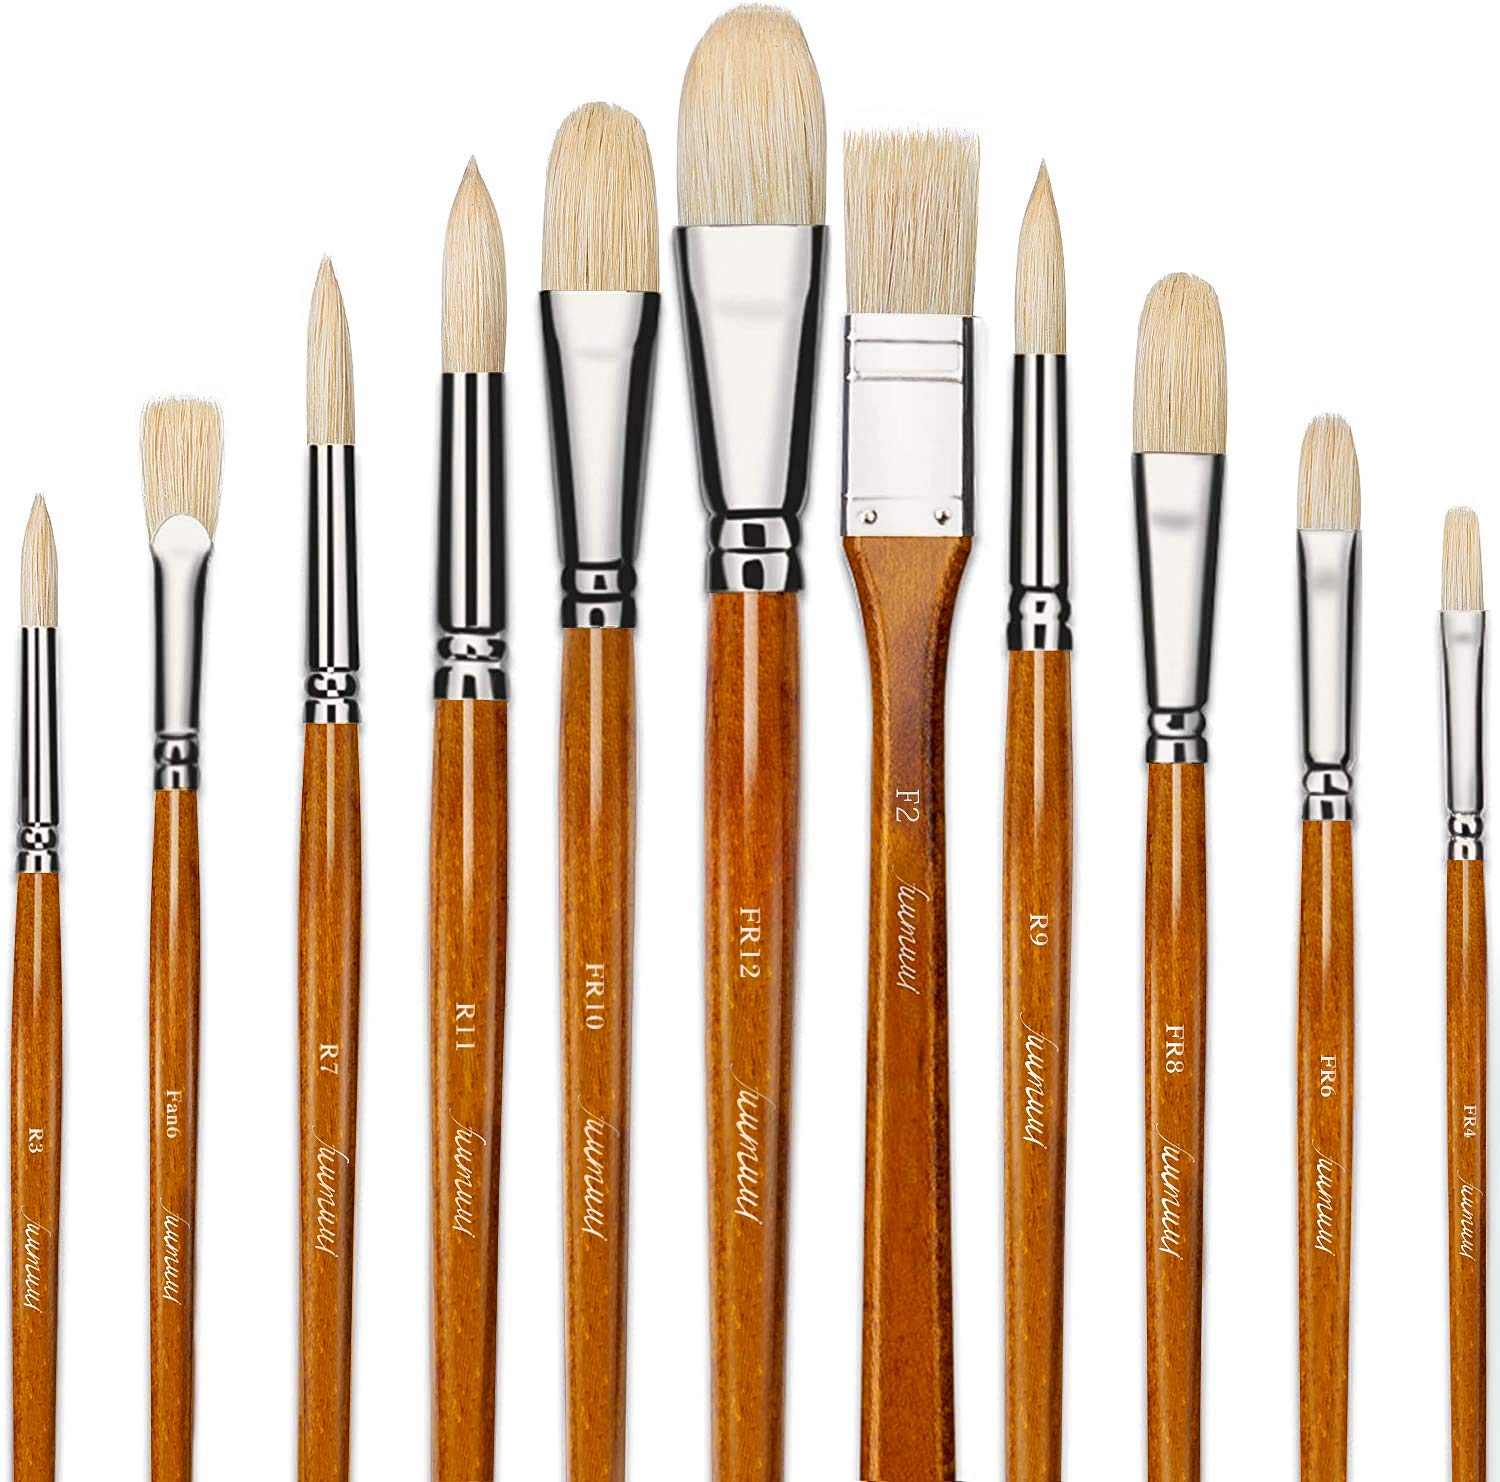
- Use a brush or roller: Deciding between a brush and a roller depends on the size and texture of the OSB surface. A brush is more suitable for smaller areas and intricate details, while a roller is ideal for larger, more even surfaces.
- Apply multiple thin coats: Instead of slathering on one thick coat of paint, apply multiple thin coats. This approach allows each coat to dry properly and ensures better coverage and a smoother finish. Follow the manufacturer’s instructions regarding drying time between coats.
By using the right paint and applying it correctly, you can achieve a professional-looking finish on your painted OSB. Consider the desired aesthetic, durability, and ease of maintenance when selecting your paint to ensure long-lasting results that meet your expectations.
Tip 4: Apply Multiple Coats
When it comes to painting OSB, applying multiple coats is key to achieving a smooth and professional finish. Here’s why and how to do it:
- Ensure even coverage: Multiple coats of paint help to ensure that the entire surface of the OSB is evenly covered. This is particularly important for OSB, as its porous nature may result in uneven absorption and color variations.
- Enhance durability: Applying multiple coats of paint adds an extra layer of protection to the OSB, making it more resistant to wear, scratches, and moisture. This is especially beneficial for OSB used in high-traffic areas or in furniture pieces that may be subject to regular use.
- Achieve a smoother finish: Each additional coat of paint helps to fill in any minor imperfections or brush strokes from the previous coat, resulting in a smoother and more professional-looking finish.
- Follow the drying time: Before applying subsequent coats, make sure to follow the manufacturer’s recommended drying time. Rushing the process may cause the paint to clump or peel, compromising the overall quality of the finish.
- Inspect and touch up: Once you’ve applied the final coat of paint and it has fully dried, inspect the surface for any areas that may need touch-ups. Use a small brush or roller to carefully apply paint to those spots and ensure a seamless finish.
By applying multiple coats of paint, you’ll achieve a professional-looking finish that enhances the appearance and durability of your painted OSB. Take your time, follow the recommended drying times, and make any necessary touch-ups for a flawless end result.
Conclusion
Painting OSB is a fantastic way to enhance the look and feel of your space, whether you’re working on furniture, walls, or other interior design elements. By following these professional tips, you can achieve a smoother and more professional finish when painting OSB.
First and foremost, ensure that you thoroughly clean and prepare the surface before starting the painting process. Removing dirt, smoothing rough spots, and filling in gaps will create a solid foundation for the paint to adhere to.
Applying a primer is a crucial step in the process. It helps seal the wood and provides a smooth base for the paint, enhancing its overall performance and adhesion. Choose a primer designed specifically for porous surfaces like OSB.
When it comes to selecting the right paint, opt for a high-quality product suitable for use on wood. Consider the desired finish and sheen, as well as the method of application—brush or roller. Applying multiple thin coats of paint ensures even coverage and a smoother finish, while also improving the durability of the painted surface.
By incorporating these professional tips into your painting process, you can achieve remarkable results when painting OSB. Whether you’re looking to update your furniture or transform a room, the finished product will be a visually appealing and long-lasting addition to your interior design.
So go ahead, unleash your creativity, and embark on the journey of painting OSB with confidence. With the right technique and attention to detail, you’ll be amazed at the stunning transformation you can achieve!
Now that you've mastered painting OSB for a smoother finish, why not broaden your skills with more creative styles? Dive into our guide on popular painting techniques, where experts reveal their favorite methods to add flair and depth to any room. From sponging to stenciling, these techniques ensure your projects stand out with professional polish. Start transforming ordinary spaces into stunning visuals today!
Frequently Asked Questions about How To Paint OSB: 4 Professional Tips For A Smoother Finish
Was this page helpful?
At Storables.com, we guarantee accurate and reliable information. Our content, validated by Expert Board Contributors, is crafted following stringent Editorial Policies. We're committed to providing you with well-researched, expert-backed insights for all your informational needs.


0 thoughts on “How To Paint OSB: 4 Professional Tips For A Smoother Finish”