Articles
How To Make Curtains Out Of Burlap
Modified: January 19, 2024
Learn how to make beautiful and rustic curtains out of burlap with our step-by-step articles. Perfect for adding a natural touch to any room.
(Many of the links in this article redirect to a specific reviewed product. Your purchase of these products through affiliate links helps to generate commission for Storables.com, at no extra cost. Learn more)
Introduction
When it comes to adding a touch of rustic charm to your home decor, burlap curtains are the perfect choice. Not only do they offer a natural and textured look, but they are also versatile and easy to make. Whether you are looking to create a cozy farmhouse ambiance or add a unique element to your modern space, burlap curtains can do wonders.
In this article, we will guide you through the process of making curtains out of burlap. From choosing the right type of burlap to hanging the finished curtains, we will cover all the essential steps to ensure your project is a success. Let’s get started!
Key Takeaways:
- Embrace the natural and rustic charm of burlap curtains by choosing the right fabric, measuring and cutting with precision, and adding stylish grommets or tabs for a personalized touch.
- Elevate your space with burlap curtains that offer both aesthetic appeal and practical benefits, such as insulation and light filtration. Customize with trim, lining, and tiebacks for a unique and cozy atmosphere.
Read more: How To Smocked Burlap Curtains
Choosing the Right Type of Burlap
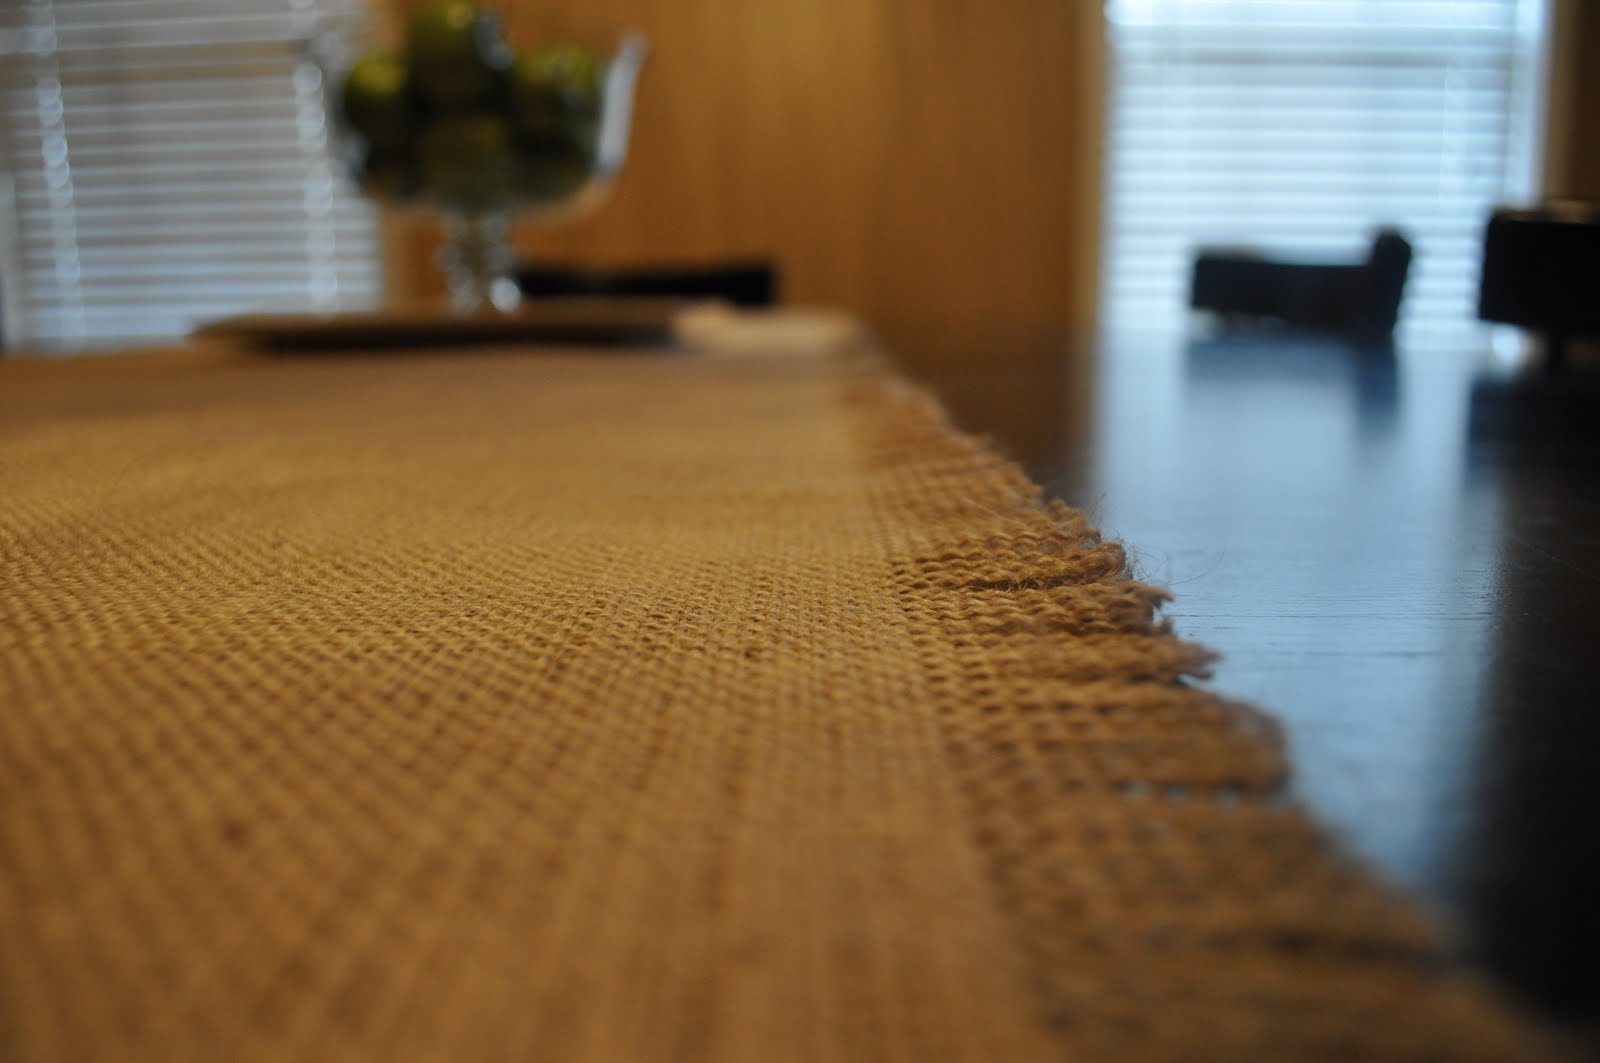
Before you start making your burlap curtains, it’s important to choose the right type of burlap that suits your needs. Burlap comes in various weights, weaves, and colors, so consider the following factors when making your selection:
- Weight: Burlap is available in different weights, such as lightweight, mediumweight, and heavyweight. The weight you choose depends on the opacity and durability you desire for your curtains. Lightweight burlap allows more natural light to filter through, while heavyweight burlap provides more privacy and insulation.
- Weave: Burlap fabrics come in a range of weaves, including loose, medium, and tight. A loose weave allows more light to pass through and offers a more open and relaxed look. On the other hand, a tight weave provides a denser and sturdier fabric, which is ideal for curtains that need to withstand daily wear and tear.
- Color: Burlap is typically known for its natural beige or tan color. However, you can also find dyed burlap in various shades, such as gray, black, or even pastel hues. Consider the color that complements your room decor and desired aesthetic.
When selecting the burlap for your curtains, make sure to also pay attention to the texture and overall feel of the fabric. Some burlap may have a rougher texture, while others are smoother. Choose a texture that aligns with the style and look you want to achieve.
Additionally, it’s important to consider whether you want your burlap curtains to be lined or unlined. Lining your curtains can provide added privacy, insulation, and a more structured look. It also helps to prevent excessive sunlight from fading the burlap fabric.
Once you have a clear idea of the type of burlap you want, you can move on to measuring and cutting the fabric to create your curtains. This is an important step to ensure that your curtains fit perfectly and hang beautifully in your space.
Measuring and Cutting the Burlap
Now that you have chosen the right type of burlap for your curtains, it’s time to measure and cut the fabric. Follow these steps to ensure accurate measurements:
- Measure the Window: Start by measuring the width and length of your window. For the width, measure from one side of the window frame to the other. For the length, decide how long you want your curtains to be, whether they touch the floor or hang slightly above it.
- Add Extra Measurements: Once you have the window measurements, decide on the desired fullness of your curtains. To achieve a more gathered look, add an additional 2-3 times the width of the window. For a less gathered look, add 1.5 times the width of the window.
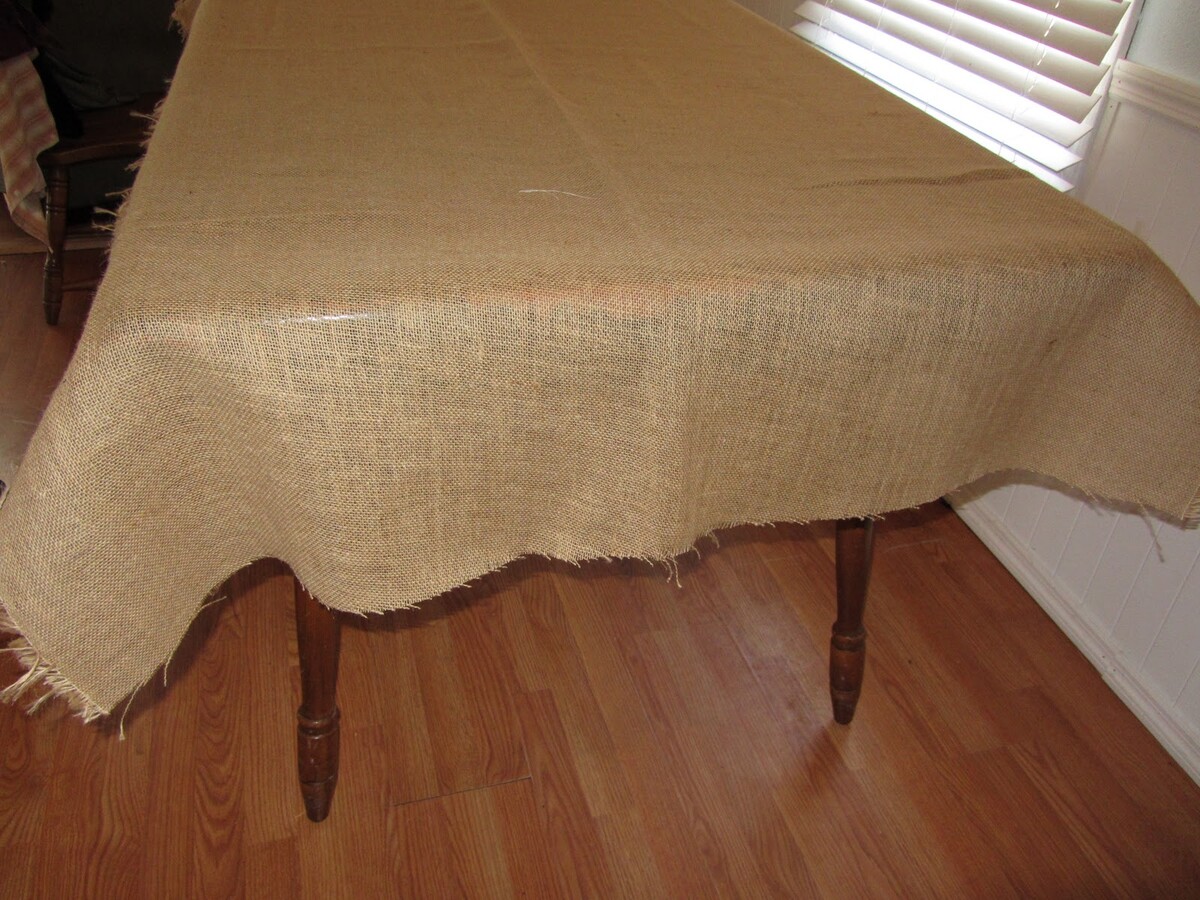
- Preparing the Burlap: Lay the burlap fabric on a flat surface and mark the measurements using a fabric marker or tailor’s chalk. Ensure that the edges are straight and parallel to each other.
- Cutting the Burlap: Use sharp fabric scissors to cut along the marked lines. Take your time and cut smoothly to ensure clean and even edges. Remember to be cautious as burlap can be a bit unruly to work with due to its loose fibers.
- Prepare the Second Panel: If you plan to have two curtain panels, repeat the measuring and cutting process for the second panel. It’s essential to have both panels the same size to ensure symmetrical curtains.
Once you have cut the burlap panels to size, you can move on to hemming the edges to give your curtains a neat and finished look.
Hemming the Edges
After measuring and cutting the burlap panels for your curtains, the next step is to hem the edges. Hemming not only gives your curtains a polished look but also helps prevent fraying and unraveling of the fabric. Here’s how you can hem the edges of your burlap curtains:
- Prepare the Burlap: Start by folding over and ironing about 1 inch of the raw edge towards the wrong side of the fabric. This will create a clean and finished edge to work with.
- Secure the Hem: Once you have ironed the fold, use fabric pins to secure the hem in place. This will prevent it from shifting while you sew.
- Stitching the Hem: Using a sewing machine or a hand needle, stitch along the folded edge to secure the hem. Use a straight stitch or a zigzag stitch, depending on your preference and the style you want for your curtains.
- Repeat for Other Edges: Repeat the folding, pinning, and stitching process for the remaining three edges of the burlap panel. Take your time to ensure each corner is neatly folded and stitched.
Remember to backstitch at the beginning and end of each edge to reinforce the hem and prevent it from coming undone. Once you have hemmed all the edges, your burlap curtains will have a professional finish. However, if you prefer a different style of curtain header, such as grommets or tabs, you can move on to the next step.
Adding Grommets or Tabs
Now that you have hemmed the edges of your burlap curtains, it’s time to decide on the type of header you want to add. Two popular options are grommets and tabs, both of which provide a stylish and functional way to hang your curtains. Here’s how you can add grommets or tabs to your burlap curtains:
Read more: How To Make Burlap Napkin Rings
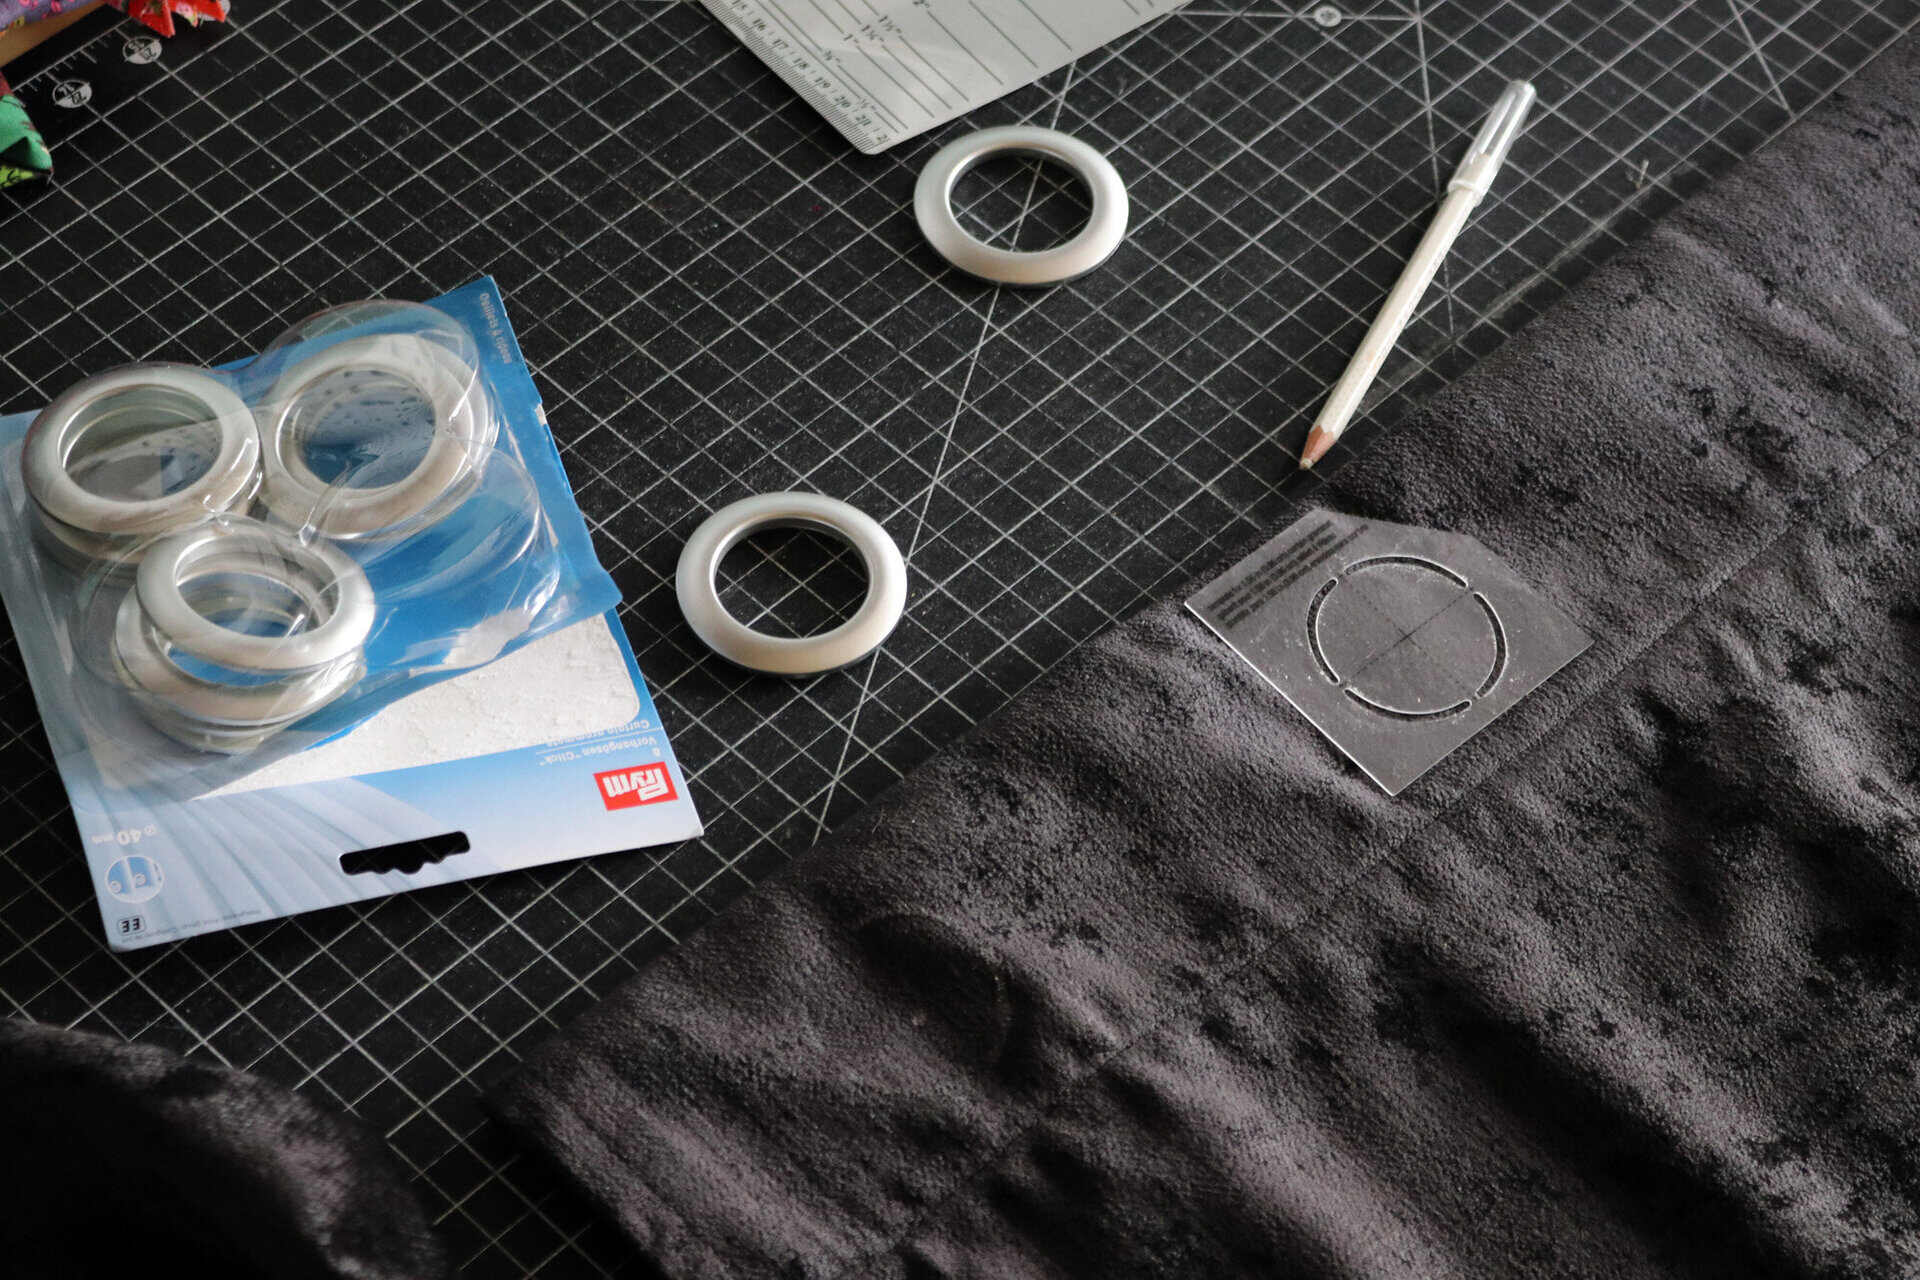
Adding Grommets:
- Choose the Right Grommets: Visit your local craft or sewing store to purchase grommet kits specific to the size and thickness of your burlap fabric. These kits typically come with a set of grommets, a cutting tool, and an installation tool.
- Mark the Placement: Measure and mark the desired spacing for the grommets along the top edge of your curtain panel. Space them evenly to ensure a balanced and professional look.
- Cut the Holes: Use the cutting tool from the grommet kit to cut holes where you marked the placement. Follow the instructions provided in the kit for proper hole size and technique.
- Install the Grommets: Place the grommets through the holes, with the decorative side facing the front of the curtain. Follow the instructions in the grommet kit to assemble and secure the grommets properly.
Adding Tabs:
- Choose the Fabric for Tabs: Select a coordinating fabric that complements your burlap curtains to create the tabs. Cotton or linen fabrics are often good choices for a rustic look.
- Cut the Tabs: Measure and cut the fabric into strips that are about 4-5 inches wide and your desired length. You will need enough strips for the width of your curtain panel, plus extra for spacing between the tabs.
- Fold and Sew the Tabs: Fold each fabric strip in half lengthwise, with the right sides facing each other. Sew along the long edge and one short edge, leaving one short edge open. Trim the corners and turn the tabs right side out.
- Attach the Tabs: Place the tabs evenly along the top edge of the curtain panel, with the open ends aligned with the top hem. Pin them in place and sew them securely to the burlap fabric.
Both grommets and tabs provide an elegant and functional way to hang your burlap curtains. Choose the option that best suits your desired style and aesthetic. Once you have added the grommets or tabs, you can move on to the next step of attaching curtain hooks or rings.
Attaching Curtain Hooks or Rings
After adding grommets or tabs to your burlap curtains, the next step is to attach curtain hooks or rings. This will allow you to easily hang your curtains on a curtain rod or track. Here’s how you can attach curtain hooks or rings to your burlap curtains:
Using Curtain Hooks:
- Measure and Mark the Placement: Determine the desired spacing for the curtain hooks along the top edge of your curtain panel. Use a measuring tape to ensure the hooks are evenly spaced.
- Insert the Hooks: Insert the curtain hooks through the grommets or tabs, making sure they are securely hooked into place. If using grommets, ensure that the hooks are passed through the openings in the grommets.
- Hang the Curtains: Once all the hooks are in place, hang the curtains on a curtain rod or track. Adjust the position of the curtains as needed to ensure they are evenly distributed.
Read also: 13 Unbelievable Burlap Curtains for 2024
Using Curtain Rings:
- Measure and Mark the Placement: Just like with curtain hooks, measure and mark the desired spacing for the curtain rings along the top edge of your curtain panel.
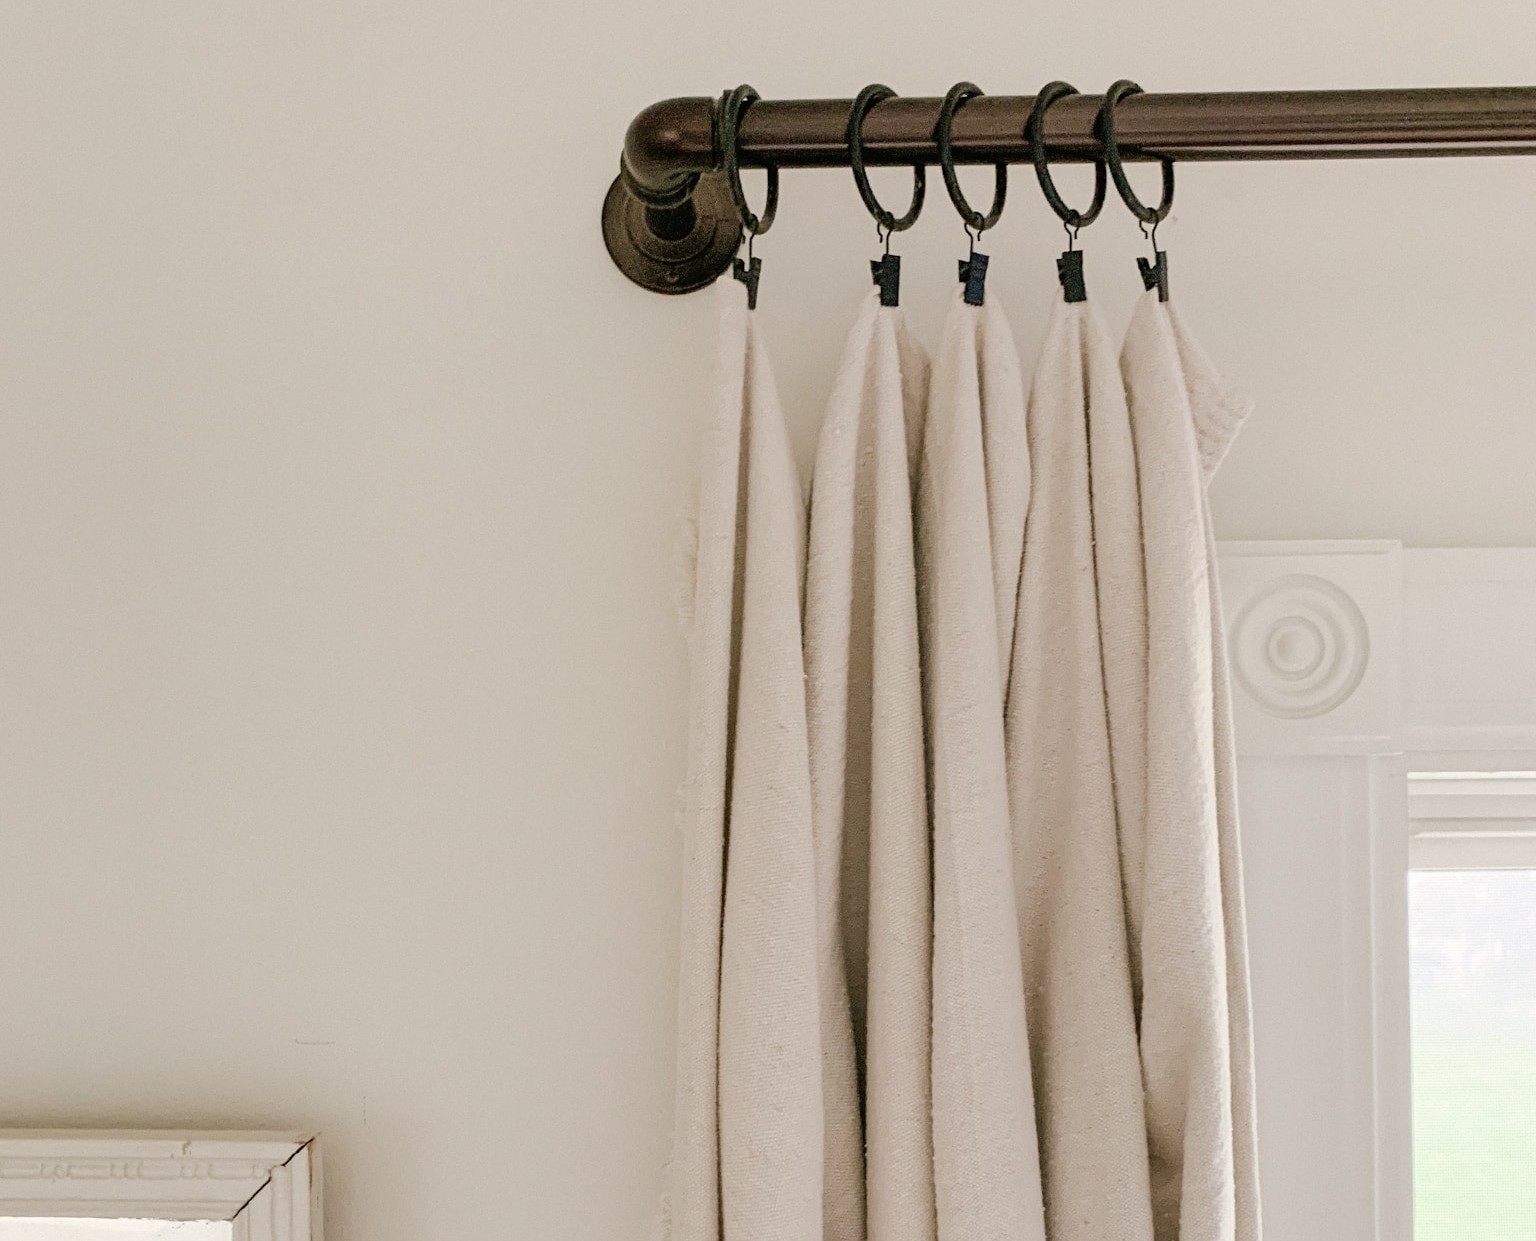
- Attach the Rings: Slide curtain rings onto the rod or track, and then hang the rings onto the marked spots on the burlap curtains. Ensure that the rings are evenly spaced and that the curtains are hanging straight.
- Arrange the Curtains: Adjust the positioning and gathering of the curtains by sliding them along the rings. This allows you to create the desired fullness and draping effect.
Whether you choose curtain hooks or rings, make sure they are sturdy and can support the weight of your burlap curtains. Once you have successfully attached the hooks or rings, it’s time to hang your burlap curtains and transform your space.
Hanging Your Burlap Curtains
Now that your burlap curtains are ready, it’s time to hang them and enjoy the cozy and rustic charm they bring to your space. Follow these steps to ensure a smooth and successful hanging process:
- Prepare the Curtain Rod or Track: If you don’t already have a curtain rod or track in place, install one that suits the style and size of your curtains. Ensure that the rod or track is securely mounted and can support the weight of the curtains.
- Hang the Curtains: Depending on whether you’re using curtain hooks or rings, simply attach the hooks or slide the rings onto the rod or track. Take care to evenly distribute the curtains along the length of the rod or track.
- Adjust the Length: If your burlap curtains are longer than desired, you can easily adjust the length by folding or rolling up the excess fabric at the bottom. Use fabric pins or clips to secure the fold or roll in place.
- Create a Full Look: To create a fuller appearance, gently pull and arrange the fabric along the rod or track. This will help distribute the gathered fabric evenly, creating a more visually appealing look.
- Step Back and Evaluate: Once the curtains are hung, step back and evaluate their appearance. Make any necessary adjustments to ensure the curtains are level, straight, and hanging as desired.
It’s important to note that burlap curtains may have some natural wrinkles and creases due to the nature of the fabric. If desired, you can gently steam or iron the curtains on a low heat setting to smooth out any wrinkles. Additionally, regular maintenance, such as shaking or brushing the curtains, can help maintain their shape and appearance.
With your burlap curtains now hanging beautifully, take a moment to appreciate the warm and inviting atmosphere they add to your space. From a cozy living room to a charming kitchen or bedroom, burlap curtains can transform any room with their organic texture and rustic appeal.
Ready to embrace the natural beauty of burlap curtains? Let your creativity shine as you enjoy the cozy and stylish ambiance they bring to your home!
When working with burlap to make curtains, be sure to pre-wash the fabric to soften it and reduce the natural odor. This will also help prevent shrinkage after the curtains are made.
Additional Tips and Ideas
Now that you have successfully made and hung your burlap curtains, here are some additional tips and ideas to further enhance their look and functionality:
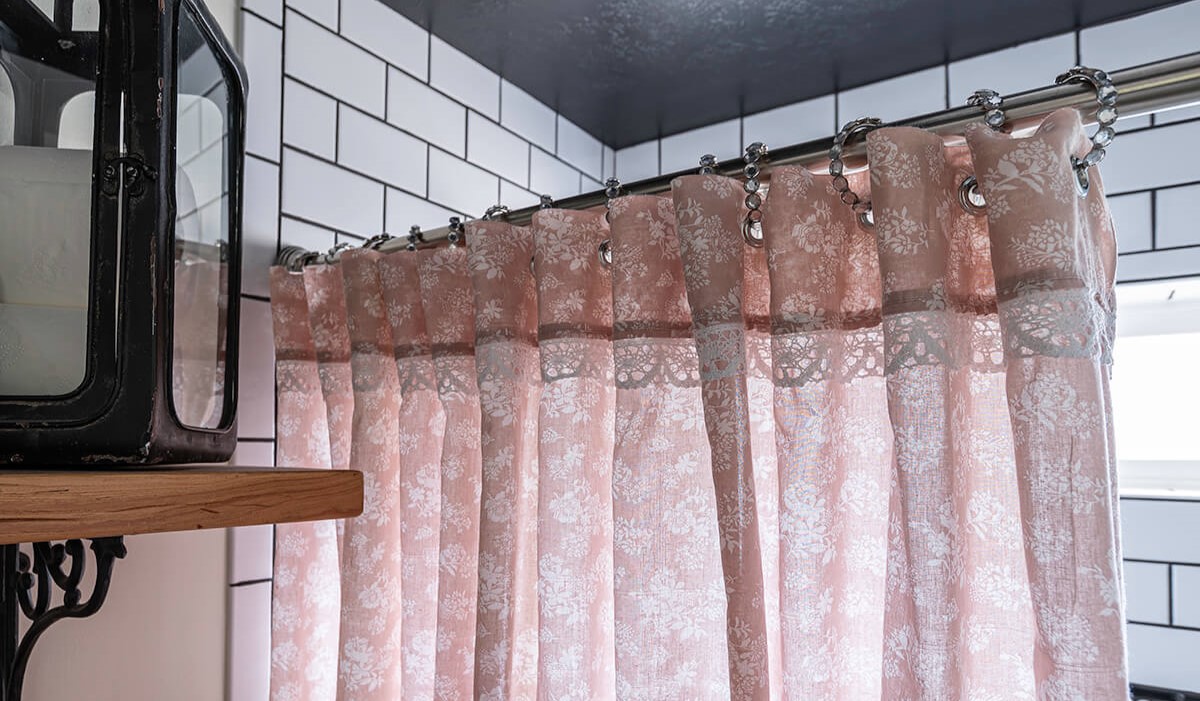
- Layer with Sheer Curtains: For a softer and more romantic look, consider layering your burlap curtains with sheer curtains. This will add depth and texture to your window treatment while allowing natural light to filter through.
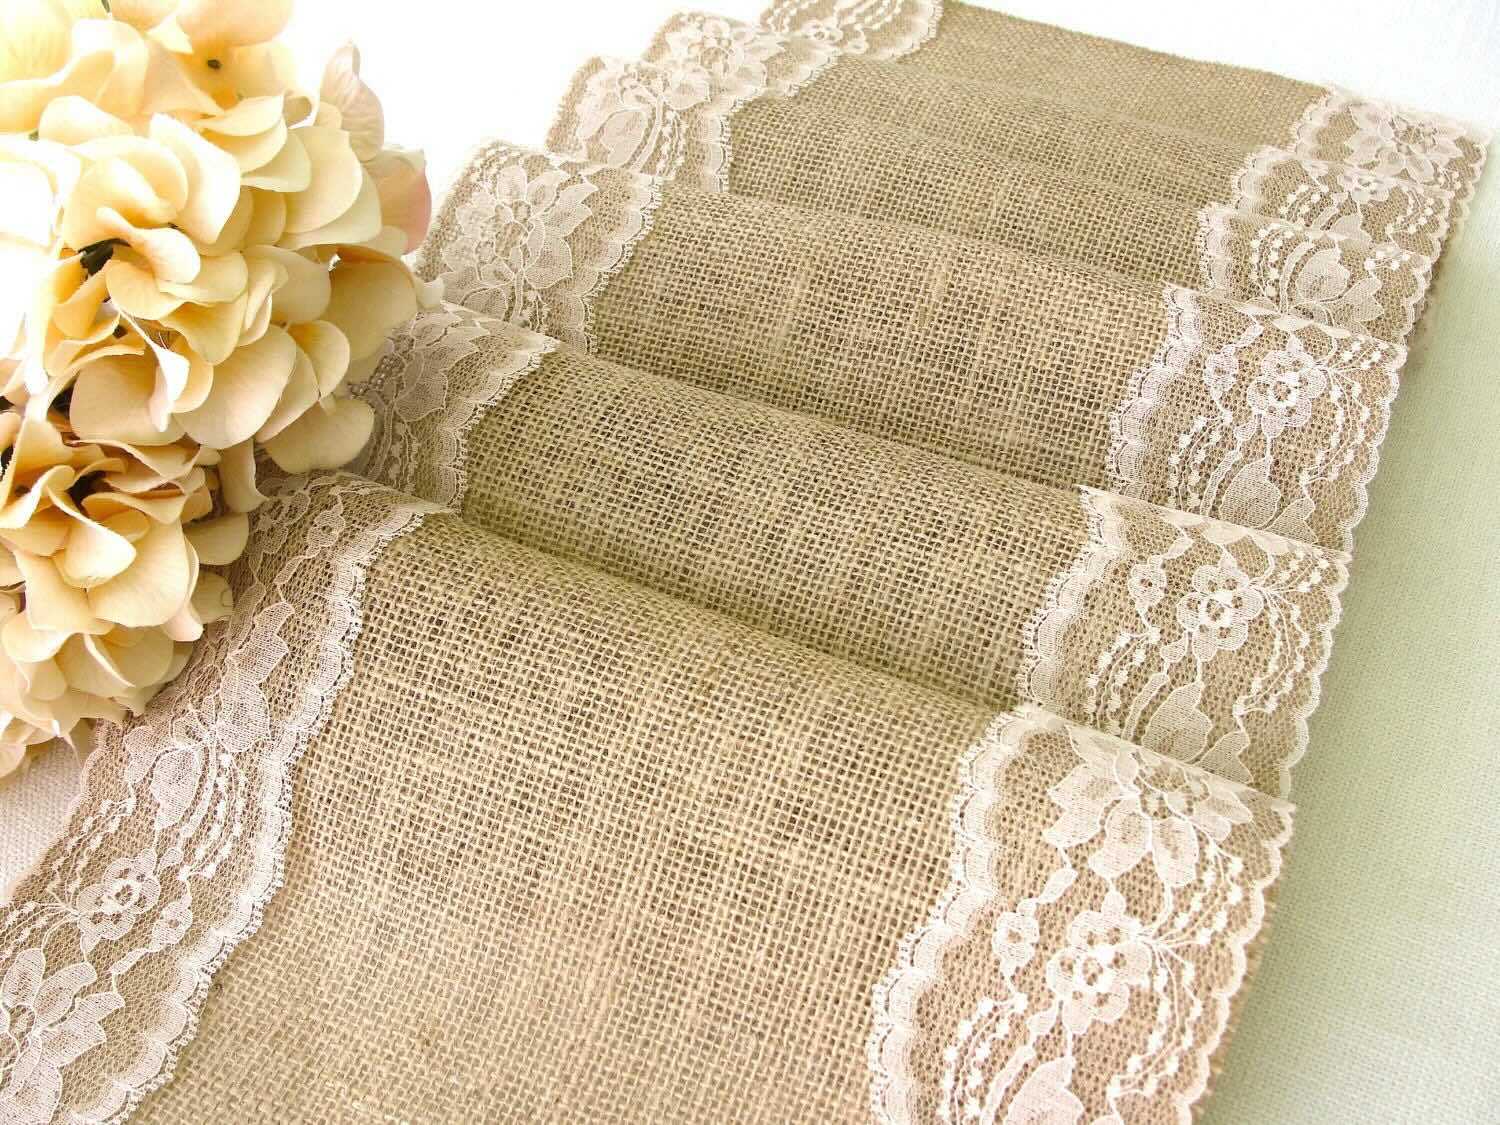
- Add Trim or Embellishments: Customize your burlap curtains by adding trim or embellishments along the edges. Options include adding lace trim, ribbon accents, or even sewing on decorative buttons for a unique touch.
- Consider Lining: While burlap curtains have their own charm, you can further enhance their functionality and appearance by adding a lining. A lining can protect the burlap fabric, provide additional privacy, and help block out excessive sunlight.
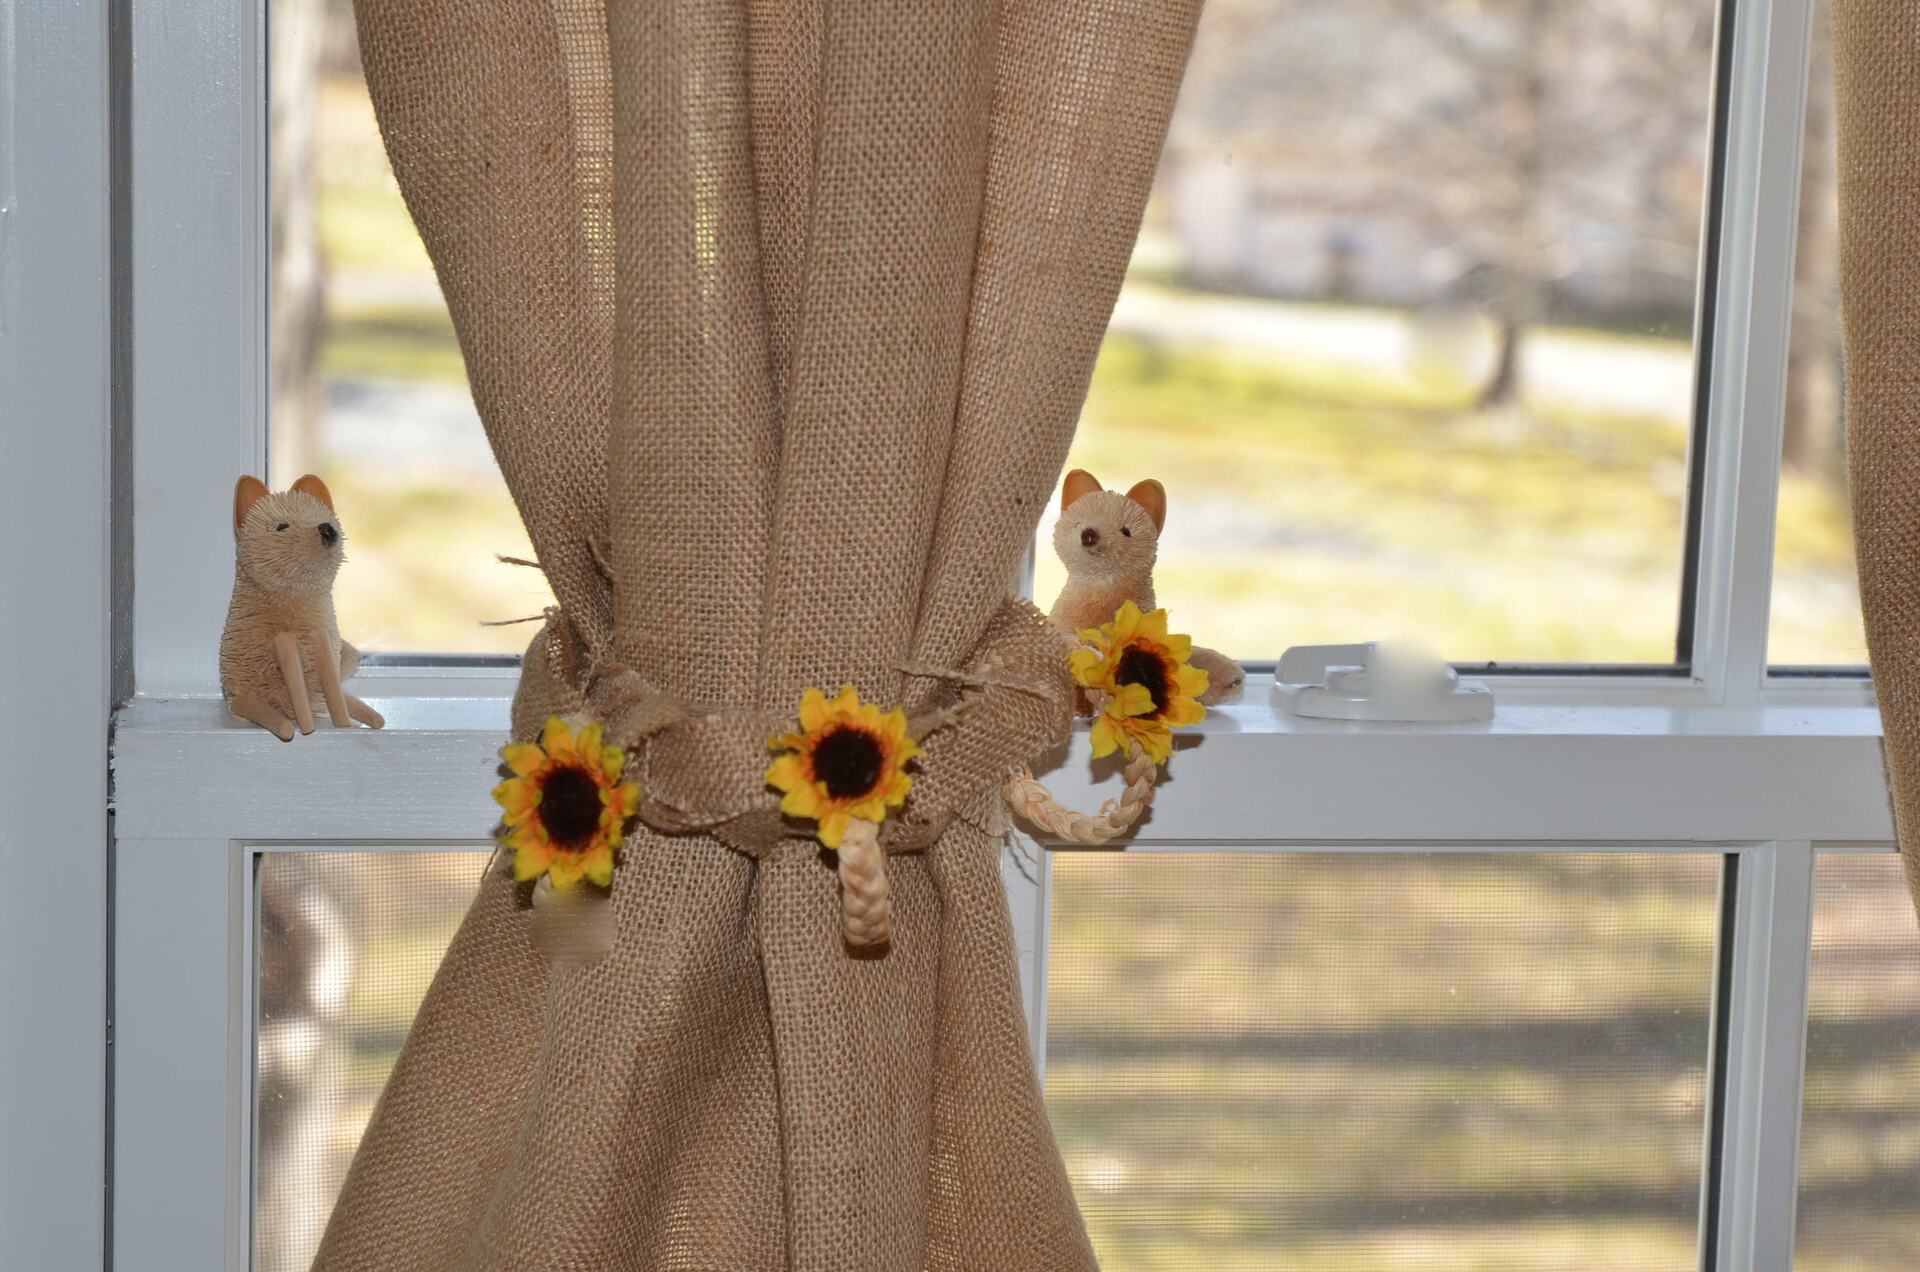
- Experiment with Tiebacks: Use decorative tiebacks to hold your burlap curtains to the side, allowing more natural light into the room. Choose tiebacks that match your overall aesthetic, such as rustic jute rope or elegant fabric tiebacks.
- Embrace Different Burlap Colors: While natural beige or tan burlap is popular, don’t be afraid to explore different colors. Dyed burlap in shades like gray, black, or pastels can add a unique and personalized touch to your curtains.
- Cleaning and Maintenance: To keep your burlap curtains looking their best, gently shake or brush them regularly to remove dust and debris. If necessary, spot clean with a mild detergent and cold water. Avoid machine washing or ironing on high heat.
- Consider Customization: If you are not confident in your sewing skills or want a more professional finish, consider having your burlap curtains custom-made by a skilled seamstress or professional drapery service. They can ensure precise measurements and provide tailored curtains to fit your specific needs.
Remember, burlap curtains offer a unique blend of rustic elegance and natural charm. With creativity and attention to detail, you can transform your space into a cozy retreat or a farmhouse-inspired haven. Let your imagination run wild and have fun creating a beautiful window treatment that reflects your personal style.
Now that you have all the tips and ideas at your fingertips, go ahead and enjoy the beautiful ambiance your burlap curtains bring to your home!
Conclusion
Congratulations on completing your journey towards creating beautiful burlap curtains! These rustic and versatile window treatments have the power to transform any space with their natural charm and unique texture. By following the steps outlined in this guide, you have learned how to choose the right type of burlap, measure and cut the fabric, hem the edges, add grommets or tabs, attach curtain hooks or rings, and finally, hang your curtains with finesse.
Remember that burlap curtains are not only aesthetically pleasing, but they also offer practical benefits. Their natural fibers provide a certain level of insulation and can serve as a barrier against excessive sunlight, while still allowing a gentle glow to filter through. Additionally, burlap curtains can effortlessly complement a variety of home decor styles, from farmhouse to coastal to eclectic.
Feel free to get creative and experiment with different options, such as layering the curtains with sheers, adding embellishments or trim, or even exploring various colors of burlap. Each customization choice will help you personalize your curtains and further enhance the overall aesthetic of your space.
When it comes to care and maintenance, remember to shake or brush your burlap curtains regularly to remove dust and debris. If needed, spot clean them with a mild detergent and cold water. Avoid machine washing or using high heat, as this can damage the fabric.
Whether you’re decorating your living room, bedroom, kitchen, or any other area of your home, burlap curtains are a wonderful choice. They bring a touch of nature and warmth to any space while maintaining a unique and rustic appeal.
Now that you have the knowledge and skills to create your own burlap curtains, it’s time to put your newfound expertise into action. Let your creativity shine as you embark on this DIY project, and enjoy the cozy and inviting atmosphere that your burlap curtains will bring to your home.
So, gather your supplies, choose your favorite burlap fabric, and let the transformation begin. Get ready to enjoy the cozy and stylish ambiance that only burlap curtains can provide!
Frequently Asked Questions about How To Make Curtains Out Of Burlap
Was this page helpful?
At Storables.com, we guarantee accurate and reliable information. Our content, validated by Expert Board Contributors, is crafted following stringent Editorial Policies. We're committed to providing you with well-researched, expert-backed insights for all your informational needs.


0 thoughts on “How To Make Curtains Out Of Burlap”