
Articles
How To Take Mixer Off Kitchenaid
Modified: August 23, 2024
Learn how to easily take off the mixer from your Kitchenaid with our informative articles.
(Many of the links in this article redirect to a specific reviewed product. Your purchase of these products through affiliate links helps to generate commission for Storables.com, at no extra cost. Learn more)
Introduction
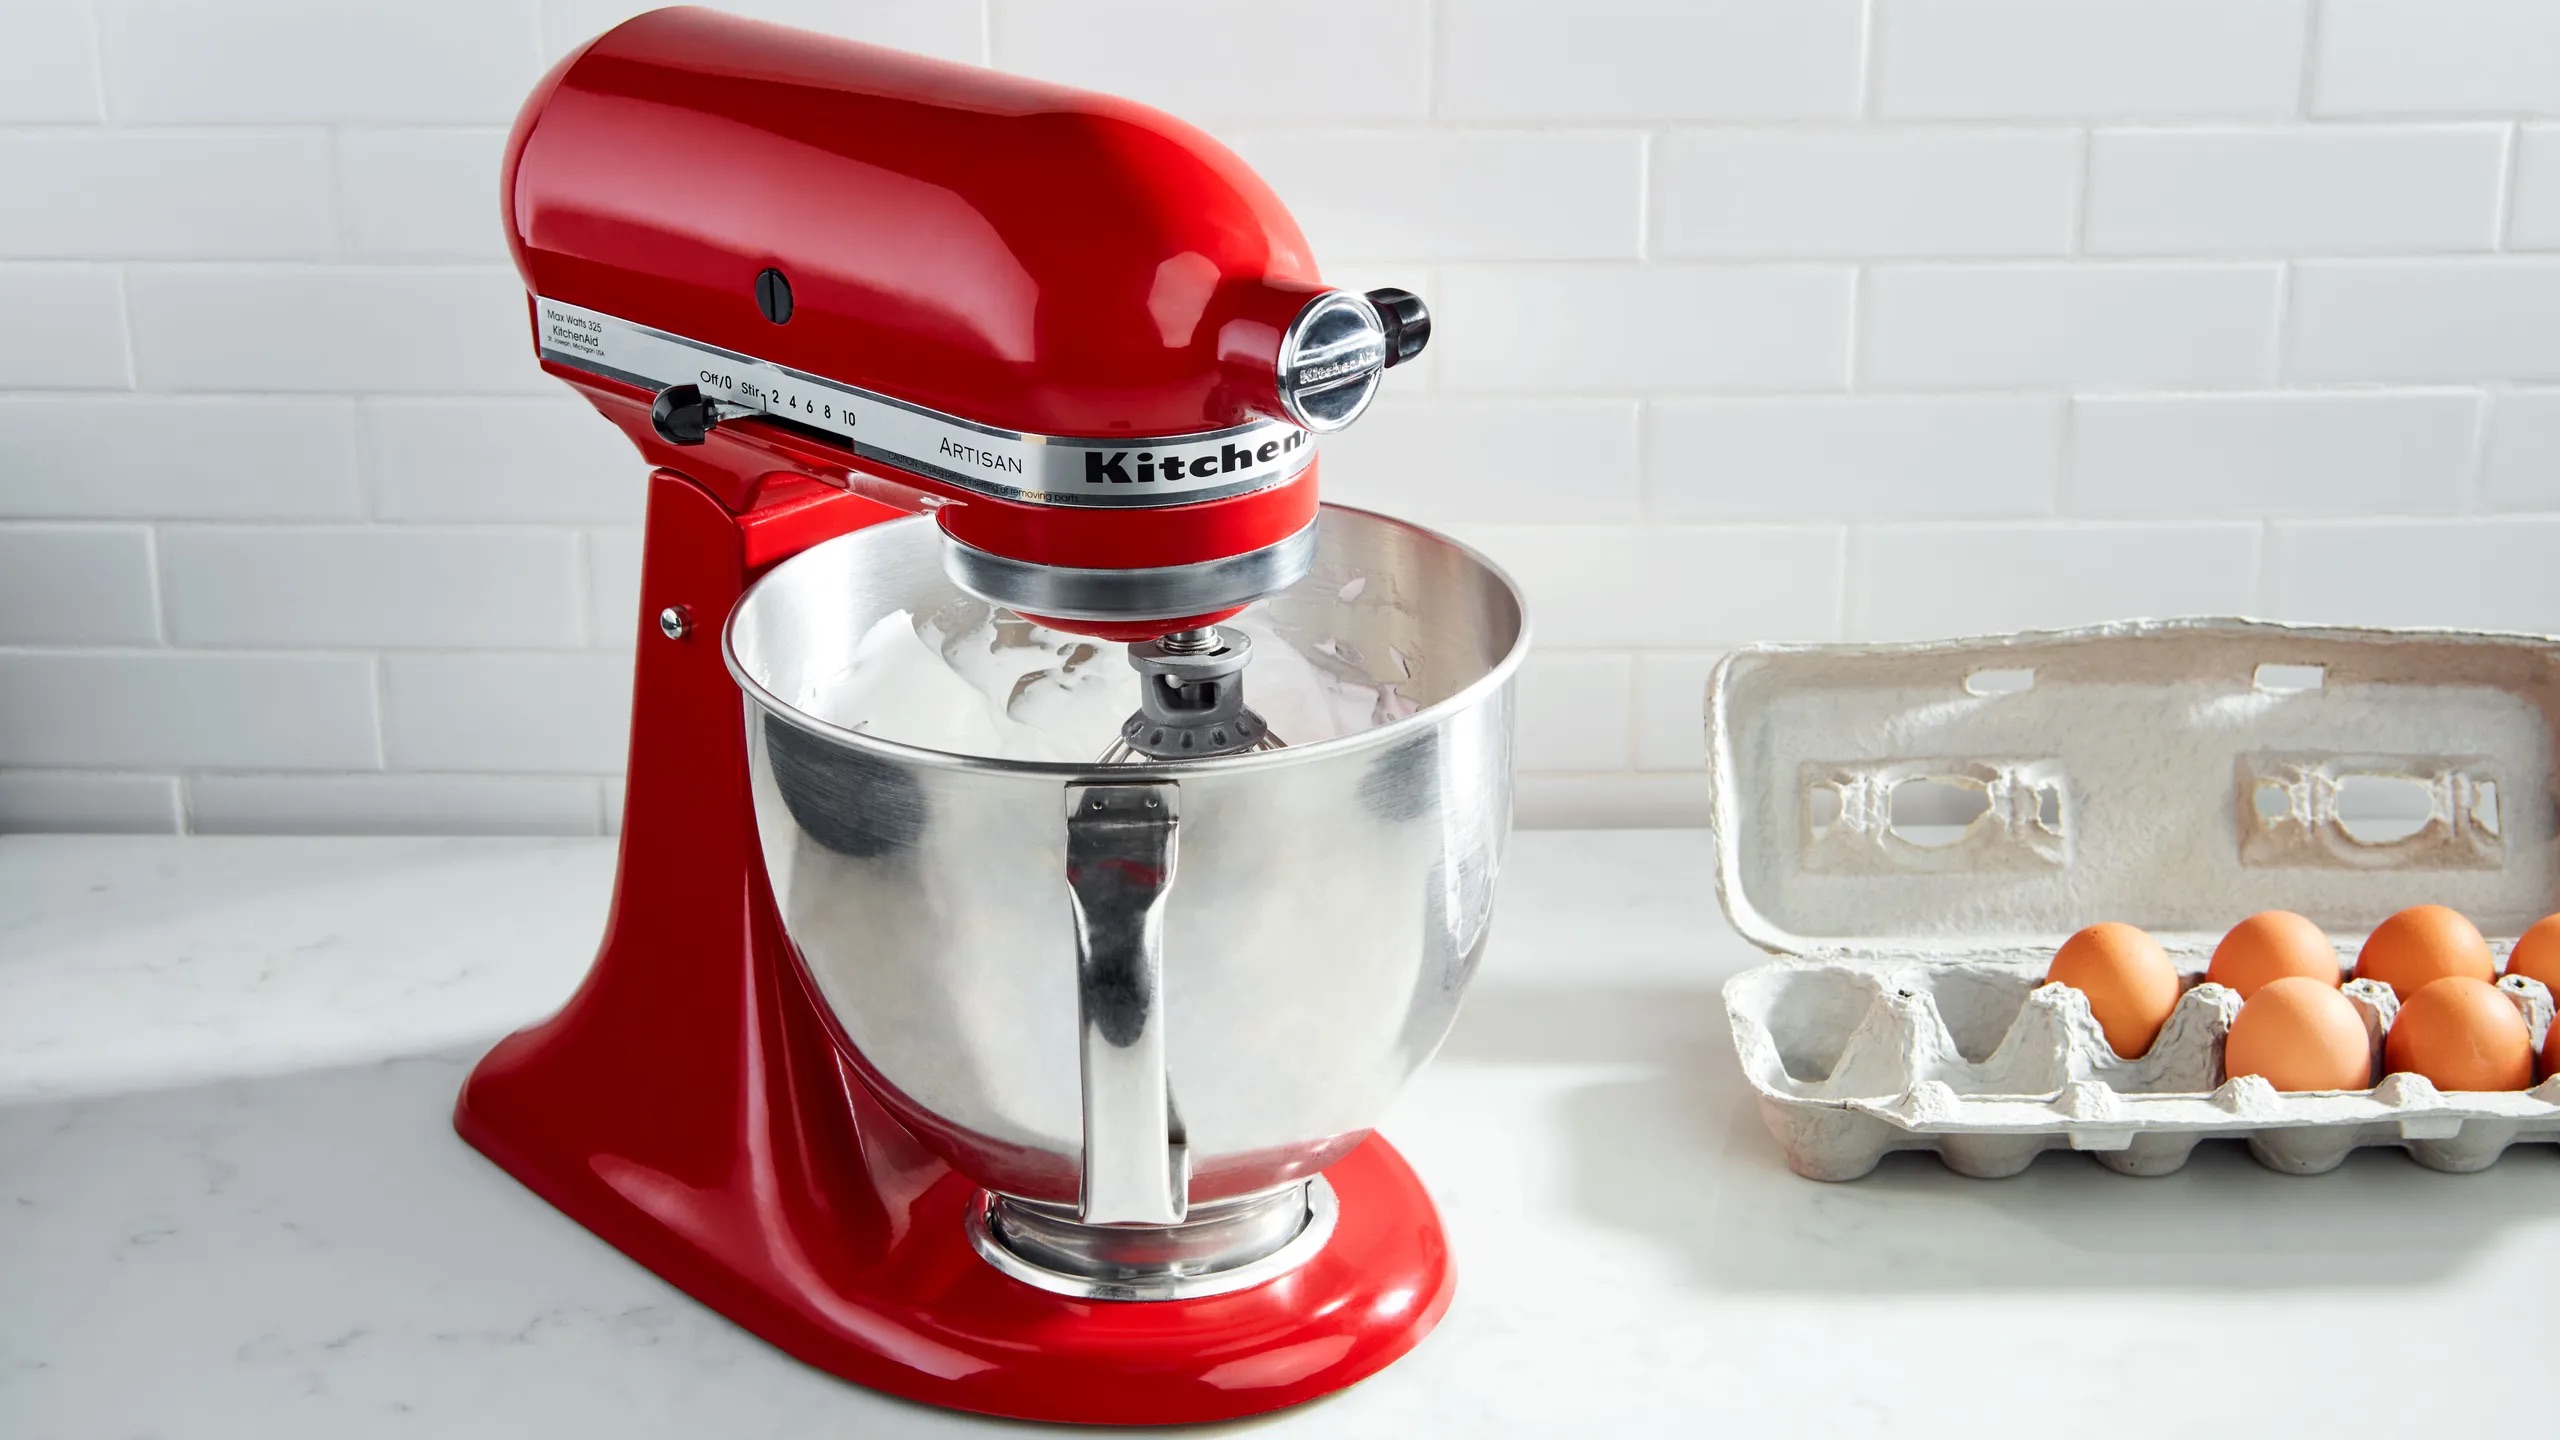
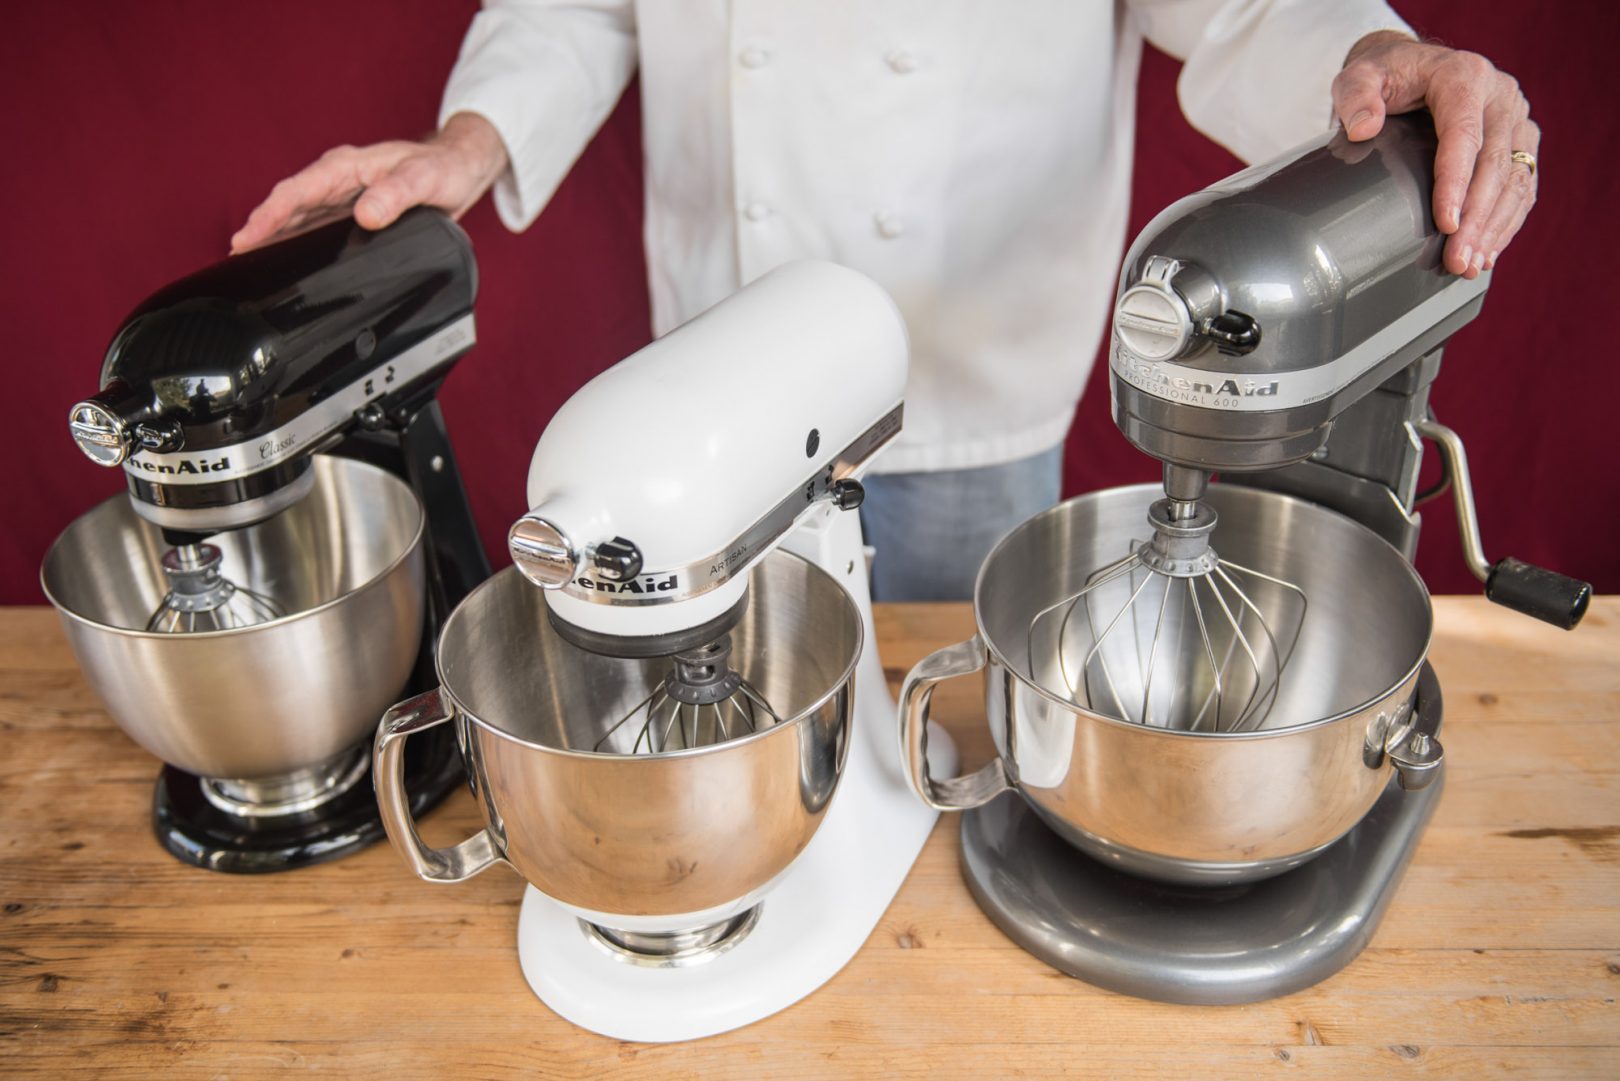
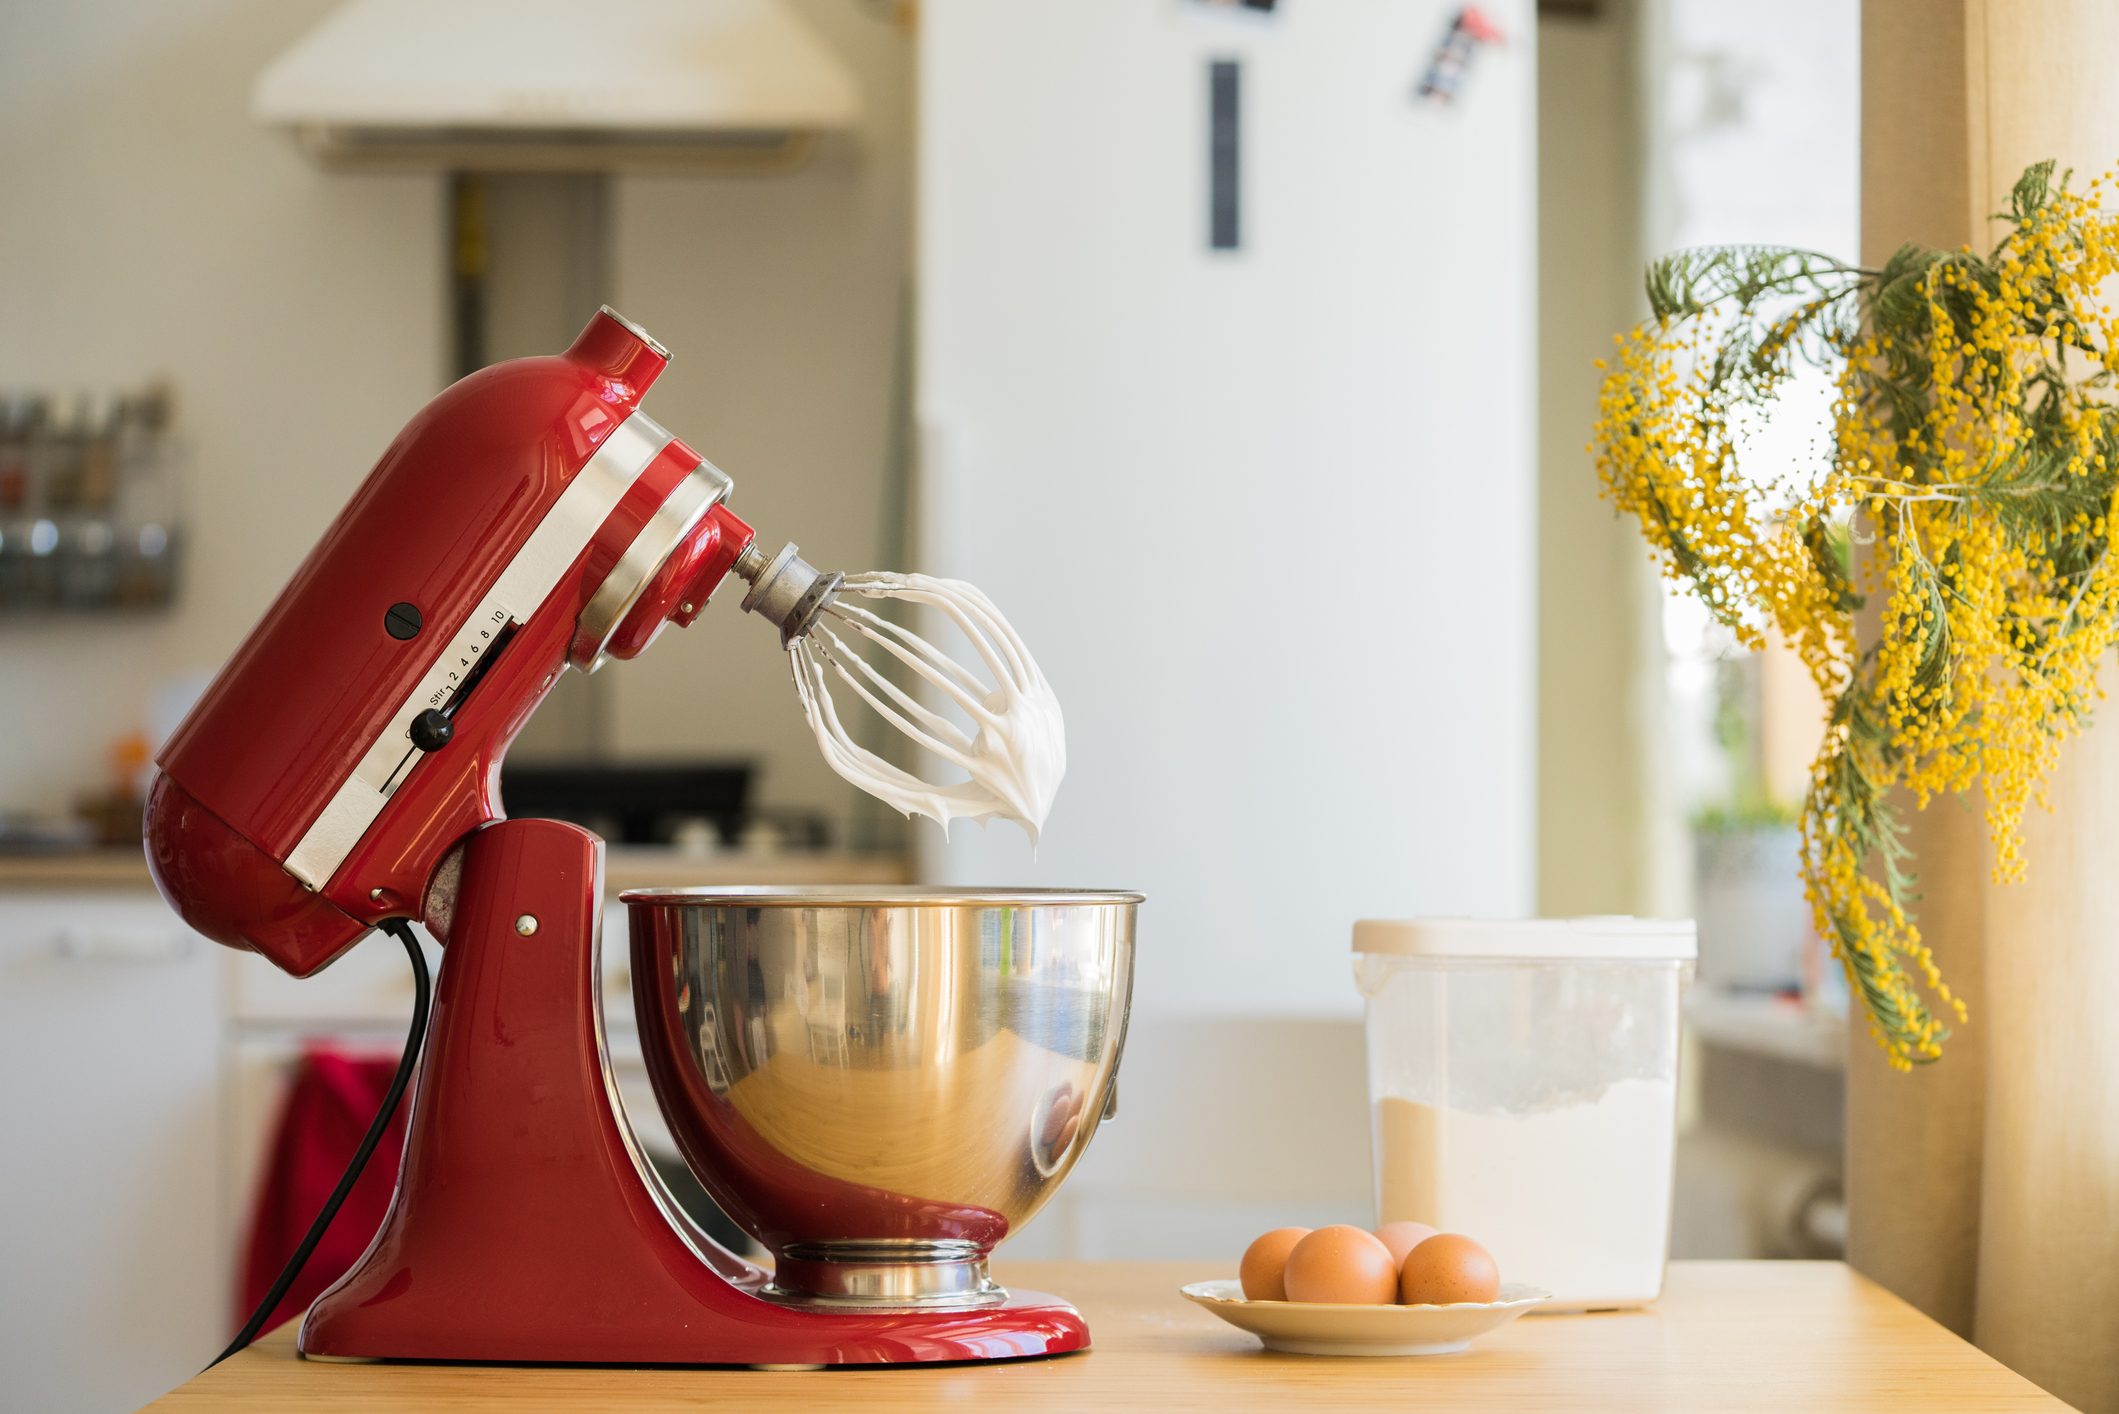
Having a Kitchenaid mixer in your kitchen is a game-changer. It can handle a wide range of tasks, from mixing batter for cakes and cookies to kneading dough for bread. But what do you do when you need to take the mixer off its base for cleaning or storage? Don’t worry, we’ve got you covered.
In this article, we will guide you through the step-by-step process of safely removing the mixer from the Kitchenaid base. Whether you’re a seasoned baker or a beginner in the kitchen, this guide will help you navigate the process with ease.
Before we get started, it’s important to note that different models of Kitchenaid mixers may have slight variations in terms of attachments and locking mechanisms. However, the general steps outlined in this article should apply to most Kitchenaid mixer models.
So, let’s grab our tools and get started on taking the mixer off the Kitchenaid base!
Key Takeaways:
- Safely remove a Kitchenaid mixer by gathering tools, unplugging, removing the bowl, unlocking the motor head, detaching attachments, and lifting the mixer off the base. Clean and store components for longevity and optimal performance.
- Following the step-by-step process ensures a safe and efficient disassembly of a Kitchenaid mixer. Proper cleaning and storage maintain its functionality, allowing for years of delicious recipes and joyous moments in the kitchen.
Read more: How To Take Apart Kitchenaid Mixer
Step 1: Gather necessary tools and materials
Before you begin the process of taking the mixer off the Kitchenaid base, it’s important to gather all the necessary tools and materials. By having everything you need at hand, you can ensure a smooth and efficient disassembly process.
Here’s a list of the tools and materials you’ll need:
- Flathead screwdriver
- Soft cloth or sponge
- Mild soap or dish detergent
- Warm water
The flathead screwdriver will come in handy for unlocking the motor head and releasing any attachments that are securely fastened. The soft cloth or sponge, along with mild soap or dish detergent and warm water, will be used for cleaning the mixer and its attachments after disassembly.
Make sure to have all these items readily available before proceeding to the next step.
Step 2: Unplug the Kitchenaid mixer
Now that you have gathered all the necessary tools and materials, it’s time to unplug the Kitchenaid mixer from the power source. This is an important safety step to ensure that you can work on the mixer without the risk of electric shock.
Locate the power cord on the back of the mixer and follow it to the outlet. Firmly grasp the plug and pull it out of the socket. Make sure there are no active switches or buttons on the mixer that may pose a safety hazard.
Once the mixer is unplugged, double-check to ensure that it is completely disconnected from the power source. This will provide you with peace of mind as you move forward with the disassembly process.
Keep in mind that even when the mixer is unplugged, it’s important to handle it with care. The mixer is a heavy appliance, so be cautious while lifting and maneuvering it to avoid any potential injuries.
With the mixer unplugged, you’re ready to move on to the next step.
Step 3: Remove the mixing bowl
With the Kitchenaid mixer unplugged, it’s time to remove the mixing bowl. The mixing bowl is where you place your ingredients for mixing and has a secure attachment to the mixer base.
Start by locating the release lever or button on the base of the mixer. This lever or button is typically located on the side or front of the mixer and is used to secure the mixing bowl in place. Once you have identified the release mechanism, press it or slide it to unlock the mixing bowl.
Next, lift the mixing bowl upwards, applying gentle pressure to disengage it from the mixer base. Be cautious and ensure a firm grip on the bowl, as it may be heavy, especially when filled with ingredients.
Once the mixing bowl is completely lifted off, set it aside for cleaning later, or if you’re planning to continue using the mixer, you can place it on a stable surface nearby.
Remember to handle the mixing bowl with care, as it may be made of glass or stainless steel and can be fragile. Avoid dropping or mishandling it to prevent any potential damage.
Removing the mixing bowl will allow you to access the attachments and the motor head, which we’ll cover in the next steps.
Now that the mixing bowl is out of the way, you’re ready to move on to the next step!
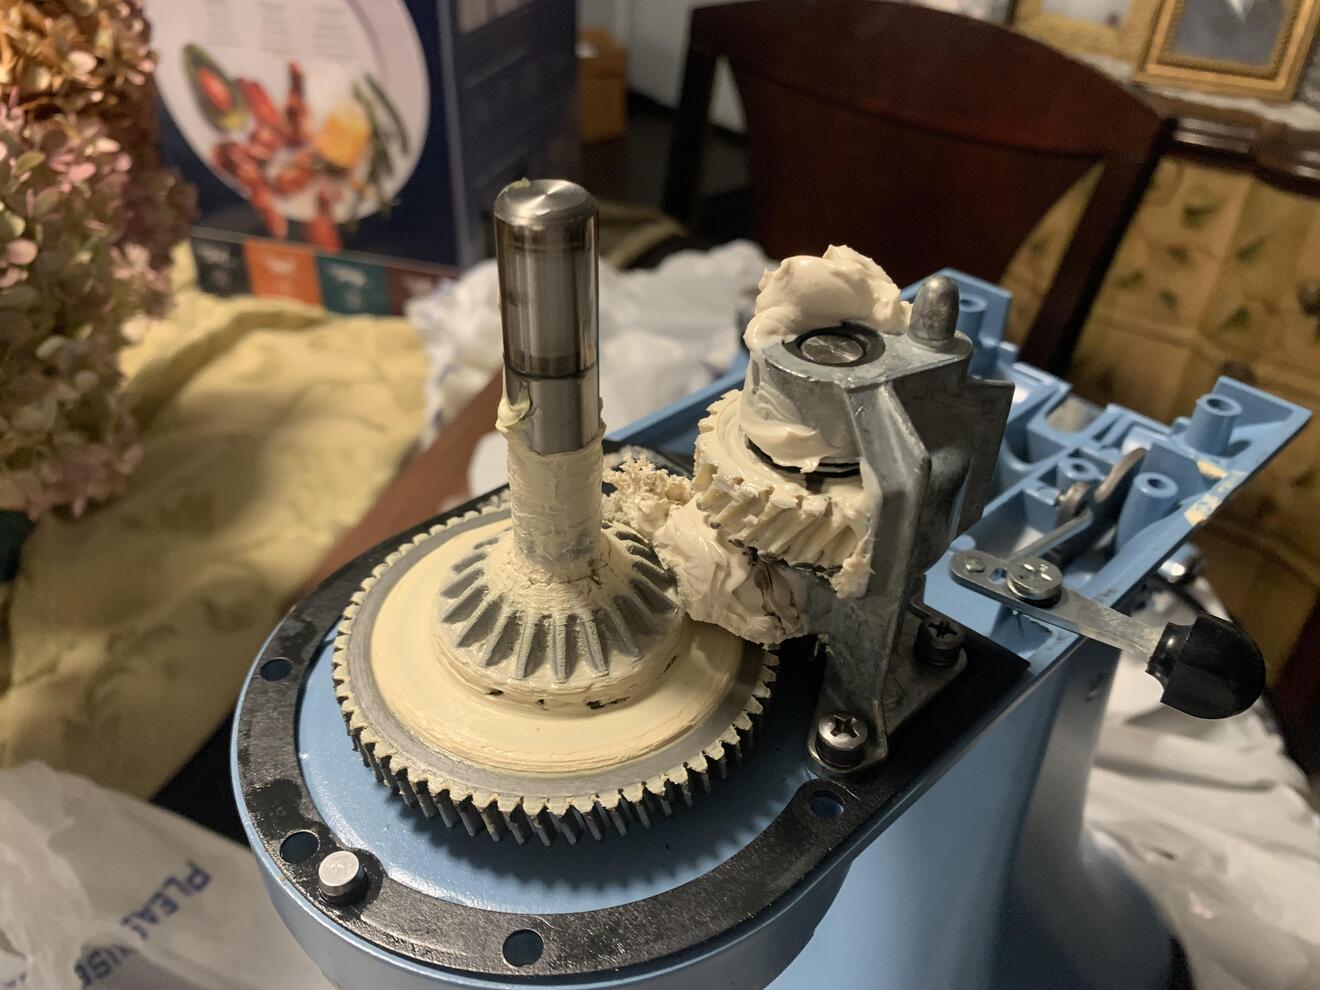
Step 4: Unlock the motor head
Now that the mixing bowl is removed, the next step is to unlock the motor head of the Kitchenaid mixer. The motor head houses the motor and controls of the mixer and needs to be unlocked before proceeding with further disassembly.
To unlock the motor head, locate the locking mechanism on the side or back of the mixer. Depending on the model, it may be a lever, a button, or a dial. Take a moment to familiarize yourself with this mechanism to ensure you can easily locate it.
Once you have found the locking mechanism, move it according to the instructions provided by the manufacturer. This will typically involve twisting, pushing, or lifting the mechanism to release the lock on the motor head.
As you unlock the motor head, you may feel a slight click or hear a snapping sound, indicating that the motor head is now free to move. This unlocked position allows you to remove or attach various accessories and attachments on the mixer.
It’s important to note that some models of Kitchenaid mixers may have a tilting head design, where the motor head can be tilted back for easier access to the attachments. In this case, you will need to lift the motor head while unlocking the mechanism.
Once the motor head is unlocked, gently lift it or tilt it back, depending on your mixer model. Ensure that it is securely in the unlocked position before proceeding with the next steps.
Now that the motor head is unlocked, you’re ready to move forward with the disassembly process.
To take the mixer off a KitchenAid stand, first unplug it. Then, lift the head and locate the hinge pin. Use a screwdriver to push the pin out and remove the mixer head.
Read more: How To Clean Kitchenaid Mixer
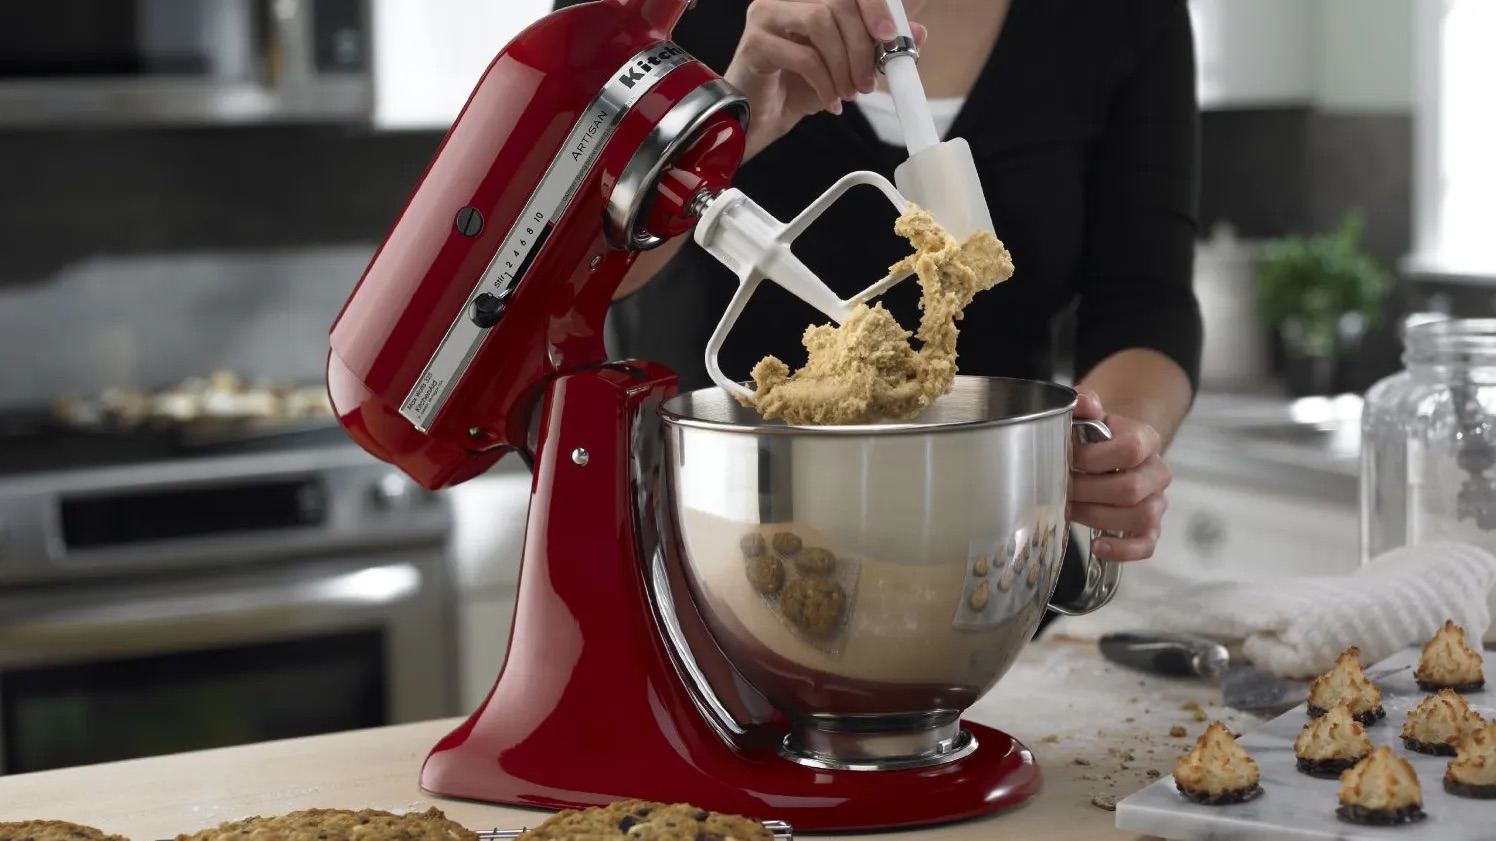
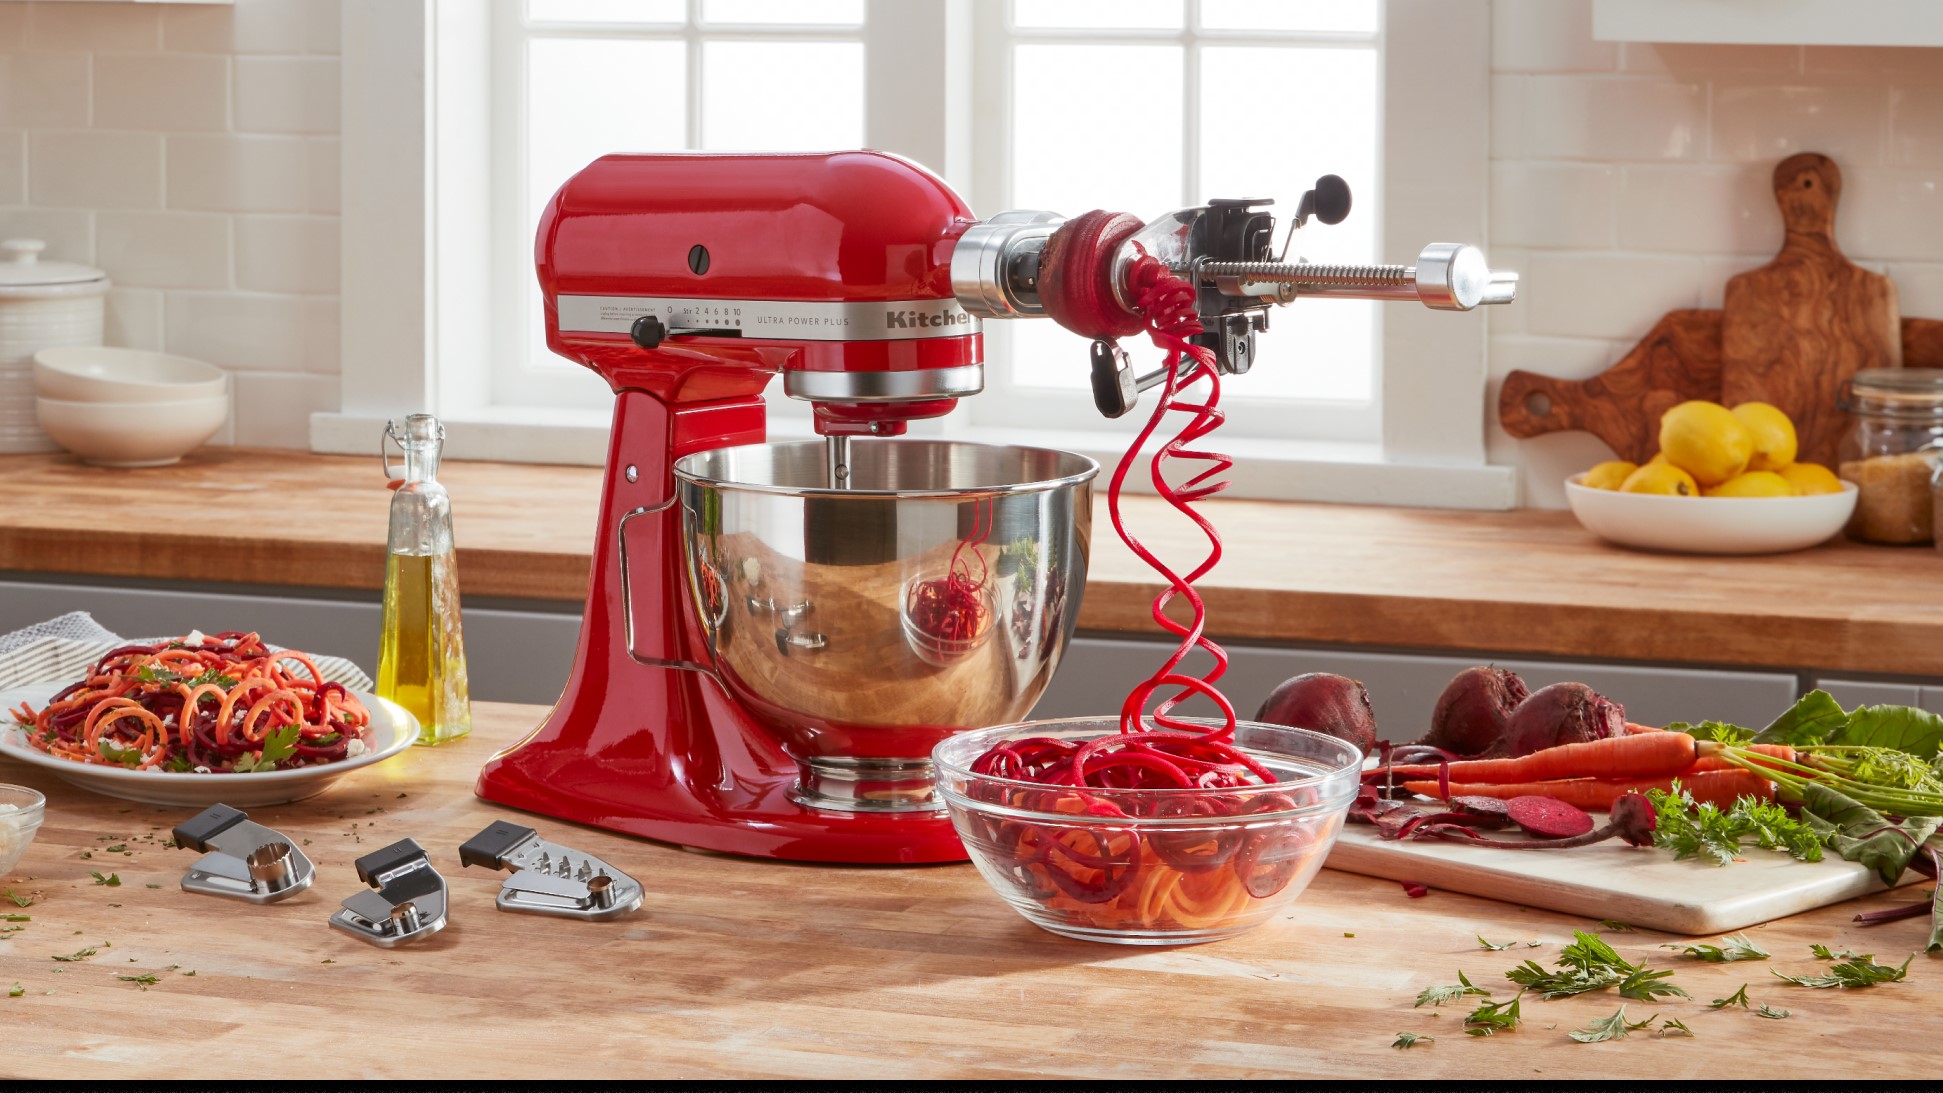
Step 5: Detach the attachments
With the motor head unlocked, it’s time to detach any attachments that are currently fixed onto the Kitchenaid mixer. These attachments are commonly used for specific tasks such as mixing, whipping, or kneading.
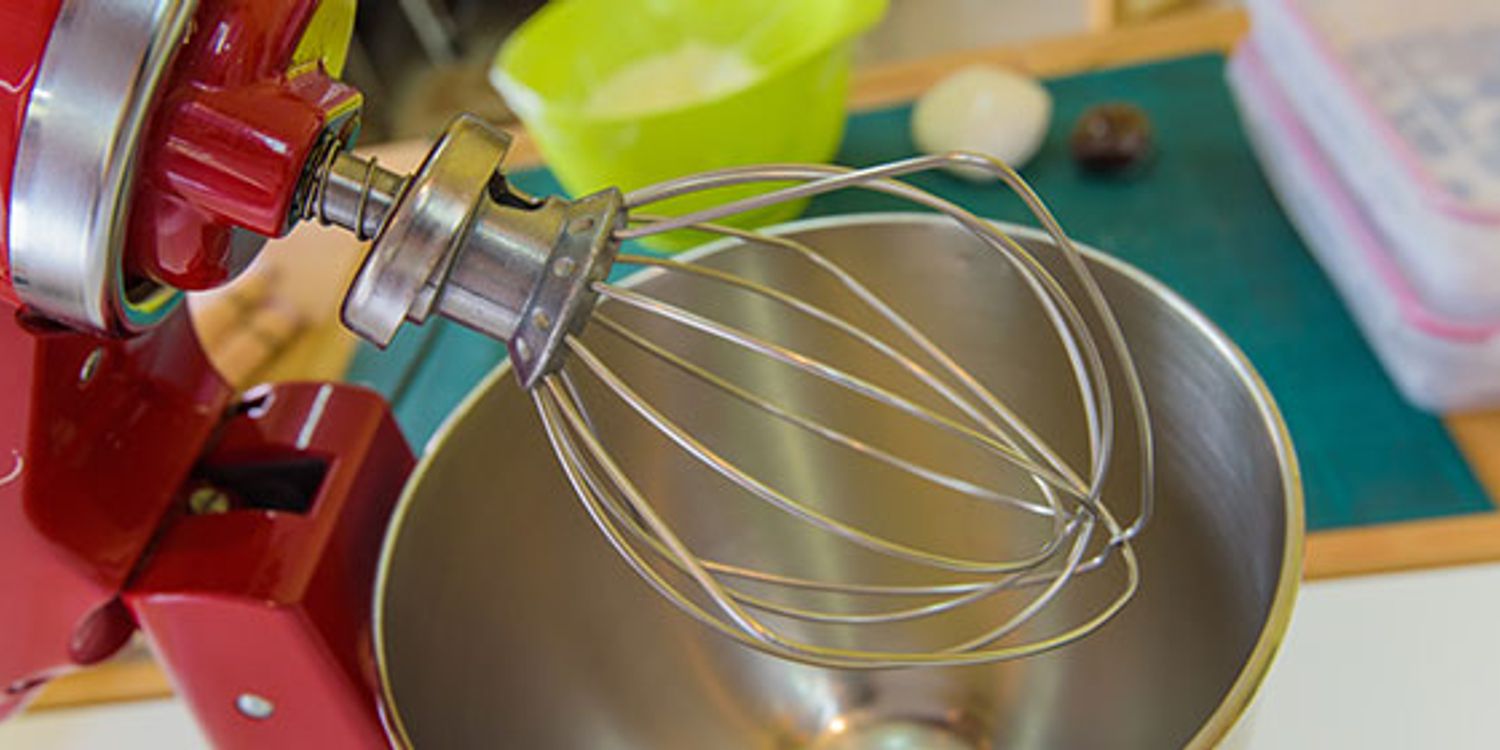
First, identify the attachment that you want to remove. Common attachments include the flat beater, wire whip, and dough hook. Each attachment has a specific purpose and is designed to tackle different mixing needs.
To detach an attachment, locate the attachment knob or release button near the top of the motor head. Depending on your model, you may need to twist or slide the knob or press the button to release the attachment.
Once you have located the release mechanism, follow the manufacturer’s instructions to safely remove the attachment. This may involve twisting or lifting the attachment to disengage it from the motor head.
Be cautious while removing the attachment, as some may be heavy or have sharp edges. If necessary, use a soft cloth or towel to handle the attachment, providing a secure grip and avoiding any accidental cuts or injuries.
Once the attachment is detached, set it aside for cleaning or storage. If you’re planning to continue using the Kitchenaid mixer for a different task, you can switch to a different attachment to suit your needs.
Remember to handle the attachments with care, as they are often made of metal and can be delicate. Avoid dropping or mishandling them to prevent any damage.
Now that the attachments are detached, you’re ready to proceed with the final steps of disassembling the Kitchenaid mixer.
Step 6: Lift off the mixer from the base
Now that the attachments are removed, it’s time to lift off the mixer from the base. This step will allow you to separate the motor head from the main body of the mixer.
Start by placing both hands firmly on either side of the motor head. Ensure that you have a secure grip on the mixer, as it can be heavy and require some strength to lift.
Next, lift the motor head straight up, using a controlled and steady motion. Keep in mind that the mixer may be attached to the base through a proper fit or lock, so you may feel some resistance.
As you lift the mixer, be mindful of any cords or wires that may be connected to the base. Ensure that they are not tangled or caught on anything that could cause the mixer to tip or become unstable.
Continue lifting the mixer until you completely separate the motor head from the base. Set the motor head aside or on a stable surface to prevent it from accidentally falling or rolling off.
If you have a tilting-head mixer model, you may need to tilt the motor head back and then lift it off the base. Follow the specific instructions provided by the manufacturer for your model.
With the mixer lifted off the base, you have successfully completed the disassembly process. You can now access the base for cleaning or storage purposes.
Remember to handle the mixer with caution, as it is a heavy and valuable kitchen appliance. Always use proper lifting techniques and be aware of your surroundings to avoid any accidents or damage.
Now that the mixer is lifted off the base, you’re ready for the final step: cleaning and storing the mixer.
Step 7: Clean and store the mixer
After successfully disassembling the Kitchenaid mixer, it’s important to clean and properly store the different components to keep them in good condition for future use. Here’s a step-by-step guide for cleaning and storing the mixer:
- Start by wiping down the motor head and the base of the mixer with a soft cloth or sponge. Use a mild soap or dish detergent diluted in warm water to remove any residue or spills. Be sure to dry the surfaces thoroughly afterward to prevent rusting or damage.
- Clean the attachments separately. Depending on the material and type of attachment, you can either wash them by hand or use a dishwasher if they are labeled as dishwasher-safe. Follow the manufacturer’s instructions for proper cleaning methods and drying recommendations.
- Pay special attention to any hard-to-reach or small crevices in the attachments. Use a small brush or toothbrush to scrub away any stuck-on food particles or debris.
- Once cleaned, allow all the components to air dry completely. Avoid using heat sources such as ovens or hair dryers, as this can cause damage to the materials.
- After the components are dry, reassemble the mixer by attaching the desired attachments onto the motor head. Ensure that they are securely fastened according to the manufacturer’s instructions.
- When storing the mixer, find a clean and dry location where it will be protected from dust and humidity. Consider using the original packaging or a dedicated storage container to prevent any accidental damage to the mixer or its components.
- If you have limited storage space, you can also consider disassembling the mixer and storing the components separately. Just make sure to keep everything together in a labeled and organized manner for easy reassembly in the future.
By following these cleaning and storage guidelines, you can maintain the longevity and performance of your Kitchenaid mixer, ensuring that it’s always ready for your culinary adventures.
Remember, always refer to the manufacturer’s instructions for specific cleaning recommendations and any model-specific guidelines.
With your mixer cleaned and safely stored, you have successfully completed the process of taking the mixer off the Kitchenaid base.
Now, happy baking and cooking!
Conclusion
Congratulations! You’ve successfully learned how to take a mixer off a Kitchenaid base. Whether you needed to clean the mixer or store it away for a while, following these steps ensures a safe and efficient disassembly process.
By gathering the necessary tools and materials and unplugging the mixer, you set the stage for a smooth disassembly. Removing the mixing bowl, unlocking the motor head, and detaching the attachments allowed you to access and clean each component. Lastly, lifting off the mixer from the base and properly cleaning and storing it ensures its longevity and optimal performance.
Remember, each model of Kitchenaid mixer may have variations in its locking mechanisms and attachment styles. Always refer to the manufacturer’s instructions for specific steps and guidelines based on your mixer model.
Taking care of your Kitchenaid mixer not only helps to keep it in top condition but also ensures that it continues to be a reliable and invaluable tool in your kitchen. Regular cleaning and proper storage will maintain its functionality and extend its lifespan, allowing you to whip up delicious recipes for years to come.
We hope this article has been helpful in guiding you through the process of taking a mixer off a Kitchenaid base. Now, you can confidently tackle the disassembly and maintenance of your Kitchenaid mixer whenever the need arises.
So, happy cooking and baking with your Kitchenaid mixer, and may it bring you many joyous moments in the kitchen!
Frequently Asked Questions about How To Take Mixer Off Kitchenaid
Was this page helpful?
At Storables.com, we guarantee accurate and reliable information. Our content, validated by Expert Board Contributors, is crafted following stringent Editorial Policies. We're committed to providing you with well-researched, expert-backed insights for all your informational needs.


0 thoughts on “How To Take Mixer Off Kitchenaid”