Articles
How To Quilt With Embroidery Machine
Modified: October 20, 2024
Learn how to quilt with an embroidery machine through our comprehensive articles. Discover tips, techniques, and step-by-step tutorials to enhance your quilting skills.
(Many of the links in this article redirect to a specific reviewed product. Your purchase of these products through affiliate links helps to generate commission for Storables.com, at no extra cost. Learn more)
Introduction
Quilting has long been a beloved craft, allowing people to create beautiful and cozy works of art with fabric and thread. Traditionally, quilting is done by hand, but with the advancements in technology, we now have the option to use embroidery machines for quilting. This not only saves time and effort but also opens up a whole new world of design possibilities.
In this article, we will explore the art of quilting with an embroidery machine. Whether you are a seasoned quilter looking to expand your skills or a beginner interested in trying out this exciting technique, we will guide you through the process step by step. From choosing the right embroidery machine to troubleshooting common issues, we have you covered.
Quilting with an embroidery machine offers several advantages. Firstly, it allows for intricate and detailed designs that would be challenging to achieve by hand. The embroidery machine can stitch out complex patterns with precision and consistency, resulting in stunning quilts. Additionally, using an embroidery machine can significantly speed up the quilting process, enabling you to complete projects in a fraction of the time it would take by hand.
However, it’s important to note that quilting with an embroidery machine does require some specific techniques and considerations. There is a learning curve involved, but with practice and patience, you can master this skill and create beautiful quilted masterpieces.
In the following sections, we will delve into the various aspects of quilting with an embroidery machine, from choosing the right machine and supplies to preparing your fabric, selecting embroidery designs, and troubleshooting common issues. By the end of this article, you will have the knowledge and confidence to embark on your quilting journey with an embroidery machine.
Key Takeaways:
- Quilting with an embroidery machine offers a world of creative possibilities, from intricate designs to textured stitching, allowing for stunning and personalized quilted projects.
- Properly finishing and caring for quilted projects is essential for their longevity and beauty, ensuring that they become cherished heirlooms to be enjoyed for generations to come.
Choosing the Right Embroidery Machine for Quilting
When it comes to quilting with an embroidery machine, selecting the right machine is crucial for a successful and enjoyable quilting experience. Here are some factors to consider when choosing an embroidery machine for quilting:
- Embroidery Capability: Look for an embroidery machine that has a large embroidery field and a wide range of built-in embroidery designs. This will give you the freedom to create intricate and detailed quilt designs.
- Stitch Quality: Check the stitch quality of the machine by testing samples or reading reviews from other quilters. A machine that produces clean and consistent stitches will ensure that your quilted projects turn out beautifully.
- Hooping Size: Consider the size of the hoops that come with the machine. Quilting often requires larger hoops to accommodate larger quilt blocks or even entire quilts. Make sure the machine can handle the size of quilts you plan to work on.
- Stabilizer Compatibility: Pay attention to the types of stabilizers the machine is compatible with. Stabilizers play a crucial role in keeping the fabric stable during the embroidery process. Ensure that the machine you choose can accommodate the types of stabilizers you prefer to work with.
- User-Friendly Features: Look for features that make quilting with the machine easier, such as an intuitive touchscreen interface, on-screen editing capabilities, and automatic thread cutting. These features can save time and simplify the quilting process.
- Speed and Durability: Consider the speed at which the machine can embroider and its overall durability. Quilting can be time-consuming, so a faster machine may be preferred. Additionally, a resilient and long-lasting machine will serve you well for years to come.
- Budget: Set a budget for your embroidery machine and do thorough research to find a machine that fits within your price range while still meeting your needs. It’s essential to strike a balance between cost and functionality.
Once you have considered these factors, it’s recommended to visit a local dealer or attend sewing and embroidery machine exhibitions to try out different models in person. This hands-on experience will give you a feel for the machine’s usability, features, and stitch quality. Additionally, talking to experts and other quilters can provide valuable insights and recommendations.
Remember, choosing the right embroidery machine is a personal decision that depends on your specific preferences and quilting goals. Taking the time to research and test different machines will ensure that you find the perfect match for your quilting endeavors.
Essential Supplies for Quilting with an Embroidery Machine
When it comes to quilting with an embroidery machine, having the right supplies is key to achieving professional-looking results. Here are the essential supplies you’ll need to have on hand:
- Fabric: Choose high-quality quilting fabric that is suitable for your project. Cotton is a popular choice for quilting due to its durability and ease of stitching. Consider pre-washing your fabric to remove any sizing or shrinkage that may occur after washing the finished quilt.
- Stabilizers: Stabilizers are essential for keeping the fabric stable during the embroidery process. Choose the appropriate stabilizer based on your project and fabric type. Cut-away stabilizers provide long-term stability, while tear-away stabilizers are suitable for simpler designs or projects that require a softer finish.
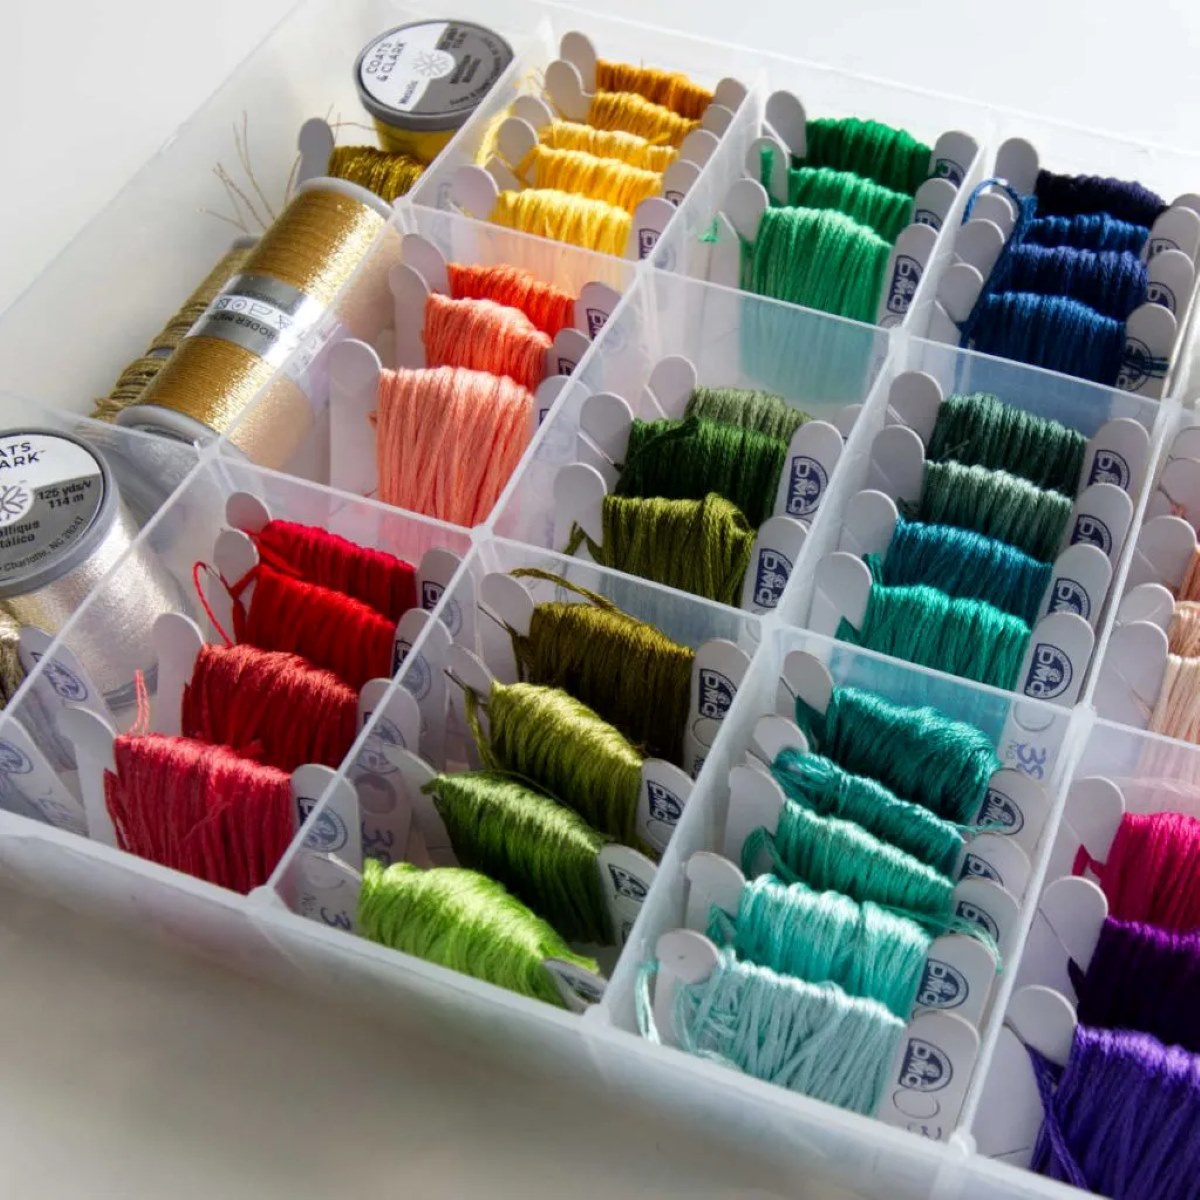
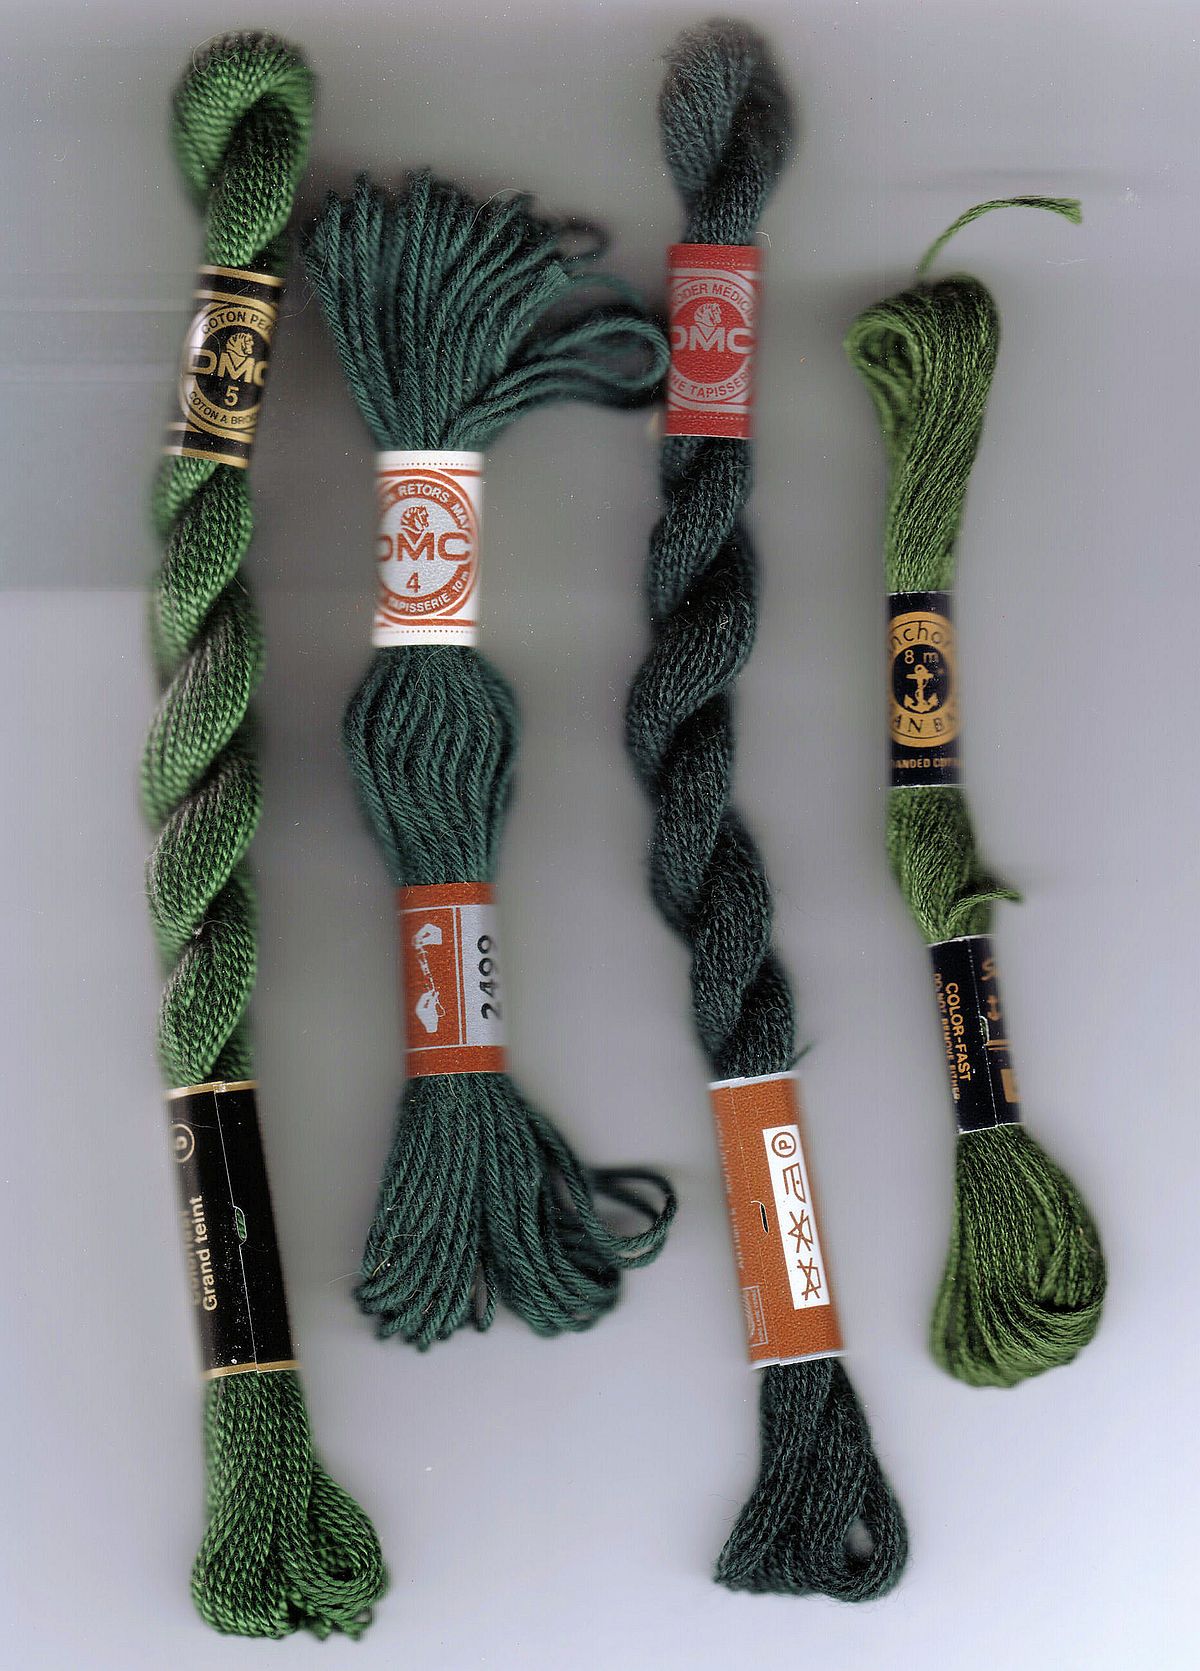
- Embroidery Thread: Use high-quality embroidery thread that is designed specifically for use in embroidery machines. Polyester or rayon threads are commonly used for their strength and vibrant colors. Choose thread colors that complement your fabric and design.
- Embroidery Needles: Use embroidery needles that are compatible with your embroidery machine. These needles have a larger eye to accommodate the thread and a sharp point to penetrate the fabric without causing damage. Replace needles regularly to ensure optimal performance.
- Quilting Batting: Choose the appropriate quilt batting based on your desired level of loft and warmth. Polyester, cotton, or a blend of both are commonly used for quilting. Consider the size of your project and ensure that the batting is large enough to cover the entire quilt sandwich.
- Temporary Spray Adhesive: A temporary spray adhesive can be used to hold the quilt sandwich layers together during hooping. This helps prevent shifting and ensures accurate placement of the design. Look for a repositionable adhesive that won’t leave residue or damage the fabric.
- Quilting Ruler and Rotary Cutter: These tools are essential for cutting and trimming fabric accurately. A quilting ruler with clear markings and a rotary cutter with a sharp blade make the cutting process efficient and precise.
- Quilting Design Software: If you want to create custom embroidery designs for your quilts, consider investing in quilting design software. This software allows you to digitize your own designs or modify existing ones to suit your preferences.
- Embroidery Design Files: Build up a collection of embroidery design files that are compatible with your embroidery machine. There are many sources available, both free and paid, that offer a wide variety of designs to choose from. Make sure to select designs that suit the size and theme of your quilt.
By ensuring you have these essential supplies, you’ll be well-prepared to embark on your quilting journey with an embroidery machine. Remember to regularly replenish your thread, needles, and stabilizers to maintain the quality of your projects. With the right supplies and a creative mindset, you’ll be able to create stunning quilted masterpieces using your embroidery machine.
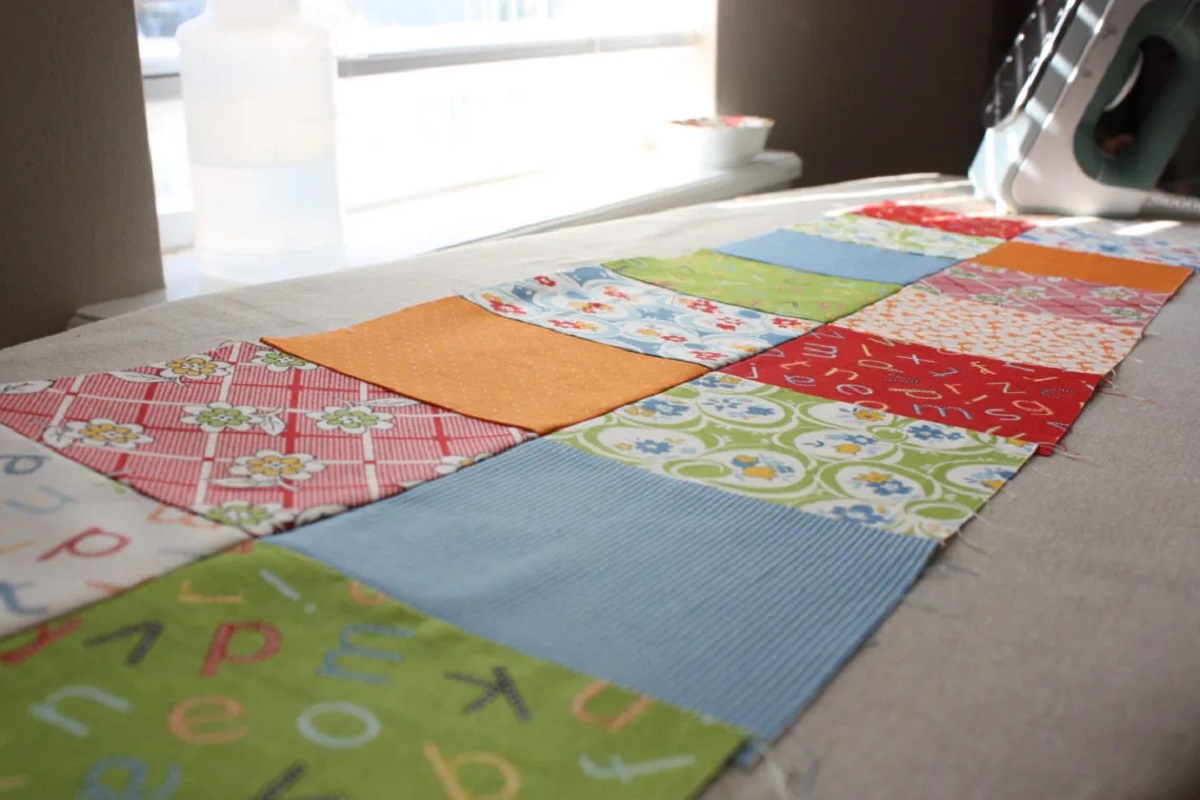
Preparing Your Fabric for Quilting
Properly preparing your fabric is an important step in quilting with an embroidery machine. Prepping the fabric ensures that it is clean, flat, and ready for stitching. Here are the essential steps to prepare your fabric for quilting:
- Wash and Press: Before starting any quilting project, it’s recommended to wash your fabric to remove any chemicals, dirt, or residue from manufacturing. Follow the care instructions on the fabric and use a gentle detergent. Once washed, dry the fabric and press it with an iron to remove any wrinkles or creases. This step ensures that the fabric is clean and flat, providing a smooth surface for embroidery.
- Square up: Trim the edges of your fabric to ensure that they are straight and aligned. Use a ruler and rotary cutter to make precise cuts. This step is crucial for achieving accurate and even quilting lines.
- Apply Stabilizer: Cut a piece of stabilizer slightly larger than the design area or hoop size. Place it on the wrong side of the fabric, aligning the corners. Use temporary spray adhesive or pins to secure the stabilizer in place. This step provides stability to the fabric during the embroidery process and prevents puckering or distortion.
- Select the Hoop: Choose a hoop that is appropriate for the size of your design and the fabric you are working with. Ensure that the fabric can be comfortably inserted into the hoop without stretching or distorting. Hoop placement is crucial for accurate stitching, so take the time to position the fabric correctly.
- Mark Placement: Use tailor’s chalk, disappearing ink, or temporary marking pens to mark the center and any reference points on your fabric. These markings will help you align the fabric properly within the hoop and ensure that the design is centered.
- Secure the Fabric: Place the marked fabric within the hoop, making sure it is taut but not stretched. Adjust the tension of the hoop as needed. Ensure that the marked reference points are aligned with the hoop markings. This step guarantees that the embroidery design will stitch out in the desired location.
- Double-Check Hoop Alignment: Before proceeding to embroider, double-check that the fabric is still properly aligned within the hoop. Ensure that there is enough space around the design to avoid any interference with the hoop or the machine’s movement.
By following these steps, you can ensure that your fabric is well-prepared for quilting with an embroidery machine. Taking the time to properly prepare the fabric will result in smoother stitching, accurate designs, and beautifully finished quilted projects.
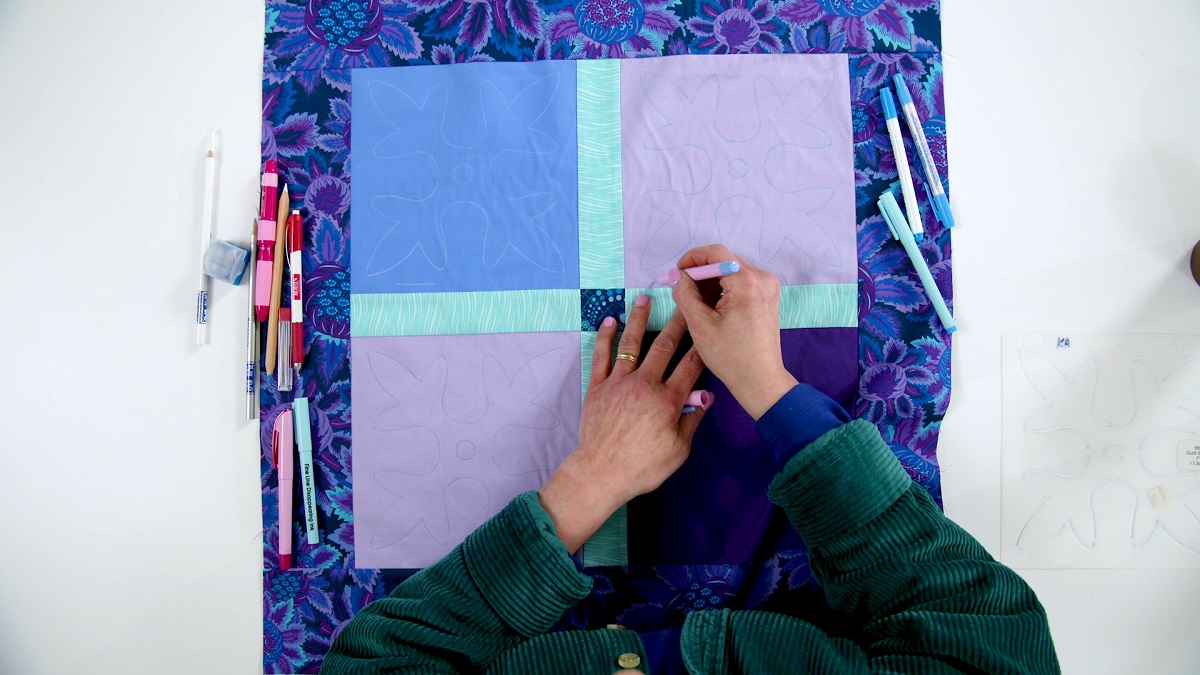
Selecting and Preparing Embroidery Designs
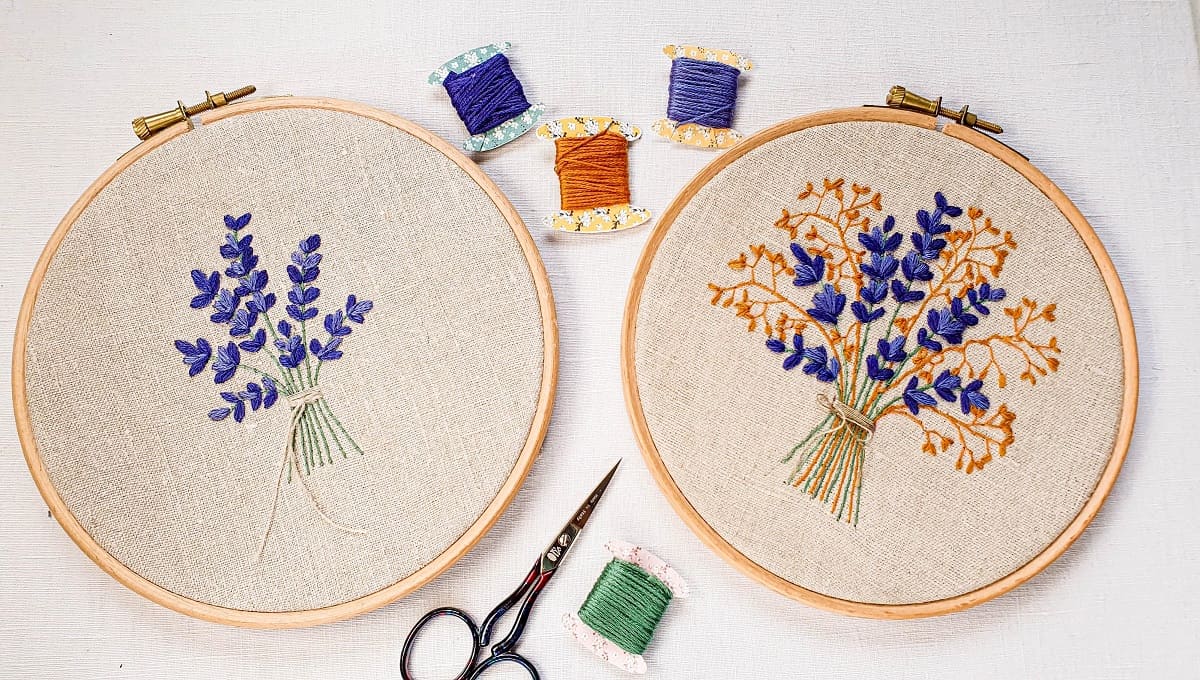
Embroidery designs play a vital role in quilting with an embroidery machine. They add beauty, dimension, and personality to your quilting projects. Here are some tips for selecting and preparing embroidery designs for quilting:
- Consider the Quilt Design: Select embroidery designs that complement the overall design and theme of your quilt. Consider the size and shape of the quilt blocks or areas where you want to incorporate embroidery. Designs with floral motifs, geometric patterns, or even personalized monograms can enhance the visual appeal of your quilt.
- Design Size: Ensure that the embroidery designs you choose fit comfortably within the hoop size you are using. Consider the scale of the design in relation to the size of your quilt blocks. You may need to resize or adjust designs using embroidery software to achieve the desired effect.
- Browse Design Collections: Explore embroidery design collections available online or at your local sewing and craft stores. Look for designs that inspire you and resonate with your quilt’s theme. Many designers offer collections specifically designed for quilting, featuring floral motifs, intricate borders, or quilt block patterns.
- Digitize Your Own Designs: If you’re feeling adventurous, consider learning how to digitize your own embroidery designs. Digitizing software allows you to convert images or sketches into stitch files that can be used with your embroidery machine. This gives you the freedom to create custom designs that are uniquely yours.
- Prepare the Design Files: Once you have selected your embroidery designs, it’s important to prepare them for stitching. This involves transferring the design files to your embroidery machine. Connect your machine to your computer using a USB cable, or use a USB drive to transfer the design files. Follow the instructions provided by your machine’s manufacturer to load the designs onto your machine.
- Preview and Edit: Before stitching out the embroidery designs, it’s a good practice to preview them on your embroidery machine’s screen. This allows you to see how the design will look and make any necessary adjustments. You can rotate, mirror, or resize the design directly on the machine if needed.
- Select Thread Colors: Choose thread colors that complement your fabric and design. Consider the overall color scheme of your quilt and select threads that enhance the design’s visual impact. Test different thread combinations on a scrap piece of fabric to ensure that the colors work well together.
- Thread and Needle Compatibility: Ensure that the embroidery threads and needles you use are compatible with your machine. Check the recommendations provided by the machine’s manufacturer or consult the user manual. Using the correct thread and needle ensures optimal stitching results and prevents any damage to your machine.
By carefully selecting and preparing embroidery designs, you can add a unique and personal touch to your quilted projects. Take your time to explore different design options and experiment with colors and placement. With creativity and attention to detail, you can create stunning quilted masterpieces using your embroidery machine.
Read more: How To Organize An Embroidery Thread
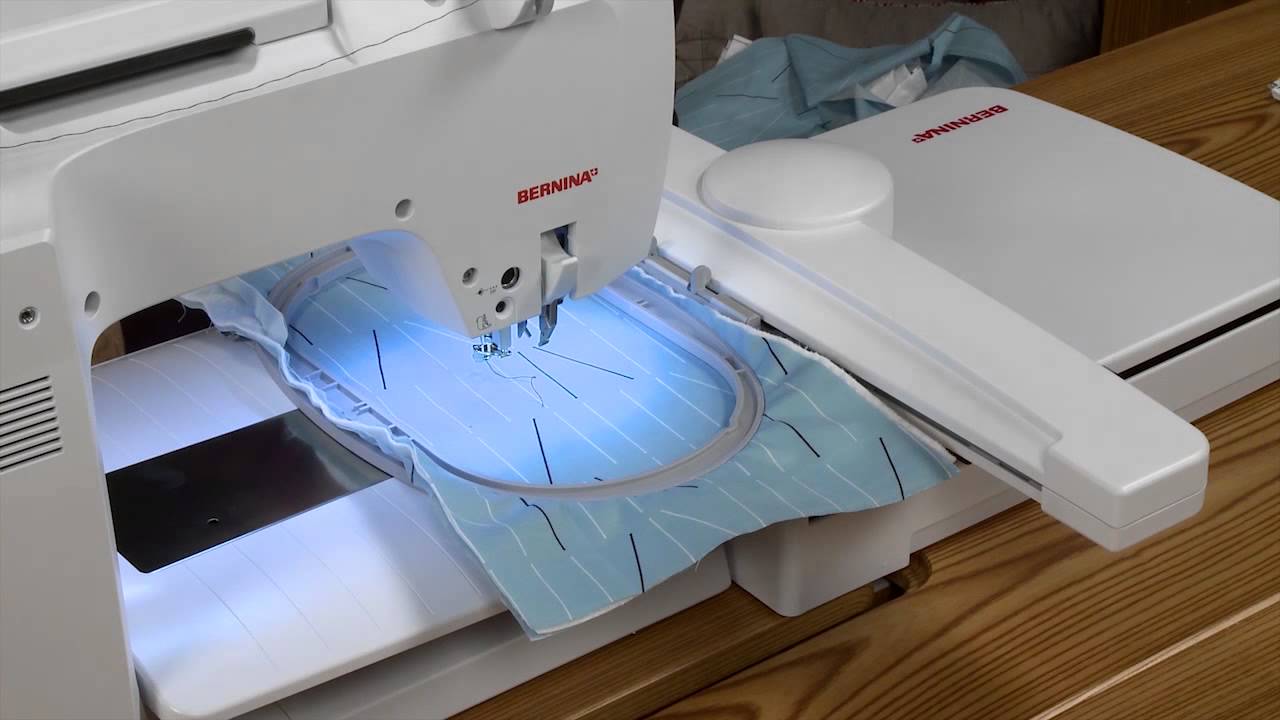
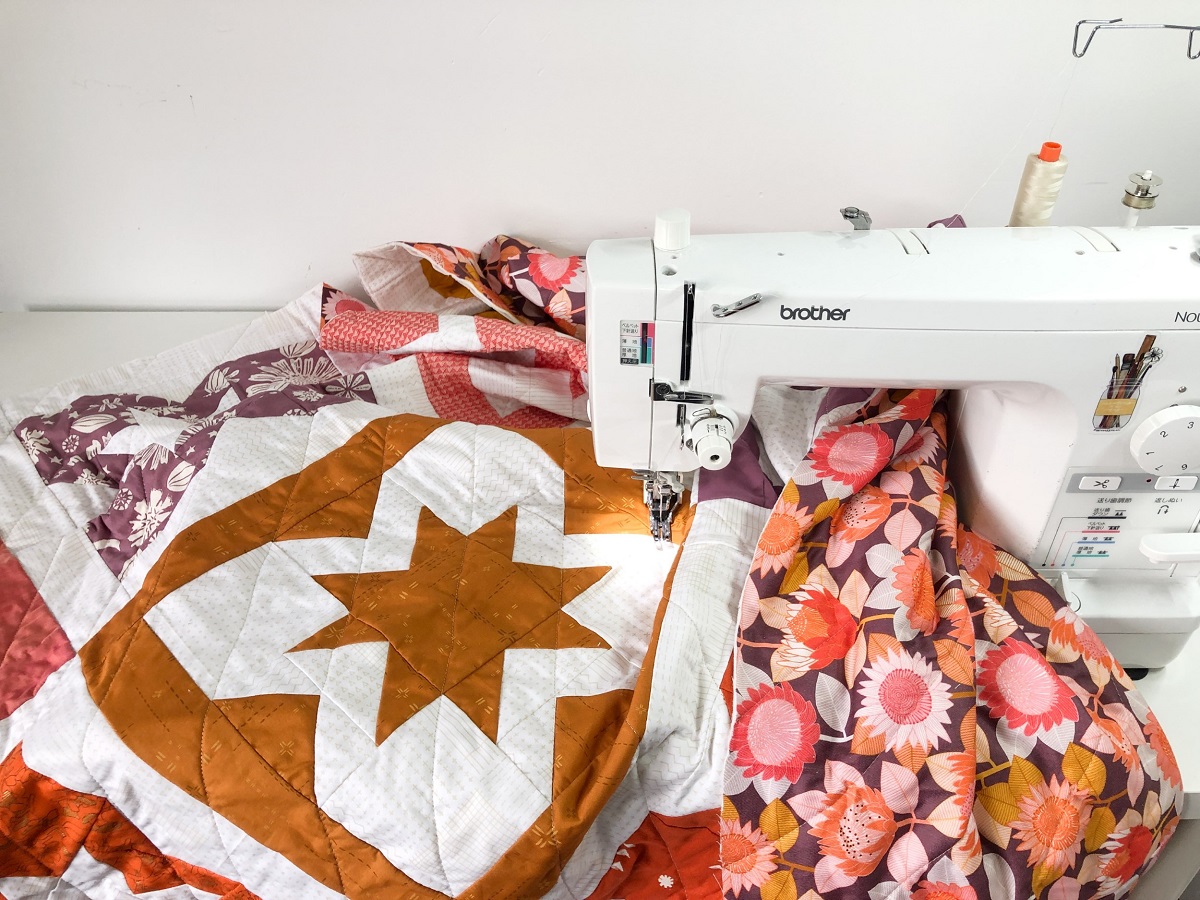
Hooping and Stabilizing the Quilt Sandwich
Hooping and stabilizing the quilt sandwich is a critical step in quilting with an embroidery machine. This process ensures that the quilt remains stable during the stitching process, resulting in precise and professional-looking designs. Here’s how to hoop and stabilize the quilt sandwich:
- Prepare the Quilt Sandwich: The quilt sandwich consists of three layers: the quilt top, batting, and backing fabric. Ensure that all three layers are trimmed and squared up, aligning the edges as neatly as possible. Smooth out any wrinkles or creases to ensure a flat surface for hooping.
- Hoop Selection: Select a hoop that comfortably accommodates the size of your design and the area you want to embroider. Consider the size of the quilt sandwich and choose a hoop that allows for some extra space around the design. Keep in mind that larger hoops might require repositioning the quilt sandwich during the embroidery process.
- Position the Quilt Sandwich: Lay the backing fabric on a flat surface, right side down. Place the batting on top of the backing fabric, ensuring that it is centered and smooth. Finally, position the quilt top right side up on top of the batting. Smooth out any wrinkles or bumps to create a clean and even surface for hooping.
- Mark Hoop Placement: Use fabric-friendly marking tools, such as tailor’s chalk or removable fabric markers, to mark the center and alignment points on the quilt top. These markings will help you position the hoop accurately and ensure that the design is centered and aligned correctly.
- Attach the Stabilizer: Cut a piece of stabilizer slightly larger than the hoop size. Place it on the wrong side of the quilt sandwich, aligning the stabilizer with the marked placement lines. Use temporary spray adhesive or temporary basting stitches to secure the stabilizer to the fabric. Avoid placing any adhesive or stitches in the areas where the embroidery will be stitched.
- Hooping the Quilt Sandwich: Carefully lift the quilt sandwich and slide it into the hoop. Align the marked center and reference points on the quilt top with the corresponding markings on the hoop. Gently press down on the hoop to secure the fabric and stabilizer in place. Ensure that the quilt sandwich is taut but not stretched within the hoop.
- Check Hoop Alignment: Once the quilt sandwich is hooped, double-check that it is aligned properly. Ensure that the marked center and reference points are still aligned with the hoop markings. Make any necessary adjustments before moving on to the embroidery process.
- Secure the Hoop: Once you are satisfied with the hoop alignment, secure it firmly onto your embroidery machine. Follow the manufacturer’s instructions for attaching the hoop to ensure it is locked in place and ready for stitching.
Hooping and stabilizing the quilt sandwich may take some practice to achieve the perfect tension and alignment. Take your time to position the quilt sandwich accurately and ensure that it is securely hooped. This will result in beautifully embroidered designs and prevent any shifting or distortion during the stitching process.
When quilting with an embroidery machine, use stabilizer to prevent fabric puckering and ensure smooth stitching. Choose designs that complement your quilt pattern for a professional finish.
Setting up your Embroidery Machine for Quilting
Before you start quilting with your embroidery machine, it’s essential to properly set up the machine for optimal performance. Here are the key steps to follow when setting up your embroidery machine for quilting:
- Thread the Machine: Begin by threading your embroidery machine following the manufacturer’s instructions. Ensure that the thread is securely threaded through the machine’s various guides, tension discs, and needle. Use high-quality embroidery thread that is compatible with your machine for best results.
- Insert the Appropriate Needle: Select the appropriate needle for your quilting project and insert it into the machine. Use embroidery needles that are designed to withstand the demands of embroidery stitching and penetrate the layers of fabric and stabilizer effectively. Consult your machine’s user manual for the recommended needle size and type.
- Choose the Embroidery Design: Select the embroidery design you want to stitch onto your quilted project. Ensure that the design is compatible with your machine’s file format and size requirements. Load the design onto the machine using a USB drive or transfer it via a computer connection, depending on your machine’s capabilities.
- Adjust the Hoop Setting: Set the hoop size on your embroidery machine to match the size of the hoop you are using for your project. This ensures that the machine knows the embroidery area it needs to stitch within and avoids any accidental collisions with the hoop during stitching.
- Position the Hoop: Carefully position the hoop on the machine’s embroidery bed, aligning it with the machine’s embroidery arm or attachment. Ensure that the hoop is securely attached to the machine and that it doesn’t interfere with the machine’s movement or needle.
- Select the Stitch Settings: Set the appropriate stitch settings for your quilting project. Adjust the stitch length, width, density, and any other relevant settings based on the design and fabric you are working with. Consult your machine’s user manual for guidance on adjusting stitch settings for embroidery quilting.
- Test the Design: Before stitching the design onto your quilt, it’s always a good idea to do a test run on a scrap fabric or a similar fabric as your quilt. This allows you to check the placement, tension, and overall appearance of the design. Adjust any settings as needed to ensure the desired results.
- Prepare the Quilt Sandwich: With the machine properly set up, ensure that your quilt sandwich is hooped and stabilized as per the instructions mentioned earlier. Make sure the fabric, batting, and backing are aligned and taut within the hoop.
- Prepare the Machine for Quilting: Once the machine is ready, position the hooped quilt sandwich under the machine’s needle. Lower the needle to penetrate the fabric and check the alignment one final time. Start the embroidery process, and the machine will begin stitching the selected design onto your quilt.
By following these setup steps, you can ensure that your embroidery machine is ready to produce stunning quilted designs. Always refer to your specific machine’s user manual for detailed instructions and recommendations to make the most of your machine’s quilting capabilities.
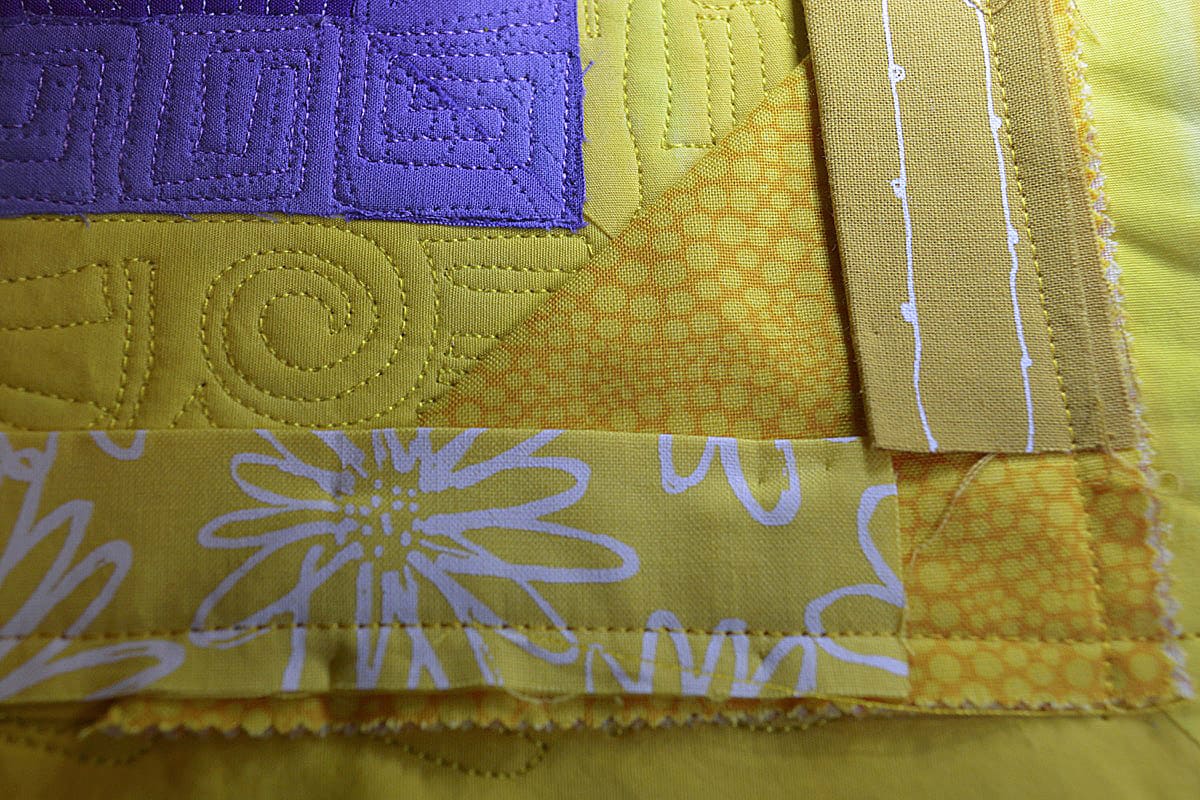
Embroidery Techniques for Quilting
Embroidery opens up a world of creative possibilities when it comes to quilting. By incorporating various embroidery techniques into your quilting projects, you can add texture, dimension, and intricate details. Here are some embroidery techniques to consider for quilting:
- Fill Stitch: The fill stitch is commonly used to create solid areas of embroidery within quilted designs. It involves stitching closely spaced parallel lines to fill in a shape or area. Adjusting the stitch density can create different effects, from tightly packed stitches to a more open and airy appearance.
- Satin Stitch: The satin stitch is ideal for creating smooth and dense lines of embroidery. It involves closely spaced stitches that completely cover the fabric, resulting in a solid and smooth appearance. Satin stitches are perfect for outlining shapes or creating intricate details in your quilting designs.
- Appliqué: Appliqué is a popular technique in quilting that involves attaching fabric shapes onto a background fabric. It can be combined with embroidery to add additional decorative touches. Use embroidery stitches to secure the appliqué fabric onto the background, creating a beautiful fusion of fabrics and stitches.
- Trapunto: Trapunto is a technique that adds extra dimension and texture to quilts. It involves adding a layer of batting or stuffing under specific areas of the quilt top, highlighting those areas with raised lines or motifs. Embroidery stitches can then be used to secure and further embellish the trapuntoed sections.
- Quilting in the Hoop: Some embroidery machines offer the capability to quilt and embroider designs in the hoop simultaneously. This technique allows you to create quilted blocks or sections with decorative embroidery stitches in one step. Experiment with different quilting and embroidery designs to achieve unique and intricate quilted effects.
- Free-Motion Embroidery: Free-motion embroidery is a versatile technique that allows you to move the fabric freely under the machine’s needle, creating your own unique designs. Use a darning or free-motion foot on your embroidery machine for this technique. With practice, you can create beautiful patterns, motifs, or even personalized handwriting on your quilting projects.
- Thread Painting: Thread painting is a technique that mimics the look of traditional painting using embroidery thread. It involves layering and blending colors to create shading, highlights, and texture. Thread painting adds depth and realism to your quilted designs and allows for precise and detailed stitchwork.
- Shadow Work: Shadow work involves stitching on the backside of a sheer or lightweight fabric to create a subtle, shadow-like effect on the right side of the fabric. This technique can be combined with embroidery stitching to create delicate and ethereal designs on your quilts.
- Quilt Label Embroidery: Adding a personalized quilt label is a thoughtful way to document your quilting projects. Use your embroidery machine to stitch the details of the quilt, such as the quilt name, date, and your signature or message. This adds a personal touch and makes your quilt even more special.
Experiment with these embroidery techniques to enhance your quilting projects. Each technique offers unique possibilities for adding texture, detail, and artistic flair to your quilted designs. With practice and creativity, you can create stunning and one-of-a-kind quilted masterpieces using embroidery.
Tips and Tricks for Successful Quilting with an Embroidery Machine
Quilting with an embroidery machine can be a rewarding and enjoyable experience. To help you achieve the best results, here are some helpful tips and tricks for successful quilting with an embroidery machine:
- Use a Test Stitch: Before stitching on your quilt project, always do a test stitch on a scrap piece of fabric or a quilt sandwich made of similar materials. This allows you to check the thread tension, stitch quality, and design placement. Make any necessary adjustments before starting on your quilt.
- Secure the Edges: To prevent fabric fraying or shifting during the embroidery process, consider using a water-soluble stabilizer or temporary fabric adhesive along the edges of your fabric. This provides extra stability and ensures clean and precise stitching.
- Optimize Thread Colors: Take the time to plan your thread colors and consider the contrast between the thread and the fabric. Choose thread colors that will stand out and enhance the design. Consider using variegated threads or metallic threads to add extra visual interest.
- Clean the Machine Regularly: Regularly clean your embroidery machine, including the bobbin case, needle area, and thread path. This helps prevent thread buildup or lint that can affect the machine’s performance and stitching quality. Follow the manufacturer’s instructions for proper cleaning techniques.
- Use a Hoop Guard: Consider using a hoop guard, also known as a hoop template, to protect the fabric surrounding the hoop area during the embroidery process. The hoop guard helps prevent fabric distortion or marks caused by the hoop tightening mechanism.
- Consider Taping the Fabric: To further secure the fabric within the hoop and minimize the risk of shifting, consider using embroidery tape or masking tape along the edges of the fabric. This provides an extra layer of stability and helps maintain alignment.
- Take Breaks: Embroidering large quilt projects can be time-consuming. Remember to take breaks and allow your machine to rest. This helps prevent overheating and ensures that the machine continues to operate smoothly for the duration of your project.
- Experiment with Thread Tension: Adjusting the thread tension is crucial for achieving even and balanced stitch quality. Experiment with the tension settings on your machine to find the right balance for your specific fabric and thread. Test the tension on scrap fabric before working on your quilt.
- Back-Up Your Designs: Regularly back up your embroidery designs on your computer or external storage device. This protects your designs in case of unforeseen machine or file issues. It’s better to be safe than sorry and avoid the loss of your valuable embroidery designs.
- Practice Patience and Persistence: Quilting with an embroidery machine can be a learning process. Be patient with yourself and allow for mistakes. Embrace the learning experience and persist in trying new techniques and designs. With practice, your quilting skills will continue to improve.
By following these tips and tricks, you can enhance your quilting experience with an embroidery machine and achieve beautiful and professional results. Remember to have fun, be creative, and enjoy the journey of quilting with your embroidery machine.
Read more: How To Wash A Quilt In A Washing Machine
Troubleshooting Common Issues in Quilting with an Embroidery Machine
Quilting with an embroidery machine can sometimes come with its share of challenges. However, with the right troubleshooting techniques, you can overcome common issues and ensure a smooth quilting experience. Here are some common issues you may encounter while quilting with an embroidery machine, along with their troubleshooting solutions:
- Thread Breakage: If you experience frequent thread breakage, check for the following:
– Ensure that the thread is threaded correctly through the machine’s guides and tension discs.
– Check that the thread is not caught or tangled on any parts of the machine.
– Use a high-quality embroidery thread suitable for your machine and fabric.
– Adjust the thread tension as needed, following the manufacturer’s recommendations. - Skipped Stitches: If you notice skipped stitches in your embroidery, try the following steps:
– Check that the needle is properly installed and not dull or bent.
– Use a stabilizer appropriate for the fabric and design.
– Reduce the stitching speed to allow the machine to properly form stitches.
– Clean the machine and remove any lint or debris that may be affecting the needle’s movement. - Fabric Puckering: If your fabric is puckering during embroidery, consider the following solutions:
– Ensure that you are using the correct stabilizer and that it is providing enough support for the fabric.
– Check the tension of the hoop; it may be too tight and causing the fabric to pucker.
– Use temporary spray adhesive or basting stitches to secure the fabric and prevent shifting. - Misaligned Designs: If your embroidery designs are not aligning properly, try the following methods:
– Double-check that the fabric is hooped and centered correctly within the hoop.
– Ensure that the hoop is securely attached to the machine and that it is not interfering with the needle’s movement.
– Use marked reference points on the fabric and the hoop to ensure accurate alignment. - Poor Design Registration: If your embroidery design registration is off, consider these troubleshooting steps:
– Make sure the embroidery file is compatible with your machine.
– Check that the design is properly centered within the hoop before starting the stitching.
– Optimize the machine settings for design placement, such as adjusting the stitch density or resizing the design if necessary. - Machine Error Messages: If you encounter error messages on your embroidery machine, follow these troubleshooting steps:
– Consult the machine’s user manual for error code explanations and suggested solutions.
– Check if any parts of the machine may be jammed, obstructed, or in need of cleaning.
– Power off the machine, wait a few minutes, and power it back on to see if the error clears.
– If the problem persists, contact the manufacturer or a professional technician for assistance. - Thread Tension Issues: If you’re experiencing inconsistent thread tension, consider these solutions:
– Check that the thread is correctly threaded through the machine’s tension discs and guides.
– Adjust the thread tension gradually, testing it on scrap fabric until it produces even and balanced stitches.
– Ensure that the bobbin thread is wound evenly and correctly inserted into the machine.Remember, each machine may have its unique quirks and troubleshooting solutions, so always refer to the manufacturer’s manual for specific recommendations. Don’t be discouraged by these issues as they are common, and with practice and persistence, you’ll refine your techniques and become a skilled quilter with an embroidery machine. Happy quilting!
Finishing and Care for Your Quilted Projects
Once you have completed your quilted projects using an embroidery machine, it’s important to give them proper finishing touches and care to ensure their longevity and beauty. Here are some essential steps for finishing and caring for your quilted projects:
- Trimming and Binding: After removing the quilt from the embroidery machine, trim any excess fabric or batting to achieve neat and even edges. Next, apply binding to enclose the raw edges of the quilt. Whether you use single-fold or double-fold binding, ensure it is securely stitched in place, either by hand or machine.
- Pressing: Once the binding is attached, carefully press the finished quilt to remove any wrinkles or creases. Use a pressing cloth and low heat to protect delicate fabrics or embroidery threads. Pressing gives the quilt a polished and professional appearance.
- Labeling: Add an embroidered label to your quilt to mark it as your creation. Include details such as the quilt name, date, and your name or initials. This adds a personal touch, helps identify your work, and makes it a cherished heirloom for yourself or the recipient.
- Storage: Proper storage is crucial for preserving the lifespan and quality of your quilted projects. Store quilts in a cool, dry, and clean place, away from direct sunlight to prevent fading. Avoid folding quilts tightly to prevent stress on the embroidery threads. Consider rolling or folding quilts loosely and placing them in acid-free storage boxes or bags.
- Cleaning: Over time, quilts may require cleaning to remove dust or stains. Always follow the care instructions provided by the fabric and batting manufacturers. Hand washing or spot cleaning is typically recommended. If machine-washing is necessary, use a gentle cycle and mild detergent. Air-dry the quilt or use low heat in the dryer to prevent damage.
- Displaying: Showcase your beautiful quilted projects by properly displaying them. Use quilt hangers, racks, or quilt stands to hang them on walls or display them on beds or furniture. These displays protect the quilts while allowing them to be admired and enjoyed.
- Occasional Inspection: Periodically inspect your quilted projects for loose stitches, fraying, or any signs of wear. Repair any damaged areas promptly to prevent further unraveling or deterioration. It’s better to address minor issues early on before they become major problems.
- Appreciation and Sharing: Lastly, your quilted projects are meant to be appreciated and shared. Display your quilts in your home, give them as cherished gifts to loved ones, or enter them in quilt shows or competitions. Share your quilting journey and inspire others to explore the art of quilting with an embroidery machine.
By following these steps for finishing and caring for your quilted projects, you can ensure that they retain their beauty and durability for years to come. Treat each quilt with love and care, and they will become cherished heirlooms to be enjoyed by generations to come.
Conclusion
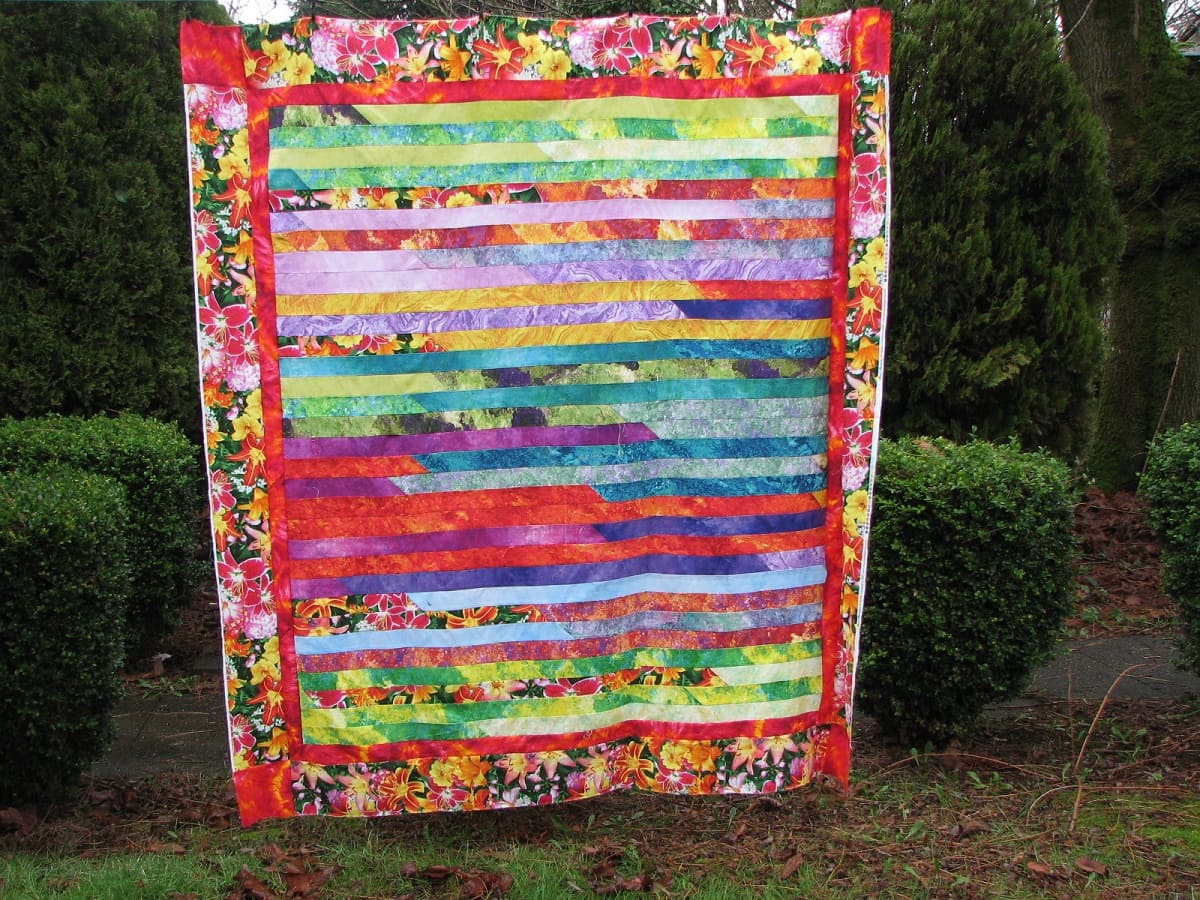
Quilting with an embroidery machine opens up a world of creativity and possibilities. From intricate designs to textured stitching, this technique allows you to create stunning and personalized quilted projects. By following the steps and tips outlined in this article, you can embark on a successful quilting journey with your embroidery machine.
Choosing the right embroidery machine, gathering the essential supplies, and properly preparing your fabric are key steps in setting the stage for successful quilting. Hooping and stabilizing the quilt sandwich ensure that your fabric remains stable during embroidery, resulting in precise and professional-looking designs.
By selecting and preparing embroidery designs, you can add a unique touch to your quilts. Experimenting with various embroidery techniques, such as fill stitch, satin stitch, and appliqué, allows you to add depth, dimension, and texture to your quilted projects.
As with any craft, troubleshooting common issues is part of the quilting process. By understanding how to address issues like thread breakage, misalignment, or tension problems, you can overcome challenges and overcome obstacles along the way.
Properly finishing and caring for your quilted projects is essential for their longevity and beauty. Trimming, binding, pressing, and labeling provide the final touches that elevate your quilts to a professional level. Proper storage, cleaning, and occasional inspection ensure that your quilted creations stay vibrant and well-preserved over time.
Quilting with an embroidery machine is both an art form and a skill that can be honed and perfected through practice and patience. The joy of creating beautifully quilted projects with intricate embroidery is unparalleled. So, embrace the possibilities, let your creativity soar, and enjoy the journey of quilting with your embroidery machine.
May your quilts be filled with love, warmth, and the beauty of your artistic expression. Happy quilting!
Frequently Asked Questions about How To Quilt With Embroidery Machine
Can I use any embroidery machine for quilting?While some embroidery machines are specifically designed for quilting, many regular embroidery machines can also be used for quilting. However, it’s important to consider the machine’s hoop size, quilting features, and compatibility with quilting designs.What are the benefits of quilting with an embroidery machine?Quilting with an embroidery machine allows for precise and intricate stitching, making it easier to create complex quilt designs. It also saves time and effort compared to traditional hand quilting, and provides a professional finish to your quilting projects.How do I choose the right quilting designs for my project?When choosing quilting designs for your project, consider the size and shape of your quilt blocks, as well as the overall theme and style of your quilt. Look for designs that complement your quilt top and enhance its visual appeal.Can I quilt large projects with an embroidery machine?Yes, many embroidery machines offer large hoop sizes and multi-hooping capabilities, allowing you to quilt large projects with ease. Just make sure to properly stabilize and support the fabric to prevent any shifting or puckering during the quilting process.What are some tips for successful quilting with an embroidery machine?To ensure successful quilting with an embroidery machine, always use high-quality quilting thread, properly stabilize your fabric, and test your quilting designs on scrap fabric before stitching them onto your quilt. Additionally, make sure to maintain and clean your machine regularly for optimal performance.
Was this page helpful?
At Storables.com, we guarantee accurate and reliable information. Our content, validated by Expert Board Contributors, is crafted following stringent Editorial Policies. We're committed to providing you with well-researched, expert-backed insights for all your informational needs.


0 thoughts on “How To Quilt With Embroidery Machine”