Home>Renovation & DIY>Home Renovation Guides>How To Build A Gable Roof
Home Renovation Guides
How To Build A Gable Roof
Modified: February 17, 2024
Learn how to build a gable roof with our comprehensive home renovation guide. Get expert tips and step-by-step instructions for a successful project.
(Many of the links in this article redirect to a specific reviewed product. Your purchase of these products through affiliate links helps to generate commission for Storables.com, at no extra cost. Learn more)
Introduction
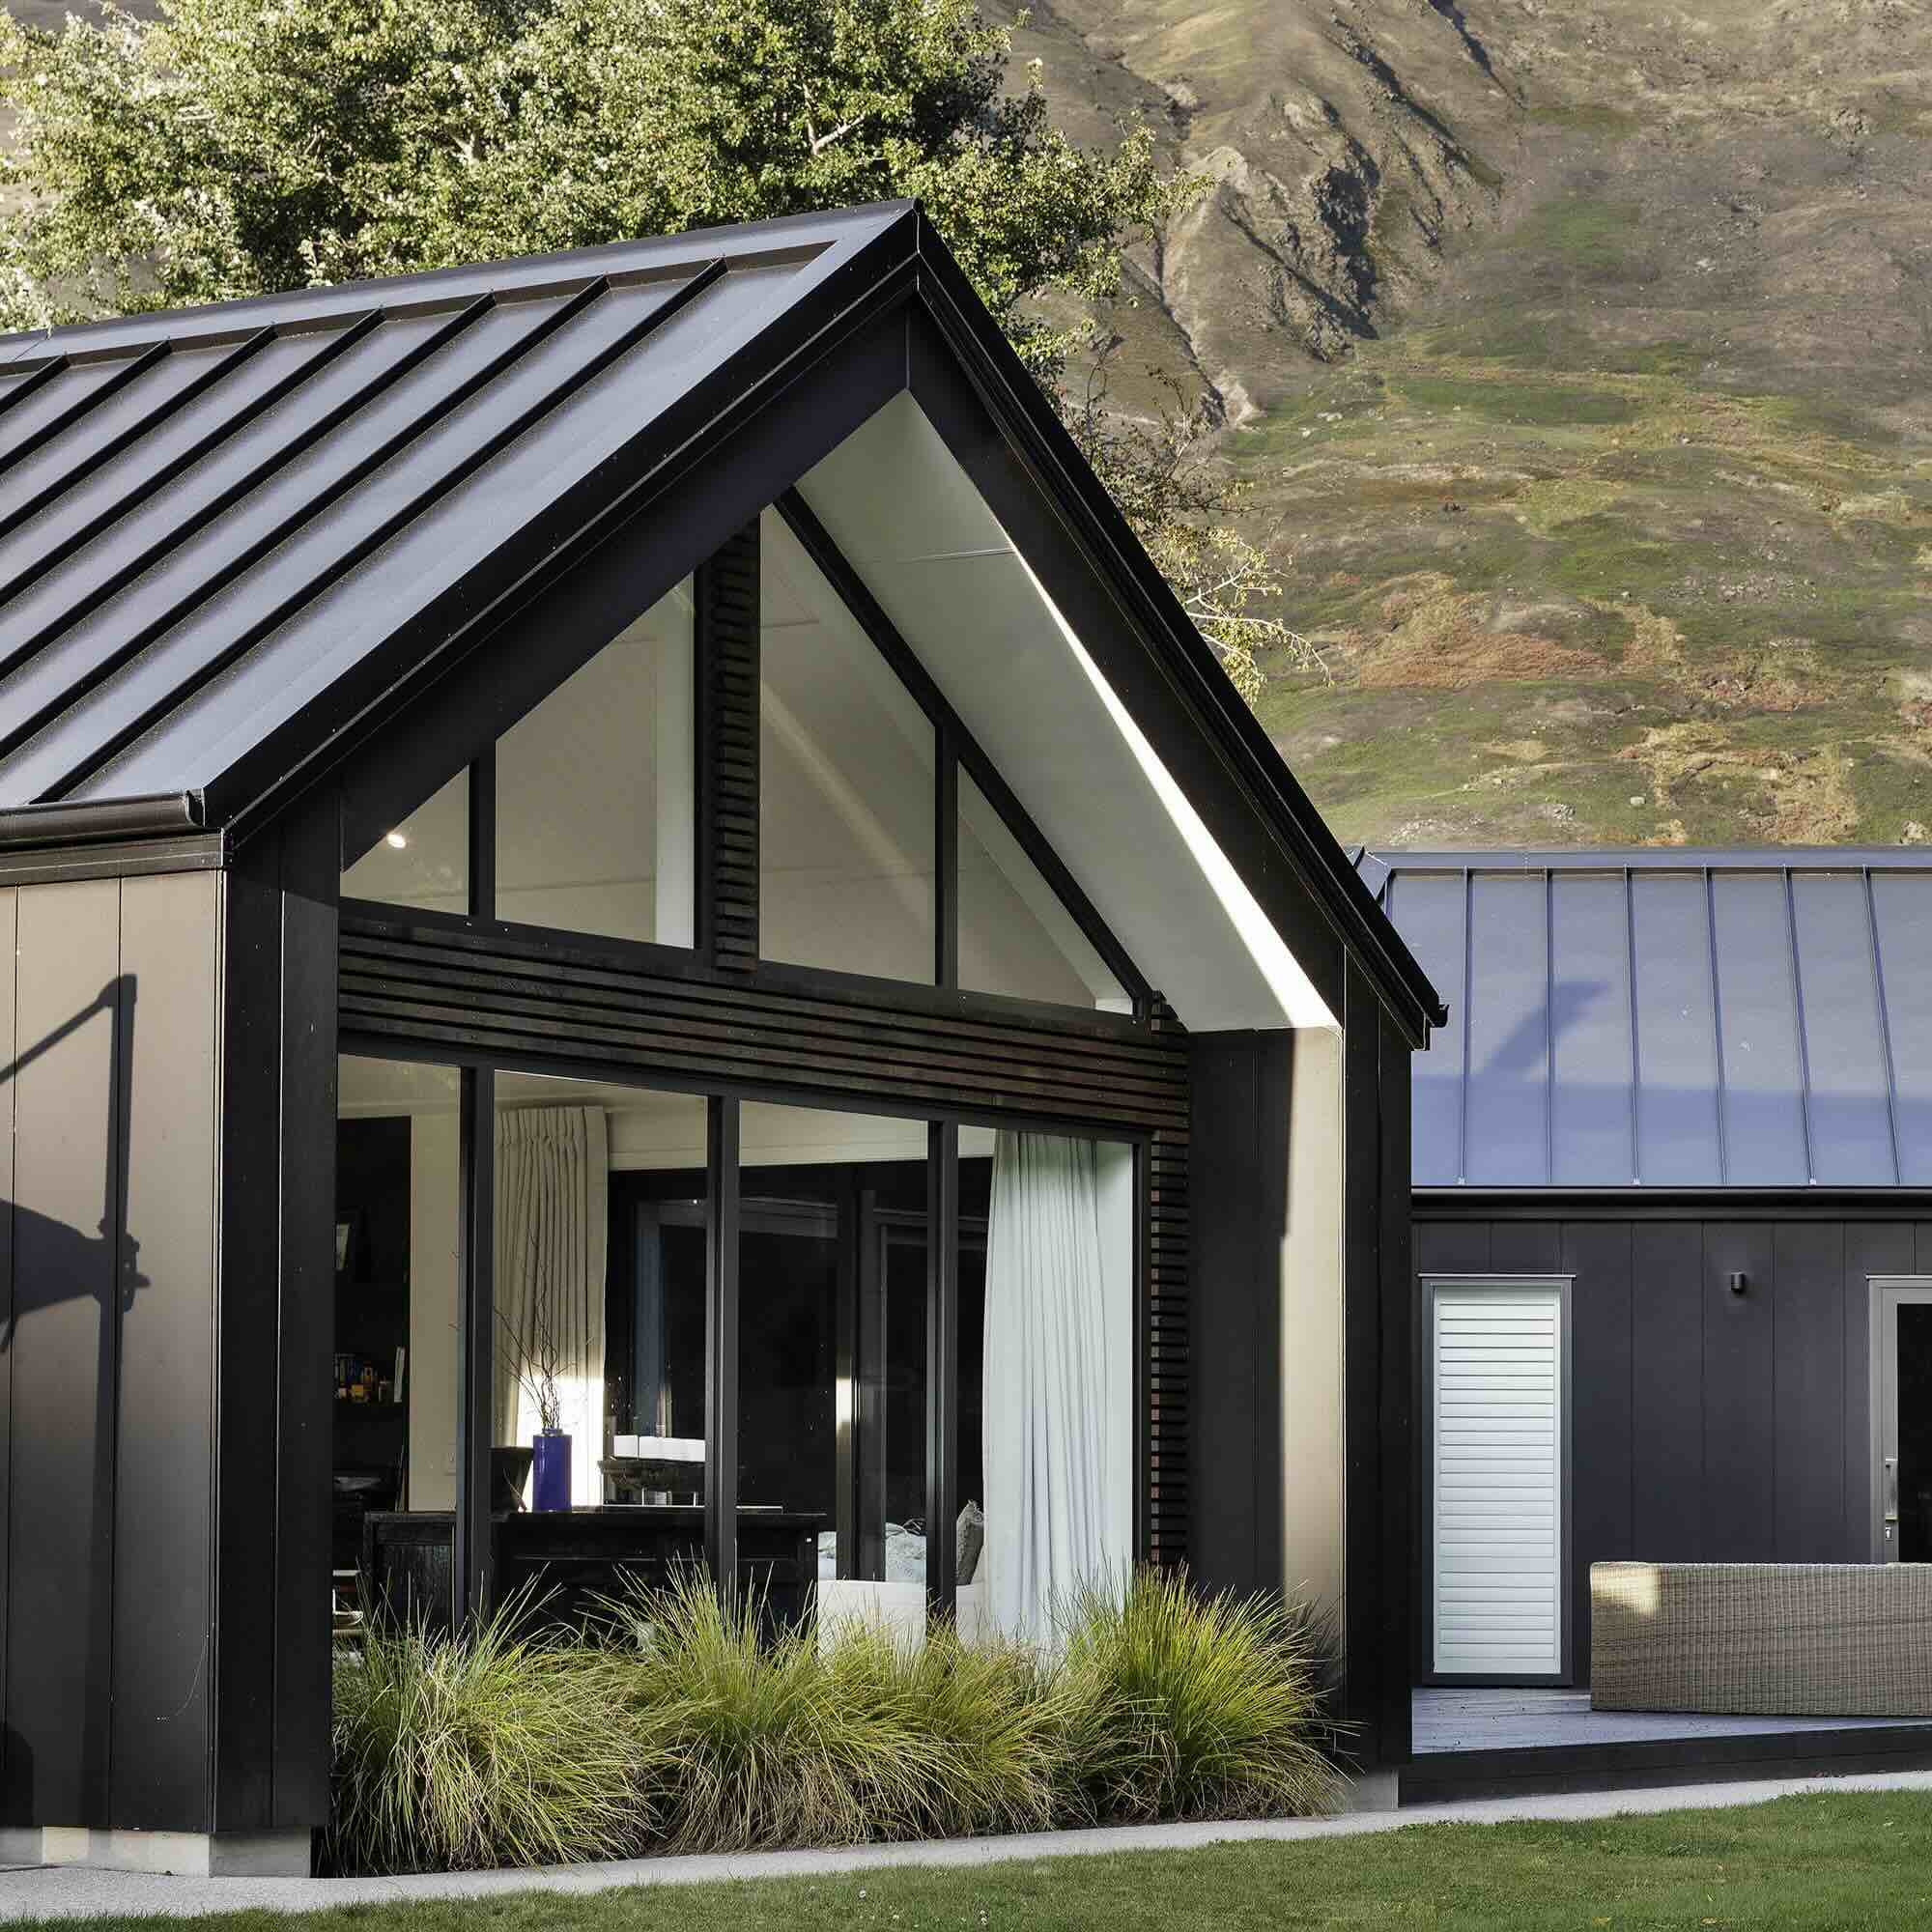
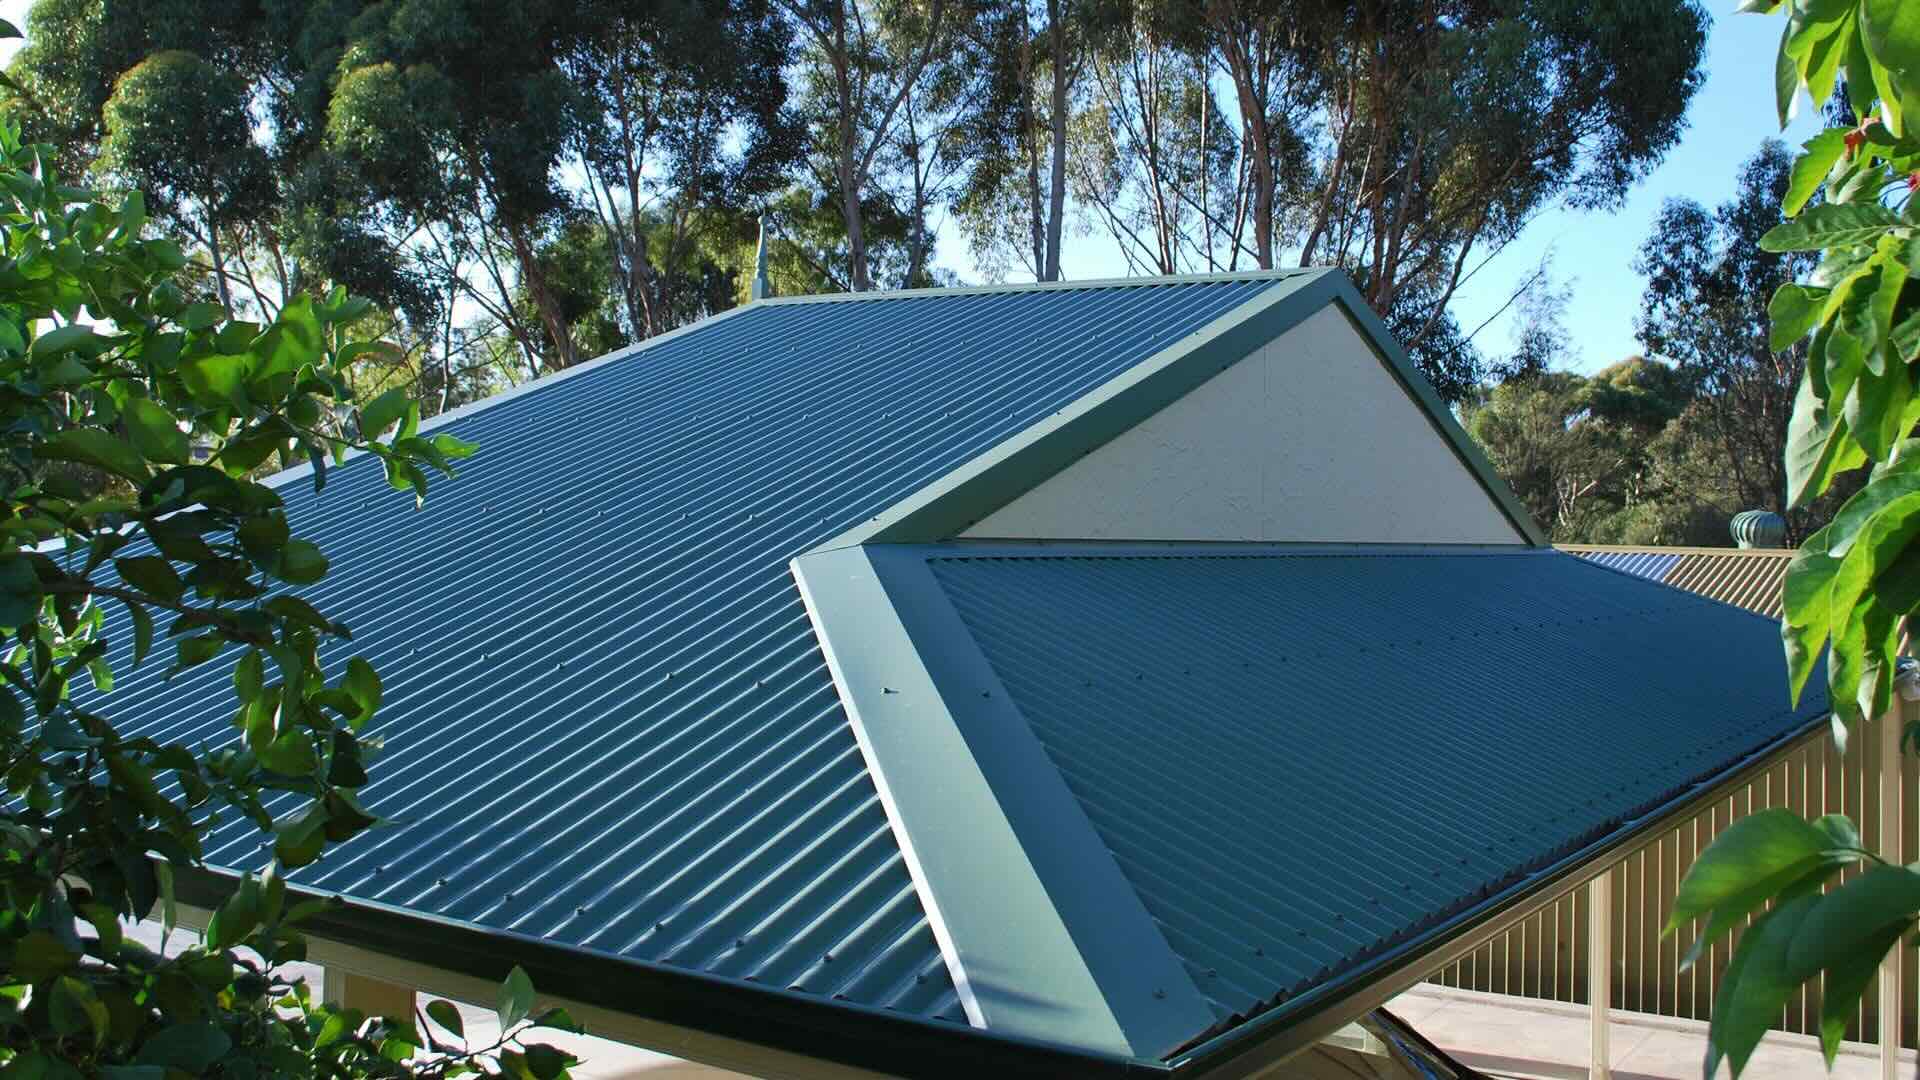
Building a gable roof is a rewarding and practical project that can enhance the aesthetic appeal and functionality of your home. Whether you're constructing a new outdoor structure or renovating an existing one, a gable roof offers a timeless and versatile design that complements various architectural styles. Its classic triangular shape not only provides excellent water runoff and ventilation but also creates additional space for storage or living areas within the roof.
In this comprehensive guide, we will walk you through the step-by-step process of building a gable roof, from gathering the necessary tools and materials to adding the finishing touches. By following these instructions, you can embark on a fulfilling DIY journey and create a durable and visually appealing gable roof that will stand the test of time.
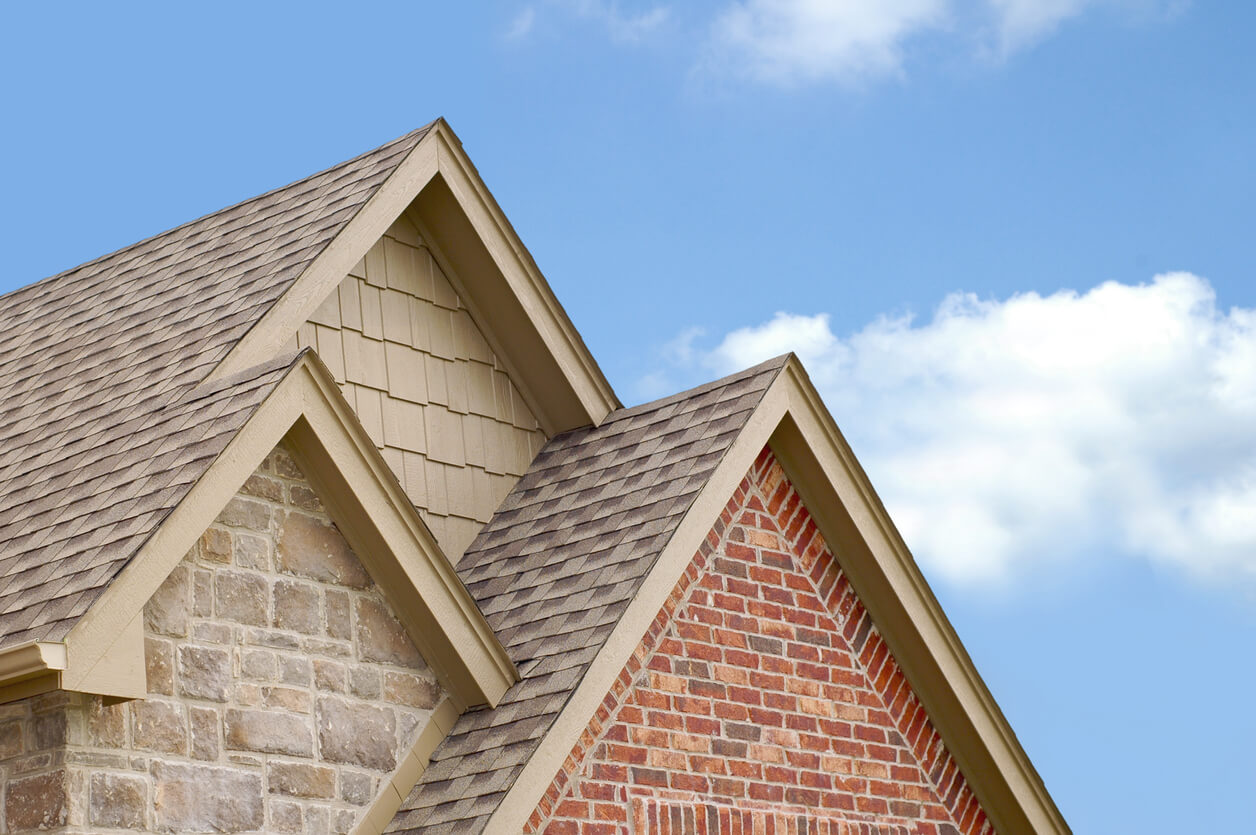
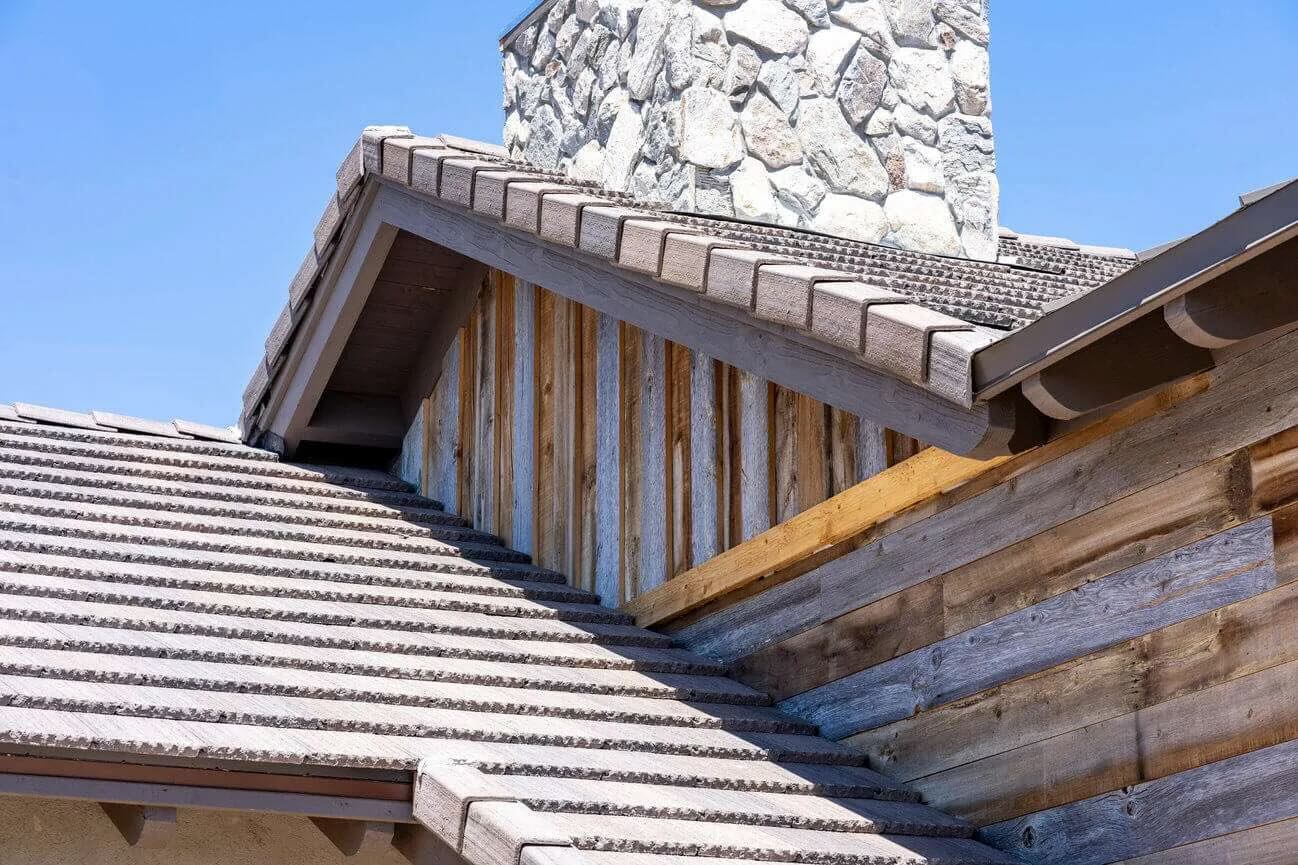
Before diving into the construction process, it's essential to familiarize yourself with the basic terminology and components of a gable roof. The key elements include the rafters, which form the inclined sides of the roof, the ridge board that connects the top ends of the rafters, and the sheathing and roofing materials that provide weather protection. Understanding these fundamental aspects will empower you to approach the construction with confidence and precision.
As you embark on this endeavor, keep in mind that safety should always be a top priority. Working at heights and handling heavy materials require caution and adherence to proper safety measures. Additionally, consider obtaining any necessary permits or approvals from local authorities before commencing the construction, ensuring compliance with building codes and regulations.
With the right mindset, preparation, and attention to detail, you can embark on this journey with confidence, knowing that you are equipped with the knowledge and guidance to successfully build a gable roof. So, let's roll up our sleeves and delve into the exciting process of bringing your gable roof vision to life!
Key Takeaways:
- Building a gable roof requires precise measurements, sturdy materials, and attention to detail. From cutting rafters to installing roofing, each step contributes to creating a durable and visually appealing structure.
- Adding finishing touches, such as fascia, gutters, and protective finishes, enhances the functionality and aesthetics of a gable roof. These details elevate the roof from functional to visually striking, contributing to its longevity and appeal.
Read more: How To Build Gable Roof
Step 1: Gather the necessary tools and materials
Before embarking on the construction of a gable roof, it's crucial to gather all the essential tools and materials to ensure a smooth and efficient building process. Here's a comprehensive list of the items you'll need:
Tools:
- Measuring Tape: Accurate measurements are vital for precision in cutting and assembling the roof components.
- Circular Saw: This power tool will be used for cutting the rafters and sheathing to the required dimensions.
- Ladder: A sturdy ladder is essential for safe access to the roof and working at elevated heights.
- Hammer or Nail Gun: Depending on your preference, choose the appropriate tool for securing the roof components.
- Level: Ensures that the rafters and ridge board are installed perfectly straight and level.
- Chalk Line: Used for marking straight and uniform lines on the roof sheathing and rafters.
- Roofing Square: This tool aids in creating accurate and consistent angles for the roof components.
- Safety Gear: Including gloves, goggles, and a hard hat to prioritize safety during construction.
Materials:
- Lumber: Select high-quality lumber for the rafters, ridge board, and sheathing. The specific dimensions will depend on the size and pitch of the gable roof.
- Ridge Connectors and Hangers: These are essential for securely connecting the rafters to the ridge board and supporting their weight.
- Roof Sheathing: Choose durable plywood or oriented strand board (OSB) for the sheathing to provide a solid base for the roofing material.
- Roofing Material: Options include asphalt shingles, metal panels, or other suitable roofing materials based on your preference and local climate.
- Nails or Screws: Select appropriate fasteners for securing the roof components, ensuring they are compatible with the chosen materials.
- Roofing Felt or Underlayment: Provides an additional layer of protection against moisture and ensures a weatherproof seal for the roof.
By gathering these tools and materials, you'll set the stage for a successful gable roof construction project. With everything in place, you'll be ready to move on to the next step: measuring and marking the roof dimensions.
Step 2: Measure and mark the roof dimensions
Accurate measurements and precise marking are fundamental to the successful construction of a gable roof. Before cutting any materials, it's crucial to carefully measure and mark the roof dimensions to ensure that the rafters, ridge board, and sheathing align perfectly, resulting in a structurally sound and visually appealing roof.
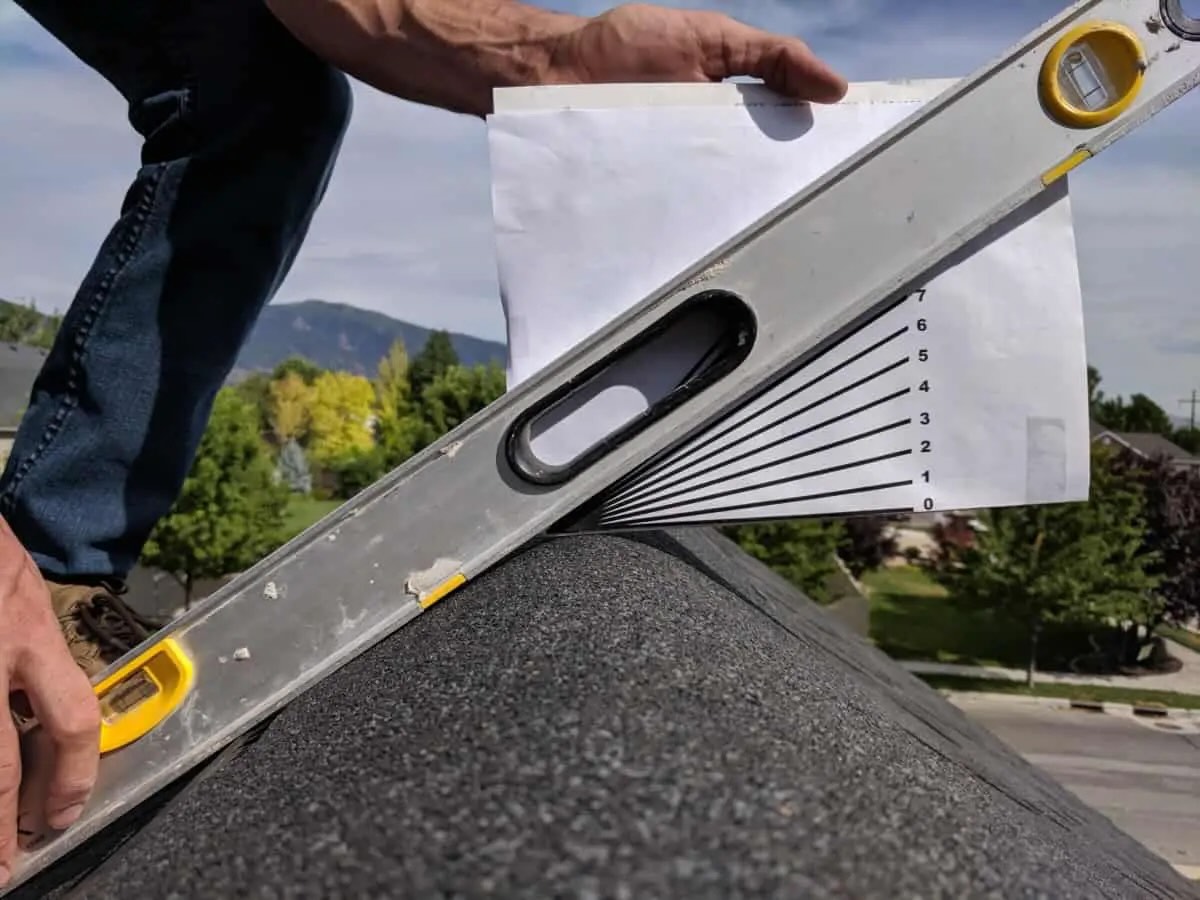
To begin this crucial step, start by determining the pitch of the gable roof. The pitch, often expressed as a ratio such as 4:12, indicates the incline of the roof and influences the length and angle of the rafters. Using a roofing square, which features various angle markings, you can easily determine the required angle for the cuts on the rafters.
Next, measure the span of the roof, which refers to the horizontal distance from one end of the gable to the other. This measurement is essential for calculating the length of the ridge board and the rafters. Additionally, consider the overhang, which determines the distance the rafters will extend beyond the walls of the structure. The overhang not only provides additional protection from the elements but also contributes to the overall aesthetic of the roof.
Once the pitch, span, and overhang measurements are determined, it's time to mark the precise locations for the rafters on the top plates of the structure's walls. Using a chalk line, create clear and straight guidelines for the placement of the rafters, ensuring that they are evenly spaced and aligned to support the roof's weight evenly.
After marking the rafter locations, proceed to mark the positions for the ridge board, which runs horizontally at the peak of the roof and connects the top ends of the rafters. Accurate placement of the ridge board is crucial for maintaining the structural integrity of the gable roof.
Throughout the measuring and marking process, attention to detail and precision is paramount. Double-check all measurements and markings to avoid errors that could compromise the stability and appearance of the gable roof. With the roof dimensions accurately measured and marked, you are now ready to move on to the next step: cutting the rafters to size.
By meticulously following these measurement and marking procedures, you lay the foundation for a successful gable roof construction project, setting the stage for seamless assembly and a visually striking end result.
Read more: How To Build A Gable Porch Roof
Step 3: Cut the rafters to size
With the roof dimensions accurately measured and marked, the next crucial step in building a gable roof is cutting the rafters to the precise size and angle required for installation. The rafters, which form the inclined sides of the roof, play a pivotal role in supporting the roof structure and transferring its weight to the walls of the building. Therefore, precision in cutting the rafters is essential to ensure the structural integrity and stability of the gable roof.
To begin this process, carefully select high-quality lumber that is suitable for the rafters. The specific dimensions and quantity of lumber required will depend on the size, pitch, and span of the gable roof, as determined during the measurement and marking phase. Using the measurements and pitch angle previously calculated, mark the lumber for each rafter, indicating the length and the angle for the cuts.
A crucial tool for this step is the circular saw, which allows for accurate and efficient cutting of the rafters to the required dimensions and angles. It is essential to precisely follow the marked guidelines to ensure that each rafter is cut to the correct length and angle, maintaining uniformity and consistency throughout the process.
As each rafter is cut, it's important to label or organize them according to their placement on the roof to avoid confusion during installation. Additionally, double-check the accuracy of each cut to guarantee that the rafters will fit seamlessly into their designated positions, forming a sturdy and symmetrical framework for the gable roof.
During the cutting process, prioritize safety by using appropriate personal protective equipment, such as goggles and gloves, and exercising caution when operating power tools. Additionally, ensure that the work area is clear of obstructions and that the lumber is adequately supported during cutting to prevent accidents and ensure precise results.
By meticulously cutting the rafters to the required size and angle, you lay the groundwork for the successful assembly of the gable roof. This step sets the stage for the subsequent installation of the ridge board and rafters, bringing you one step closer to completing the construction of a durable and visually appealing gable roof.
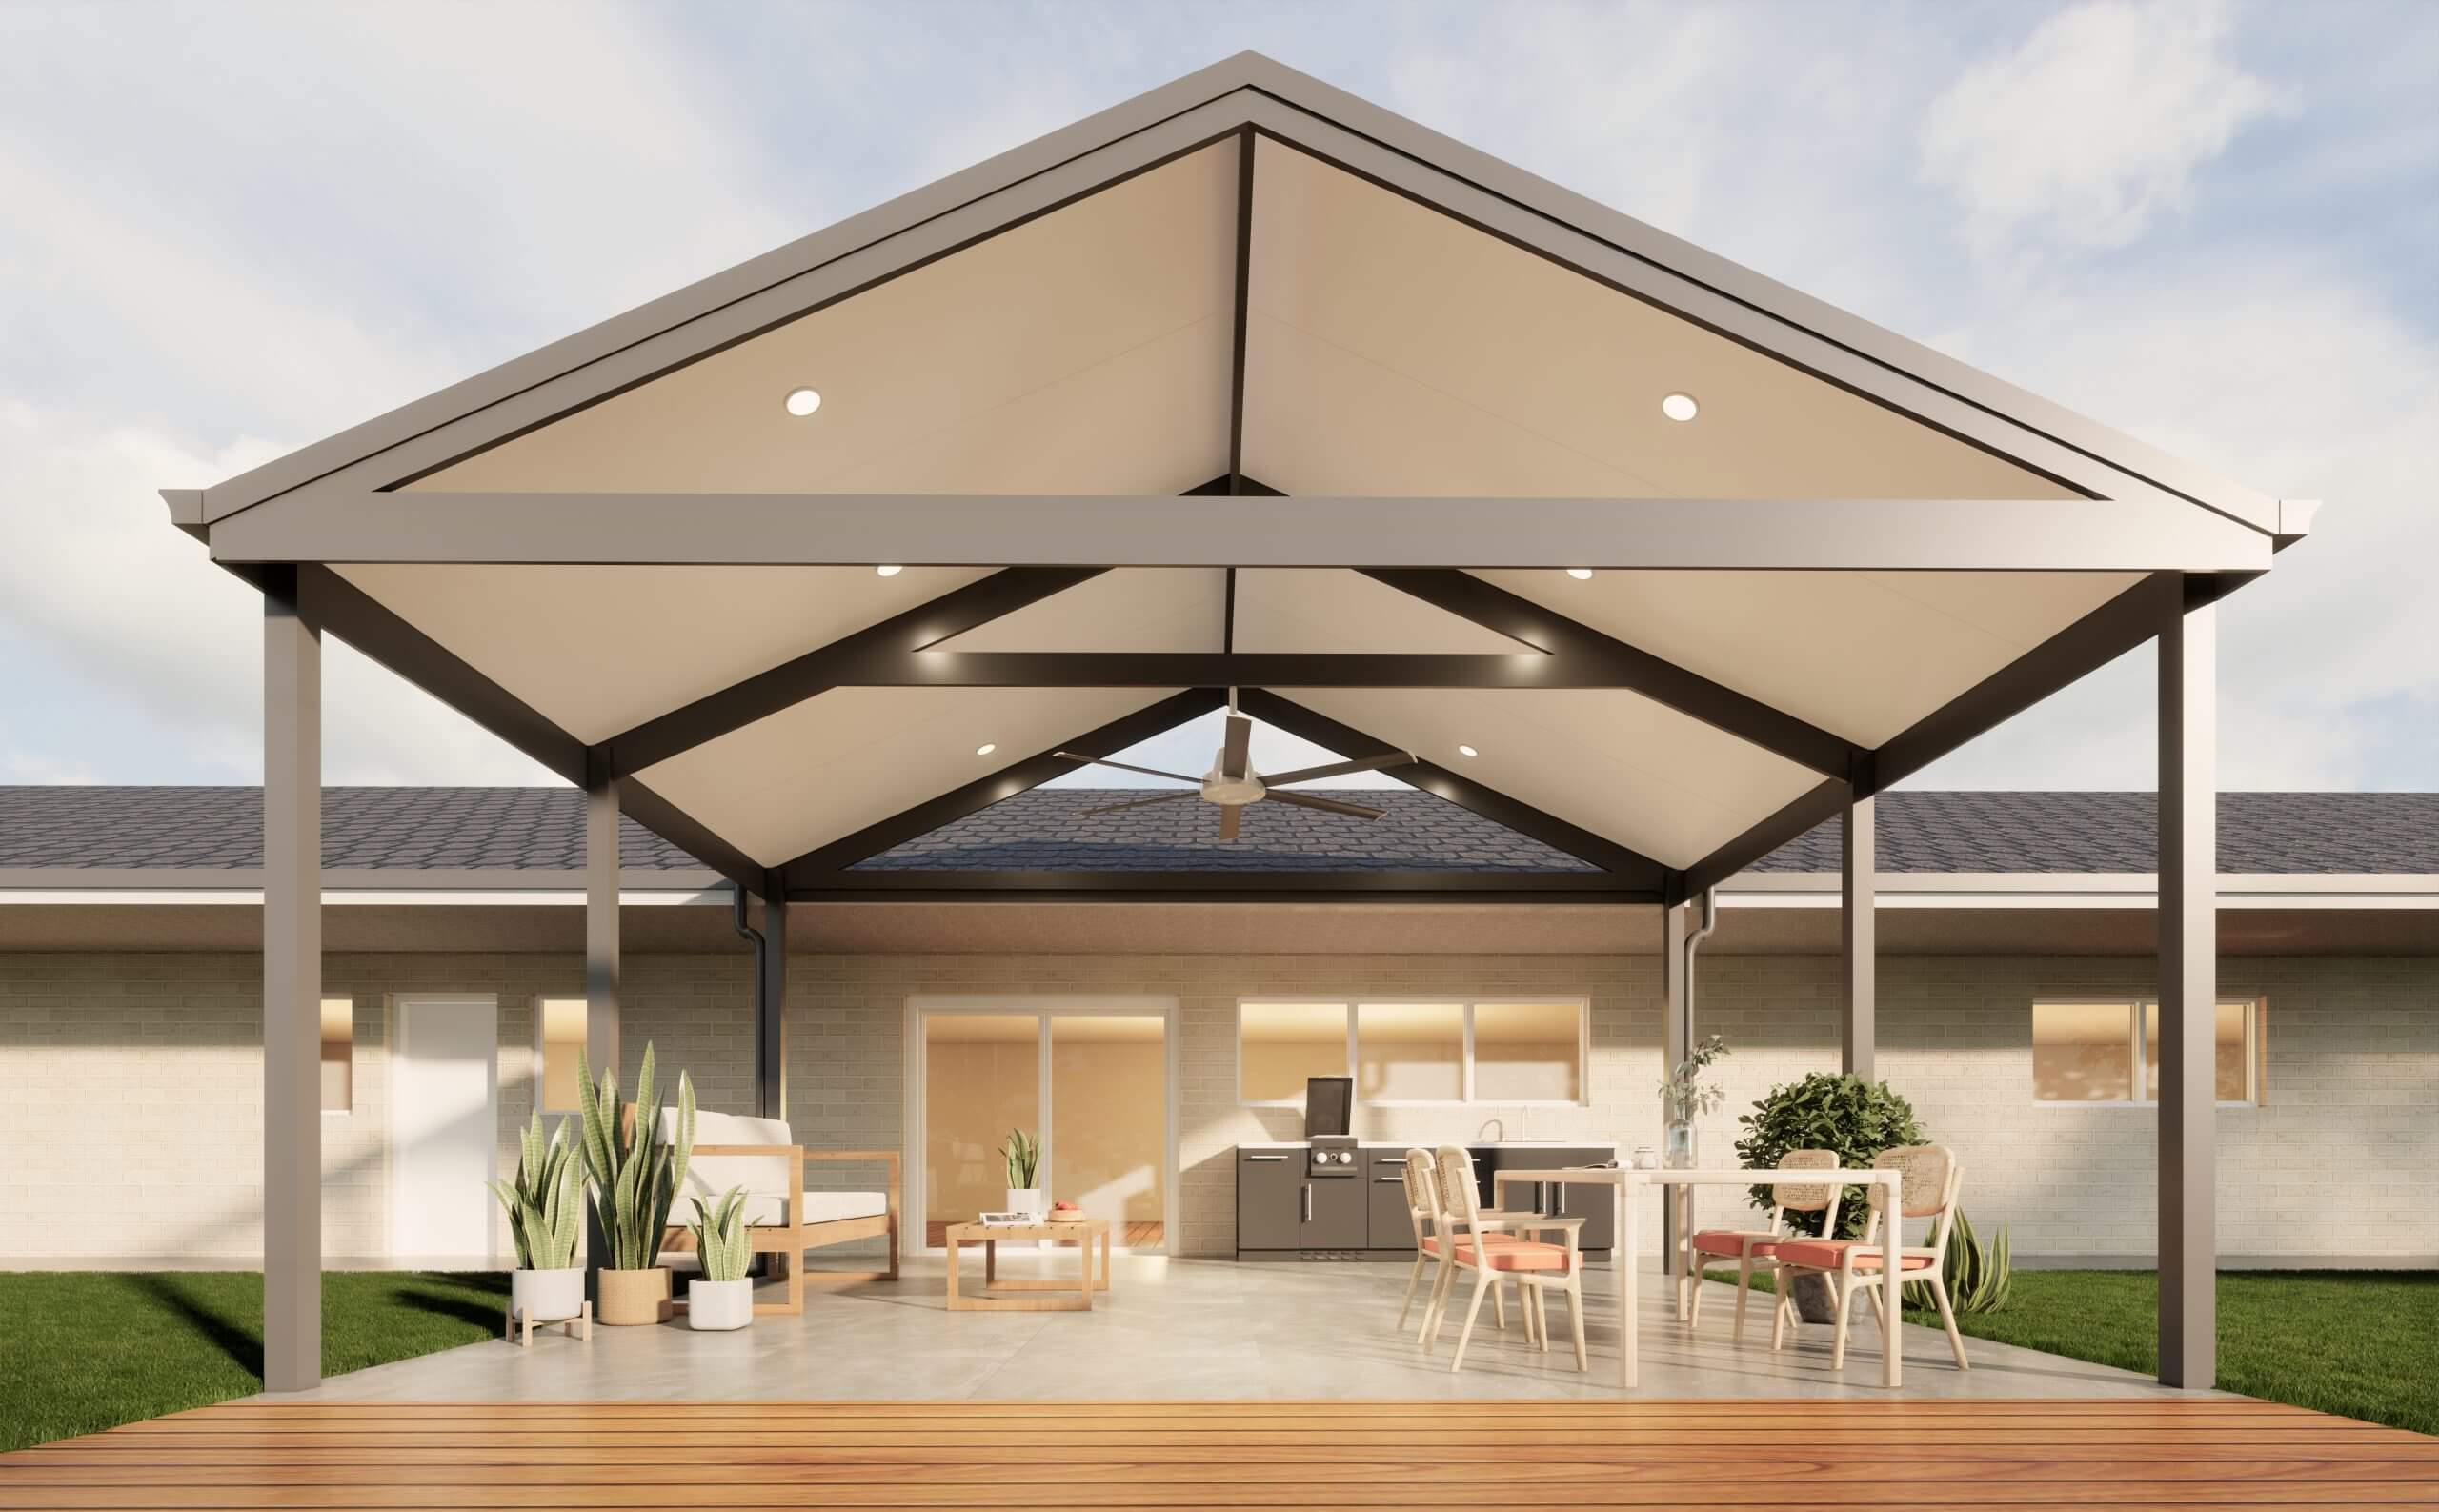
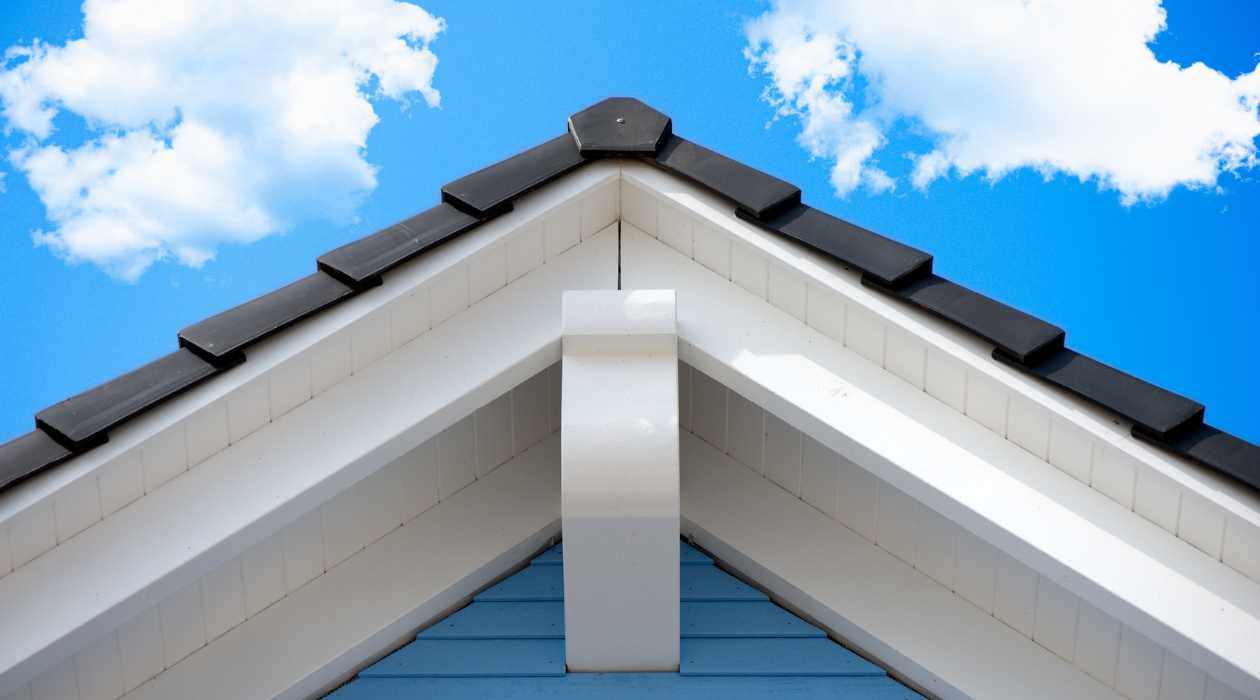
Step 4: Install the ridge board
The installation of the ridge board is a pivotal step in the construction of a gable roof, as it serves as a central connecting point for the rafters and plays a crucial role in maintaining the structural integrity of the roof. The ridge board, positioned at the peak of the roof, provides a stable anchor for the upper ends of the rafters, ensuring that they are aligned and properly supported.
To begin the installation process, carefully lift the ridge board into position at the apex of the roof, ensuring that it is centered and aligned with the markings previously made during the measurement and marking phase. It's essential to have assistance during this step, as the ridge board can be heavy and unwieldy, requiring careful maneuvering to position it accurately.
Once the ridge board is in place, secure it to the rafters using ridge connectors or metal brackets designed for this purpose. These connectors provide a strong and reliable attachment point, ensuring that the ridge board is firmly anchored to the rafters. It's important to follow the manufacturer's guidelines for the installation of these connectors, ensuring that they are positioned correctly and securely fastened to both the ridge board and the rafters.
As the ridge board is secured in place, use a level to ensure that it is perfectly horizontal and aligned with the roof's intended pitch. This step is crucial for maintaining the structural integrity and visual appeal of the gable roof, as any misalignment at this stage can lead to issues with the overall roof structure.
With the ridge board securely installed and aligned, the gable roof begins to take shape, with the framework of rafters and the central ridge board forming a sturdy and cohesive structure. This step marks a significant milestone in the construction process, bringing the project one step closer to completion.
By meticulously installing the ridge board with precision and attention to detail, you set the stage for the subsequent installation of the rafters, bringing you closer to the realization of a durable and visually striking gable roof.
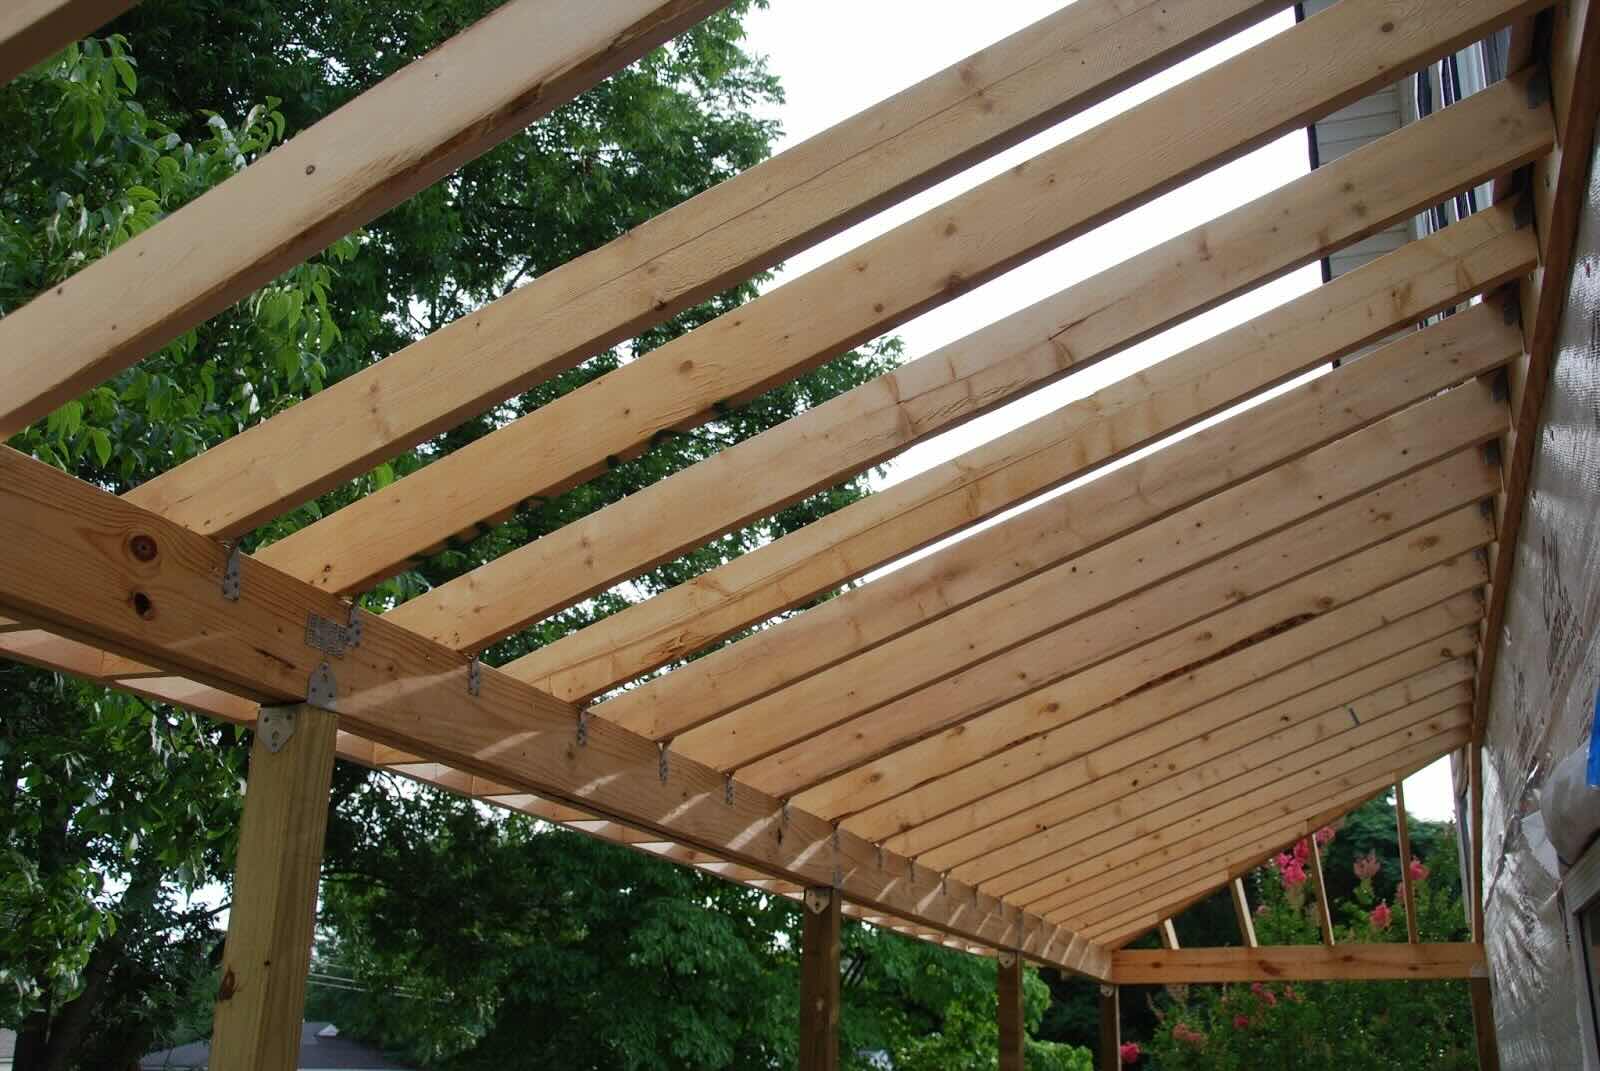
Step 5: Install the rafters
With the ridge board securely in place, the next crucial phase in building a gable roof is the installation of the rafters. The rafters, which form the inclined sides of the roof, play a pivotal role in providing structural support and defining the characteristic triangular shape of the gable roof. As you embark on this step, precision, and attention to detail are paramount to ensure the stability and integrity of the roof structure.
To begin the installation process, carefully lift each rafter into position, aligning them with the markings previously made on the top plates of the structure's walls. It's essential to have assistance during this phase, as maneuvering the rafters into place can be challenging, especially at elevated heights. As each rafter is positioned, ensure that it aligns perfectly with the ridge board and the marked guidelines, maintaining uniform spacing and alignment across the entire roof span.
Once the rafters are in place, secure them to the top plates of the walls and the ridge board using appropriate hangers or connectors. These components play a crucial role in ensuring that the rafters are firmly anchored and capable of supporting the weight of the roof structure. It's essential to follow the manufacturer's guidelines for the installation of these hangers, guaranteeing that they are positioned correctly and securely fastened to both the rafters and the supporting structures.
As the rafters are secured in place, use a level to ensure that they are perfectly aligned and positioned at the intended pitch of the roof. This step is vital for maintaining the structural integrity and visual appeal of the gable roof, as accurately positioned rafters contribute to a symmetrical and cohesive roof framework.
Throughout the installation process, prioritize safety by ensuring that the rafters are adequately supported and that all connections are secure. Additionally, double-check the alignment and spacing of the rafters to guarantee a uniform and structurally sound framework for the gable roof.
As the rafters are successfully installed, the gable roof begins to take shape, with the framework of rafters and the central ridge board forming a sturdy and cohesive structure. This phase marks a significant milestone in the construction process, bringing the project one step closer to completion.
By meticulously installing the rafters with precision and attention to detail, you set the stage for the subsequent steps in the construction process, bringing you closer to the realization of a durable and visually striking gable roof.
When building a gable roof, make sure to accurately measure and cut the roof rafters to ensure a proper fit and a strong, stable structure.
Step 6: Add the roof sheathing
The addition of roof sheathing is a critical step in the construction of a gable roof, as it provides essential structural support and serves as the base for the roofing material. Roof sheathing, typically made of plywood or oriented strand board (OSB), plays a pivotal role in creating a solid and stable foundation for the roof, contributing to its durability and weather resistance.
To commence this phase, carefully measure and cut the sheathing panels to fit the dimensions of the roof, ensuring that they align precisely with the edges of the rafters. It's crucial to stagger the sheathing panels to avoid concentrated seams, promoting uniform strength and stability across the entire roof surface. Additionally, leave a small gap between the panels to account for potential expansion due to temperature changes, allowing for flexibility while maintaining structural integrity.
As the sheathing panels are positioned, secure them to the rafters using appropriate fasteners, such as nails or screws, ensuring that they are driven in at the designated intervals as specified by building codes. It's essential to follow the manufacturer's guidelines for fastener placement and spacing to guarantee a secure and reliable attachment of the sheathing to the roof framework.
Throughout the installation process, prioritize accuracy and attention to detail to ensure that the sheathing panels are aligned uniformly and securely fastened, creating a smooth and level surface for the roofing material. Additionally, consider applying a suitable adhesive or sealant at the seams and edges of the sheathing to enhance weather resistance and prevent moisture infiltration.
Once the sheathing is securely in place, inspect the entire roof surface to verify that the panels are installed correctly and that there are no protruding fasteners or irregularities. This meticulous inspection ensures that the sheathing provides a stable and even foundation for the final layer of roofing material, contributing to the overall longevity and performance of the gable roof.
By meticulously adding the roof sheathing with precision and attention to detail, you pave the way for the subsequent installation of the roofing material, bringing you closer to the realization of a durable and visually striking gable roof.
Read more: How To Build A Gable Porch Roof
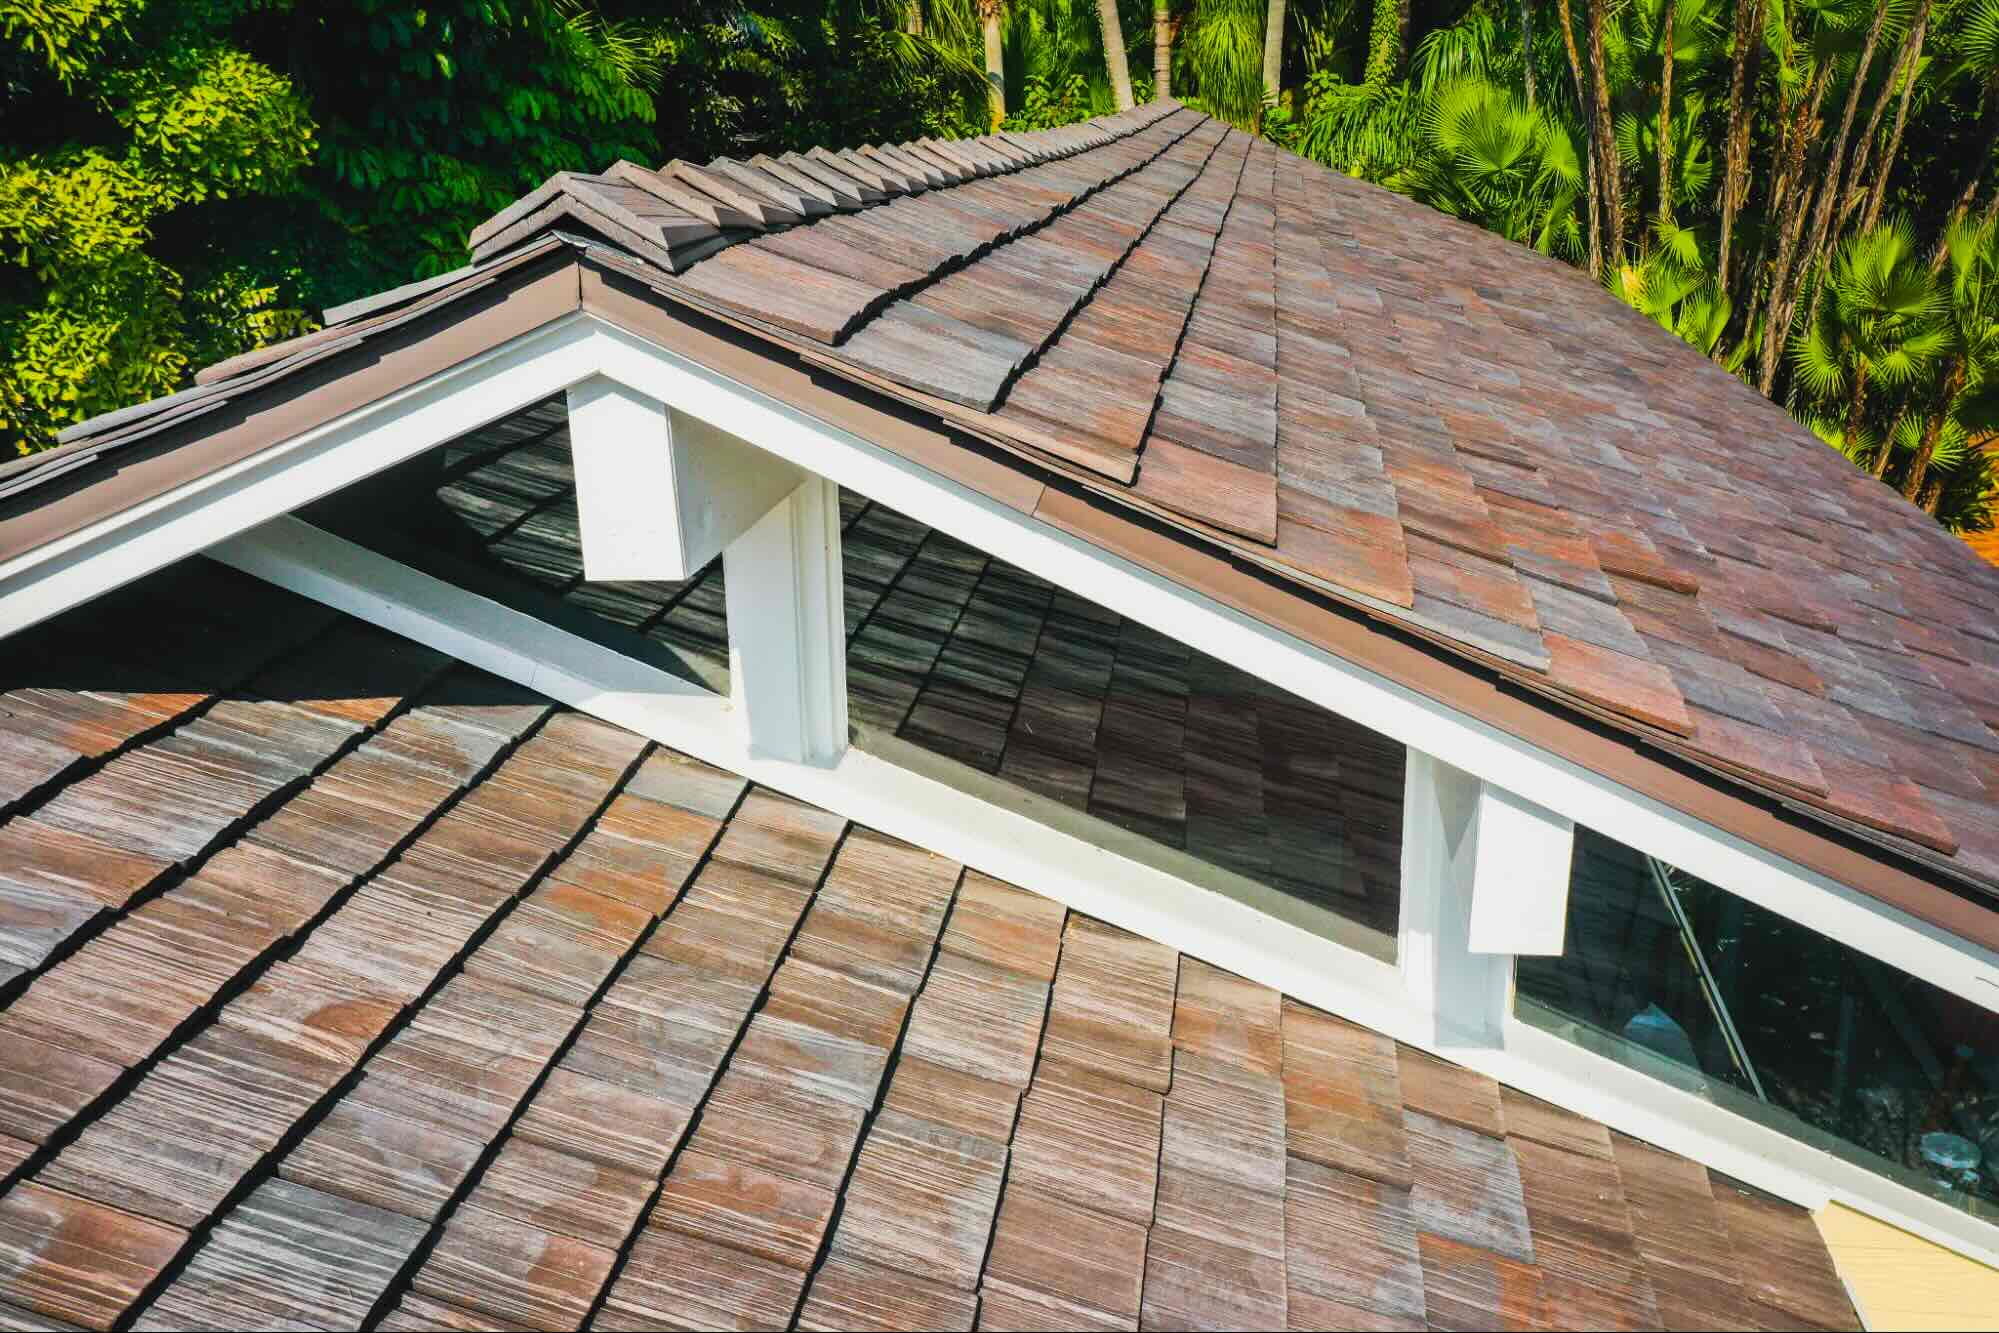
Step 7: Install the roofing material
The installation of the roofing material is a pivotal phase in the construction of a gable roof, as it not only provides weather protection but also contributes significantly to the aesthetic appeal of the structure. Selecting the appropriate roofing material based on climate, durability, and visual appeal is essential to ensure the longevity and performance of the gable roof.
When installing the roofing material, it's crucial to begin by applying a layer of roofing felt or underlayment over the sheathing. This underlayment serves as an additional barrier against moisture and enhances the weatherproofing of the roof. Carefully roll out the underlayment, ensuring that it overlaps uniformly and is securely fastened to the sheathing, creating a continuous and protective membrane.
Next, depending on the chosen roofing material, whether it's asphalt shingles, metal panels, or another suitable option, begin the meticulous process of laying and securing the roofing material according to the manufacturer's guidelines. For asphalt shingles, start at the eaves and work upwards, overlapping each row to create a water-resistant barrier. Secure the shingles with appropriate nails, ensuring that they are positioned and fastened according to industry standards.
If metal panels are the chosen roofing material, carefully align and secure each panel, paying attention to the recommended fastening methods and ensuring that the panels are installed with precision and uniformity. Additionally, consider applying appropriate sealants or coatings to enhance the weather resistance and longevity of the metal roofing.
Throughout the installation of the roofing material, prioritize accuracy and attention to detail to ensure that each component is positioned correctly and securely fastened. Double-check the alignment and overlap of the roofing material to guarantee a uniform and weather-resistant surface that protects the underlying structure from the elements.
As the roofing material is meticulously installed, the gable roof begins to take on its final form, with the addition of the durable and visually appealing covering that enhances the overall aesthetics and functionality of the structure. This phase marks a significant milestone in the construction process, bringing the project one step closer to completion.
By methodically installing the roofing material with precision and attention to detail, you bring the gable roof construction project to its culmination, resulting in a durable, weather-resistant, and visually striking roof that will stand the test of time.
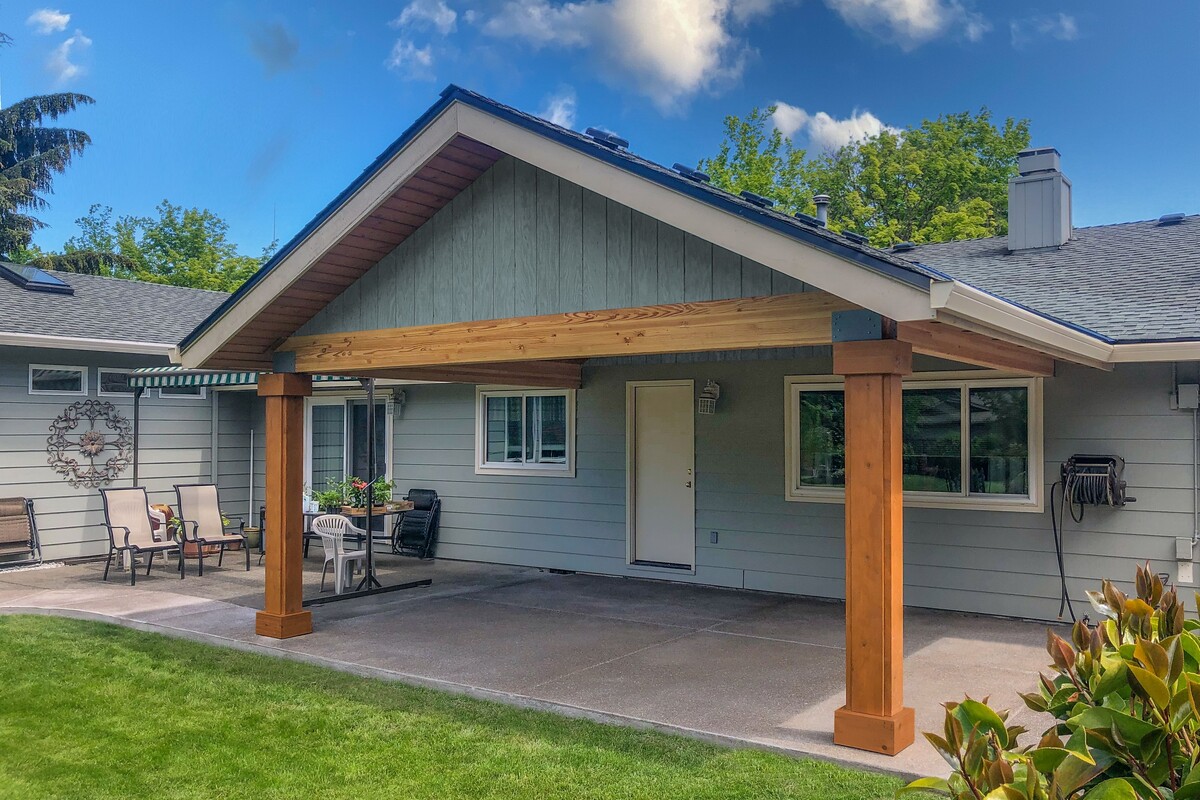
Step 8: Add finishing touches
With the primary structural components in place, adding the finishing touches to your gable roof is the final step in the construction process. These details not only enhance the visual appeal of the roof but also contribute to its functionality and longevity. Attention to detail during this phase ensures that the gable roof not only meets structural requirements but also reflects your personal style and preferences.
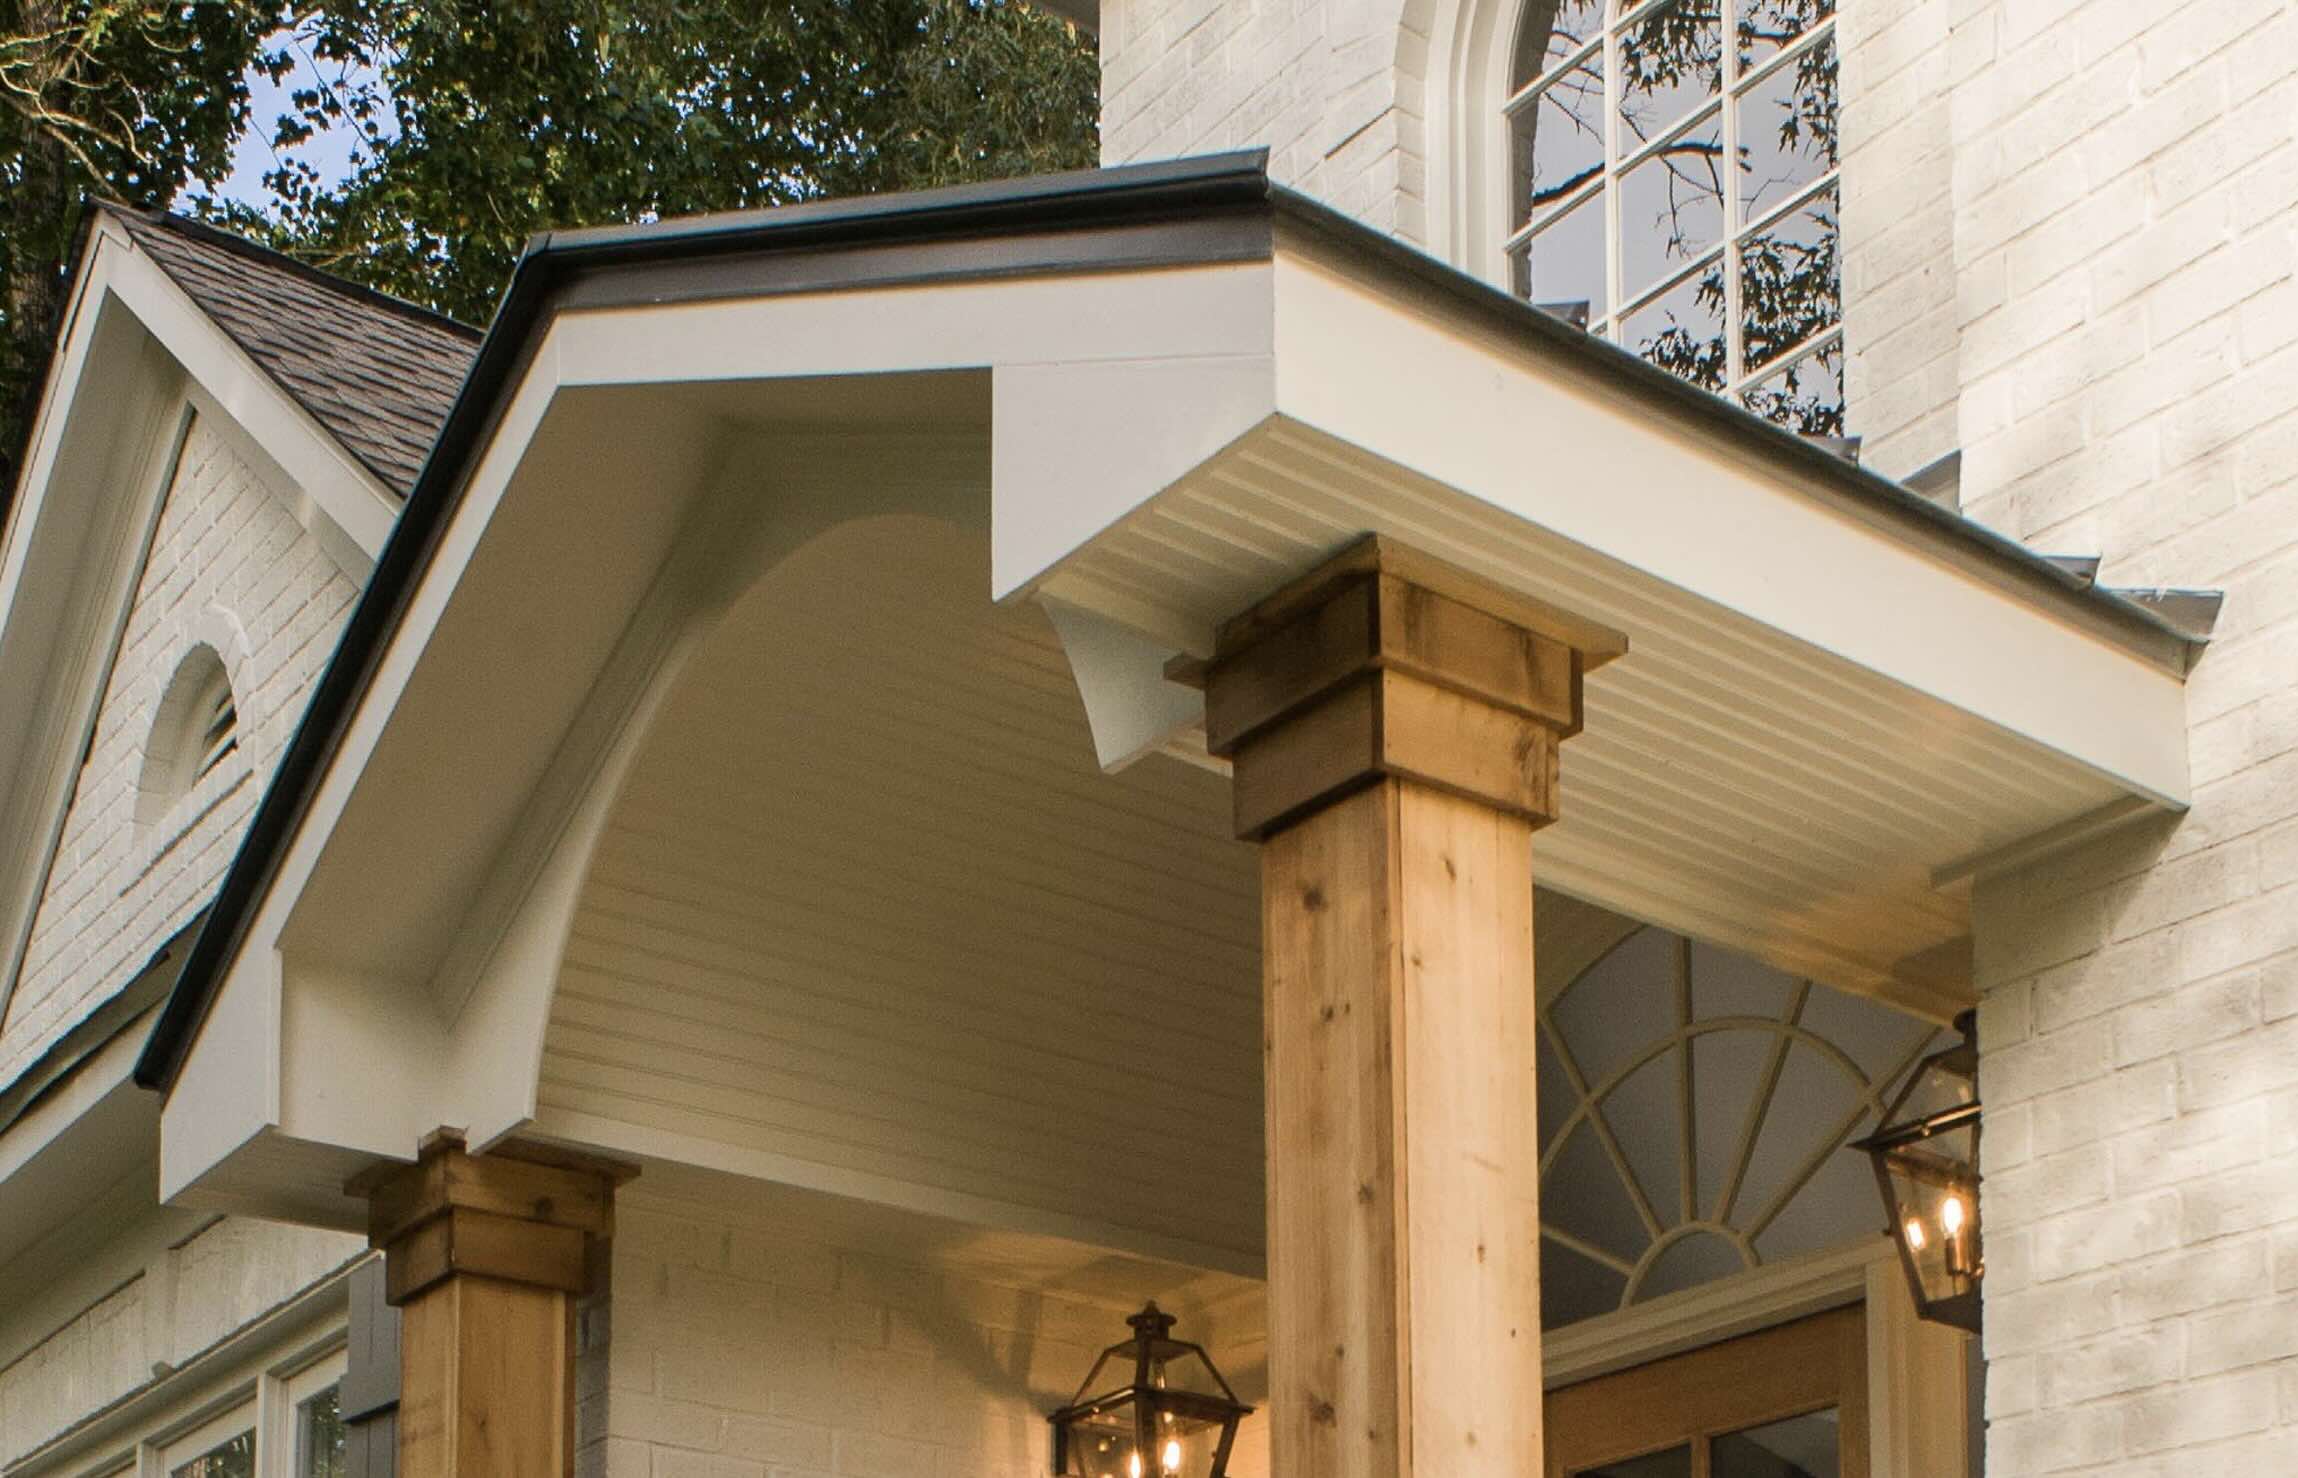
One essential finishing touch is the installation of fascia and soffit. The fascia, positioned along the roof's edge, provides a smooth and finished appearance while also serving to support the gutters. Soffit, located beneath the eaves, contributes to proper ventilation and adds a polished look to the roof's underside. Carefully selecting and installing these components ensures that the gable roof presents a cohesive and aesthetically pleasing appearance from all angles.
Additionally, the installation of gutters and downspouts is crucial for effective water management and protection of the roof and the surrounding structure. Properly positioned gutters and downspouts direct rainwater away from the roof and foundation, preventing potential water damage and erosion. By ensuring that these elements are securely installed and free of debris, you contribute to the long-term maintenance and performance of the gable roof.
Furthermore, the application of a protective finish or paint to the exposed wood elements, such as the fascia, soffit, and rafters, enhances their durability and resistance to the elements. Choosing a high-quality finish that complements the overall aesthetic of the structure adds a final layer of protection and visual appeal to the gable roof.
Finally, consider incorporating architectural details, such as decorative trim or gable accents, to personalize the gable roof and complement the architectural style of the surrounding property. These embellishments add character and charm to the roof, elevating its visual impact and creating a distinctive focal point for the entire structure.
By meticulously attending to these finishing touches, you elevate the gable roof from a functional structure to a visually striking and enduring feature of your property. Each detail contributes to the overall integrity and aesthetics of the roof, ensuring that it not only withstands the elements but also enhances the overall appeal of the building.
Incorporating these finishing touches marks the successful completion of the gable roof construction, resulting in a durable, visually appealing, and functional addition to your property.
Frequently Asked Questions about How To Build A Gable Roof
Was this page helpful?
At Storables.com, we guarantee accurate and reliable information. Our content, validated by Expert Board Contributors, is crafted following stringent Editorial Policies. We're committed to providing you with well-researched, expert-backed insights for all your informational needs.


0 thoughts on “How To Build A Gable Roof”