Home>Renovation & DIY>Home Renovation Guides>How To Install Gable Trim On A Metal Roof
Home Renovation Guides
How To Install Gable Trim On A Metal Roof
Modified: October 21, 2024
Learn how to install gable trim on a metal roof with our comprehensive home renovation guide. Follow our step-by-step instructions for a professional finish.
(Many of the links in this article redirect to a specific reviewed product. Your purchase of these products through affiliate links helps to generate commission for Storables.com, at no extra cost. Learn more)
Introduction
Installing gable trim on a metal roof is a crucial step in enhancing the overall appearance and durability of your home. Gable trim not only adds a polished look to the roof's edges but also serves as a protective barrier against the elements, preventing water infiltration and potential damage. Whether you're embarking on a new roofing project or seeking to upgrade the existing gable trim, this comprehensive guide will walk you through the step-by-step process of installing gable trim on a metal roof.
By following these detailed instructions, you can ensure that your gable trim installation is not only visually appealing but also structurally sound. With the right tools, materials, and a clear understanding of the process, you can successfully complete this project and enjoy the benefits of a well-maintained and aesthetically pleasing metal roof.
Proper installation of gable trim is essential for safeguarding the edges of your metal roof from moisture, wind, and other environmental factors. Additionally, a well-executed gable trim installation can contribute to the overall energy efficiency of your home by preventing air leakage and improving insulation. This means that by mastering the art of gable trim installation, you're not only enhancing the curb appeal of your property but also investing in its long-term structural integrity and energy performance.
As we delve into the step-by-step instructions, you'll discover the precise tools and materials required for the project, learn how to measure and cut the gable trim to fit your roof, and understand the best practices for securing the trim in place. Furthermore, we'll explore essential finishing touches and maintenance tips to ensure that your gable trim remains in top condition for years to come.
With this guide, you'll gain the knowledge and confidence to tackle the installation of gable trim on your metal roof, empowering you to elevate the aesthetics and functionality of your home while adding value to your property. Let's embark on this journey to transform your roof's edges into a testament of craftsmanship and resilience.
Key Takeaways:
- Properly installing gable trim on a metal roof not only enhances its appearance but also protects against the elements, improving energy efficiency and long-term structural integrity.
- By meticulously measuring, cutting, and securing the gable trim, you can achieve a professional and durable finish that elevates the visual appeal and protective function of your metal roof.
Step 1: Gather Necessary Tools and Materials
Before commencing the installation of gable trim on your metal roof, it's essential to gather the requisite tools and materials to ensure a smooth and efficient process. Here's a comprehensive list of what you'll need:
Tools:
- Measuring Tape: Accurate measurements are crucial for a precise fit of the gable trim, so a reliable measuring tape is indispensable.
- Safety Goggles and Gloves: Protect your eyes and hands from potential debris and sharp edges during the installation process.
- Ladder: Depending on the height of your roof, a sturdy ladder will facilitate safe access to the gable area.
- Circular Saw or Tin Snips: To cut the gable trim to the required dimensions, a circular saw or tin snips will be necessary.
- Caulking Gun: This tool will be used to apply sealant, ensuring a watertight seal around the gable trim.
- Drill and Screws: These are essential for securing the gable trim in place, so ensure you have the appropriate drill bits and screws for metal roofing.
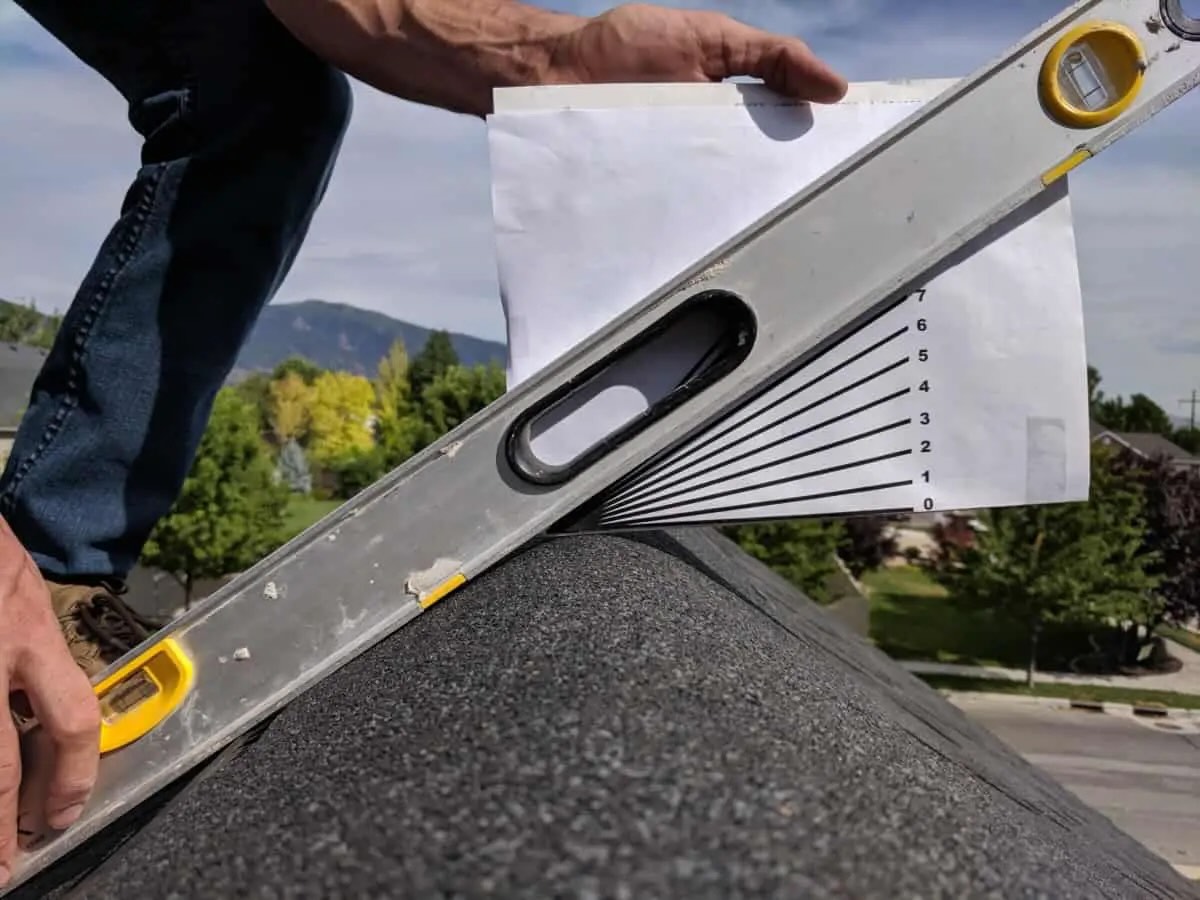
- Level: To ensure that the gable trim is installed perfectly straight, a level is indispensable.
- Chalk Line: This will aid in marking precise guidelines for the installation of the gable trim.
Materials:
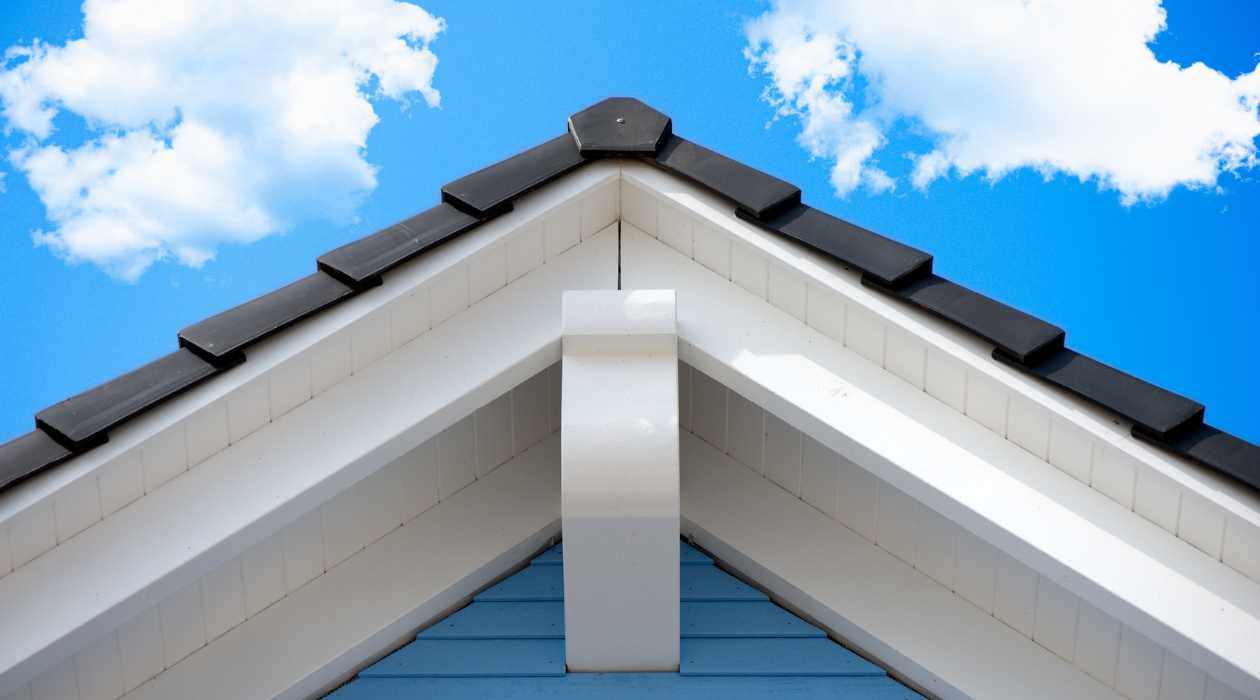
- Gable Trim: Select gable trim that complements the style and color of your metal roof. Ensure that it is designed for use with metal roofing and is of the appropriate length for your gable ends.
- Sealant: Choose a high-quality sealant that is compatible with metal roofing to prevent water infiltration and enhance the trim's weather resistance.
- Screws: Opt for corrosion-resistant screws that are suitable for use with metal roofing to ensure long-term durability.
- Safety Harness (Optional): If your roof has a steep pitch, a safety harness can provide an added layer of protection during the installation process.
By gathering these tools and materials, you'll be well-prepared to embark on the installation of gable trim on your metal roof. Having everything at hand will streamline the process and contribute to a successful and professional-looking outcome. Now that you have all the necessary tools and materials, let's move on to the next step of measuring and cutting the gable trim to fit your roof.
Step 2: Measure and Cut the Gable Trim
Accurate measurements and precise cuts are pivotal to ensure that the gable trim fits seamlessly along the edges of your metal roof. Here's a detailed walkthrough of the process:
Read more: What Is A Gable On A Roof?
Measuring the Gable Trim
-
Start with Precision: Using a measuring tape, begin by carefully measuring the length of each gable end where the trim will be installed. Ensure that the measurements are precise, as any inaccuracies can lead to ill-fitting trim.
-
Consider Overhang: If you desire a slight overhang of the gable trim beyond the roof's edge for added protection and aesthetics, factor this into your measurements. Typically, a 1-2 inch overhang is recommended.
-
Account for Angles: In cases where the gable ends are not perfectly vertical, it's crucial to measure the angles accurately to ensure that the gable trim will fit snugly and align with the roof's pitch.
Cutting the Gable Trim
-
Marking the Trim: Once the measurements are confirmed, mark the gable trim accordingly using a chalk line or a pencil. This will serve as a guideline for the cutting process.
-
Selecting the Cutting Tool: Depending on the material of the gable trim, choose the appropriate cutting tool. For aluminum or steel trim, a circular saw with a metal-cutting blade is ideal, while tin snips are suitable for thinner materials.
-
Executing the Cuts: Carefully cut along the marked lines, ensuring steady and precise movements to achieve clean and accurate cuts. If the gable ends have non-standard angles, use a miter saw to create precise angled cuts for a seamless fit.
Ensuring a Perfect Fit
-
Trial Fitting: After cutting the gable trim pieces, perform a trial fitting to verify that they align perfectly with the gable ends and exhibit the desired overhang, if applicable.
-
Adjustments, if Necessary: If any discrepancies are noted during the trial fitting, make the necessary adjustments by recutting the trim to achieve an impeccable fit.
By meticulously measuring and cutting the gable trim, you lay the foundation for a successful installation process. The precision and attention to detail at this stage will contribute to a visually appealing and structurally sound outcome. With the gable trim tailored to perfection, you're now ready to proceed to the next step of installing the trim onto your metal roof.
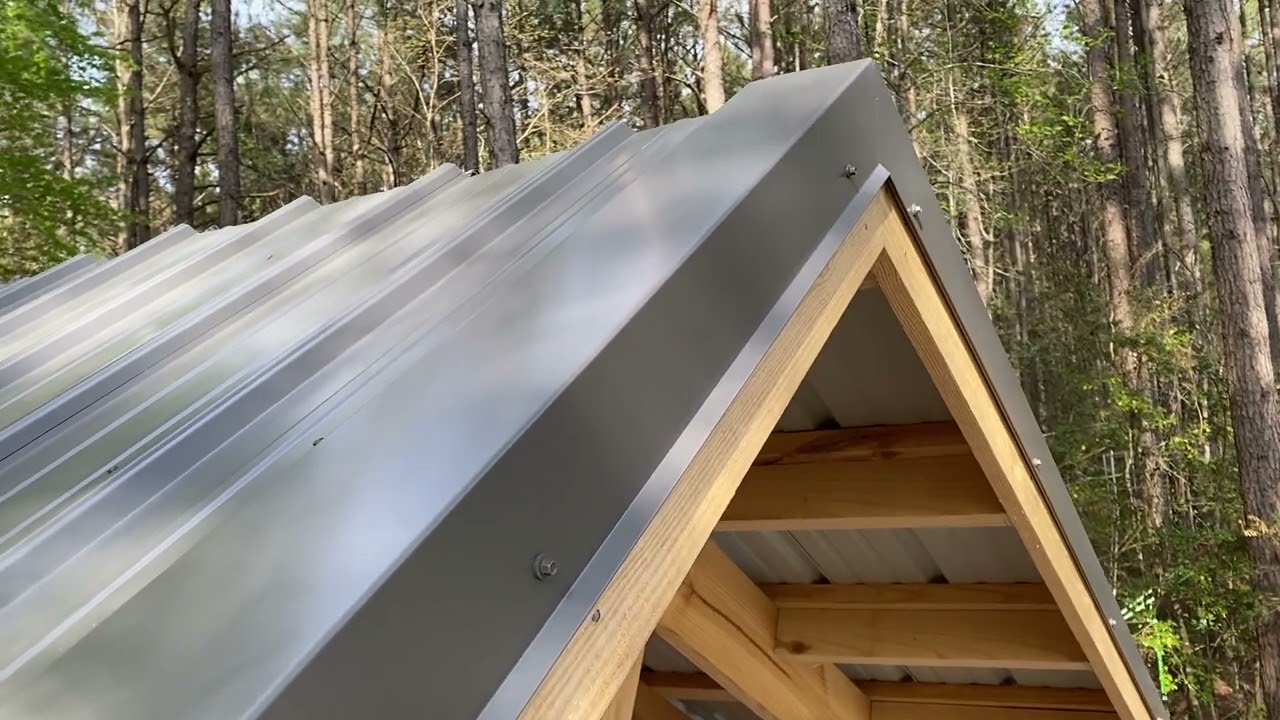
Step 3: Install the Gable Trim
With the gable trim meticulously measured and cut to fit your metal roof, it's time to proceed with the installation process. This step-by-step guide will walk you through the precise techniques for securely affixing the gable trim to your roof's edges.
Read more: How To Install A Metal Roof On A Shed
Preparing the Gable Ends
-
Clean the Surface: Before installation, ensure that the gable ends are clean and free from any debris or dirt. Use a brush or cloth to remove any accumulated dust, ensuring a smooth surface for the gable trim to adhere to.
-
Apply Sealant: To enhance the weather resistance and longevity of the gable trim, apply a continuous bead of high-quality sealant along the underside of the trim. This will create a watertight seal and prevent moisture infiltration.
Positioning the Gable Trim
-
Aligning the Trim: Carefully position the gable trim along the edge of the roof, ensuring that it aligns precisely with the gable end. Use a level to confirm that the trim is perfectly straight and parallel to the roof's edge.
-
Securing the Trim: With the assistance of a partner or using clamps, hold the gable trim in place to prevent any movement during the installation process. This will ensure that the trim remains aligned and level as you secure it to the roof.
Attaching the Gable Trim
-
Drilling Pilot Holes: Using a drill with the appropriate metal-cutting bit, create pilot holes along the gable trim at regular intervals. These pilot holes will facilitate the insertion of screws and ensure a secure attachment to the roof.
-
Installing Screws: With the pilot holes in place, proceed to secure the gable trim by driving corrosion-resistant screws through the trim and into the metal roof. Ensure that the screws are tightened sufficiently to firmly affix the trim without causing damage.
-
Sealing the Joints: Once the gable trim is securely attached, apply an additional layer of sealant along the joints between the trim and the roof. This extra sealant will further fortify the gable trim against water penetration and enhance its weatherproofing capabilities.
Verifying the Installation
-
Inspecting the Alignment: After the gable trim is installed, conduct a thorough visual inspection to verify that it is perfectly aligned and securely fastened to the roof. Address any discrepancies or issues promptly to ensure a flawless finish.
-
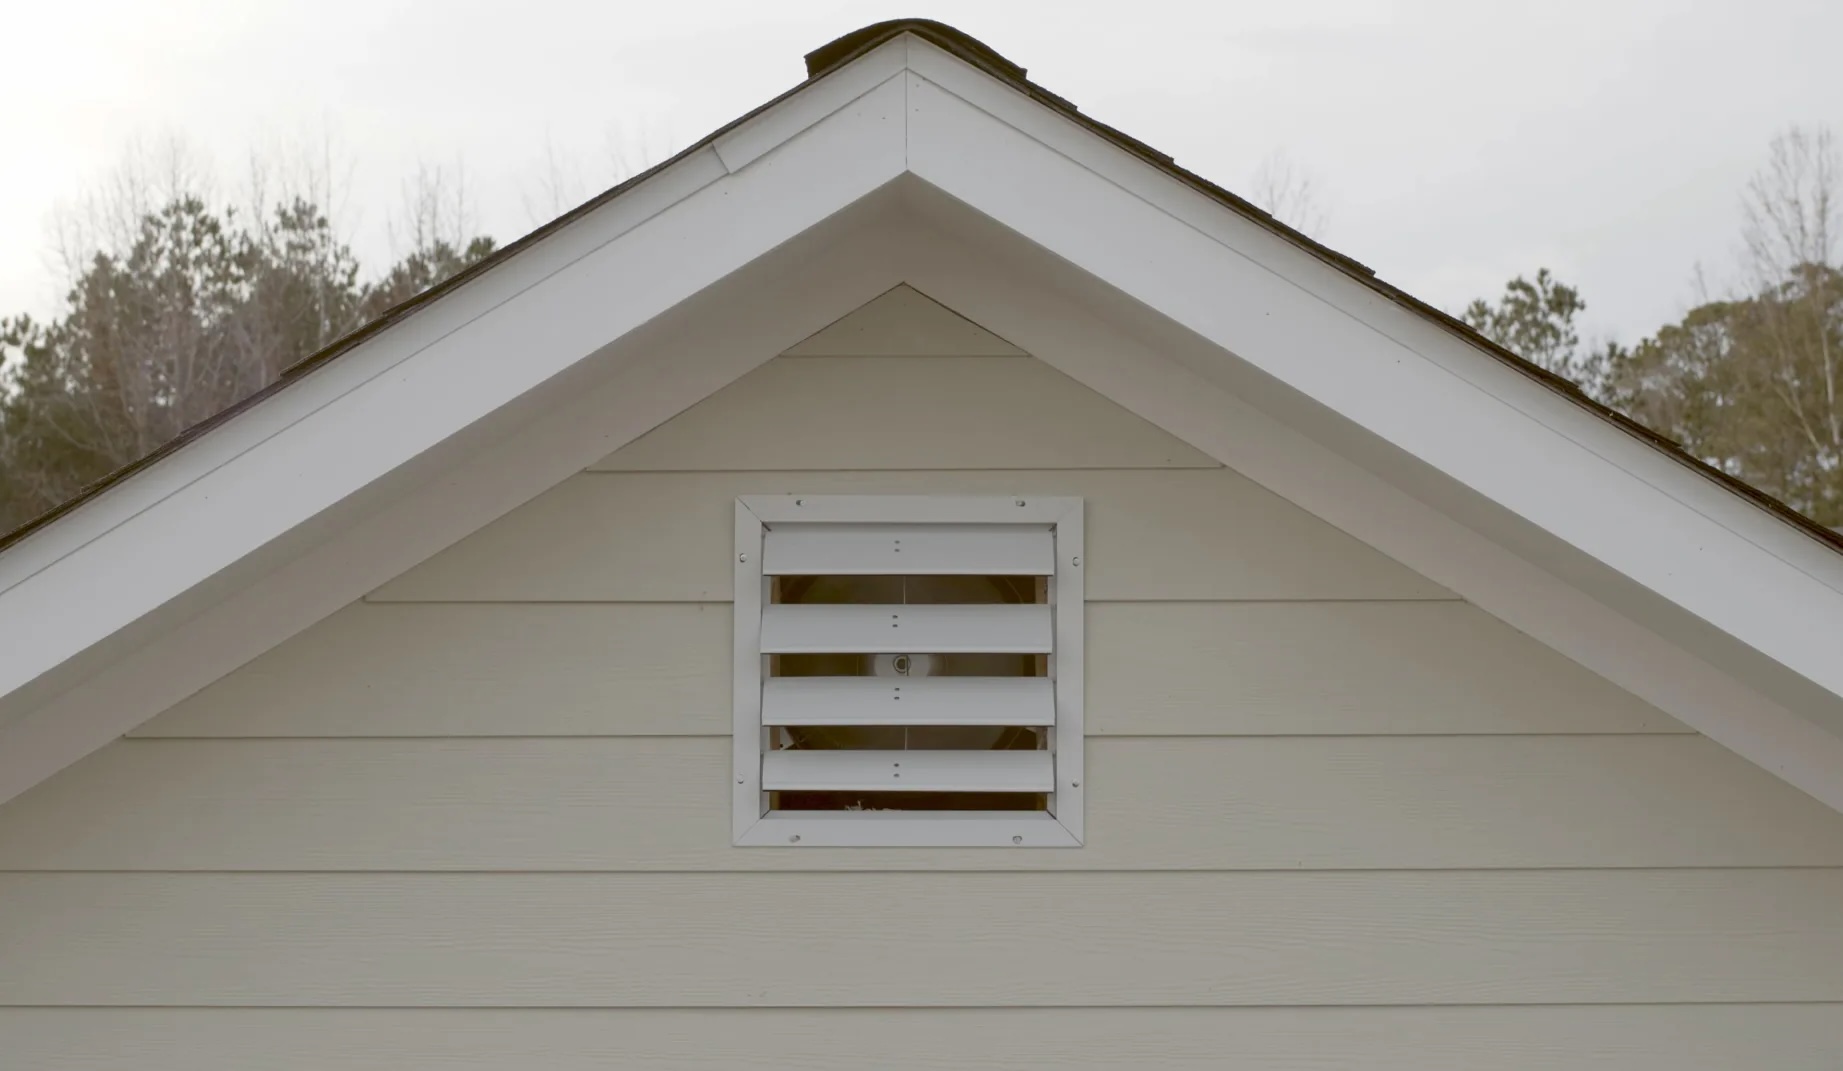
Ensuring Overhang Consistency: If an overhang was incorporated into the design, confirm that it is consistent along the entire length of the gable trim. This uniform overhang contributes to the aesthetic appeal and protective function of the trim.
By following these meticulous steps for installing the gable trim, you can achieve a professional and durable finish that enhances the visual appeal and protective capabilities of your metal roof. With the trim securely in place, you're now ready to proceed to the next step of securing the gable trim and adding the finishing touches to complete the installation process.
Read more: How To Install Gutters On Metal Roof
Step 4: Secure the Gable Trim in Place
Securing the gable trim is a critical phase that ensures its stability and longevity, safeguarding your metal roof's edges against the elements. By following these meticulous steps, you can fortify the gable trim, contributing to its resilience and visual appeal.
Utilizing the Appropriate Fasteners
Selecting the right fasteners is paramount to the secure attachment of the gable trim. Opt for corrosion-resistant screws designed for use with metal roofing. These screws should be of adequate length to penetrate the trim, creating a firm hold without compromising the roof's integrity.
Strategic Fastening Technique
Commence the fastening process by carefully positioning the screws at regular intervals along the gable trim. It's essential to maintain consistent spacing to ensure uniform support and prevent any potential warping or misalignment of the trim over time.
Applying Optimal Pressure
As you drive the screws into place, apply sufficient pressure to firmly secure the gable trim without overtightening, which could lead to damage. This balanced approach ensures a secure attachment that withstands environmental stressors and maintains the trim's structural integrity.
Read more: How To Shingle A Gable Roof
Verifying Stability
Upon completing the fastening process, conduct a thorough assessment of the gable trim's stability. Gently test the trim to confirm that it is securely affixed to the roof, devoid of any wobbling or movement. This verification step is crucial in identifying and addressing any potential issues before proceeding to the final phase of the installation.
Enhancing Weather Resistance
To further fortify the gable trim against the elements, consider applying an additional layer of sealant over the screw heads. This extra sealant acts as a protective barrier, preventing water infiltration and reinforcing the weatherproofing capabilities of the gable trim.
Ensuring Aesthetic Continuity
Throughout the fastening process, maintain a keen eye on the aesthetic continuity of the gable trim. Confirm that the fasteners are uniformly positioned and aligned, contributing to a visually pleasing and professional finish that complements the overall appearance of your metal roof.
By meticulously securing the gable trim in place, you not only bolster its structural integrity but also elevate the visual appeal and protective function of your metal roof. With the trim firmly affixed, you're now ready to add the finishing touches and implement essential maintenance practices to ensure its long-term performance and durability.
Step 5: Finishing Touches and Maintenance Tips
After completing the installation of gable trim on your metal roof, attention to finishing touches and ongoing maintenance is crucial to ensure the longevity and visual appeal of the trim. Here are essential steps and tips to add those finishing touches and maintain the gable trim effectively:
Read more: How To Install Skylight In Metal Roof
Applying a Protective Finish
Consider applying a protective finish to the gable trim to enhance its resistance to corrosion and weathering. A high-quality paint or coating specifically designed for metal surfaces can provide an additional layer of protection, prolonging the trim's lifespan and preserving its aesthetic appeal.
Inspecting Sealant and Fasteners
Regularly inspect the sealant applied around the gable trim and the fasteners securing it to the roof. Look for signs of wear, cracking, or deterioration, and promptly address any issues by reapplying sealant or replacing fasteners as needed. This proactive approach can prevent water infiltration and maintain the trim's weatherproofing capabilities.
Cleaning and Maintenance
Periodically clean the gable trim to remove dirt, debris, and potential contaminants. Use a gentle cleaning solution and a soft brush or cloth to preserve the trim's appearance and prevent the accumulation of damaging substances. Additionally, inspect the trim for any signs of damage or discoloration, addressing any issues promptly to maintain its pristine condition.
Addressing Rust and Corrosion
If you notice any signs of rust or corrosion on the gable trim, take immediate action to mitigate the damage. Use a rust remover or metal cleaner to treat affected areas, followed by the application of a rust-inhibiting primer and touch-up paint to restore the trim's integrity and visual appeal.
Read more: How To Install A Metal Roof Over Shingles
Monitoring for Structural Integrity
Regularly inspect the gable trim for any indications of structural compromise, such as warping, bending, or loosening. Address any issues promptly to prevent further damage and maintain the trim's ability to provide effective protection for your metal roof.
By implementing these finishing touches and adhering to proactive maintenance practices, you can ensure that the gable trim remains in optimal condition, contributing to the overall durability, aesthetics, and functionality of your metal roof. With proper care and attention, the gable trim will continue to enhance the visual appeal and protective capabilities of your home for years to come.
Frequently Asked Questions about How To Install Gable Trim On A Metal Roof
Was this page helpful?
At Storables.com, we guarantee accurate and reliable information. Our content, validated by Expert Board Contributors, is crafted following stringent Editorial Policies. We're committed to providing you with well-researched, expert-backed insights for all your informational needs.


0 thoughts on “How To Install Gable Trim On A Metal Roof”