
Articles
How To Attach Gable Porch Roof To House
Modified: March 2, 2024
Learn how to attach a gable porch roof to your house with these informative articles. Gain valuable insights and expert tips for a successful installation.
(Many of the links in this article redirect to a specific reviewed product. Your purchase of these products through affiliate links helps to generate commission for Storables.com, at no extra cost. Learn more)
Introduction
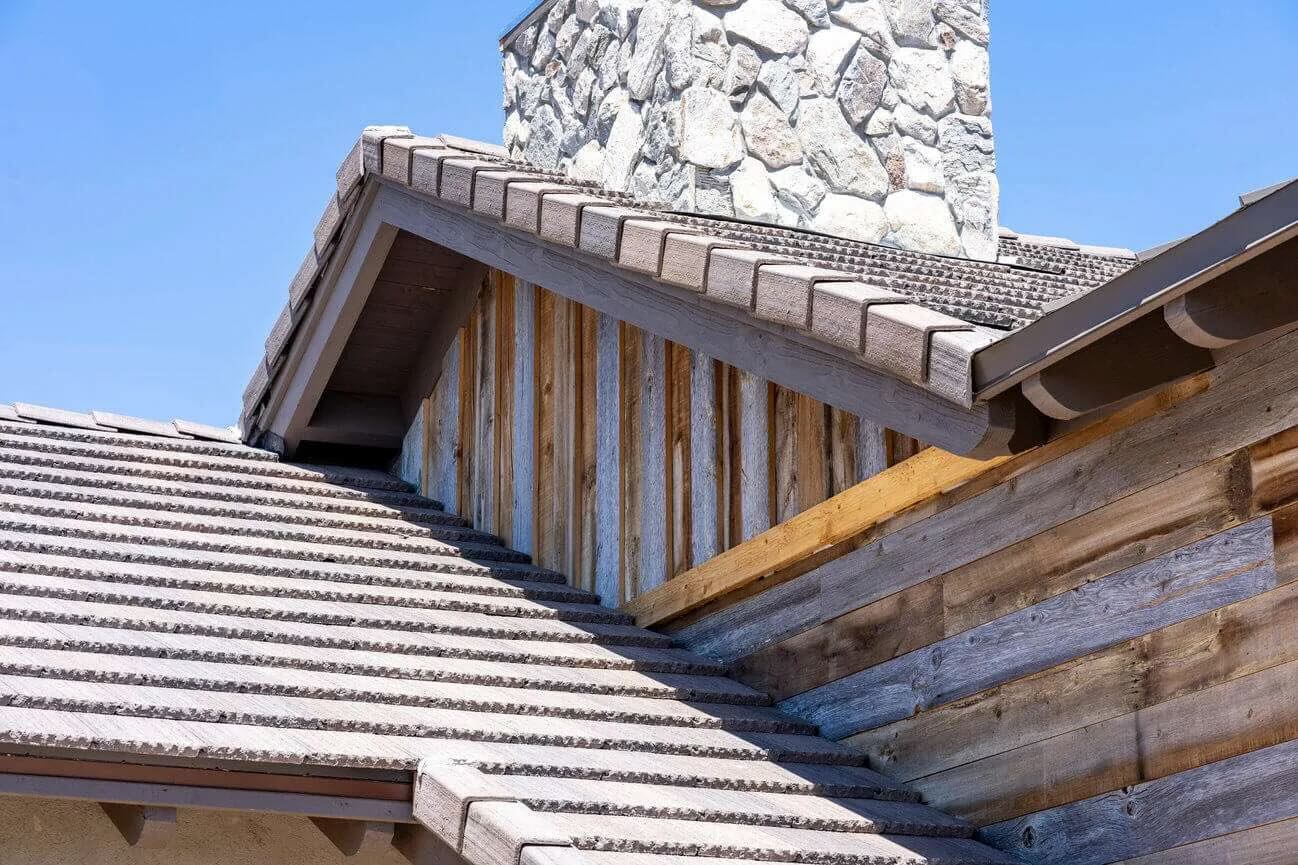
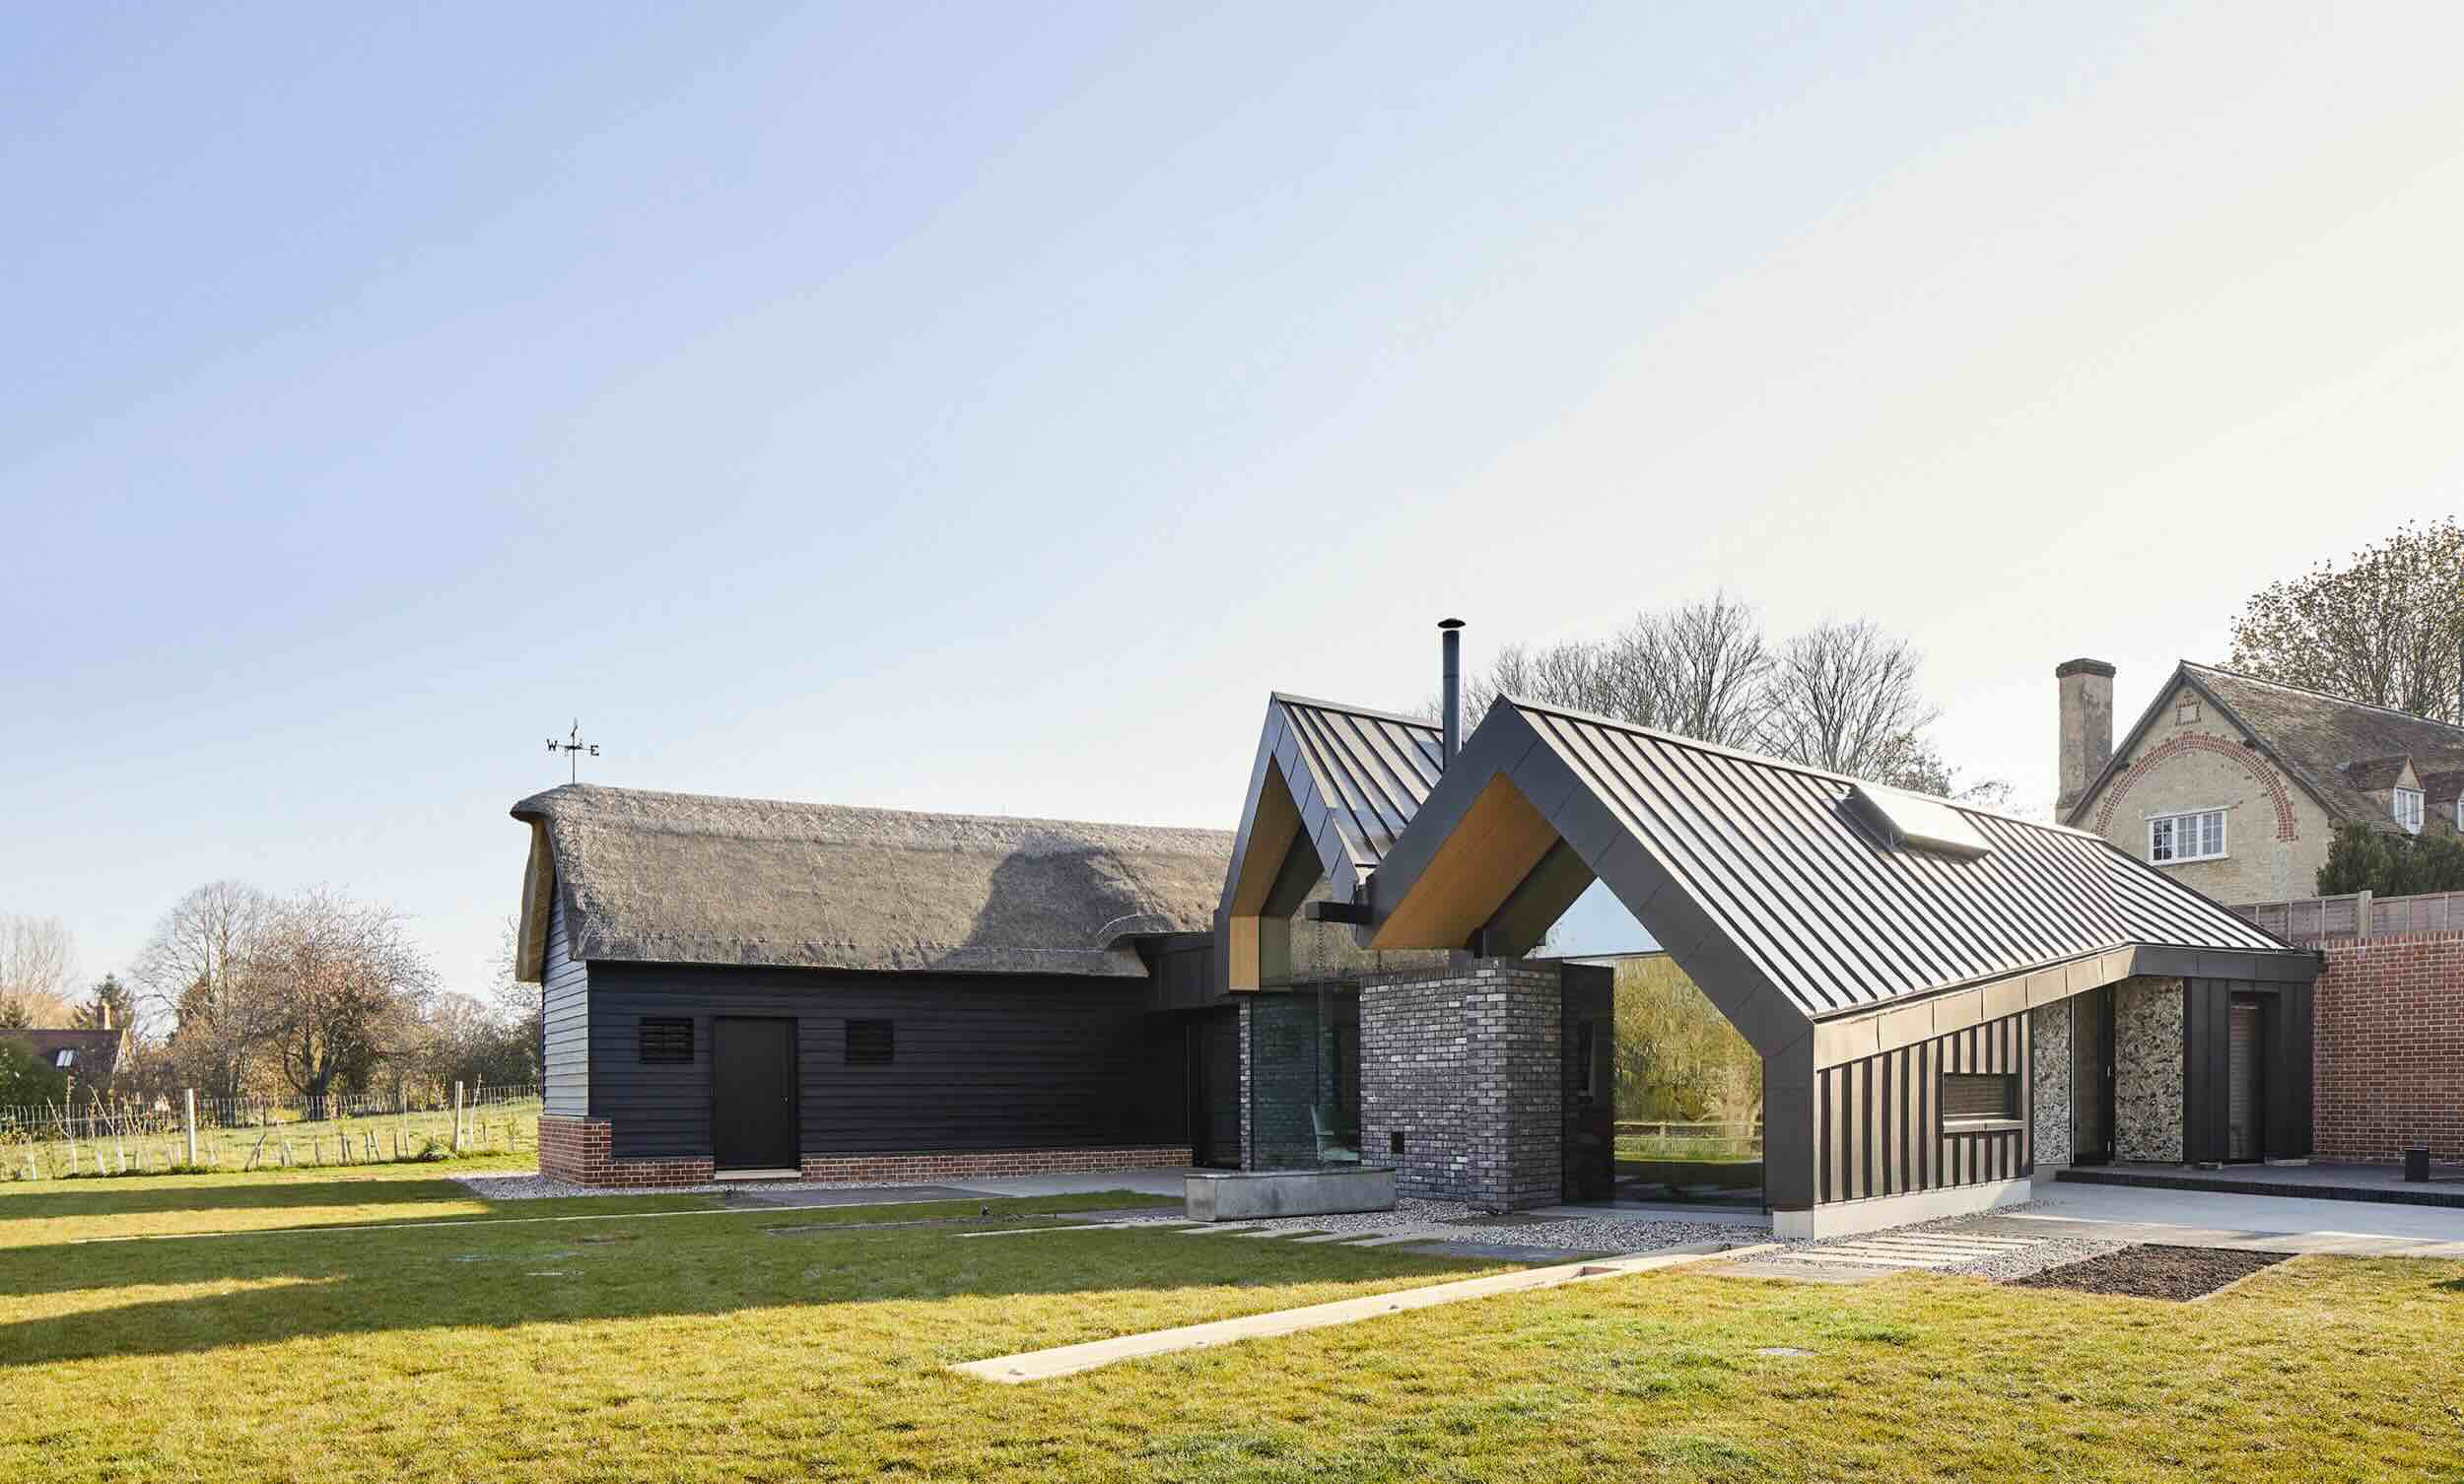
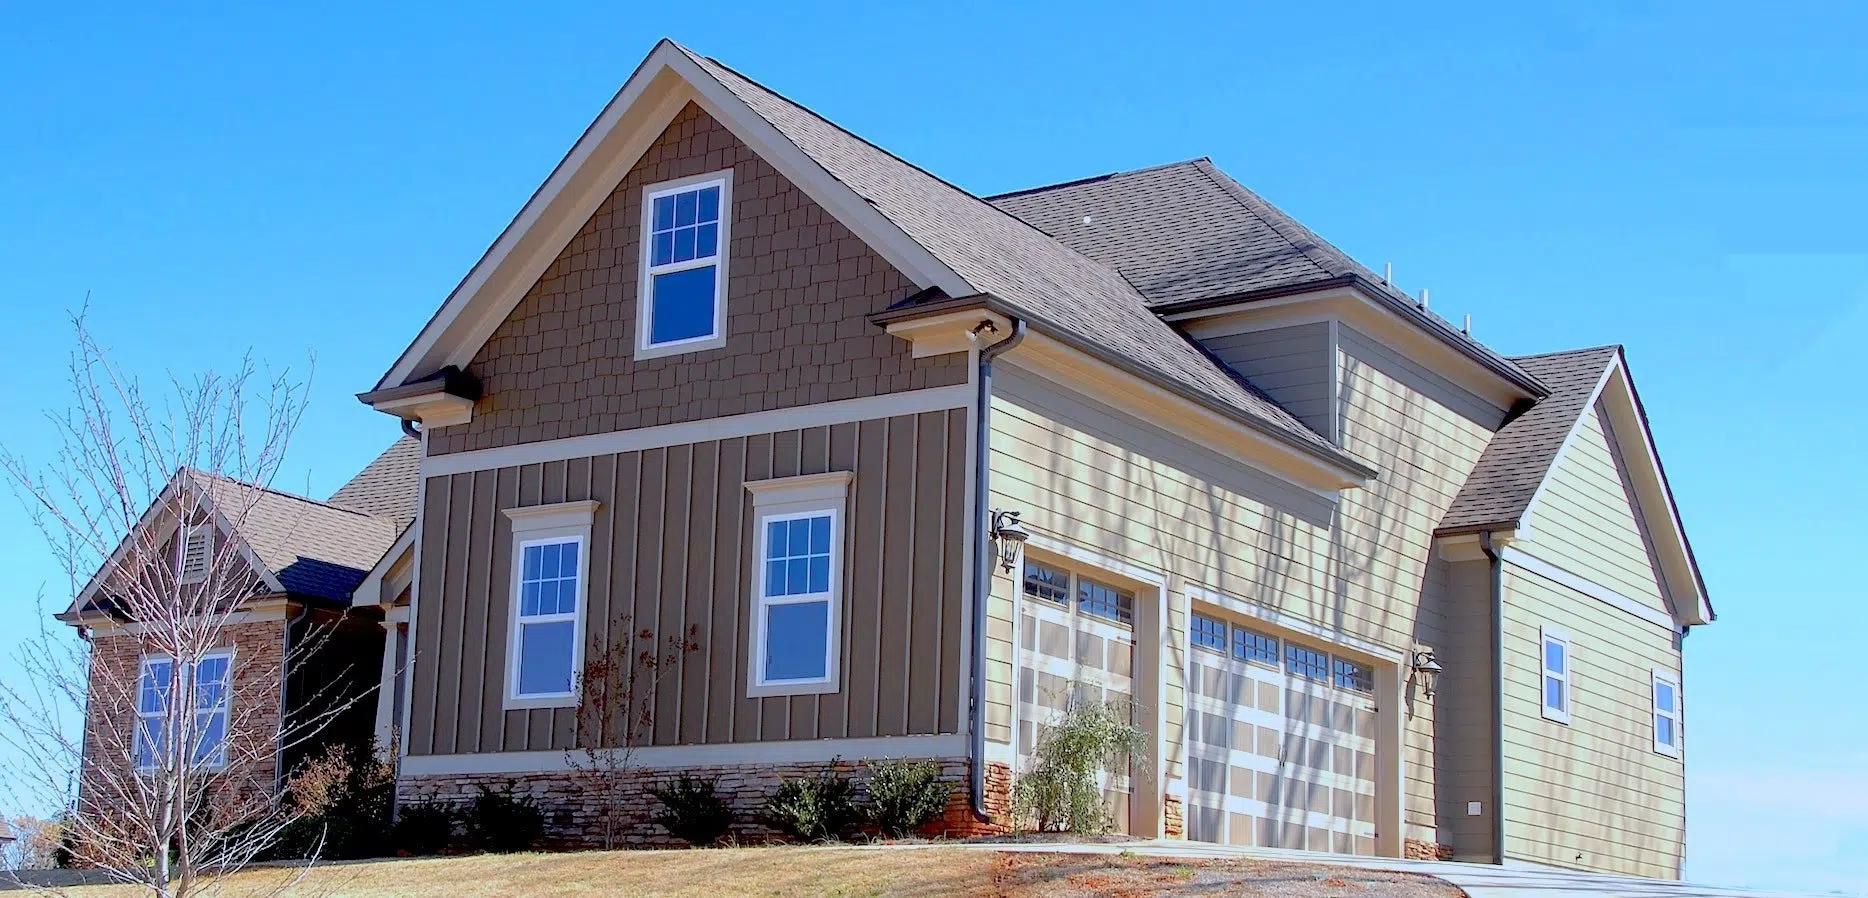
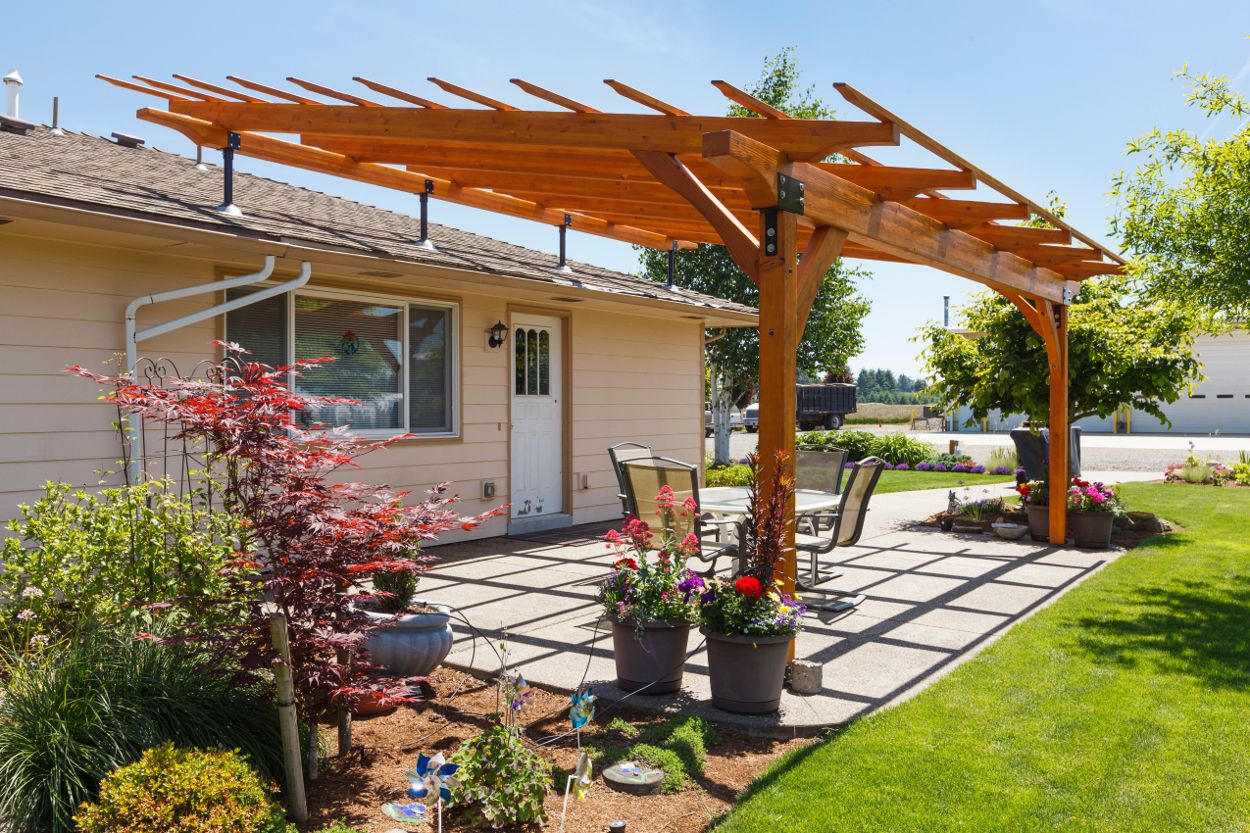
Building a gable porch roof can be a great way to add value and curb appeal to your home. Not only does it provide shelter and protection from the elements, but it also serves as an attractive architectural feature. One important aspect of constructing a gable porch roof is attaching it securely to your house. This ensures stability and prevents any potential damage that may result from high winds or heavy rainfall.
In this article, we will walk you through the step-by-step process of attaching a gable porch roof to your house. By following these instructions and using the necessary tools and materials, you can successfully complete this project and create a beautiful and functional addition to your home.
Before we dive into the details, let’s take a quick look at the tools and materials you will need for this project.
Key Takeaways:
- Securely attaching a gable porch roof to your house involves careful preparation, precise measurements, and proper installation of the ledger board, rafters, and trusses or brackets. Following these steps ensures a stable and visually appealing addition to your home.
- Completing the roofing and finishing touches, such as selecting the right roofing material, adding trim, and installing gutters, is crucial for a polished and weather-resistant gable porch roof. Attention to detail and proper installation techniques are key to a successful and long-lasting project.
Read more: How To Build A Gable Porch Roof
Necessary Tools and Materials
Before you begin attaching a gable porch roof to your house, make sure you have the following tools and materials on hand:
- Measuring tape
- Pencil
- Level
- Drill
- Screws
- Ladder
- Nail gun
- Rafter brackets or trusses
- Roofing materials (shingles, underlayment, flashing, etc.)
- Safety equipment (gloves, safety goggles, etc.)
Having these tools and materials readily available will ensure a smooth and efficient construction process. It is important to use high-quality materials that are suitable for the specific design and structural requirements of your gable porch roof.
Now that we have our tools and materials ready, let’s move on to the step-by-step process of attaching the gable porch roof to your house.
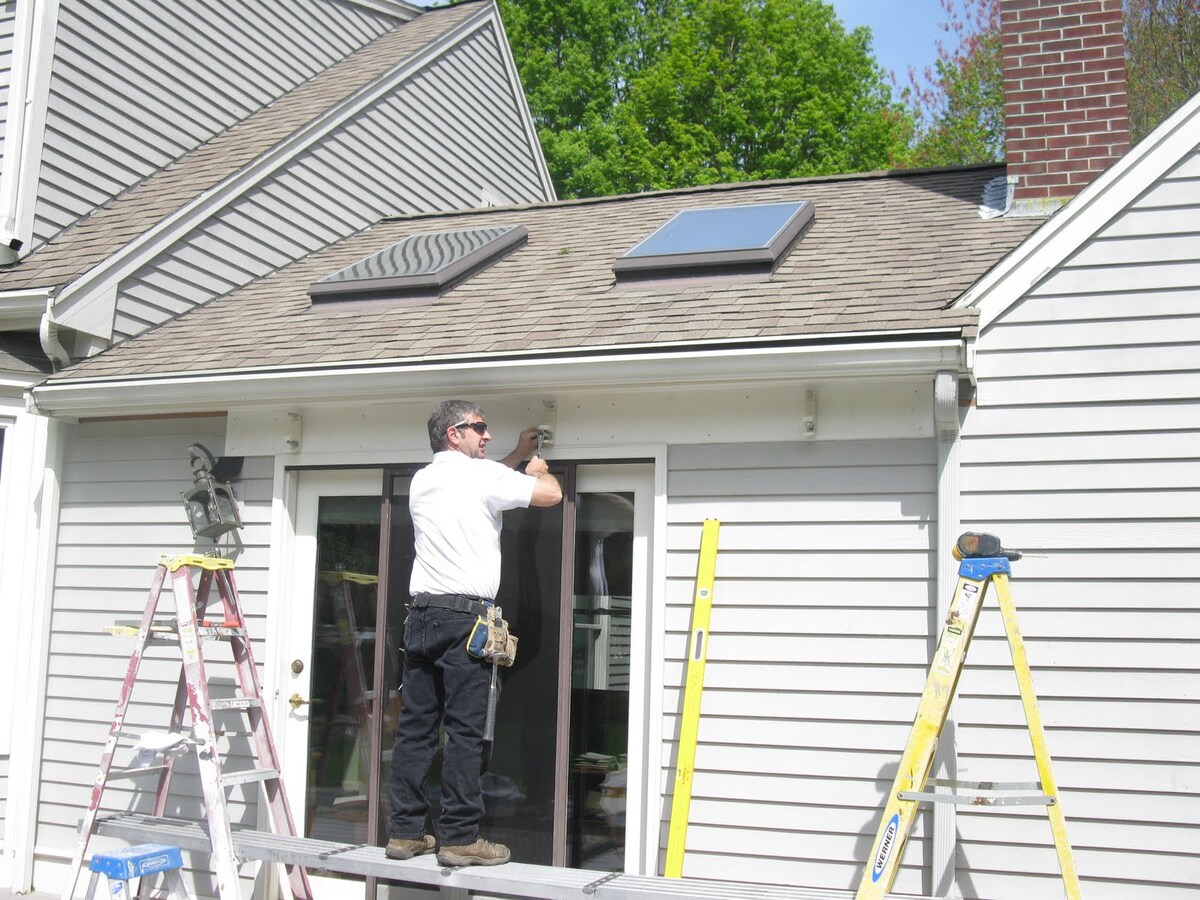
Step 1: Prepare the Work Area
Before you begin attaching the gable porch roof to your house, it’s important to prepare the work area. This involves clearing the space, ensuring safety, and making any necessary adjustments.
First, remove any obstructions in the area where the porch roof will be attached. This includes any outdoor furniture, decorations, or plants that may be in the way. Clearing the space will provide you with a clean and spacious area to work in.
Next, ensure that the ground is level and stable. If the ground is uneven or has soft spots, you may need to make adjustments by adding soil or compacting the area. Level ground is essential for proper installation and stability of the porch roof.
Additionally, consider the accessibility of the area. Make sure there is enough space for you to maneuver and work comfortably. If necessary, use a ladder or scaffolding to reach higher areas safely.
Safety is paramount when working on any construction project. Before you start, put on the appropriate safety equipment, such as gloves and safety goggles, to protect yourself from potential hazards.
Once the work area is prepared and safety measures are in place, you are ready to move on to the next step, which involves measuring and marking the attachment points on your house.
Step 2: Measure and Mark the Attachment Points
Before attaching the gable porch roof to your house, it’s important to accurately measure and mark the attachment points. This ensures that the roof is securely and properly aligned with your house.
Start by using a measuring tape to determine the desired height and width of the porch roof. Consider the overall proportions and architectural style of your house to achieve a harmonious and visually appealing design.
Once you have the measurements, use a pencil to mark the attachment points on the house. These points will serve as a guide for the installation process.
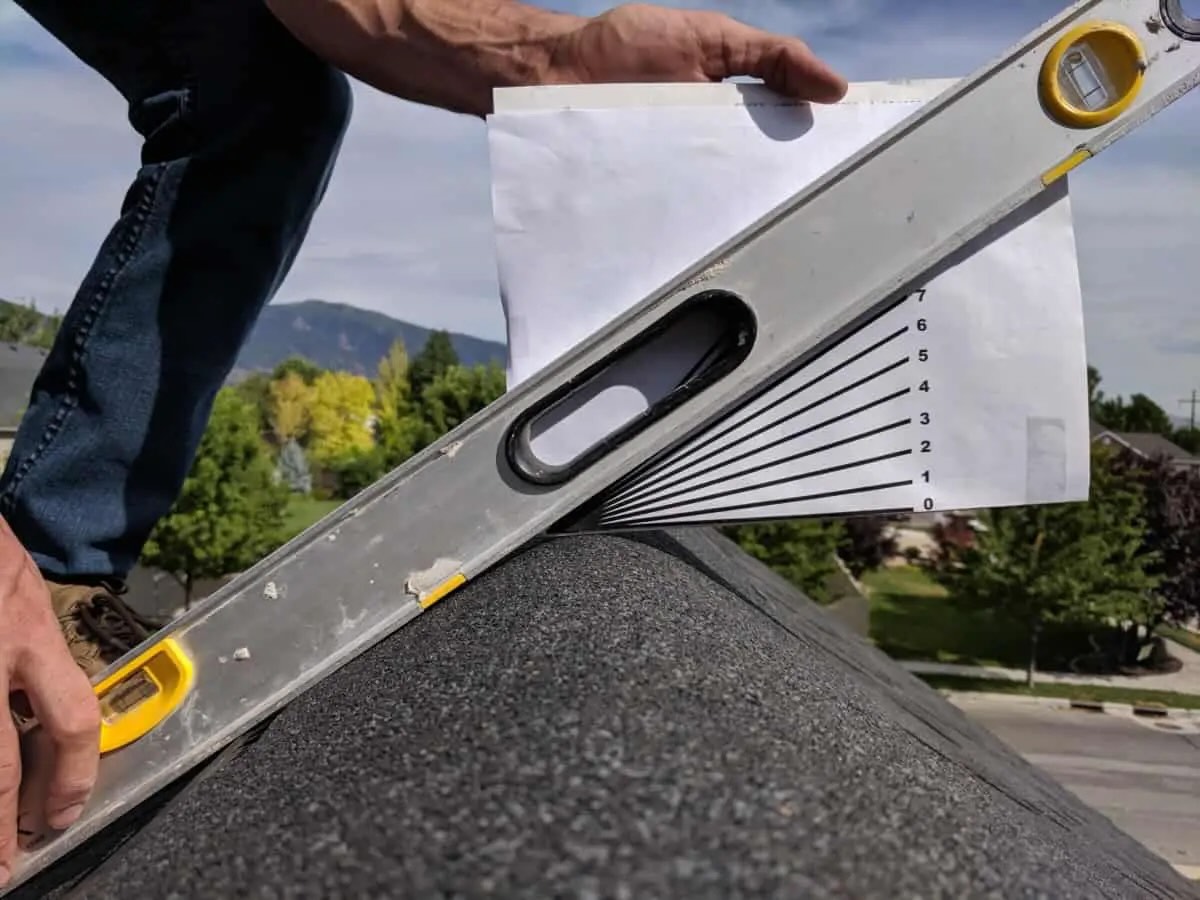
Ensure that the marked points are level and aligned properly. Use a level to double-check the accuracy of your markings. Adjust as necessary to achieve a straight and level installation.
Pay attention to any existing features on the house, such as windows or doors, that may affect the placement of the porch roof. Make sure to factor in these considerations when measuring and marking the attachment points.
Lastly, take into account any local building codes and regulations that may dictate the placement and dimensions of the porch roof. It’s important to comply with these guidelines to ensure the safety and structural integrity of your project.
With the attachment points measured and marked, you are ready to proceed to the next step, which involves installing the ledger board onto the house.
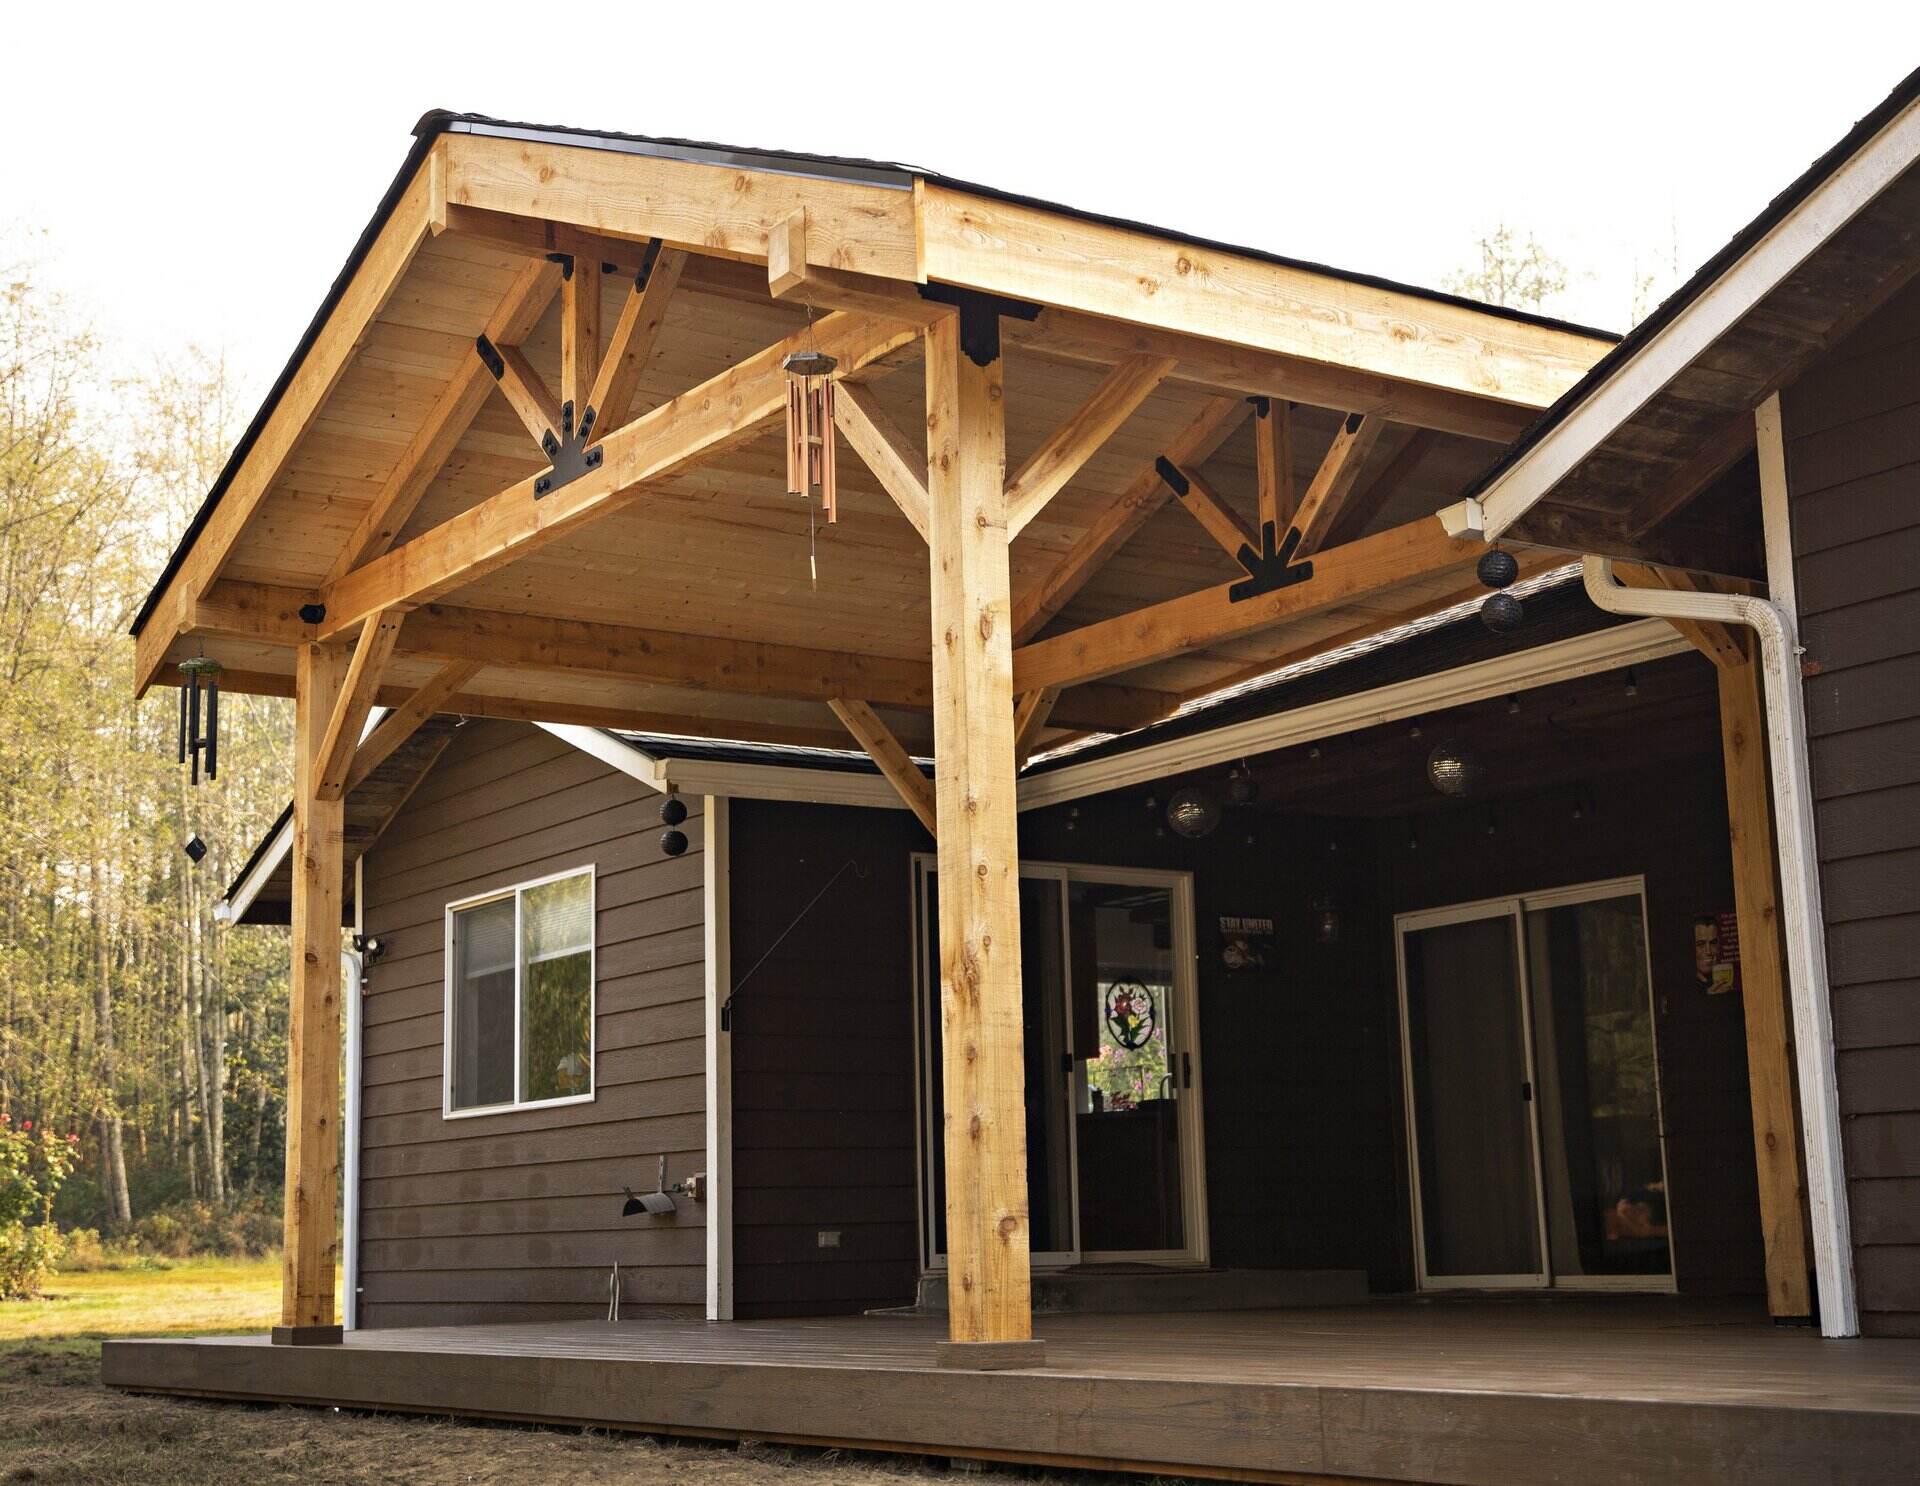
Step 3: Install the Ledger Board
Installing a ledger board is a crucial step in attaching a gable porch roof to your house. The ledger board provides a secure and stable foundation for the roof structure.
Start by positioning the ledger board against the marked attachment points on your house. Ensure that it is horizontally level and flush with the house’s exterior wall. Use a level to double-check the alignment.
Once the ledger board is in the desired position, mark the location of the anchor holes on the board. These holes will be used to secure the board to the house. Make sure to space the anchor holes evenly along the length of the board.
After marking the anchor holes, drill pilot holes into the ledger board at the marked locations. These pilot holes will make it easier to drive screws into the board and prevent splitting.
Next, position the ledger board back against the attachment points on the house. Insert screws through the pilot holes and drive them into the house’s framing or masonry, depending on the type of construction.
Ensure that the ledger board is firmly attached to the house. Tighten the screws securely, but be careful not to overtighten and damage the board or the house’s structure.
Finally, double-check the alignment and levelness of the ledger board. Use the level to verify that it is perfectly horizontal. Make any necessary adjustments before moving on to the next step.
With the ledger board installed, you have created a solid base for the gable porch roof. The next step involves attaching the rafters to the ledger board, which we will cover in the next section.
When attaching a gable porch roof to a house, be sure to properly flash and seal the connection to prevent water infiltration. Use the appropriate hardware and follow local building codes for a secure and durable attachment.
Read more: How To Attach A Patio Roof To A House
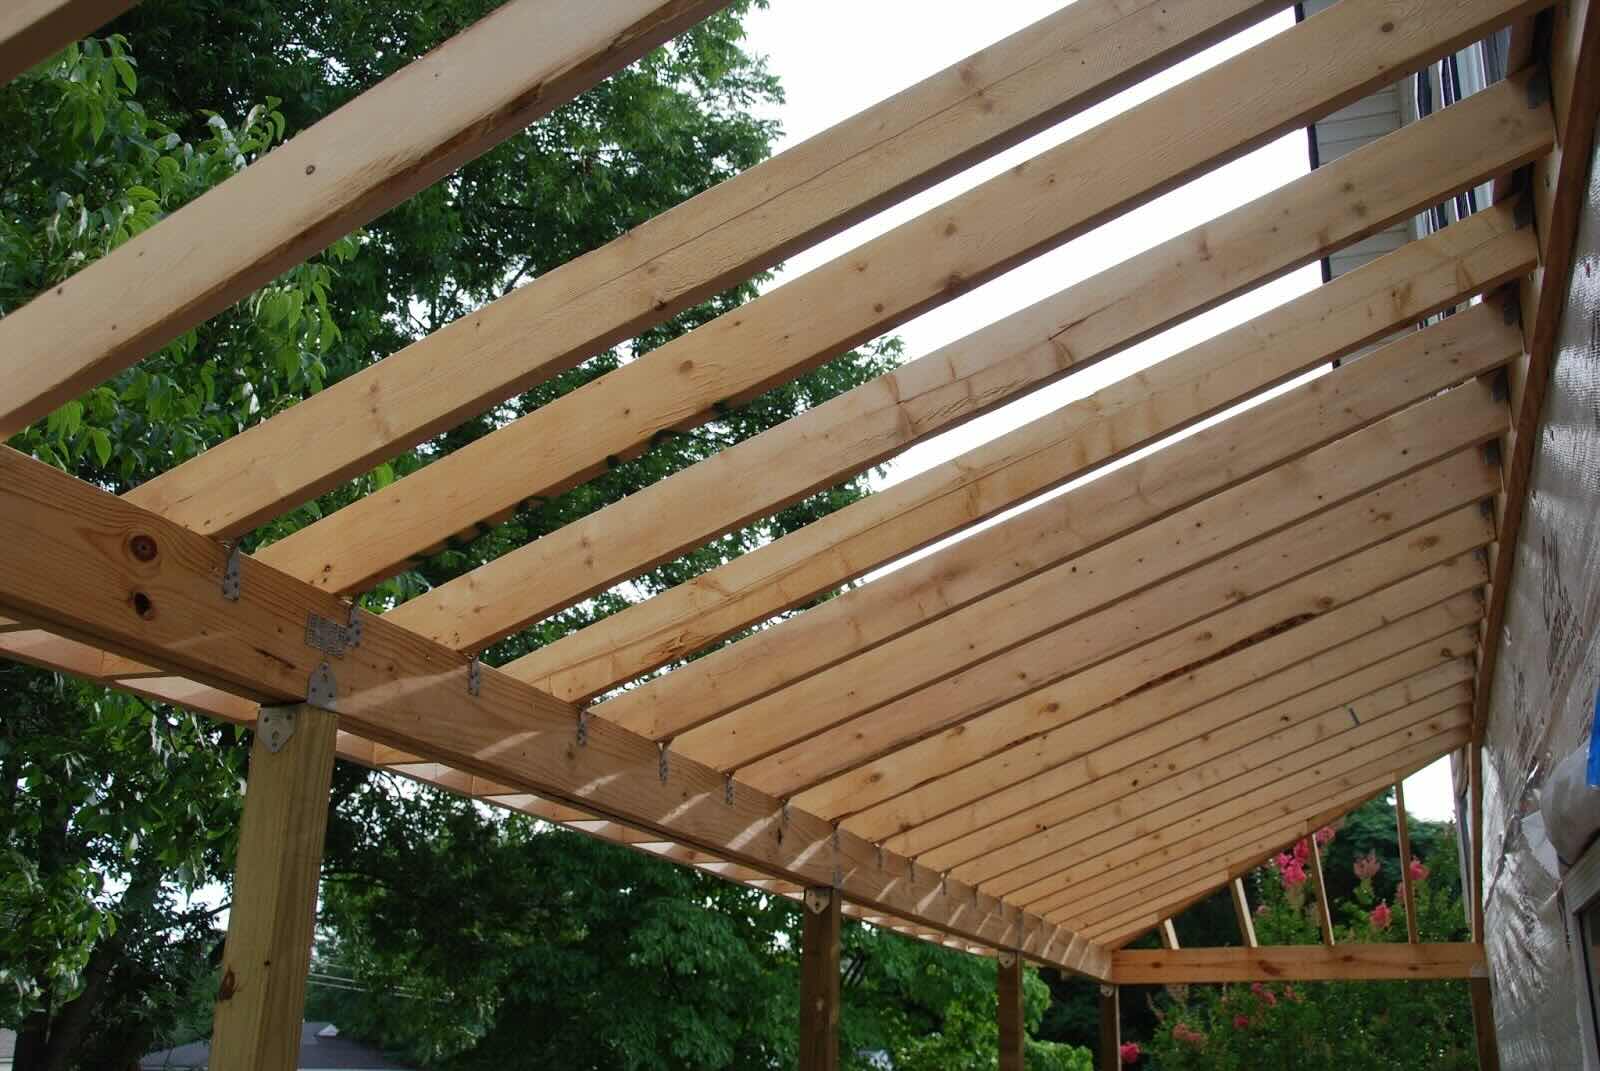
Step 4: Attach Rafters to the Ledger Board
Attaching the rafters to the ledger board is a key step in the construction of a gable porch roof. The rafters provide the framework and support for the roof structure.
Start by measuring and cutting the rafters to the appropriate length. The length will depend on the desired pitch of the roof and the overall dimensions of the porch.
Position the first rafter against the ledger board, at one end of the porch. Ensure that it is flush with the top of the ledger board and aligned with the layout marks you made earlier. Use a level to check for straightness and adjust if necessary.
Secure the rafter to the ledger board by using a nail gun or screws. Make sure the fasteners are driven in securely and hold the rafter in place.
Repeat the process for the remaining rafters, spacing them evenly along the length of the porch. The spacing will depend on factors such as the weight of the roof material and local building codes. Consult the manufacturer’s recommendations or a building professional for specific guidelines.
Remember to align each rafter with the layout marks on the ledger board and ensure that they are level and straight. This will ensure a cohesive and structurally sound porch roof.
As you attach each rafter, double-check the overall alignment and measure the distance between each rafter to maintain consistent spacing.
Once all the rafters are securely attached to the ledger board, you have successfully completed this step. The next step involves installing trusses or brackets to further support the porch roof, depending on your specific design and building requirements.
Step 5: Install Trusses or Brackets
Installing trusses or brackets is an important step in adding additional support to your gable porch roof. These structural elements help distribute the weight of the roof evenly and provide stability.
If you are using trusses, start by positioning the first truss at one end of the porch, aligning it with the layout marks and the rafters already installed. Ensure that it is plumb and level before securing it in place.
Attach the truss to the corresponding rafter using metal brackets or joist hangers. Make sure to follow the manufacturer’s instructions for proper installation, including the number and placement of screws or nails.
Continue installing trusses along the length of the porch, spacing them according to your design plans and local building codes. Secure each truss to the rafters using the appropriate hardware.
If you are using brackets instead of trusses, position the first bracket at the end of the porch, aligning it with the layout marks and the rafters. Use screws or nails to attach the bracket to both the rafter and the wall stud.
Repeat the process, spacing the brackets evenly throughout the porch and attaching them to the rafters and wall studs. Ensure that each bracket is securely fastened and provides proper support for the roof structure.
As you install trusses or brackets, double-check the alignment, levelness, and spacing to maintain a strong and stable porch roof. Adjust as needed to achieve a uniform and structurally sound framework.
Once all the trusses or brackets are installed, you have completed this step in attaching the gable porch roof. The next step involves securing the porch roof to the house, which we will cover in the following section.
Step 6: Secure the Porch Roof to the House
Securing the porch roof to the house is a crucial step that ensures the stability and structural integrity of the entire structure. Properly fastening the roof to the house will prevent it from shifting, sagging, or being damaged by strong winds or other external factors.
Begin by aligning the porch roof with the ledger board that was previously installed. Make sure that the roof is positioned correctly and matches the measurements and layout marks you made earlier in the process.
Secure the porch roof to the house by driving screws or nails through the rafters or trusses into the ledger board. Space the fasteners evenly and use the appropriate size and length based on the material and thickness of the roof and ledger board.
For added strength and stability, consider using hurricane ties or metal straps to further secure the roof to the walls of your house. These reinforcements provide extra support and help withstand strong winds and other potential forces.
Inspect the attachment points to ensure that the roof is securely fastened to the house. Make sure there is no movement or excessive flexing when applying pressure. If any part feels loose, reinforce it with additional screws, nails, or hardware as needed.
Depending on the specific design and building requirements, you may also need to incorporate flashing to create a watertight seal between the roof and the house. Consult local building codes and follow recommended guidelines to properly install the flashing.
By securing the porch roof to the house, you have successfully completed a vital step in the construction process. The final step involves completing the roofing and adding the finishing touches to your gable porch roof, which we will cover in the next section.
Step 7: Complete the Roofing and Finishing Touches
Completing the roofing and adding the finishing touches to your gable porch roof is the final step in the construction process. This stage involves installing the roof covering material and making any necessary adjustments to ensure a polished and visually appealing end result.
Start by determining the type of roofing material that best suits your preferences and budget. Common options include asphalt shingles, metal roofing, or even tile or slate for a more luxurious look. Consult with roofing professionals or research the pros and cons of each material to make an informed decision.
Follow the manufacturer’s instructions and guidelines for your chosen roofing material to properly install it on the porch roof. This may involve securing the shingles or panels using nails, screws, or specific adhesive methods.
Pay attention to the proper overlap and orientation of the roofing material to ensure it effectively sheds water and provides a weatherproof barrier. Proper installation is crucial to prevent leaks and water damage to the porch and house beneath.
After the roofing is complete, take the time to add the finishing touches. This may include adding fascia boards or trim to the edges of the roof for a clean and polished look. Paint or stain the trim to match your aesthetic preferences and enhance the overall appearance of the gable porch roof.
Additionally, consider adding gutters and downspouts to properly manage rainwater runoff from the roof. This will help protect the porch and prevent water-related issues such as erosion or foundation damage.
Lastly, inspect the entire porch roof for any remaining adjustments or finishing tasks. Make sure all connections are secure, trim is properly installed, and there are no visible issues or defects.
With the roofing and finishing touches complete, you have successfully attached a gable porch roof to your house. Admire your handiwork and enjoy the benefits of your new and improved outdoor space.
Congratulations on completing this project!
Read more: What Is A Gable On A Roof?
Conclusion
Attaching a gable porch roof to your house is a rewarding project that adds value, functionality, and aesthetic appeal to your home. By following the step-by-step process and using the necessary tools and materials, you can successfully complete this construction endeavor.
Throughout the process, we covered important steps such as preparing the work area, measuring and marking the attachment points, installing the ledger board, attaching the rafters, installing trusses or brackets, securing the porch roof to the house, and completing the roofing and finishing touches.
Each of these steps is vital in ensuring a sturdy, stable, and visually pleasing porch roof that can withstand the elements and enhance your outdoor living space for years to come.
It is crucial to always prioritize safety by wearing the appropriate protective gear and following proper guidelines. Additionally, be sure to consult local building codes and regulations to adhere to requirements specific to your area.
Remember, while this article provides a comprehensive overview, it is always recommended to consult with professionals or experienced builders to address any specific considerations or unique challenges you may encounter during the process.
We hope that this guide has been informative, helping you gain confidence in attaching a gable porch roof to your house. Enjoy your newly transformed outdoor space and the comfort it brings to your home.
Frequently Asked Questions about How To Attach Gable Porch Roof To House
Was this page helpful?
At Storables.com, we guarantee accurate and reliable information. Our content, validated by Expert Board Contributors, is crafted following stringent Editorial Policies. We're committed to providing you with well-researched, expert-backed insights for all your informational needs.


0 thoughts on “How To Attach Gable Porch Roof To House”