Home>Renovation & DIY>Home Renovation Guides>How To Install Soffit And Fascia On A Gable Roof

Home Renovation Guides
How To Install Soffit And Fascia On A Gable Roof
Modified: August 28, 2024
Learn how to install soffit and fascia on a gable roof with our comprehensive home renovation guide. Follow our step-by-step instructions for a successful DIY project.
(Many of the links in this article redirect to a specific reviewed product. Your purchase of these products through affiliate links helps to generate commission for Storables.com, at no extra cost. Learn more)
Introduction
When it comes to enhancing the aesthetics and functionality of your home, paying attention to the soffit and fascia on a gable roof can make a significant difference. Soffit and fascia play crucial roles in protecting your home from the elements while adding a polished look to the overall exterior. Understanding the process of installing soffit and fascia on a gable roof empowers homeowners to take charge of their home improvement projects and maintain the structural integrity of their property.
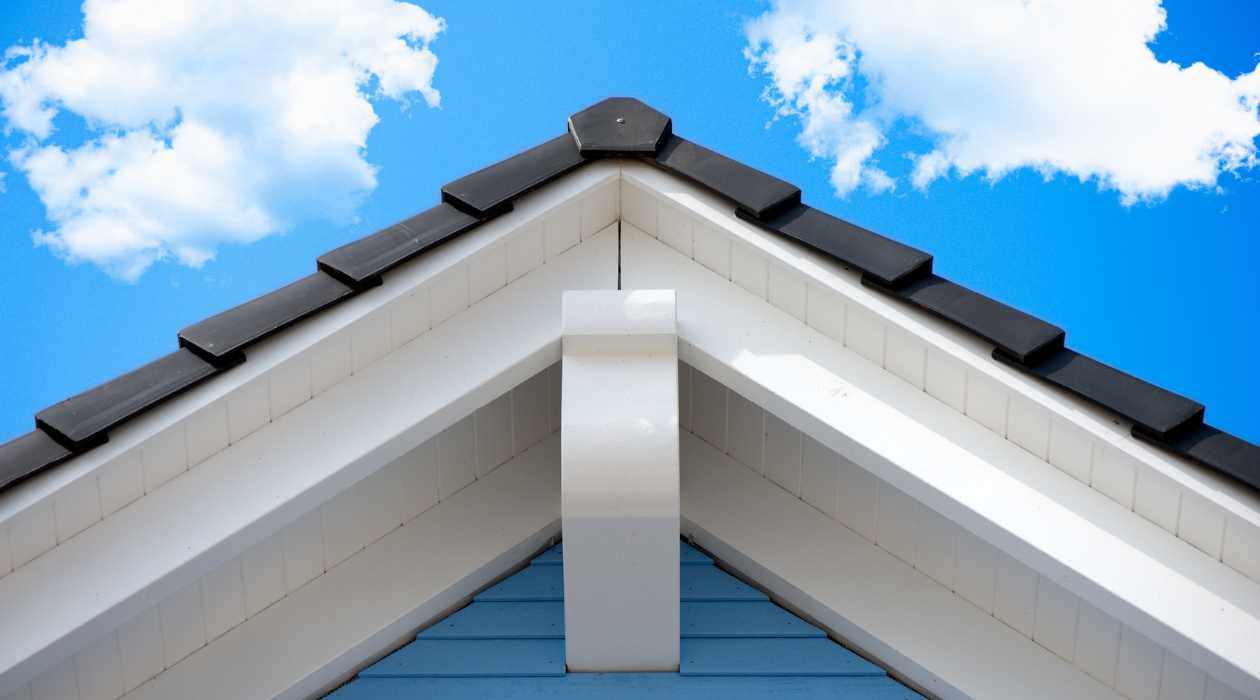
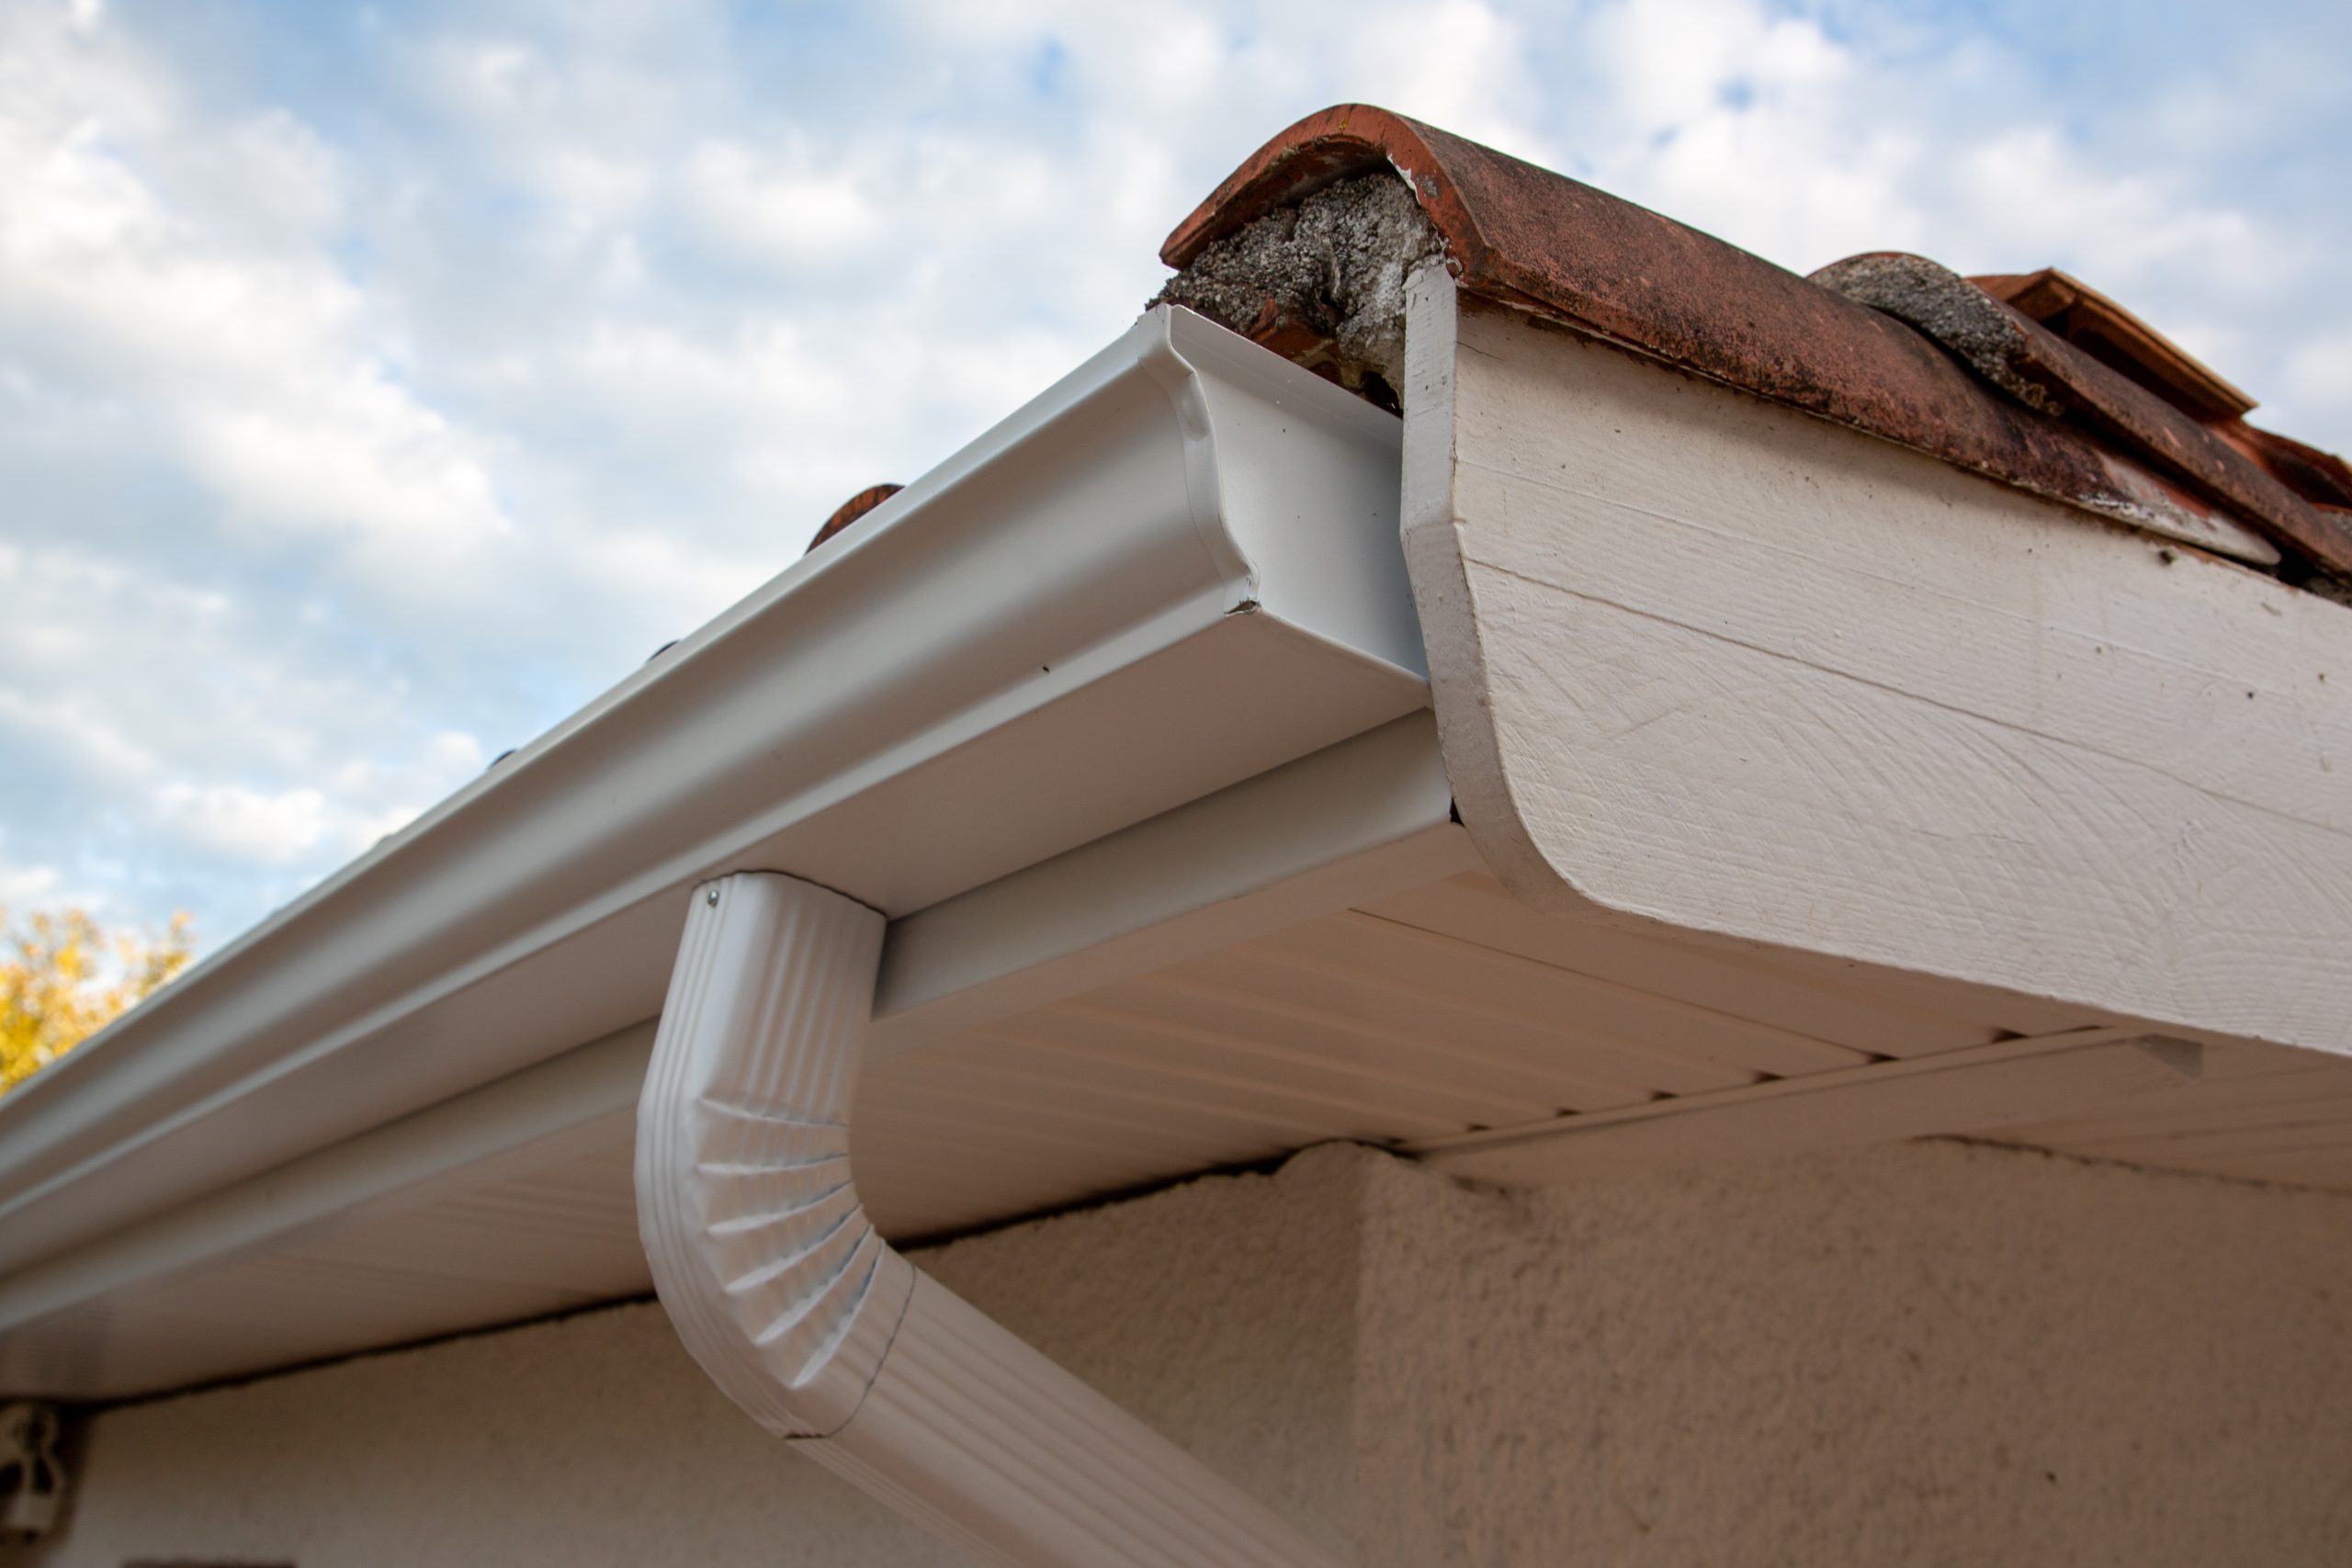
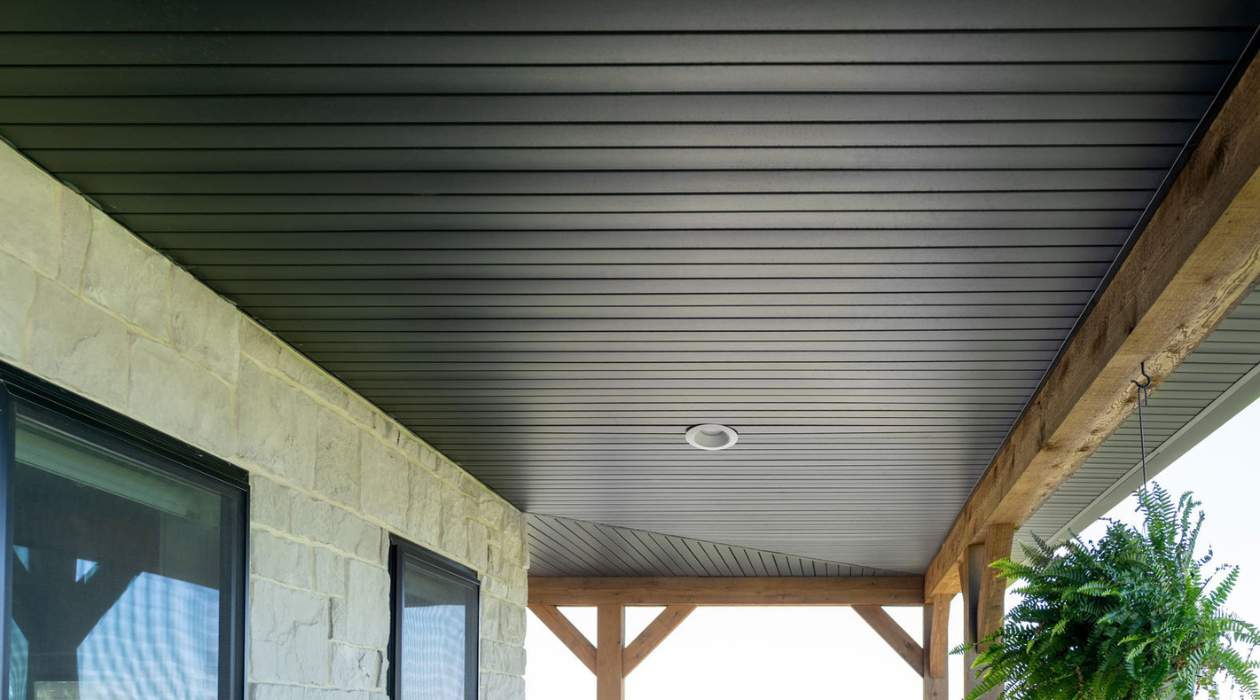
Proper installation of soffit and fascia not only elevates the curb appeal of your home but also contributes to its longevity. The soffit, located underneath the eaves, provides ventilation to the attic, preventing moisture buildup and potential damage to the roof structure. Meanwhile, the fascia serves as a protective barrier, shielding the edges of the roof and the interior of the home from water infiltration and pest infestation.
By learning how to install soffit and fascia on a gable roof, homeowners can take pride in actively preserving and enhancing their living spaces. This guide will walk you through the essential steps and considerations involved in this process, equipping you with the knowledge and confidence to tackle this home renovation project. Whether you are a seasoned DIY enthusiast or a homeowner looking to understand the intricacies of gable roof maintenance, this comprehensive guide will provide valuable insights and practical tips for a successful soffit and fascia installation.
Key Takeaways:
- Enhance Your Home’s Protection and Appearance
Learn how to install soffit and fascia on a gable roof to safeguard your home from the elements and elevate its curb appeal. Follow the steps for a successful DIY project! - Maintain Your Gable Roof with Confidence
By preparing, installing, and maintaining soffit and fascia, homeowners can preserve their roof’s integrity and enhance its ventilation and visual appeal. Take charge of your home renovation project!
Read more: What Is A Gable On A Roof?
Tools and Materials Needed
Before embarking on the installation of soffit and fascia on a gable roof, it's essential to gather the necessary tools and materials to ensure a smooth and efficient process. Here's a comprehensive list of items you'll need:
Tools:
- Ladder: A sturdy ladder is crucial for accessing the eaves and fascia of the gable roof safely.
- Measuring Tape: Accurate measurements are essential for cutting soffit and fascia materials to the correct size.
- Circular Saw: This tool is used for cutting the soffit and fascia materials to fit the dimensions of the roof.
- Hammer: A reliable hammer is necessary for securing the soffit and fascia in place.
- Chalk Line: This tool helps in marking straight and precise lines for the installation.
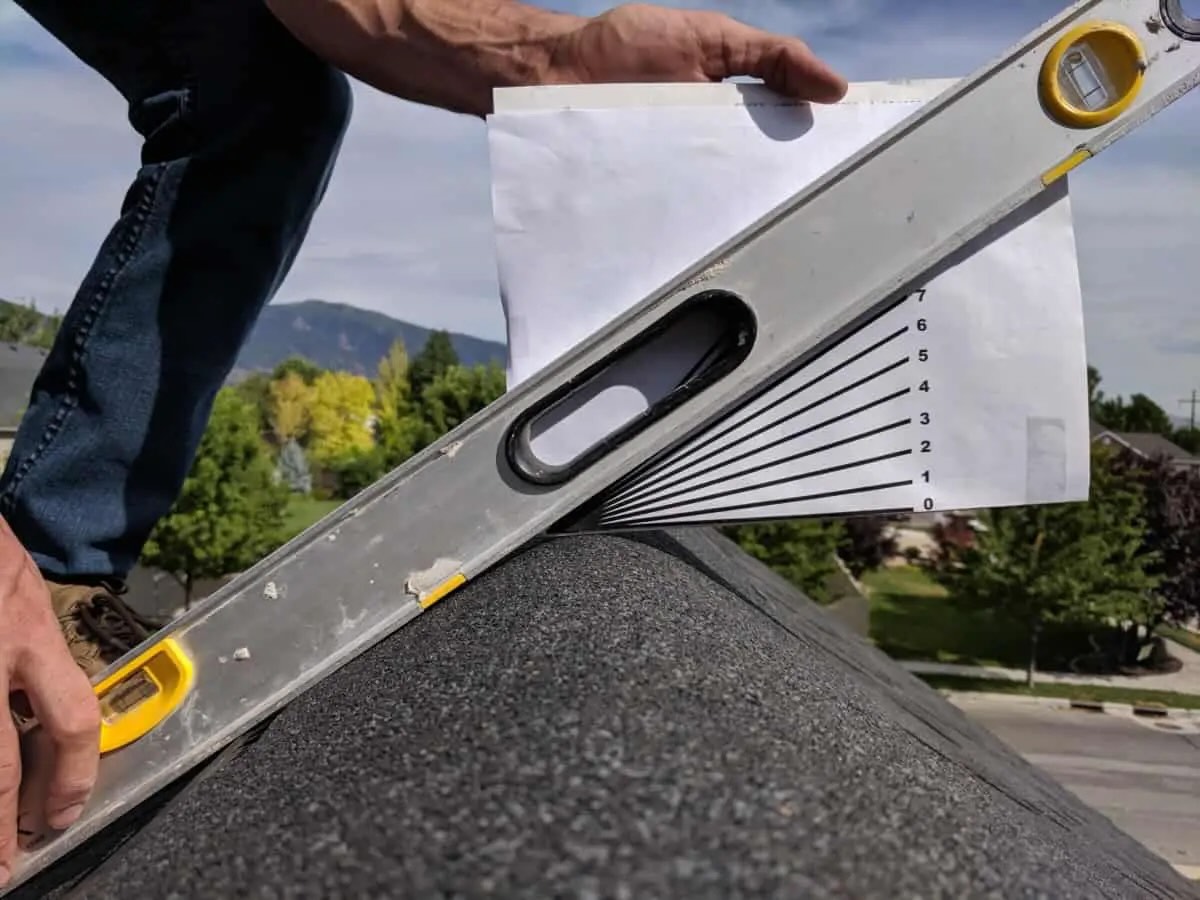
- Level: Ensures that the soffit and fascia are installed evenly and horizontally.
- Utility Knife: Used for cutting and trimming soffit and fascia materials as needed.
- Safety Gear: Including gloves, safety goggles, and a dust mask to protect yourself during the installation process.
Materials:
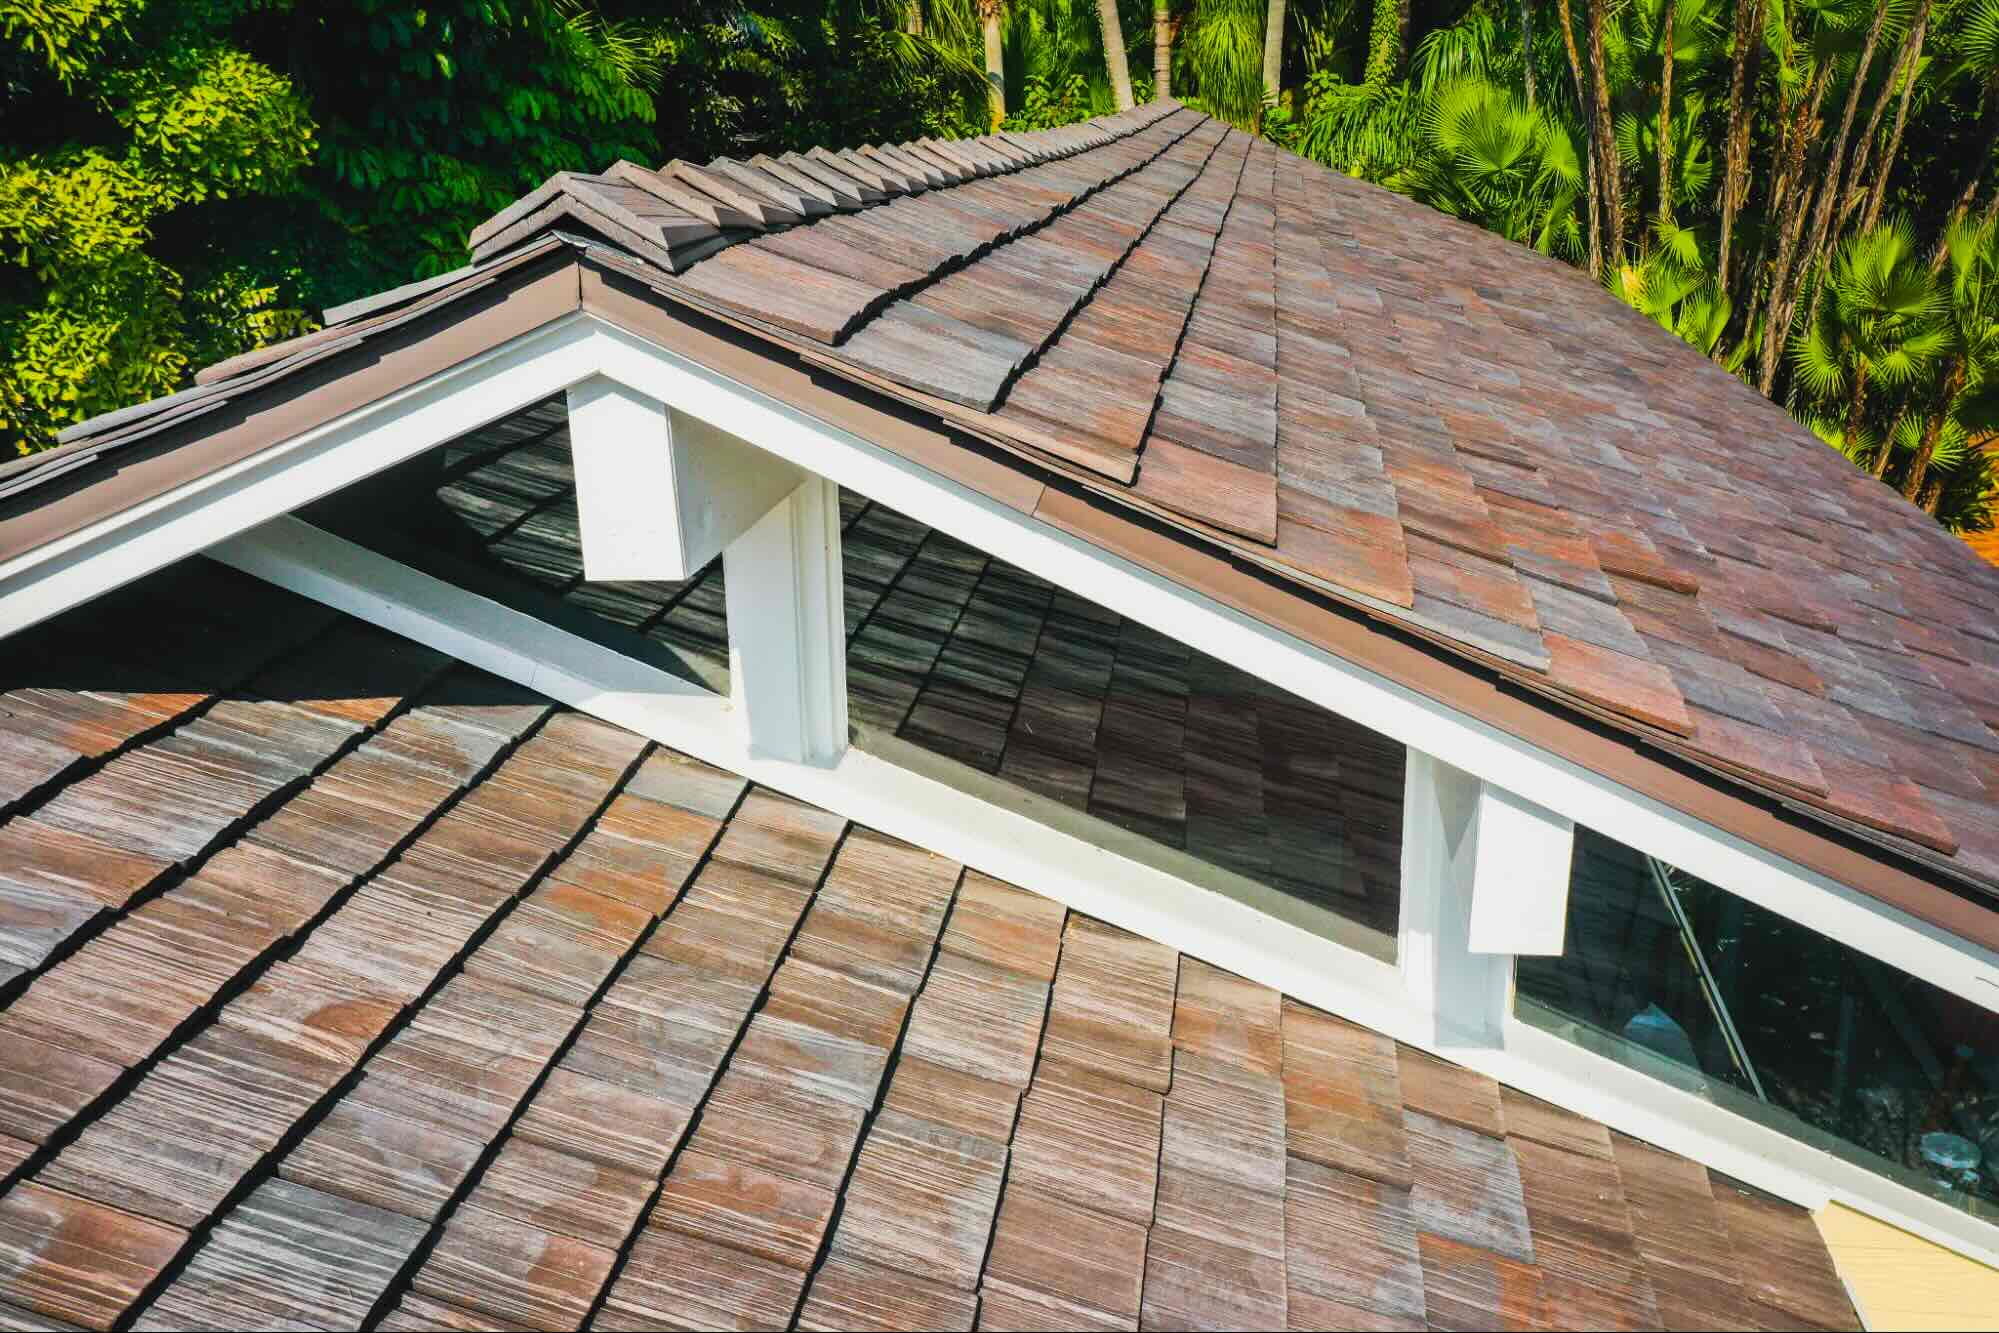
- Soffit Panels: Available in various materials such as vinyl, aluminum, or wood, soffit panels provide ventilation and a finished look to the underside of the roof overhang.
- Fascia Boards: These boards are installed along the roof's edge to support the bottom row of roof tiles and provide a clean, finished appearance.
- Soffit Vents: Essential for ensuring proper airflow and ventilation in the attic space, preventing moisture buildup and potential damage.
- Fascia Cover: Optional, but can be used to cover existing wooden fascia for added protection and a refreshed appearance.
- Nails and Screws: Depending on the material of the soffit and fascia, appropriate nails and screws will be required for secure installation.
- Caulk: To seal joints and edges, preventing water infiltration and enhancing the overall weatherproofing of the roof.
- Paint or Stain: If using wood materials, paint or stain can be applied to match the aesthetic of the home's exterior.
By ensuring that you have all the necessary tools and materials on hand, you can streamline the installation process and achieve professional-looking results. Proper preparation and attention to detail at this stage will set the foundation for a successful soffit and fascia installation on your gable roof.
Preparing the Gable Roof
Before diving into the installation of soffit and fascia on a gable roof, it's crucial to prepare the roof to ensure a seamless and durable outcome. This preparatory phase sets the stage for a successful installation and contributes to the long-term functionality and visual appeal of the soffit and fascia components.
Read more: What Is A Roof Soffit
Inspect the Existing Structure
Begin by conducting a thorough inspection of the gable roof's existing soffit and fascia, if applicable. Look for signs of damage, rot, or pest infestation that may compromise the integrity of the installation. Address any underlying issues before proceeding with the new installation to prevent future complications.
Clear Debris and Clean the Area
Clear any debris, such as leaves, twigs, or dirt, from the eaves and fascia. This step is essential to create a clean and stable surface for the new soffit and fascia installation. Additionally, consider pressure washing the area to remove built-up grime and ensure optimal adhesion for the new materials.
Measure and Plan
Accurate measurements are fundamental to a precise and professional-looking installation. Measure the length of the soffit and fascia needed for each section of the gable roof, taking into account any angles or corners. Plan the layout and placement of the soffit vents to ensure proper airflow and ventilation in the attic space.
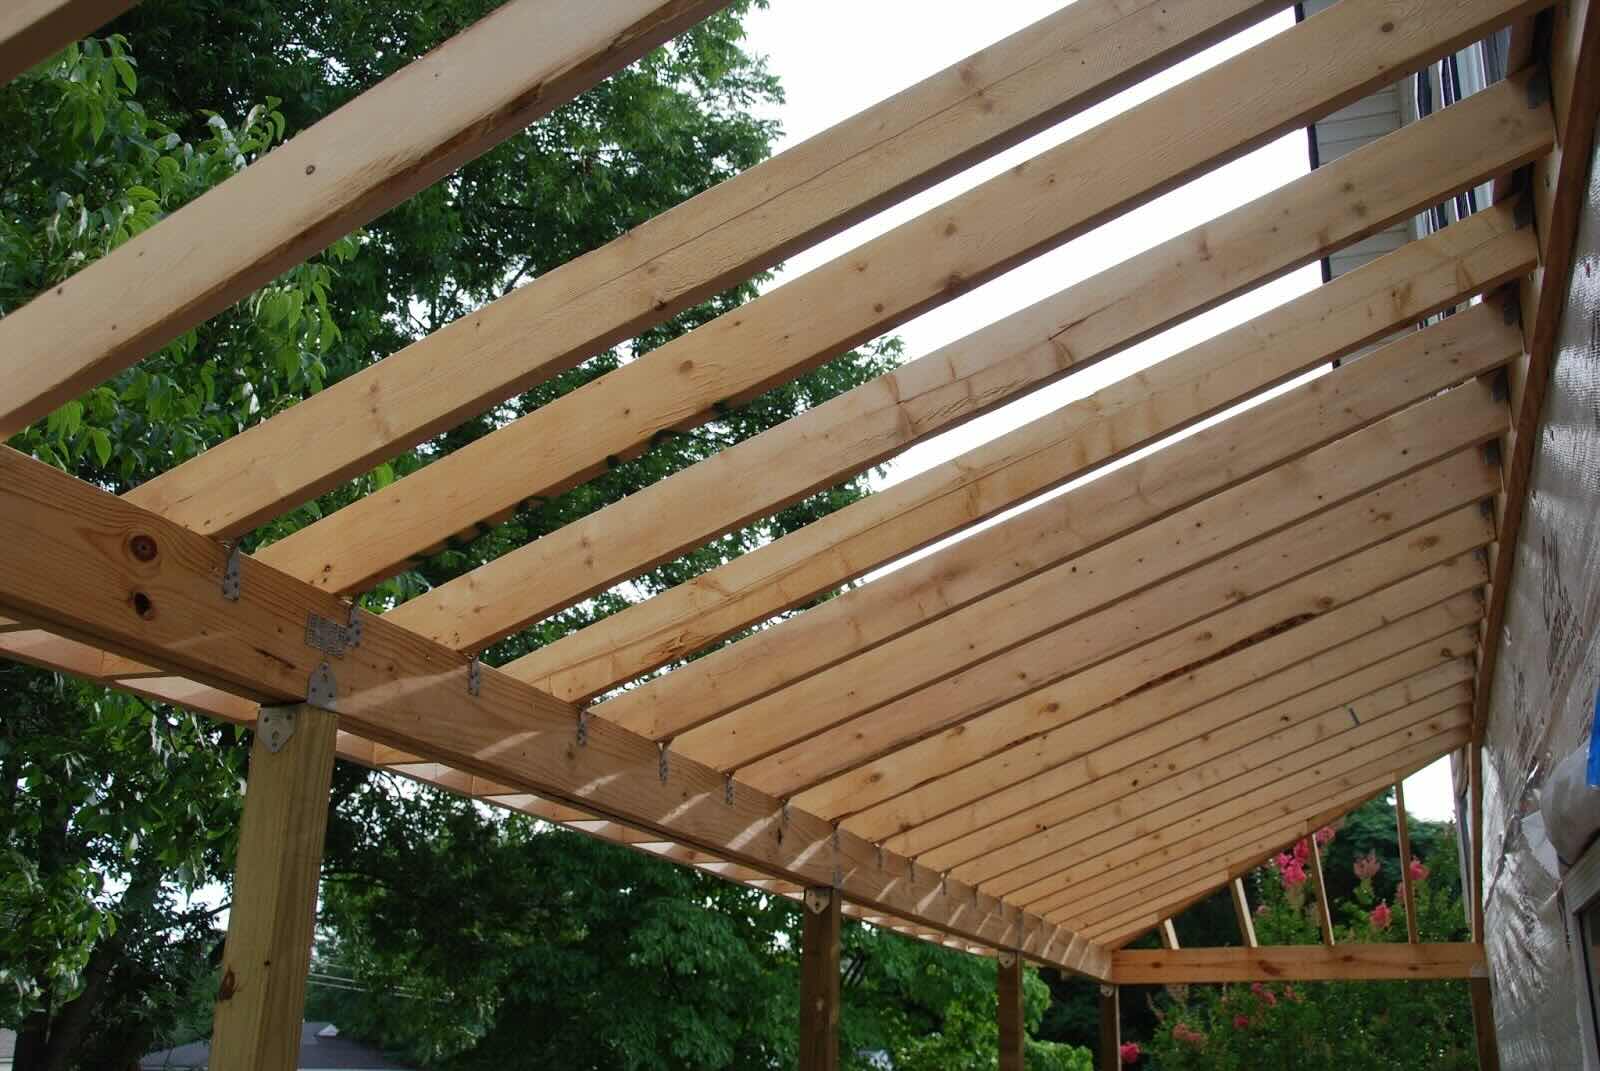
Repair and Reinforce
If any structural issues or damage are identified during the inspection, take the necessary steps to repair and reinforce the underlying framework. This may involve replacing rotted wood, reinforcing support beams, or addressing any areas of weakness to provide a solid foundation for the new soffit and fascia installation.
Read more: How To Install Gable Trim On A Metal Roof
Apply Protective Coating
Consider applying a protective coating or primer to the exposed wood surfaces of the gable roof. This additional layer of protection can help safeguard the underlying structure from moisture, UV exposure, and potential pest damage, prolonging the lifespan of the soffit and fascia components.
By meticulously preparing the gable roof for the installation of soffit and fascia, homeowners can ensure a durable, visually appealing, and functional outcome. This preparatory phase sets the stage for a seamless installation process and contributes to the overall integrity and longevity of the gable roof's soffit and fascia components.
Installing the Soffit
Installing the soffit is a critical step in the process of enhancing the functionality and visual appeal of a gable roof. The soffit panels, which are installed underneath the eaves, play a pivotal role in providing ventilation to the attic space while adding a polished finish to the roof's underside. Here's a detailed walkthrough of the essential steps involved in installing the soffit on a gable roof:
1. Cutting the Soffit Panels
Begin by measuring the length of the soffit needed for each section of the gable roof. Using a measuring tape and a chalk line, mark the dimensions on the soffit panels, ensuring precise and accurate measurements. Employ a circular saw to cut the soffit panels to the appropriate size, taking care to maintain clean and straight edges for a professional finish.
2. Installing Soffit Vents
If your attic space requires additional ventilation, consider incorporating soffit vents into the installation. Soffit vents are essential for promoting airflow and preventing moisture buildup in the attic, contributing to the overall health of the roof structure. Carefully cut openings in the soffit panels to accommodate the soffit vents, ensuring proper spacing and alignment for optimal ventilation.
Read more: How To Shingle A Gable Roof
3. Securing the Soffit Panels
With the soffit panels cut to size and any necessary vents installed, it's time to secure the panels to the underside of the eaves. Starting from one end of the gable roof, carefully position the soffit panels into place, ensuring a snug fit and proper alignment. Use nails or screws designed for the specific soffit material to secure the panels in position, maintaining consistent spacing between fasteners for a secure and uniform installation.
4. Applying Finishing Touches
Once the soffit panels are securely in place, inspect the installation for any gaps or unevenness. Use a utility knife to trim the panels as needed, ensuring a clean and seamless appearance along the entire length of the gable roof. Additionally, consider applying a bead of caulk along the edges and joints of the soffit panels to enhance weatherproofing and prevent water infiltration.
By following these steps, homeowners can successfully install the soffit on a gable roof, contributing to improved ventilation, enhanced aesthetics, and long-term protection of the roof structure. The installation of the soffit marks a significant milestone in the overall maintenance and enhancement of a gable roof, setting the stage for the subsequent installation of the fascia and the completion of this essential home renovation project.
Installing the Fascia
Installing the fascia is a pivotal step in the process of enhancing the functionality and visual appeal of a gable roof. The fascia boards, which are installed along the roof's edge, play a crucial role in supporting the bottom row of roof tiles and providing a clean, finished appearance to the exterior of the home. Here's a detailed walkthrough of the essential steps involved in installing the fascia on a gable roof:
1. Measuring and Cutting the Fascia Boards
Begin by accurately measuring the length of the fascia needed for each section of the gable roof. Use a measuring tape to determine the precise dimensions, taking into account any angles or corners along the roof's edge. Mark the measurements on the fascia boards and use a circular saw to make clean, straight cuts, ensuring that the boards fit seamlessly along the entire length of the roof.
Read more: How To Install Gable Vent
2. Securing the Fascia Boards
With the fascia boards cut to the appropriate size, it's time to secure them along the roof's edge. Starting from one end of the gable roof, position the fascia boards, ensuring that they align evenly and are level with the roof's surface. Use nails or screws designed for the specific fascia material to secure the boards in place, ensuring a secure and uniform installation. Pay close attention to the spacing of fasteners to maintain structural integrity and a polished appearance.
3. Adding Fascia Cover (Optional)
For homeowners looking to refresh the appearance of existing wooden fascia or provide additional protection, the option of adding a fascia cover can be considered. A fascia cover, typically made of aluminum or vinyl, can be installed over the existing wooden fascia to enhance durability and minimize maintenance requirements. This optional step can contribute to the longevity and visual appeal of the fascia installation.
4. Finishing Touches and Maintenance Tips
Once the fascia boards are securely in place, inspect the installation for any gaps or irregularities. Use a level to ensure that the fascia boards maintain a consistent and straight alignment along the roof's edge. Additionally, consider applying a coat of paint or stain to the fascia boards to match the aesthetic of the home's exterior and provide added protection against the elements. Regular maintenance, including periodic inspections for damage or wear, can help prolong the lifespan of the fascia and preserve the overall integrity of the gable roof.
By following these steps, homeowners can successfully install the fascia on a gable roof, contributing to the structural support, visual appeal, and long-term protection of the roof and the home's exterior. The installation of the fascia represents a significant milestone in the overall maintenance and enhancement of a gable roof, complementing the installation of the soffit and culminating in a comprehensive and visually appealing home renovation project.
Finishing Touches and Maintenance Tips
After completing the installation of soffit and fascia on a gable roof, attention to finishing touches and ongoing maintenance is crucial to ensure the longevity and optimal performance of these essential components. Here are valuable tips to add those final touches and maintain the soffit and fascia effectively:
Read more: How To Build A Gable Porch Roof
1. Seal Joints and Edges
Inspect the installed soffit and fascia for any gaps or exposed edges. Apply a high-quality exterior caulk to seal the joints and edges, preventing water infiltration and enhancing the overall weatherproofing of the roof. Proper sealing contributes to the durability and resilience of the soffit and fascia, safeguarding the underlying structure from moisture-related issues.
2. Paint or Stain Application
If the soffit and fascia materials are paintable or stainable, consider applying a fresh coat to enhance their visual appeal and provide additional protection. Choose a high-quality exterior paint or stain that complements the home's exterior color scheme. This step not only adds a polished finish but also contributes to the overall weather resistance of the soffit and fascia, prolonging their lifespan.
3. Regular Inspection and Maintenance
Establish a routine for inspecting the soffit and fascia, paying attention to signs of damage, wear, or pest activity. Regularly check for loose panels, peeling paint, or any indications of water damage. Promptly address any issues to prevent potential deterioration and maintain the structural integrity of the roof. Additionally, clear debris such as leaves and twigs from the soffit vents to ensure unobstructed airflow and ventilation.
4. Pest Prevention Measures
Implement measures to deter pests from nesting in the soffit and fascia. Consider installing pest barriers or screens to prevent unwanted critters from accessing the attic space through the soffit vents. By proactively addressing pest-related concerns, homeowners can preserve the functionality and cleanliness of the soffit and fascia, contributing to a well-maintained gable roof.
Read more: How To Build Gable Roof
5. Professional Inspection and Repairs
Periodically engage professional roofing contractors to conduct thorough inspections of the soffit and fascia. Experienced professionals can identify potential issues early on and provide expert recommendations for maintenance or repairs. Timely intervention can prevent minor issues from escalating into costly repairs, ensuring the continued performance and visual appeal of the soffit and fascia components.
By incorporating these finishing touches and adhering to a proactive maintenance regimen, homeowners can uphold the integrity and aesthetics of the soffit and fascia on their gable roof. These measures not only contribute to the overall appeal of the home but also serve to protect the roof structure and enhance its longevity, ultimately providing peace of mind and a well-maintained exterior for years to come.
Frequently Asked Questions about How To Install Soffit And Fascia On A Gable Roof
Was this page helpful?
At Storables.com, we guarantee accurate and reliable information. Our content, validated by Expert Board Contributors, is crafted following stringent Editorial Policies. We're committed to providing you with well-researched, expert-backed insights for all your informational needs.

0 thoughts on “How To Install Soffit And Fascia On A Gable Roof”