Articles
How To Build A Gable Porch Roof
Modified: October 21, 2024
Discover articles on how to build a gable porch roof, including step-by-step instructions and expert tips. Enhance your DIY skills and create a stunning addition to your home.
(Many of the links in this article redirect to a specific reviewed product. Your purchase of these products through affiliate links helps to generate commission for Storables.com, at no extra cost. Learn more)
Introduction
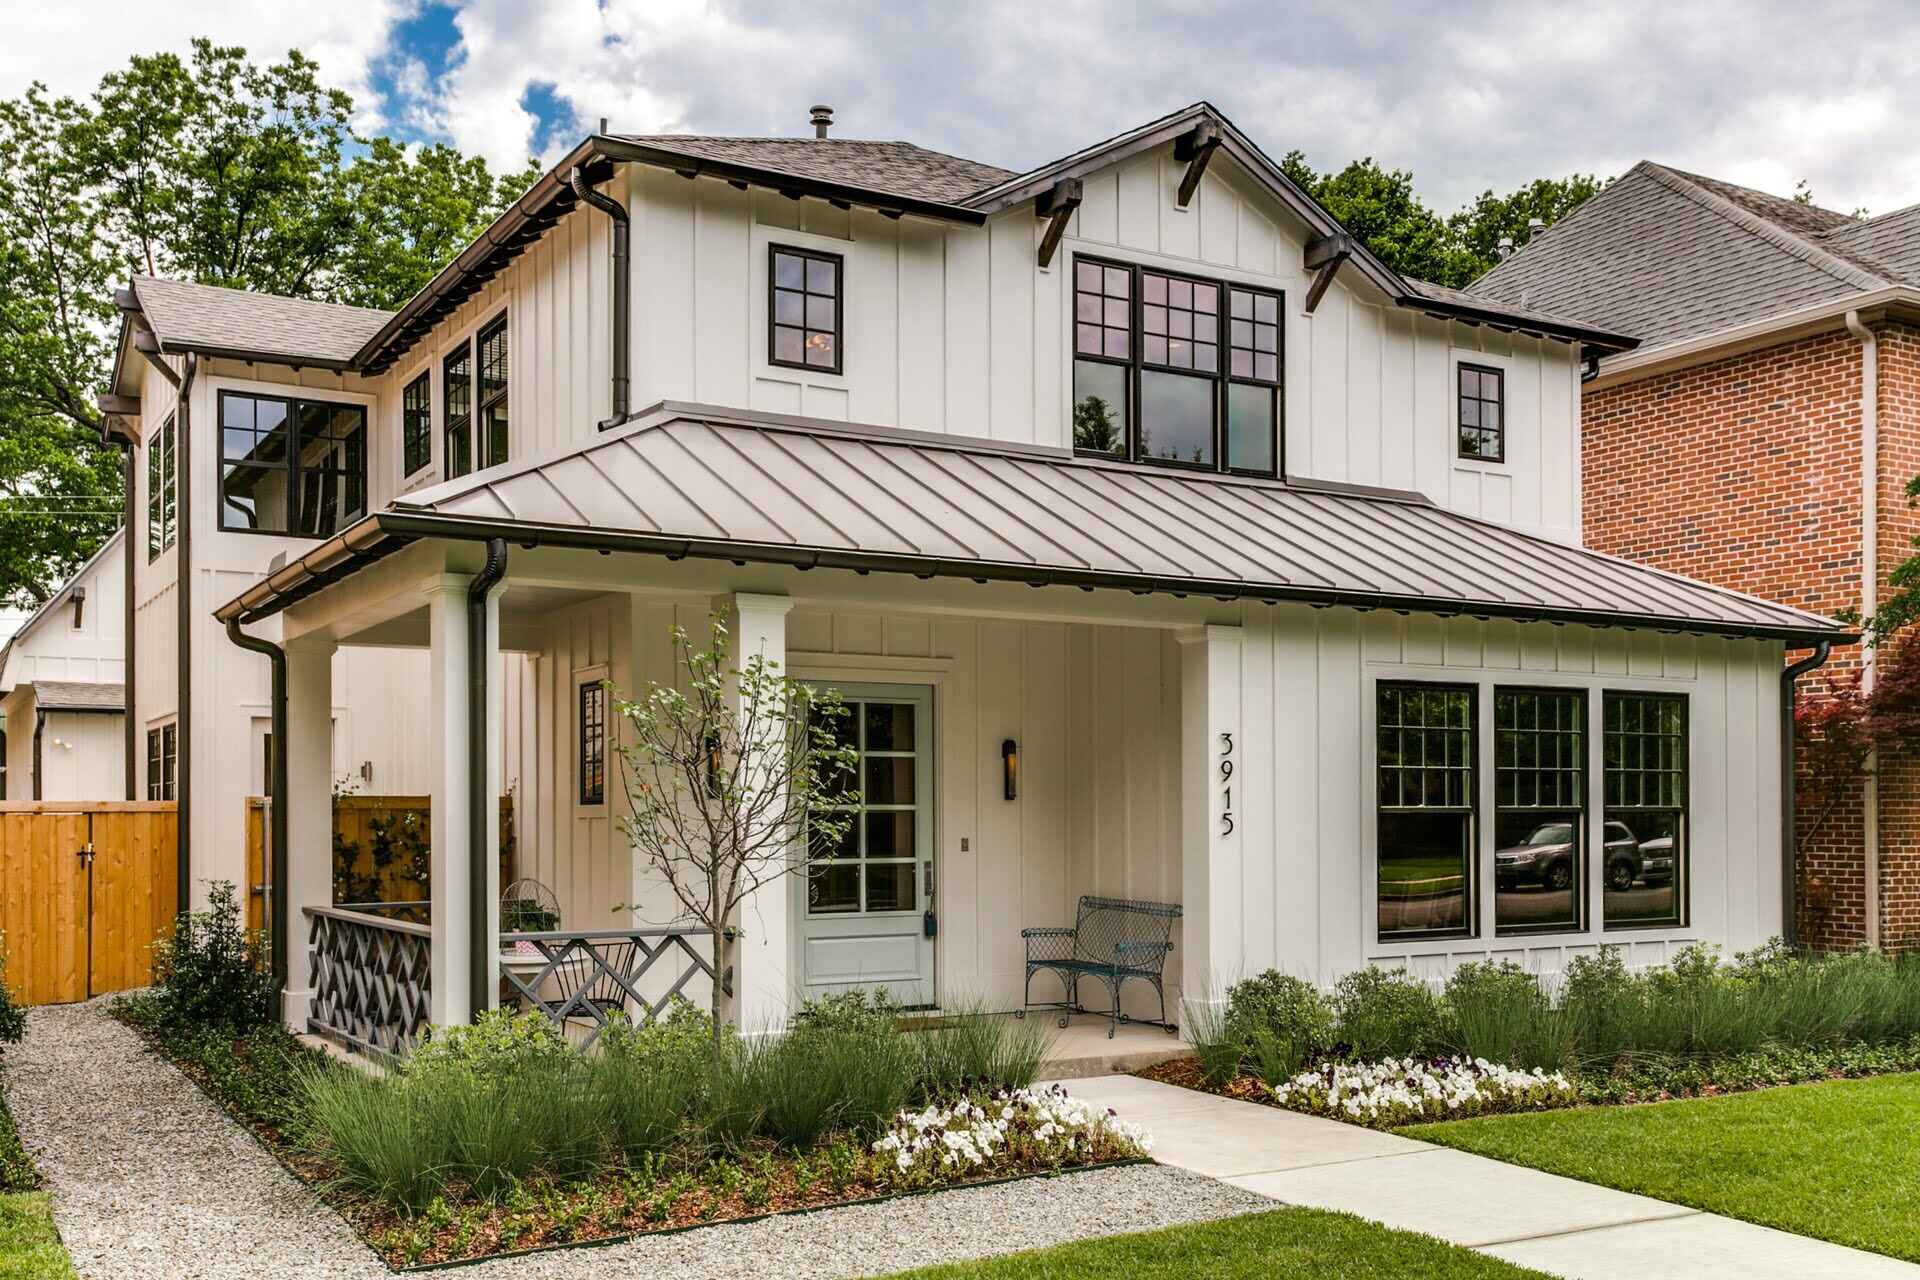
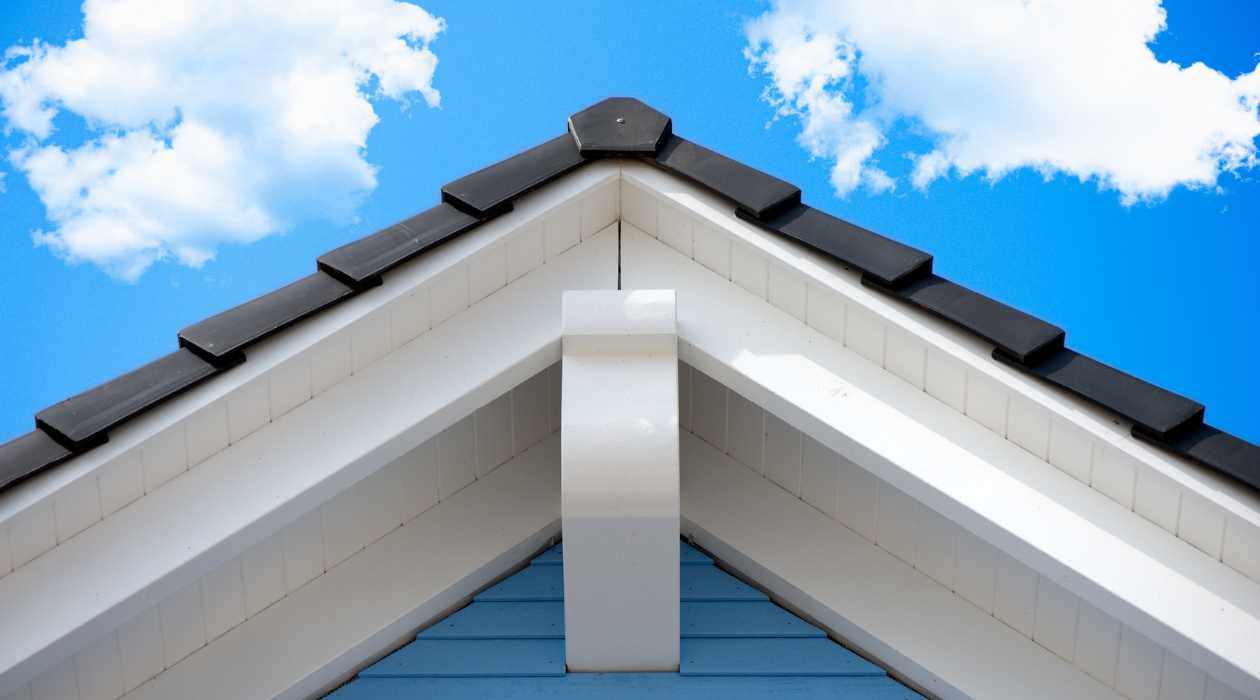
Building a gable porch roof can add both functionality and aesthetic appeal to your outdoor space. Whether you want to create a covered area where you can relax and enjoy the view or you need protection from the elements, a gable porch roof is a great option. This type of roof is characterized by its triangular shape and steep slopes on both sides, providing excellent water runoff and structural stability.
In this guide, we will walk you through the step-by-step process of building a gable porch roof, from gathering the required materials to adding the finishing touches. By following these instructions, you can confidently tackle this project and create a beautiful and durable roof for your porch.
Before we begin, it’s important to note that building a gable porch roof requires some basic carpentry skills and knowledge of roofing techniques. If you are not comfortable with these tasks, it may be best to consult a professional contractor or roofer for assistance.
Now, let’s dive in and explore each step in detail to build a gable porch roof that will enhance your outdoor living space.
Key Takeaways:
- Building a gable porch roof requires careful planning, precise measurements, and attention to detail. From gathering materials to adding finishing touches, each step contributes to a durable and visually appealing outdoor space.
- The construction process involves installing gable ends, building roof trusses, and adding roofing felt and shingles. Attention to structural integrity, weatherproofing, and aesthetic enhancements ensures a long-lasting and enjoyable gable porch roof.
Read more: How To Build Gable Roof
Step 1: Gather the Required Materials
Before you can start building your gable porch roof, you need to gather all the necessary materials. Here is a list of the items you will need for this project:
- Lumber: You will need various lengths of lumber for the rafters, ridge board, and gable ends. Make sure to choose high-quality, pressure-treated lumber that is appropriate for outdoor use.
- Plywood or OSB (oriented strand board): This will be used for the roof sheathing. Opt for a thickness that is suitable for your area’s climate and load requirements.
- Roofing felt: This is a protective layer that helps prevent water damage and provides an additional barrier against leaks.
- Shingles: Choose a durable and weather-resistant roofing material that complements the style of your home and porch.
- Screws and nails: Select the appropriate types and sizes of screws and nails for securing the various components of the roof.
- Roofing tar or caulk: This will be used to seal any gaps or joints to ensure a watertight roof.
- Flashing: This metal material is installed around roof intersections, chimneys, and other vulnerable areas to prevent water penetration.
- Soffit and fascia: These finishing materials provide a clean and polished look to the edges of the roof.
- Tools: You will need a variety of tools, including a circular saw, hammer, measuring tape, level, roofing nail gun (or hammer), and ladder.
Once you have gathered all the necessary materials, double-check to make sure you have everything you need. It’s always a good idea to have some extra supplies on hand in case of any unforeseen circumstances.
With your materials ready, you are now set to move on to the next step: measuring and marking the roof pitch.
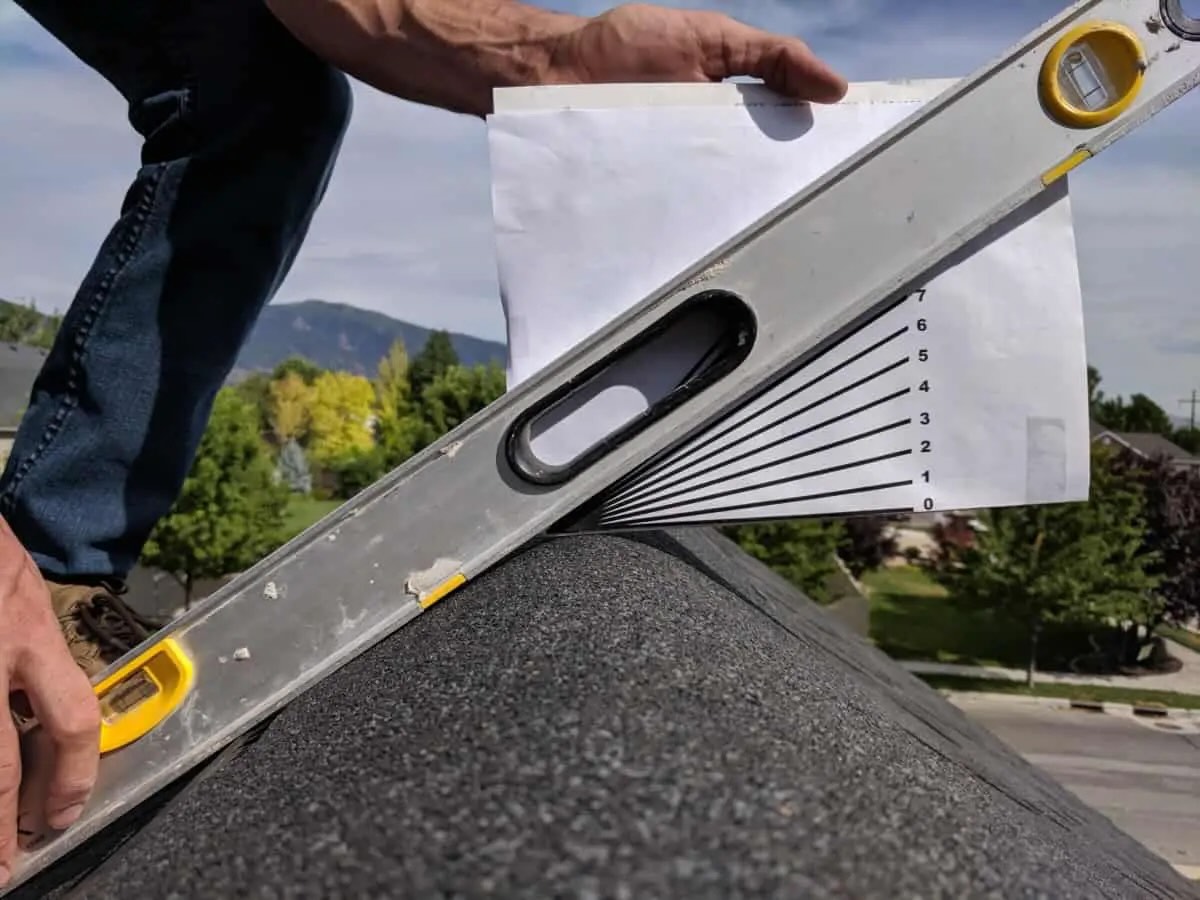
Step 2: Measuring and Marking the Roof Pitch
Measuring and marking the roof pitch is an essential step in building a gable porch roof. The roof pitch refers to the steepness or slope of the roof, and it determines how the roof components will be positioned and aligned.
To measure the roof pitch, you will need a level, a measuring tape, and a helper to assist you. Here’s how to do it:
- Start by placing one end of the level against the existing porch roof or the wall where the porch roof will be attached.
- Hold the other end of the level level and measure the vertical distance from the level to the roof surface. This measurement will be the rise.
- Next, measure the horizontal distance from the level to the outer edge of the roof. This measurement will be the run.
- Calculate the roof pitch by dividing the rise by the run. For example, if the rise is 6 inches and the run is 12 inches, the roof pitch will be 6/12 or 0.5.
Once you have determined the roof pitch, you can mark it on the rafters and other roof components. This will ensure that all the pieces are cut and positioned correctly during the construction process.
Using a framing square or a protractor, mark the angle corresponding to the roof pitch on the rafters. Make sure to mark both ends of each rafter to ensure accurate placement.
Additionally, mark the location of the ridge board on the wall where the porch roof will be attached. This will serve as a guide for aligning the rafters later on.
By measuring and marking the roof pitch, you are setting the foundation for a properly aligned and structurally sound gable porch roof. With this step complete, you are ready to move on to the next phase: installing the gable ends.
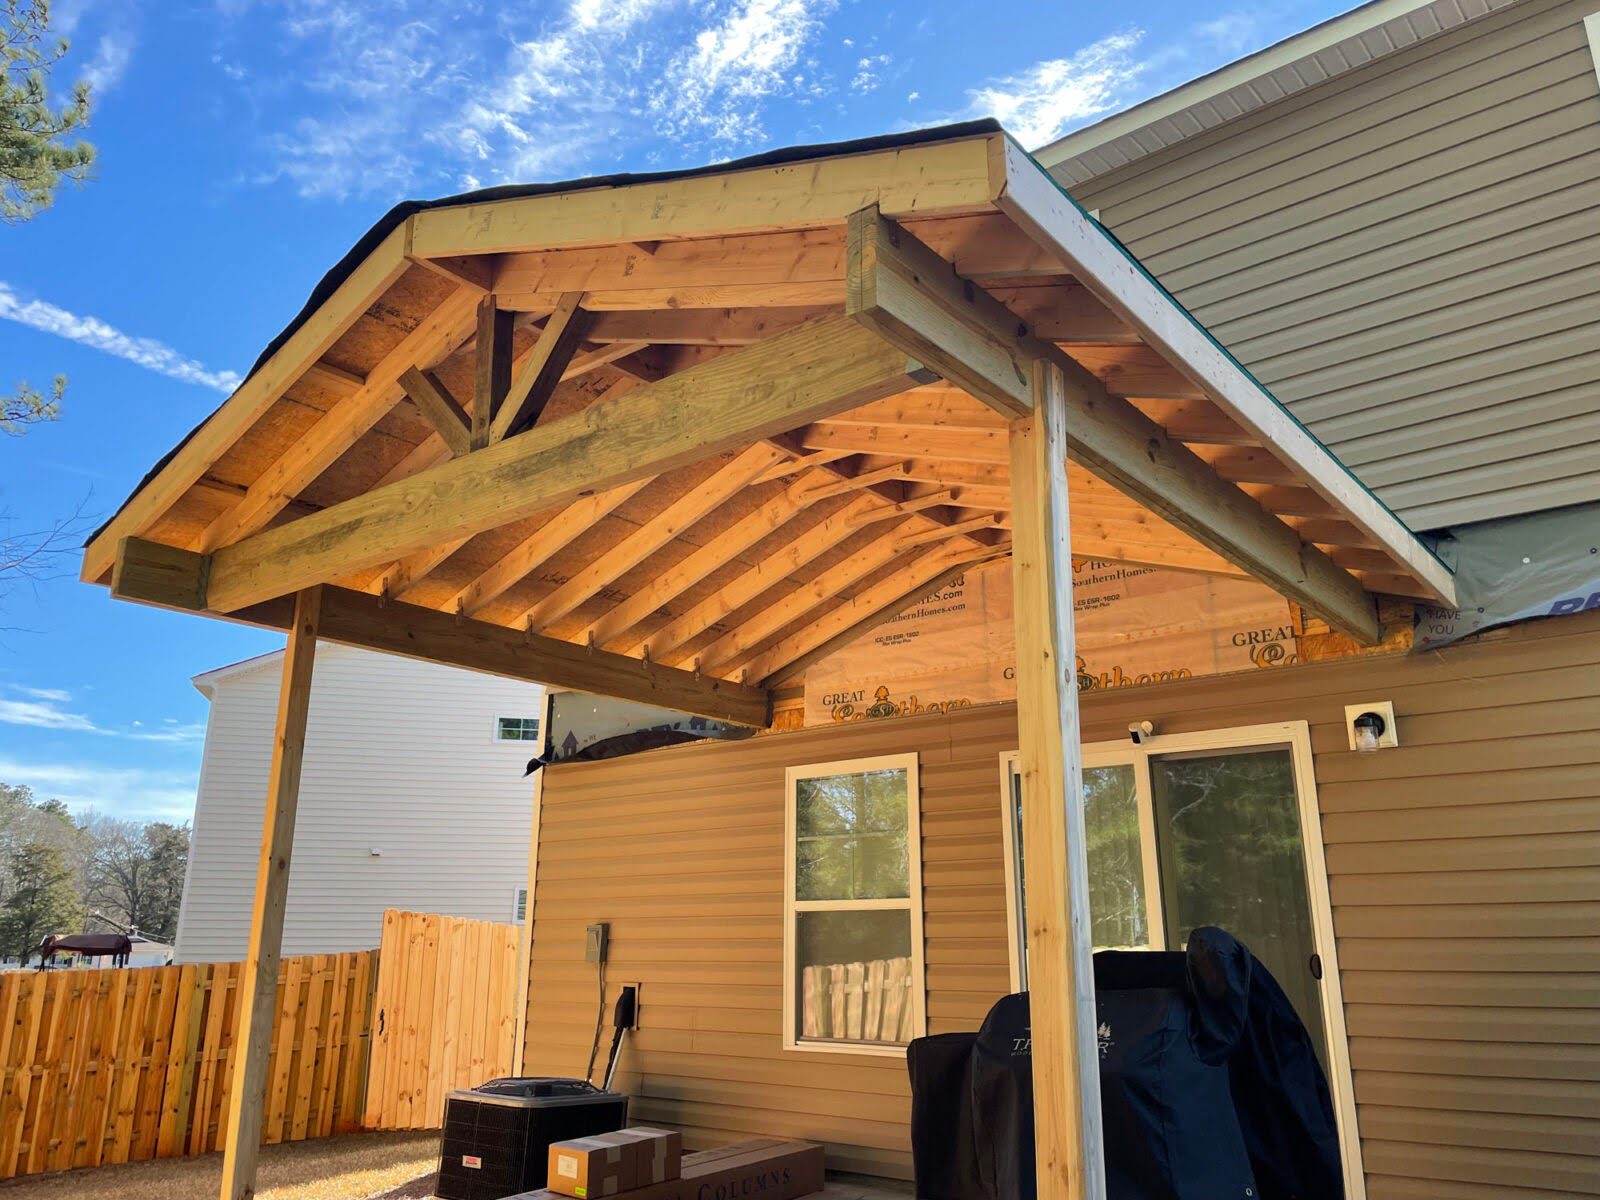
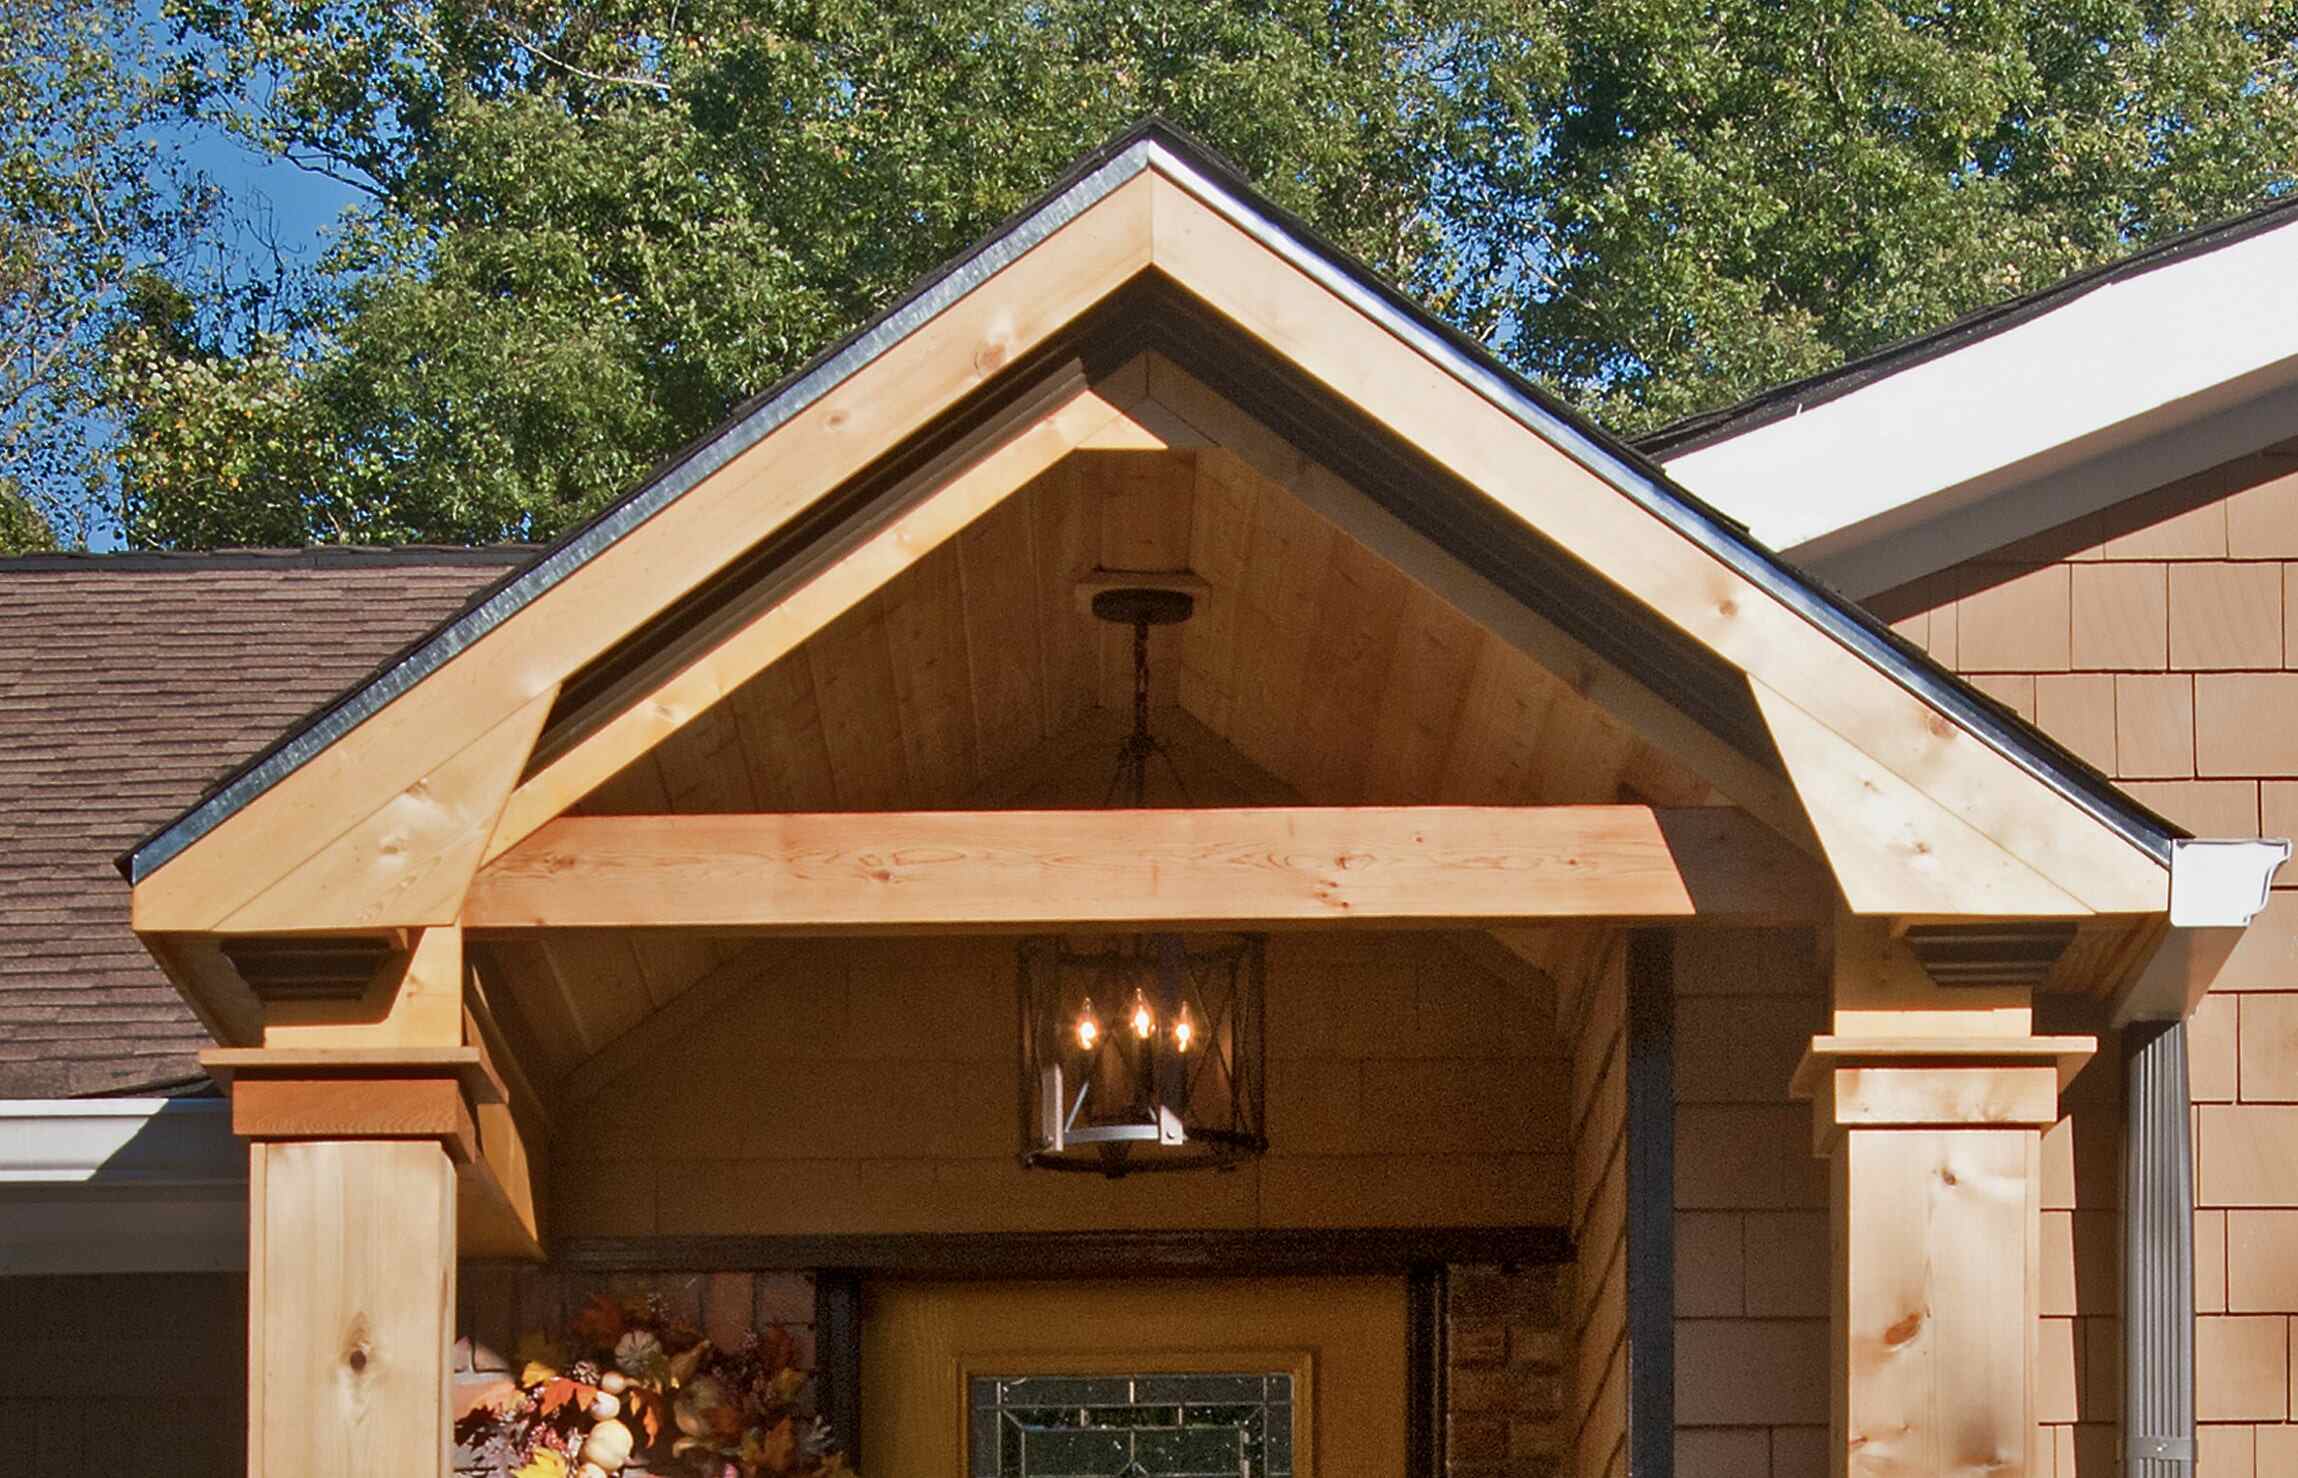
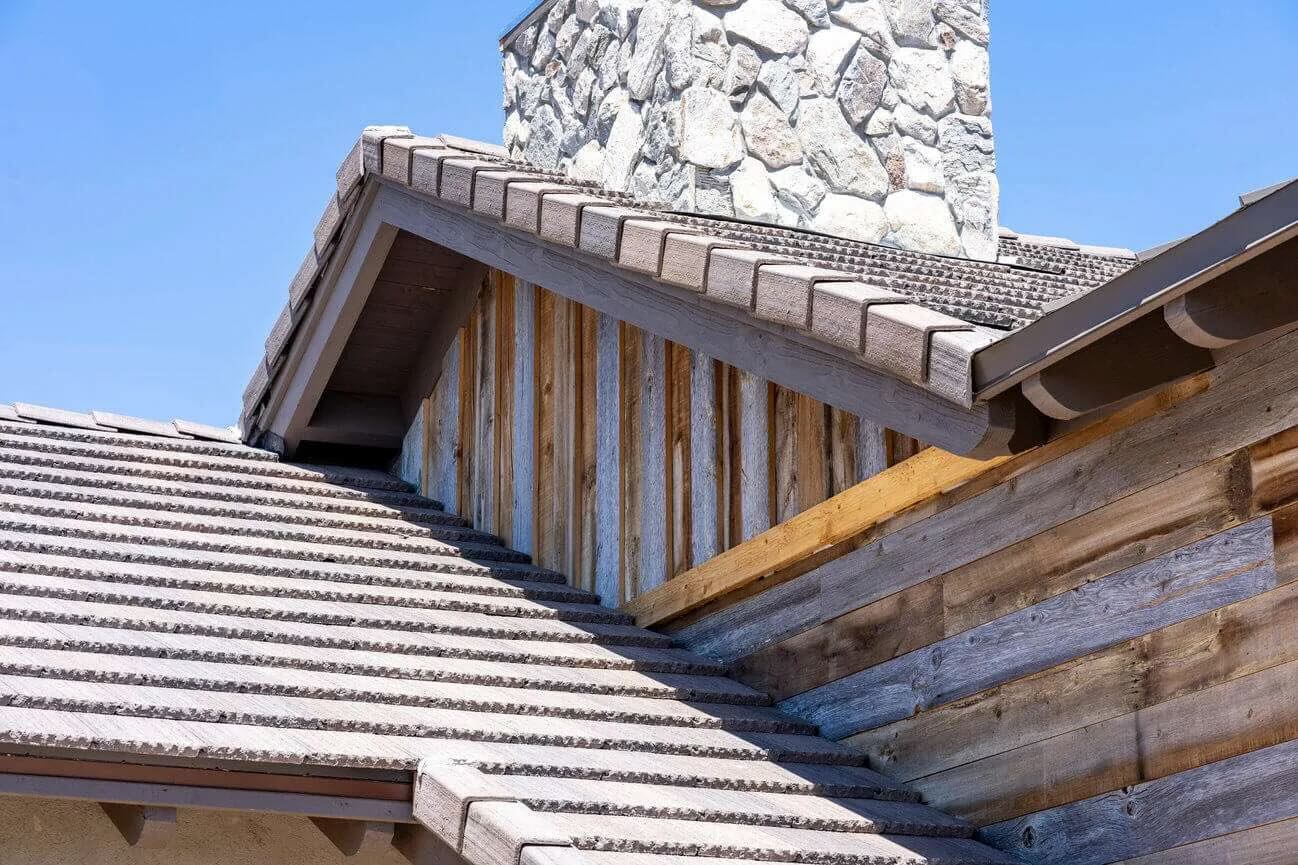
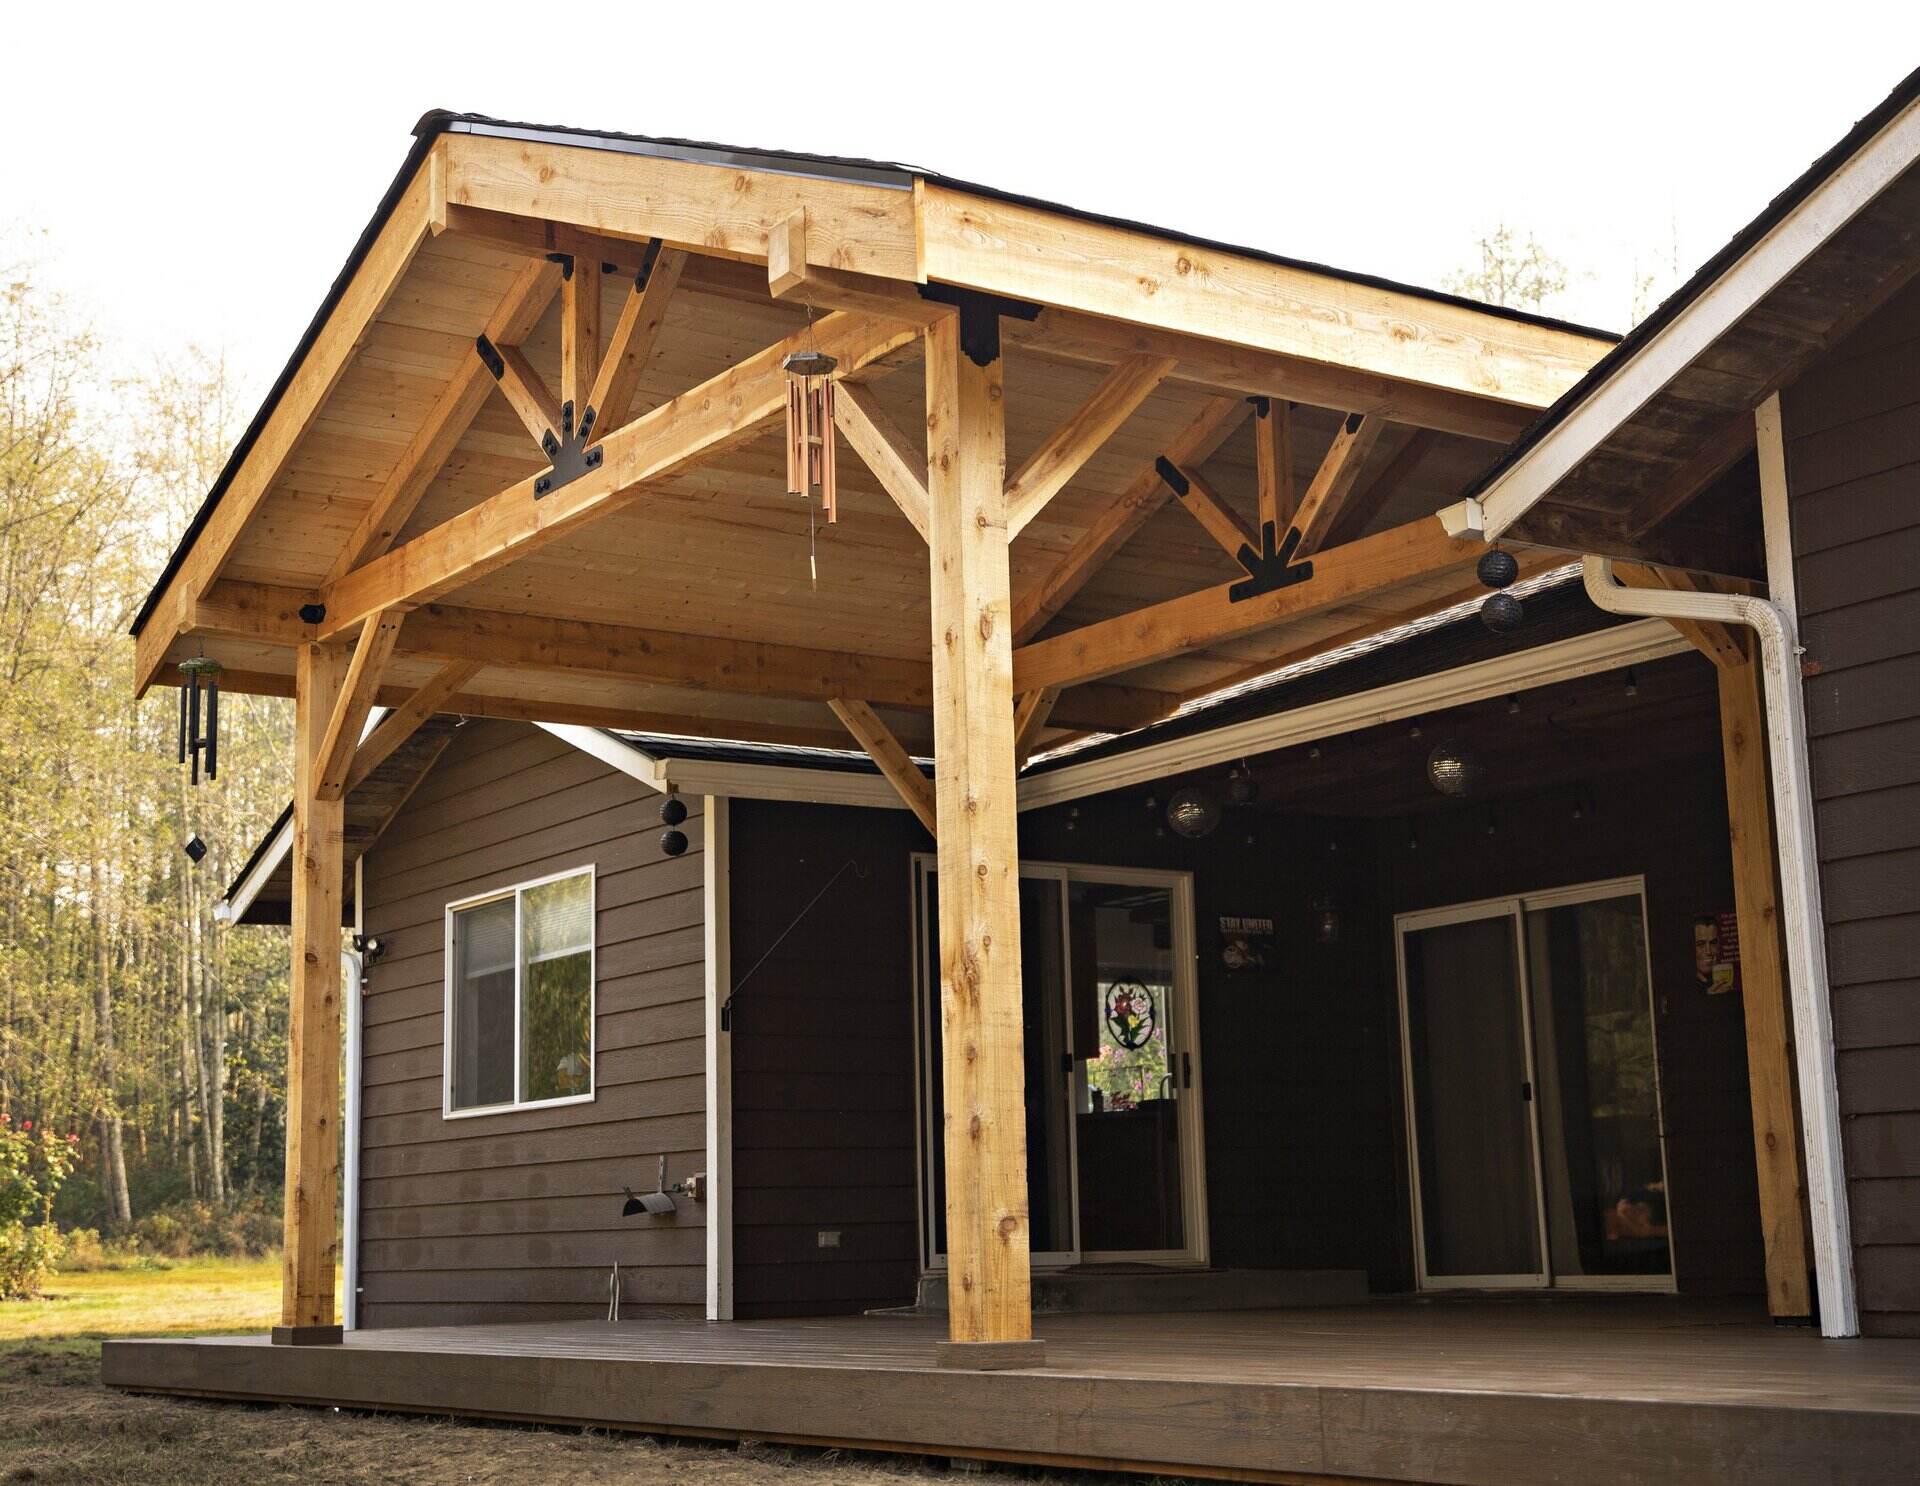
Step 3: Install the Gable Ends
Installing the gable ends is a crucial step in building a gable porch roof as it provides stability and structural support to the roof. The gable ends are the triangular sections on each side of the porch roof.
Here’s how to install the gable ends:
- Begin by cutting the gable end pieces from the lumber according to the measurements and angles you marked in the previous step. Use a circular saw or a handsaw to make precise cuts.
- Position the gable end pieces vertically against the ends of the rafters. Make sure they are aligned with the marks you made earlier for the roof pitch.
- Secure the gable end pieces to the rafters using screws or nails. Drive them through the gable end pieces and into the rafters to create a strong and secure connection.
- Repeat the process on the other side of the porch roof to install the second gable end.
Once the gable ends are installed, double-check their alignment and make any necessary adjustments. It’s important to ensure that both gable ends are plumb and parallel to each other.
Installing the gable ends not only adds structural integrity to the roof but also gives it a finished and polished look. With the gable ends in place, you can proceed to the next step: building the roof trusses.
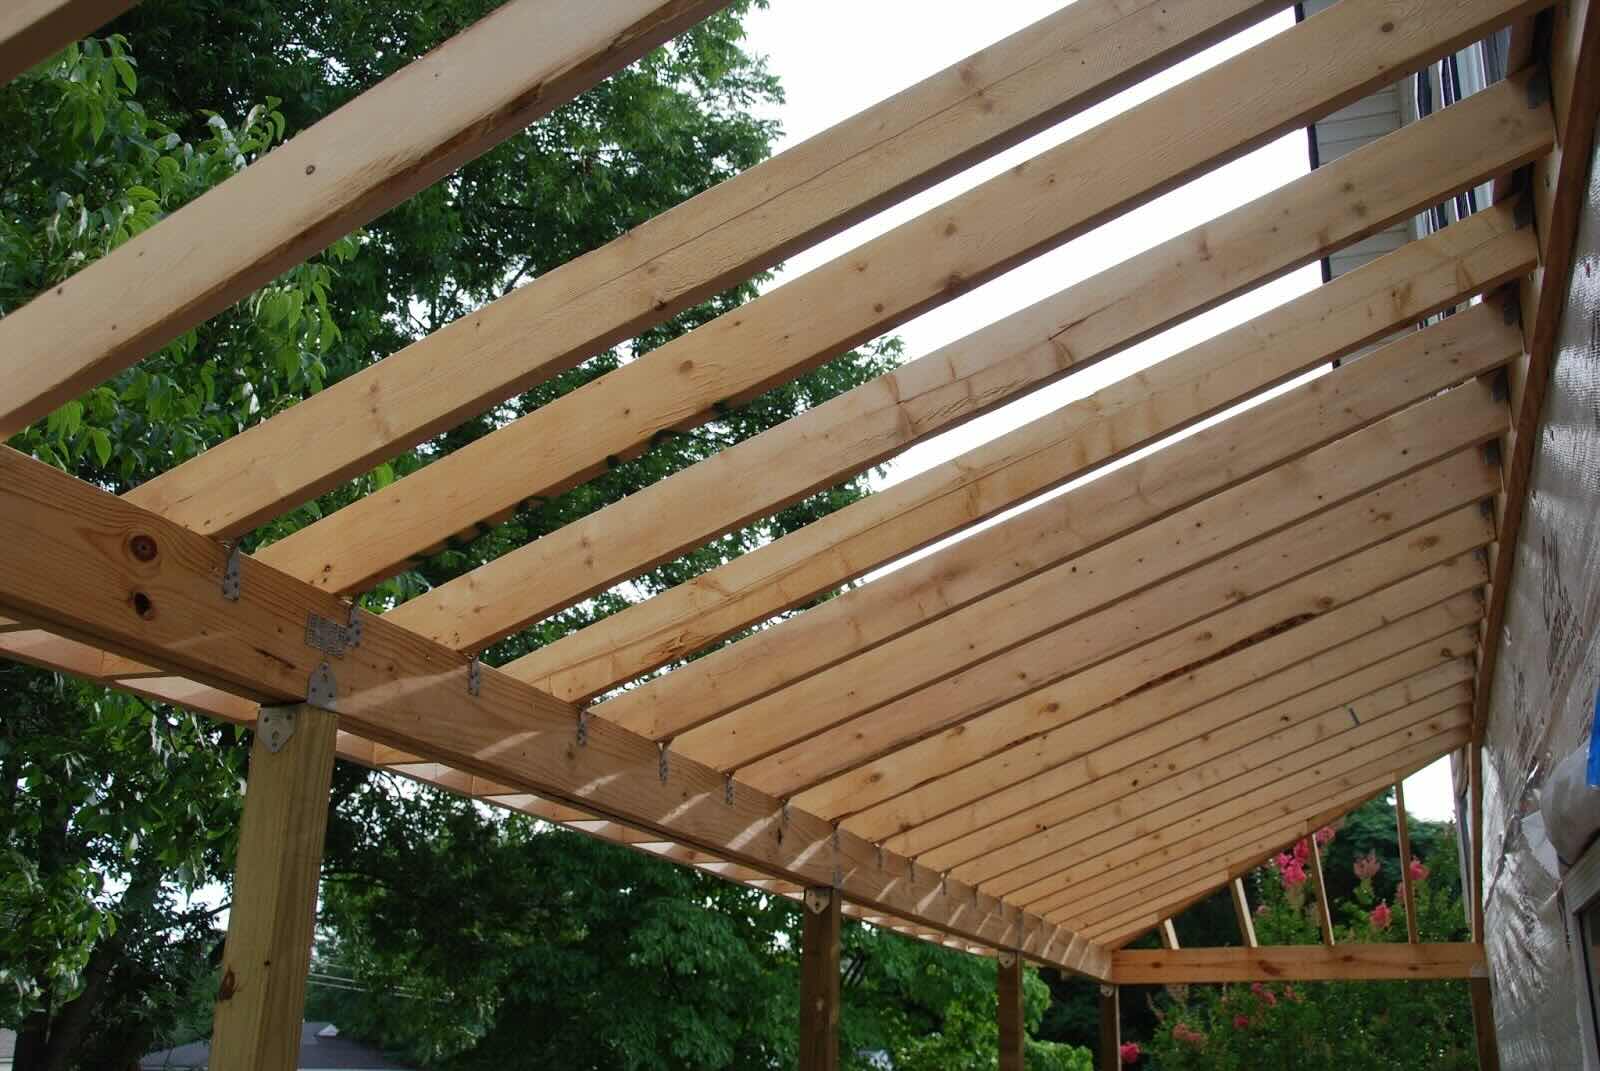
Step 4: Building the Roof Trusses
Building the roof trusses is a critical step in constructing a gable porch roof. Trusses are designed to provide support and distribute the weight of the roof evenly. They consist of diagonal braces and horizontal members that create a triangular shape.
Follow these steps to build the roof trusses:
- Measure and cut the lumber for the truss members according to your roof pitch and desired span. Each truss will typically consist of top and bottom chords, diagonal braces, and vertical supports.
- Lay out the truss components on a flat surface, ensuring they are aligned and squared. Use a square or spirit level to check for accuracy.
- Attach the top and bottom chords of the truss together at the peak using screws or nails. This will form the triangular shape of the truss.
- Install the diagonal braces between the top and bottom chords of the truss. These braces add stability and strength to the truss structure.
- Add the vertical supports to the truss, positioning them evenly along the bottom chord. These supports will connect the trusses to the ridge board.
- Repeat the process to build the remaining trusses needed for your gable porch roof.
Once all the trusses are built, carefully lift them into position, aligning them with the marks you made for the ridge board and gable ends. Secure the trusses to the ridge board and gable ends using screws or nails, ensuring a secure and stable connection.
Building the roof trusses is a critical step in the construction process, as they provide the main support for the porch roof. Take your time and ensure each truss is built accurately and securely before moving on to the next step.
With the roof trusses in place, you are ready to move on to step 5: installing the ridge board.
Read more: How To Attach Gable Porch Roof To House
Step 5: Install the Ridge Board
Installing the ridge board is an important step in the construction of a gable porch roof. The ridge board is a horizontal beam that runs along the top of the roof trusses, providing stability and support to the roof structure.
Here’s how to install the ridge board:
- Determine the length of the ridge board based on the width of your porch roof. Cut the ridge board from a piece of lumber that is appropriate in size and strength for your roof structure.
- Place the ridge board on top of the trusses, aligning it with the marks you made on the gable ends and ensuring it is level. Use a spirit level to check for proper alignment.
- Secure the ridge board to the trusses using screws or nails. Drive the fasteners through the ridge board and into the trusses to create a secure connection.
It is important to note that the ridge board may need additional support to handle the weight of the roof structure. Depending on the size and span of your porch roof, you may need to install collar ties or ceiling joists to provide additional reinforcement.
Collar ties are horizontal beams that connect the opposing rafters near the midpoint of the roof span. They help prevent the roof from spreading or sagging under the weight of the roof materials. Ceiling joists, on the other hand, run parallel to the ridge board and provide support for the ceiling underneath the roof.
Consult with a structural engineer or building professional to ensure that your roof structure meets the necessary load-bearing requirements for your area.
With the ridge board securely in place, you can move on to the next step of the gable porch roof construction: installing the roof sheathing.
When building a gable porch roof, make sure to accurately measure and cut the roof rafters to ensure a proper fit and a sturdy structure. Double check all angles and measurements before making any cuts.
Step 6: Installing the Roof Sheathing
Installing the roof sheathing is a crucial step in constructing a gable porch roof. The roof sheathing provides a solid base for the roofing materials and helps distribute the weight of the roof evenly across the trusses.
Follow these steps to install the roof sheathing:
- Measure and cut the plywood or OSB (oriented strand board) sheets to fit the dimensions of your porch roof. It is recommended to start from the bottom of the roof and work your way up.
- Begin by placing the first sheet of roof sheathing on one end of the porch roof, ensuring that it is aligned with the edge of the ridge board and the gable ends.
- Secure the sheathing to the trusses using screws or nails, driving them into the sheathing and the truss members. Space the fasteners evenly, following the guidelines provided by your local building codes.
- Continue installing the remaining sheets of roof sheathing, overlapping the joints between the sheets by about 6 inches to ensure a strong and watertight connection. Use construction adhesive or filler to seal any gaps or cracks between the sheets.
While installing the roof sheathing, it is important to maintain a straight and even surface. Take care to avoid overdriving the fasteners, as this can cause dimpling or damage to the sheathing. Additionally, check the alignment and stability of the sheathing periodically to ensure a secure installation.
Once the roof sheathing is in place, it is recommended to inspect the entire roof surface for any signs of damage or defects. Make any necessary repairs or adjustments before moving on to the next step of the roof construction process.
With the roof sheathing successfully installed, you are ready to progress to step 7: adding roofing felt and shingles.
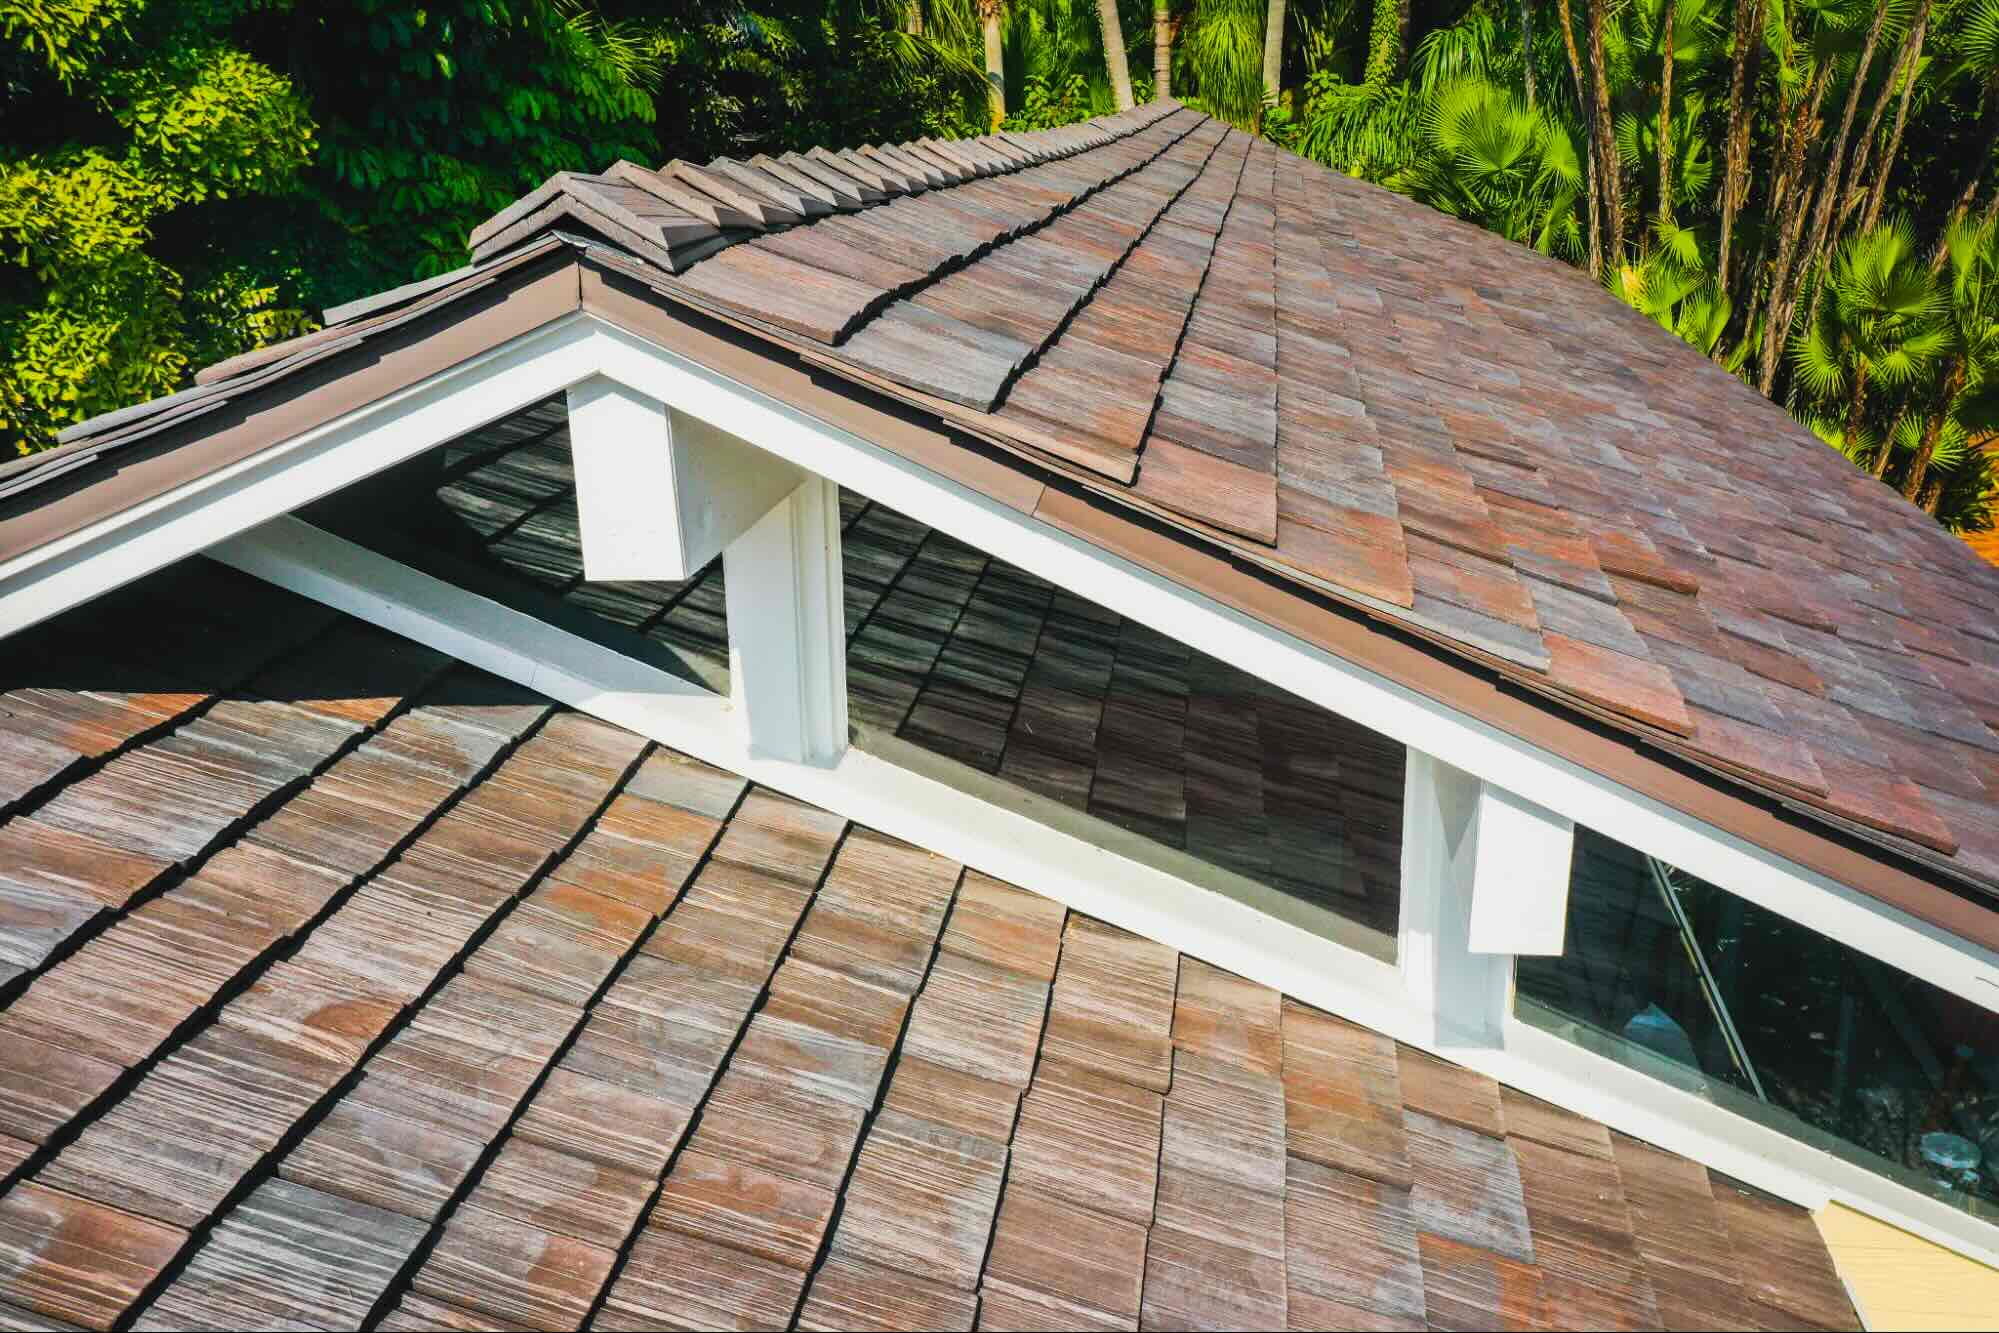
Step 7: Adding Roofing Felt and Shingles
Adding roofing felt and shingles is the next step in building a gable porch roof. These materials provide protection against water penetration and give the roof a finished and aesthetically pleasing appearance.
Follow these steps to add roofing felt and shingles to your porch roof:
- Start by installing a layer of roofing felt over the entire surface of the roof sheathing. Begin at the bottom of the roof and work your way up, overlapping each row of felt by about 6 inches to ensure proper coverage.
- Secure the roofing felt to the sheathing using roofing nails or staples, driving them through the felt and into the sheathing. Space the fasteners according to the manufacturer’s guidelines.
- Once the roofing felt is in place, you can begin installing the shingles. Start at the bottom edge of the roof, aligning the first row of shingles with the edge of the roof and the starter strip (if applicable).
- Secure the shingles to the sheathing using roofing nails, placing them in the designated nailing area of each shingle. Follow the manufacturer’s instructions for proper nailing techniques and spacing.
- Continue installing the shingles row by row, overlapping each row by about 6 inches to provide adequate water runoff. Use chalk lines or a straight edge to maintain straight and even rows.
- Trim the shingles at the edges and around any openings or vents using a utility knife or roofing shears.
It is important to follow the manufacturer’s instructions for the specific type of shingles you are using, as installation techniques may vary. Additionally, consult local building codes for any specific requirements regarding roofing materials and installation methods.
Take your time during the installation process to ensure that the shingles are properly aligned and secured. This will help create a durable and visually appealing porch roof that will withstand the elements.
With the roofing felt and shingles in place, the exterior of your gable porch roof is nearly complete. The next step involves installing the soffit and fascia, which add a finishing touch to the roof’s edges.
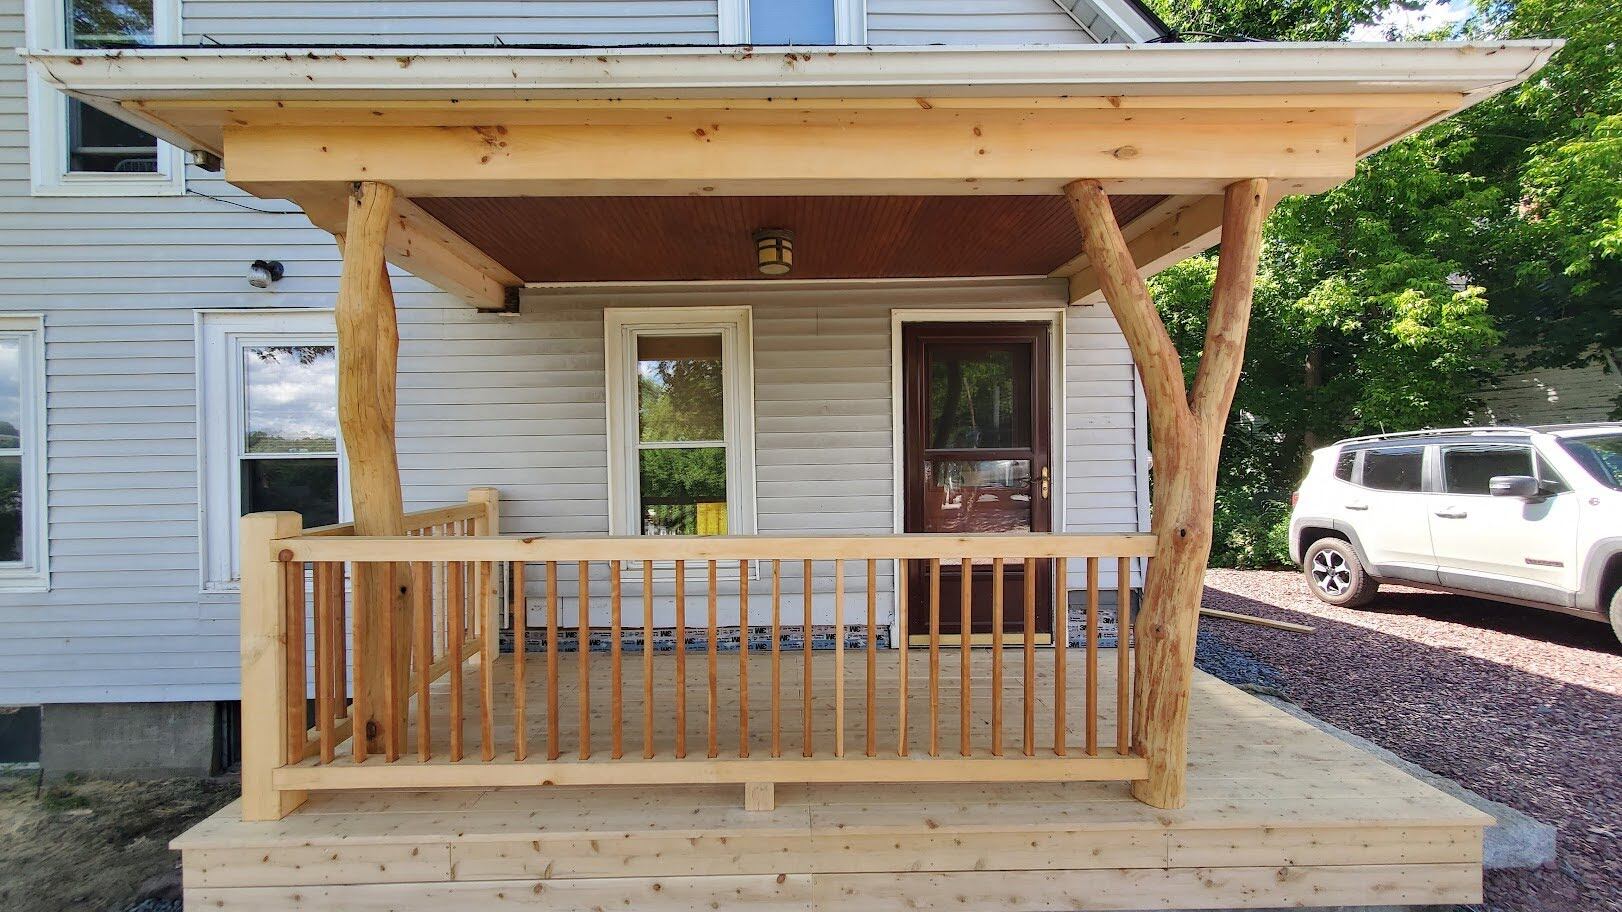
Step 8: Install Soffit and Fascia
Installing the soffit and fascia is the final step in completing the construction of a gable porch roof. The soffit is the material that covers the underside of the roof overhang, while the fascia is the vertical board that runs along the edge of the roof.
Follow these steps to install the soffit and fascia:
- Measure and cut the soffit panels to fit the width of the roof overhang. Soffit panels are typically made of vinyl or aluminum and are available in various colors and styles.
- Install the soffit panels by placing them against the underside of the roof overhang. Secure them to the underside of the roof sheathing using nails or screws, ensuring a snug fit and proper ventilation.
- Next, measure and cut the fascia boards to the required length, accounting for any corners or angles. Fascia boards are commonly made of wood, PVC, or composite materials.
- Attach the fascia boards to the ends of the rafters, covering the exposed edges of the roof sheathing. Secure them using nails or screws, making sure they are flush with the edge of the roof and aligned with the soffit panels.
- If desired, add additional trim or molding to enhance the appearance of the soffit and fascia. This can include decorative elements or vented panels to improve ventilation in the attic space.
Proper installation of the soffit and fascia is essential for protecting the roof and improving its overall appearance. The soffit helps to ventilate the attic area and prevent moisture buildup, while the fascia provides a clean and finished look to the roof’s edge.
When installing the soffit and fascia, ensure that they are aligned correctly and securely attached to the roof structure. This will ensure longevity and durability for your gable porch roof.
With the soffit and fascia installed, your gable porch roof is complete, providing a functional and visually appealing addition to your home. However, before celebrating the finished product, it is important to conduct a final inspection and perform any necessary adjustments or touch-ups.
Let’s move on to the final step: performing finishing touches and a thorough inspection of your gable porch roof.
Read more: What Is A Gable On A Roof?
Step 9: Finishing Touches and Final Inspection
As you near the completion of your gable porch roof construction, it is important to focus on the finishing touches and conduct a thorough final inspection. This step ensures that all the components are in place, the roof is properly sealed, and there are no potential issues that could compromise its durability and functionality.
Follow these steps for the finishing touches and final inspection of your gable porch roof:
- Check all the connections and fasteners. Make sure that the screws or nails used to secure the various components of the roof are tightened and in good condition. Replace any loose or damaged fasteners as necessary.
- Inspect the roof for any potential leaks or gaps. Look for areas where water could seep through and address them promptly. Apply roofing tar or caulk to seal any cracks or joints that pose a risk of water penetration.
- Clean up the work area. Remove any debris or leftover materials from the roof construction process. Ensure that the surrounding area is clear and free of hazards.
- Perform a visual inspection of the entire roof structure. Check for any signs of damage, such as warped or cracked rafters, loose trusses, or sagging sections. Make any necessary repairs or adjustments to ensure the structural integrity of the roof.
- Evaluate the roof’s appearance. Assess the alignment and uniformity of the shingles, the condition of the soffit and fascia, and the overall aesthetic appeal of the roof. Make any desired cosmetic enhancements to achieve the desired look.
- Conduct a final water test. Use a hose to simulate rain and check for any leaks or areas of poor water runoff. Pay attention to the roof valleys, corners, and any areas prone to potential water accumulation.
By performing these finishing touches and conducting a thorough final inspection, you can ensure that your gable porch roof is structurally sound, weatherproof, and visually appealing. Taking the time to make necessary repairs and improvements will contribute to the long-term durability and performance of your roof.
Congratulations on completing the construction of your gable porch roof! Enjoy your newly created space and the benefits it brings to your outdoor living area.
If you’re uncertain about any steps or encountered unexpected challenges during the construction process, consulting a professional contractor or roofer is always a good option to ensure the best results.
Now sit back, relax, and enjoy your new gable porch roof!
Conclusion
Building a gable porch roof is a rewarding project that can enhance both the functionality and visual appeal of your outdoor space. By following the step-by-step guide outlined in this article, you can confidently tackle this construction process and create a durable and aesthetically pleasing roof for your porch.
Throughout the construction process, we covered various essential steps. We started by gathering the required materials, ensuring that you have all the necessary components and tools. Then, we moved on to measuring and marking the roof pitch, setting the foundation for a properly aligned roof structure.
Installing the gable ends provided stability and structural support, while building the roof trusses ensured a strong framework for the roof. Installing the ridge board and roof sheathing added stability and served as a solid base for the roofing materials.
Adding roofing felt and shingles, following proper installation techniques, protected the roof from water penetration and gave it a finished look. Installing the soffit and fascia provided the final touches to the roof’s edges, enhancing its appearance and protecting against potential issues.
Finally, performing the finishing touches and the final inspection ensured that your gable porch roof is structurally sound, weatherproof, and visually pleasing. Taking the time to make necessary repairs and improvements will contribute to the long-term durability and performance of your roof.
Remember, it is crucial to maintain regular inspections and perform any necessary maintenance to keep your gable porch roof in optimal condition. By doing so, you can enjoy the benefits of your new roof for years to come.
Whether you choose to take on this project yourself or enlist the help of professionals, building a gable porch roof can greatly enhance your outdoor space, providing you with a comfortable and functional area to relax and enjoy the outdoors.
We hope that this comprehensive guide has provided you with the knowledge and confidence to undertake the construction of a gable porch roof. Enjoy your newly created space and embrace the many possibilities it brings to your outdoor living area.
Now that you've mastered building a gable porch roof, why not dive deeper into the world of crafting and repairs? Discovering the joys of DIY projects can transform your approach to home improvement, offering satisfaction and creativity at every turn. Each project teaches you new skills, saves money, and lets you customize your space in ways only you can imagine. Ready to get your hands dirty and see what you can create on your own? Check out our next guide which dives into what makes DIY projects so captivating.
Frequently Asked Questions about How To Build A Gable Porch Roof
Was this page helpful?
At Storables.com, we guarantee accurate and reliable information. Our content, validated by Expert Board Contributors, is crafted following stringent Editorial Policies. We're committed to providing you with well-researched, expert-backed insights for all your informational needs.


0 thoughts on “How To Build A Gable Porch Roof”