Home>Renovation & DIY>Home Renovation Guides>How Do You Frame A Gable Roof?
Home Renovation Guides
How Do You Frame A Gable Roof?
Modified: October 20, 2024
Learn how to frame a gable roof with our comprehensive home renovation guide. Get step-by-step instructions and expert tips for a successful project.
(Many of the links in this article redirect to a specific reviewed product. Your purchase of these products through affiliate links helps to generate commission for Storables.com, at no extra cost. Learn more)
Introduction
Framing a gable roof is a fundamental aspect of home renovation and construction. Whether you're building a new structure or renovating an existing one, understanding the process of framing a gable roof is essential for ensuring the structural integrity and aesthetic appeal of the building. A gable roof, characterized by its triangular shape, is a popular choice due to its simplicity, excellent water runoff, and suitability for various architectural styles.
In this comprehensive guide, we will delve into the intricacies of framing a gable roof, providing you with a step-by-step overview of the process. From understanding the basics of gable roofs to the tools and materials required, we aim to equip you with the knowledge and insights necessary to undertake this project with confidence.
Framing a gable roof involves a blend of precision, craftsmanship, and practical know-how. By mastering the art of gable roof framing, you can elevate the visual appeal of your property while ensuring its structural robustness. So, let's embark on this enlightening journey to unravel the secrets of framing a gable roof and empower you to take on this rewarding endeavor with proficiency and finesse.
Key Takeaways:
- Framing a gable roof involves precise steps like determining the roof pitch, installing rafters, and adding collar ties for structural integrity and visual appeal.
- To frame a gable roof, use quality lumber, secure connections, and accurate measurements. Seek professional guidance and prioritize weather protection for a durable and visually appealing roof.
Read more: What Is A Gable On A Roof?
Understanding the Basics of Gable Roofs
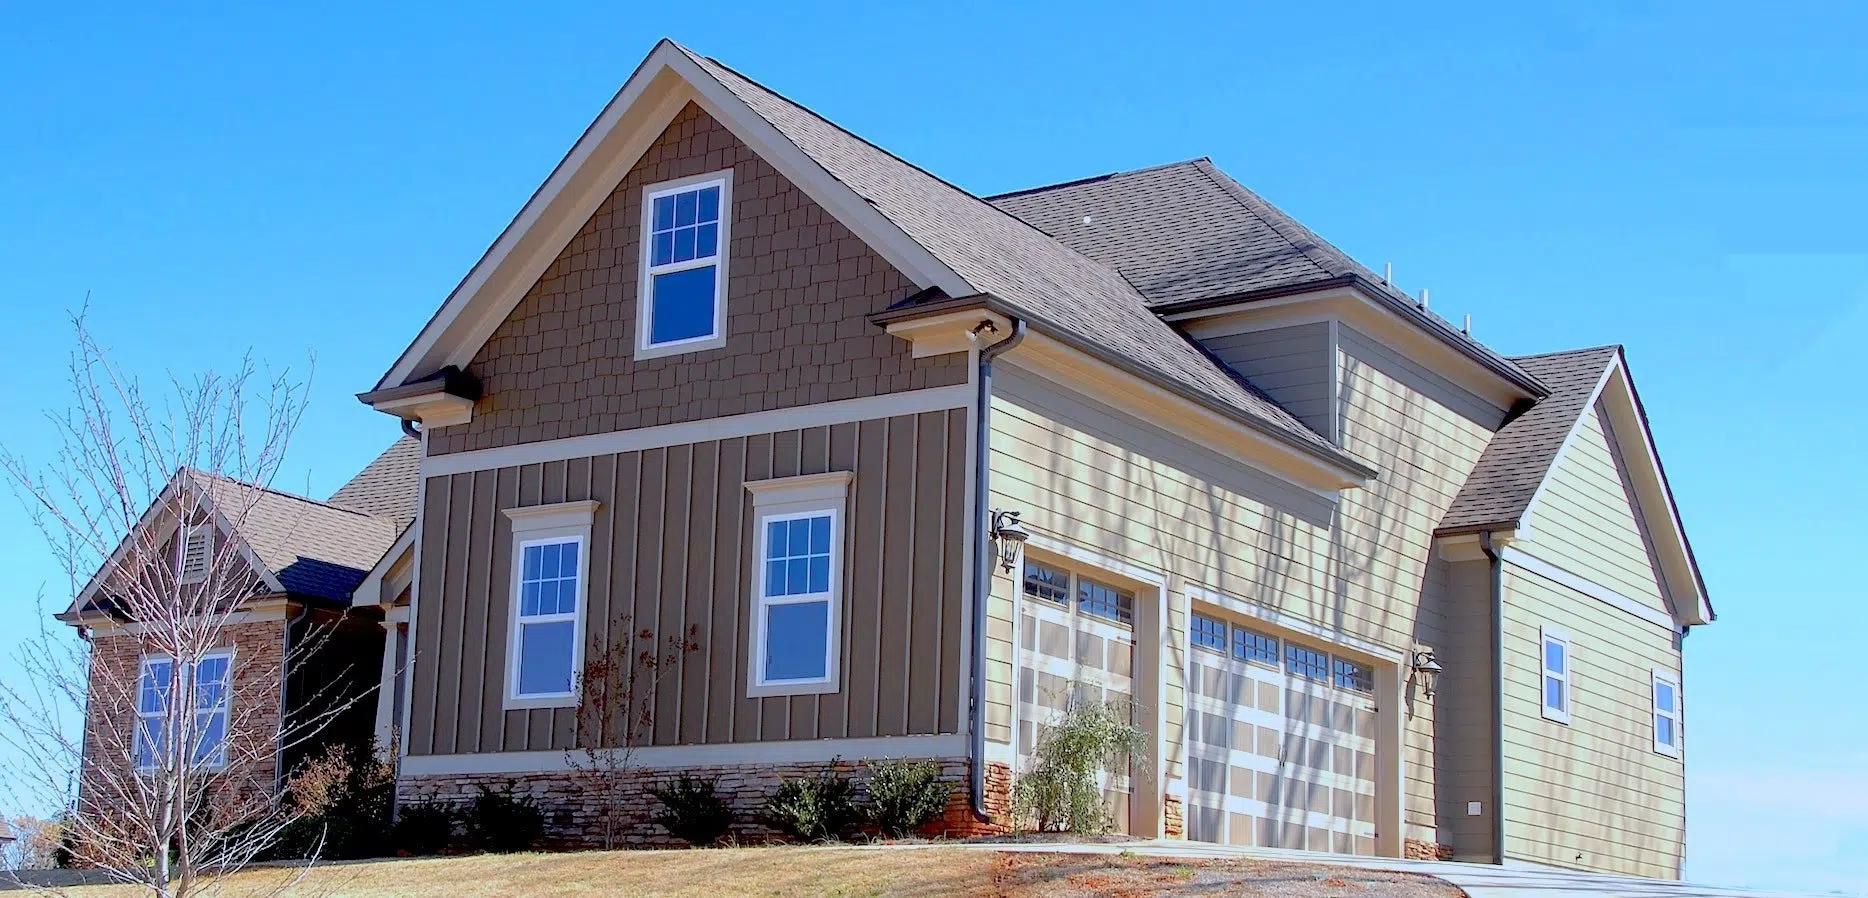
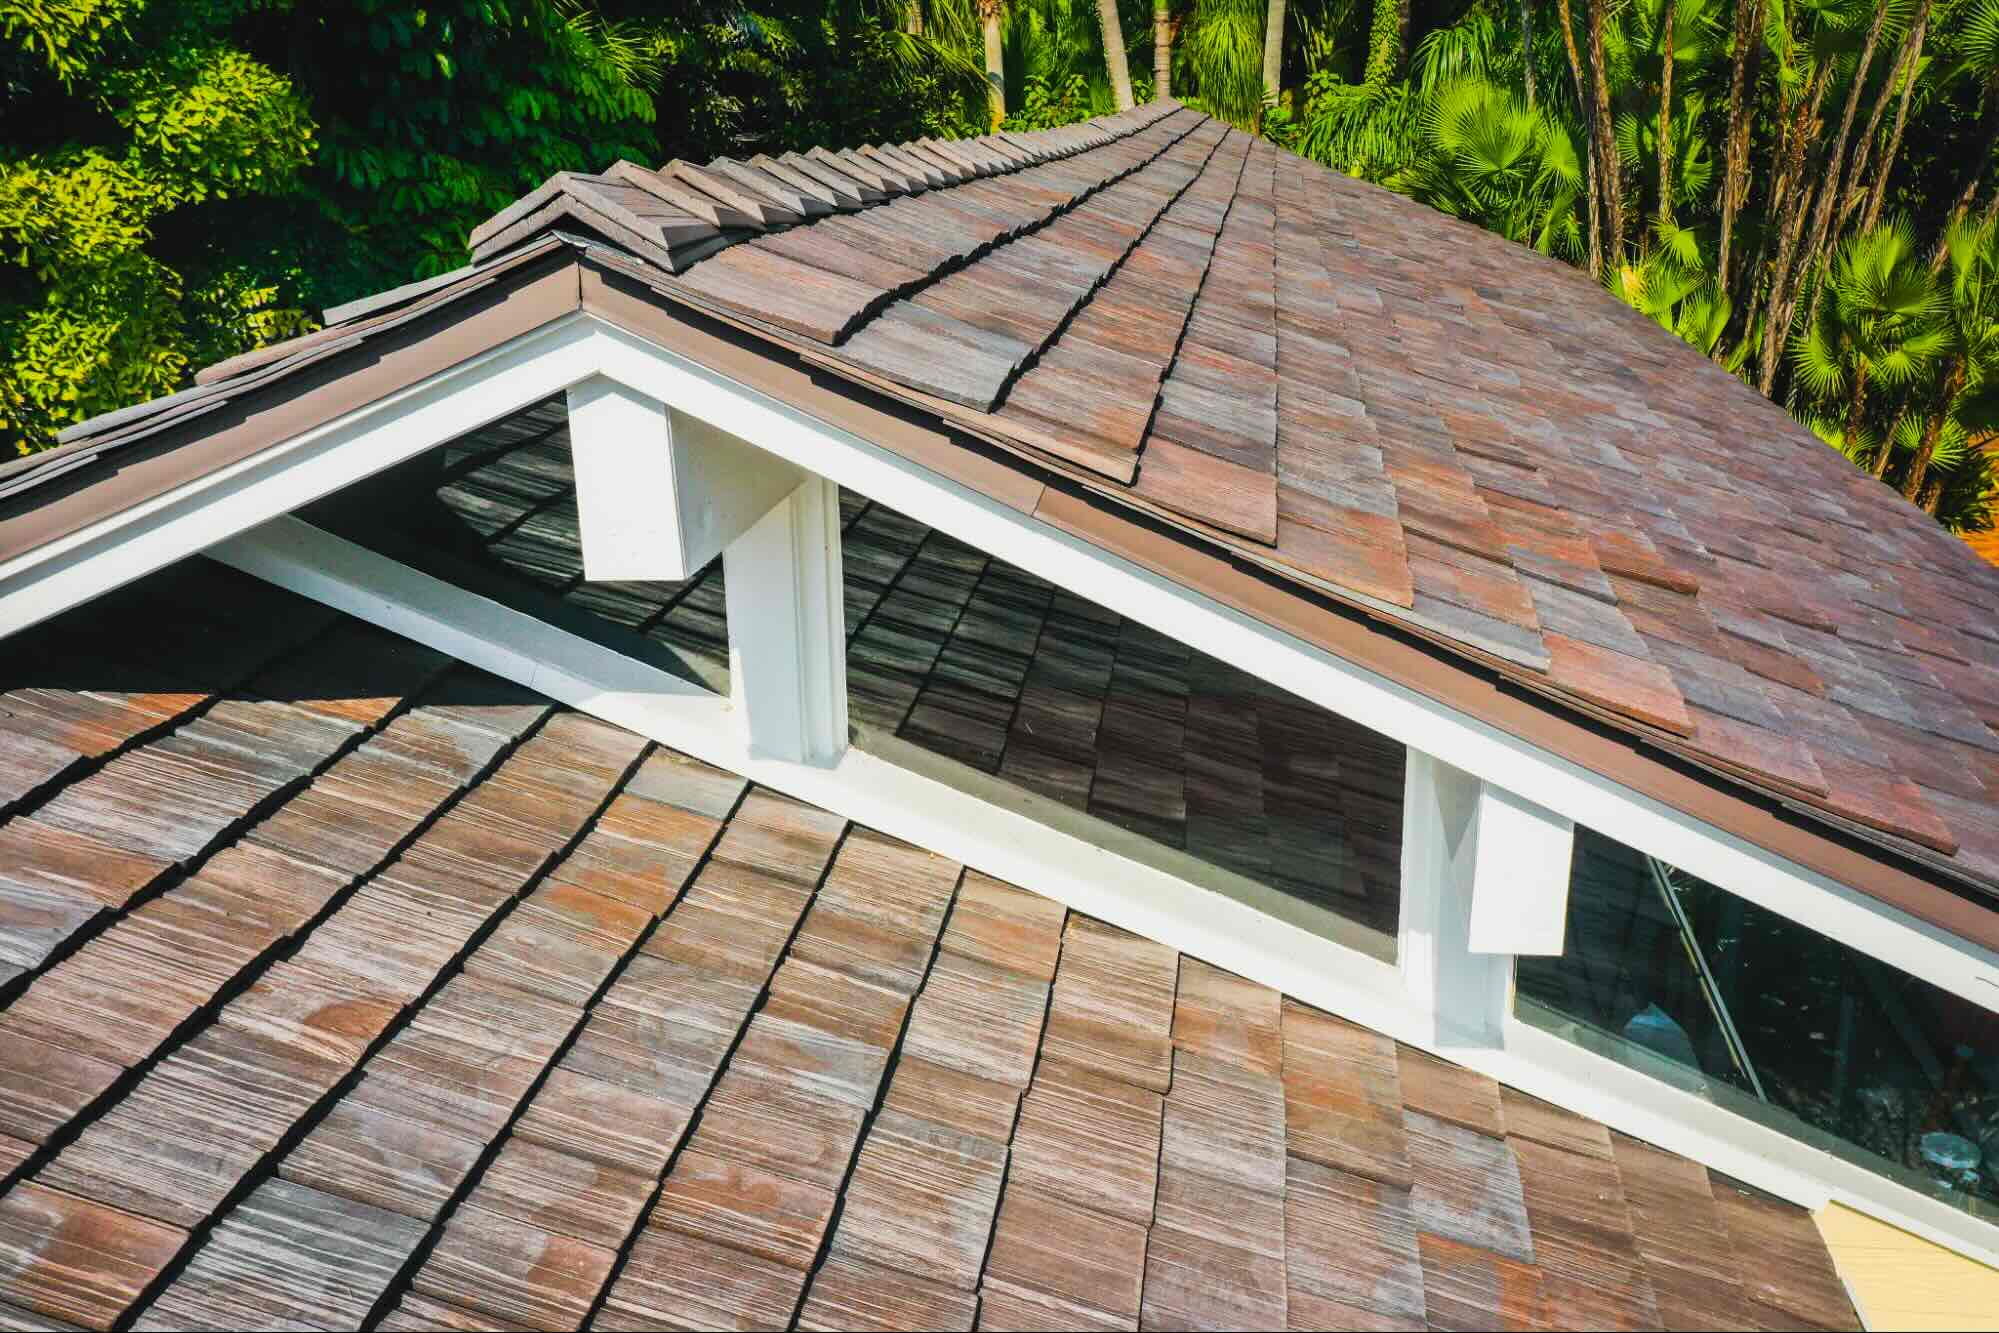
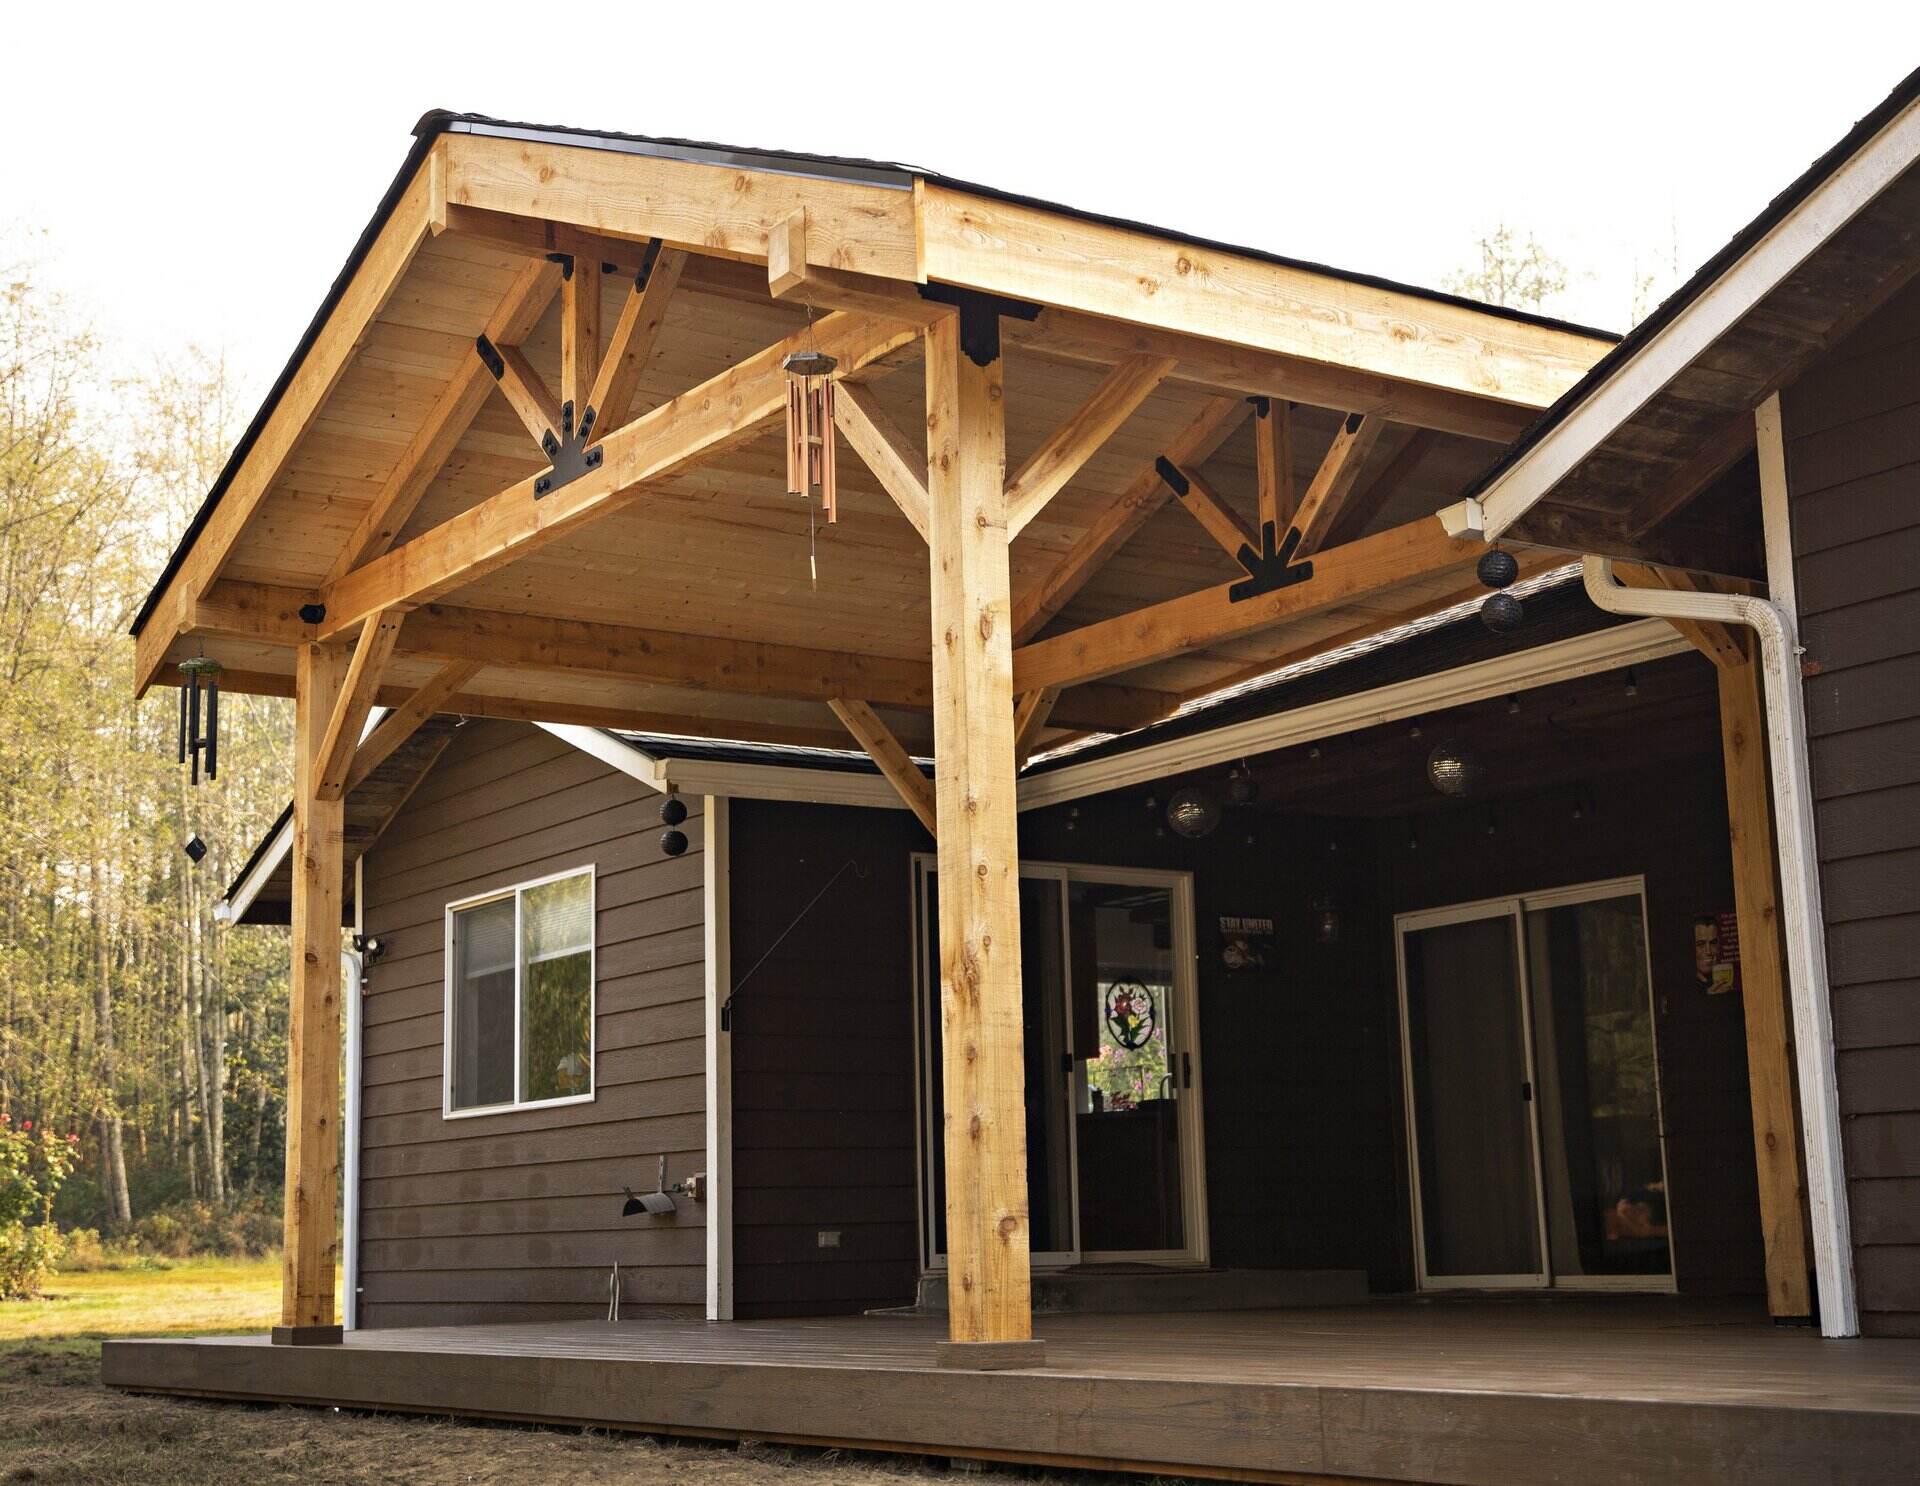
Gable roofs, also known as pitched or peaked roofs, are one of the most common roof designs in residential construction. They are easily recognizable by their triangular shape, formed by two sloping sides that meet at the top, or ridge, of the roof. This classic design not only offers timeless aesthetic appeal but also provides practical benefits, making it a popular choice for homeowners and builders alike.
The primary characteristic of a gable roof is its straightforward design, consisting of two sloping planes that meet at a peak. This simplicity allows for efficient water runoff, making gable roofs ideal for areas with heavy rainfall or snow. Additionally, the triangular shape of gable roofs provides ample space for an attic or vaulted ceilings, adding to the overall functionality and interior aesthetics of a structure.
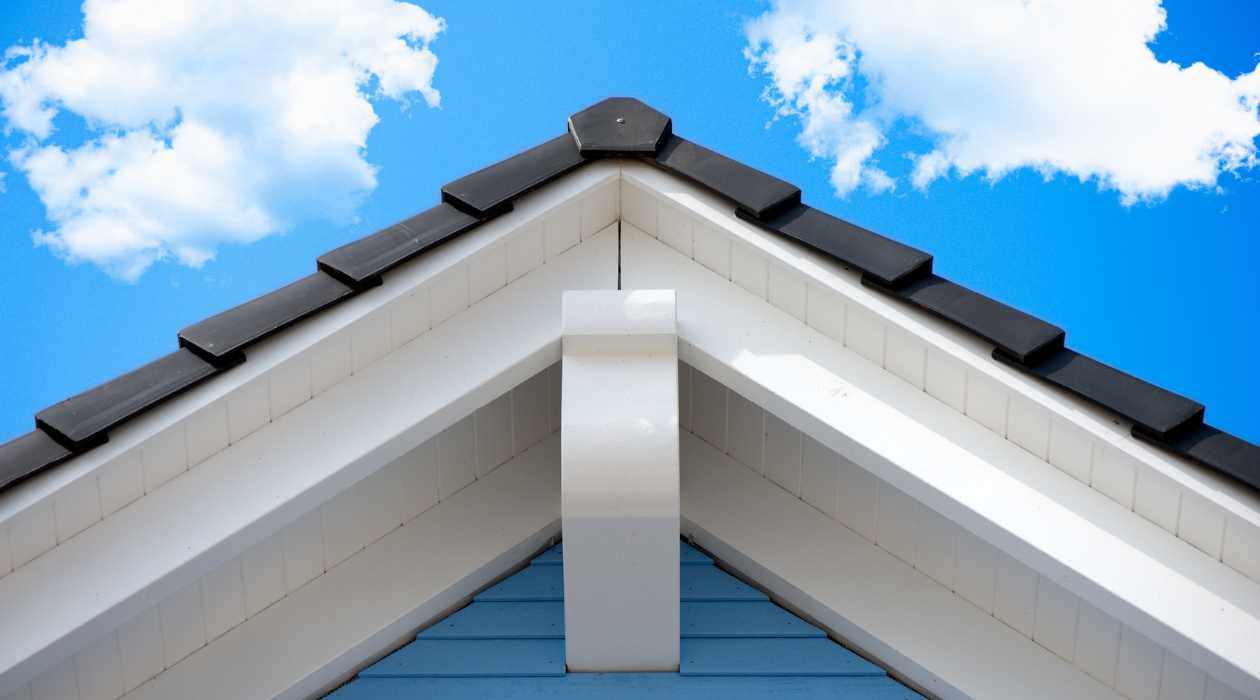
One of the defining features of gable roofs is the presence of gables, which are the triangular portions of the wall that enclose the ends of the roof ridge. These gables can be left open or enclosed, depending on the architectural style and functional requirements of the building. Furthermore, gable roofs can be constructed with different pitches, allowing for customization based on regional weather conditions, architectural preferences, and structural considerations.
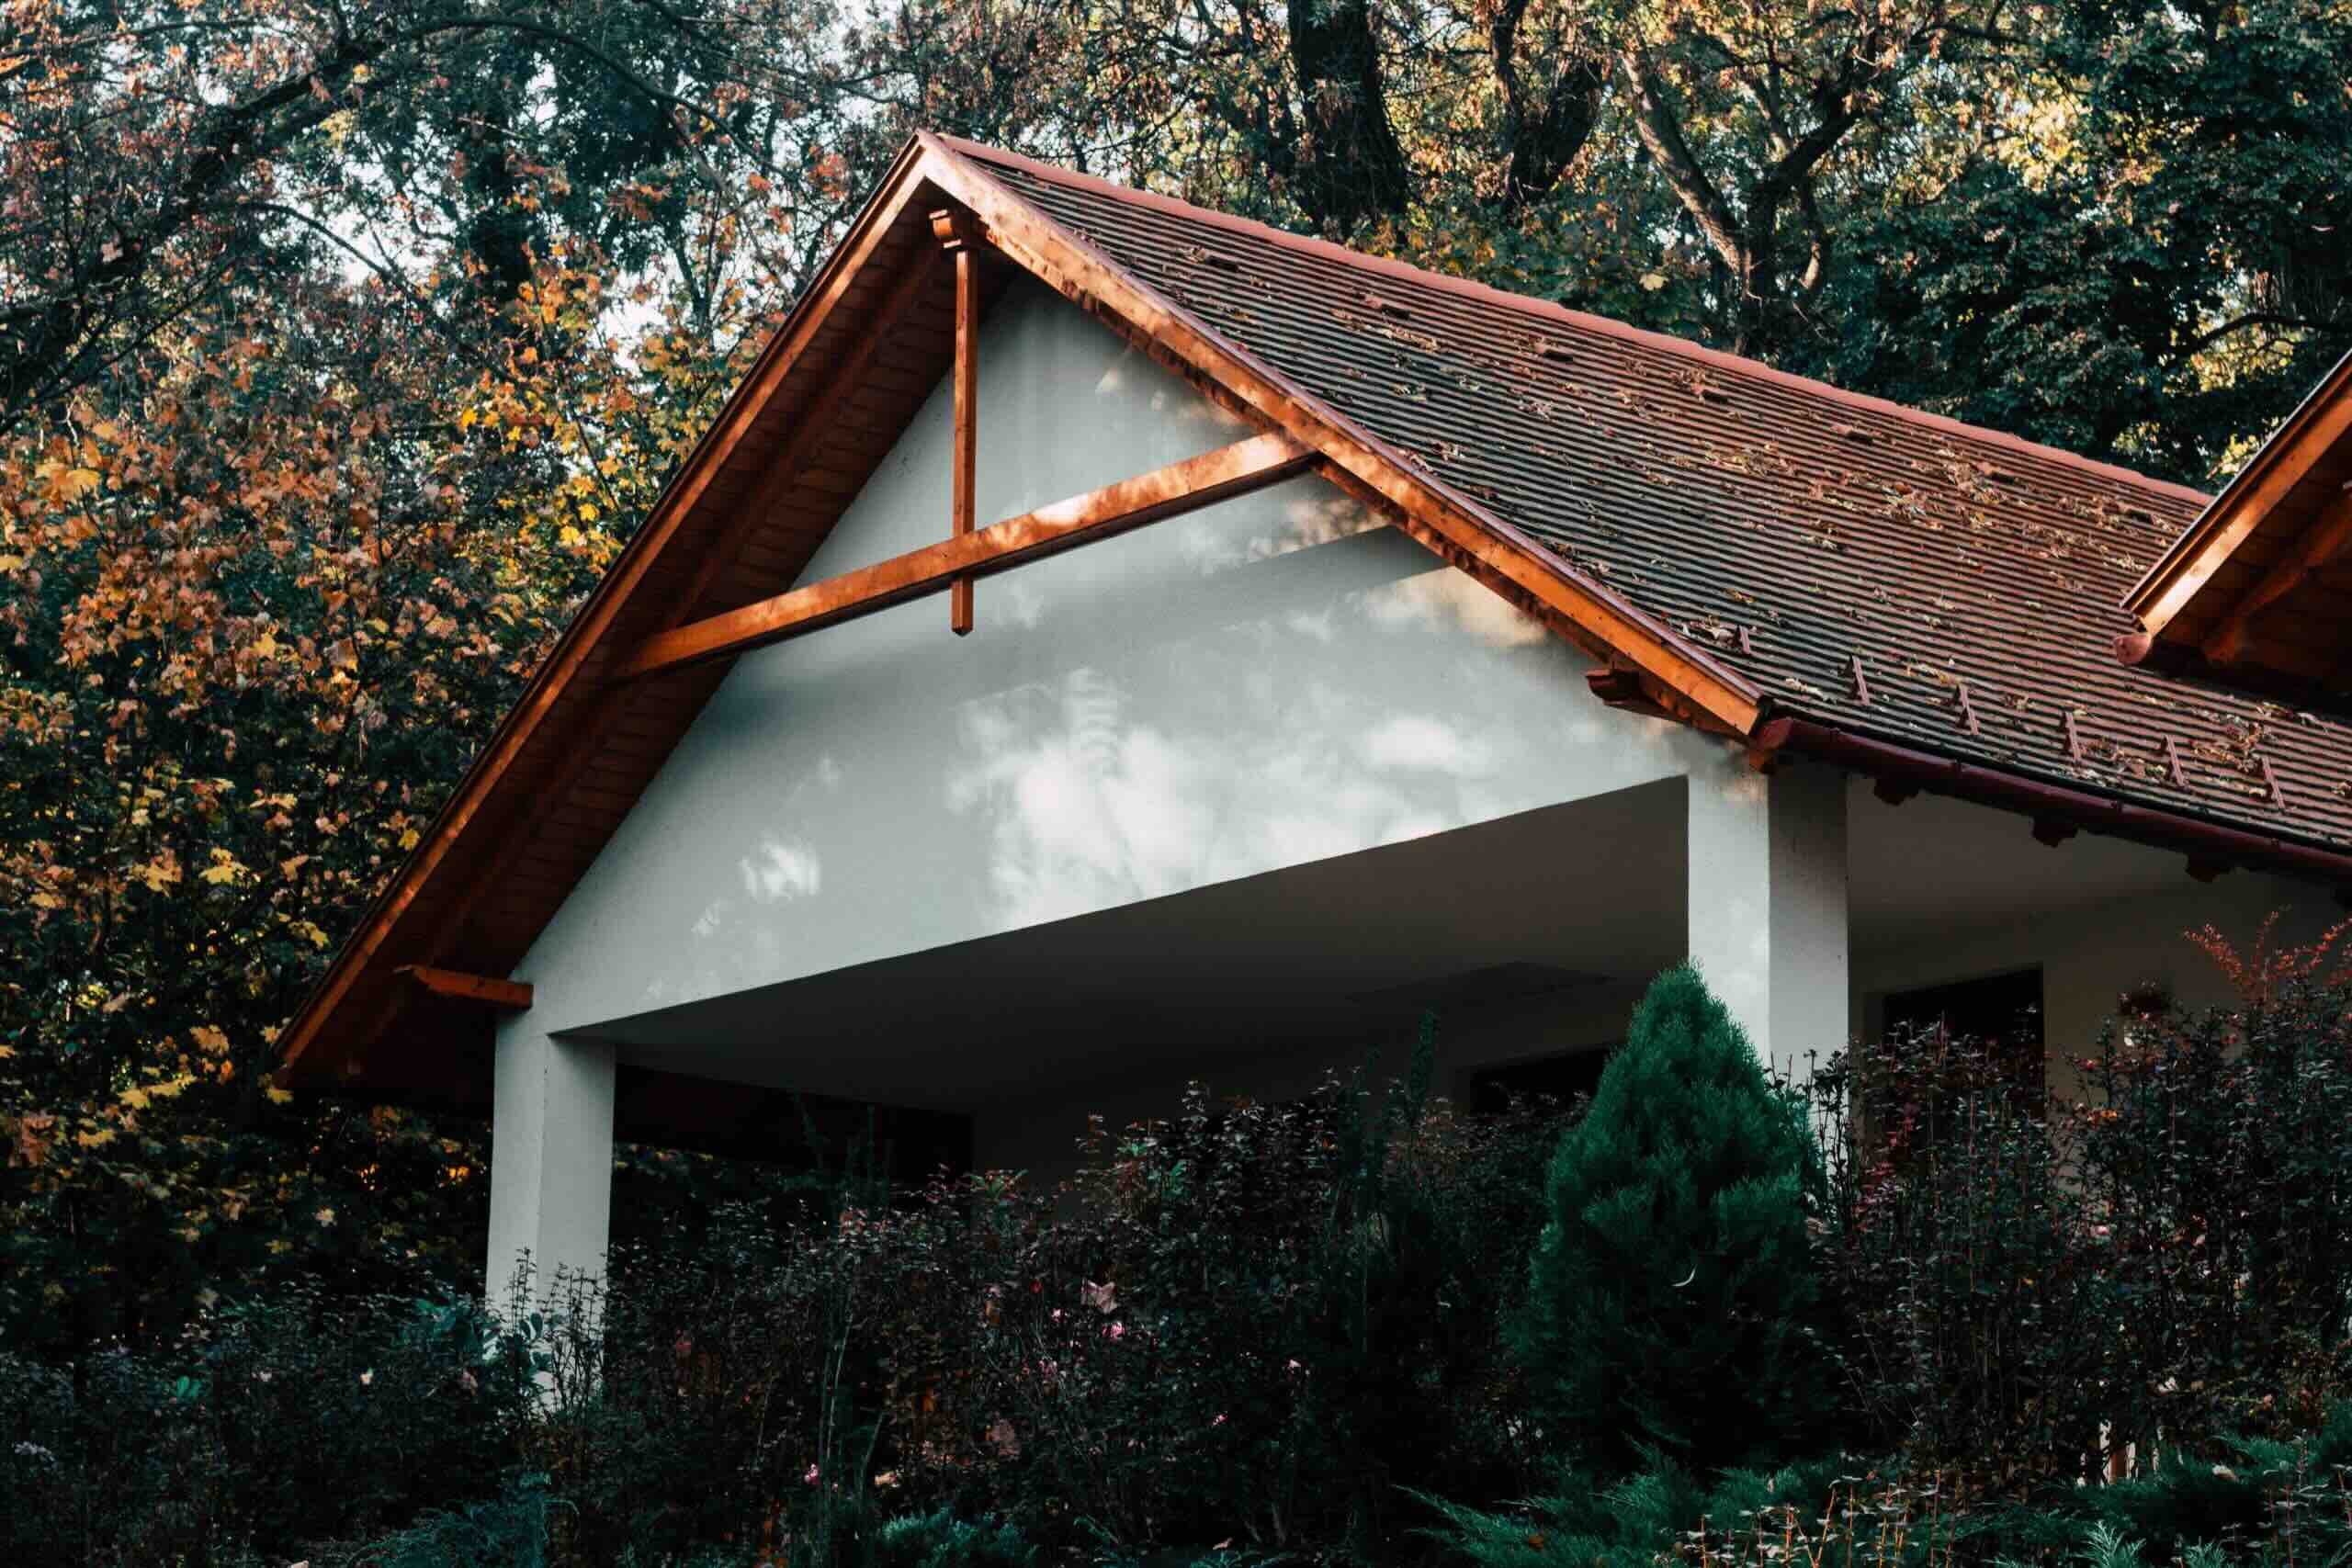
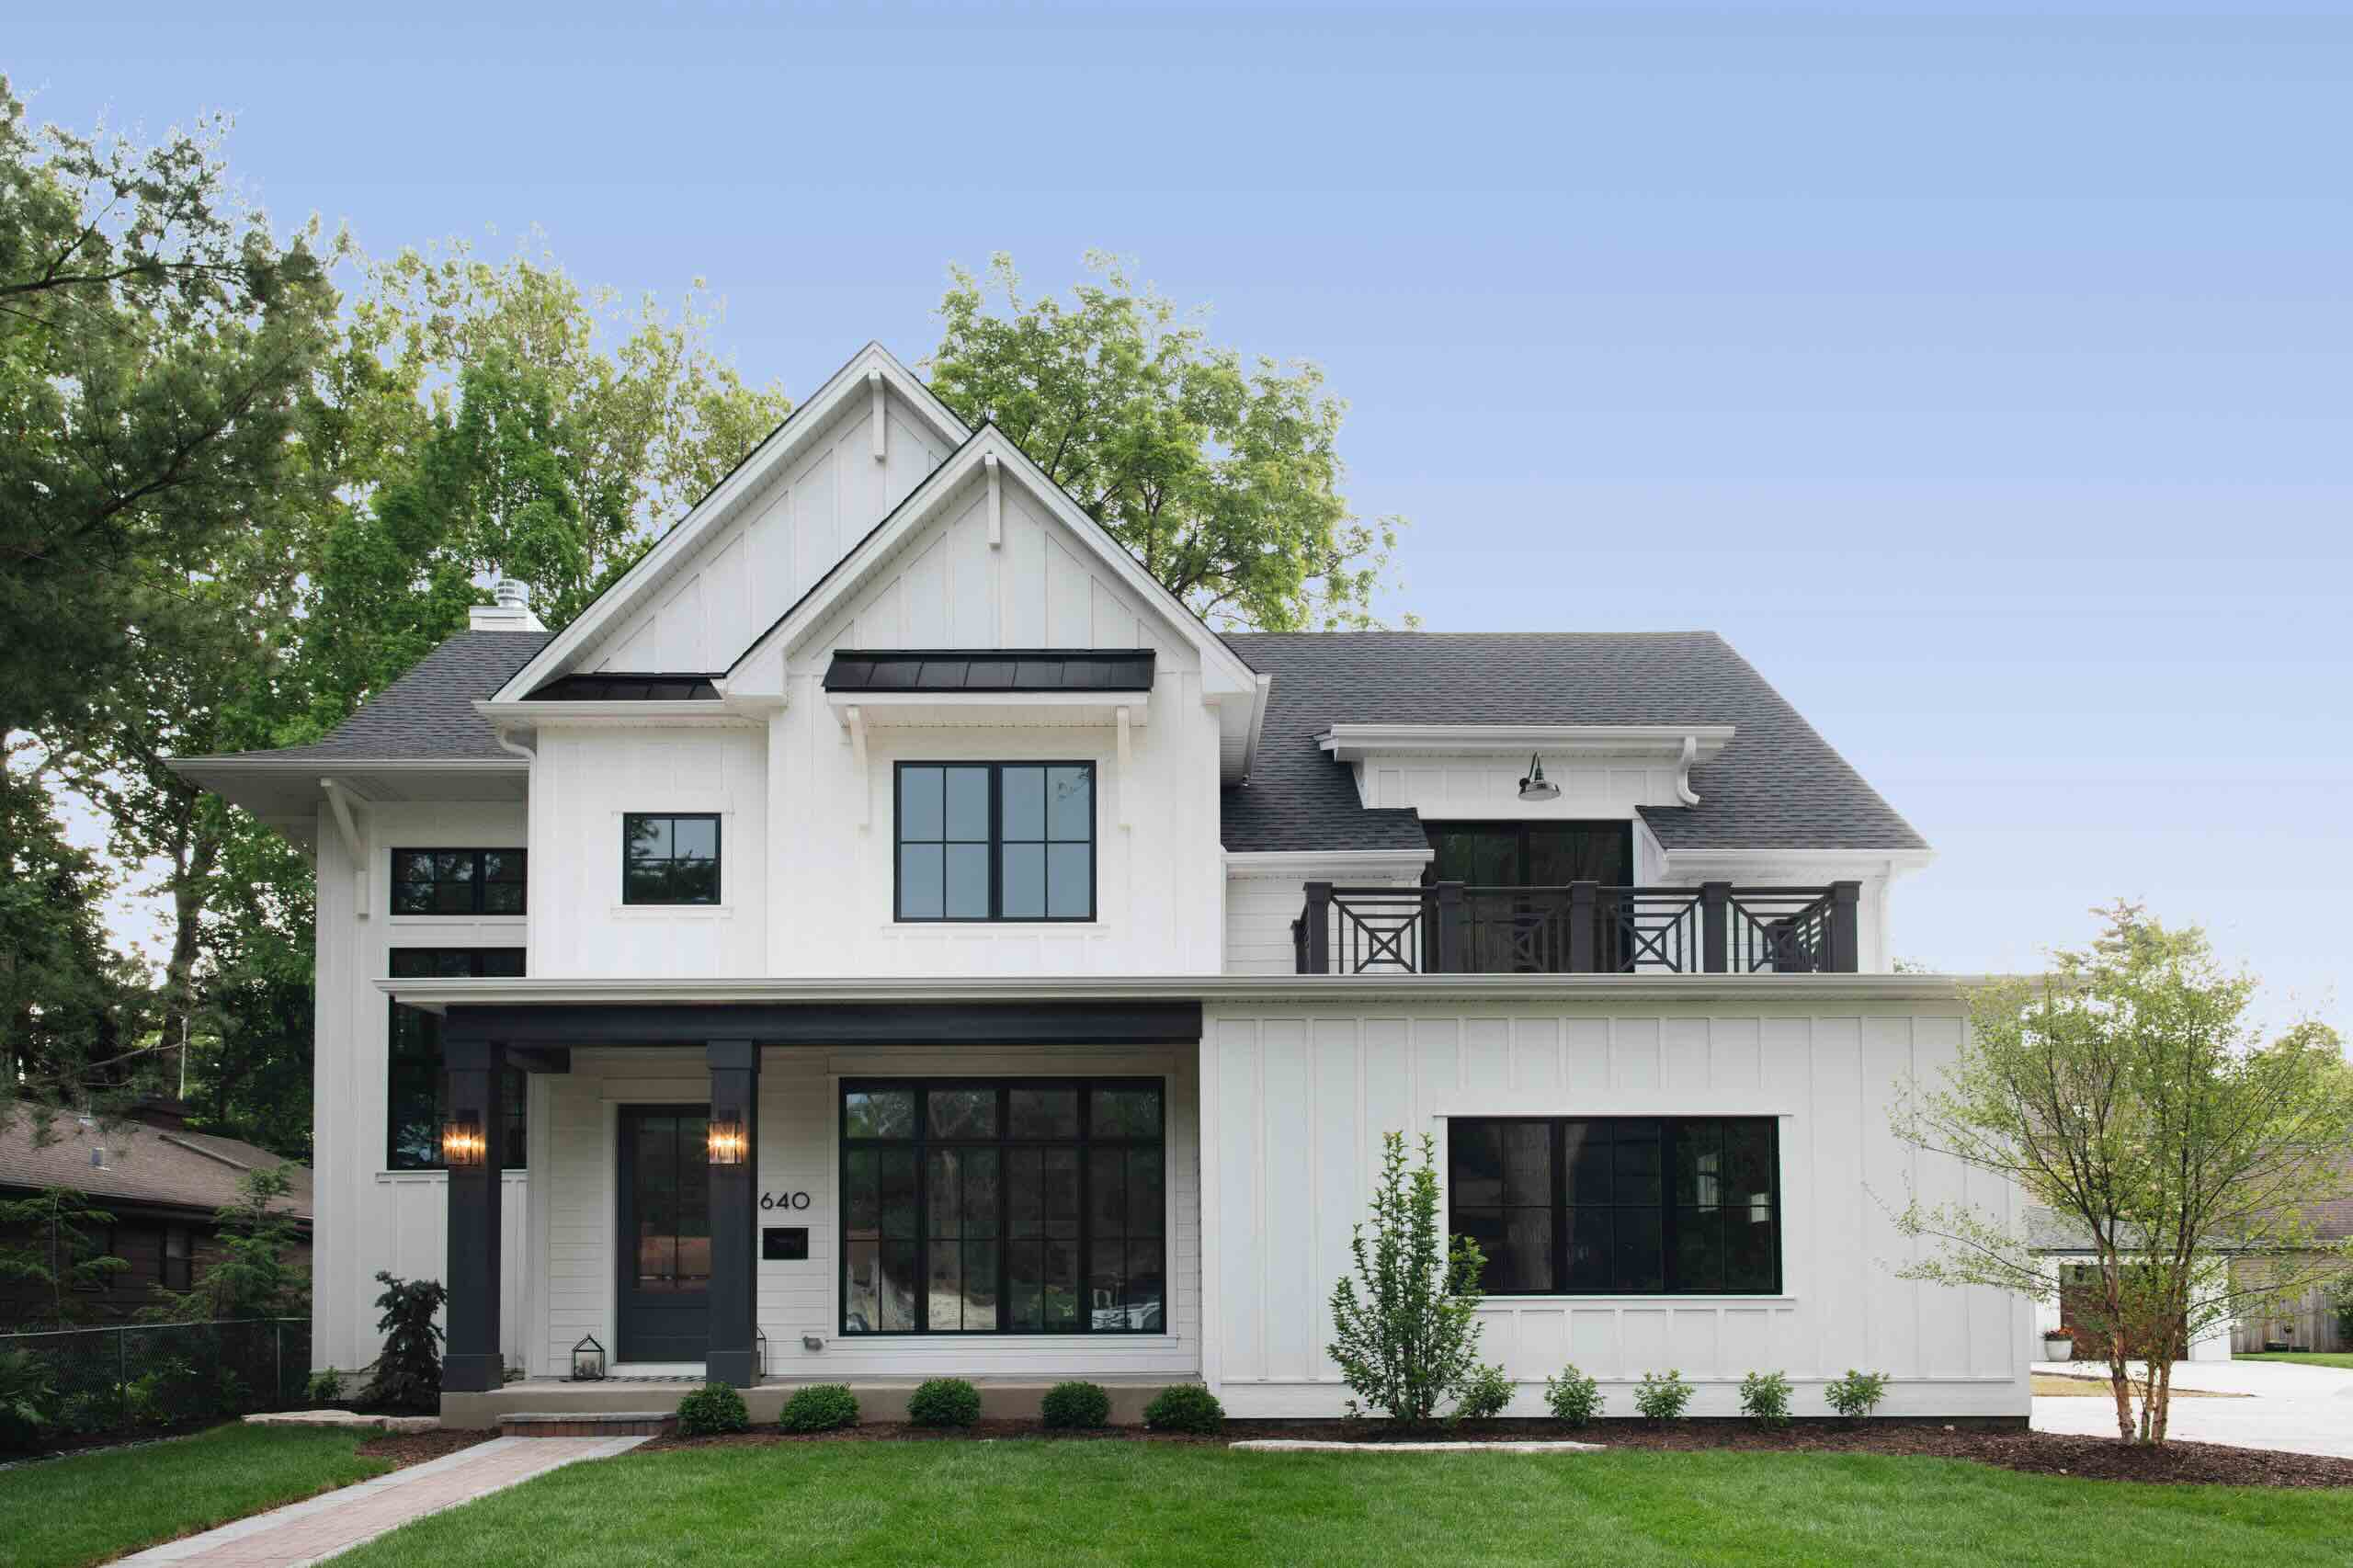
Understanding the basics of gable roofs also involves recognizing the various types of gable roof designs, such as side gable, crossed gable, front gable, and Dutch gable. Each design offers unique visual appeal and functional advantages, catering to diverse architectural tastes and practical needs.
In essence, gable roofs embody a harmonious blend of form and function, combining timeless elegance with practical utility. By grasping the fundamental principles and characteristics of gable roofs, you can gain a deeper appreciation for their architectural significance and make informed decisions when it comes to framing, renovating, or designing structures with gable roofs.
Steps to Frame a Gable Roof
-
Prepare the Building: Before commencing the framing process, ensure that the building's walls are structurally sound and properly aligned. This involves confirming the accuracy of the wall dimensions and ensuring that they are plumb and level. Additionally, any necessary sheathing or bracing should be in place to provide stability during the roof framing.
-
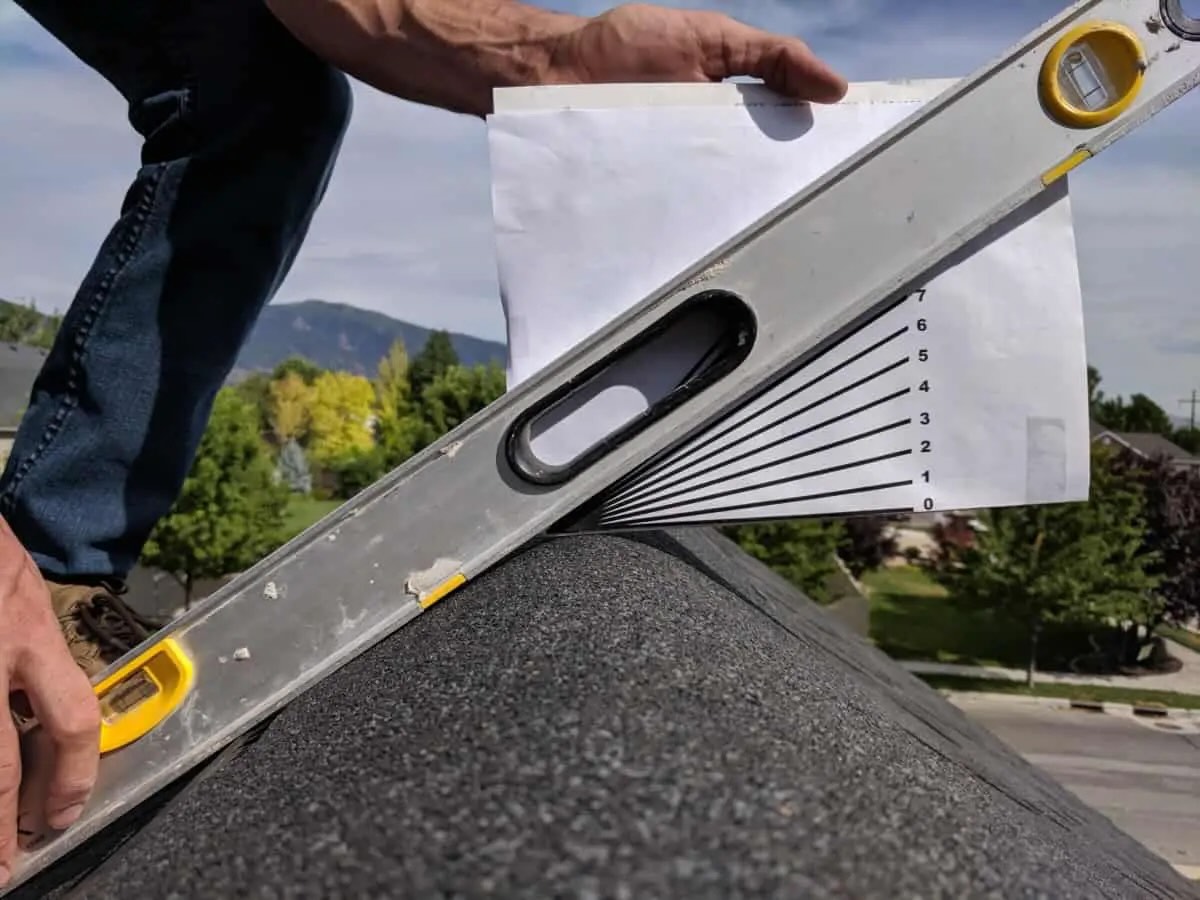
Determine the Roof Pitch: The roof pitch, or slope, plays a crucial role in gable roof framing. It determines the angle at which the roof surfaces will meet at the ridge. The pitch is typically specified in terms of a ratio, such as 4:12, indicating the vertical rise for every 12 inches of horizontal run. Accurately determining the roof pitch is essential for calculating rafter lengths and ensuring proper water drainage.
-
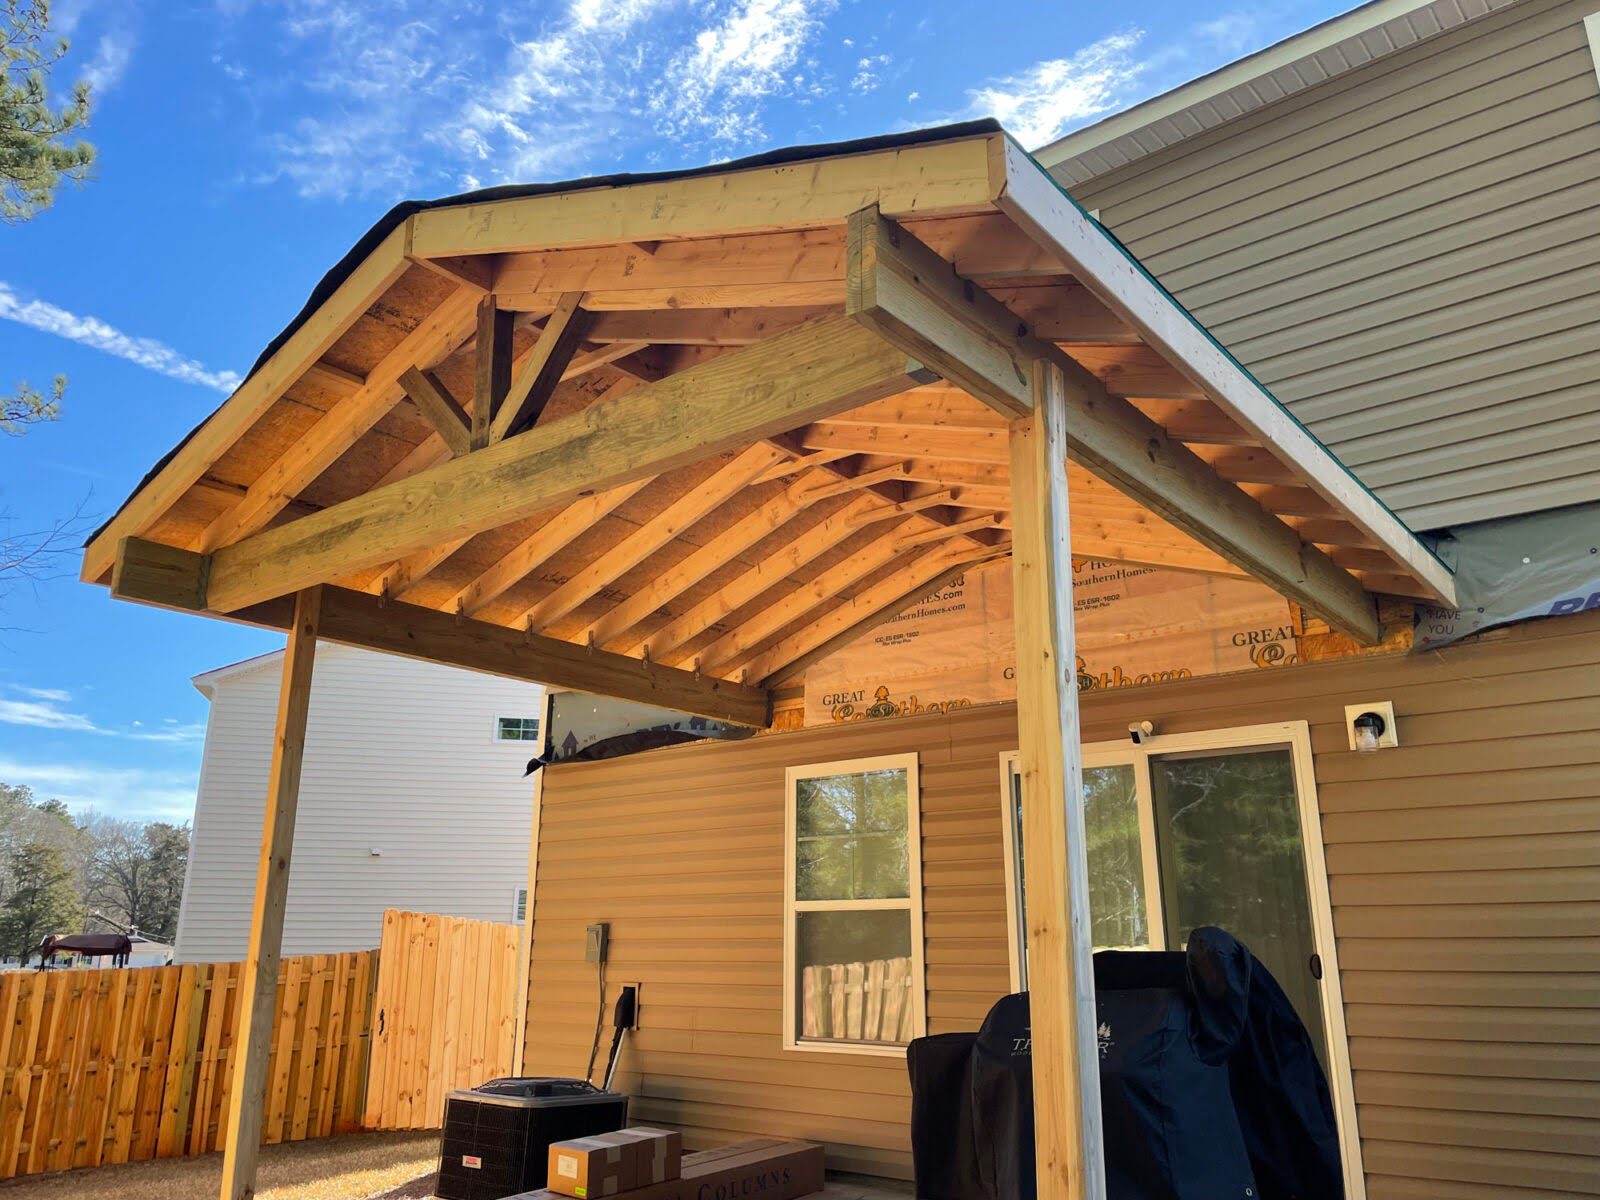
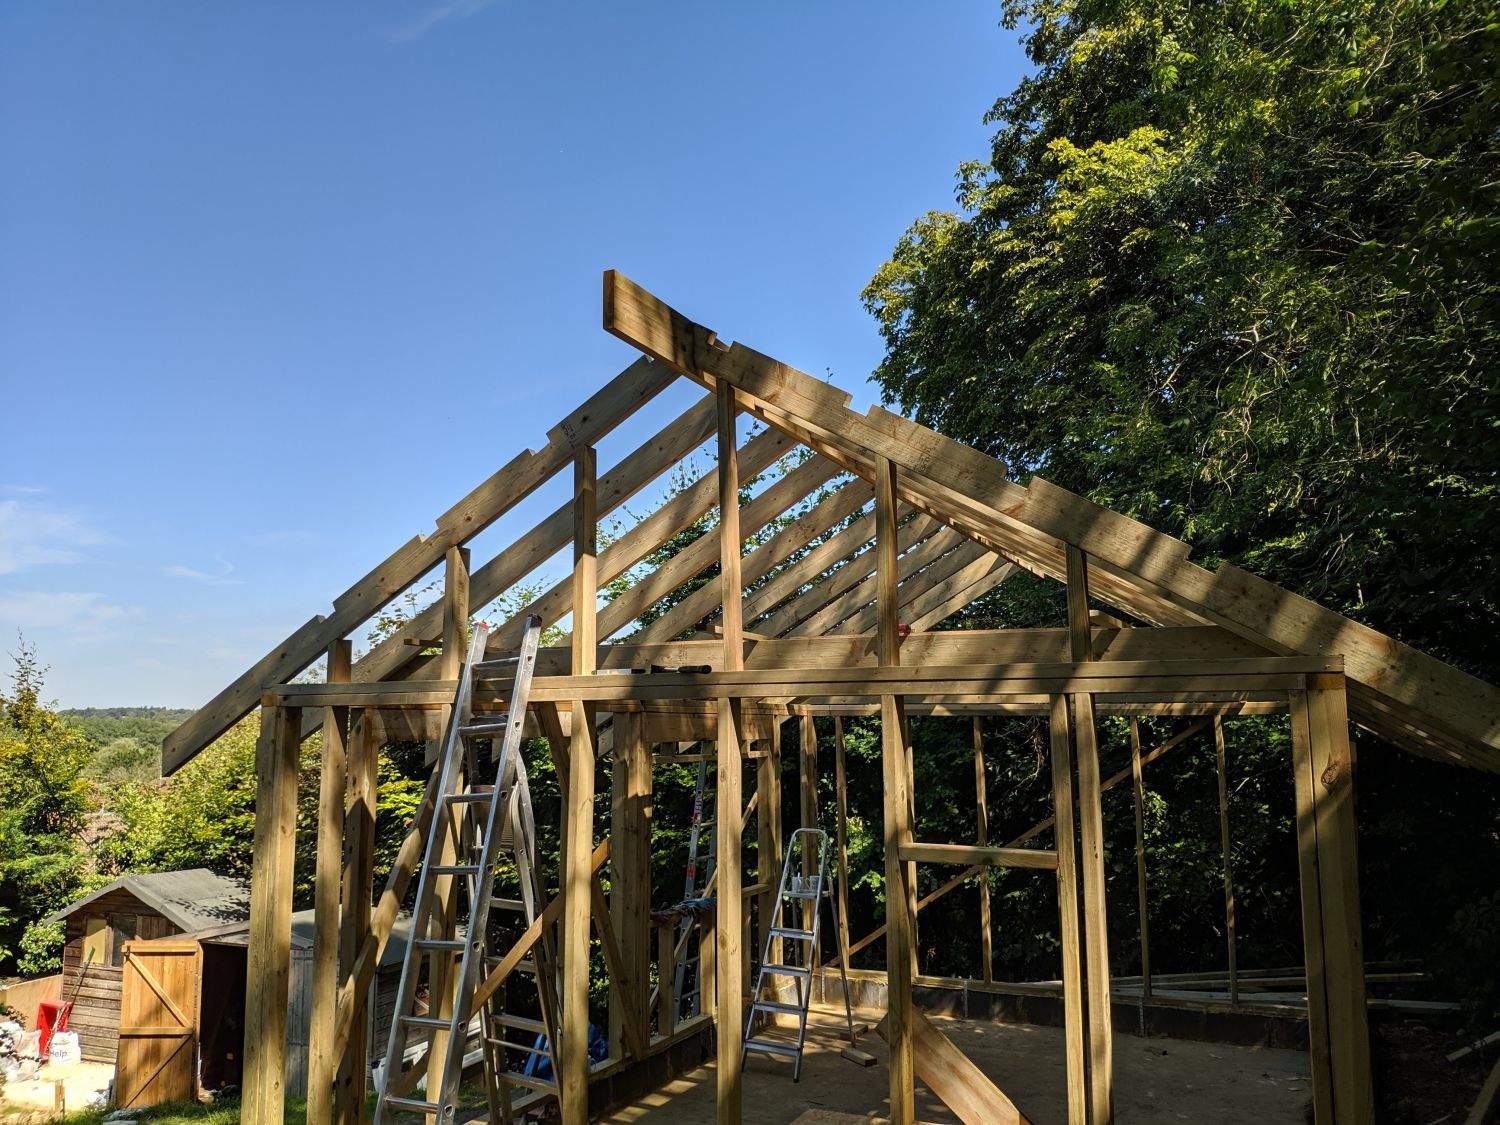
Install the Ridge Beam: The ridge beam forms the apex of the gable roof and provides structural support for the rafters. It is essential to accurately position and secure the ridge beam, as it serves as a central reference point for the entire roof framing process.
-
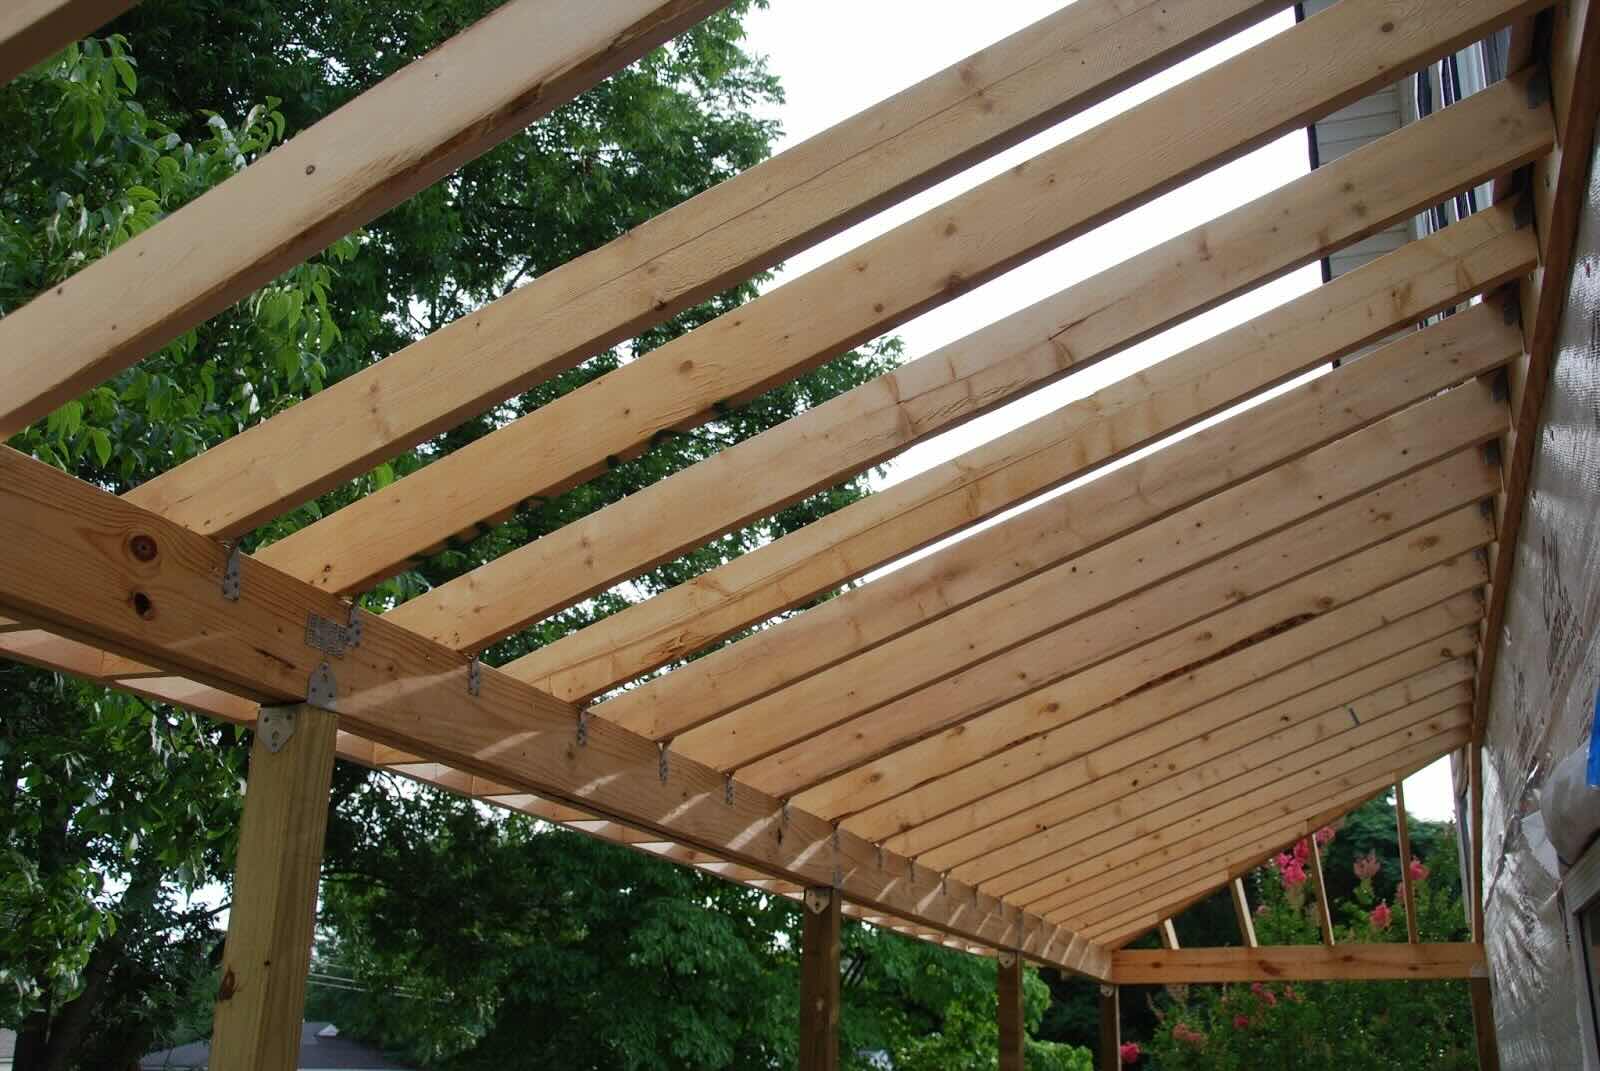
Cut and Install Rafters: Rafters are the inclined structural members that form the framework of the roof. They extend from the top plate of the walls to the ridge beam, supporting the roof decking and providing the roof's shape. Each rafter must be precisely cut to the required length and angle to ensure a uniform and symmetrical roof structure.
-
Add Collar Ties or Rafter Ties: Collar ties or rafter ties are horizontal members that connect opposing rafters, providing lateral support and preventing the roof from spreading apart under the weight of the roof loads and external forces. These ties are crucial for maintaining the structural integrity of the gable roof.
-
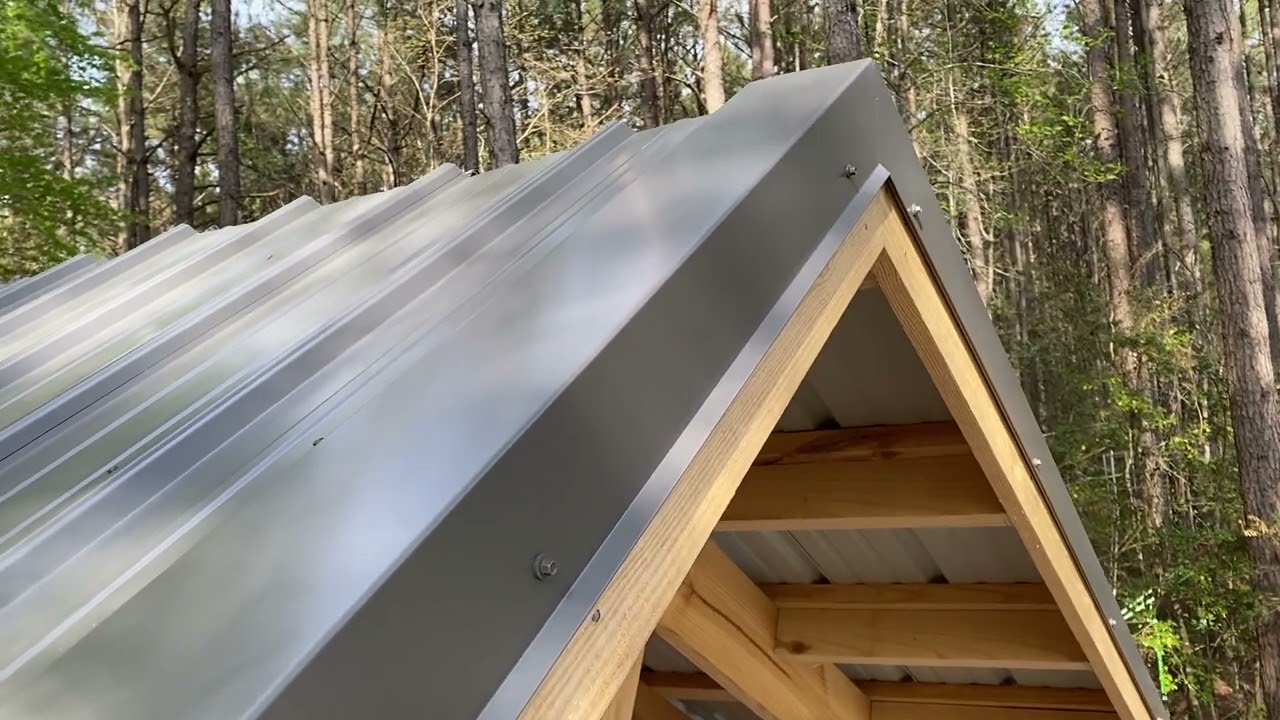
Install Roof Sheathing: Once the rafters and ties are in place, the next step involves installing roof sheathing, which provides a solid base for the roof covering. Properly securing the sheathing enhances the roof's strength and stability while preparing it for the installation of roofing materials.
-
Incorporate Ventilation and Insulation: Proper ventilation and insulation are essential components of a well-constructed gable roof. Ventilation helps regulate temperature and moisture levels in the attic space, while insulation contributes to energy efficiency and interior comfort. Incorporating these elements during the framing process sets the stage for a functional and sustainable roof system.
-
Complete the Roofing System: With the framing in place, the final steps involve adding the finishing touches to the roofing system, including underlayment, shingles, or other roofing materials. Attention to detail during this phase ensures a weatherproof and visually appealing gable roof that enhances the overall architectural character of the building.
By following these systematic steps and adhering to best practices in gable roof framing, you can achieve a structurally sound, aesthetically pleasing, and enduring roof structure that elevates the charm and functionality of the building.
Tools and Materials Needed
Framing a gable roof requires a specific set of tools and materials to ensure precision, efficiency, and structural integrity. From basic hand tools to specialized equipment, having the right resources at your disposal is essential for successfully undertaking the framing process. Additionally, the selection of high-quality materials is paramount in achieving a durable and visually appealing gable roof that withstands the test of time.
Tools
- Circular Saw: A versatile and essential tool for cutting various framing components, such as rafters and sheathing, with accuracy and speed.
- Framing Square: Used for laying out and marking the angles and cuts on rafters, ensuring precise and uniform dimensions throughout the framing process.
- Chalk Line: Enables the creation of straight and level reference lines on the roof framing, aiding in alignment and positioning of structural elements.
- Hammer: A fundamental tool for driving nails and securing framing members, providing the necessary mechanical connections for the roof structure.
- Level: Ensures that the framing components are installed accurately and that the roof surfaces maintain the intended slope and alignment.
- Power Nail Gun: Facilitates rapid and consistent fastening of framing elements, enhancing efficiency and reducing manual effort.
- Roofing Square: Specifically designed for laying out and cutting roof rafters, assisting in achieving precise and uniform rafter cuts.
Read more: How To Shingle A Gable Roof
Materials
- Lumber: High-quality dimensional lumber, such as pressure-treated or engineered wood, for constructing the rafters, ridge beam, and other framing components.
- Roofing Sheathing: Strong and durable panels or sheets, such as plywood or oriented strand board (OSB), to provide a solid base for the roof covering.
- Nails and Fasteners: Galvanized or stainless steel nails and fasteners designed for exterior use to secure the framing members and sheathing effectively.
- Ridge Connectors and Brackets: Structural connectors and brackets designed to reinforce the connections between rafters, ridge beam, and wall plates, enhancing the overall stability of the roof structure.
- Roofing Underlayment: Water-resistant membrane or felt paper to provide an additional layer of protection beneath the roofing materials, safeguarding against moisture infiltration.
- Ventilation and Insulation Materials: Vents, baffles, and insulation products to promote proper airflow and thermal efficiency within the roof assembly, contributing to energy conservation and moisture control.
By assembling a comprehensive array of tools and sourcing top-quality materials, you can embark on the gable roof framing journey with confidence, knowing that you have the essential resources to execute the project with precision and excellence.
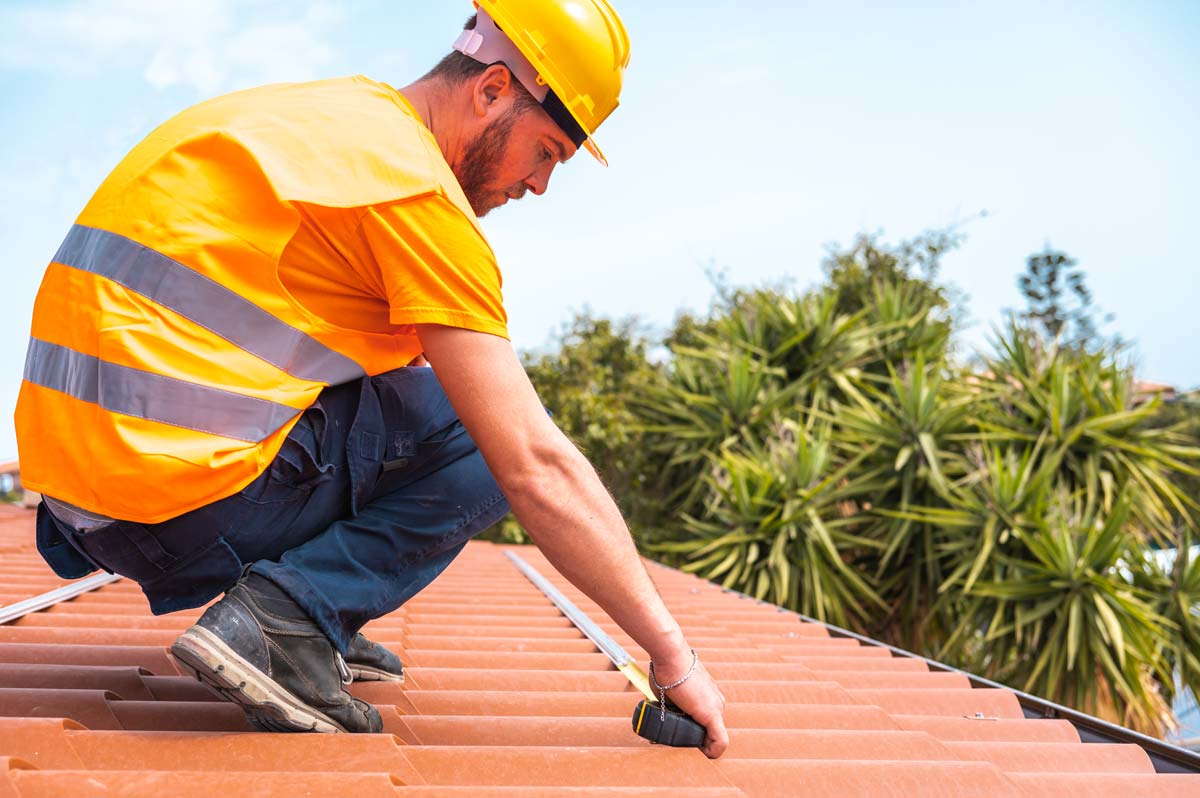
When framing a gable roof, make sure to accurately measure and cut the roof rafters to the correct length and angle to ensure a proper fit and stable structure. Double check all measurements before cutting to avoid mistakes.
Tips for Framing a Gable Roof
Framing a gable roof demands meticulous attention to detail and adherence to best practices to ensure a successful and enduring outcome. Here are essential tips to guide you through the framing process and enhance the overall quality of your gable roof construction:
-
Accurate Measurements: Precision is paramount when it comes to framing a gable roof. Ensure that all measurements, angles, and cuts are meticulously calculated and verified to guarantee the proper fit and alignment of structural components. Utilizing advanced measuring tools and techniques, such as digital angle finders and laser levels, can significantly enhance the accuracy of your framing work.
-
Quality Lumber Selection: Opt for high-grade lumber that exhibits minimal warping, twisting, or structural defects. Choosing premium-quality materials for rafters, ridge beams, and other framing elements is crucial for the long-term stability and resilience of the gable roof. Additionally, consider the structural requirements and environmental factors when selecting the appropriate lumber species and grades for your specific project.
-
Rafter Spacing and Layout: Carefully plan and space the rafters to ensure optimal load distribution and structural integrity. Adhering to the specified rafter spacing and layout guidelines, as determined by engineering standards and local building codes, is essential for upholding the roof's strength and load-bearing capacity. Proper rafter layout also facilitates the seamless installation of roof sheathing and roofing materials.
-
Secure Connections: Emphasize the importance of secure and robust connections between framing members. Utilize appropriate fasteners, connectors, and hardware to reinforce the joints and intersections, thereby fortifying the overall stability of the gable roof structure. Implementing advanced fastening techniques, such as structural screws and engineered metal connectors, can elevate the structural performance and resilience of the roof framing.
-
Weather Protection: Prioritize weather protection measures during the framing process to safeguard the structural components from moisture infiltration and environmental exposure. Temporary weatherproofing, such as tarpaulins or protective coverings, can prevent water damage to the framing elements, especially during extended construction periods or inclement weather conditions.
-
Consultation with Professionals: When in doubt or when facing complex structural challenges, seek guidance from experienced professionals, such as structural engineers or seasoned contractors. Their expertise and insights can provide valuable solutions and ensure that the gable roof framing aligns with industry standards and regulatory requirements.
-
Continuous Inspection and Adjustment: Regularly inspect the framing work at various stages of the construction process to identify any deviations or discrepancies. Promptly address any issues related to alignment, structural integrity, or material quality to maintain the precision and quality of the gable roof framing.
By integrating these tips into your gable roof framing endeavors, you can elevate the craftsmanship, durability, and performance of the roof structure, ultimately contributing to the long-term satisfaction and value of the completed construction project.
Conclusion
In conclusion, framing a gable roof is a multifaceted endeavor that blends artistry, precision, and structural acumen. By unraveling the intricacies of gable roof framing, we have embarked on a journey that illuminates the essential steps, tools, and insights necessary to undertake this transformative aspect of construction and renovation.
Mastering the art of framing a gable roof empowers homeowners, builders, and enthusiasts to infuse their properties with timeless elegance, structural resilience, and functional versatility. The triangular allure of gable roofs, coupled with their efficient water runoff and potential for attic space, embodies a harmonious fusion of aesthetic appeal and practical utility.
As we reflect on the systematic process of framing a gable roof, it becomes evident that attention to detail, precision in measurements, and the selection of high-quality materials and tools are paramount. From preparing the building and determining the roof pitch to installing rafters, adding collar ties, and incorporating ventilation and insulation, each step contributes to the creation of a robust and visually captivating gable roof.
Furthermore, the tips and best practices shared in this guide serve as invaluable beacons of guidance, emphasizing the significance of accurate measurements, lumber selection, secure connections, weather protection, and continuous inspection. By embracing these principles, individuals embarking on gable roof framing endeavors can elevate the craftsmanship, durability, and performance of their roof structures, ensuring long-term satisfaction and structural integrity.
Ultimately, the journey of framing a gable roof transcends the mere construction of a functional element; it embodies the fusion of architectural artistry and structural ingenuity. Whether it's the classic charm of a side gable, the distinctive allure of a Dutch gable, or the timeless elegance of a front gable, each gable roof design encapsulates a unique narrative within the built environment.
In essence, framing a gable roof is not merely a technical process; it is a transformative journey that shapes the character and functionality of a building, leaving an indelible imprint on its architectural identity. As we conclude this enlightening exploration, may the knowledge and insights gained serve as catalysts for inspired gable roof framing endeavors, enriching the built landscape with enduring beauty and structural excellence.
Frequently Asked Questions about How Do You Frame A Gable Roof?
Was this page helpful?
At Storables.com, we guarantee accurate and reliable information. Our content, validated by Expert Board Contributors, is crafted following stringent Editorial Policies. We're committed to providing you with well-researched, expert-backed insights for all your informational needs.


0 thoughts on “How Do You Frame A Gable Roof?”