Home>Renovation & DIY>Home Renovation Guides>How To Build A Gable Porch Roof

Home Renovation Guides
How To Build A Gable Porch Roof
Modified: April 22, 2024
Learn how to build a gable porch roof with our comprehensive home renovation guide. Get expert tips and step-by-step instructions for a successful project.
(Many of the links in this article redirect to a specific reviewed product. Your purchase of these products through affiliate links helps to generate commission for Storables.com, at no extra cost. Learn more)
Introduction
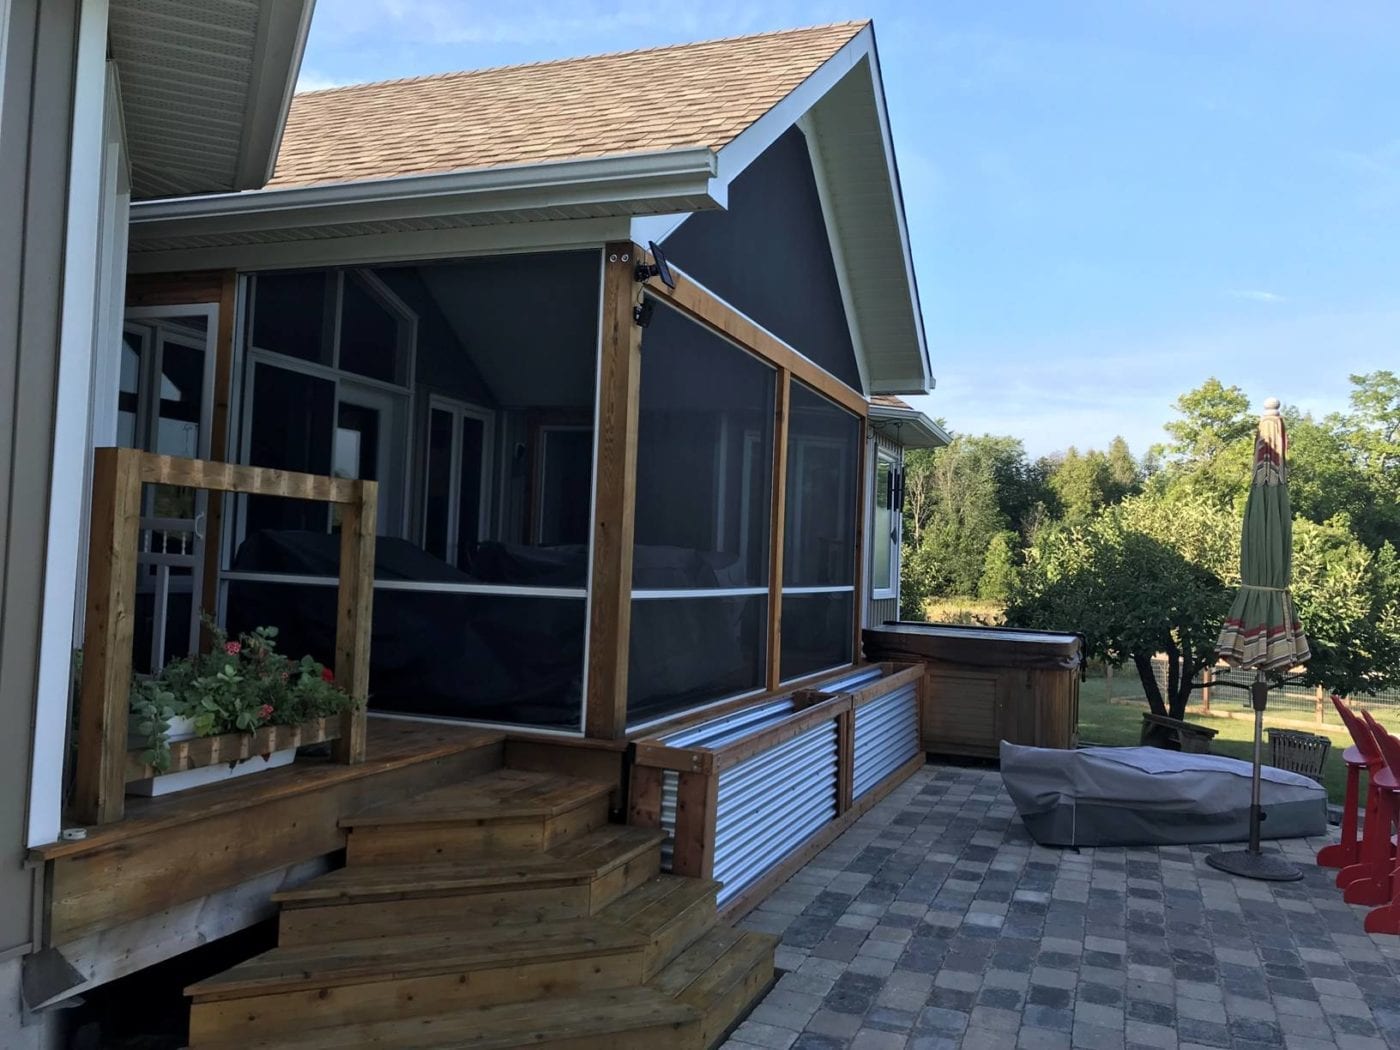
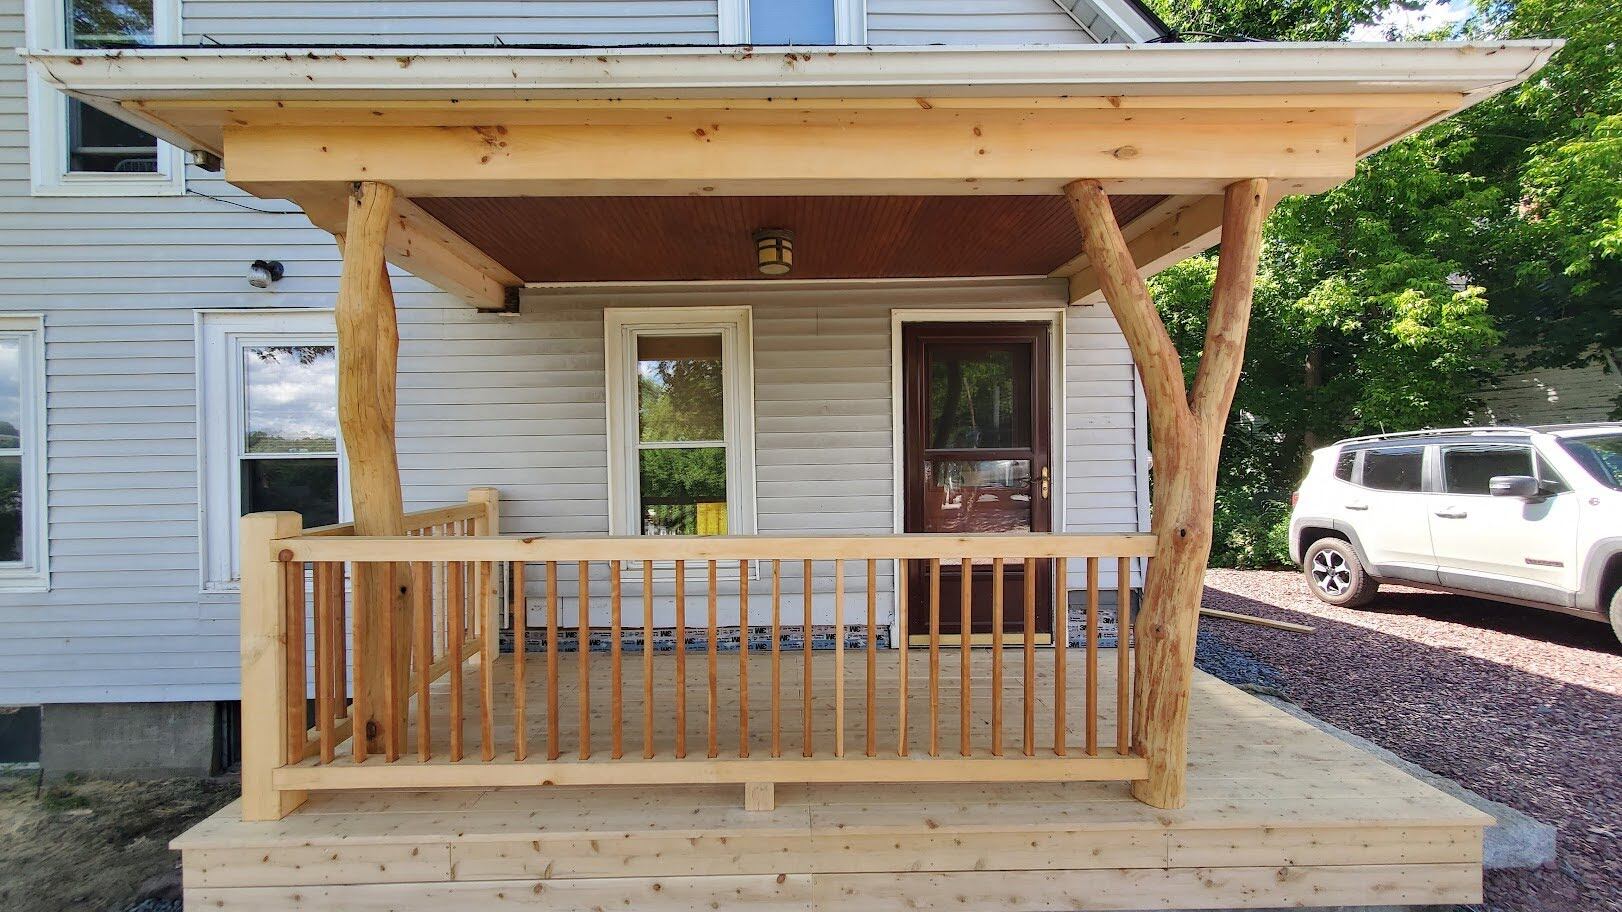
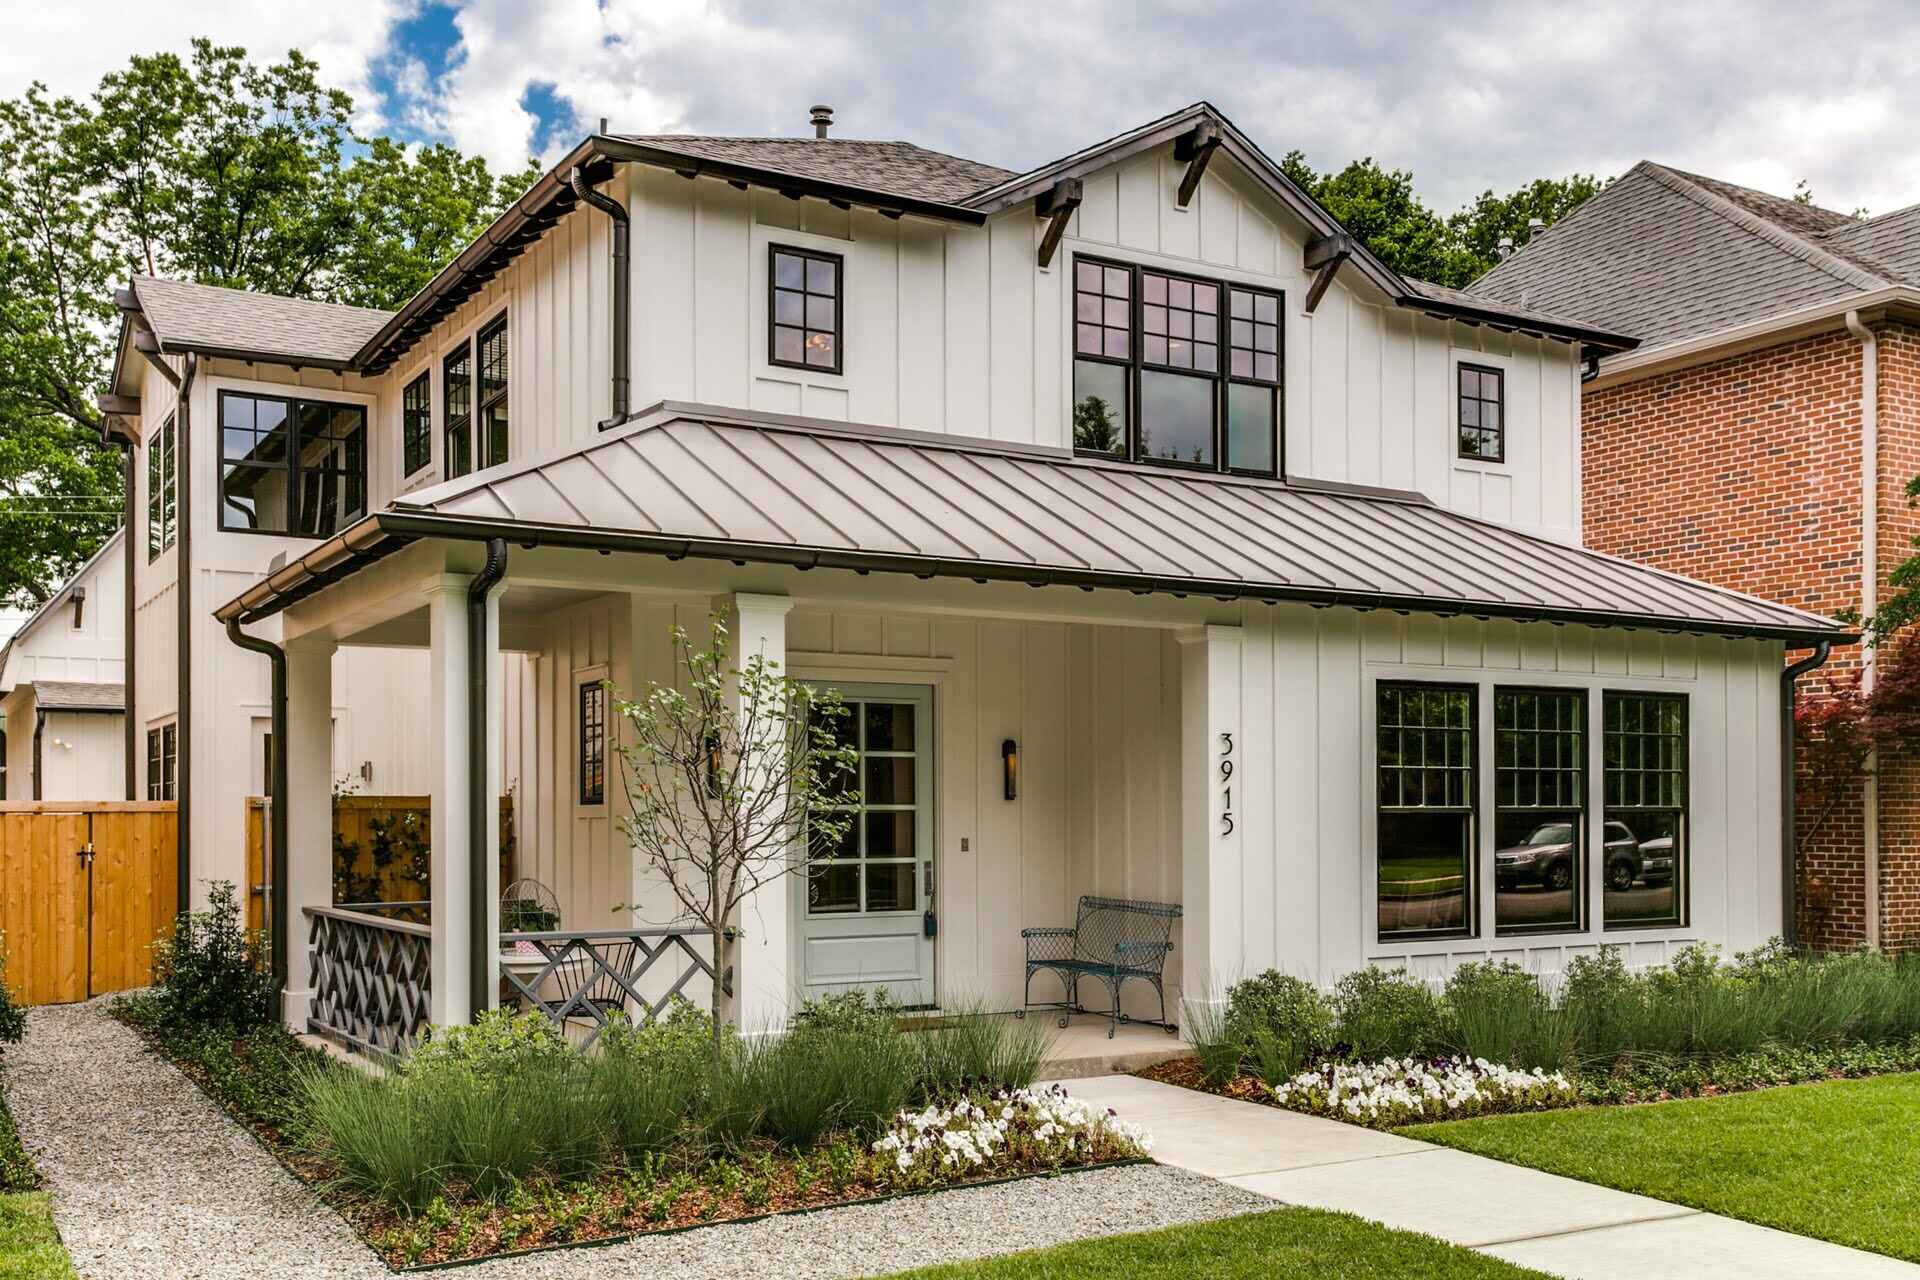
Building a gable porch roof can be a rewarding and transformative project for your home. Not only does it enhance the aesthetic appeal of your property, but it also provides functional benefits such as protection from the elements and an inviting outdoor space for relaxation and entertainment. Whether you're a seasoned DIY enthusiast or a novice looking to embark on your first major home renovation project, this comprehensive guide will walk you through the step-by-step process of constructing a gable porch roof.
From gathering the necessary materials and tools to the final touches of soffit and fascia installation, each stage of this project presents an opportunity to elevate the charm and functionality of your home. By following the detailed instructions and tips provided in this guide, you'll gain the confidence and knowledge to tackle this project with precision and skill.
So, roll up your sleeves, gather your tools, and let's embark on this exciting journey to create a stunning gable porch roof that will not only elevate the curb appeal of your home but also provide a welcoming outdoor space for years to come. Let's dive into the first step: gathering the materials and tools required for this project.
Key Takeaways:
- Building a gable porch roof enhances a home’s beauty and functionality, providing protection from the elements and creating a welcoming outdoor space for relaxation and entertainment. With careful planning and precise construction, homeowners can elevate their property’s charm and utility.
- The meticulous process of constructing a gable porch roof involves gathering materials, measuring and marking the porch area, building the gable ends, installing the ridge beam and rafters, adding roof sheathing, and finishing with soffit and fascia. Each step contributes to the roof’s durability, visual appeal, and long-term value.
Read more: How To Build A Gable Porch Roof
Step 1: Gather Materials and Tools
Before diving into the construction of a gable porch roof, it's essential to gather all the necessary materials and tools to ensure a smooth and efficient building process. Here's a comprehensive list to get you started:
Materials:
- Lumber: Purchase high-quality lumber for the framing, rafters, and sheathing. Opt for pressure-treated or weather-resistant wood to ensure durability.
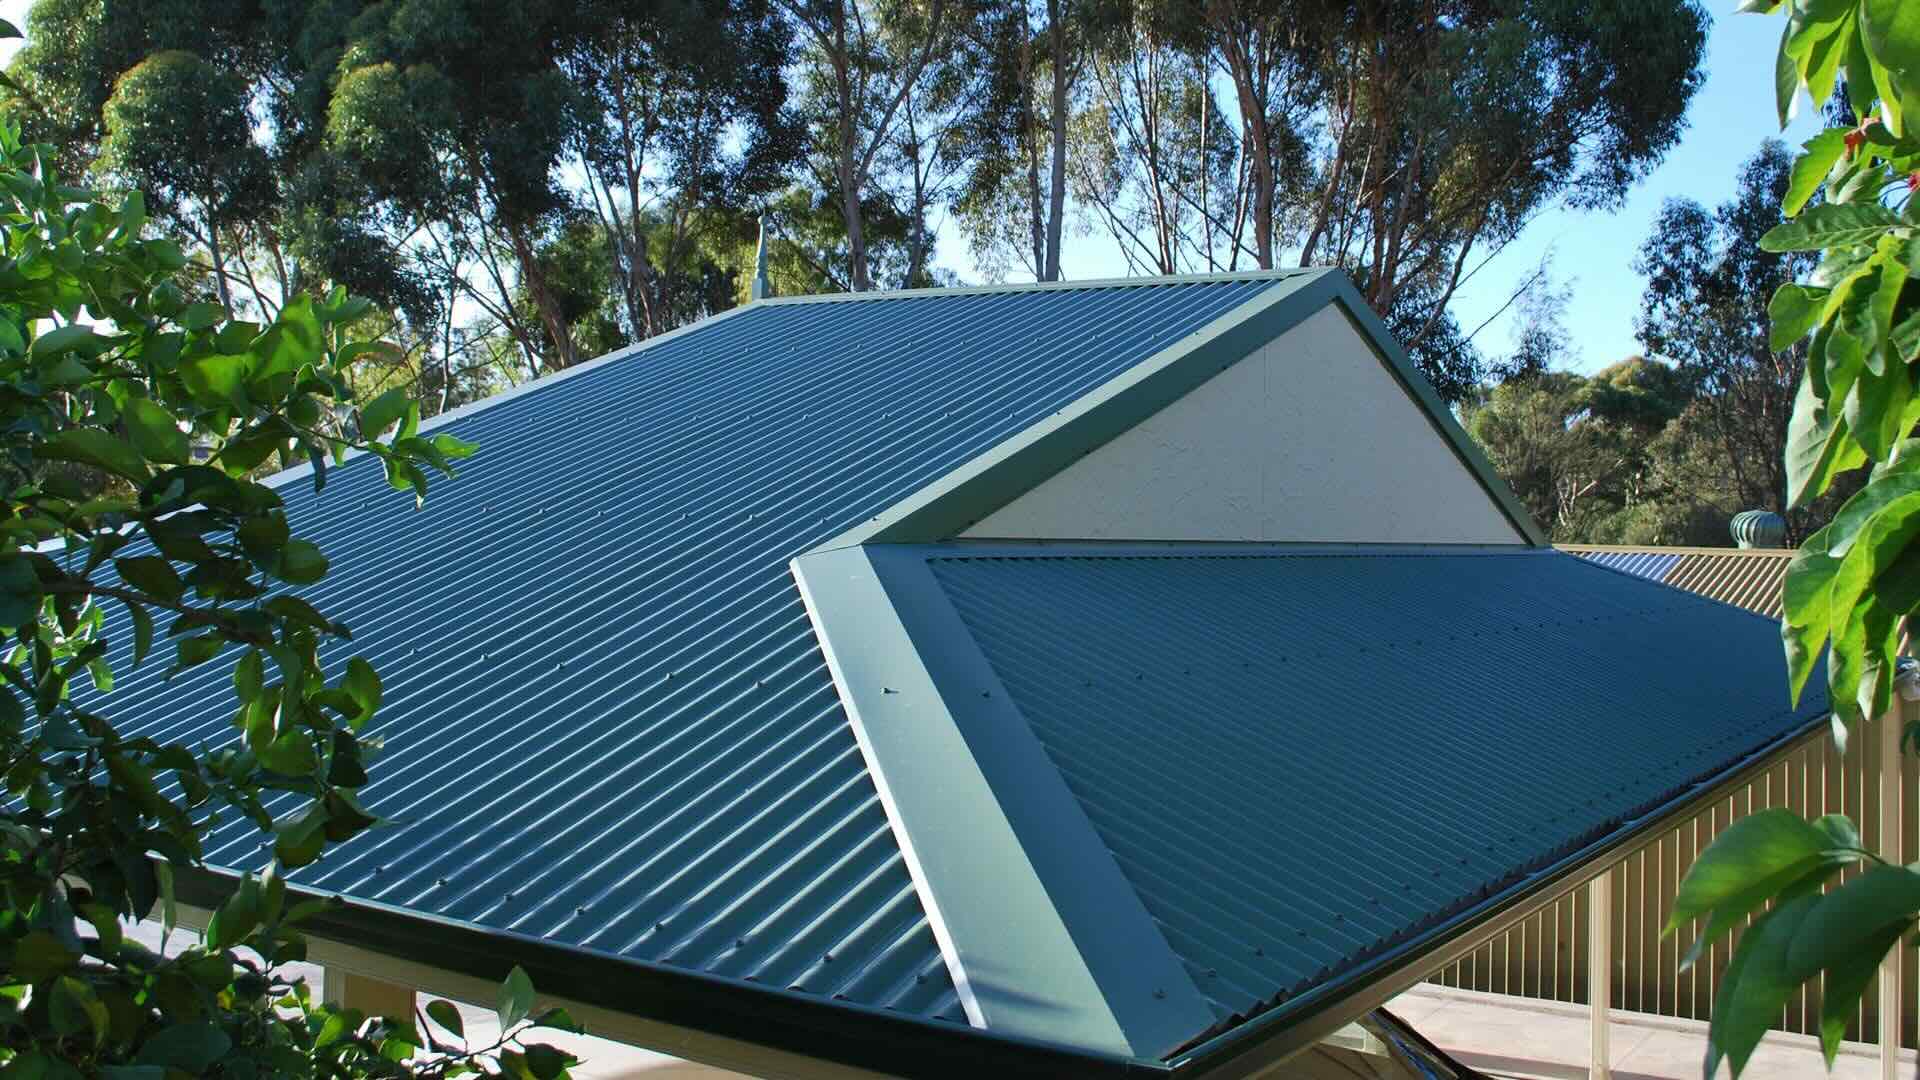
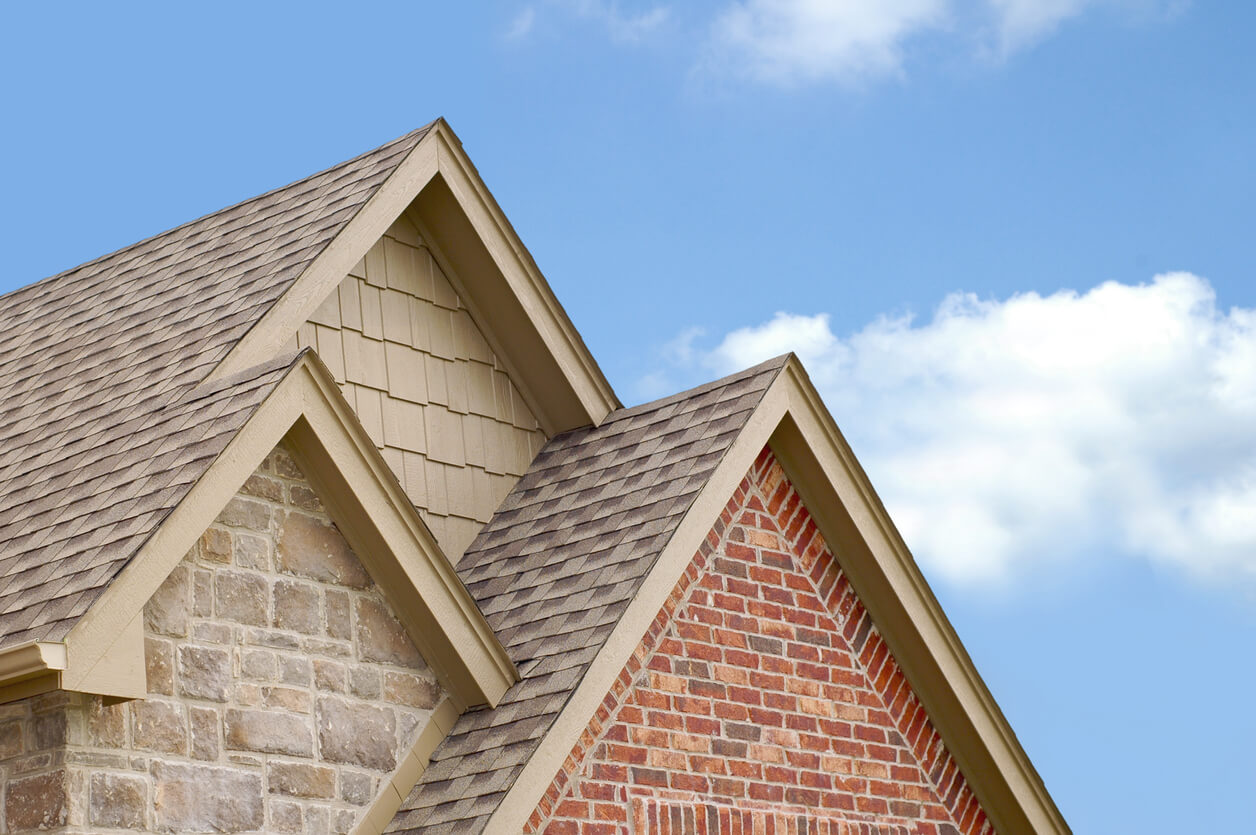
- Roofing Materials: Select roofing shingles or metal panels based on your preference and the architectural style of your home.
- Ridge Beam and Rafters: Acquire sturdy ridge beams and rafters to provide structural support for the gable roof.
- Roof Sheathing: Invest in plywood or oriented strand board (OSB) for the roof sheathing to create a solid base for the roofing materials.
- Soffit and Fascia: These components add a polished look to the roof's edges while providing ventilation and protecting the eaves.
Tools:
- Circular Saw: A versatile tool for cutting lumber to the required dimensions.
- Level: Ensure precise alignment and straightness during the construction process.
- Hammer and Nails: Essential for securing framing members and sheathing.
- Roofing Nail Gun: Speeds up the installation of roofing materials and reduces manual effort.
- Ladder or Scaffolding: Necessary for reaching elevated areas during construction.
- Measuring Tape: Accurate measurements are crucial for a well-constructed gable porch roof.
- Safety Gear: This includes gloves, protective eyewear, and a hard hat to prioritize safety during the project.
By gathering these materials and tools, you'll set the stage for a successful gable porch roof construction. Additionally, it's advisable to consult with local building codes and regulations to ensure compliance with structural and safety standards. With the necessary resources at your disposal, you're ready to move on to the next step: measuring and marking the porch area for the gable roof construction.
Step 2: Measure and Mark the Porch Area
Before commencing the construction of a gable porch roof, precision in measuring and marking the porch area is crucial to ensure the structural integrity and aesthetic appeal of the final product. Here's a detailed walkthrough of the essential steps involved in this phase:
Read more: How To Build A Gable Roof
Assess the Porch Dimensions
Begin by accurately measuring the dimensions of the porch area where the gable roof will be constructed. Use a measuring tape to record the length and width of the space, taking into account any existing architectural features or obstructions that may impact the roof design. It's essential to factor in overhangs and desired roof pitch during this assessment to determine the exact size and shape of the gable roof.
Mark the Roof Layout
With the dimensions in hand, proceed to mark the layout of the gable roof on the porch area. Utilize chalk lines or marking pencils to outline the placement of the gable ends, ridge beam, and rafters. Pay close attention to symmetry and alignment, ensuring that the marked layout reflects the intended design of the gable porch roof. This step serves as a visual guide for the subsequent construction phases, facilitating a cohesive and well-proportioned roof structure.
Consider Roof Pitch and Overhangs
The roof pitch and overhangs significantly contribute to the overall appearance and functionality of the gable porch roof. Determine the desired pitch angle based on architectural preferences and regional weather considerations. Additionally, decide on the extent of overhangs to provide adequate coverage and visual balance. Marking these elements during the initial phase sets the stage for a harmonious and well-designed gable roof that complements the existing architecture of the home.
Verify Alignment and Squareness
Once the layout is marked, take the time to verify the alignment and squareness of the marked lines and angles. Utilize a level and framing square to ensure that the gable ends and ridge beam placement are perfectly aligned and perpendicular to the porch structure. This meticulous verification guarantees the accuracy of the layout and sets the foundation for a structurally sound and visually appealing gable porch roof.
By meticulously measuring and marking the porch area for the gable roof construction, you establish a solid groundwork for the subsequent phases of the project. With the layout accurately defined, you're ready to progress to the next step: building the gable ends of the porch roof.
Read more: How To Build Gable Roof
Step 3: Build the Gable Ends
Building the gable ends is a pivotal phase in the construction of a gable porch roof, as it forms the structural framework that defines the roof's distinctive shape and provides essential support for the entire roofing system. Here's a comprehensive guide to executing this crucial step with precision and expertise.
Frame the Gable End Walls
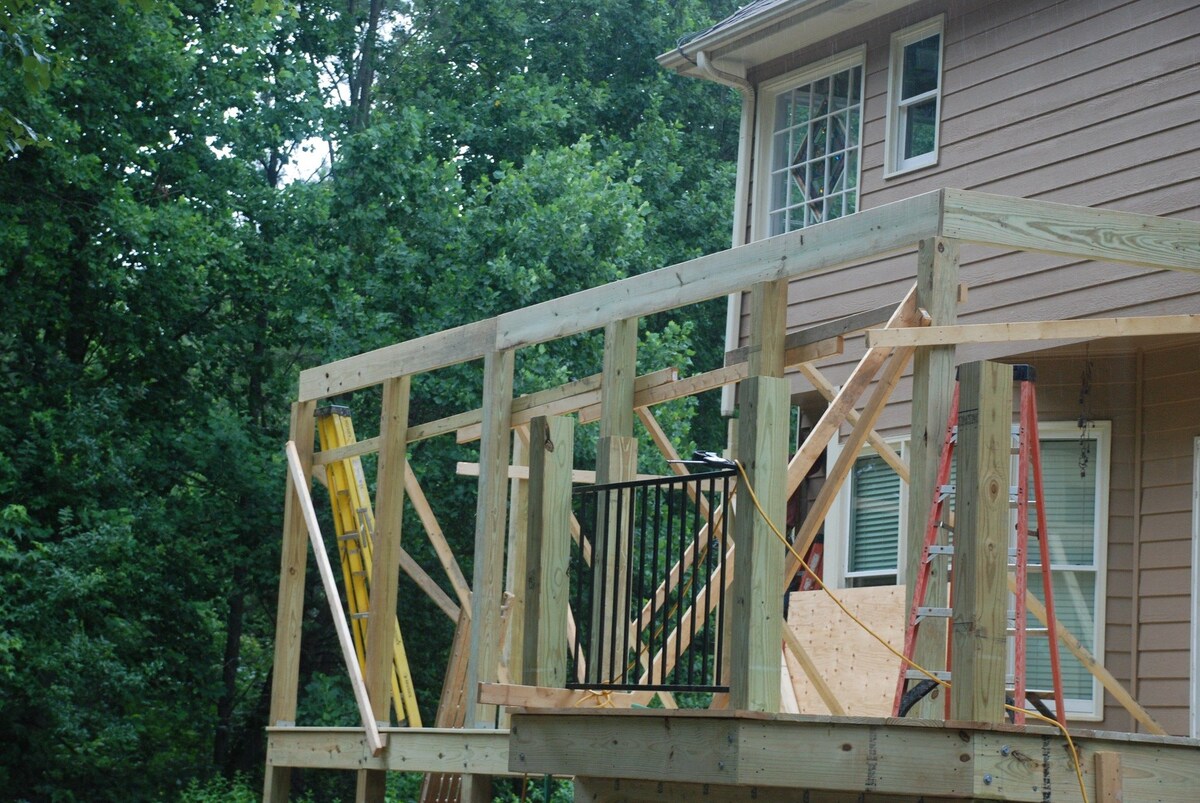
Commence the construction process by framing the gable end walls using the previously marked layout as a guide. Utilize the gathered lumber to construct the vertical studs, top and bottom plates, and diagonal bracing that form the framework of the gable ends. Ensure that the framing is securely anchored to the porch structure, providing a stable foundation for the roof's structural elements.
Incorporate Window Openings or Ventilation
If the gable porch roof design includes windows or requires ventilation openings within the gable ends, this is the opportune stage to incorporate these features into the framing. Carefully measure and cut openings for windows or install vents to facilitate airflow and natural light, enhancing the functionality and aesthetic appeal of the gable porch roof.
Install Sheathing and Weatherproofing
Once the framing is in place, proceed to install the sheathing on the gable end walls. Utilize plywood or oriented strand board (OSB) to create a solid and weather-resistant surface that fortifies the structural integrity of the gable ends. Additionally, apply a weatherproofing barrier, such as house wrap, to safeguard the interior of the porch and the newly constructed gable ends from moisture infiltration.
Read more: How To Attach A Gable Porch Roof To A House
Ensure Structural Integrity and Alignment
Throughout the construction of the gable ends, prioritize structural integrity and alignment to guarantee the stability and visual coherence of the porch roof. Utilize a level and framing square to verify that the gable end walls are plumb, square, and seamlessly integrated with the porch structure. This meticulous attention to detail ensures that the gable ends serve as a robust and harmonious foundation for the subsequent roofing components.
By meticulously executing the construction of the gable ends, you establish a solid framework that sets the stage for the seamless integration of the ridge beam, rafters, and roofing materials. With the gable ends expertly constructed, you're ready to progress to the next phase: installing the ridge beam to complete the foundational structure of the gable porch roof.
Step 4: Install the Ridge Beam
The installation of the ridge beam marks a pivotal stage in the construction of a gable porch roof, as it serves as a central load-bearing component that supports the rafters and contributes to the overall structural integrity of the roof. This critical step requires precision and attention to detail to ensure the seamless integration of the ridge beam within the gable porch roof framework.
Prepare for Installation
Before installing the ridge beam, carefully position it at the apex of the gable ends, ensuring that it aligns with the previously marked layout. The ridge beam, typically a robust horizontal timber or engineered wood beam, plays a fundamental role in distributing the weight of the roof and providing stability to the entire structure. It's essential to verify that the ridge beam is appropriately sized and capable of withstanding the anticipated loads and forces exerted on the gable porch roof.
Secure the Ridge Beam
With the ridge beam in position, secure it to the gable ends using heavy-duty fasteners, such as structural screws or through-bolts, to ensure a steadfast connection. It's imperative to adhere to local building codes and regulations regarding the installation of the ridge beam, as this component plays a critical role in the structural integrity of the gable porch roof. Additionally, utilize a level to confirm that the ridge beam is perfectly horizontal, maintaining uniformity and balance in the roof's framework.
Read more: How To Attach Gable Porch Roof To House
Reinforce with Bracing
To further fortify the ridge beam and enhance its load-bearing capacity, consider incorporating diagonal bracing or collar ties. These reinforcements serve to minimize the potential for ridge beam deflection and provide additional support to the rafters, contributing to the overall stability of the gable porch roof. By strategically placing bracing components, you bolster the structural resilience of the ridge beam, ensuring its ability to withstand external forces and environmental conditions.
Verify Alignment and Support
Throughout the installation process, meticulously verify the alignment and support of the ridge beam to guarantee its seamless integration within the gable porch roof framework. Utilize a level and measuring tools to confirm that the ridge beam maintains consistent elevation and alignment with the gable ends, laying the groundwork for the subsequent installation of rafters and roofing materials. This meticulous attention to detail ensures that the ridge beam serves as a robust and reliable centerpiece of the gable porch roof structure.
By expertly installing the ridge beam, you establish a foundational framework that sets the stage for the seamless integration of the rafters and the subsequent phases of the gable porch roof construction. With the ridge beam securely in place, you're ready to progress to the next step: installing the rafters to further shape and fortify the gable porch roof.
Step 5: Install the Rafters
With the ridge beam securely in place, the installation of the rafters marks a significant advancement in shaping the structural framework of the gable porch roof. The rafters, inclined structural members that extend from the ridge beam to the exterior walls, play a pivotal role in defining the roof's pitch and providing essential support for the roofing materials. Here's a detailed exploration of the meticulous process involved in installing the rafters with precision and expertise.
Prepare for Rafter Installation
Before commencing the installation of the rafters, it's crucial to prepare the ridge beam and the exterior walls to receive and support these integral components of the gable porch roof. Ensure that the ridge beam is structurally sound and capable of bearing the weight of the rafters. Additionally, verify that the exterior walls are adequately reinforced to accommodate the attachment and load-bearing requirements of the rafters.
Read more: How To Build A Roof For A Porch
Determine Rafter Spacing and Placement
Carefully calculate and mark the spacing for the rafters along the length of the ridge beam, considering the desired overhang and the specific load-bearing capabilities of the chosen roofing materials. Utilize precise measurements and layout tools to ensure uniform spacing and alignment, guaranteeing the structural integrity and visual uniformity of the gable porch roof. Additionally, confirm the placement of any additional structural elements, such as collar ties or braces, to further fortify the rafter framework.
Secure and Align the Rafters
With the spacing and placement determined, proceed to secure the rafters to the ridge beam and the exterior walls using appropriate fasteners, such as structural screws or nails. It's essential to maintain consistent alignment and elevation throughout the installation process, ensuring that the rafters form a cohesive and level framework that supports the intended pitch and shape of the gable porch roof. Utilize a level and measuring tools to verify the precision of the rafter placement, minimizing the potential for structural deviations and ensuring a uniform and visually appealing roof structure.
Reinforce Rafter Connections
To enhance the stability and load-bearing capacity of the rafter framework, consider reinforcing the connections between the rafters and the ridge beam, as well as the exterior walls. Utilize metal connectors, braces, or collar ties to fortify these crucial junctions, mitigating the potential for structural movement and ensuring the long-term resilience of the gable porch roof. By strategically reinforcing rafter connections, you bolster the overall stability and durability of the roof structure, providing a solid foundation for the subsequent installation of roof sheathing and roofing materials.
By meticulously installing the rafters, you establish a robust and precisely aligned framework that sets the stage for the seamless integration of the roof sheathing and the final roofing materials. With the rafters securely in place, you're ready to progress to the next phase of the gable porch roof construction, further shaping and fortifying the roof structure.
Step 6: Add Roof Sheathing
The addition of roof sheathing is a critical phase in the construction of a gable porch roof, as it provides a solid and supportive foundation for the final roofing materials while enhancing the structural integrity and weather resistance of the roof. This essential step involves the meticulous installation of plywood or oriented strand board (OSB) panels that form a durable and protective layer over the rafters, creating a stable base for the subsequent roofing components.
Read more: How To Build A Gable Roof Over A Patio
Prepare for Sheathing Installation
Before commencing the installation of roof sheathing, it's imperative to prepare the rafters and the surrounding framework to receive and support these integral components of the gable porch roof. Ensure that the rafters are uniformly aligned and securely anchored to the ridge beam and the exterior walls, providing a stable and level surface for the sheathing panels. Additionally, verify that the spacing and layout of the rafters align with the anticipated placement of the sheathing panels, facilitating a seamless and uniform installation process.
Install Sheathing Panels
Carefully position the sheathing panels over the rafters, ensuring that they align with the edges of the roof structure and provide comprehensive coverage over the entire gable porch roof. Secure the panels to the rafters using appropriate fasteners, such as roofing nails or screws, to establish a steadfast connection that withstands external forces and environmental conditions. It's crucial to adhere to local building codes and regulations regarding the installation of roof sheathing, ensuring compliance with structural and safety standards.
Verify Alignment and Stability
Throughout the installation process, meticulously verify the alignment and stability of the sheathing panels to guarantee a uniform and level surface that forms the foundation for the final roofing materials. Utilize a level and measuring tools to confirm that the sheathing panels maintain consistent elevation and alignment, minimizing the potential for structural deviations and ensuring a solid and visually appealing roof base. This meticulous attention to detail sets the stage for a seamless and resilient integration of the roofing materials, culminating in a well-constructed gable porch roof.
Enhance Weather Resistance
The addition of roof sheathing significantly enhances the weather resistance and durability of the gable porch roof, providing a protective barrier against moisture infiltration and external elements. The solid and continuous surface created by the sheathing panels serves as a reliable shield for the underlying structure, safeguarding the interior of the porch and the entire roofing system from potential water damage and environmental wear. This reinforcement contributes to the long-term resilience and functionality of the gable porch roof, ensuring its ability to withstand varying weather conditions and external pressures.
By meticulously adding roof sheathing, you establish a robust and weather-resistant foundation that sets the stage for the seamless integration of the final roofing materials. With the sheathing panels securely in place, you're ready to progress to the next phase of the gable porch roof construction, culminating in the installation of the roofing materials that will define the aesthetic and protective qualities of the completed roof.
Read more: How To Build A Gable Roof Patio Cover
Step 7: Install Roofing Materials
The installation of roofing materials marks a transformative phase in the construction of a gable porch roof, as it not only defines the aesthetic character of the roof but also provides essential protection from the elements. This crucial step involves the meticulous placement of roofing shingles or metal panels, culminating in a visually striking and weather-resistant roof that enhances the overall appeal and functionality of the porch area.
Selecting the Appropriate Roofing Materials
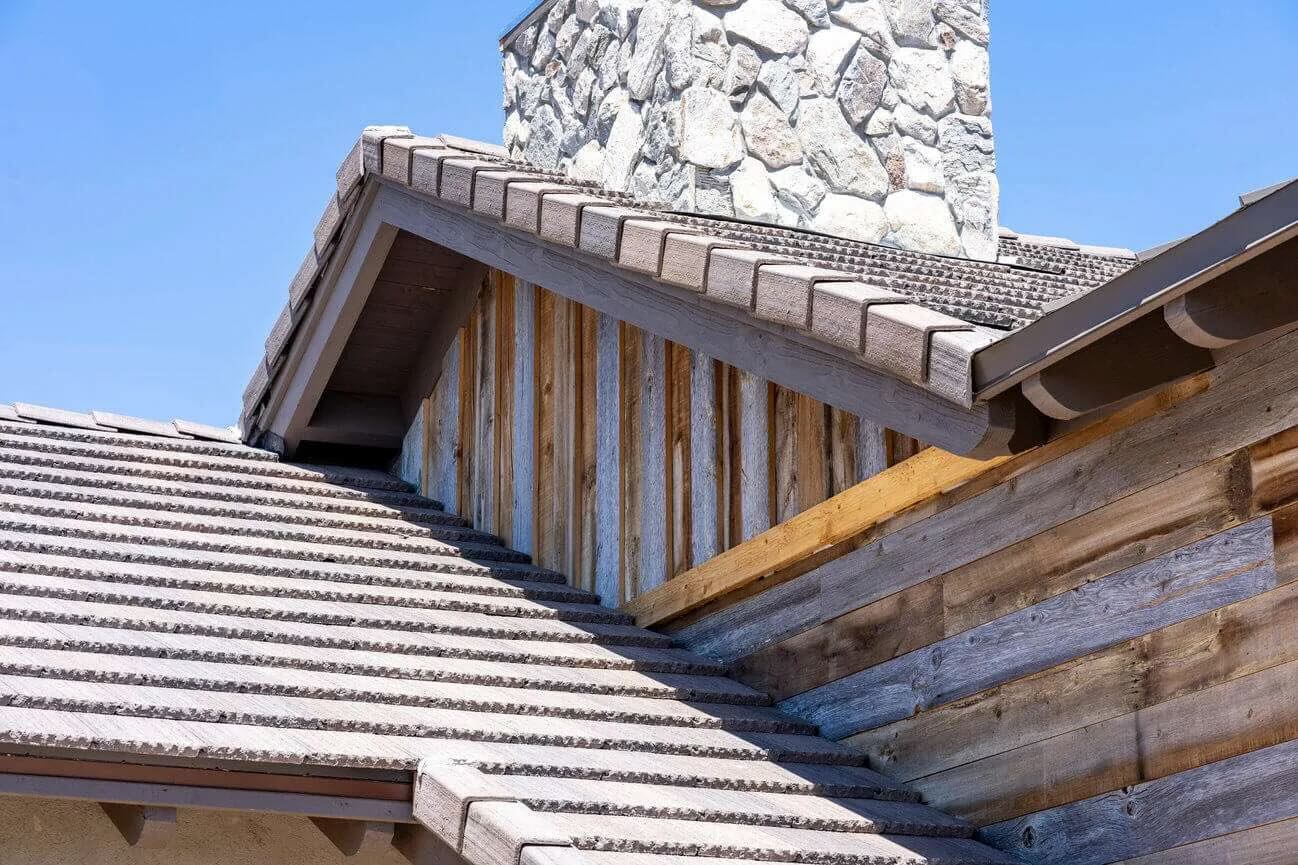
Before commencing the installation, it's imperative to select the most suitable roofing materials based on the architectural style of the home, regional weather considerations, and personal preferences. Whether opting for traditional asphalt shingles, durable metal panels, or alternative roofing options, the chosen materials should align with the desired aesthetic, structural requirements, and long-term durability of the gable porch roof. Additionally, consider the color, texture, and overall visual impact of the roofing materials to ensure a cohesive and harmonious integration with the existing architecture.
Meticulous Installation Process
Carefully position and secure the roofing materials over the prepared roof sheathing, ensuring comprehensive coverage and uniform alignment. Whether utilizing shingles or metal panels, adhere to manufacturer guidelines and best practices for the installation process, guaranteeing a steadfast and weather-resistant roof surface. Utilize appropriate fasteners and techniques to secure the roofing materials, minimizing the potential for wind uplift and ensuring long-term stability and performance.
Weatherproofing and Sealing
As the roofing materials are installed, prioritize weatherproofing and sealing to fortify the roof's protective capabilities. Utilize flashing and sealants at critical junctions, such as valleys, ridges, and penetrations, to prevent water infiltration and enhance the overall weather resistance of the gable porch roof. Additionally, ensure that the roofing materials are installed with precision and attention to detail, creating a seamless and watertight surface that safeguards the underlying structure from potential moisture damage.
Read more: How To Build A Gable End Roof Overhang
Visual and Functional Enhancement
The installation of roofing materials not only contributes to the weather resistance of the gable porch roof but also elevates its visual appeal and functional performance. The carefully selected and expertly installed roofing materials serve as a defining element of the home's exterior, enhancing its curb appeal and architectural character. Furthermore, the completed roof surface provides essential protection from rain, snow, and other environmental factors, creating a welcoming and sheltered outdoor space for leisure and entertainment.
By meticulously installing the roofing materials, you culminate the construction of the gable porch roof with a visually striking, weather-resistant, and functional structure that enhances the overall charm and utility of the home. With the roofing materials securely in place, the gable porch roof stands as a testament to meticulous craftsmanship and thoughtful design, providing enduring value and enjoyment for years to come.
Step 8: Finish with Soffit and Fascia
The final step in completing the construction of a gable porch roof involves the installation of soffit and fascia, which not only adds a polished and refined look to the roof's edges but also serves functional purposes in terms of ventilation and protection. This phase of the project requires attention to detail and precision to ensure a seamless and visually appealing finish to the gable porch roof.
Installing Soffit
The soffit, located underneath the overhanging section of the roof, plays a crucial role in providing ventilation to the attic space while concealing the rafters and providing a clean and finished appearance. Begin by carefully measuring and cutting the soffit panels to fit the dimensions of the overhang. Utilize a durable and weather-resistant material, such as vinyl or aluminum, to ensure long-term performance and minimal maintenance. Secure the soffit panels in place, allowing for adequate airflow and ventilation while maintaining a uniform and aesthetically pleasing underside to the gable porch roof.
Adding Fascia
The fascia, positioned along the roof's edge, serves as a protective and decorative element that conceals the roof's overhang and provides a smooth and visually appealing transition between the roof and the exterior walls. Install the fascia boards with precision, ensuring that they align uniformly and create a cohesive and polished edge to the gable porch roof. Opt for high-quality and weather-resistant fascia materials, such as composite or PVC, to withstand environmental exposure and maintain their pristine appearance over time. Additionally, consider incorporating drip edges to further enhance the weatherproofing and longevity of the fascia installation.
Read more: How To Build A Front Porch Roof
Enhancing Aesthetic Appeal
The installation of soffit and fascia not only contributes to the functional aspects of the gable porch roof but also significantly enhances its overall aesthetic appeal. The clean lines and uniform finish provided by the soffit and fascia create a visually striking and harmonious transition between the roof and the exterior walls, elevating the curb appeal and architectural character of the home. Furthermore, the meticulous installation of these components reflects a commitment to craftsmanship and attention to detail, culminating in a gable porch roof that exudes timeless elegance and enduring quality.
By completing the installation of soffit and fascia, you finalize the construction of the gable porch roof with a refined and visually captivating finish. The seamless integration of these components not only enhances the overall appearance of the roof but also contributes to its long-term durability and functionality. With the soffit and fascia expertly installed, the gable porch roof stands as a testament to meticulous craftsmanship and thoughtful design, providing enduring value and aesthetic appeal for years to come.
Conclusion
In conclusion, the construction of a gable porch roof is a transformative endeavor that not only enhances the aesthetic appeal of a home but also provides functional benefits such as weather protection and outdoor leisure space. Throughout the step-by-step process outlined in this comprehensive guide, meticulous attention to detail and precision craftsmanship have been emphasized to ensure the successful completion of the gable porch roof project.
From the initial stage of gathering materials and tools to the final touches of installing soffit and fascia, each phase of the construction process has presented an opportunity to elevate the charm and functionality of the home. By meticulously measuring and marking the porch area, building the gable ends, installing the ridge beam and rafters, adding roof sheathing, and culminating in the installation of roofing materials, a solid and visually striking gable porch roof has been achieved.
The integration of roofing materials not only provides essential protection from the elements but also enhances the overall visual appeal of the gable porch roof, creating a welcoming and sheltered outdoor space for leisure and entertainment. Additionally, the meticulous installation of soffit and fascia adds a polished and refined finish to the roof's edges, further elevating the curb appeal and architectural character of the home.
Ultimately, the completion of a gable porch roof represents a testament to meticulous craftsmanship, thoughtful design, and a commitment to enhancing the overall charm and utility of the home. By following the detailed instructions and tips provided in this guide, homeowners and DIY enthusiasts can embark on this exciting journey with confidence, knowing that they have the knowledge and expertise to create a stunning gable porch roof that will provide enduring value and enjoyment for years to come.
Frequently Asked Questions about How To Build A Gable Porch Roof
Was this page helpful?
At Storables.com, we guarantee accurate and reliable information. Our content, validated by Expert Board Contributors, is crafted following stringent Editorial Policies. We're committed to providing you with well-researched, expert-backed insights for all your informational needs.

0 thoughts on “How To Build A Gable Porch Roof”