Home>Renovation & DIY>Home Renovation Guides>How To Clean An Aluminum Storm Door

Home Renovation Guides
How To Clean An Aluminum Storm Door
Modified: August 24, 2024
Learn the best methods for cleaning your aluminum storm door with our comprehensive home renovation guide. Keep your door looking pristine with these expert tips.
(Many of the links in this article redirect to a specific reviewed product. Your purchase of these products through affiliate links helps to generate commission for Storables.com, at no extra cost. Learn more)
Introduction
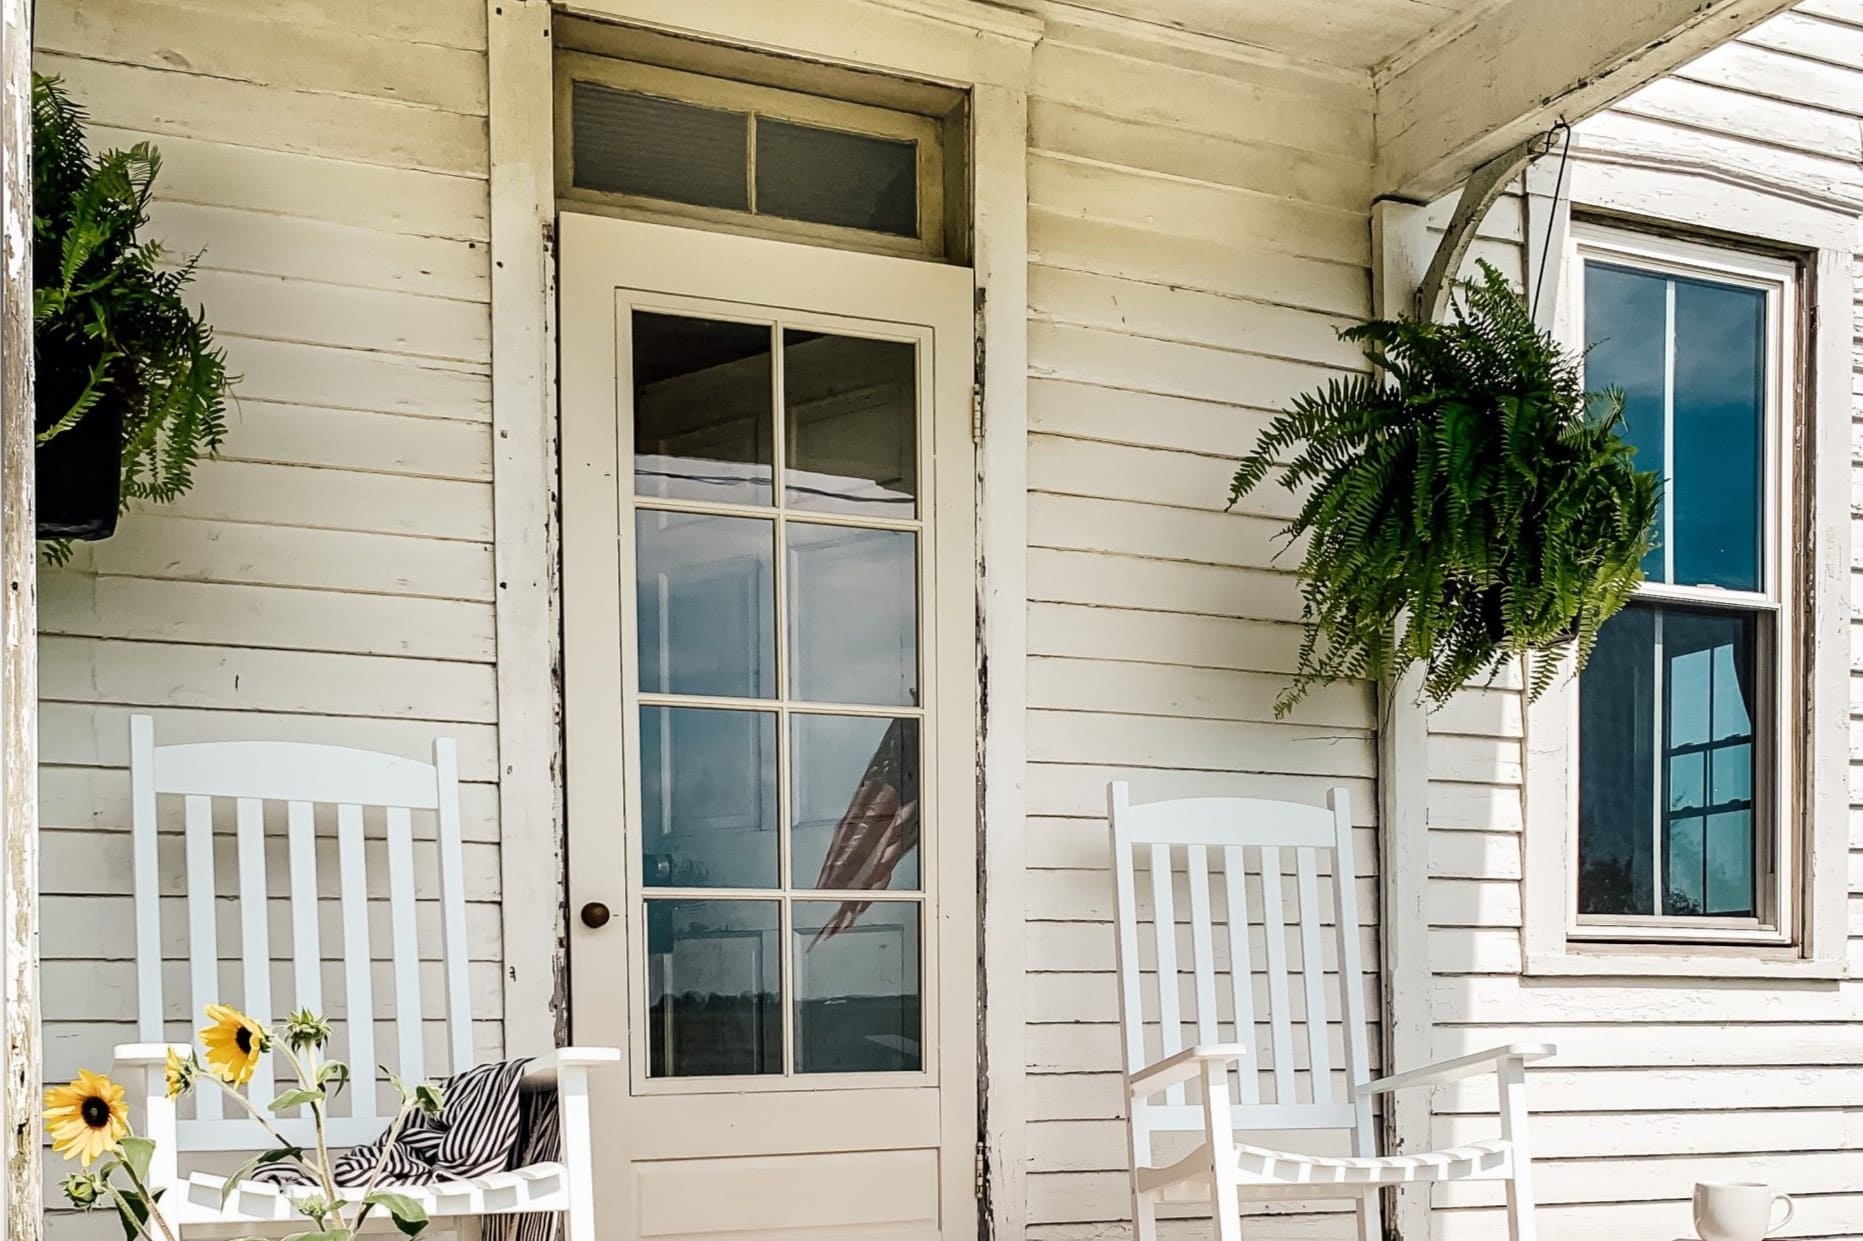
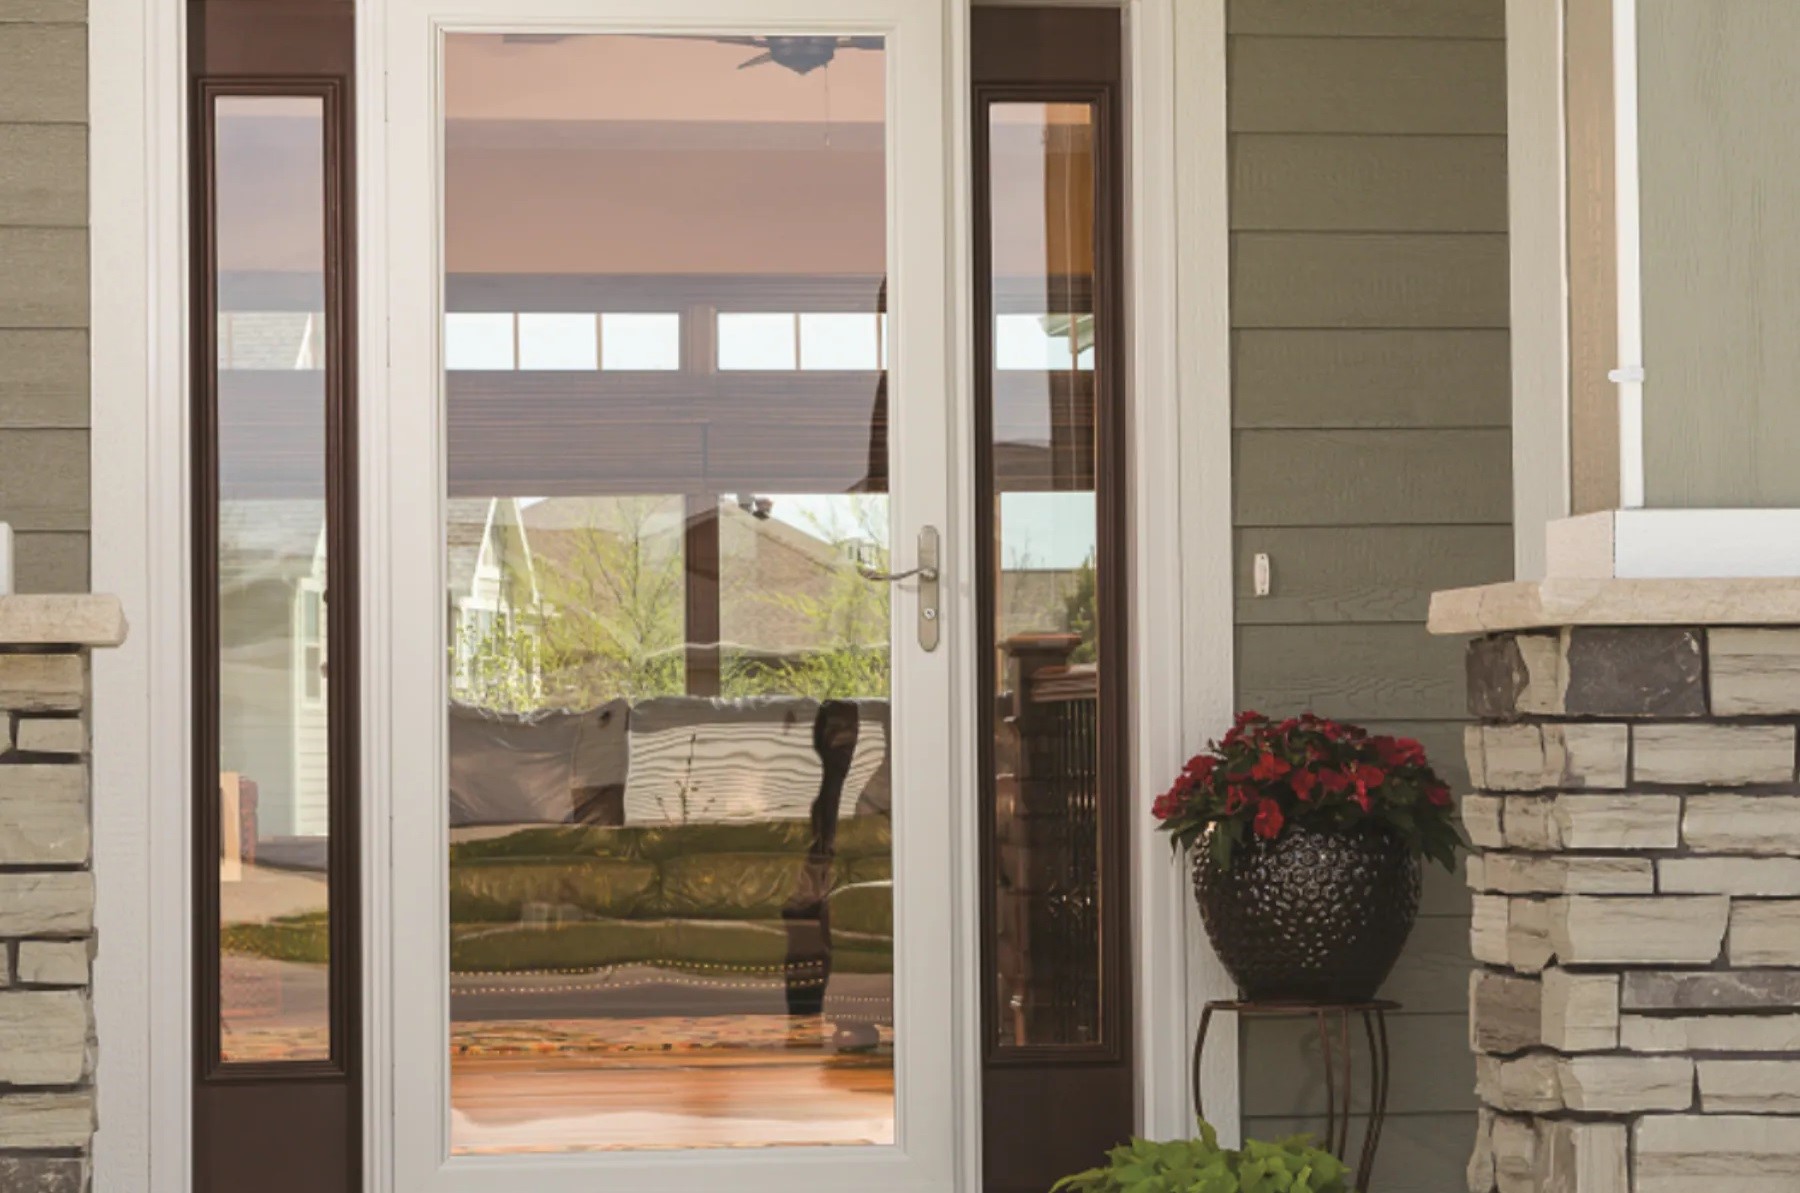
Welcome to the comprehensive guide on how to clean an aluminum storm door. Your storm door is the first line of defense against the elements and plays a crucial role in enhancing the energy efficiency and security of your home. Over time, dirt, grime, and environmental factors can take a toll on the appearance and functionality of your aluminum storm door. Regular maintenance and cleaning are essential to preserve its longevity and aesthetic appeal.
In this guide, you will discover the step-by-step process to effectively clean your aluminum storm door, restoring its shine and ensuring its durability. By following these simple yet effective techniques, you can maintain a welcoming and polished entryway while prolonging the lifespan of your storm door.
Let’s dive into the materials you’ll need to get started.
Key Takeaways:
- Keep your aluminum storm door looking great by using gentle cleaning methods with mild soap, vinegar, and baking soda. Regular maintenance and addressing damage promptly can extend its lifespan and preserve its appearance.
- To maintain the beauty of your aluminum storm door, clean the glass with a high-quality glass cleaner and consider using a squeegee for a streak-free finish. Implementing maintenance tips such as lubricating hinges and inspecting weather stripping can help uphold its cleanliness and functionality.
Read more: Installing A Storm Door
Materials Needed
Before you embark on cleaning your aluminum storm door, it’s essential to gather the necessary materials. Having the right tools and cleaning agents at your disposal will streamline the process and ensure optimal results.
- Mild dish soap or a specialized aluminum cleaner
- Bucket
- Soft sponge or microfiber cloth
- Soft-bristled brush
- Vinegar (optional for stubborn stains)
- Glass cleaner
- Squeegee or lint-free cloth for drying
- Water hose or a bucket of water for rinsing
- Protective gloves
These readily available materials will equip you to tackle dirt, grime, and stains effectively without causing damage to the aluminum surface. With the materials in hand, you’re ready to prepare the door for cleaning.
Preparing the Door
Before diving into the cleaning process, it’s important to prepare the aluminum storm door to ensure a thorough and efficient cleaning experience. Start by removing any decorative items, such as wreaths or seasonal adornments, from the door. This will provide unobstructed access to the entire surface and prevent any cleaning agents from coming into contact with delicate decorations.
Next, inspect the door for any signs of damage, such as dents, scratches, or loose components. Addressing these issues before cleaning will prevent further damage and allow you to focus on revitalizing the door’s appearance without any hindrances.
If there’s excessive dirt or debris accumulated around the door frame or hinges, use a soft-bristled brush to gently dislodge and remove it. This will prevent any loose particles from interfering with the cleaning process and ensure that the entire door, including the surrounding areas, receives attention.
Once the door is free from obstructions and any potential sources of damage have been addressed, you’re ready to proceed with cleaning the surface of the aluminum storm door.
Now that the door is prepared, let’s move on to the next step: cleaning the surface.
Cleaning the Surface
When it comes to cleaning an aluminum storm door, it’s crucial to use gentle yet effective methods to remove dirt and grime without causing damage. Begin by filling a bucket with warm water and adding a small amount of mild dish soap. This solution will serve as the primary cleaning agent for the aluminum surface.
Dip a soft sponge or microfiber cloth into the soapy water and gently wipe the entire surface of the door. Pay close attention to areas where dirt and debris tend to accumulate, such as the bottom portion of the door and around the handle. For stubborn spots, use a soft-bristled brush to loosen the grime without scratching the aluminum.
Rinse the soapy residue off the door using a water hose or a clean bucket of water. It’s important to thoroughly rinse the door to prevent any soap residue from drying on the surface, which could leave streaks or a dull finish.
If you encounter particularly stubborn stains or areas with built-up grime, a solution of water and vinegar can be used to tackle these spots. Mix equal parts of water and vinegar in a spray bottle, then apply the solution to the affected areas. Allow the solution to sit for a few minutes to loosen the grime before gently scrubbing with a soft brush or cloth.
By using these gentle cleaning methods, you can effectively remove dirt and grime from the aluminum surface without compromising its integrity. Once the surface is clean, the next step is to address any lingering stains and dirt that may require additional attention.
Now that the surface is clean, let’s move on to the next step: removing stains and dirt.
Removing Stains and Dirt
Despite regular cleaning, aluminum storm doors can occasionally develop stubborn stains or areas of embedded dirt that require targeted treatment. To address these issues, you can employ specific techniques to restore the door’s pristine appearance.
If you encounter mineral deposits or tough stains on the aluminum surface, a paste made from baking soda and water can serve as a gentle yet effective abrasive cleaner. Apply the paste to the affected areas and gently rub it in using a soft cloth or sponge. The mild abrasive action of the baking soda can help lift stubborn stains without scratching the aluminum.
For particularly challenging stains, a commercial aluminum cleaner formulated to remove oxidation and discoloration can be utilized. Follow the manufacturer’s instructions for application and ensure that the cleaner is suitable for use on aluminum surfaces. After applying the cleaner, thoroughly rinse the door to remove any residue and prevent potential damage.
In the event of rust spots on the aluminum door, a solution of equal parts water and white vinegar can be applied to the affected areas. Allow the solution to sit for a few minutes to help dissolve the rust before gently scrubbing the area with a soft-bristled brush or cloth. Rinse the door thoroughly after treating the rust spots to prevent any lingering vinegar residue.
By targeting specific stains and dirt with appropriate cleaning methods, you can effectively restore the aluminum storm door to its original luster. Once any stubborn stains have been addressed, the next step is to focus on cleaning the glass components of the door.
Now that we’ve covered removing stains and dirt, let’s move on to the next step: cleaning the glass.
Use a mixture of mild soap and water to clean the aluminum storm door. Gently scrub with a soft brush or cloth, then rinse with clean water. Avoid using abrasive cleaners or tools that could scratch the surface.
Read more: How To Seal A Storm Door
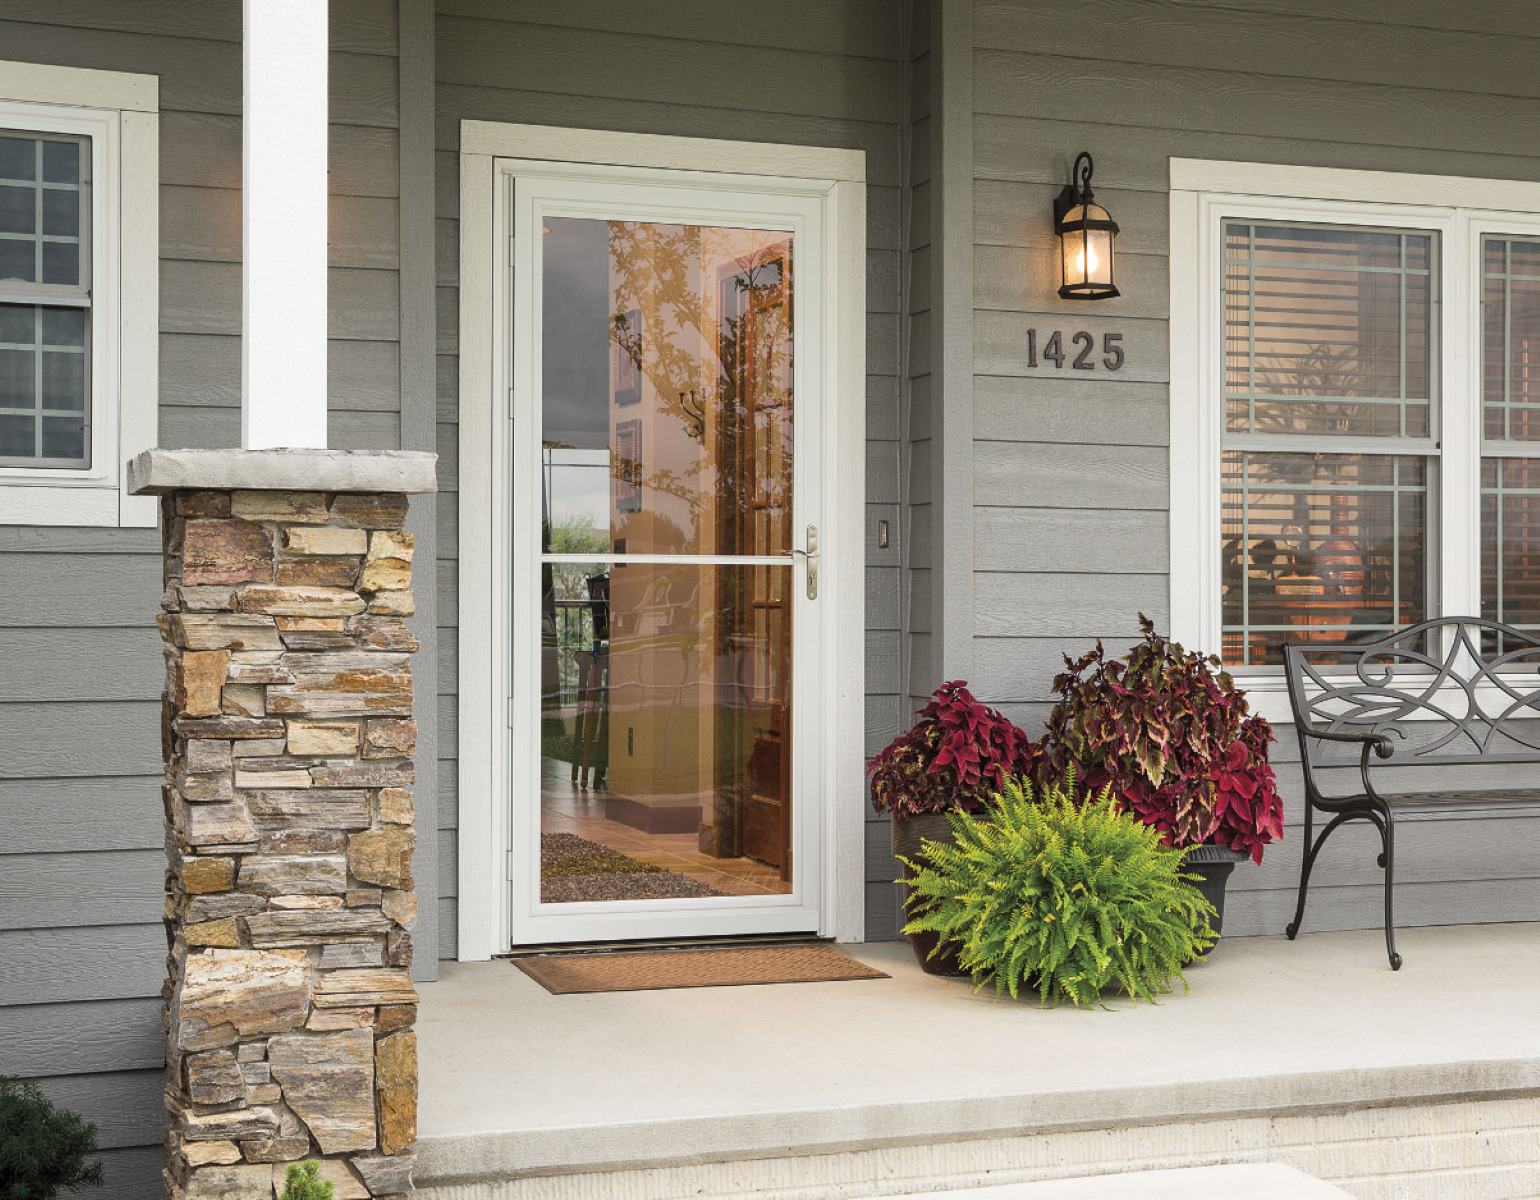
Cleaning the Glass
The glass components of an aluminum storm door play a significant role in enhancing the aesthetic appeal and visibility of the entryway. To maintain a clear and sparkling appearance, it’s essential to clean the glass regularly using the appropriate techniques and materials.
Start by selecting a high-quality glass cleaner that is suitable for use on both interior and exterior surfaces. Spray the cleaner evenly across the glass panels, ensuring complete coverage. Using a lint-free cloth or paper towels, wipe the glass in a circular motion to remove dirt, fingerprints, and smudges. Pay attention to the edges and corners of the glass to achieve a thorough clean.
If the glass exhibits stubborn spots or residue, a solution of equal parts water and vinegar can be used as a natural and effective alternative to commercial glass cleaners. Apply the solution to the affected areas and gently scrub with a soft cloth or sponge. The mild acidic properties of vinegar help dissolve tough residue while leaving the glass surface crystal clear.
For exterior glass panels that may have accumulated dirt, pollen, or other environmental debris, consider using a squeegee to achieve a streak-free finish. Starting from the top of the glass, pull the squeegee in a smooth, vertical motion, overlapping each stroke slightly. Wipe the blade of the squeegee with a clean cloth after each pass to prevent streaking.
After cleaning the glass panels, take a moment to inspect the surrounding frame and tracks for any dirt or debris that may have accumulated. Use a soft brush or cloth to remove any particles, ensuring that the entire glass component of the door is clean and free from obstructions.
With the glass components sparkling and free from dirt and residue, the final steps involve drying and polishing the surfaces to achieve a pristine finish.
Now that we’ve covered cleaning the glass, let’s move on to the next step: drying and polishing.
Drying and Polishing
Once the aluminum storm door and its glass components have been thoroughly cleaned, it’s essential to ensure that they are dried and polished to achieve a pristine and streak-free finish. Proper drying and polishing techniques will not only enhance the appearance of the door but also prevent water spots and streaking.
If you’ve used a water hose to rinse the door during the cleaning process, allow the excess water to drain off before proceeding with drying. Using a lint-free cloth or squeegee, carefully remove any remaining water from the aluminum surface and glass panels. Start from the top of the door and work your way down, ensuring that all surfaces are completely dry.
To prevent water spots on the glass, use a dry, lint-free cloth to gently polish the glass panels. Circular motions can help ensure that any remaining moisture or streaks are removed, leaving the glass clear and gleaming. Pay particular attention to the edges and corners to achieve a uniform finish.
If you’re working on a sunny day, it’s best to conduct the cleaning and drying process when the door is not in direct sunlight. This can help prevent the rapid evaporation of cleaning agents and water, which can lead to streaking and water spots on the aluminum and glass surfaces.
For an added touch of brilliance, consider using a specialized aluminum polish to restore the luster of the door’s surface. Apply a small amount of polish to a soft cloth and gently buff the aluminum in circular motions. This can help remove any remaining dullness or water spots, leaving the door with a radiant shine.
By employing proper drying and polishing techniques, you can ensure that your aluminum storm door maintains its visual appeal and remains free from streaks or water spots. Once the door has been dried and polished, it’s important to implement regular maintenance practices to preserve its cleanliness and condition.
Now that we’ve covered drying and polishing, let’s move on to the next step: maintenance tips.
Maintenance Tips
After investing time and effort into cleaning your aluminum storm door, it’s important to implement maintenance practices that will help preserve its cleanliness and appearance in the long term. By incorporating these simple yet effective tips into your routine, you can extend the lifespan of your door and minimize the need for intensive cleaning sessions.
- Regular Cleaning: Schedule routine cleaning sessions for your aluminum storm door to prevent the accumulation of dirt and grime. A gentle cleaning with mild soap and water every few months can help maintain its appearance and prevent the need for more rigorous cleaning in the future.
- Inspect and Address Damage: Periodically inspect the door for any signs of damage, such as scratches, dents, or loose components. Addressing these issues promptly can prevent further deterioration and maintain the door’s structural integrity.
- Lubricate Hinges and Tracks: Apply a small amount of silicone-based lubricant to the hinges and tracks of the door to ensure smooth operation. This can prevent squeaking and friction that may lead to premature wear and tear.
- Protective Coating: Consider applying a protective coating or wax specifically designed for aluminum surfaces. This can provide an additional layer of protection against environmental elements and make cleaning easier in the future.
- Trim Surrounding Vegetation: If there are plants or bushes near the door, ensure that they are trimmed to prevent contact with the aluminum surface. This can minimize the transfer of dirt, pollen, and sap onto the door.
- Monitor and Clean Weather Stripping: Check the condition of the weather stripping around the door and clean it regularly to prevent the buildup of dirt and debris. Well-maintained weather stripping can enhance energy efficiency and prevent drafts.
By integrating these maintenance tips into your home care routine, you can uphold the cleanliness and condition of your aluminum storm door, ensuring that it remains an attractive and functional feature of your home for years to come.
With these maintenance tips in mind, you are well-equipped to preserve the beauty and functionality of your aluminum storm door. Let’s conclude our guide with a brief summary.
Conclusion
Cleaning an aluminum storm door is a vital aspect of home maintenance, contributing to the overall appeal and functionality of your entryway. By following the step-by-step process outlined in this guide, you can effectively revitalize your door, ensuring that it remains a welcoming and polished feature of your home.
From preparing the door and cleaning the surface to addressing stubborn stains, cleaning the glass, and implementing proper drying and polishing techniques, each step plays a crucial role in restoring the door’s luster and cleanliness. Additionally, the maintenance tips provided offer valuable insights into preserving the door’s appearance and structural integrity over time.
Regular cleaning and proactive maintenance are key to prolonging the lifespan of your aluminum storm door, minimizing the need for extensive cleaning and repairs. By incorporating these practices into your home care routine, you can enjoy a well-maintained and visually appealing entryway for years to come.
We hope this guide has equipped you with the knowledge and techniques necessary to clean and maintain your aluminum storm door effectively. With a sparkling and well-maintained door, you can create a positive first impression for visitors and enhance the overall curb appeal of your home.
Thank you for joining us on this journey to discover the art of cleaning and maintaining an aluminum storm door. May your entryway continue to exude warmth and charm, reflecting the pride you take in caring for your home.
Frequently Asked Questions about How To Clean An Aluminum Storm Door
Was this page helpful?
At Storables.com, we guarantee accurate and reliable information. Our content, validated by Expert Board Contributors, is crafted following stringent Editorial Policies. We're committed to providing you with well-researched, expert-backed insights for all your informational needs.


0 thoughts on “How To Clean An Aluminum Storm Door”