Home>Renovation & DIY>Home Renovation Guides>How To Build A Storm Door
Home Renovation Guides
How To Build A Storm Door
Modified: September 1, 2024
Discover expert tips for building a storm door in our comprehensive home renovation guide. Transform your home with our step-by-step instructions.
(Many of the links in this article redirect to a specific reviewed product. Your purchase of these products through affiliate links helps to generate commission for Storables.com, at no extra cost. Learn more)
Introduction
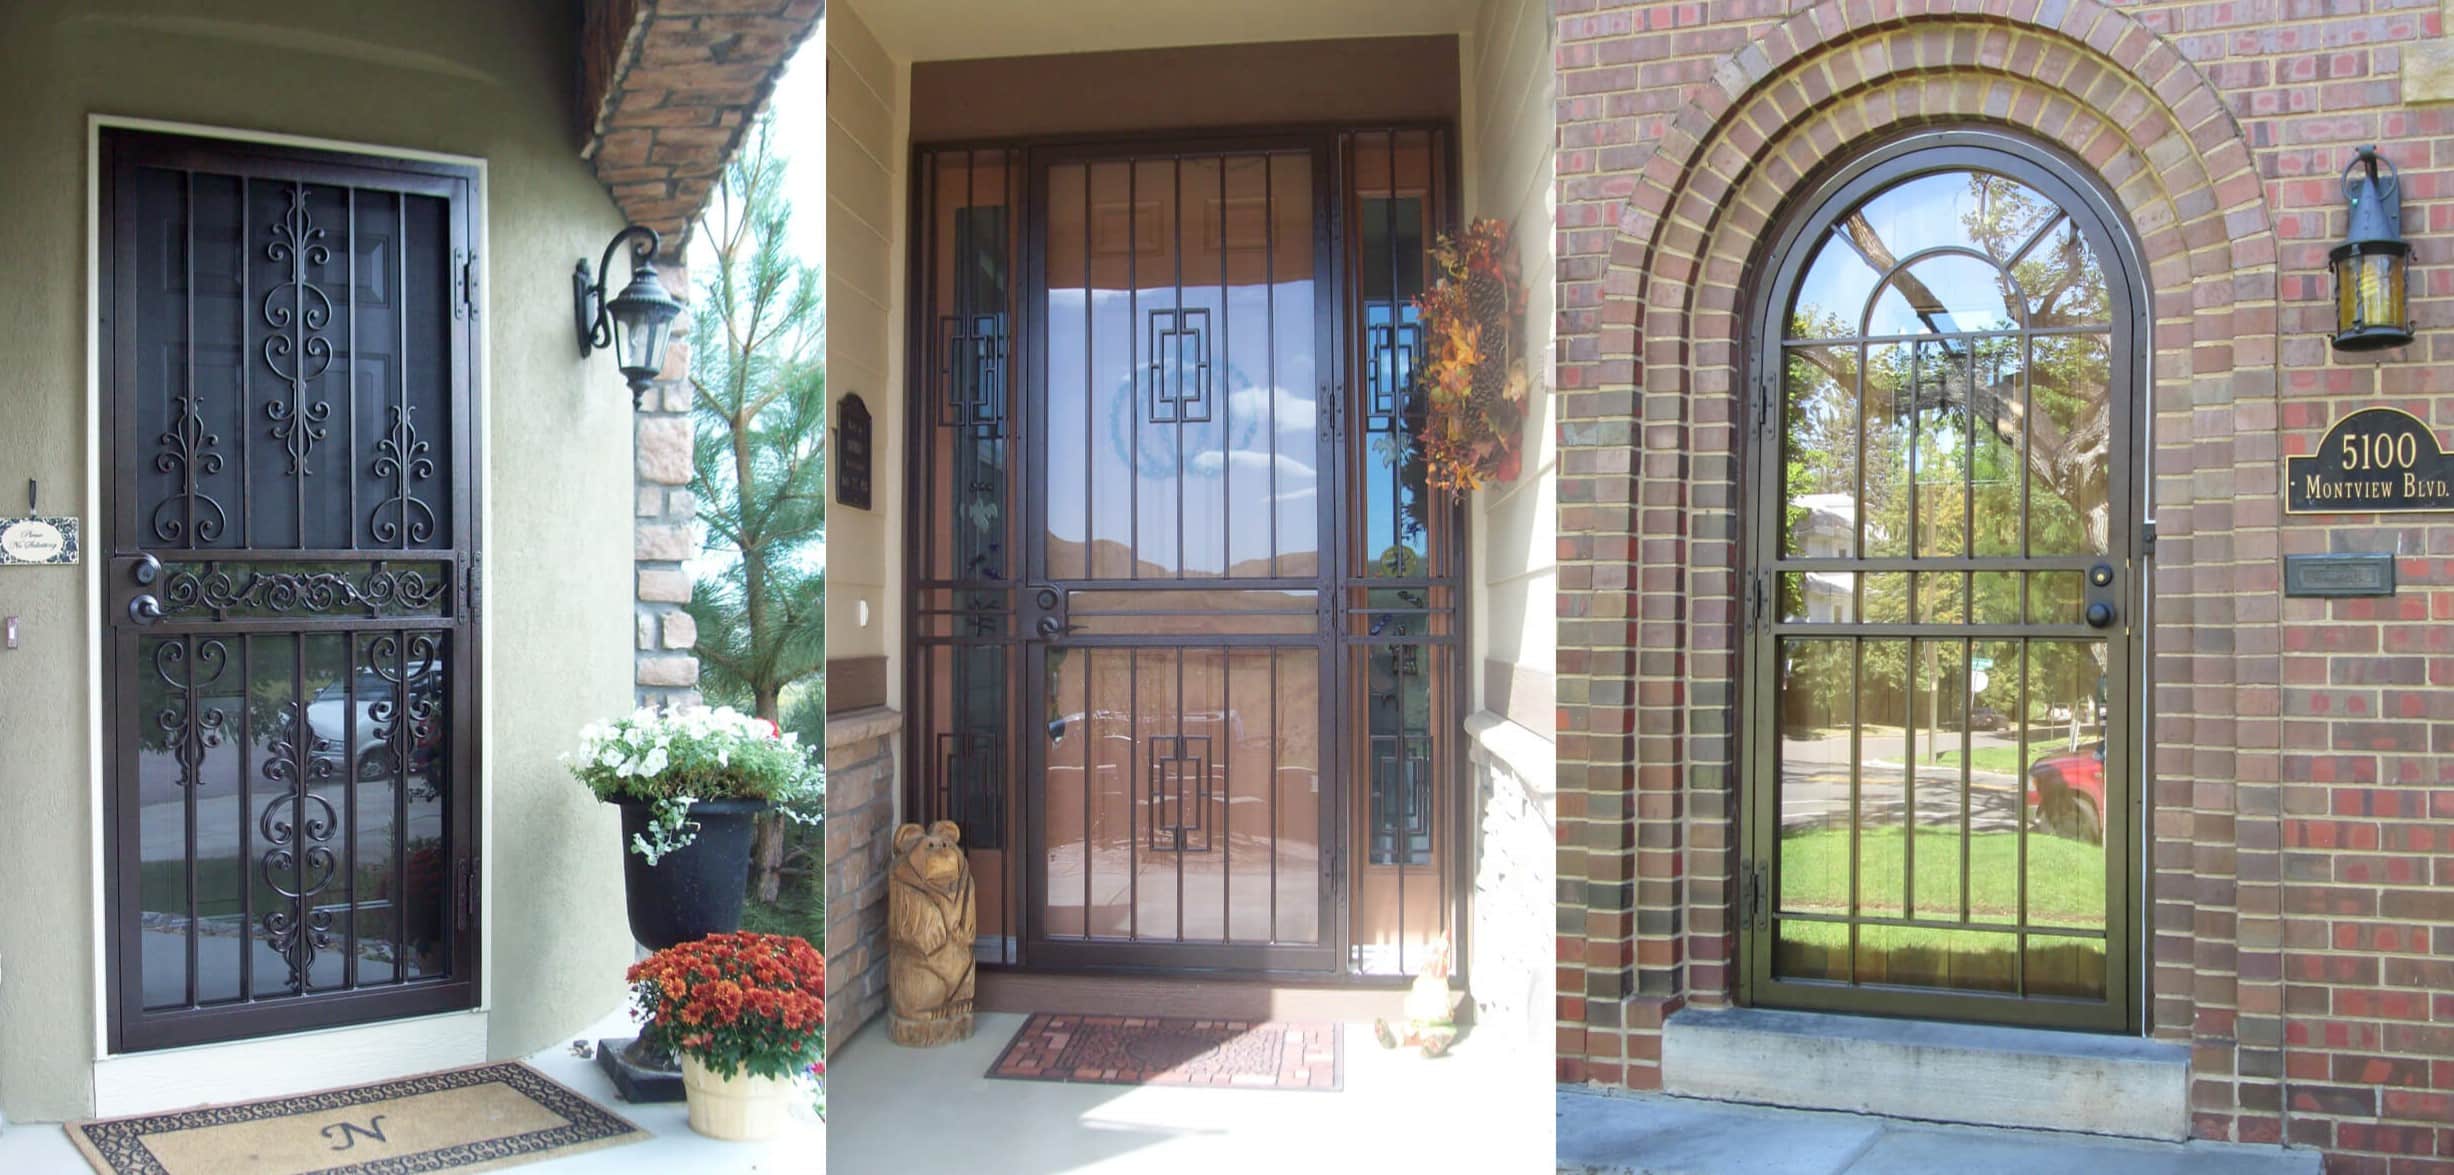
So, you’ve decided to enhance your home by adding a storm door. Congratulations on taking this step to improve your living space! A storm door not only provides an additional layer of protection against the elements but also adds aesthetic appeal to your home. Whether you’re a seasoned DIY enthusiast or a novice looking to tackle your first home improvement project, building a storm door can be a rewarding and practical endeavor.
In this comprehensive guide, we’ll walk through the step-by-step process of building and installing a storm door. From gathering the necessary materials and tools to measuring, cutting, and assembling the door, we’ll cover each stage in detail. By the end of this guide, you’ll have the knowledge and confidence to create a sturdy and attractive storm door that complements your home’s architecture.
Let’s embark on this journey of craftsmanship and creativity as we delve into the art of constructing a custom storm door for your cherished abode.
Key Takeaways:
- Building a storm door is a rewarding DIY project that enhances home protection and curb appeal. From measuring and cutting wood to adding panels and hardware, each step contributes to a custom, durable, and visually appealing door.
- By meticulously following the step-by-step guide, you can create a personalized storm door that reflects your creativity and craftsmanship. Embrace the satisfaction of completing a significant home improvement project and let it inspire future DIY endeavors.
Read more: How To Paint A Storm Door
Materials and Tools Needed
Before diving into the construction process, it’s essential to gather all the required materials and tools. Here’s a comprehensive list to ensure you’re well-prepared for this project:
Materials:
- Wood: Select high-quality lumber for the door frame and panels. The type of wood can vary based on your preference, but popular choices include cedar, pine, and fir.
- Screen or Glass Panels: Depending on your climate and preferences, you can choose between screen panels for ventilation or glass panels for insulation.
- Wood Screws: Invest in durable wood screws to secure the components firmly.
- Wood Glue: Opt for weather-resistant wood glue to reinforce the joints and enhance the door’s durability.
- Paint or Stain: Choose a weather-resistant paint or stain to protect the wood from the elements and complement your home’s exterior color scheme.
- Weather Stripping: This essential component helps seal the door against drafts and moisture, contributing to energy efficiency.
- Hinges and Handle: Select sturdy hinges and a reliable handle to facilitate smooth operation and secure closure.
- Screen or Glass Retainer Strips: These strips hold the screen or glass panels securely in place within the door frame.
- Sandpaper: Ensure a smooth finish by having various grits of sandpaper for sanding the wood surfaces.
- Primer: If you opt to paint the door, a high-quality primer will help the paint adhere effectively.
- Wood Filler: This comes in handy for filling any gaps or imperfections in the wood before painting or staining.
Tools:
- Tape Measure: Accurate measurements are crucial for a precise fit, so a reliable tape measure is indispensable.
- Saw: Depending on your preference and the materials used, you may require a circular saw, miter saw, or hand saw for cutting the wood to size.
- Drill and Bits: A power drill with a set of drill bits is essential for creating pilot holes and driving screws into the wood.
- Screwdriver: Both Phillips and flathead screwdrivers will be needed for assembling the door components.
- Sandpaper and Sanding Block: These tools are essential for smoothing the wood surfaces and edges before finishing.
- Paintbrushes or Sprayer: Depending on your chosen finish, you’ll need brushes or a sprayer for applying paint or stain.
- Safety Gear: Always prioritize safety by wearing protective eyewear, gloves, and a dust mask when working with wood and power tools.
With these materials and tools at your disposal, you’re well-equipped to embark on the fulfilling journey of building your very own storm door.
Measuring and Cutting
Precision is paramount when it comes to crafting a custom storm door that fits seamlessly into your home’s entryway. The initial stages of measuring and cutting lay the foundation for a well-constructed and visually appealing door. Here’s a detailed overview of the essential steps involved in this crucial phase:
Read more: Installing A Storm Door
1. Measure the Entryway:
Before you begin cutting any materials, take accurate measurements of the entryway where the storm door will be installed. Measure the width and height of the opening, ensuring that your door frame will align perfectly with these dimensions. It’s advisable to measure in multiple locations to account for any irregularities in the opening.
2. Determine the Frame Dimensions:
Based on your measurements, determine the dimensions for the door frame. Typically, the frame should be constructed to fit snugly within the entryway, allowing for smooth operation and a secure fit. Take into account the thickness of the wood when calculating the final dimensions of the frame.
3. Select and Cut the Wood:
Once the frame dimensions are established, select the appropriate wood for the frame and panels. Use a saw to carefully cut the wood according to the precise measurements. Whether you’re working with a miter saw, circular saw, or hand saw, ensure that the cuts are straight and accurate to maintain the integrity of the frame components.
4. Cut Panel Openings:
If your storm door design includes panels for ventilation or glass inserts, carefully measure and cut out the openings in the frame to accommodate these features. Take your time to ensure that the panel openings are symmetrical and aligned with the frame, allowing for easy installation of the panels later in the process.
Read more: How To Unlock A Storm Door
5. Sand the Edges:
After cutting the wood, use sandpaper to smooth the edges of the frame components. This step is crucial for achieving a professional finish and ensuring that the frame pieces fit together seamlessly during assembly.
By meticulously measuring and cutting the wood for your storm door, you’re laying the groundwork for a successful construction process. Attention to detail at this stage will pay dividends as you progress to the assembly phase, resulting in a beautifully crafted door that enhances your home’s exterior.
Building the Frame
With the wood cut to precise measurements, it’s time to embark on the assembly of the frame, a pivotal stage in the creation of your custom storm door. Building a sturdy and well-constructed frame is essential for the door’s structural integrity and longevity. Here’s a detailed guide to help you navigate this crucial phase:
1. Lay Out the Components:
Begin by laying out the cut wood components for the frame in the designated work area. Ensure that all pieces are organized and easily accessible, allowing for a smooth assembly process.
2. Assemble the Frame Sections:
Using wood glue and wood screws, carefully join the frame sections together according to the predetermined dimensions. Employ clamps to hold the components in place during assembly, facilitating precise alignment and a secure bond.
Read more: How To Shim A Storm Door
3. Reinforce the Joints:
To enhance the frame’s strength and stability, consider reinforcing the joints with corner brackets or additional screws. This step contributes to the overall durability of the frame, ensuring that it can withstand the rigors of daily use and varying weather conditions.
4. Install Cross Braces (if applicable):
Depending on the design and size of your storm door, you may need to install cross braces within the frame to provide additional support and prevent warping. Carefully measure and cut the braces to fit snugly within the frame, securing them in place with wood screws.
5. Apply Wood Filler (if necessary):
Inspect the frame for any gaps or imperfections, and use wood filler to fill in these areas. Once the filler is dry, sand the frame to achieve a smooth and seamless surface, preparing it for the finishing touches.
6. Prime the Frame (optional):
If you plan to paint your storm door, applying a coat of primer to the frame is recommended. This not only enhances the adhesion of the paint but also provides an additional layer of protection for the wood against moisture and environmental elements.
Read more: How To Seal A Storm Door
7. Sand and Finish:
Before proceeding to the installation of the panels, take the time to sand the frame and ensure that all surfaces are smooth and free from any rough edges. This meticulous preparation sets the stage for a flawless finish application, whether you opt for paint or stain.
By meticulously assembling the frame with attention to detail and precision, you’re one step closer to bringing your custom storm door to life. The solid foundation provided by a well-constructed frame sets the stage for the next phase of adding the panels and hardware, culminating in the installation of your bespoke storm door.
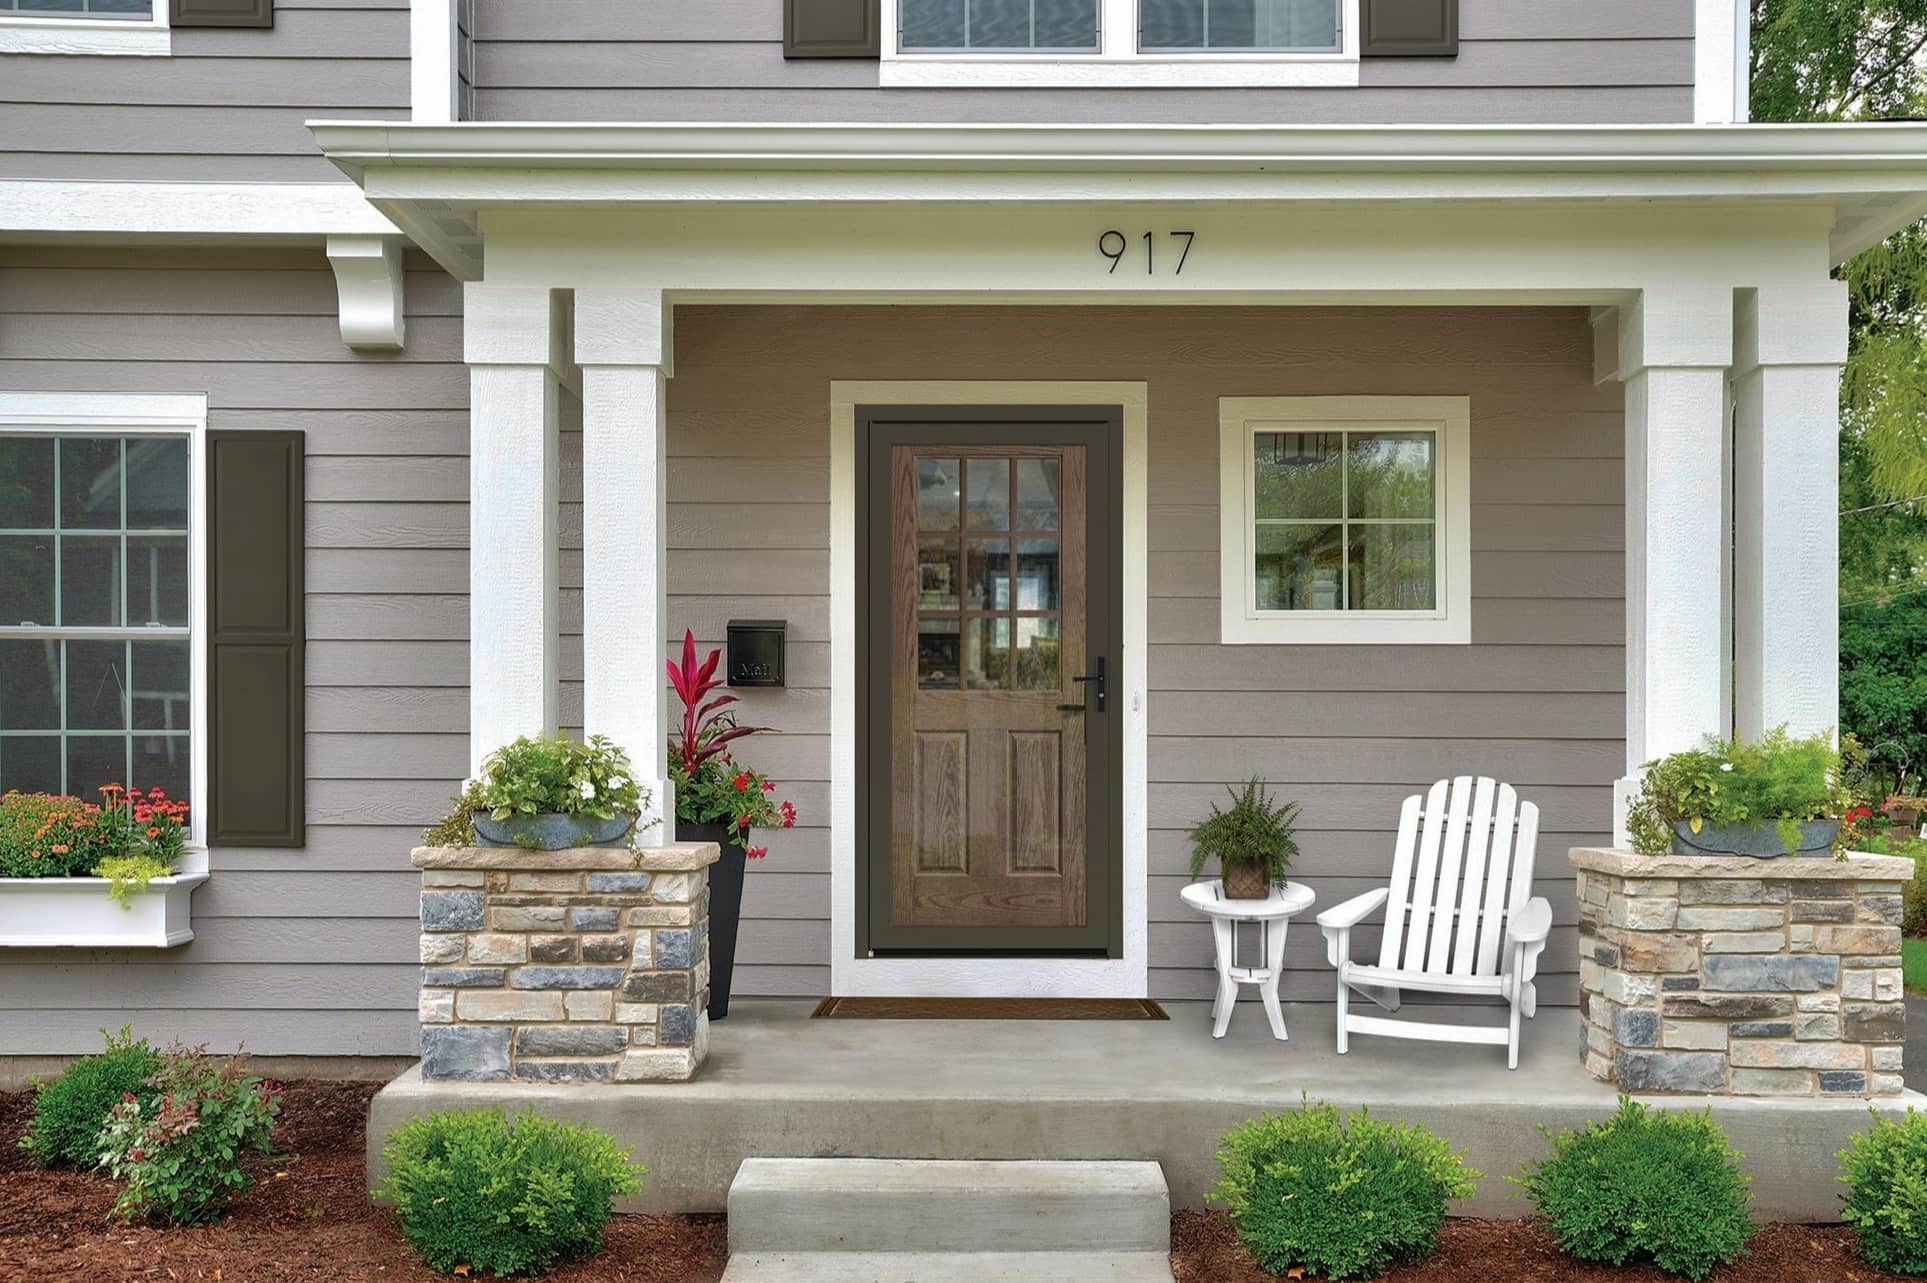
Adding the Panels
With the frame meticulously assembled and prepared, the next phase of crafting your custom storm door involves adding the panels. Whether you opt for screen panels to invite a gentle breeze or glass panels for insulation and visibility, this step plays a pivotal role in both the functionality and aesthetic appeal of the door. Here’s a comprehensive guide to adding the panels to your storm door:
1. Prepare the Panel Openings:
If the frame includes designated openings for panels, ensure that these areas are clean, free of debris, and perfectly aligned with the frame. Any irregularities in the openings can affect the seamless installation of the panels.
2. Install Retainer Strips:
For both screen and glass panels, install retainer strips around the perimeter of the panel openings. These strips hold the panels securely in place within the frame, preventing any movement or rattling during use.
Read more: How To Insulate A Storm Door
3. Insert Screen Panels:
If you’ve opted for screen panels, carefully insert them into the designated openings within the frame. Ensure that the screen material is taut and free from wrinkles, providing a clear and unobstructed view when the door is closed.
4. Secure Glass Panels:
For those choosing glass panels, carefully place the glass inserts into the openings, ensuring a precise fit. Use caution to avoid damaging the glass during this process, and verify that the panels are seated securely within the frame.
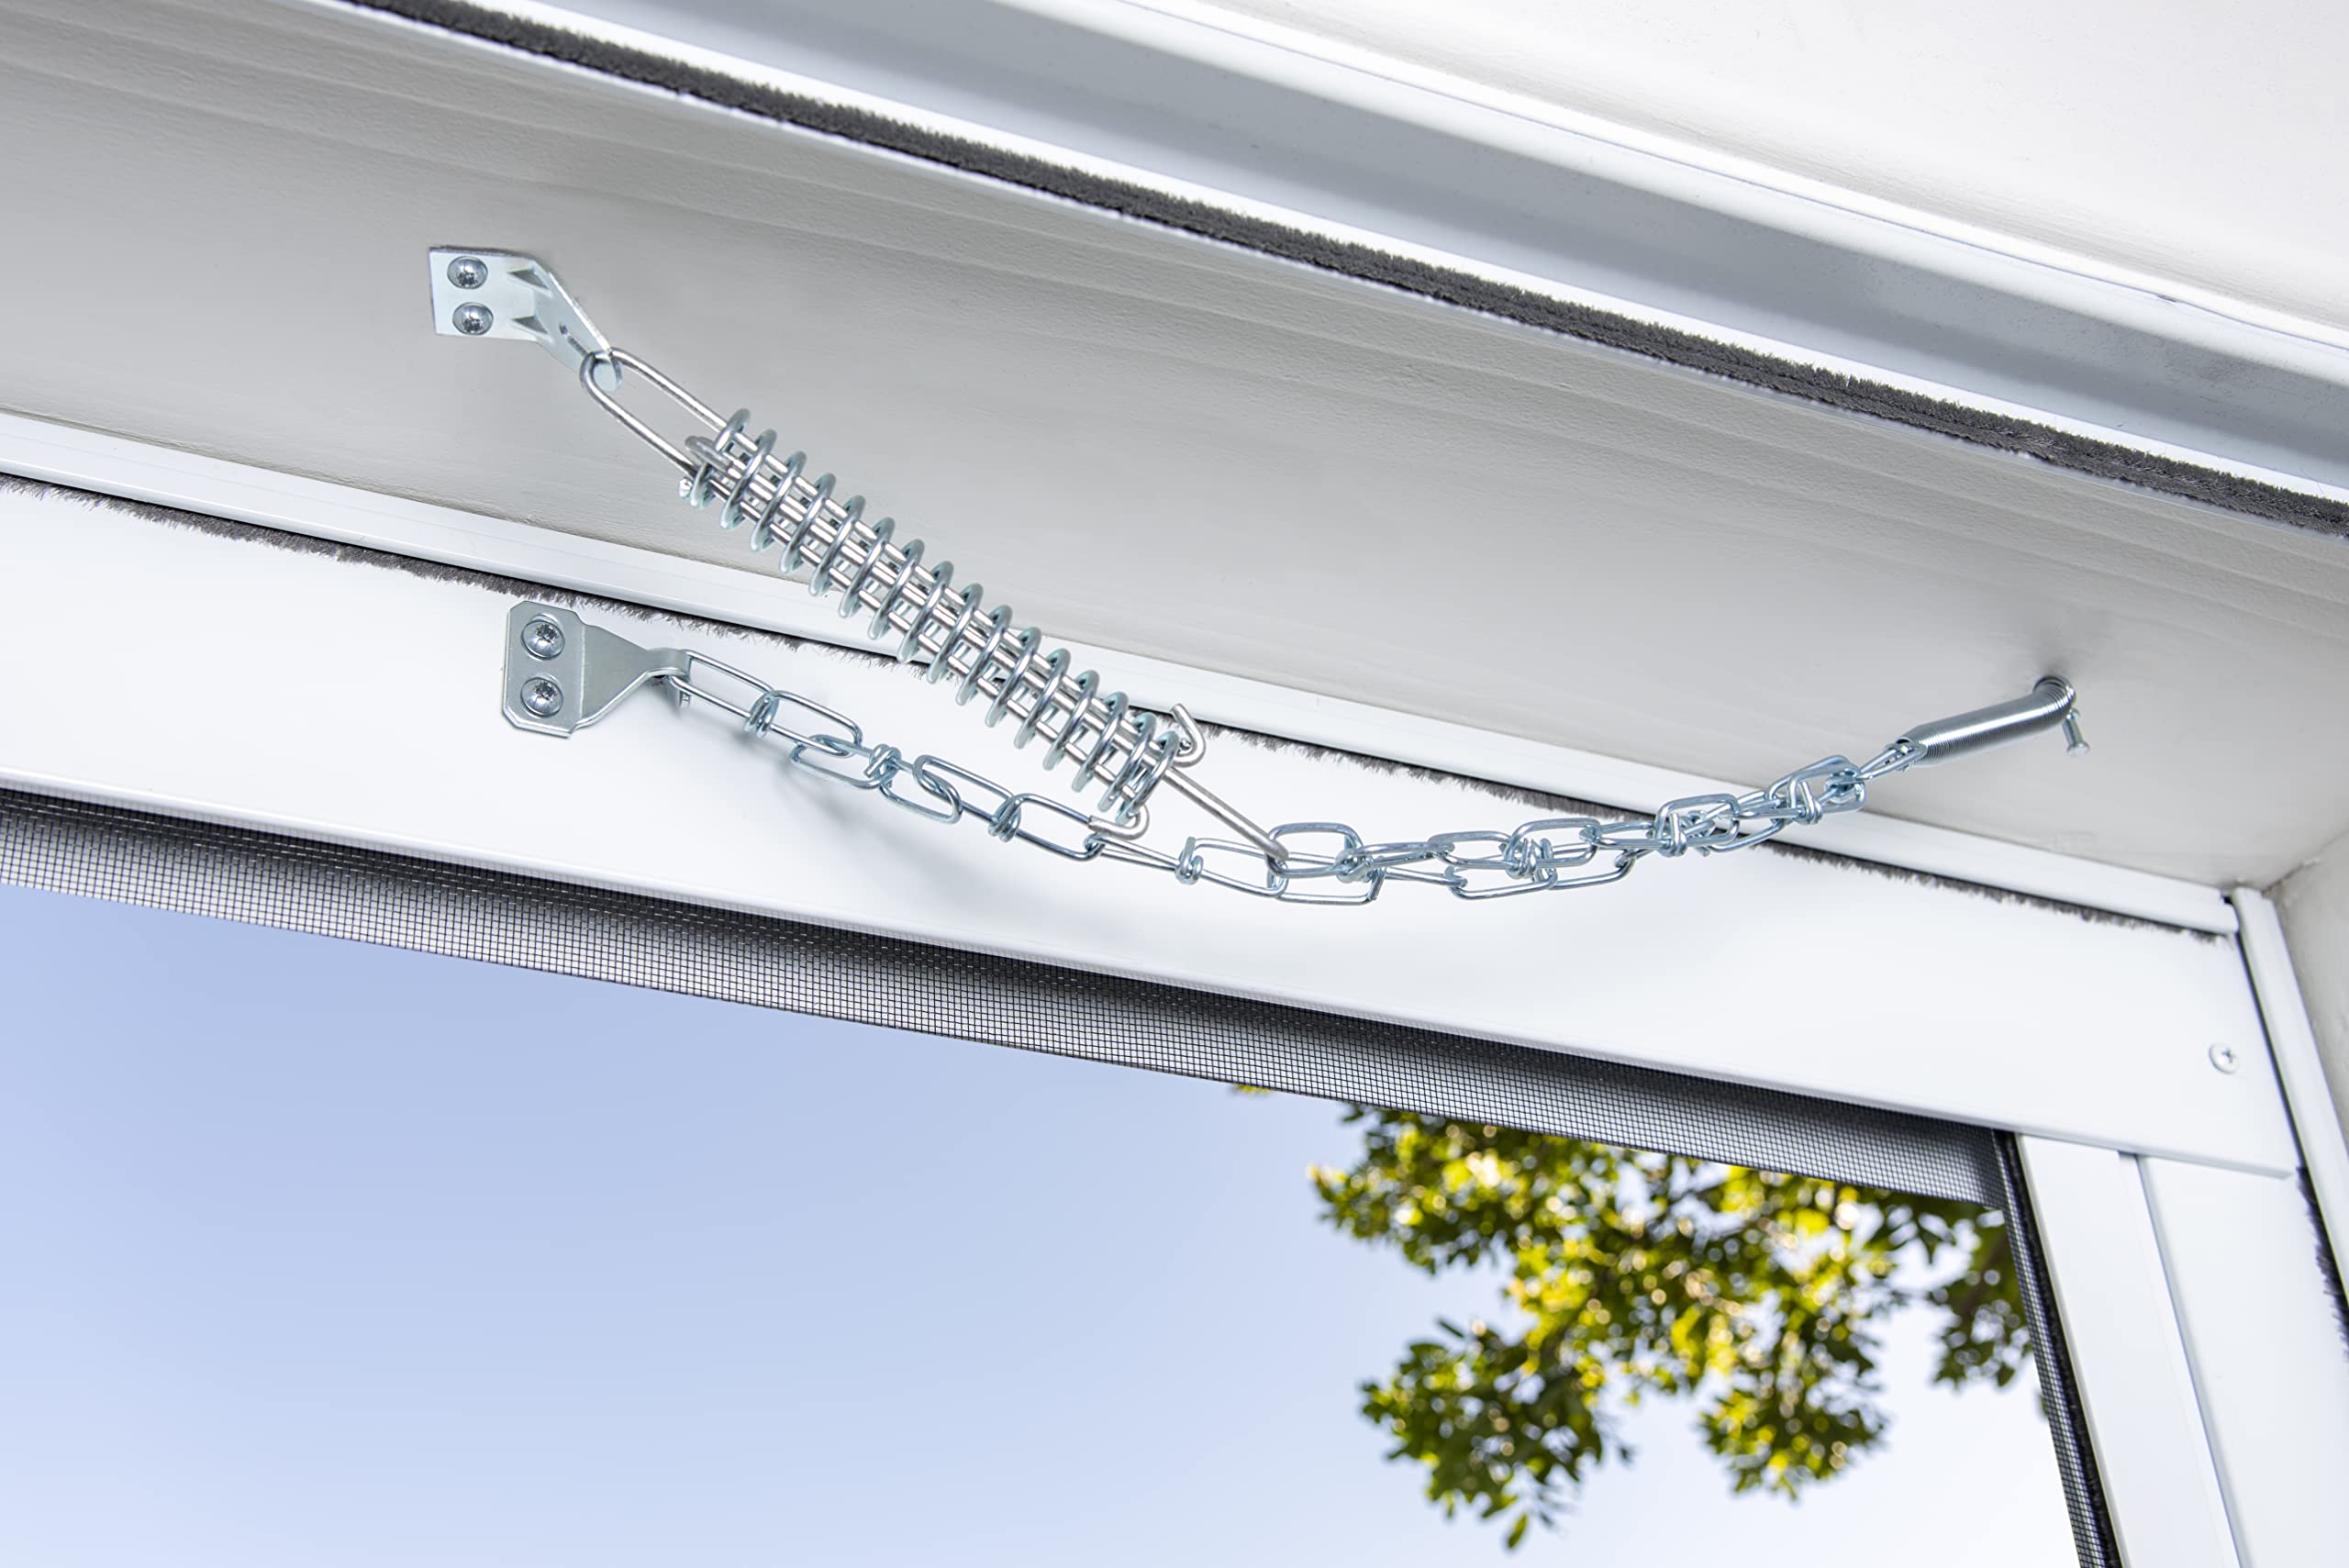
5. Apply Weather Stripping:
Once the panels are in place, apply weather stripping around the edges of the frame to create a tight seal. This step is crucial for preventing drafts, moisture infiltration, and energy loss, contributing to the door’s overall efficiency.
6. Test the Panels:
Before proceeding, test the functionality of the panels to ensure that they open, close, and seal properly. This step allows you to address any issues or adjustments before completing the installation process.
Read more: How To Choose A Storm Door
7. Apply Finish (if necessary):
If you plan to paint or stain the door, this is the opportune time to apply the finish to the frame and panels. Ensure that the finish is applied evenly and thoroughly, providing protection and enhancing the door’s visual appeal.
By adding the panels with precision and care, you’re enhancing the functionality and visual allure of your custom storm door. Whether you’ve chosen screen panels to invite the outdoors in or glass panels to provide insulation and visibility, this phase marks a significant stride toward completing your meticulously crafted storm door.
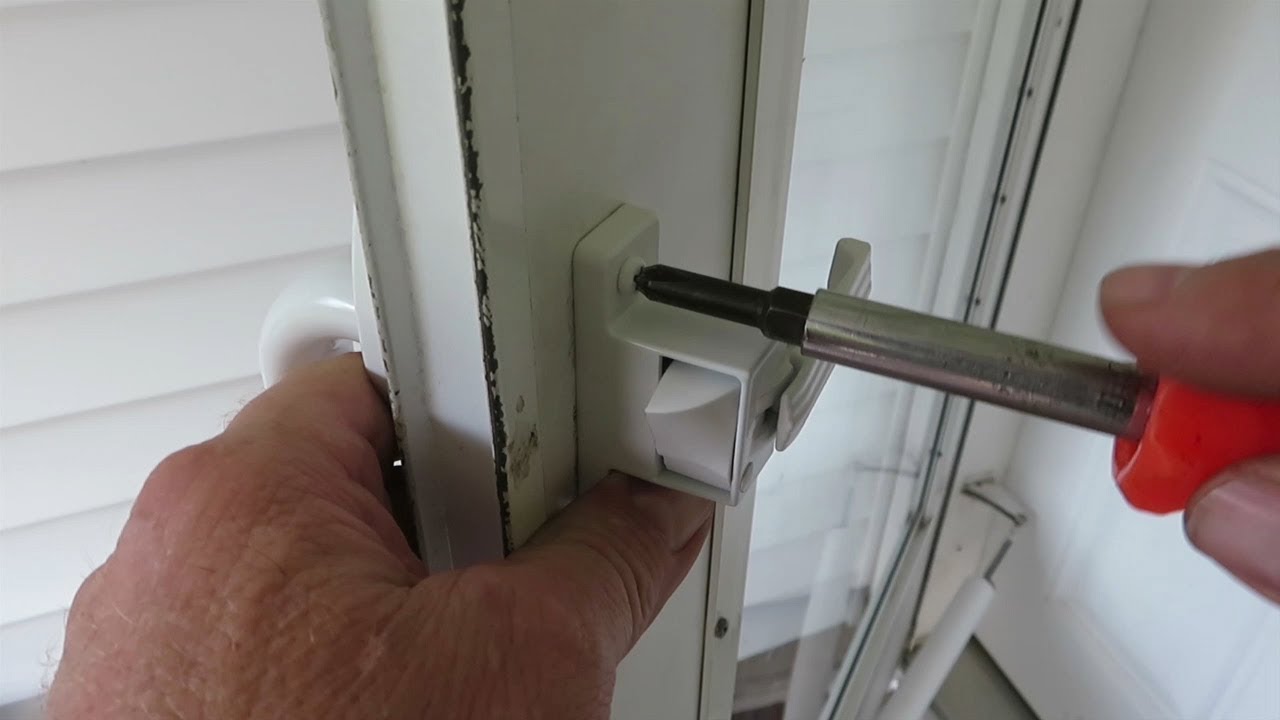
Installing the Hinges and Handle
As your custom storm door takes shape, the installation of hinges and a handle is a pivotal step that ensures smooth operation and secure closure. These components not only contribute to the door’s functionality but also serve as prominent visual elements. Here’s a detailed guide to installing the hinges and handle with precision and care:
1. Select High-Quality Hardware:
Prior to installation, ensure that you have chosen durable hinges and a reliable handle that complement the design and size of your storm door. Opt for hardware that is designed to withstand frequent use and varying weather conditions.
2. Position the Hinges:
Carefully mark the placement of the hinges on the door frame, ensuring that they are positioned symmetrically and aligned with the door’s edge. Use a level to verify that the hinges are installed straight, facilitating smooth operation.
Read more: How To Close A Storm Door
3. Secure the Hinges:
Using the appropriate screws and a screwdriver, secure the hinges to the door frame with precision. Ensure that the screws are driven in firmly, providing a stable and reliable attachment for the door.
4. Attach the Handle:
Position the handle on the door, ensuring that it is ergonomically placed for convenient operation. Mark the locations for the handle and any accompanying hardware, such as a latch or lock mechanism, before securing them in place.
5. Test the Operation:
Before finalizing the installation, test the operation of the hinges and handle to ensure that the door opens and closes smoothly. Address any issues or adjustments at this stage to guarantee optimal functionality.
6. Apply a Protective Finish:
Once the hinges and handle are securely installed, consider applying a protective finish to these components. A weather-resistant coating can safeguard the hardware from corrosion and wear, prolonging its lifespan and maintaining its visual appeal.
Read more: How To Install A Door Closer On A Storm Door
7. Verify the Alignment:
Confirm that the door aligns properly with the hinges and handle, ensuring that it opens and closes without resistance. Adjust the positioning if necessary to achieve seamless operation.
By installing the hinges and handle with meticulous attention to detail, you’re enhancing the functionality and visual allure of your custom storm door. These components play a vital role in the door’s daily operation, making their precise installation a crucial aspect of the construction process.
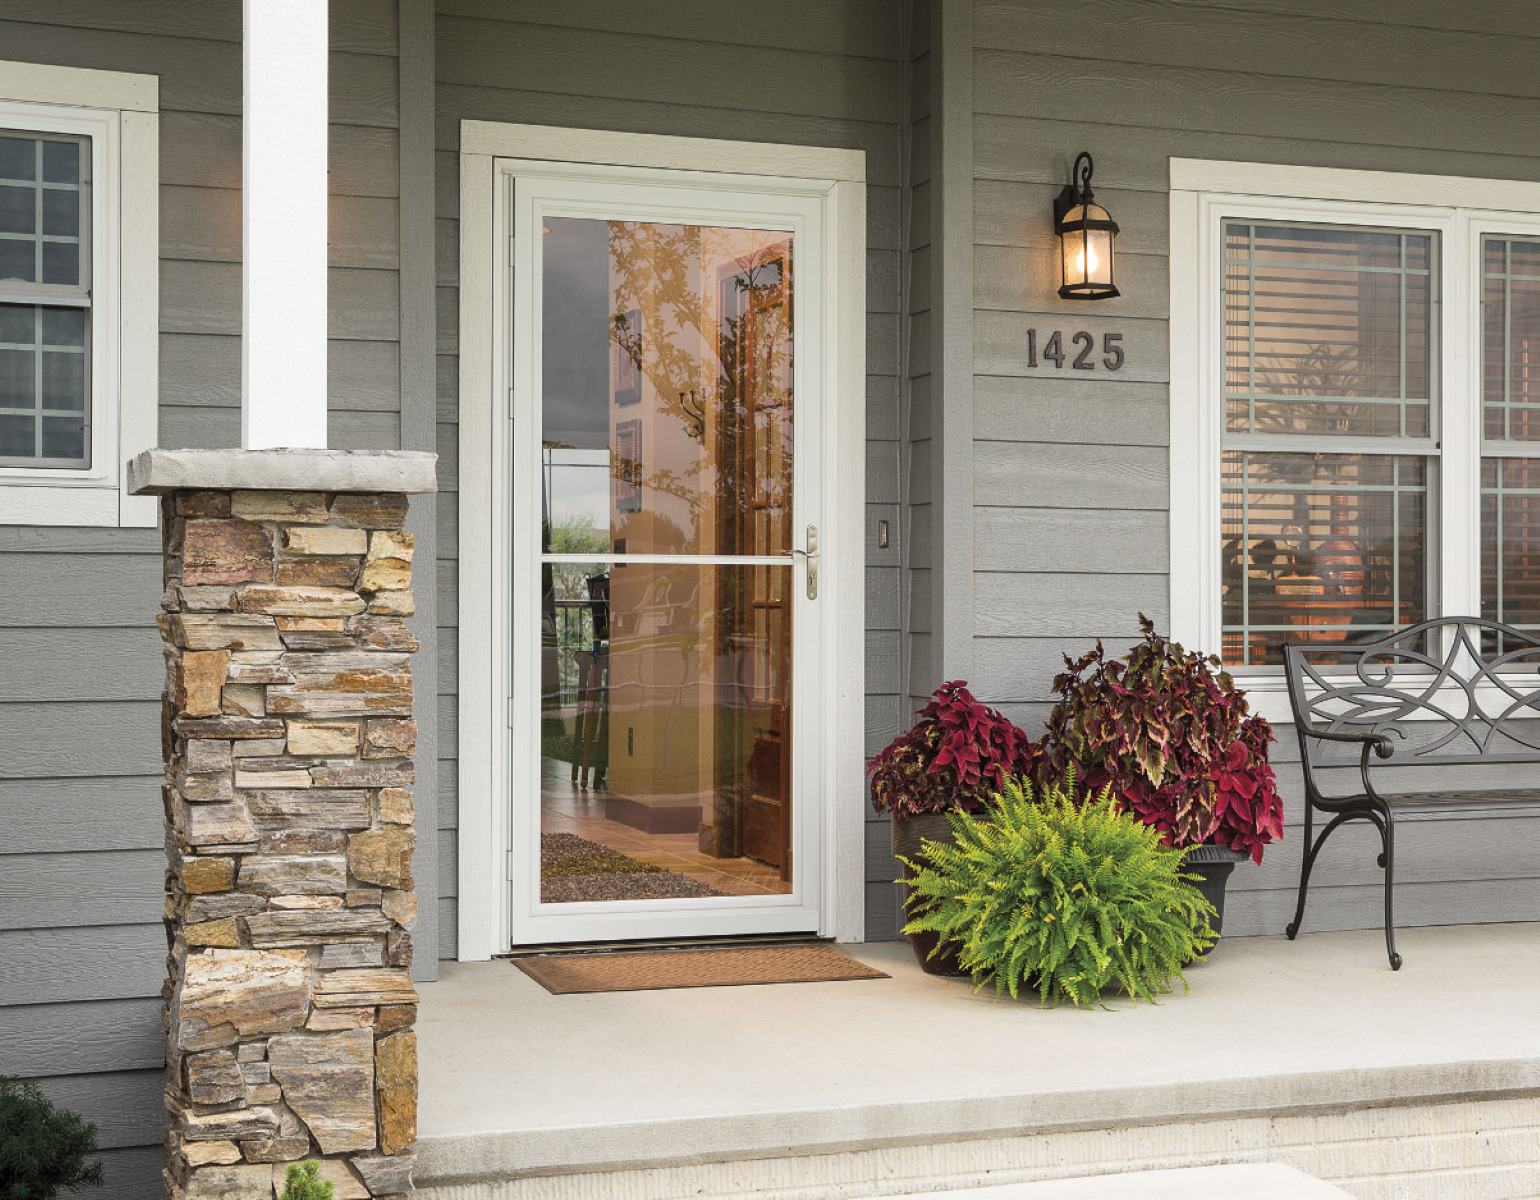
Hanging the Storm Door
As you approach the final stages of constructing your custom storm door, the process of hanging the door becomes a defining moment in bringing your vision to fruition. Hanging the door with precision and care ensures that it operates seamlessly within your home’s entryway, providing both functionality and aesthetic appeal. Here’s a comprehensive guide to hanging your bespoke storm door:
1. Prepare the Entryway:
Before hanging the door, ensure that the entryway is clean and free of any debris or obstructions. Clear the area to provide ample space for maneuvering the door and facilitating the installation process.
2. Position the Door:
Carefully position the storm door within the entryway, ensuring that it aligns perfectly with the frame and hinges. Take precise measurements to verify that the door is centered and level within the opening.
Read more: How To Close A Storm Door
3. Secure the Hinges:
With the assistance of a trusted helper, secure the hinges to the door frame with the appropriate screws. Ensure that the hinges are aligned with the corresponding components on the door, facilitating smooth operation and a secure fit.
4. Test the Operation:
Before finalizing the installation, test the operation of the door to ensure that it opens and closes smoothly. Verify that the hinges and handle function as intended, addressing any issues or adjustments at this stage.
5. Adjust the Fit:
If necessary, make minor adjustments to the door’s fit within the entryway to achieve optimal alignment and operation. This may involve tweaking the positioning of the hinges or handle to ensure a seamless and secure closure.
6. Apply Weather Stripping:
To enhance the door’s energy efficiency and weather resistance, apply weather stripping around the edges of the frame. This step creates a tight seal, preventing drafts and moisture infiltration while contributing to the door’s overall insulation.
Read more: How To Install A Larson Storm Door
7. Finalize the Hardware:
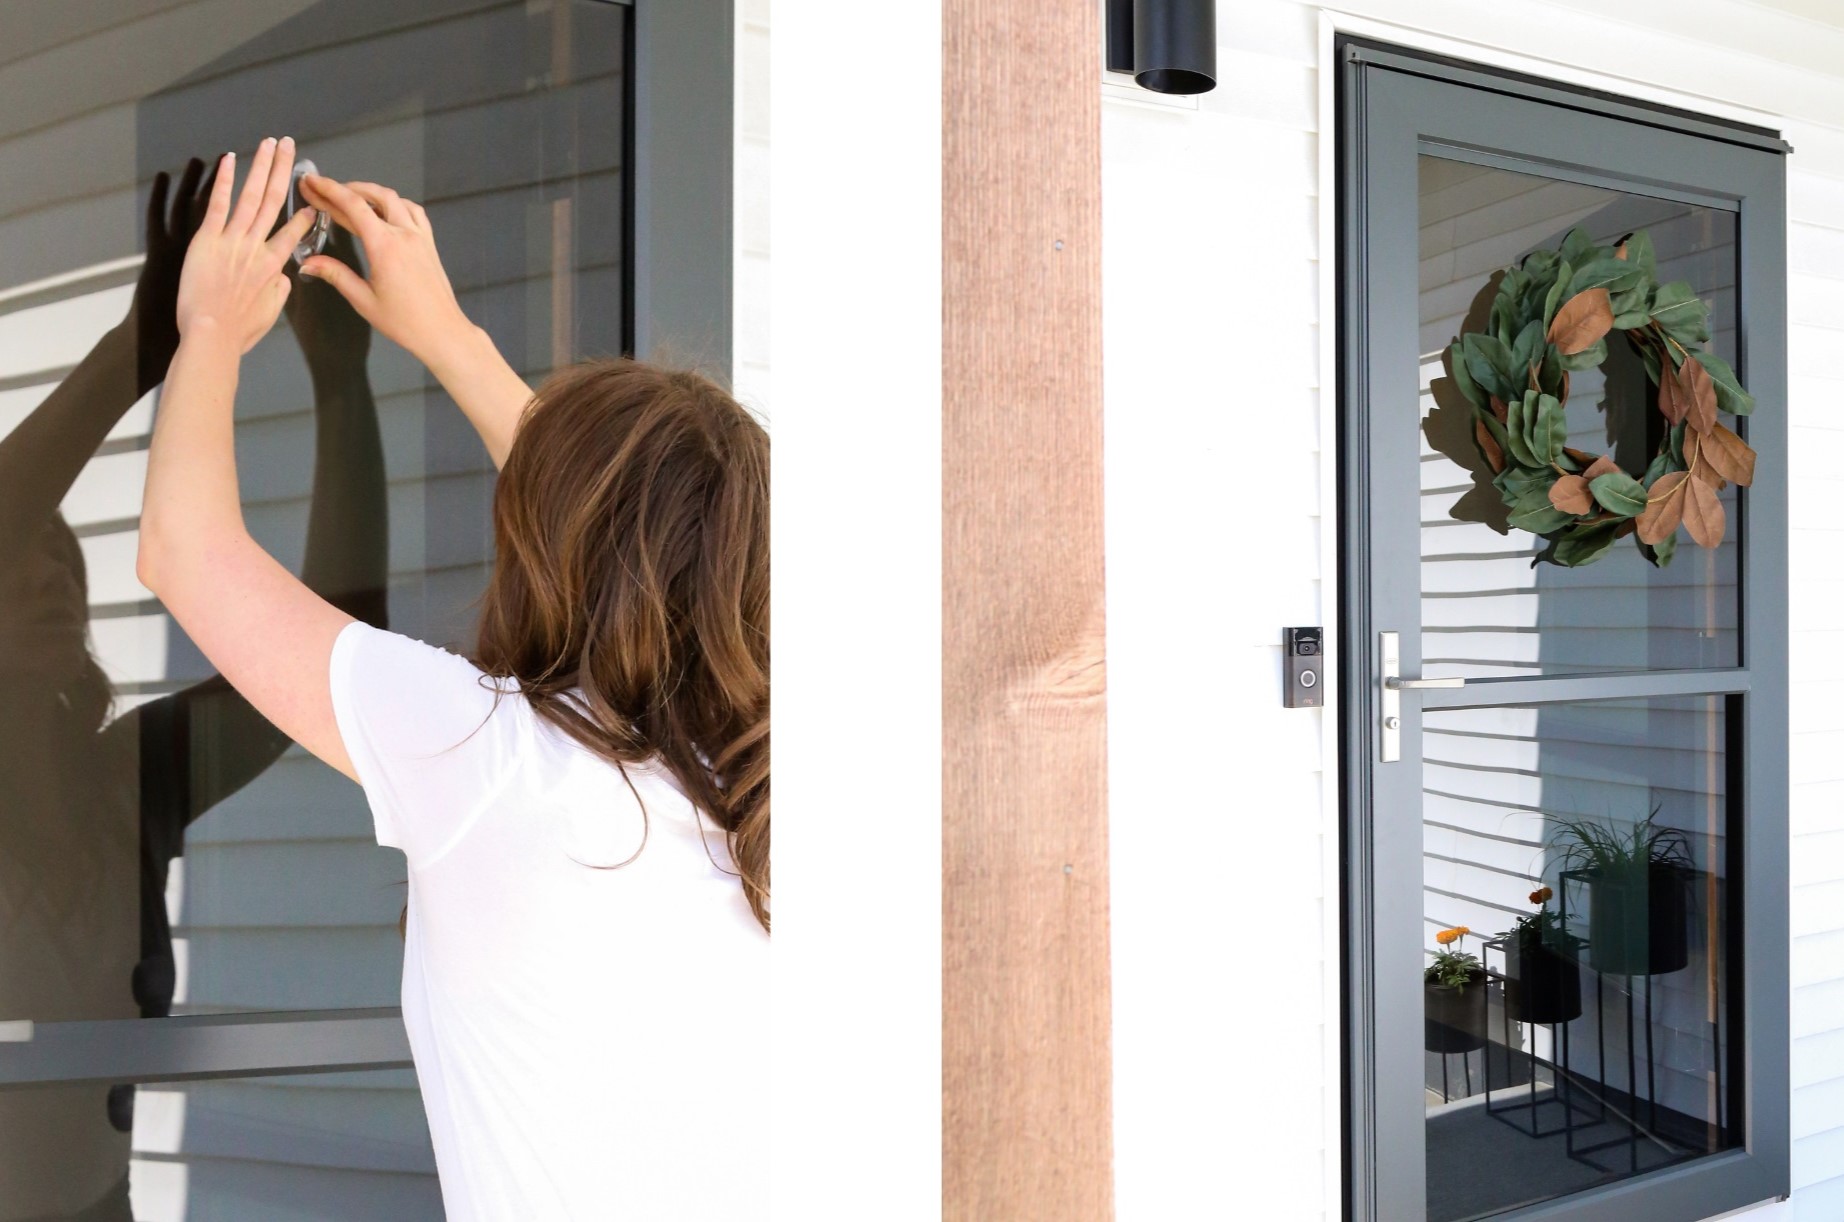
Confirm that the handle and any accompanying hardware, such as a latch or lock mechanism, are fully operational and securely installed. Verify that the door can be locked and unlocked with ease, providing both security and convenience.
By hanging the storm door with meticulous attention to detail, you’re bringing your custom creation to life within your home’s entryway. This final step marks the culmination of your craftsmanship and dedication, resulting in a stunning and functional addition to your home’s exterior.
Conclusion
Congratulations on successfully completing the construction and installation of your custom storm door! This journey of craftsmanship and creativity has not only enhanced the functionality of your home but also added a touch of personalized charm to your living space. As you stand back and admire your meticulously crafted creation, it’s a testament to your dedication to home improvement and your willingness to embark on a fulfilling DIY project.
By following the step-by-step process outlined in this guide, you’ve gained valuable insights into the art of building a storm door from scratch. From meticulously measuring and cutting the wood to assembling the frame, adding the panels, and installing the hinges and handle, each phase has contributed to the creation of a bespoke door that complements your home’s architecture.
As you enjoy the rewards of your efforts, take pride in the durability and visual allure of your custom storm door. Whether you’ve chosen screen panels to invite the outdoors in or glass panels for insulation and visibility, your door stands as a testament to your craftsmanship and attention to detail.
As you revel in the satisfaction of a job well done, take a moment to appreciate the transformative impact of this project. Your home now boasts an additional layer of protection against the elements, while the aesthetic appeal of the storm door enhances its curb appeal and welcomes guests with inviting charm.
Embrace the sense of accomplishment that comes with completing a significant home improvement project, and let this experience fuel your enthusiasm for future endeavors. Whether it’s tackling additional DIY projects or sharing your newfound expertise with others, your journey as a skilled craftsman is just beginning.
As you continue to infuse your living space with personalized touches and practical enhancements, remember the satisfaction of building a storm door from scratch. This achievement serves as a testament to your creativity, resourcefulness, and commitment to creating a home that reflects your unique vision and personality.
Celebrate the completion of your custom storm door, and let the pride of your accomplishment inspire you to explore new horizons in home improvement and craftsmanship. Your dedication has transformed a simple entryway into a showcase of your ingenuity and skill, leaving a lasting impression on your home and those who enter it.
Frequently Asked Questions about How To Build A Storm Door
Was this page helpful?
At Storables.com, we guarantee accurate and reliable information. Our content, validated by Expert Board Contributors, is crafted following stringent Editorial Policies. We're committed to providing you with well-researched, expert-backed insights for all your informational needs.
0 thoughts on “How To Build A Storm Door”