Home>Renovation & DIY>Home Renovation Guides>How To Insulate A Storm Door

Home Renovation Guides
How To Insulate A Storm Door
Modified: October 20, 2024
Learn how to properly insulate a storm door in this comprehensive home renovation guide. Improve energy efficiency and weatherproofing with our expert tips.
(Many of the links in this article redirect to a specific reviewed product. Your purchase of these products through affiliate links helps to generate commission for Storables.com, at no extra cost. Learn more)
Introduction
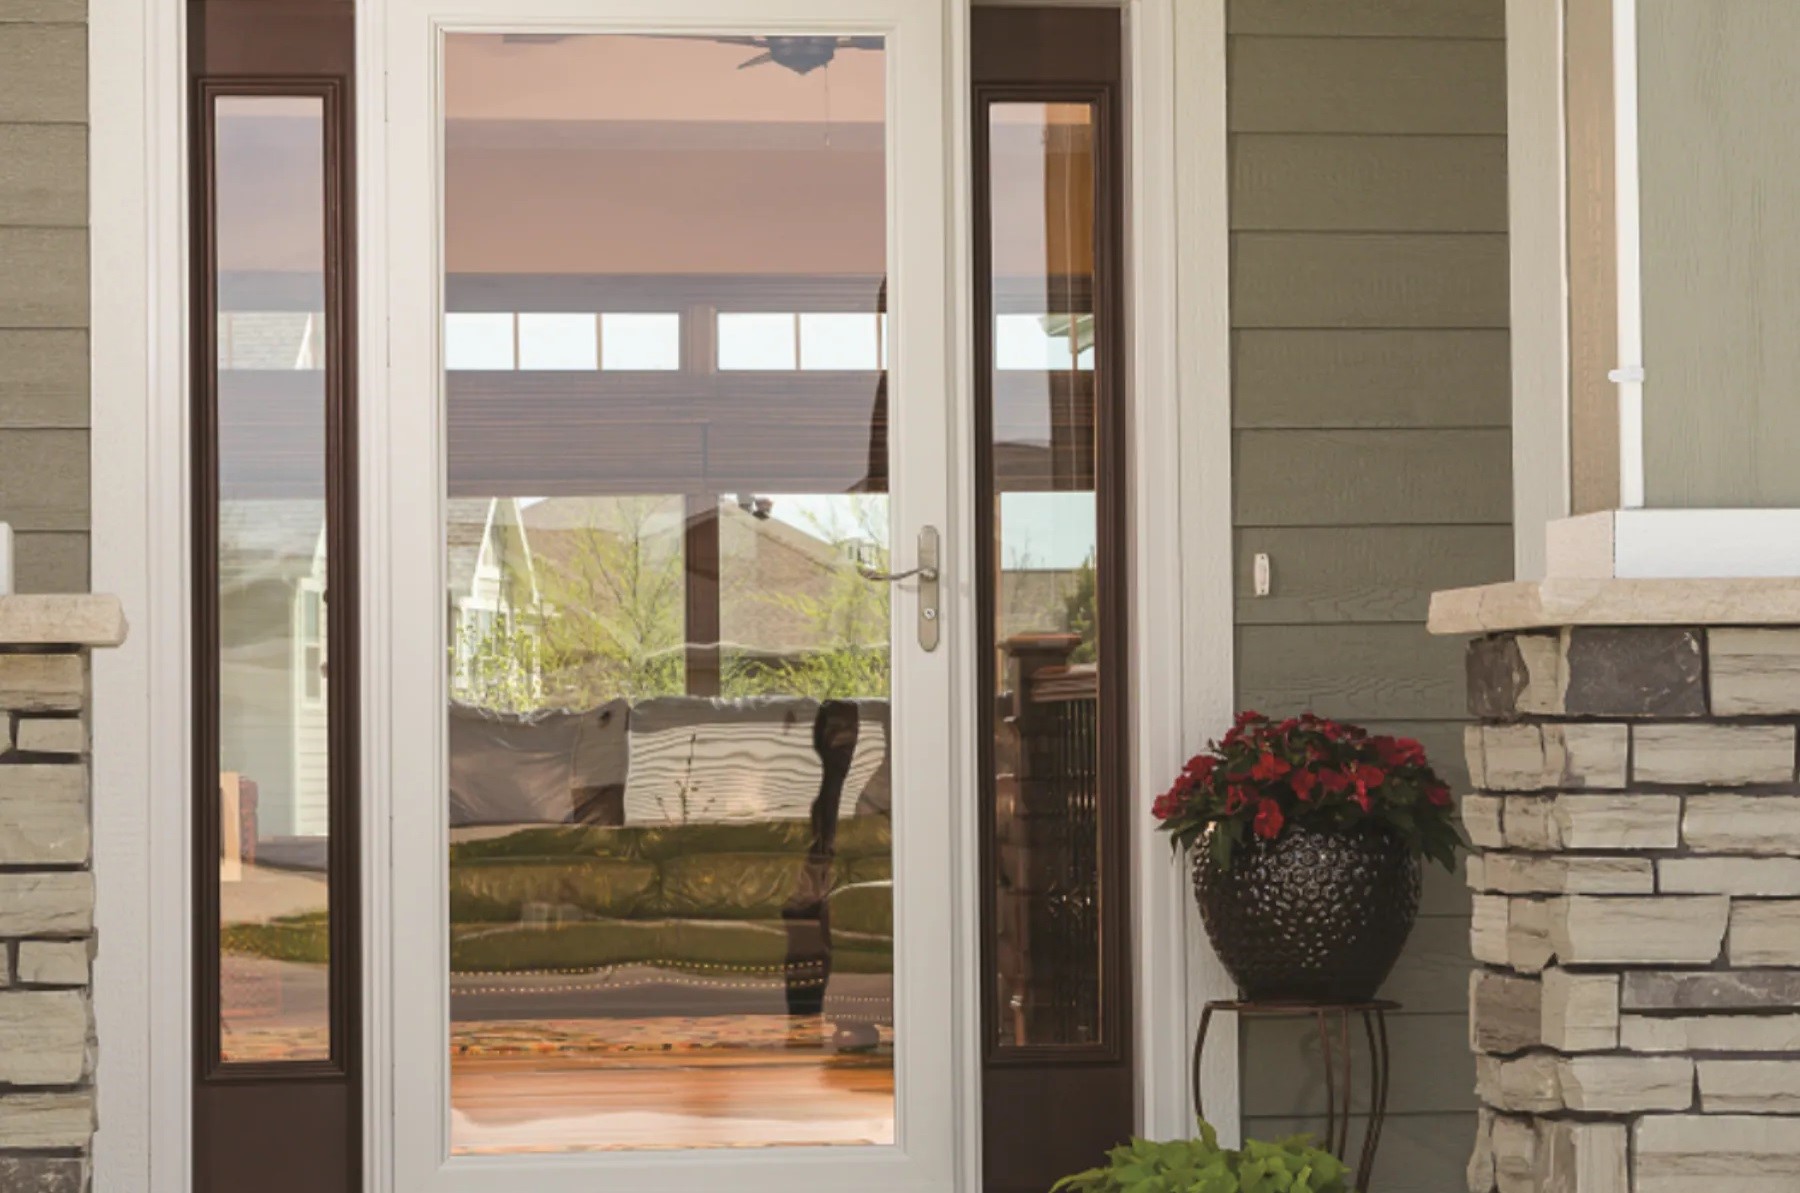
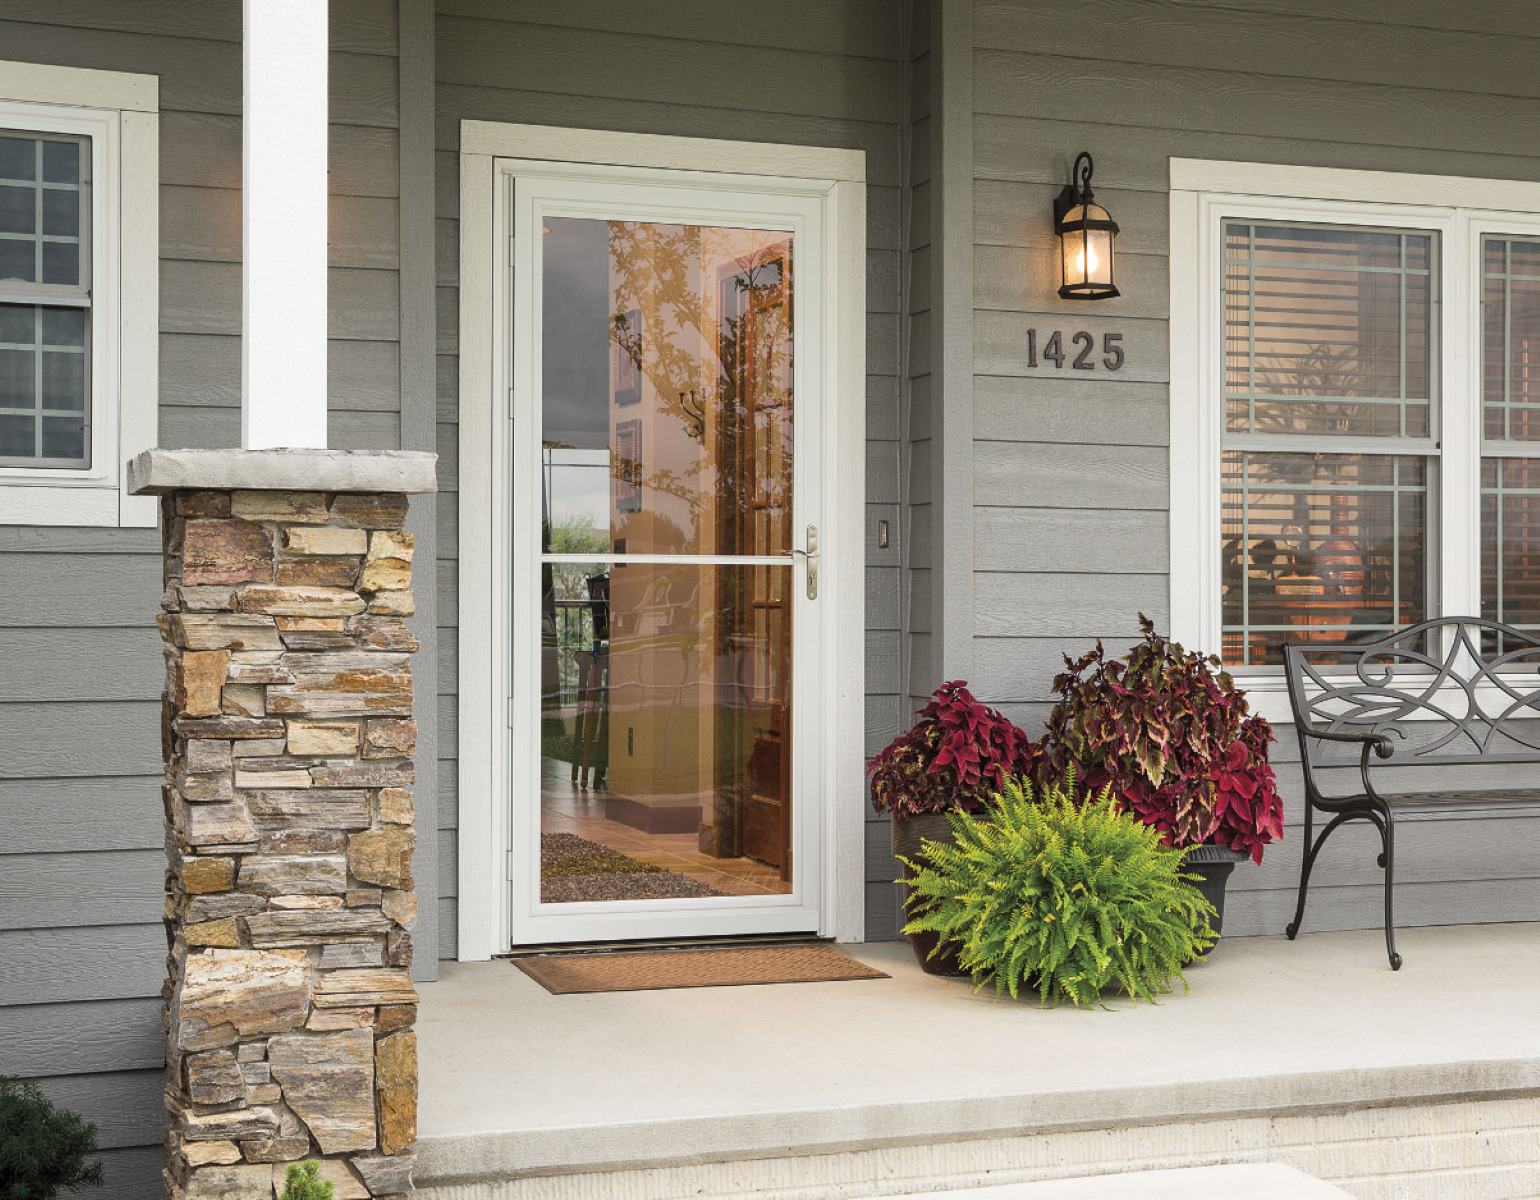
Welcome to the complete guide on how to insulate a storm door to enhance your home's energy efficiency and comfort. A storm door is an excellent addition to your home, providing an extra layer of protection against the elements while allowing fresh air and natural light to filter through. However, without proper insulation, a storm door may not fulfill its potential in terms of energy savings and climate control.
In this comprehensive guide, we will walk you through the step-by-step process of insulating your storm door, ensuring that you can enjoy a cozy and well-insulated living space regardless of the weather outside. Proper insulation not only helps in maintaining a comfortable indoor temperature but also contributes to reducing energy costs and minimizing environmental impact.
Whether you are a seasoned DIY enthusiast or a homeowner looking to take on a new project, insulating a storm door is a manageable task that can yield significant benefits. By following the instructions outlined in this guide and investing a bit of time and effort, you can make a tangible difference in the energy efficiency of your home.
So, let's roll up our sleeves and delve into the materials and techniques needed to insulate your storm door effectively. With a few simple steps, you can transform your storm door into a well-insulated barrier that enhances the comfort and sustainability of your home.
Key Takeaways:
- Enhance your home’s energy efficiency and comfort by insulating your storm door with weatherstripping, insulation panels, and silicone caulk. Enjoy a cozy living space and reduce energy costs.
- Prepare, measure, and install weatherstripping and insulation panels to create a well-insulated storm door. Seal with silicone caulk to eliminate air leakage and enhance energy efficiency.
Read more: How To Paint A Storm Door
Materials Needed
Before embarking on the process of insulating your storm door, it’s essential to gather the necessary materials and tools to ensure a smooth and efficient workflow. Here’s a comprehensive list of the materials you will need:
- Weatherstripping: High-quality weatherstripping is crucial for sealing any gaps and preventing drafts around the edges of the storm door. Opt for weatherstripping that is durable, weather-resistant, and easy to install.
- Insulation Panels: Insulation panels, also known as storm door insulation kits, are designed to fit the interior side of the storm door. These panels provide an additional layer of insulation to minimize heat transfer and enhance energy efficiency.
- Adhesive Foam Tape: Adhesive foam tape serves as an effective sealant for gaps and spaces around the door frame. It helps in preventing air leakage and improving the overall insulation of the door.
- Silicone Caulk: A tube of silicone caulk is essential for sealing any visible gaps or cracks in the door frame and around the edges of the storm door. Choose a high-quality, weather-resistant caulk for long-lasting results.
- Tape Measure: Accurate measurements are crucial for ensuring that the insulation materials fit the door frame properly. A reliable tape measure will aid in determining the precise dimensions for the insulation panels and weatherstripping.
- Utility Knife: A sharp utility knife will come in handy for trimming insulation panels and weatherstripping to the required size and shape, allowing for a precise and snug fit.
- Screwdriver: Depending on the type of storm door, you may need a screwdriver to remove and reattach any hardware or components during the insulation process.
- Cleaner and Rag: Before applying the insulation materials, it’s important to clean the door frame and surrounding areas to ensure proper adhesion and sealing. A cleaner and rag will help in preparing the surface for insulation.
By ensuring that you have these materials on hand, you can proceed with confidence, knowing that you are well-equipped to insulate your storm door effectively. With the right materials and a clear understanding of the insulation process, you are ready to transform your storm door into a well-insulated barrier that enhances the comfort and energy efficiency of your home.
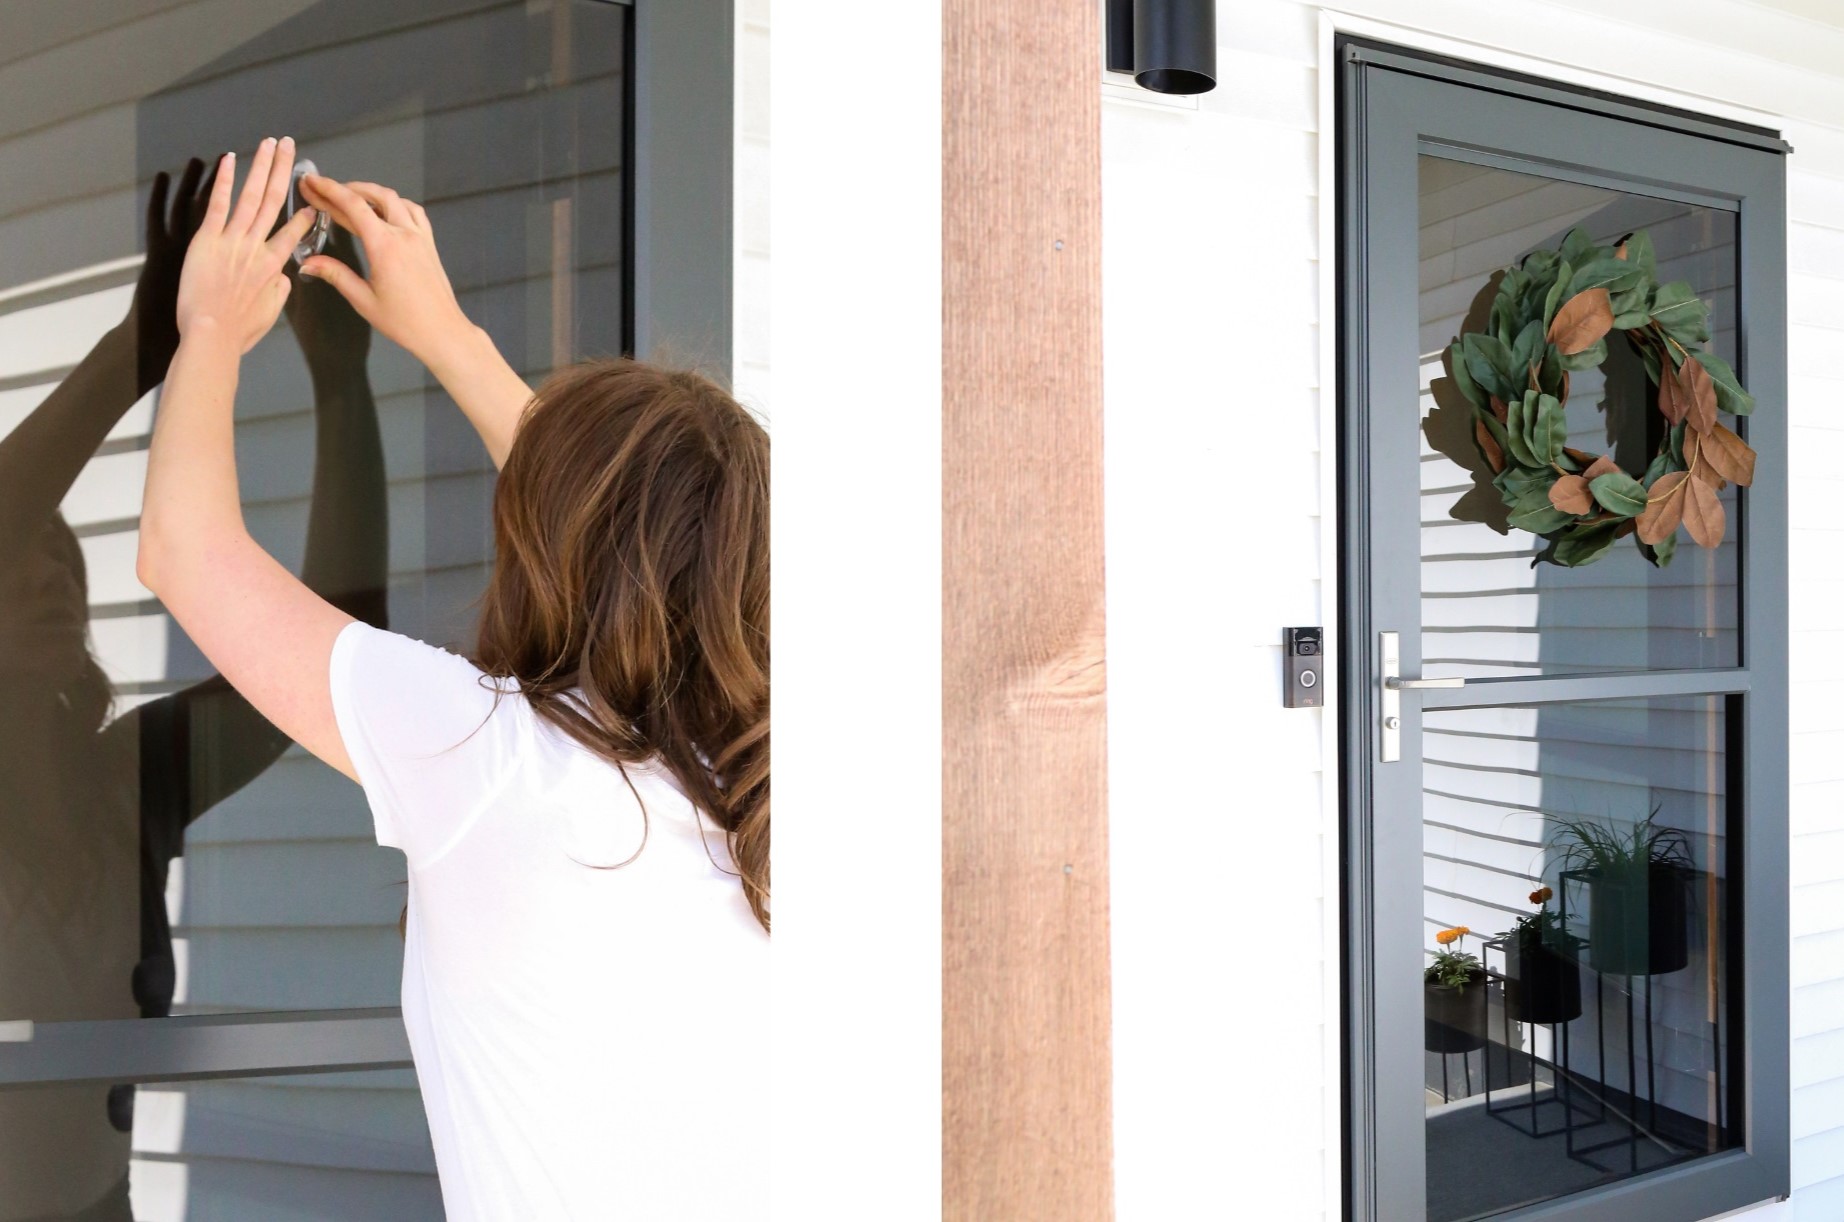
Preparing the Storm Door
Before diving into the insulation process, it’s essential to prepare the storm door to ensure optimal adhesion and effectiveness of the insulation materials. Proper preparation sets the stage for a successful insulation project and maximizes the long-term benefits of a well-insulated door. Here are the key steps to prepare the storm door:
- Clean the Door Surface: Begin by thoroughly cleaning the surface of the storm door, including the door frame and surrounding areas. Use a mild cleaner and a rag to remove any dust, dirt, or debris that may hinder the adhesion of the insulation materials.
- Inspect for Damage: Carefully inspect the door frame, weatherstripping, and any existing insulation for signs of damage or wear. Address any issues such as loose weatherstripping or damaged insulation before proceeding with the insulation installation.
- Remove Obstructions: Clear the door of any obstructions, such as decorations, accessories, or hardware that may interfere with the installation of insulation panels and weatherstripping.
- Measure and Mark: Using a tape measure, take accurate measurements of the dimensions of the door frame and the areas where insulation materials will be applied. Mark these areas to serve as a guide during the installation process.
By taking the time to prepare the storm door meticulously, you set the foundation for a seamless and effective insulation process. A clean and well-prepared surface ensures that the insulation materials adhere properly and function optimally in enhancing the energy efficiency and comfort of your home.
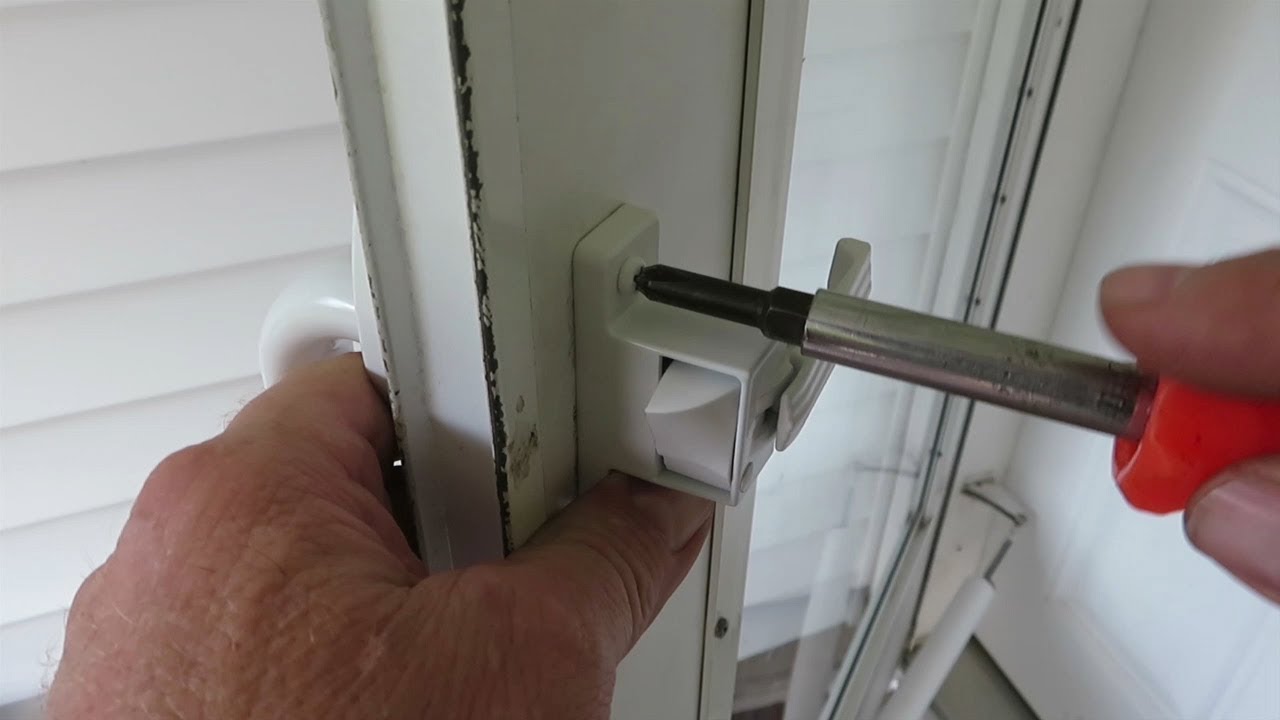
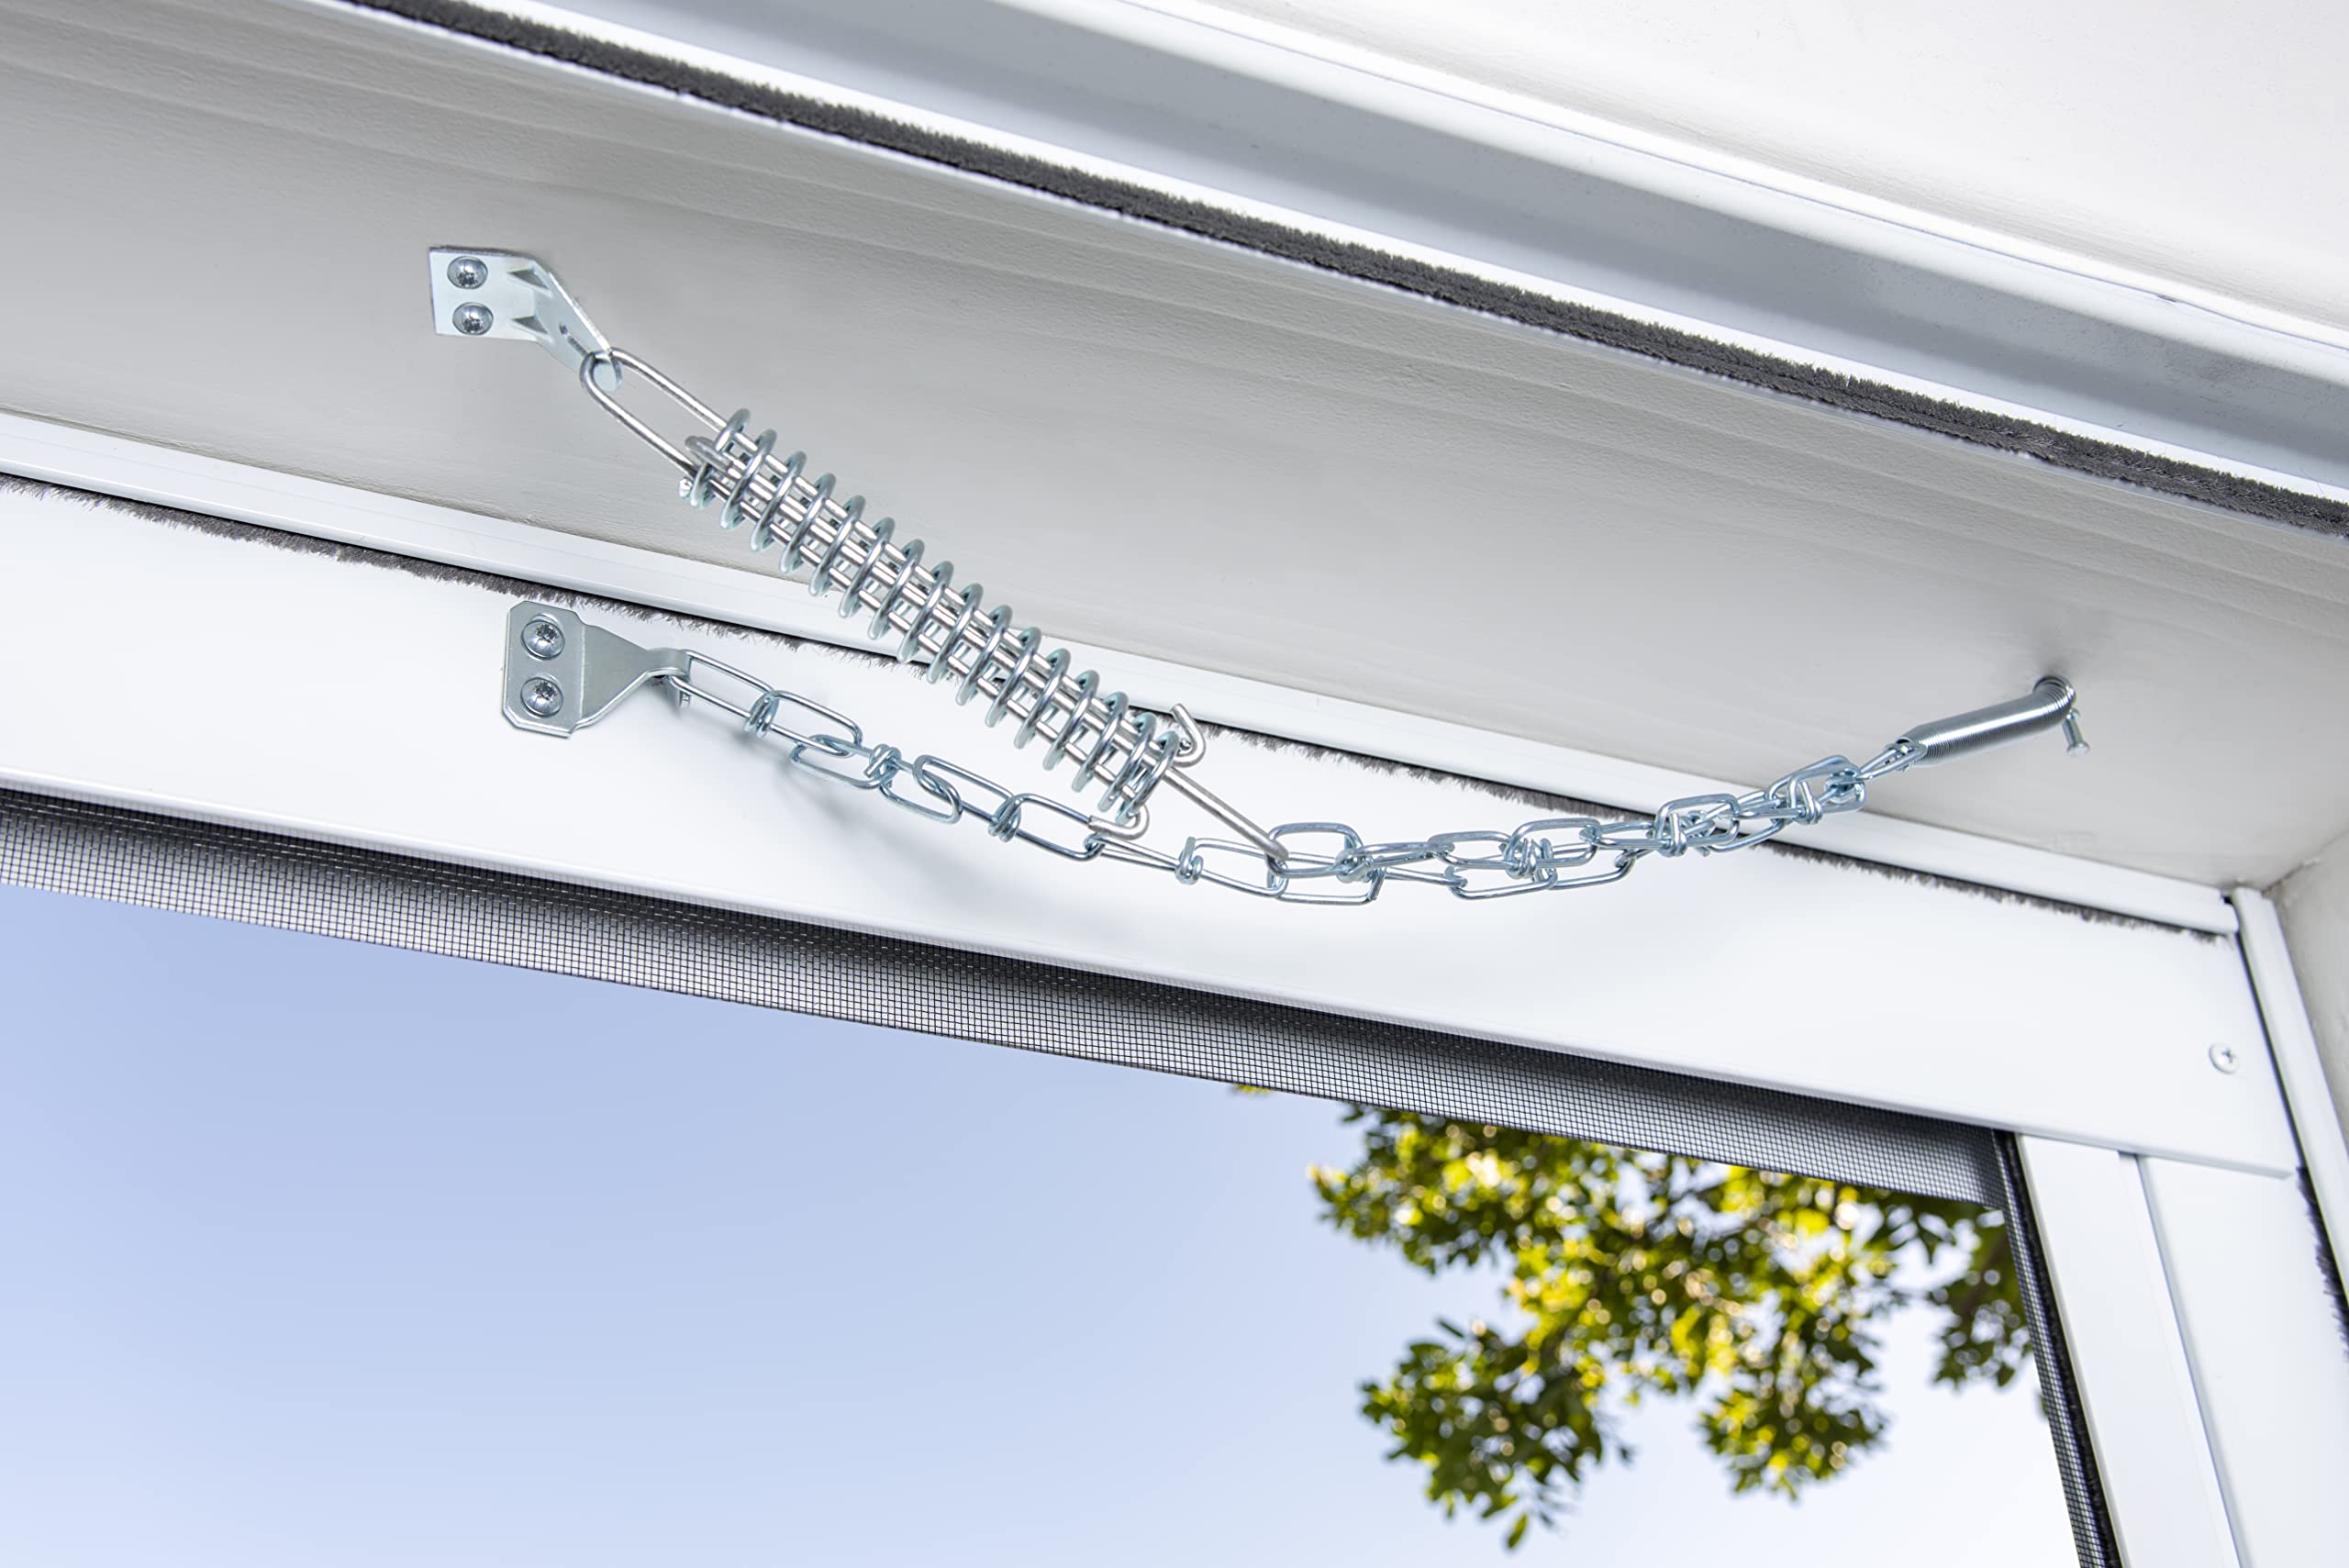
Installing the Weatherstripping
Weatherstripping plays a crucial role in sealing the gaps and edges of the storm door, preventing drafts and enhancing the overall insulation of your home. Proper installation of weatherstripping is essential for maximizing its effectiveness in minimizing air leakage and maintaining a comfortable indoor environment. Here’s a step-by-step guide to installing weatherstripping on your storm door:
- Measure and Cut: Begin by measuring the dimensions of the door frame to determine the required length of weatherstripping. Use a tape measure to ensure accurate measurements, and then carefully cut the weatherstripping to the appropriate size using a sharp utility knife.
- Clean the Surface: Before applying the weatherstripping, ensure that the surface of the door frame is clean and free of any debris. Use a mild cleaner and a rag to remove any dust or residue that may hinder the adhesion of the weatherstripping.
- Apply the Weatherstripping: Starting at the top of the door frame, carefully apply the weatherstripping along the edges, pressing it firmly to ensure proper adhesion. Continue applying the weatherstripping along the sides and bottom of the door frame, ensuring a snug fit and a secure seal.
- Secure the Ends: Once the weatherstripping is in place, secure the ends by overlapping and firmly pressing them together. This ensures a continuous seal around the entire perimeter of the door frame, minimizing the potential for air leakage.
- Test the Seal: After installing the weatherstripping, perform a simple test to ensure that the seal is effective. Close the storm door and run your hand along the edges to feel for any drafts. If necessary, make adjustments to the weatherstripping to achieve a tight and draft-free seal.
By following these steps, you can effectively install weatherstripping on your storm door, significantly reducing air leakage and enhancing the insulation of your home. A well-sealed door contributes to improved energy efficiency and a more comfortable living environment, making the investment of time and effort in weatherstripping installation well worthwhile.
Consider using weatherstripping to seal any gaps between the storm door and the frame. This will help prevent drafts and improve insulation.
Adding Insulation Panels
Insulation panels, also known as storm door insulation kits, provide an additional layer of thermal protection and energy efficiency for your storm door. By adding insulation panels to the interior side of the door, you can minimize heat transfer and enhance the overall insulation properties of the door. Here’s a detailed guide on how to add insulation panels to your storm door:
- Prepare the Panels: Begin by unpacking the insulation panels and ensuring that they are free from any damage or defects. Lay the panels flat and allow them to acclimate to room temperature, which can aid in their flexibility and ease of installation.
- Measure and Trim: Using a tape measure, carefully measure the dimensions of the interior side of the storm door where the insulation panels will be placed. Mark the measurements on the panels and use a sharp utility knife to trim them to the appropriate size, ensuring a precise fit.
- Apply Adhesive: Once the panels are trimmed, apply adhesive foam tape around the edges of the door frame where the panels will be placed. The foam tape serves as a sealant, preventing air leakage and ensuring a secure attachment for the insulation panels.
- Install the Panels: Position the trimmed insulation panels against the interior side of the door, pressing them firmly against the adhesive foam tape. Ensure that the panels fit snugly and cover the designated areas of the door, providing comprehensive insulation coverage.
- Secure the Panels: To enhance the stability of the insulation panels, consider using additional fasteners or clips to secure them in place. This can help prevent shifting or displacement over time, ensuring long-term effectiveness in enhancing energy efficiency.
With the insulation panels in place, your storm door is now equipped with an additional layer of insulation to minimize heat loss and maximize energy efficiency. The combination of weatherstripping and insulation panels creates a well-sealed and thermally efficient barrier, contributing to a more comfortable and sustainable home environment.
Read more: Installing A Storm Door
Sealing the Door
Sealing the storm door is a critical step in the insulation process, as it helps eliminate air leakage and drafts, thereby enhancing the overall energy efficiency and comfort of your home. By applying silicone caulk and ensuring a secure seal around the door frame, you can further fortify the insulation properties of the door. Here’s a comprehensive guide to sealing the storm door effectively:
- Inspect for Gaps: Carefully examine the door frame and edges for any visible gaps, cracks, or areas where air leakage may occur. Identifying these areas is crucial for targeted sealing and maximizing the effectiveness of the insulation.
- Apply Silicone Caulk: Using a tube of high-quality silicone caulk, carefully apply a continuous bead of caulk along the edges of the door frame, filling any gaps or spaces where air leakage is likely to occur. Ensure that the caulk forms a complete seal and adheres securely to the surface.
- Smooth and Shape: After applying the silicone caulk, use a damp cloth or your finger to smooth and shape the caulk, ensuring a neat and uniform seal. This step helps in enhancing the appearance of the seal while maximizing its effectiveness in preventing air infiltration.
- Allow for Drying: Once the caulk is applied and shaped, allow sufficient time for it to dry and cure as per the manufacturer’s instructions. Proper drying ensures that the caulk forms a durable and long-lasting seal that withstands environmental conditions.
- Perform a Seal Check: After the caulk has dried, conduct a thorough check to ensure that the seal is effective. Close the storm door and inspect the edges for any signs of air leakage or gaps. Make any necessary touch-ups to the caulk to achieve a complete and airtight seal.
By sealing the storm door with silicone caulk, you can effectively eliminate air leakage and drafts, contributing to improved energy efficiency and a more comfortable indoor environment. A well-sealed door, in combination with weatherstripping and insulation panels, forms a robust barrier against heat loss and external elements, ensuring that your home remains cozy and energy-efficient throughout the year.
Conclusion
Congratulations on completing the comprehensive guide on how to insulate a storm door effectively. By following the step-by-step process outlined in this guide, you have taken a significant step towards enhancing the energy efficiency, comfort, and sustainability of your home. Properly insulating a storm door is a valuable investment that can yield long-term benefits in terms of energy savings and climate control.
Through the meticulous application of weatherstripping, insulation panels, and silicone caulk, you have transformed your storm door into a well-insulated barrier that minimizes air leakage and heat loss. This not only contributes to a more comfortable indoor environment but also reduces energy costs and environmental impact.
It’s important to recognize the impact of a well-insulated storm door in maintaining a consistent indoor temperature, reducing the strain on heating and cooling systems, and creating a more sustainable living space. By taking proactive steps to enhance the insulation of your home, you are contributing to a greener and more energy-efficient future.
As you admire the newly insulated storm door, take pride in the knowledge that your efforts have made a tangible difference in the comfort and efficiency of your home. The combination of effective insulation techniques and attention to detail ensures that your storm door is well-equipped to withstand the elements and provide a welcoming entrance to your living space.
Remember that regular maintenance and periodic checks of the insulation materials are essential to ensure their long-term effectiveness. By staying proactive and addressing any wear or damage promptly, you can prolong the lifespan of the insulation and continue to reap the benefits of an energy-efficient home.
Thank you for embarking on this insulation journey with us. We hope that this guide has empowered you with the knowledge and confidence to insulate your storm door effectively, creating a more comfortable and sustainable home environment for you and your family.
Frequently Asked Questions about How To Insulate A Storm Door
Was this page helpful?
At Storables.com, we guarantee accurate and reliable information. Our content, validated by Expert Board Contributors, is crafted following stringent Editorial Policies. We're committed to providing you with well-researched, expert-backed insights for all your informational needs.


0 thoughts on “How To Insulate A Storm Door”