Home>Gardening & Outdoor>Home DIY & Maintenance>How To Paint A Storm Door
Home DIY & Maintenance
How To Paint A Storm Door
Published: January 18, 2024
Learn how to paint a storm door with our step-by-step guide. Enhance your home DIY and maintenance skills with our expert tips.
(Many of the links in this article redirect to a specific reviewed product. Your purchase of these products through affiliate links helps to generate commission for Storables.com, at no extra cost. Learn more)
Introduction
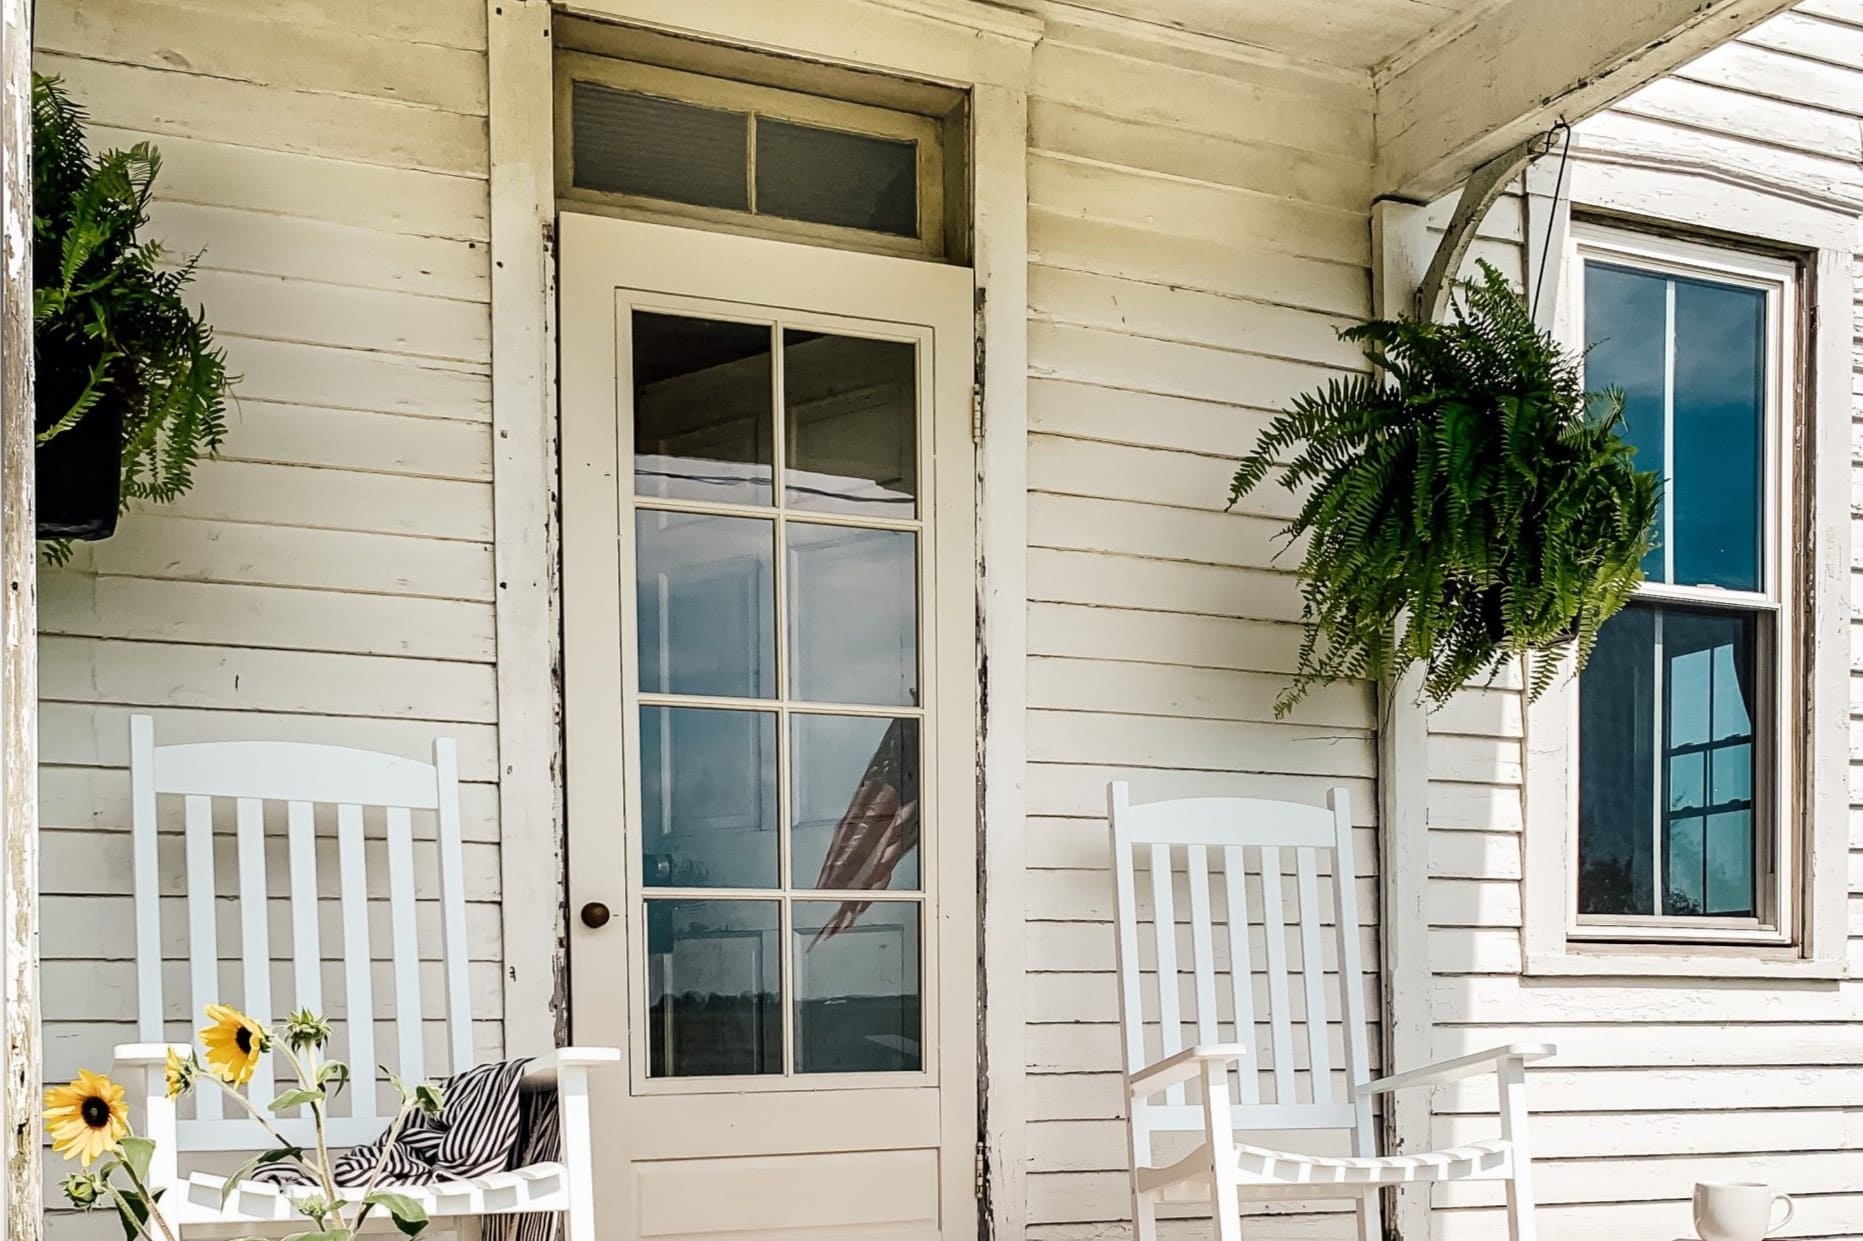
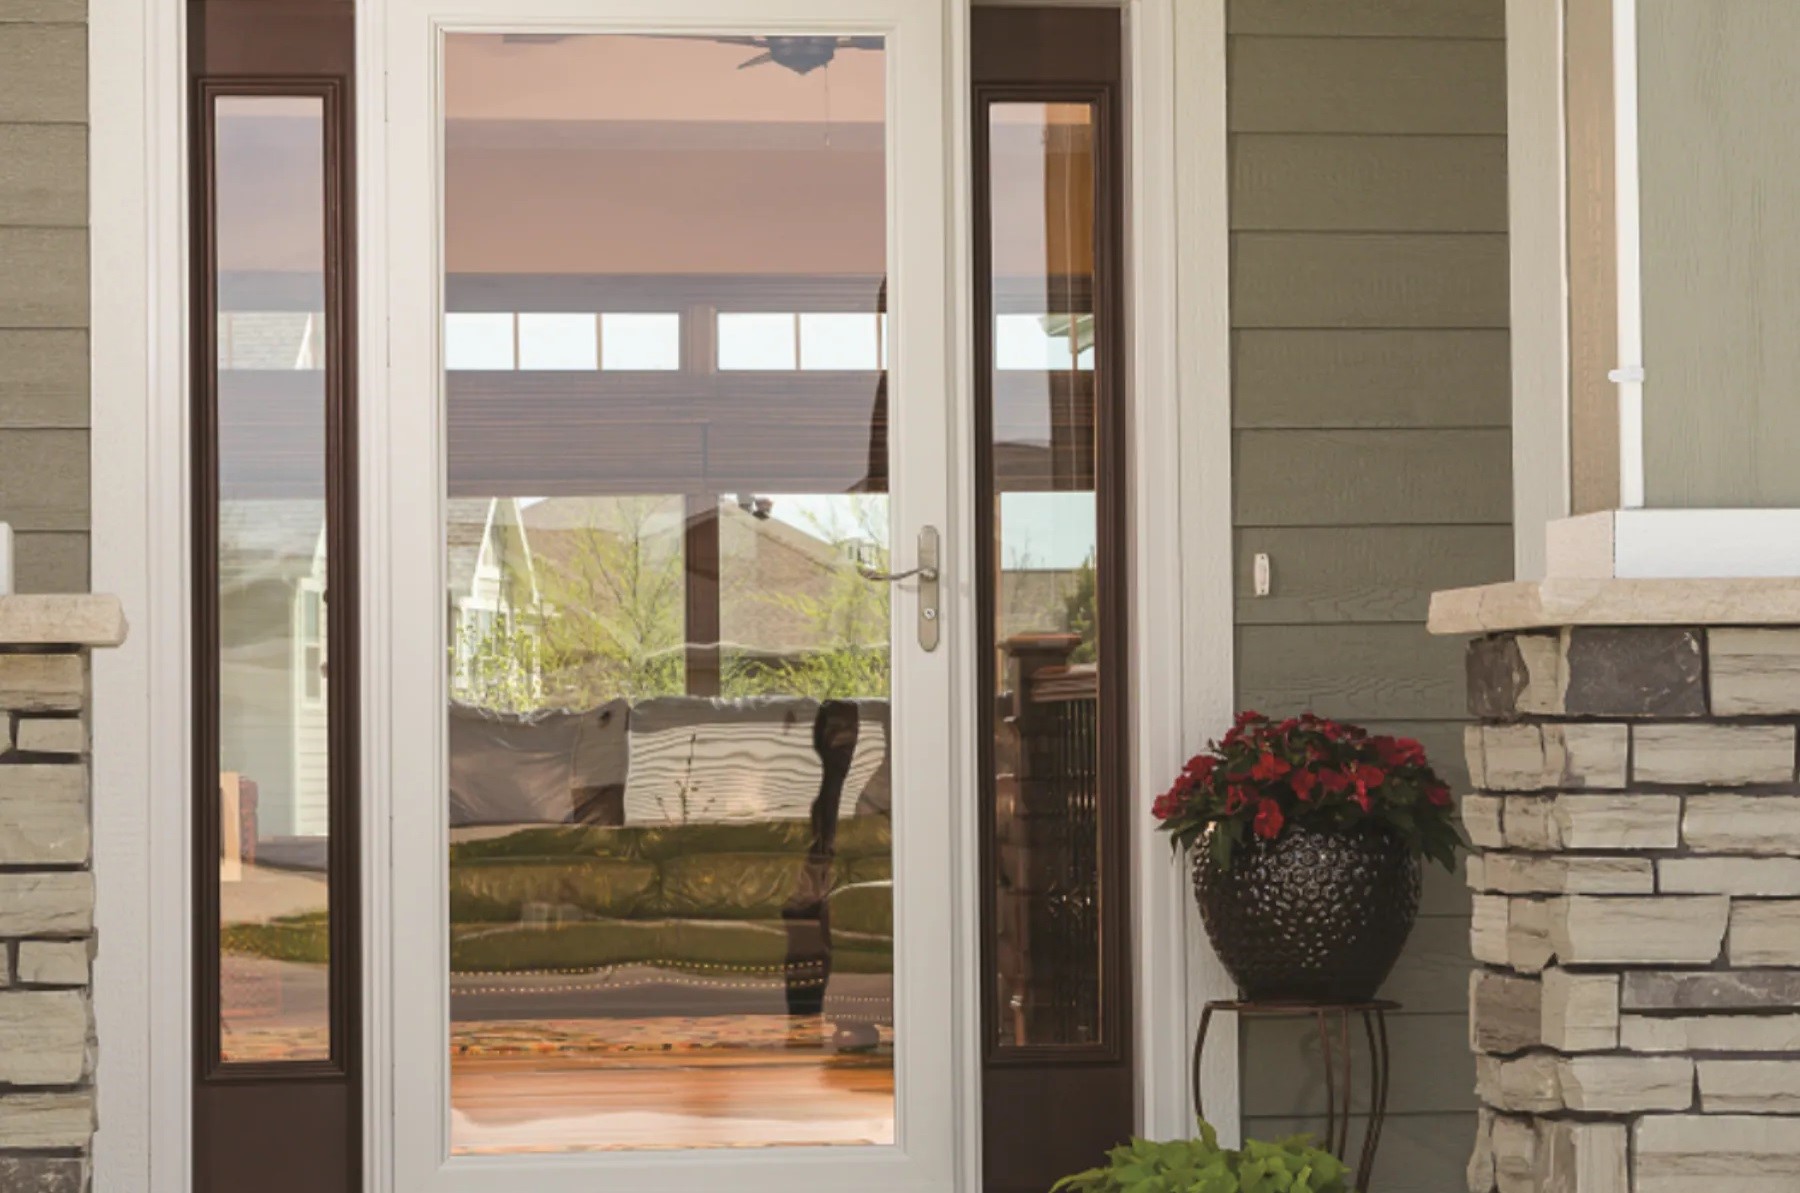
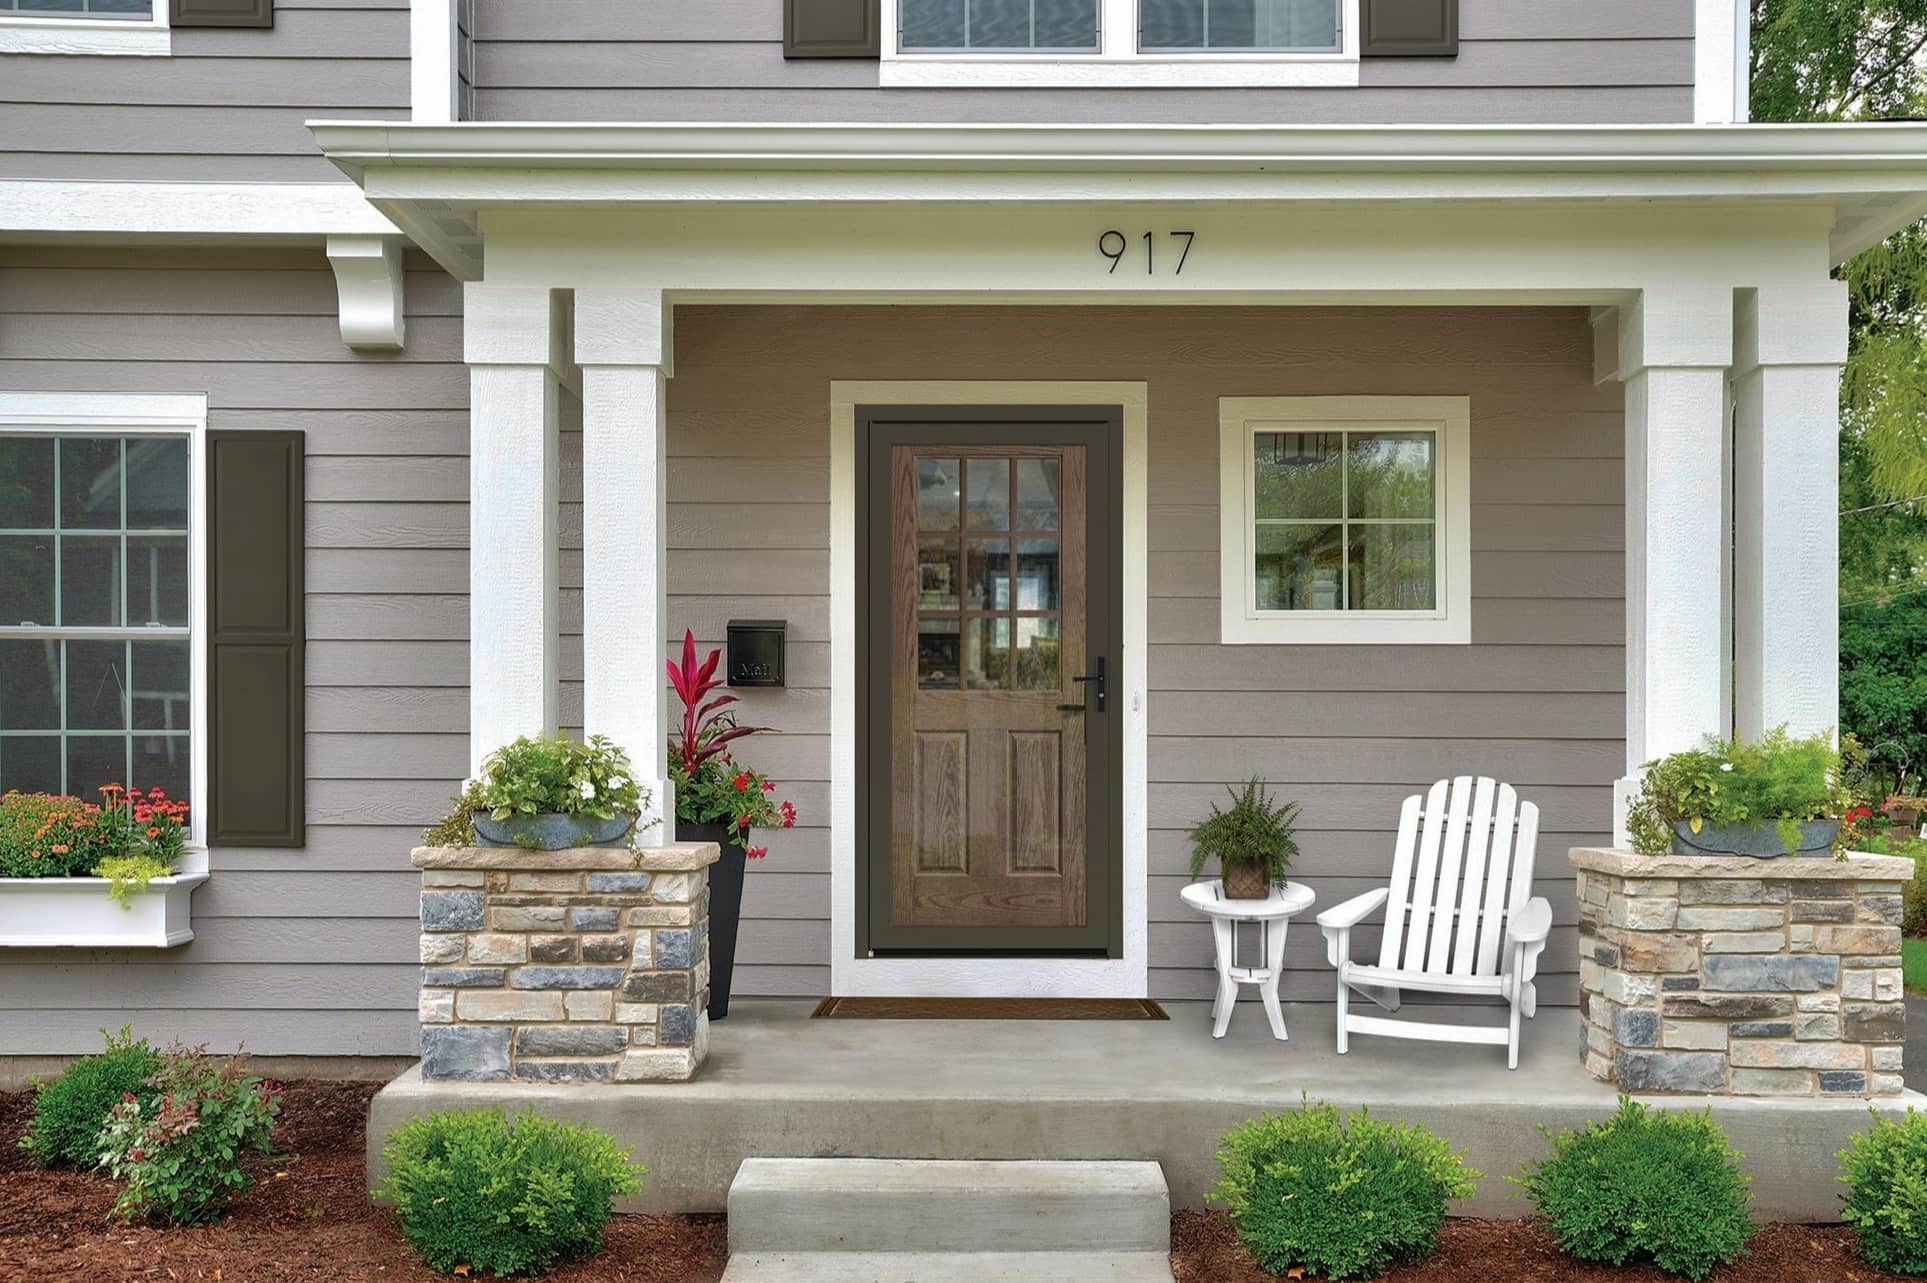
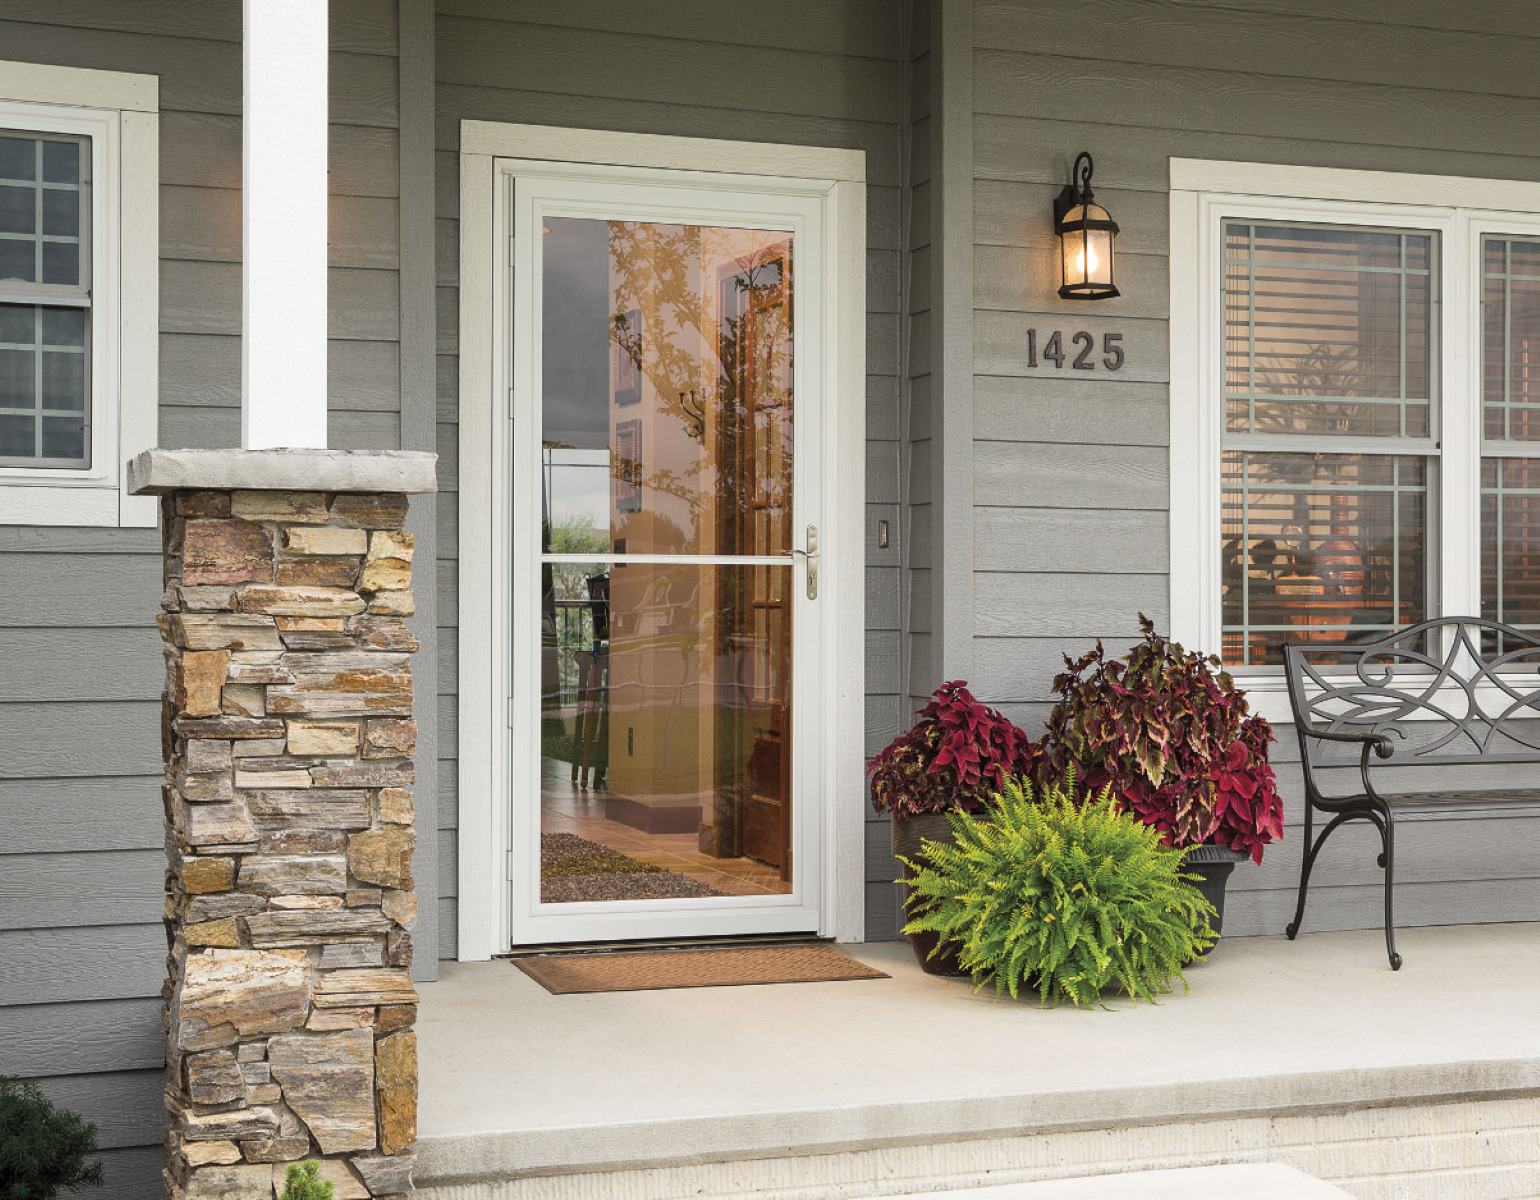
Welcome to the world of DIY home maintenance! If you're looking to spruce up your home's exterior and add a fresh pop of color, painting your storm door can be a fantastic way to achieve a noticeable transformation without breaking the bank. Whether you're a seasoned DIY enthusiast or just dipping your toes into the world of home improvement, this guide will walk you through the step-by-step process of painting your storm door like a pro.
A freshly painted storm door not only enhances your home's curb appeal but also provides an extra layer of protection against the elements. With the right materials, a bit of preparation, and a touch of creativity, you can breathe new life into your storm door and make a lasting impression.
In this comprehensive guide, we'll cover everything you need to know, from gathering the necessary materials to selecting the perfect paint and applying it with finesse. By the end of this journey, you'll be equipped with the knowledge and confidence to tackle this project with ease. So, roll up your sleeves, put on your DIY hat, and let's dive into the world of transforming your storm door from drab to fab!
Key Takeaways:
- Transform your home’s exterior by painting your storm door with the right materials and preparation. Add a pop of color and protection against the elements for a lasting impression.
- Choose the perfect paint and apply it with finesse to revitalize your storm door. Celebrate your DIY prowess and enjoy the vibrant and enduring transformation.
Read more: Installing A Storm Door
Materials Needed
Before embarking on your storm door painting adventure, it’s essential to gather the necessary materials. Here’s a comprehensive list of items you’ll need to ensure a smooth and successful painting process:
- Painter’s Tape: To protect the surrounding areas from accidental paint splatter.
- Sandpaper: Use medium-grit sandpaper to smooth the surface of the door and remove any existing paint or imperfections.
- Cleaner or Degreaser: An effective cleaner will help remove dirt, grime, and any residual oils from the door’s surface.
- Primer: Choose a high-quality primer suitable for metal surfaces to ensure proper adhesion and long-lasting results.
- Paint: Select a durable exterior paint designed for metal surfaces. Consider the color that complements your home’s exterior and withstands the elements.
- Paintbrushes and Rollers: High-quality brushes and rollers will ensure smooth and even application of the primer and paint.
- Drop Cloths or Plastic Sheets: Protect the surrounding area from paint drips and spills.
- Screwdriver: If your storm door has removable hardware, a screwdriver will be necessary for disassembly.
- Protective Gear: Gloves, safety goggles, and a mask to safeguard yourself during the painting process.
- Optional: Sanding Block or Electric Sander: For larger doors or to expedite the sanding process, a sanding block or electric sander can be beneficial.
By ensuring you have all these materials on hand, you’ll be well-prepared to tackle the project and achieve professional-looking results. Preparation is key, and having the right tools and supplies will make the painting process more efficient and enjoyable.
Preparing the Storm Door
Before diving into the exciting world of color and creativity, it’s crucial to prepare the storm door for the painting process. Proper preparation lays the foundation for a flawless finish and ensures the longevity of your newly painted door. Here’s a step-by-step guide to preparing your storm door like a pro:
- Remove Hardware: If your storm door features hardware such as handles, locks, or hinges, use a screwdriver to carefully remove them. This step allows for easier access to the entire surface of the door and prevents paint from adhering to the hardware.
- Clean the Surface: Using a suitable cleaner or degreaser, thoroughly clean the door’s surface to remove any dirt, grime, or residual oils. This step is vital for promoting proper paint adhesion and achieving a smooth finish.
- Sand the Door: With medium-grit sandpaper, gently sand the entire surface of the door. This step serves to smooth out any imperfections, remove existing paint, and create a slightly roughened texture to enhance paint adhesion.
- Remove Dust: After sanding, use a clean, damp cloth to wipe away any dust or debris from the door’s surface. Ensuring a clean, dust-free surface is essential for the primer and paint to adhere properly.
- Protect Surrounding Areas: Use painter’s tape and drop cloths or plastic sheets to safeguard the surrounding areas from accidental paint splatter. Taking the time to protect adjacent surfaces will make cleanup much easier.
By diligently following these preparation steps, you’ll set the stage for a successful painting experience. The extra effort invested in preparing the storm door will pay off in the form of a beautifully painted and long-lasting finish. With the door prepped and ready, it’s time to move on to the next exciting phase: choosing the perfect paint!
Choosing the Right Paint
When it comes to painting your storm door, selecting the right paint is a crucial decision that significantly impacts the final outcome. The ideal paint should not only enhance the door’s aesthetic appeal but also provide durable protection against the elements. Here are essential factors to consider when choosing the perfect paint for your storm door:
- Exterior-Specific: Opt for a high-quality exterior paint specifically formulated for metal surfaces. These paints are designed to withstand varying weather conditions, resist fading, and maintain their integrity over time.
- Color Selection: Consider the overall aesthetic of your home’s exterior and choose a color that complements the existing palette. Whether you prefer a bold statement color or a timeless neutral hue, ensure it harmonizes with the architectural style and color scheme of your home.
- Durability and Weather Resistance: Look for paints that offer superior durability, UV resistance, and protection against moisture. These features will help maintain the door’s appearance and structural integrity in the face of rain, sun exposure, and temperature fluctuations.
- Finish Type: Select a finish that suits your preferences and maintenance needs. Glossy finishes provide a sleek, reflective look but may require more frequent cleaning, while satin or matte finishes offer a more subdued appearance and can hide imperfections more effectively.
- Brand and Quality: Choose a reputable paint brand known for its durability and color retention. Investing in high-quality paint ensures a longer-lasting and more vibrant finish.
By carefully considering these factors and selecting a paint that aligns with your aesthetic vision and practical requirements, you’ll be well on your way to achieving a stunning and enduring transformation for your storm door. With the perfect paint in hand, the next step is to lay the groundwork for a flawless finish by applying primer to the prepared surface.
Before painting a storm door, make sure to clean and sand the surface to remove any dirt or old paint. Use a high-quality exterior paint and apply it in thin, even coats to prevent drips and ensure a smooth finish.
Applying Primer
Before applying the topcoat of paint, it’s essential to apply a high-quality primer to the prepared surface of the storm door. Primer serves as a crucial foundation, promoting paint adhesion, enhancing durability, and ensuring an even and long-lasting finish. Here’s a detailed guide on how to apply primer to your storm door like a pro:
- Choose the Right Primer: Select a primer specifically formulated for metal surfaces. Look for products that offer excellent adhesion, corrosion resistance, and compatibility with the type of paint you’ll be using.
- Prepare the Primer: Thoroughly stir the primer to achieve a consistent texture and ensure that any settled pigments are evenly distributed. If the primer requires thinning, follow the manufacturer’s instructions for the correct ratio of thinning agent to primer.
- Apply the Primer: Using high-quality paintbrushes or rollers, apply a smooth and even coat of primer to the entire surface of the storm door. Work in manageable sections to ensure thorough coverage and minimize drips or streaks.
- Pay Attention to Details: Be meticulous when applying primer to any intricate or recessed areas of the door, ensuring that the primer reaches all surfaces for comprehensive coverage.
- Allow for Drying Time: Follow the manufacturer’s recommendations for the drying time of the primer. Adequate drying time is essential to ensure that the primer fully adheres to the door’s surface and forms a strong bond with the subsequent layers of paint.
- Inspect for Uniformity: After the primer has dried, inspect the door for any uneven areas, missed spots, or imperfections. Touch up any areas as needed to achieve a smooth and consistent base for the topcoat of paint.
By diligently applying primer to the prepared surface of the storm door, you’ll establish a solid foundation for the final coat of paint. The primer not only enhances the adhesion and durability of the paint but also contributes to a professional-quality finish. With the primer in place, it’s time to infuse your storm door with a vibrant burst of color through the painting process.
Read more: How To Unlock A Storm Door
Painting the Storm Door
With the surface prepared and primed, it’s time to embark on the exciting phase of adding a fresh coat of paint to your storm door. Painting is where your creativity and personal style can truly shine, transforming the door and enhancing your home’s exterior appeal. Here’s a comprehensive guide to painting your storm door with finesse:
- Choose Ideal Painting Conditions: Select a day with mild temperatures and low humidity to ensure optimal paint application and drying. Avoid painting in direct sunlight to prevent premature drying and potential unevenness.
- Stir the Paint: Thoroughly stir the paint to achieve a uniform consistency and ensure that any settled pigments are evenly distributed throughout the can.
- Apply the First Coat: Using high-quality paintbrushes or rollers, apply the first coat of paint to the entire surface of the storm door. Work methodically, covering one area at a time to maintain a wet edge and achieve even coverage.
- Focus on Even Application: Pay attention to achieving a smooth and consistent application of paint, minimizing drips, streaks, or visible brush marks. Work in the direction of the door’s panels and contours for a professional finish.
- Allow for Drying Time: Follow the paint manufacturer’s recommendations for the drying time between coats. Adequate drying time allows the first coat to set and ensures proper adhesion of the subsequent layers.
- Apply the Second Coat: Once the first coat has dried, apply a second coat of paint using the same meticulous approach. The second coat enhances color depth and coverage, providing a more vibrant and durable finish.
- Inspect for Quality: After the final coat has dried, inspect the door for any missed spots, uneven areas, or imperfections. Touch up any areas as needed to achieve a flawless and uniform appearance.
By following these steps and exercising patience and attention to detail, you’ll breathe new life into your storm door and create a visually stunning and enduring finish. With the painting process complete, it’s time to add the finishing touches to elevate the overall look and ensure the longevity of your newly painted door.
Finishing Touches
As you near the completion of the painting process, adding the finishing touches will elevate the overall appearance of your freshly painted storm door and ensure its long-term durability. Attention to detail during this phase will contribute to a polished and professional result. Here’s a guide to the essential finishing touches for your newly painted storm door:
- Reinstall Hardware: If you removed any hardware before painting, carefully reinstall handles, locks, hinges, and any other components. Ensure that the hardware is securely and correctly positioned for smooth operation.
- Inspect for Imperfections: Thoroughly examine the painted surface for any drips, runs, or blemishes. Lightly sand any imperfections with fine-grit sandpaper and touch up the affected areas with a small brush for seamless blending.
- Protective Coating (Optional): Consider applying a clear protective coating or sealant specifically designed for exterior metal surfaces. This additional layer provides enhanced protection against UV rays, moisture, and general wear and tear, extending the life of the paint job.
- Clean Surrounding Areas: Remove any painter’s tape, drop cloths, or plastic sheets used to protect adjacent surfaces. Thoroughly clean the area around the door to ensure a tidy and professional finish.
- Celebrate Your Achievement: Step back and admire your handiwork! Take a moment to appreciate the transformation of your storm door and the impact it has on your home’s exterior. Your dedication and attention to detail have resulted in a stunning and refreshed entryway.
By incorporating these finishing touches, you’ll ensure that your newly painted storm door not only looks exceptional but also maintains its beauty and protection over time. With the completion of these final steps, you’ve successfully revitalized your storm door, adding a touch of charm and personality to your home’s exterior.
Conclusion
Congratulations on successfully completing the transformative journey of painting your storm door! By infusing your creativity and attention to detail, you’ve revitalized your home’s exterior, adding a vibrant and personalized touch to your entryway. Throughout this process, you’ve not only enhanced the aesthetic appeal of your storm door but also fortified it against the elements, ensuring long-lasting beauty and protection.
From the meticulous preparation and selection of materials to the careful application of primer and paint, your dedication to this project has yielded a remarkable outcome. The investment of time and effort in each step has resulted in a professional-quality finish that reflects your commitment to excellence.
As you admire your newly painted storm door, take pride in the craftsmanship and care you’ve put into this project. Your home’s exterior now boasts a refreshed and inviting focal point that welcomes both residents and visitors with style and charm. The vibrant color and flawless finish of your storm door serve as a testament to your DIY prowess and your ability to transform ordinary elements into extraordinary features.
Remember, the knowledge and skills you’ve gained from this experience can be applied to future DIY endeavors, empowering you to take on new projects with confidence and creativity. Whether it’s a fresh coat of paint for a garden gate, a custom accent wall, or a furniture refinishing project, your newfound expertise opens the door to endless possibilities for enhancing your living space.
As you bask in the satisfaction of a job well done, take a moment to appreciate the impact of your efforts on your home’s overall aesthetic and the sense of accomplishment that comes with a successful DIY endeavor. Your beautifully painted storm door stands as a testament to your dedication to creating a welcoming and visually captivating environment.
With your storm door now serving as a stunning focal point, you’ve made a lasting impression and created a warm and inviting entryway that reflects your personal style and attention to detail. Embrace the sense of pride and fulfillment that comes with transforming your living space, one brushstroke at a time.
Now, as you step back and admire the beauty and craftsmanship of your newly painted storm door, know that you’ve not only enhanced your home’s exterior but also enriched your DIY skills and creative spirit. Cheers to your successful project and the many more to come!
Frequently Asked Questions about How To Paint A Storm Door
Was this page helpful?
At Storables.com, we guarantee accurate and reliable information. Our content, validated by Expert Board Contributors, is crafted following stringent Editorial Policies. We're committed to providing you with well-researched, expert-backed insights for all your informational needs.


0 thoughts on “How To Paint A Storm Door”