Home>Renovation & DIY>Home Renovation Guides>How To Lay Vapor Barrier In Crawl Space
Home Renovation Guides
How To Lay Vapor Barrier In Crawl Space
Modified: August 17, 2024
Learn how to properly lay a vapor barrier in your crawl space with our comprehensive home renovation guide. Protect your home from moisture and mold.
(Many of the links in this article redirect to a specific reviewed product. Your purchase of these products through affiliate links helps to generate commission for Storables.com, at no extra cost. Learn more)
Introduction
Laying a vapor barrier in your crawl space is a crucial step in maintaining the integrity of your home. A vapor barrier, also known as a moisture barrier, is a material used to prevent moisture from seeping into the crawl space and causing damage to the structure and insulation of your home. By creating a barrier between the ground and the crawl space, you can effectively control moisture levels, reduce the risk of mold and mildew, and ultimately protect the overall health of your home.
In this comprehensive guide, we will walk you through the step-by-step process of laying a vapor barrier in your crawl space. Whether you're a seasoned DIY enthusiast or a homeowner looking to tackle this project for the first time, this guide will equip you with the knowledge and confidence to successfully complete the task.
By following the detailed instructions provided in this guide, you will not only safeguard your home against moisture-related issues but also contribute to its long-term durability and energy efficiency. So, roll up your sleeves and get ready to transform your crawl space into a well-protected and healthy environment for your home. Let's dive into the essential steps for laying a vapor barrier in your crawl space.
Key Takeaways:
- Protect your home by laying a vapor barrier in the crawl space. Prepare, measure, lay, seal, and secure the barrier to prevent moisture damage and ensure a healthier living environment.
- Meticulously prepare, measure, lay, seal, and secure the vapor barrier in your crawl space to safeguard your home against moisture and enhance its durability.
Read more: What Is A Vapor Barrier In A Crawl Space
Step 1: Prepare the Crawl Space
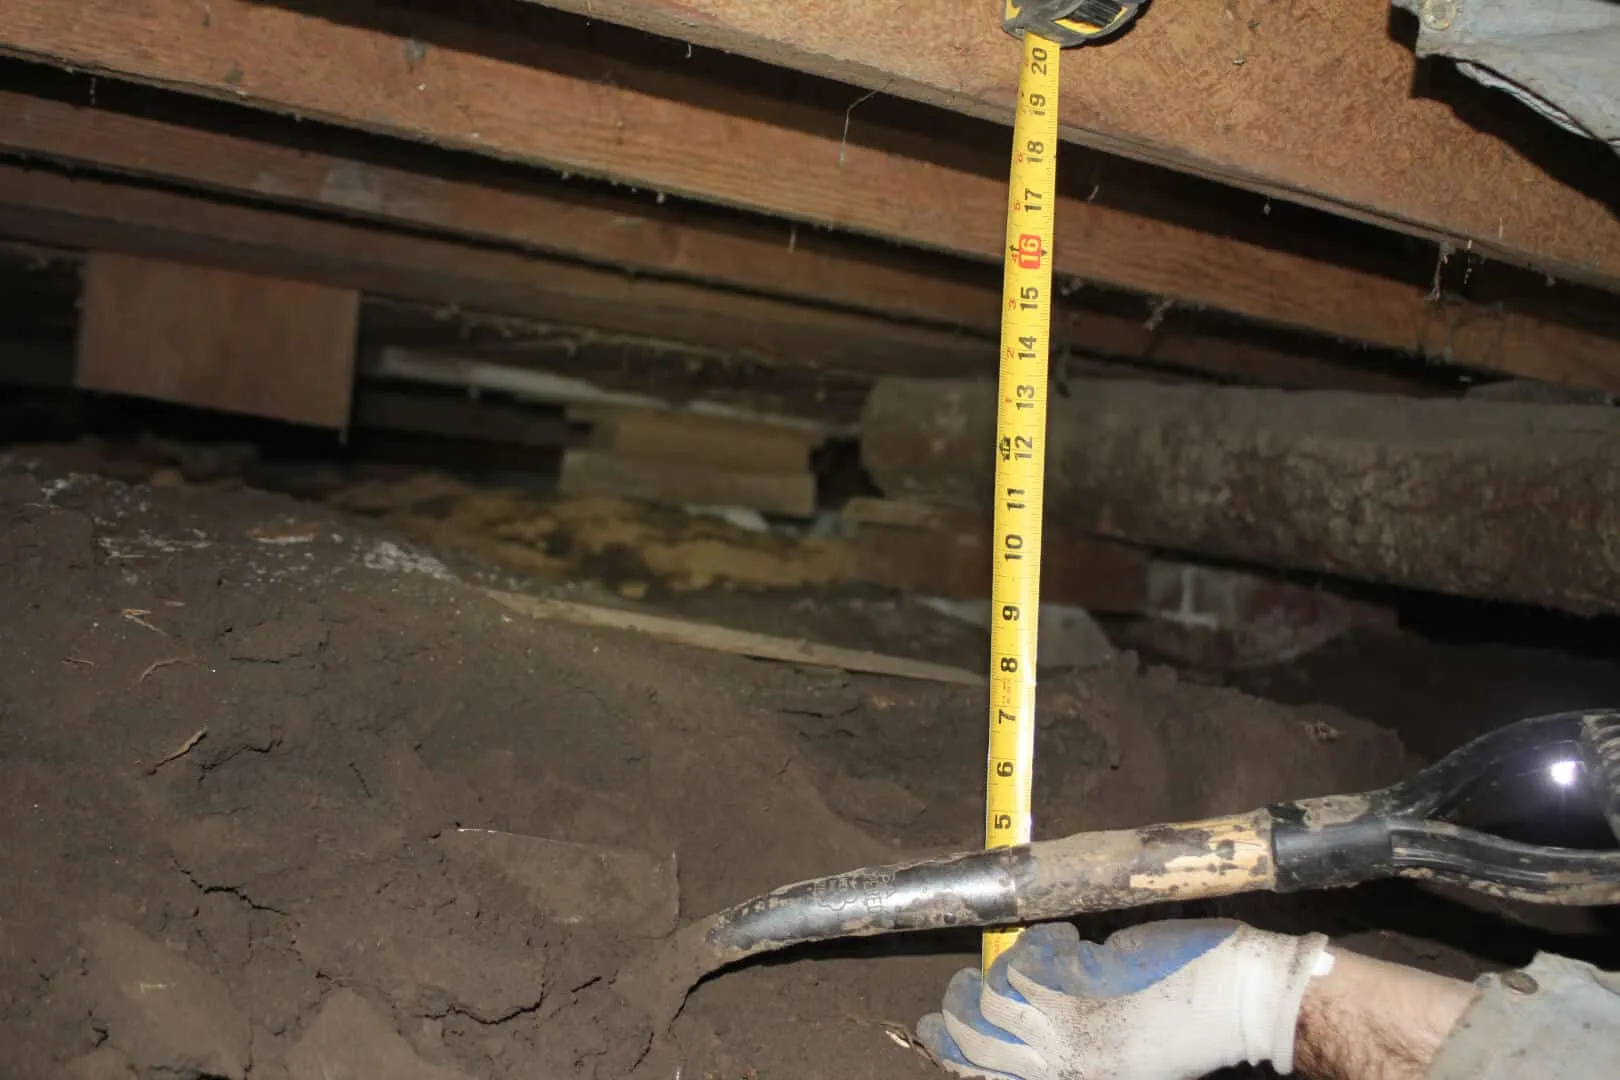
Before laying the vapor barrier, it's crucial to prepare the crawl space to ensure optimal conditions for installation. Here's a detailed breakdown of the essential steps involved in this preparatory phase:
-
Clear Debris and Obstructions: Begin by clearing the crawl space of any debris, including rocks, branches, and other obstructions. This step is vital as it creates a clean and even surface for the vapor barrier to be laid upon.
-
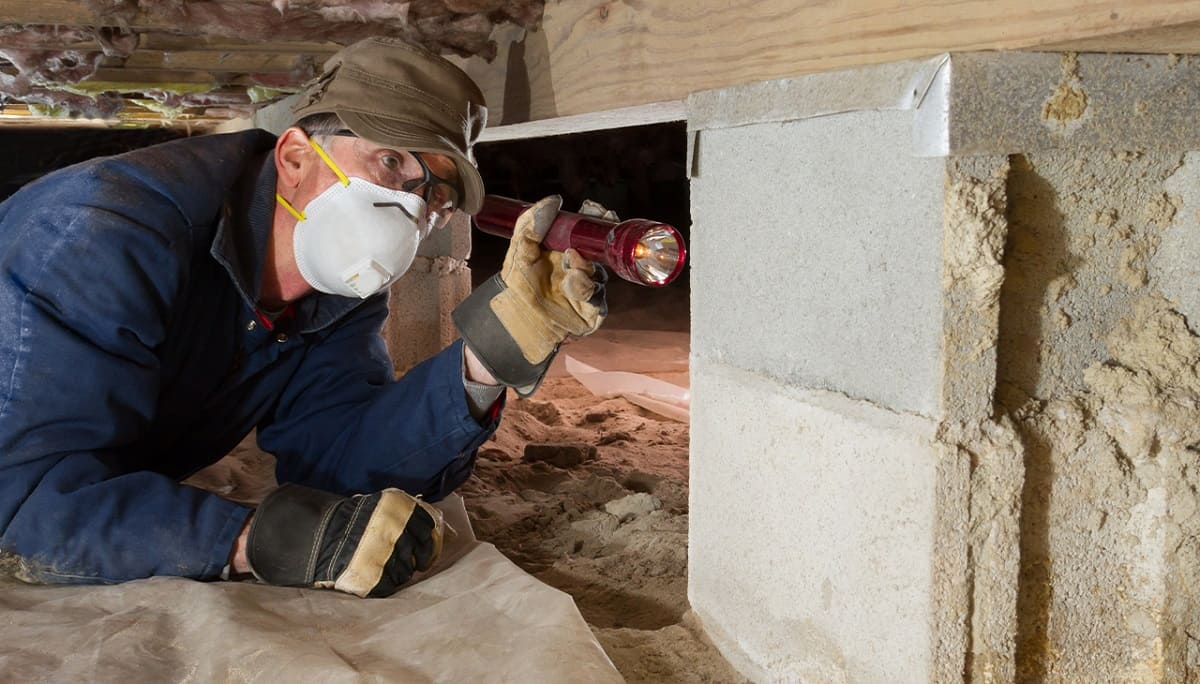
Inspect for Moisture and Damage: Thoroughly inspect the crawl space for any signs of moisture, water damage, or existing mold. Addressing these issues before installing the vapor barrier is essential to prevent further damage and ensure the effectiveness of the barrier.
-
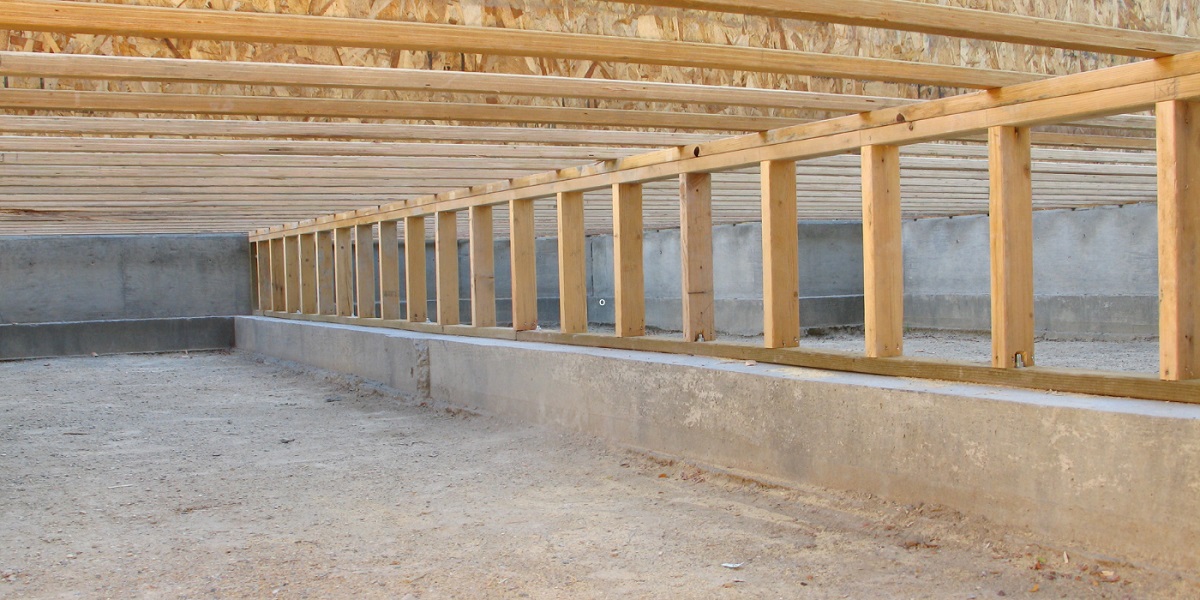
Repair Structural Issues: Take this opportunity to address any structural issues within the crawl space, such as damaged insulation, sagging joists, or cracks in the foundation. Repairing these issues will contribute to the overall health and stability of your home.
-
Level the Ground: If the ground in the crawl space is uneven, consider leveling it using a suitable material, such as sand or gravel. A level surface will facilitate the smooth and uniform installation of the vapor barrier.
-
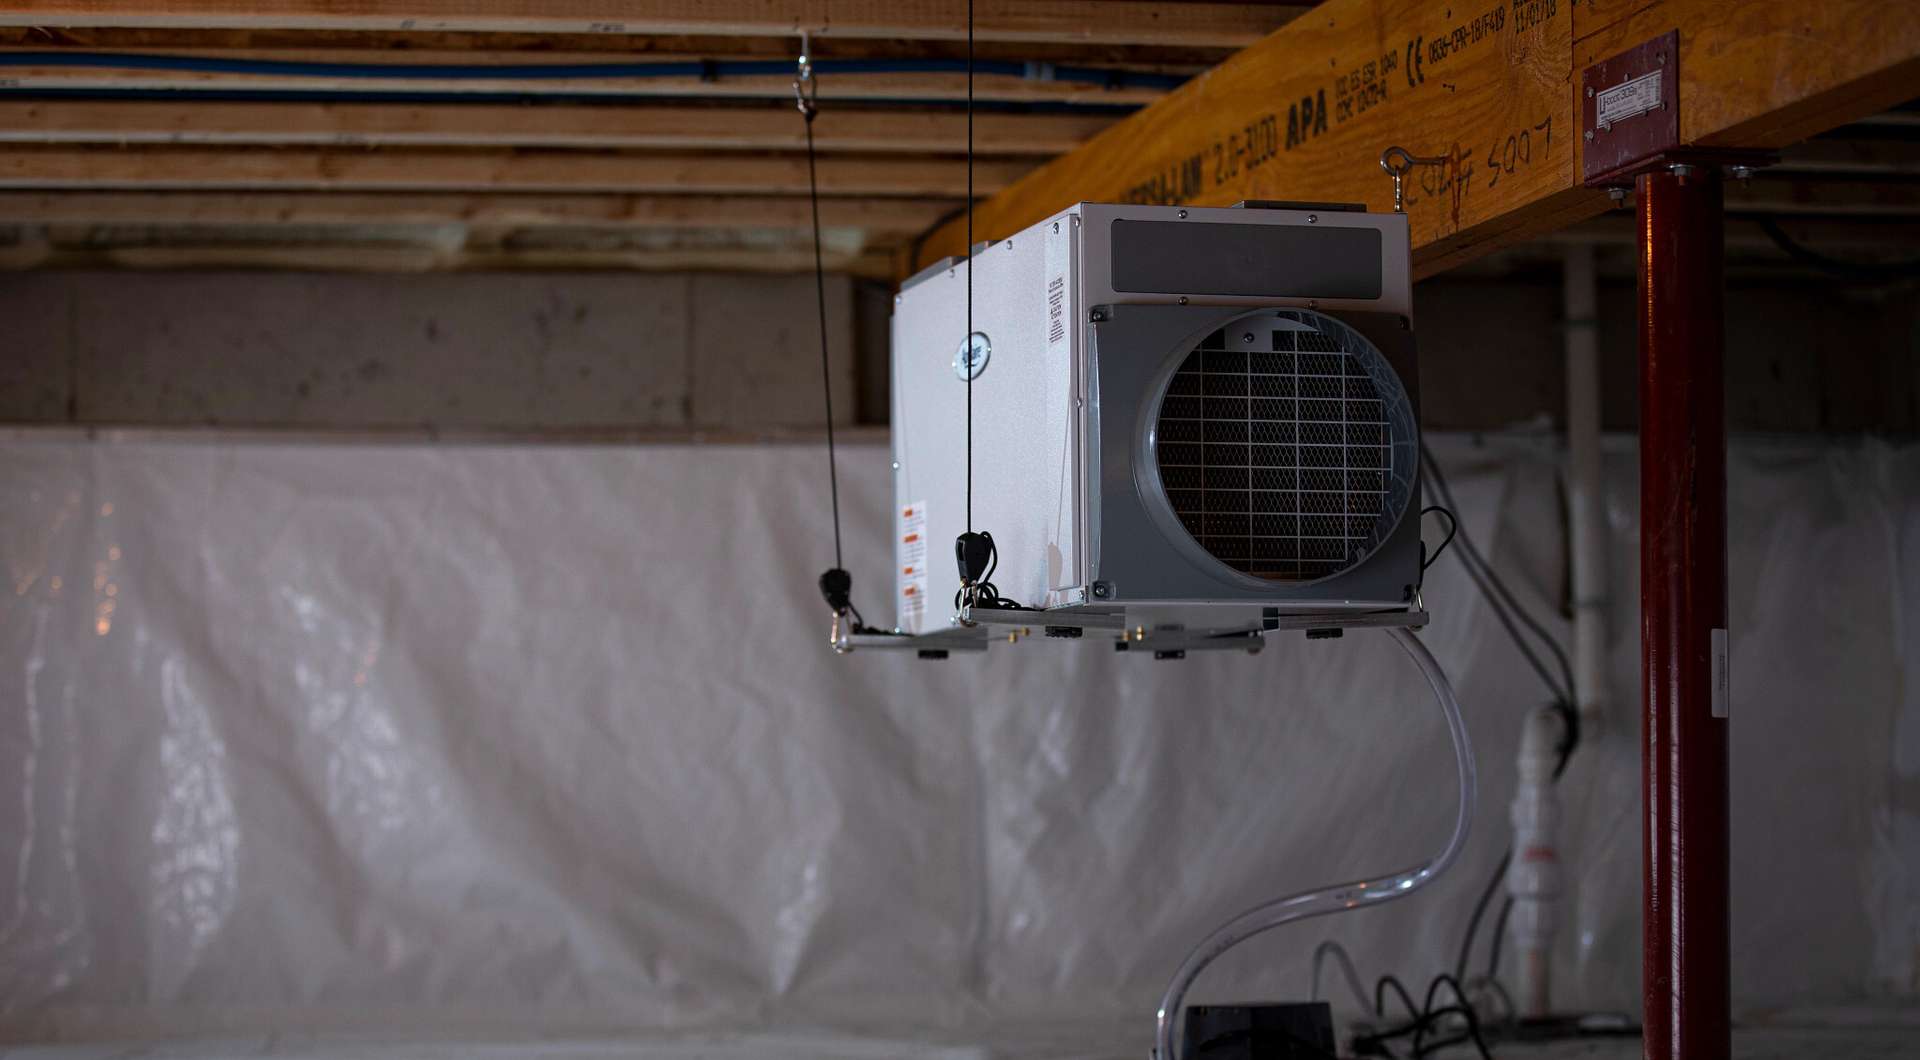
Address Ventilation and Air Circulation: Evaluate the ventilation and air circulation in the crawl space. Ensure that vents are unobstructed and that there is adequate airflow to prevent stagnant moisture buildup.
-
Consider Pest Control Measures: Take proactive measures to address any existing pest issues in the crawl space. This may involve sealing entry points, setting traps, or seeking professional pest control services to mitigate potential infestations.
By meticulously preparing the crawl space, you set the stage for a successful vapor barrier installation. This proactive approach not only ensures the effectiveness of the barrier but also contributes to the overall health and longevity of your home's structure. With the crawl space primed and ready, you're now prepared to move on to the next crucial step in the process: measuring and cutting the vapor barrier.
Step 2: Measure and Cut the Vapor Barrier
Once the crawl space is properly prepared, the next step is to measure and cut the vapor barrier to fit the dimensions of the space. This phase requires precision and attention to detail to ensure the vapor barrier effectively covers the entire crawl space area. Here's a detailed breakdown of the essential steps involved in measuring and cutting the vapor barrier:
-
Accurate Measurements: Begin by carefully measuring the dimensions of the crawl space. Take precise measurements of the length and width, accounting for any obstacles or protrusions that may require the vapor barrier to be cut around or fitted under. It's crucial to be meticulous in this step to avoid unnecessary adjustments during installation.
-
Select the Vapor Barrier Material: Choose a high-quality vapor barrier material that is durable and specifically designed for crawl space applications. Consider the thickness and strength of the material, ensuring it provides adequate protection against moisture and punctures. Opting for a material with reinforced construction can enhance its longevity and resilience.
-
Cutting the Vapor Barrier: Using the precise measurements obtained earlier, carefully cut the vapor barrier to fit the dimensions of the crawl space. Employ a sharp utility knife or scissors to achieve clean and accurate cuts. It's advisable to cut the material slightly larger than the measured dimensions to allow for overlapping and securing the edges during installation.
-
Account for Overlapping and Seams: When cutting the vapor barrier, factor in the necessary overlap at the seams and edges. Overlapping the material ensures a seamless barrier that effectively prevents moisture infiltration. Additionally, plan for the placement of seams to minimize potential weak points and ensure comprehensive coverage of the crawl space.
-
Consider Obstacles and Obstructions: Take into account any obstacles or obstructions within the crawl space, such as support beams, pipes, or HVAC components. Cut the vapor barrier with precision to accommodate these elements, allowing for a snug and secure fit around them while maintaining the integrity of the barrier.
-
Label and Organize Sections: As you cut the vapor barrier into sections, label them accordingly to correspond with their placement in the crawl space. This organization will streamline the installation process and help ensure that each section is positioned correctly, minimizing potential errors and adjustments during installation.
By meticulously measuring and cutting the vapor barrier to fit the crawl space dimensions, you set the stage for a seamless and effective installation. This precision-oriented approach lays the foundation for the subsequent steps, ultimately contributing to the overall success of the vapor barrier installation process. With the vapor barrier material accurately prepared, you're now ready to proceed to the next critical phase: laying the vapor barrier in the crawl space.
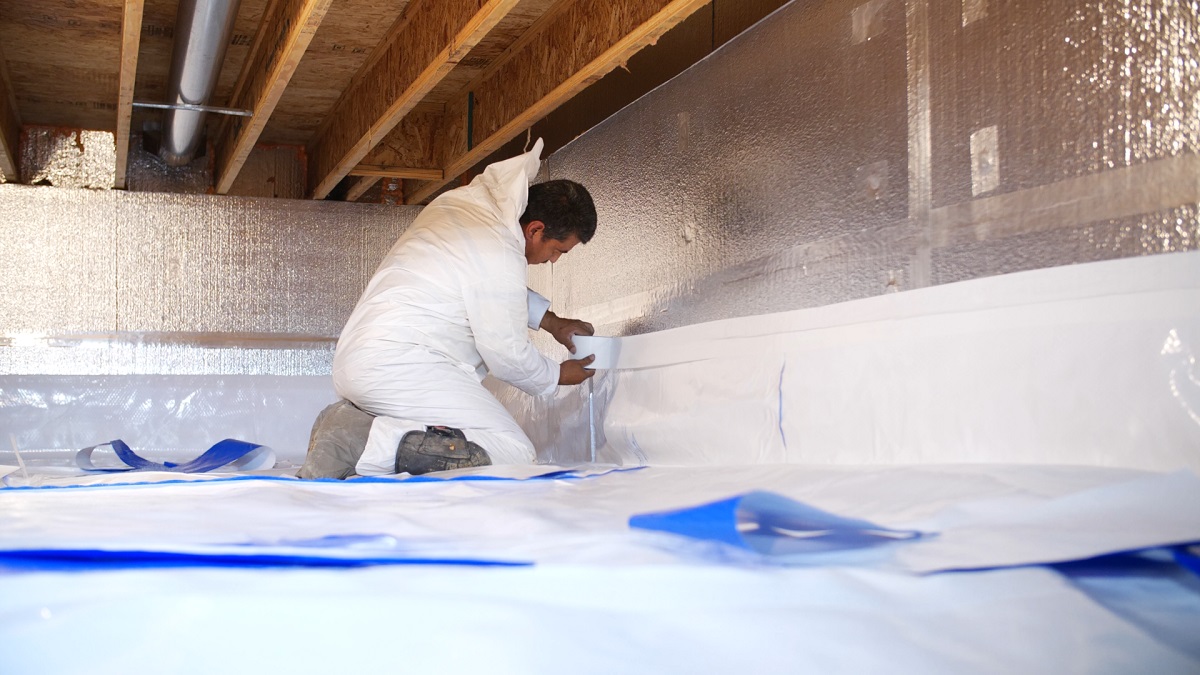
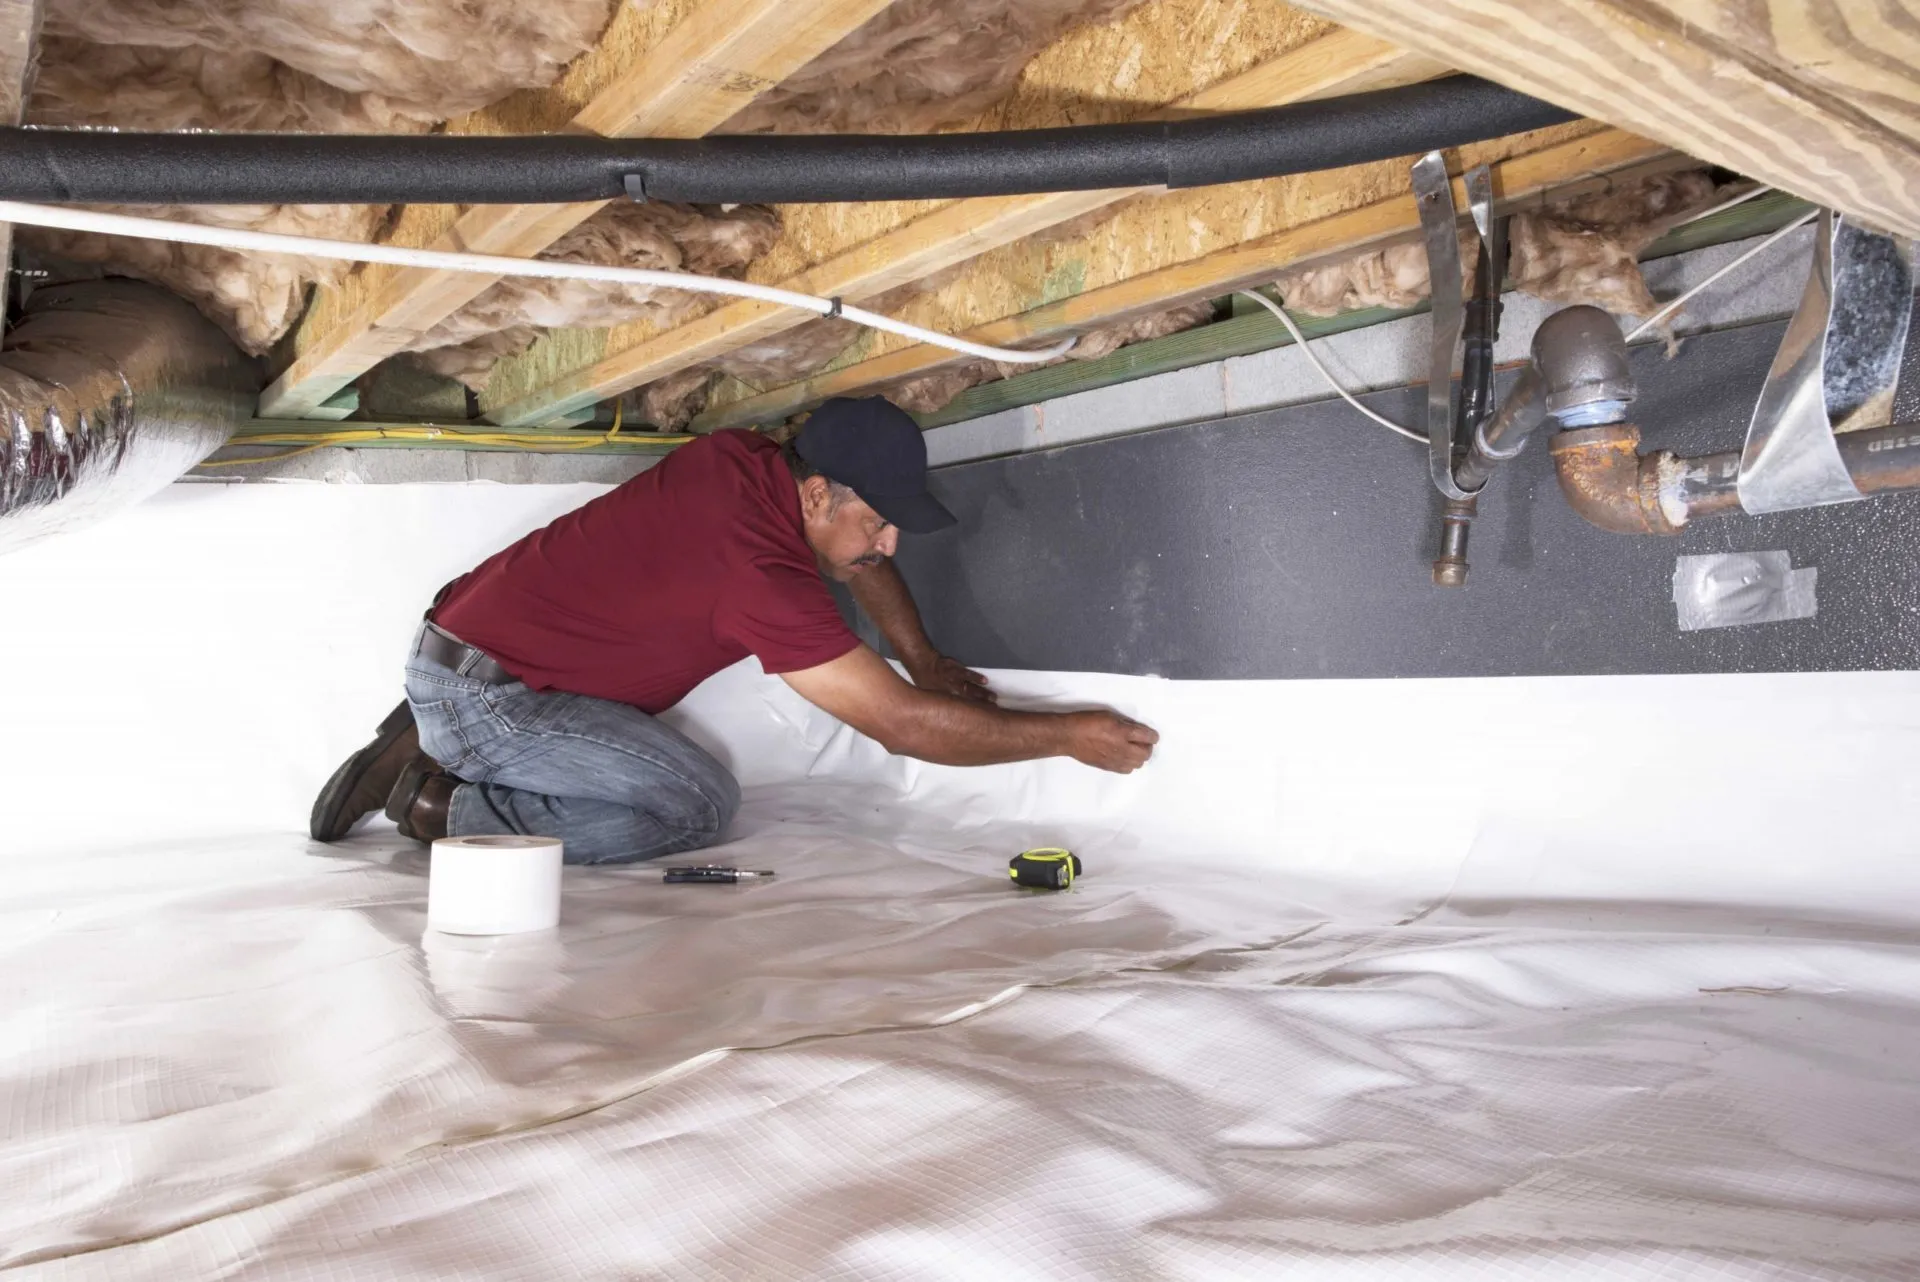
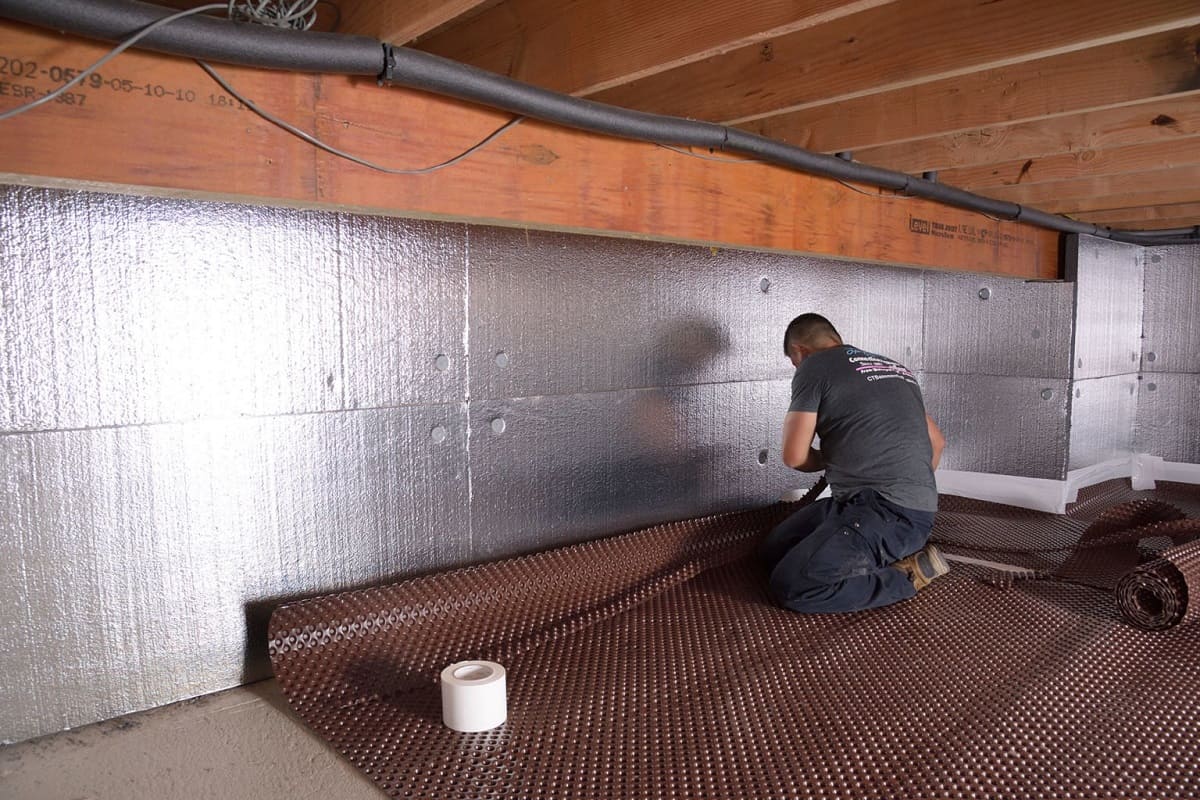
Step 3: Lay the Vapor Barrier
With the crawl space meticulously prepared and the vapor barrier material accurately cut to fit the dimensions, it's time to proceed with laying the vapor barrier. This phase of the installation process requires careful attention to detail and a methodical approach to ensure the barrier is positioned effectively to prevent moisture infiltration. Here's a comprehensive breakdown of the essential steps involved in laying the vapor barrier in the crawl space:
-
Positioning the First Section: Begin by positioning the first section of the vapor barrier in the crawl space, starting from a corner or edge. Carefully unfold the material and place it in the designated area, ensuring it aligns with the dimensions of the space and any obstacles or protrusions.
-
Smooth Out Wrinkles and Folds: As you lay the vapor barrier, take care to smooth out any wrinkles, folds, or creases in the material. A smooth and taut surface is essential for maximizing the effectiveness of the barrier and preventing moisture from accumulating in uneven areas.
-
Maintain Overlapping Edges: As you lay subsequent sections of the vapor barrier, ensure that the edges overlap according to the predetermined measurements. Overlapping the material creates a continuous and seamless barrier, minimizing the risk of moisture seepage through gaps or exposed areas.
-
Secure the Barrier in Place: Use suitable methods to secure the vapor barrier in place as you lay it across the crawl space. This may involve using construction-grade tape, adhesive, or specialized fasteners designed for vapor barrier installation. Secure the edges and seams to prevent shifting or displacement over time.
-
Navigate Around Obstacles: When encountering obstacles such as support beams, pipes, or HVAC components, carefully maneuver the vapor barrier around these elements. Ensure a snug fit around obstacles while maintaining the integrity of the barrier and its ability to provide comprehensive coverage.
-
Maintain Uniform Coverage: Throughout the process of laying the vapor barrier, strive to maintain uniform coverage across the entire crawl space. Pay close attention to corners, edges, and hard-to-reach areas to ensure that the barrier effectively encapsulates the space without leaving vulnerable spots.
-
Inspect and Adjust as Needed: Periodically inspect the laid vapor barrier to identify any areas that may require adjustments or additional securing. Address any loose edges, uneven sections, or potential weak points to reinforce the barrier's integrity and long-term performance.
By meticulously laying the vapor barrier in the crawl space, you establish a robust defense against moisture infiltration, ultimately safeguarding the structural integrity and health of your home. With the barrier effectively positioned, the next critical step involves sealing the seams to further enhance its protective capabilities.
Step 4: Seal the Seams
Sealing the seams of the vapor barrier is a pivotal step in fortifying its effectiveness and ensuring comprehensive protection against moisture infiltration. By meticulously sealing the seams, you create a continuous and impermeable barrier that safeguards the crawl space and contributes to the overall health and longevity of your home.
Here's a detailed breakdown of the essential steps involved in sealing the seams of the vapor barrier:
-
Clean and Prepare the Seams: Before applying any sealing materials, it's crucial to clean and prepare the seams of the vapor barrier. Remove any debris, dust, or moisture from the seam areas to ensure optimal adhesion and a secure seal.
-
Select a High-Quality Sealing Tape or Adhesive: Choose a high-quality sealing tape or adhesive specifically designed for vapor barrier applications. Opt for a durable and moisture-resistant product that offers long-term reliability and adherence to the barrier material.
-
Apply the Sealing Material: Carefully apply the selected sealing tape or adhesive along the seams of the vapor barrier. Ensure that the material is evenly and securely affixed to create a tight seal that prevents moisture from penetrating the barrier.
-
Overlap and Secure the Seams: When sealing the seams, allow for a slight overlap of the sealing material to ensure comprehensive coverage and a robust seal. Press the overlapping sections firmly to create a seamless connection that effectively prevents moisture seepage.
-
Address Corners and Edges: Pay special attention to the corners and edges of the vapor barrier, as these areas are particularly vulnerable to moisture intrusion. Apply additional sealing material to reinforce these critical points and eliminate potential weak spots.
-
Inspect for Adequate Sealing: After applying the sealing material, thoroughly inspect the seams to ensure that they are uniformly and securely sealed. Address any areas that may require additional sealing or reinforcement to guarantee the integrity of the barrier.
-
Consider Professional Consultation: If you encounter challenges or uncertainties during the sealing process, consider seeking professional consultation or assistance. Professional input can provide valuable insights and ensure that the seams are sealed to industry standards.
By meticulously sealing the seams of the vapor barrier, you elevate its protective capabilities and fortify the crawl space against moisture-related issues. This proactive approach not only safeguards the structural integrity of your home but also contributes to a healthier and more resilient living environment.
With the seams securely sealed, the final critical step involves securing the vapor barrier to ensure its long-term effectiveness in preserving the integrity of your crawl space.
Read more: What Is A Vapor Barrier For Insulation
Step 5: Secure the Vapor Barrier
Securing the vapor barrier is the final crucial step in the comprehensive process of laying a vapor barrier in your crawl space. By effectively securing the barrier in place, you ensure its long-term durability and resilience, ultimately contributing to the overall protection and health of your home. Here's a detailed exploration of the essential steps involved in securing the vapor barrier:
Utilize Proper Fastening Methods
Select appropriate fastening methods to secure the vapor barrier in place within the crawl space. This may involve using construction-grade staples, specialized vapor barrier fasteners, or adhesive designed for securing vapor barrier materials. Ensure that the chosen fasteners are compatible with the barrier material and capable of providing reliable and long-lasting attachment.
Secure Edges and Seams
Focus on securing the edges and seams of the vapor barrier to prevent shifting or displacement over time. Use fasteners or adhesive to firmly secure the edges of the barrier to the walls or foundation of the crawl space. Additionally, reinforce the sealed seams by applying additional fasteners or adhesive to maintain the integrity of the barrier's protective enclosure.
Address Potential Movement
Anticipate potential movement within the crawl space and take proactive measures to mitigate its impact on the vapor barrier. Secure the barrier in a manner that accounts for potential shifts in the environment, such as temperature fluctuations or structural adjustments. By addressing potential movement, you enhance the barrier's ability to maintain consistent coverage and protection.
Read more: How To Add A Vapor Barrier To Attic
Consider Weight Distribution
If applicable, consider the distribution of weight within the crawl space and its potential impact on the vapor barrier. Ensure that heavy objects or equipment placed within the crawl space do not compromise the integrity of the barrier. Strategically secure the barrier to withstand potential pressure or weight, maintaining its effectiveness in preventing moisture infiltration.
Inspect and Reinforce as Needed
Periodically inspect the secured vapor barrier to identify any areas that may require reinforcement or adjustments. Address any loose sections, unsecured edges, or potential vulnerabilities to ensure that the barrier remains steadfast and fully protective. By proactively reinforcing the secured barrier, you bolster its ability to withstand environmental factors and preserve the crawl space's integrity.
By meticulously securing the vapor barrier in your crawl space, you establish a robust defense against moisture infiltration and contribute to the long-term health and stability of your home. This proactive approach ensures that the barrier remains steadfast and effective in safeguarding the crawl space, ultimately enhancing the overall resilience and durability of your home's structure.
When laying vapor barrier in a crawl space, make sure to overlap the seams by at least 12 inches and secure the edges with a heavy-duty tape to prevent moisture from seeping through.
Conclusion
In conclusion, the process of laying a vapor barrier in your crawl space is a fundamental undertaking that significantly contributes to the overall health and longevity of your home. By meticulously preparing the crawl space, measuring and cutting the vapor barrier, laying it with precision, sealing the seams, and securing it effectively, you establish a robust defense against moisture infiltration and its detrimental effects.
The meticulous preparation of the crawl space sets the stage for a successful vapor barrier installation, addressing structural issues, moisture concerns, and potential obstacles. This proactive approach not only ensures the effectiveness of the barrier but also contributes to the overall health and stability of your home's structure.
Measuring and cutting the vapor barrier with precision is essential to ensure comprehensive coverage and a seamless installation. By carefully accounting for obstacles, overlapping edges, and labeling sections, you lay the foundation for a successful installation process.
Laying the vapor barrier with attention to detail and uniform coverage is pivotal in creating a protective enclosure that safeguards the crawl space against moisture intrusion. By smoothing out wrinkles, maintaining overlapping edges, and securing the barrier in place, you establish a formidable defense against moisture-related issues.
Sealing the seams of the vapor barrier further enhances its protective capabilities, creating a continuous and impermeable barrier that fortifies the crawl space against moisture infiltration. This meticulous step ensures that the barrier remains steadfast and effective in preserving the integrity of the crawl space.
Finally, securing the vapor barrier with proper fastening methods and addressing potential movement and weight distribution ensures its long-term durability and resilience. By proactively reinforcing the secured barrier, you bolster its ability to withstand environmental factors and preserve the crawl space's integrity.
In essence, the comprehensive process of laying a vapor barrier in your crawl space not only protects your home against moisture-related issues but also contributes to a healthier and more resilient living environment. By following the detailed steps outlined in this guide, you can confidently undertake this essential home improvement project, ultimately enhancing the overall durability and well-being of your home.
Frequently Asked Questions about How To Lay Vapor Barrier In Crawl Space
Was this page helpful?
At Storables.com, we guarantee accurate and reliable information. Our content, validated by Expert Board Contributors, is crafted following stringent Editorial Policies. We're committed to providing you with well-researched, expert-backed insights for all your informational needs.
0 thoughts on “How To Lay Vapor Barrier In Crawl Space”