Home>Articles>How To Install Vapor Barrier On Concrete Floor
Articles
How To Install Vapor Barrier On Concrete Floor
Modified: August 28, 2024
Learn how to properly install a vapor barrier on your concrete floor with our informative articles. Protect your space from moisture and mold.
(Many of the links in this article redirect to a specific reviewed product. Your purchase of these products through affiliate links helps to generate commission for Storables.com, at no extra cost. Learn more)
Introduction
Installing a vapor barrier on a concrete floor is a crucial step in maintaining the longevity and integrity of your flooring. Vapor barriers serve as a protective layer between the concrete surface and the flooring material, preventing moisture from seeping through and causing damage. In addition to protecting your flooring, vapor barriers also help to regulate indoor humidity levels and improve indoor air quality.
In this guide, we will walk you through the process of installing a vapor barrier on a concrete floor. We will cover the materials you will need, as well as the step-by-step instructions to ensure a successful installation. By following these steps, you can create a moisture-resistant barrier that will safeguard your flooring investment for years to come.
Before we dive into the installation process, it’s important to note that different types of flooring may have specific requirements for vapor barrier installation. Be sure to consult the manufacturer’s guidelines for your specific flooring material to ensure compatibility and optimal performance.
Key Takeaways:
- Protect your flooring investment and maintain indoor air quality by installing a vapor barrier on a concrete floor. Follow step-by-step instructions for proper preparation, installation, and sealing to ensure long-term moisture resistance.
- Ensure a moisture-resistant barrier for your flooring by meticulously measuring, cutting, and securing the vapor barrier. Thoroughly check for proper coverage and address any gaps before proceeding with flooring installation.
Read more: How To Install Vapor Barrier In Basement
Materials Needed
Before you begin the installation process, gather the following materials:
- Vapor Barrier: Choose a high-quality vapor barrier that is appropriate for your flooring material. Common types include plastic sheeting, polyethylene film, or specialized vapor barrier membranes. Ensure that the vapor barrier has a thickness and strength suitable for your specific application.
- Tape Measure: Use a tape measure to accurately measure the dimensions of the room and cut the vapor barrier to size.
- Utility Knife: A utility knife will be essential for cutting the vapor barrier to the proper dimensions and making precise cuts.
- Duct Tape or Vapor Barrier Tape: Use duct tape or vapor barrier tape to secure the seams of the vapor barrier and create a tight seal.
- Scissors or Shears: Scissors or shears will be needed to cut the vapor barrier and make any necessary adjustments or modifications.
- Heavy-Duty Stapler or Adhesive: Depending on the type of vapor barrier you are using, you may need a heavy-duty stapler or adhesive to secure it to the concrete floor.
- Protective Gloves: To protect your hands during the installation process, wear a pair of protective gloves.
- Dust Mask: Since cutting the vapor barrier may produce dust or particles, it’s advisable to wear a dust mask to prevent inhalation.
- Eye Protection: For added safety, wear goggles or safety glasses to protect your eyes from any potential hazards.
Having these materials on hand will ensure a smooth and efficient vapor barrier installation process.
Step 1: Prepare the Concrete Floor
Before installing a vapor barrier, it is crucial to ensure that the concrete floor is clean, dry, and free of any debris. Follow these steps to properly prepare the concrete surface:
- Clean the Concrete: Start by sweeping the concrete floor to remove any loose dirt, dust, or debris. Use a broom or a vacuum cleaner with a brush attachment to thoroughly clean the surface. Pay attention to corners and edges where dirt may accumulate.
- Repair Cracks and Holes: Inspect the concrete floor and identify any cracks, holes, or uneven areas. Fill in any cracks or holes using a concrete repair compound. Smooth out the repaired areas following the manufacturer’s instructions.
- Level the Floor: If the concrete floor has significant unevenness, consider leveling it to ensure a smooth installation of the vapor barrier. Use a self-leveling compound, following the manufacturer’s instructions, to correct any noticeable dips or bumps.
- Dry the Concrete: It is essential to ensure that the concrete surface is completely dry before installing the vapor barrier. Use a dehumidifier or fan to accelerate the drying process if necessary. Moisture trapped beneath the vapor barrier can cause damage to the flooring material.
By preparing the concrete floor adequately, you create a clean and level surface that will maximize the effectiveness of the vapor barrier and provide a solid foundation for your flooring.
Step 2: Clean the Concrete Surface
Once the concrete floor is prepared, the next step is to thoroughly clean the surface. Cleaning the concrete helps to remove any remaining dirt, dust, grease, or other contaminants that could compromise the adhesion of the vapor barrier. Follow these steps to clean the concrete surface effectively:
- Sweep or Vacuum: Start by sweeping the entire concrete floor to remove any loose dirt, dust, or debris. Use a broom or a vacuum cleaner with a brush attachment to ensure a thorough cleaning. Pay special attention to corners, edges, and any hard-to-reach areas.
- Remove Stains and Spills: If there are any noticeable stains or spills on the concrete surface, take the appropriate steps to clean them. Use a mild detergent and warm water solution, or a specialized concrete cleaner, following the manufacturer’s instructions. Scrub the stains or spills with a stiff brush or mop until they are fully removed.
- Address Grease or Oil Stains: If you notice any grease or oil stains on the concrete, apply a degreaser or a mixture of baking soda and water to the affected areas. Use a scrub brush to work the solution into the stains, then rinse thoroughly with clean water. Repeat the process if necessary until the grease or oil stains are no longer visible.
- Rinse and Dry: After cleaning the entire concrete surface, rinse it thoroughly with clean water. Use a mop or a damp cloth to remove any residue from the cleaning solution. Allow the concrete floor to air dry completely before proceeding to the next step.
By cleaning the concrete surface prior to installing the vapor barrier, you create an optimal environment for the barrier to adhere securely. This step ensures that the vapor barrier can effectively protect against moisture and maintain the integrity of your flooring.
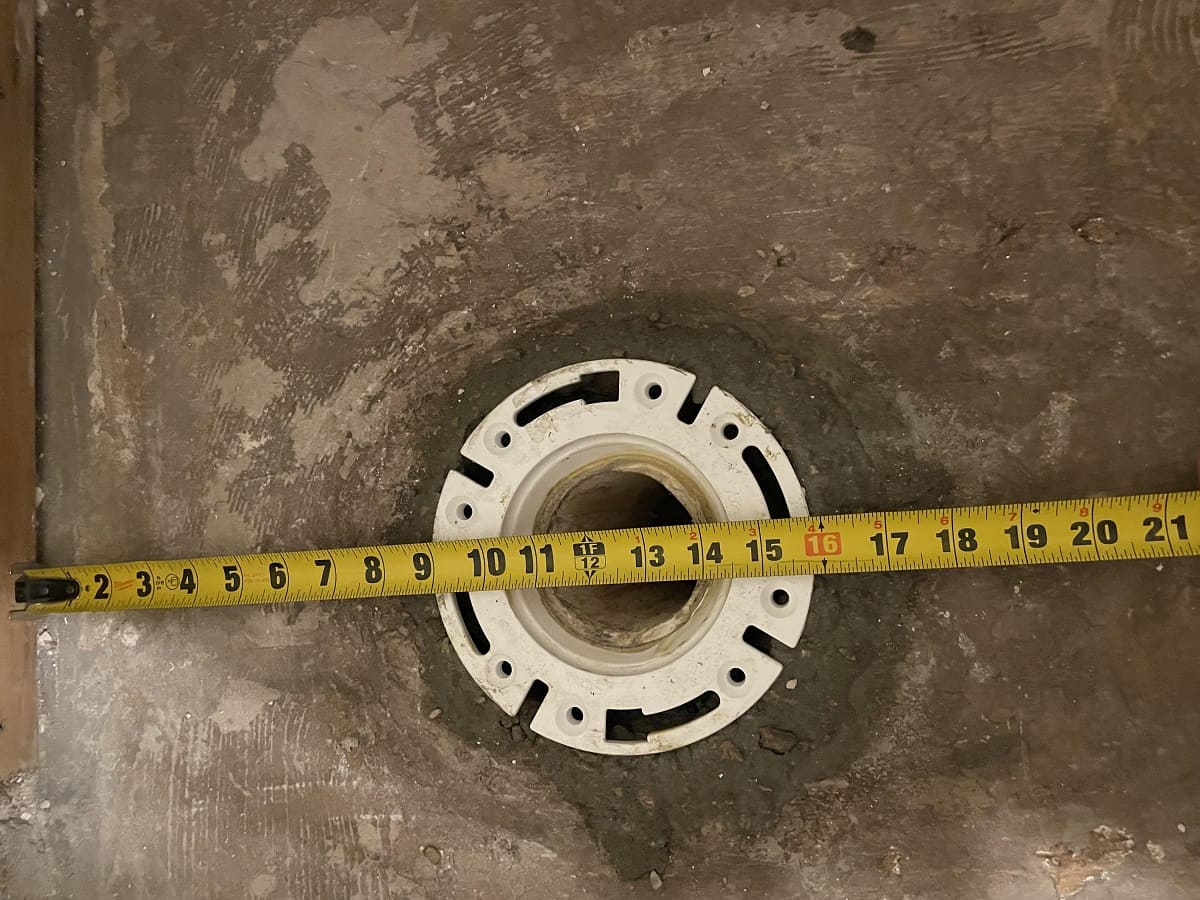
Step 3: Measure and Cut the Vapor Barrier
After preparing and cleaning the concrete surface, it’s time to measure and cut the vapor barrier to fit the dimensions of the room. This step ensures that the vapor barrier provides complete coverage and protection. Follow these steps to measure and cut the vapor barrier:
- Measure the Room: Use a tape measure to determine the length and width of the room. Measure from wall to wall, accounting for any nooks, corners, or irregularities.
- Add Allowance: Add an additional 6 inches to both the length and width measurements. This extra allowance will ensure that the vapor barrier overlaps the walls and creates a proper seal.
- Mark and Cut: Unroll the vapor barrier on a clean, flat surface. Use a tape measure and a marker to mark the appropriate dimensions based on your measurements. Double-check the measurements to ensure accuracy. Use a utility knife or scissors to carefully cut along the marked lines.
- Trim for Obstacles: If there are any obstacles, such as pillars or pipes, in the room that the vapor barrier needs to be draped around, make small incisions in the barrier to accommodate them. Ensure that the cuts are small and precise to maintain the integrity of the vapor barrier.
Remember to cut the vapor barrier slightly larger than the actual dimensions of the room to allow for adjustments during installation. It’s always better to have a slightly larger piece that can be trimmed down, rather than a piece that is too small.
By accurately measuring and cutting the vapor barrier, you ensure that it fits the room’s dimensions perfectly and provides effective coverage against moisture.
Read more: What Is A Vapor Barrier For Insulation
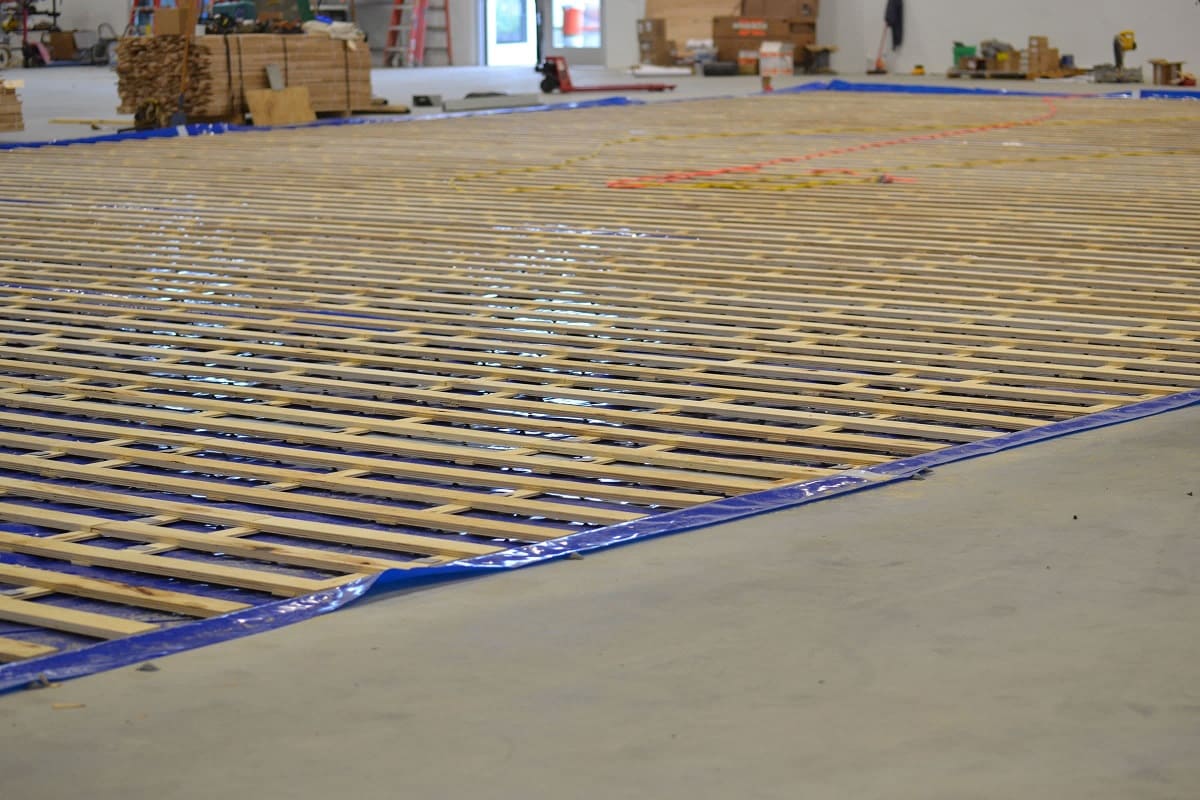
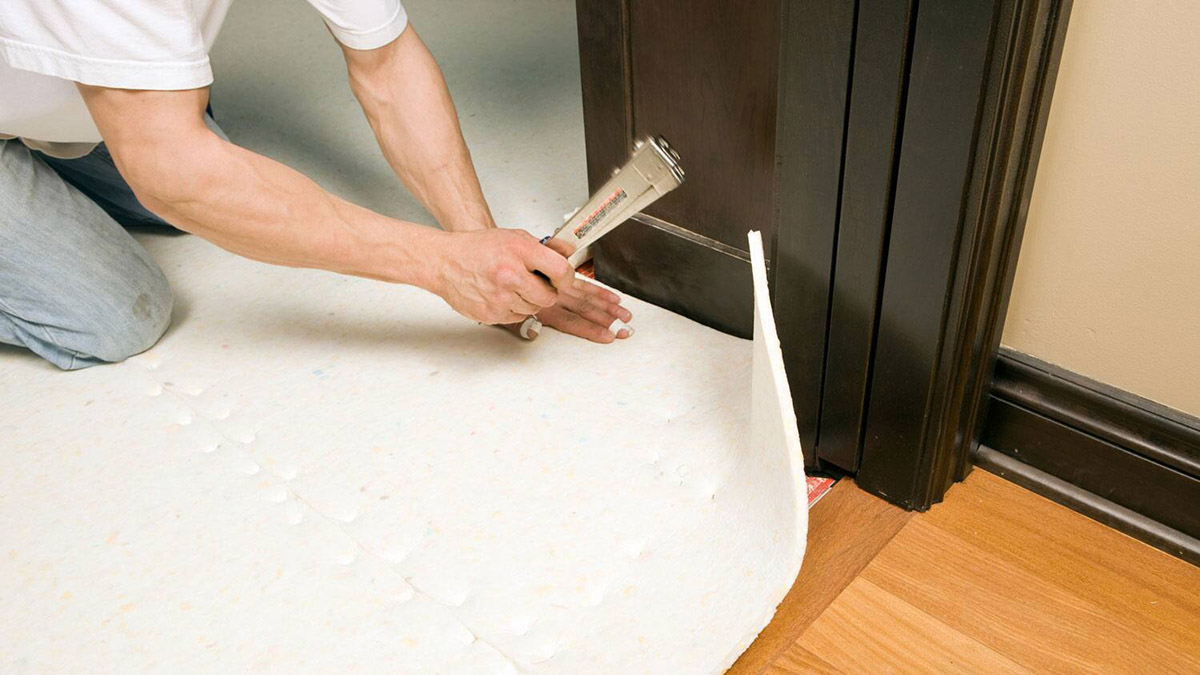
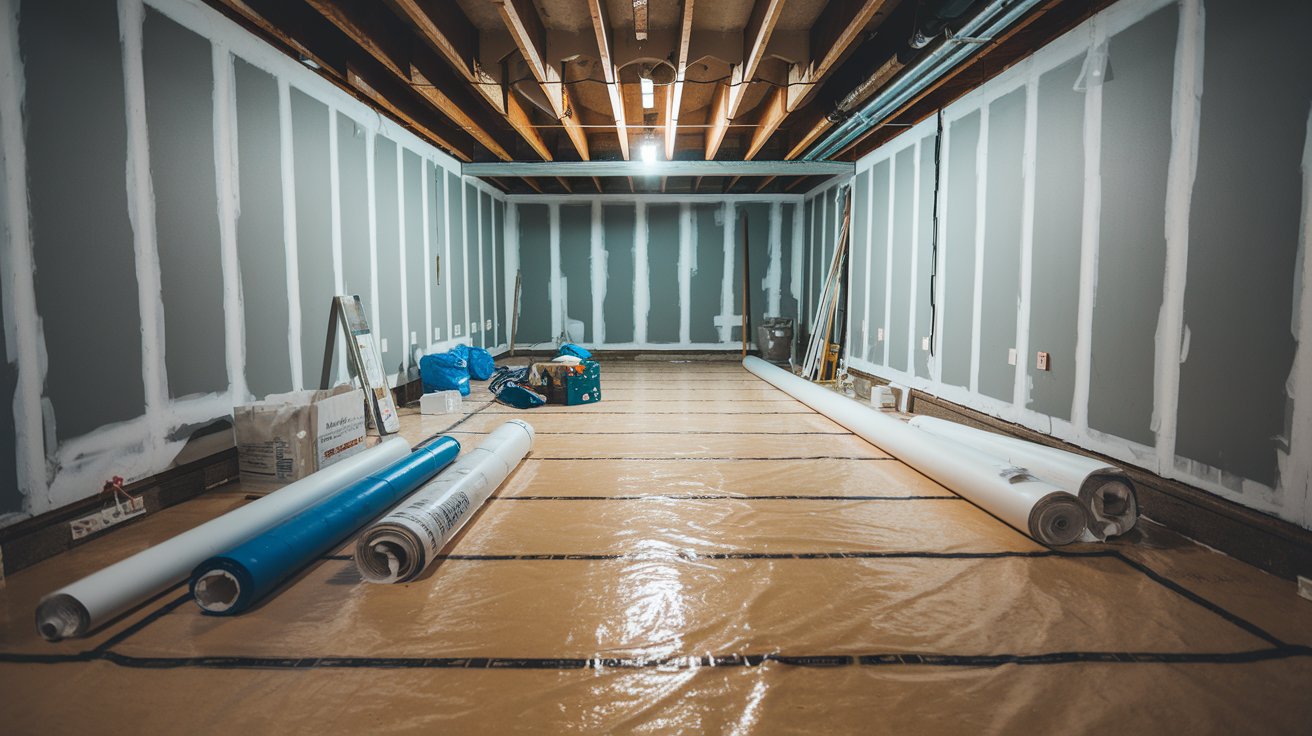
Step 4: Lay the Vapor Barrier on the Floor
With the vapor barrier cut to the appropriate size, it’s now time to lay it on the concrete floor. This step involves positioning the vapor barrier correctly to cover the entire surface area. Follow these steps to lay the vapor barrier:
- Start in a Corner: Begin by placing one corner of the vapor barrier in a corner of the room. Ensure that the excess allowance on the sides and ends overlap the walls. This overlapping is crucial to create a tight seal and prevent moisture infiltration.
- Unroll the Vapor Barrier: Slowly unroll the vapor barrier across the floor, smoothing it out as you go. Work your way towards the opposite corner, making sure the barrier lays flat and without wrinkles or folds. Use a broom or a soft-bristle brush to smooth out any imperfections or air bubbles.
- Align the Seams: If your room requires multiple strips of vapor barrier to cover the entire floor, make sure to align the seams properly. Overlap the edges of the vapor barrier by a few inches and ensure a snug fit. This overlapping will help prevent any gaps or openings that can allow moisture to penetrate.
Take your time during this step to ensure that the vapor barrier is laid out smoothly and covers the entire floor. Avoid rushing, as any wrinkles or folds can compromise the effectiveness of the barrier.
Remember that the vapor barrier should extend up the walls by a few inches to create a complete seal. This will provide maximum protection against moisture and maintain the integrity of your flooring.
Once the vapor barrier is successfully laid out, you are one step closer to ensuring a moisture-resistant and durable flooring installation.
Before installing a vapor barrier on a concrete floor, make sure the surface is clean and free of any debris or moisture. Use a high-quality vapor barrier material and secure it tightly to the floor to prevent any moisture from seeping through.
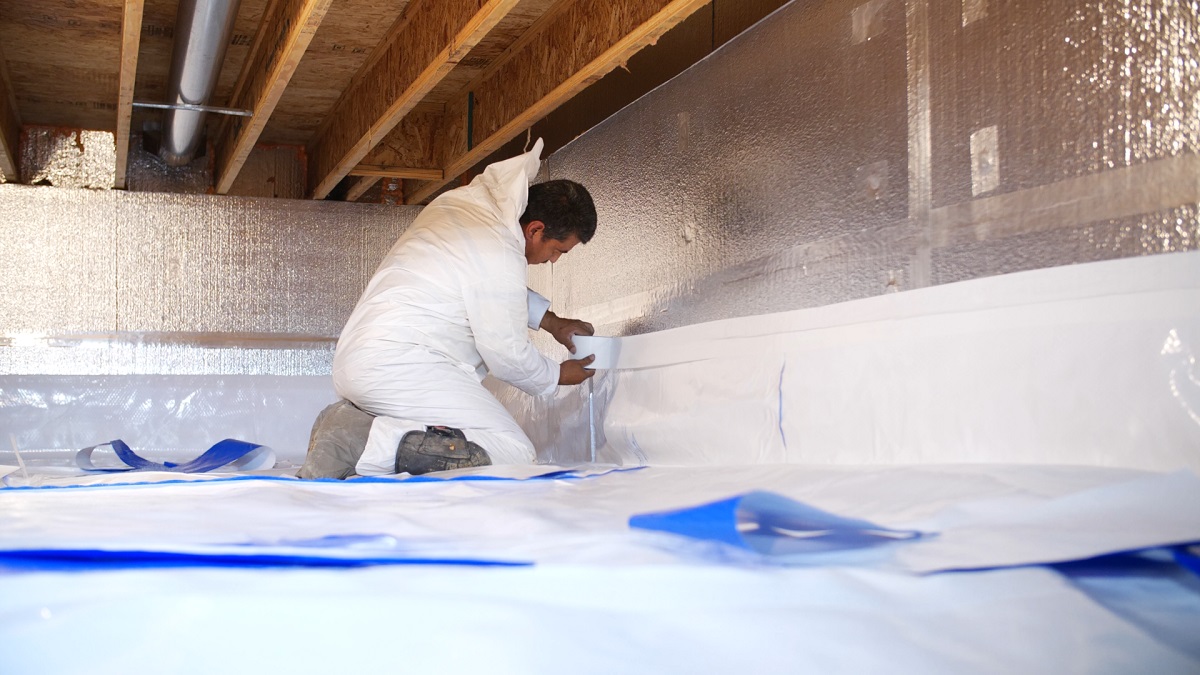
Step 5: Secure the Vapor Barrier in Place
After laying the vapor barrier on the concrete floor, it’s important to secure it in place to prevent any shifting or movement. This step ensures that the vapor barrier remains in position and provides continuous protection against moisture. Follow these steps to secure the vapor barrier:
- Use Heavy-Duty Tape: To secure the edges and corners of the vapor barrier, use heavy-duty tape specifically designed for this purpose. Start by taping down the edges of the vapor barrier along the walls. Smooth the tape down to create a strong seal. Repeat the process for each edge of the vapor barrier.
- Staple or Adhere the Vapor Barrier: Depending on the type of vapor barrier you are using, you may need to further secure it with staples or adhesive. If using a plastic sheeting or polyethylene film, use a heavy-duty staple gun to attach the vapor barrier to the concrete floor. Space the staples approximately 12 inches apart along the edges and seams. If using a specialized vapor barrier membrane, apply adhesive to the surface and press it firmly onto the concrete floor.
- Trim Excess Vapor Barrier: Once the vapor barrier is secured, use a utility knife or scissors to carefully trim any excess material along the walls. Ensure that the trimmed edge is neat and follows the contour of the wall.
Take care when taping, stapling, or adhering the vapor barrier to avoid tearing or damaging the material. The goal is to create a strong and secure bond that will withstand foot traffic and maintain the integrity of the vapor barrier.
By properly securing the vapor barrier in place, you ensure that it remains stationary and provides uninterrupted protection against moisture, giving your flooring the best defense against potential damage.
Step 6: Seal the Seams of the Vapor Barrier
Sealing the seams of the vapor barrier is a critical step in ensuring its effectiveness. Properly sealed seams prevent moisture from penetrating through gaps and maintain the integrity of the vapor barrier. Follow these steps to seal the seams of the vapor barrier:
- Overlap the Seams: If you have multiple strips of vapor barrier, overlap the edges by several inches to create a tight seal. Make sure the edges align properly and that no gaps or openings are present.
- Apply Vapor Barrier Tape: Use vapor barrier tape to seal the seams of the overlapping edges. Place the tape over the seam, pressing it firmly to create a strong bond. Smooth out any wrinkles or bubbles in the tape to ensure a secure seal.
- Check for Leaks: After applying the tape, inspect the seams for any potential leaks or gaps. Run your hand along the seam to feel for any air movement. If you detect any areas where the tape is not adhering properly or where there may be a gap, reapply the tape or make adjustments as necessary.
It’s important to note that the vapor barrier tape used should be specifically designed for sealing vapor barriers. This specialized tape creates a strong and airtight seal that keeps moisture at bay.
Properly sealed seams are crucial in maintaining the integrity of the vapor barrier and ensuring long-lasting protection against moisture. Taking the time to seal the seams correctly will provide you with peace of mind and optimal performance from your vapor barrier.
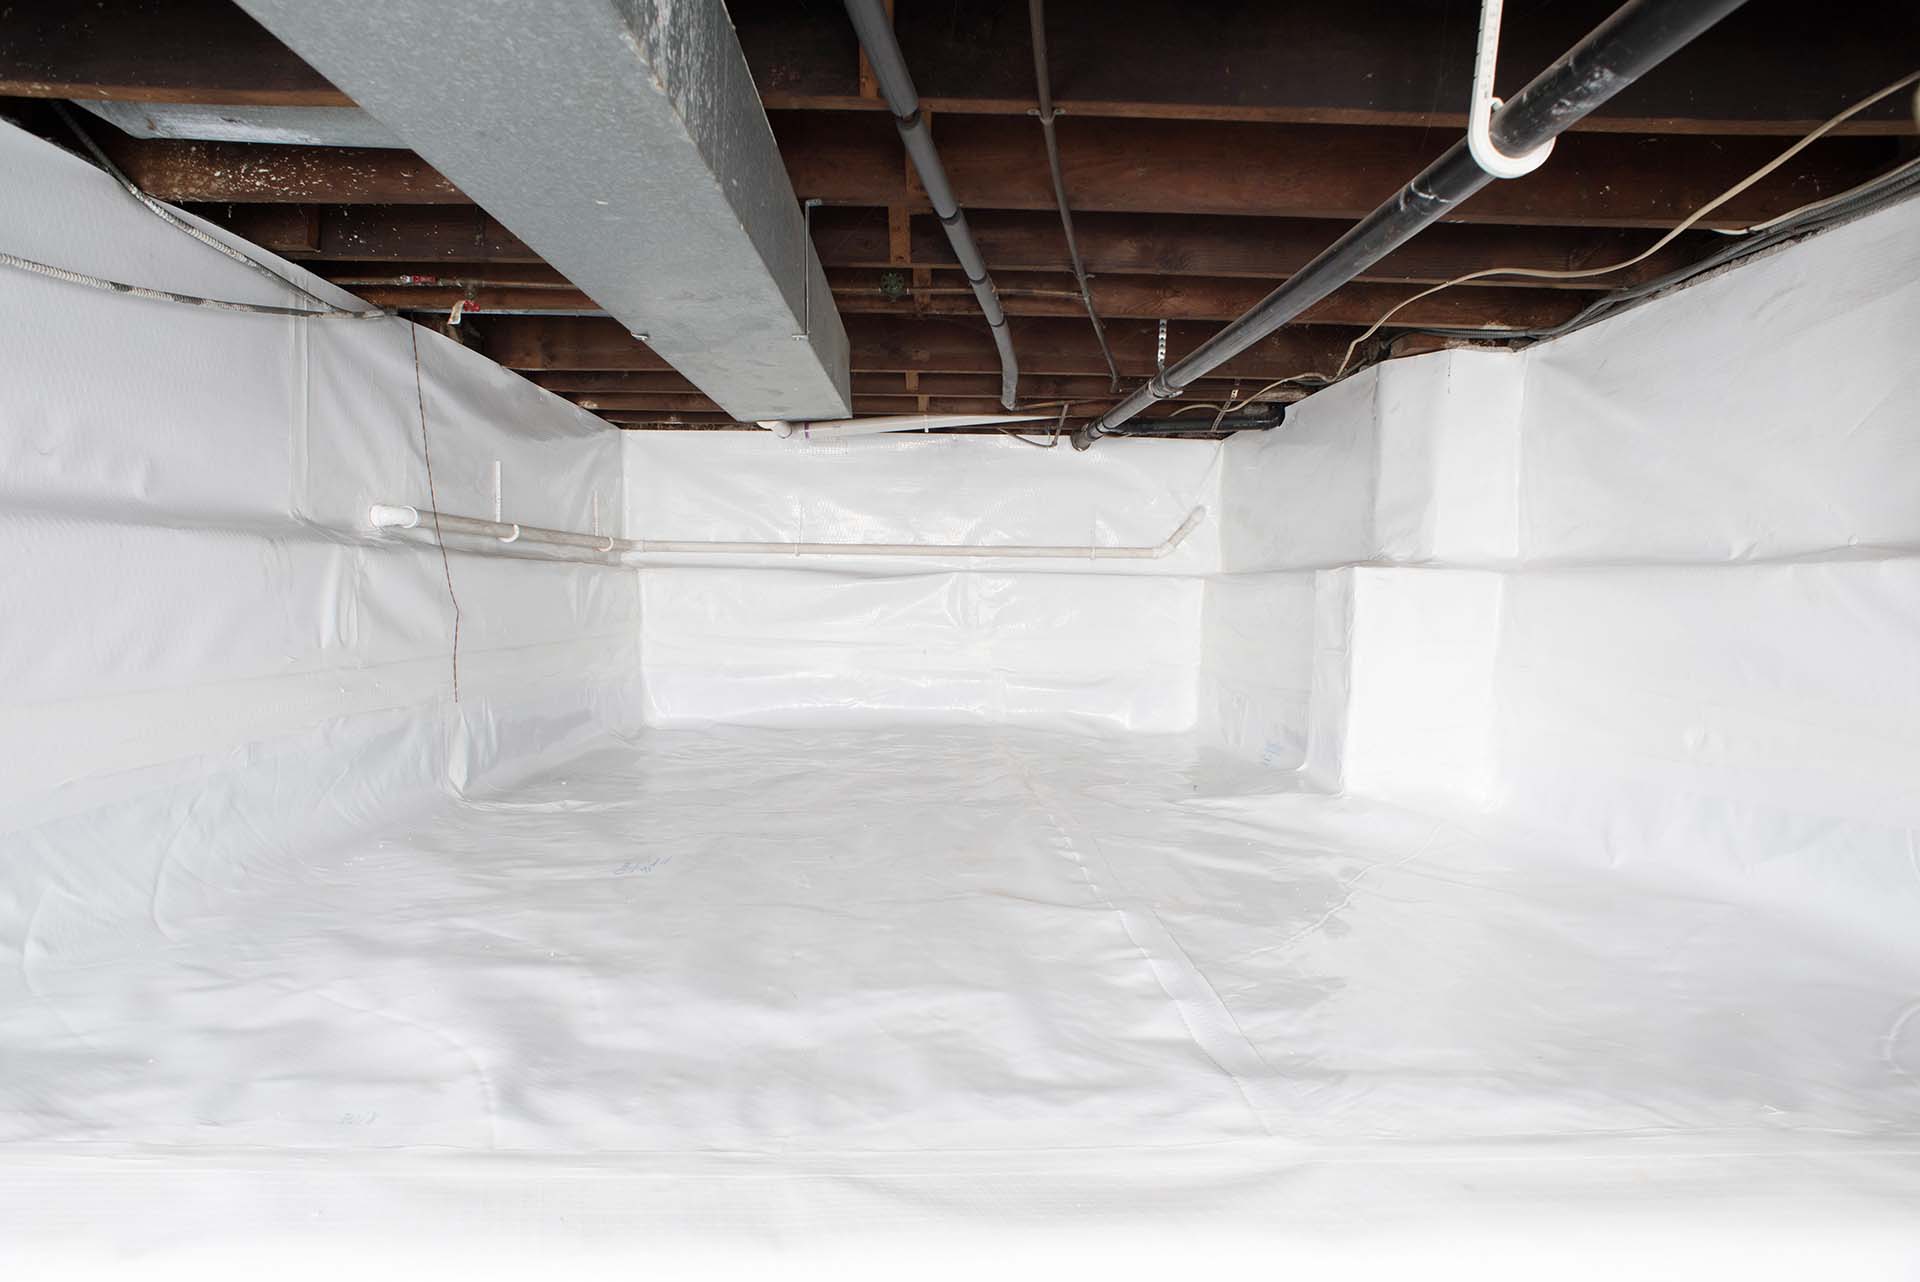
Step 7: Check for Proper Coverage
After installing and sealing the vapor barrier, it’s important to double-check for proper coverage to ensure that every inch of the concrete floor is protected. This step involves inspecting the vapor barrier and addressing any potential gaps or areas of concern. Follow these steps to check for proper coverage:
- Visual Inspection: Take a thorough look at the entire vapor barrier. Check for any areas where the barrier may be loose, wrinkled, or not adequately covering the concrete floor. Pay close attention to corners, edges, and around any obstacles that were cut around.
- Address any Gaps: If you notice any gaps or areas where the vapor barrier is not properly covering the concrete, take immediate action to address them. This may involve securing loose sections, adjusting the positioning of the vapor barrier, or adding additional tape or sealing material to close any gaps.
- Recheck Seams and Edges: Ensure that the seams and edges of the vapor barrier are still securely sealed. Run your hand along the seams to verify that the tape is firmly adhered, and there are no signs of air movement or gaps. If necessary, reapply tape or make any necessary adjustments to ensure a tight seal.
- Test for Air Bubbles: Walk across the vapor barrier, paying attention to how it feels underfoot. If you notice any air bubbles or areas that feel uneven or bouncy, it may indicate a problem with the installation. Use a broom or a soft-bristle brush to smooth out any air pockets or imperfections on the surface of the vapor barrier.
Taking the time to check for proper coverage ensures that the vapor barrier is functioning effectively and providing complete protection against moisture. By addressing any gaps or areas of concern, you can rest assured that your flooring is well-protected and supported by a reliable vapor barrier.
Read more: How To Add A Vapor Barrier To Attic
Step 8: Install the Flooring
Once you have properly installed and secured the vapor barrier, it’s time to proceed with installing your chosen flooring material. The vapor barrier serves as a protective layer between the concrete floor and the flooring, safeguarding against moisture and potential damage. Follow these steps to install your flooring:
- Refer to Manufacturer’s Instructions: Before proceeding with the flooring installation, carefully review the manufacturer’s instructions for your specific flooring material. Different types of flooring may have unique requirements and recommendations for installation.
- Prepare the Flooring: If necessary, acclimate the flooring material to the room’s temperature and humidity as recommended by the manufacturer. This helps prevent issues such as expansion or contraction after installation.
- Lay the Flooring: Follow the appropriate installation method for your flooring material, whether it’s hardwood, laminate, vinyl, tile, or carpet. This may involve laying individual boards or tiles, snapping together interlocking pieces, or adhering the flooring to the vapor barrier.
- Follow Installation Guidelines: Adhere to the manufacturer’s guidelines for spacing, adhesive application, or any other specific instructions relevant to your flooring material.
- Create Expansion Gaps: Leave expansion gaps as recommended by the manufacturer to allow for any potential expansion or contraction of the flooring material. These gaps are typically covered by baseboards or trim.
During the flooring installation, maintain awareness of the vapor barrier and ensure that it remains undamaged. Avoid penetrating the vapor barrier with nails or fasteners, as this can compromise its effectiveness in moisture protection.
By following the appropriate installation methods and guidelines, you can confidently install your chosen flooring on top of the vapor barrier, knowing it is well-protected against moisture and potential damage.
Conclusion
Installing a vapor barrier on a concrete floor is a crucial step in protecting your flooring investment and maintaining a healthy indoor environment. By following the step-by-step instructions outlined in this guide, you can successfully install a vapor barrier and ensure long-term moisture resistance for your flooring.
Remember to carefully prepare and clean the concrete surface before laying the vapor barrier. Measure and cut the vapor barrier to fit the dimensions of the room, ensuring proper coverage. Secure the vapor barrier in place using heavy-duty tape, staples, or adhesive, and seal the seams to prevent any moisture infiltration.
After installing the vapor barrier, thoroughly check for proper coverage, address any gaps or areas of concern, and verify a secure seal. Once you have confirmed the adequacy of the vapor barrier, proceed with installing your chosen flooring material according to the manufacturer’s instructions.
By installing a vapor barrier, you create a moisture-resistant barrier that protects your flooring from potential damage caused by moisture, humidity, and water vapor. This provides a solid foundation for your flooring and helps maintain its beauty, durability, and longevity.
As always, consult the manufacturer’s guidelines for your specific flooring material to ensure compatibility and adherence to their recommendations. This will help you achieve the best results and protect your flooring investment over time.
With a properly installed vapor barrier, you can enjoy peace of mind knowing that your flooring is well-protected and your indoor environment is healthy and free from moisture-related issues.
Now that you've mastered installing a vapor barrier on a concrete floor, why not tackle more home improvement projects yourself? Our guide on DIY home improvement offers step-by-step advice, ensuring you can handle any task with confidence. From simple fixes to more complex renovations, arm yourself with the knowledge to enhance your living space. Dive into DIY projects today and transform your home one room at a time!
Frequently Asked Questions about How To Install Vapor Barrier On Concrete Floor
Was this page helpful?
At Storables.com, we guarantee accurate and reliable information. Our content, validated by Expert Board Contributors, is crafted following stringent Editorial Policies. We're committed to providing you with well-researched, expert-backed insights for all your informational needs.


0 thoughts on “How To Install Vapor Barrier On Concrete Floor”