Articles
How To Install Vapor Barrier In Basement
Modified: October 20, 2024
Learn how to properly install a vapor barrier in your basement with our informative articles. Create a moisture-resistant environment and protect your home from potential damage.
(Many of the links in this article redirect to a specific reviewed product. Your purchase of these products through affiliate links helps to generate commission for Storables.com, at no extra cost. Learn more)
Introduction
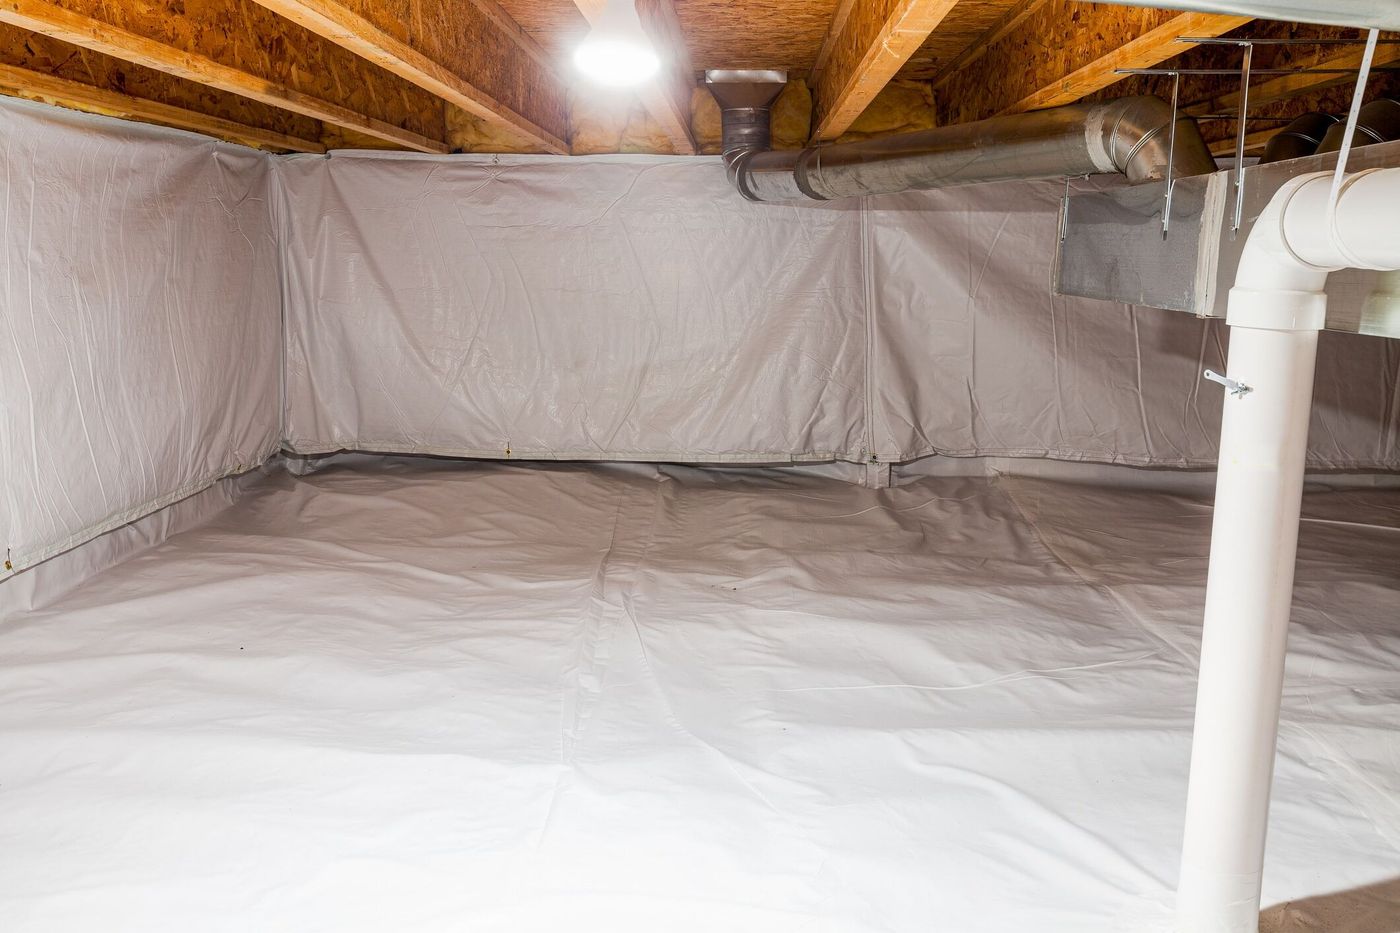
Installing a vapor barrier in your basement is a crucial step in preventing moisture damage and maintaining a dry and comfortable living space. Moisture can seep through the walls and floors of your basement, leading to issues such as mold growth, unpleasant odors, and even structural damage. A vapor barrier acts as a protective layer, preventing moisture from penetrating the walls and causing these problems.
In this article, we will guide you through the step-by-step process of installing a vapor barrier in your basement. We will cover the materials you will need, how to prepare the basement walls, how to measure and cut the vapor barrier, and how to properly attach it to the walls. Additionally, we will discuss how to seal any seams or gaps, and the importance of installing the flooring over the vapor barrier.
Before we dive into the installation process, it’s important to note that while installing a vapor barrier can help reduce moisture issues, it may not completely eradicate all potential problems. It’s always a good idea to address any existing water leaks, improve drainage around your home, and ensure proper ventilation in your basement to create a healthy and dry living environment.
Now, let’s get started on the journey to a dry and protected basement!
Key Takeaways:
- Protect your basement from moisture damage by installing a vapor barrier. Follow the step-by-step process to create a dry and comfortable living space, ensuring accurate measurements and proper sealing for maximum effectiveness.
- Ensure a successful vapor barrier installation by preparing the walls, securely attaching the barrier, and installing flooring for added protection. Regular maintenance and monitoring are key to maintaining a dry and protected basement.
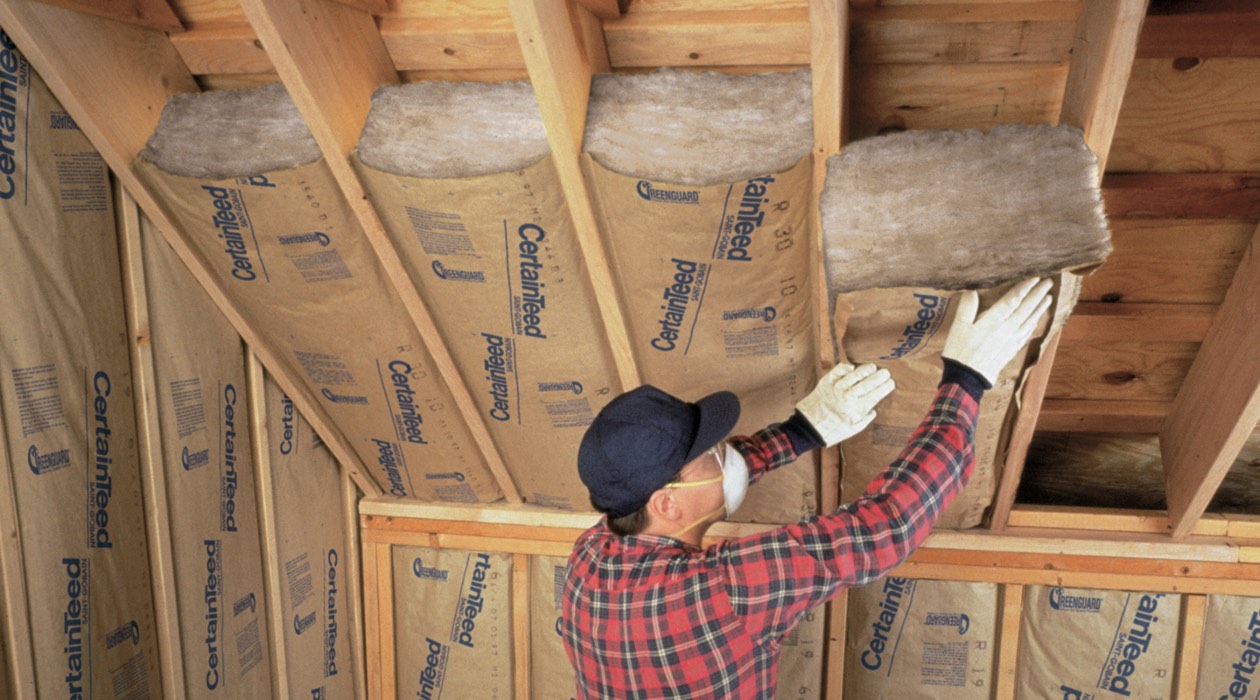
Step 1: Gather necessary materials
Before you begin the installation process, it’s important to gather all the necessary materials. Having everything on hand will ensure a smooth and efficient installation. Here is a list of the materials you will need:
- Vapor barrier: Choose a high-quality vapor barrier made of polyethylene or other moisture-resistant materials. Make sure it is thick enough to withstand any potential punctures or tears.
- Tape measure: This will be used to measure the dimensions of your basement walls and cut the vapor barrier accordingly.
- Utility knife: A sharp utility knife will help you cut the vapor barrier with precision.
- Pencil or marker: Use a pencil or marker to mark the dimensions on the vapor barrier before cutting.
- Staple gun or adhesive: Depending on the type of vapor barrier you choose, you will either need a staple gun or adhesive to secure it to the basement walls.
- Tape: You will need tape to seal any seams or gaps in the vapor barrier, ensuring a continuous barrier.
- Flooring materials: If you plan on installing flooring over the vapor barrier, make sure you have the necessary flooring materials on hand.
- Protective gear: When working with any materials, it’s important to prioritize your safety. Wear gloves, safety glasses, and a dust mask to protect yourself.
Take the time to gather all these materials before you begin the installation process. This will save you time and allow for a smoother workflow.
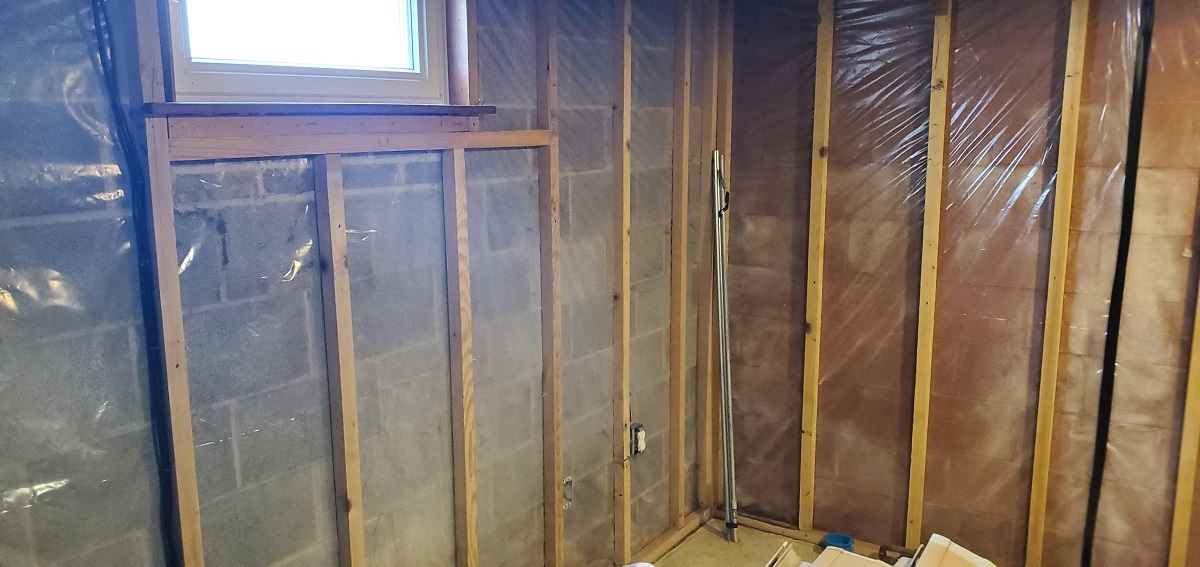
Step 2: Prepare the basement walls
Before you can install the vapor barrier, it’s essential to properly prepare the basement walls to ensure maximum effectiveness. Follow these steps to prepare the walls:
- Clean the walls: Start by thoroughly cleaning the walls to remove any dirt, dust, or debris. Use a broom or vacuum to sweep away loose particles, and consider using a damp cloth to wipe down the walls for a more thorough cleaning.
- Repair any cracks or leaks: Inspect the walls for any cracks or areas where water may potentially seep through. Fill these cracks with an appropriate sealant or patching compound, and allow it to dry completely before proceeding.
- Address any existing moisture issues: If you notice any signs of excess moisture or water damage on the walls, it’s crucial to address these issues before proceeding. Install proper drainage systems or consult a waterproofing professional if necessary.
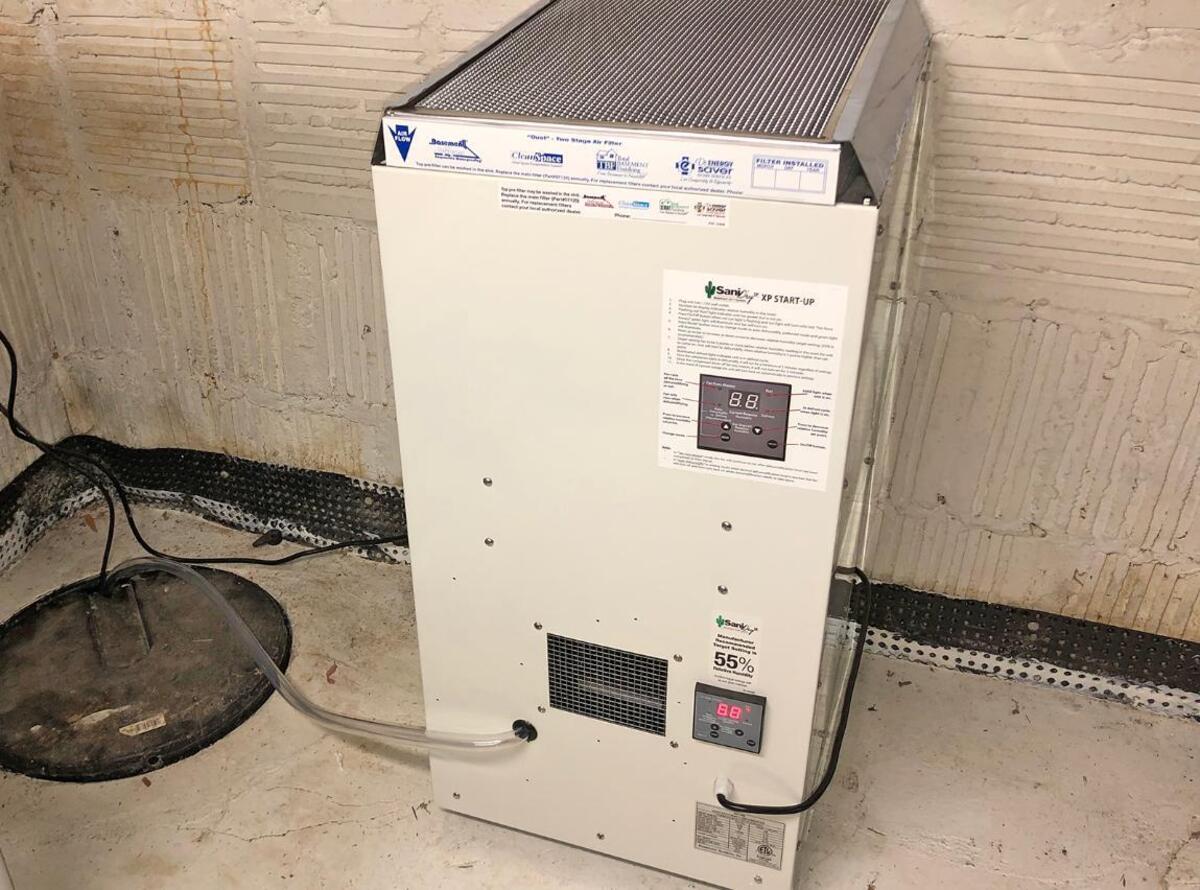
- Ensure proper ventilation: Proper ventilation in the basement is essential for maintaining a dry environment. Make sure any ventilation systems, such as exhaust fans or dehumidifiers, are in good working condition.
By taking the time to prepare the basement walls, you create a solid foundation for the vapor barrier installation. This step helps to minimize the risk of moisture-related issues and ensures the long-term effectiveness of the barrier.
Step 3: Measure and cut the vapor barrier
Once you have prepared the basement walls, it’s time to measure and cut the vapor barrier to the appropriate size. Follow these steps to ensure accurate measurements and precise cuts:
- Start with one wall: Begin by selecting one wall to start with. It’s best to begin at a corner and work your way around the room.
- Measure the height: Use a tape measure to measure the height of the wall from the floor to the top. Don’t forget to account for any baseboards or trim along the bottom.
- Mark the measurements: Once you have determined the height, use a pencil or marker to mark the measurements on the vapor barrier. Make sure the markings are clear and visible.
- Cut the vapor barrier: With the measurements marked, carefully use a utility knife to cut the vapor barrier along the marked lines. Take your time to ensure clean and straight cuts.
- Repeat for other walls: Repeat the measuring and cutting process for each of the remaining basement walls. Remember to account for any corners or obstacles along the way.
- Label the cut pieces: To avoid confusion during the installation process, consider labeling each cut piece of the vapor barrier with the corresponding wall it will be applied to. This will make it easier to keep track and ensure a smooth installation.
Accurate measurements and precise cuts are crucial for a seamless and effective vapor barrier installation. Take your time during this step to ensure that each piece of the vapor barrier is cut to the correct size.
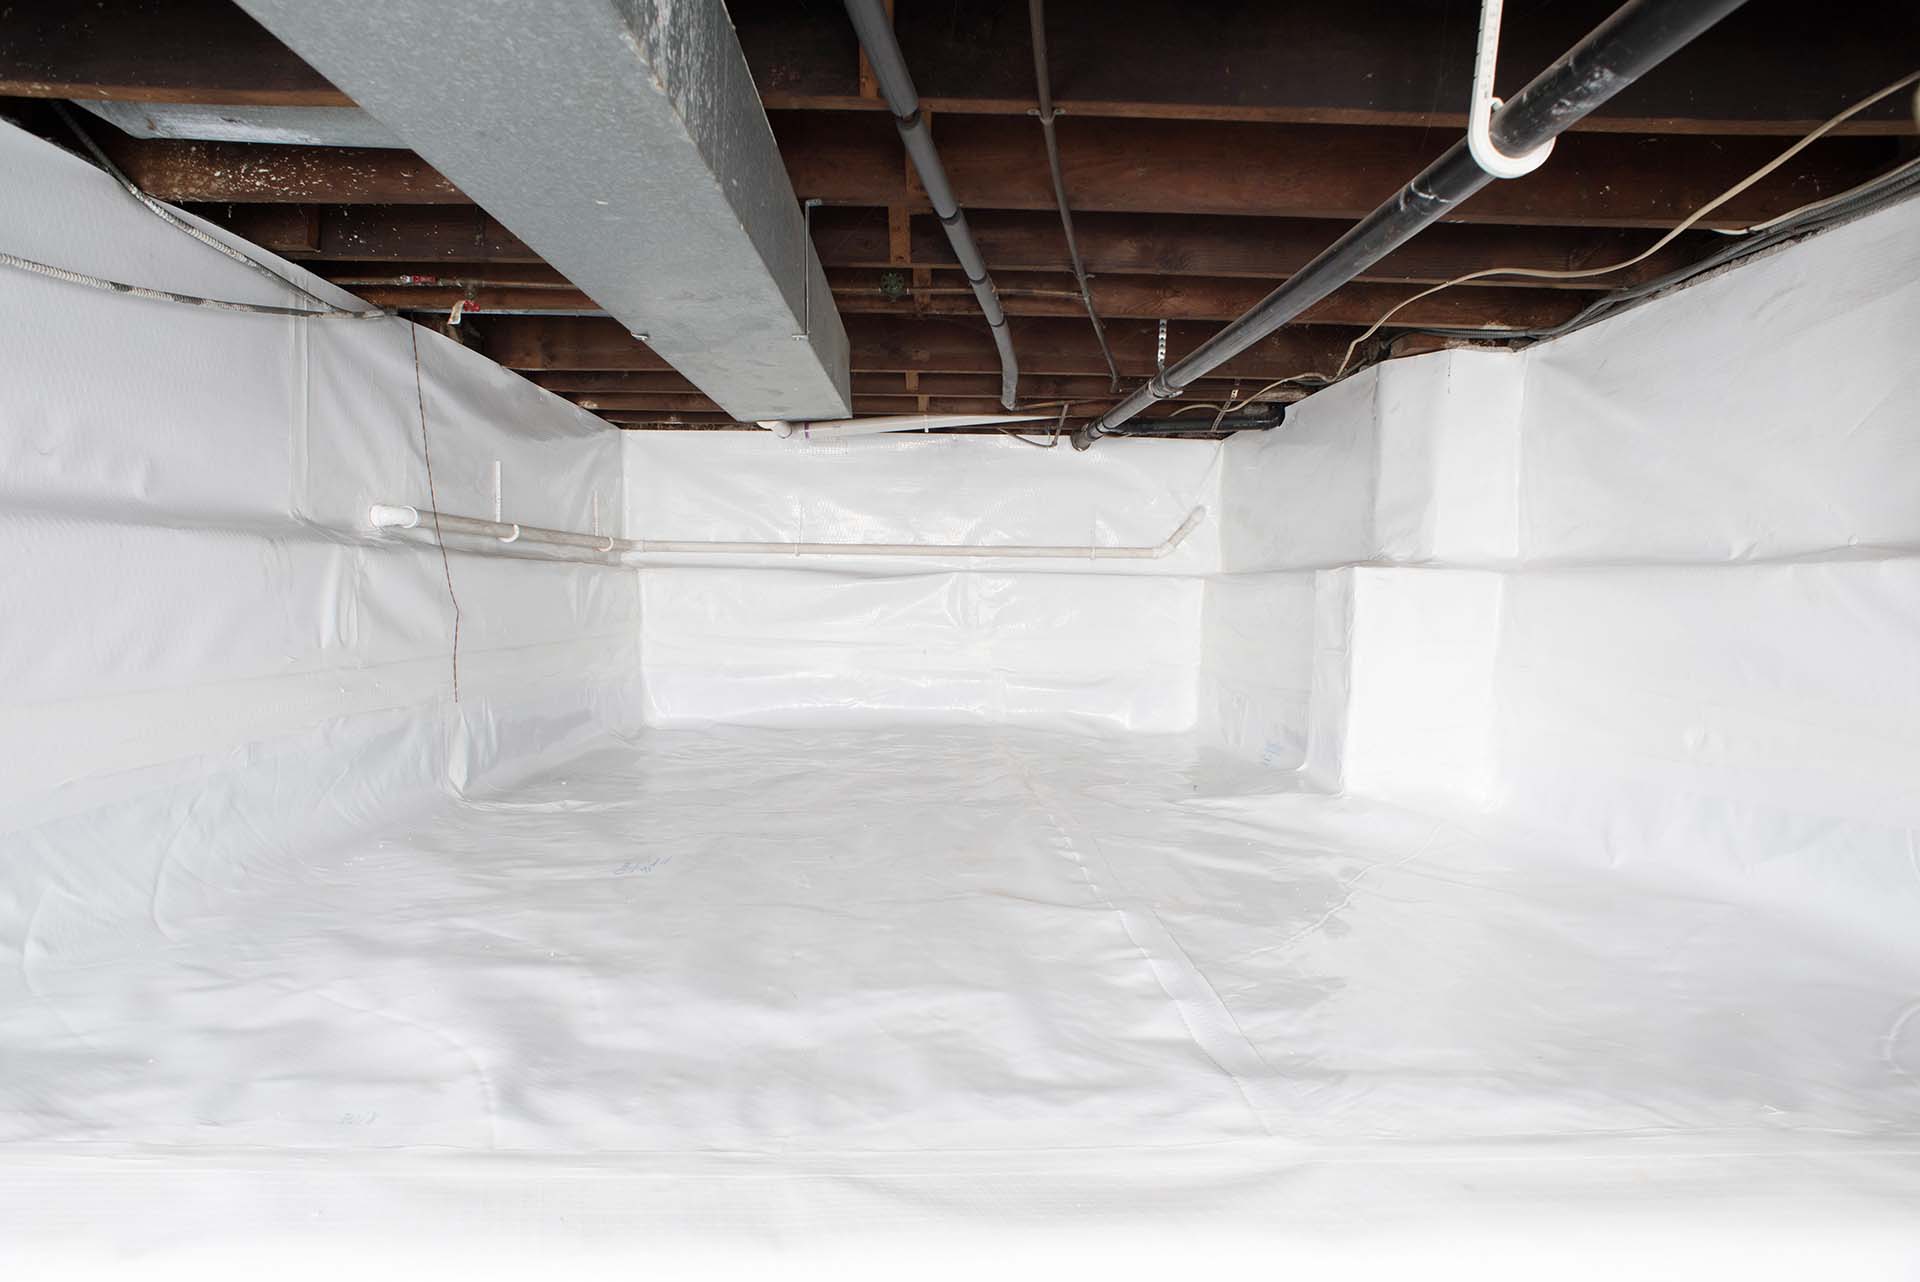
Step 4: Attach the vapor barrier to the walls
With the vapor barrier cut to the appropriate size, it’s time to attach it to the basement walls. Follow these steps to securely fasten the vapor barrier:
- Start in a corner: Begin in a corner of the basement and work your way across one wall at a time.
- Position the vapor barrier: Hold the cut piece of vapor barrier against the wall, ensuring that it aligns with the floor and reaches the ceiling. It should overlap any adjacent pieces by a few inches.
- Secure with staples or adhesive: Depending on the type of vapor barrier you have, you will either use a staple gun or adhesive to secure it to the walls. If using a staple gun, place staples along the top edge, bottom edge, and every few inches in between. If using adhesive, follow the manufacturer’s instructions for proper application.
- Smooth out any wrinkles or bubbles: As you attach the vapor barrier, make sure to smooth out any wrinkles or bubbles that may form. This ensures a tight and secure seal against the walls.
- Repeat for other walls: Move on to the next wall and repeat the process until all walls are covered with the vapor barrier.
Keep in mind that it’s important to avoid puncturing or tearing the vapor barrier during the installation process. Handle it with care and take your time to ensure a proper and secure attachment to the walls.
When installing a vapor barrier in the basement, make sure to seal all seams and edges with tape to prevent moisture from seeping through. This will help to keep the space dry and protect against mold and mildew.
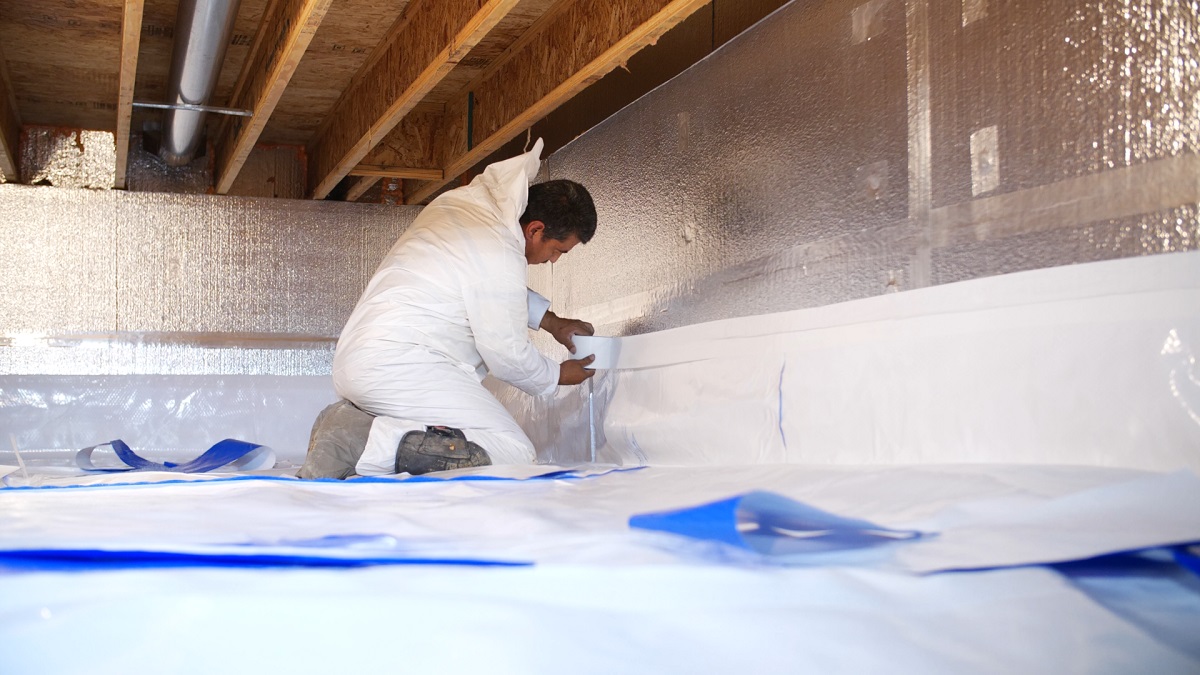
Step 5: Seal any seams or gaps
Now that the vapor barrier is securely attached to the basement walls, it’s important to seal any seams or gaps to create a continuous and effective barrier. Follow these steps to ensure proper sealing:
- Inspect for seams and gaps: Carefully examine the vapor barrier for any seams or gaps where moisture could potentially penetrate. These may occur where two pieces of vapor barrier meet or around obstacles such as electrical outlets or pipes.
- Apply tape: Using a high-quality tape specifically designed for vapor barriers, seal any seams or gaps by applying the tape directly over them. Press firmly to ensure a secure bond.
- Overlap at corners and edges: In corners and along the edges of the walls, ensure that the vapor barrier pieces overlap and are securely taped together. This helps prevent any moisture from seeping through.
- Check for any missed spots: Once you have sealed the visible seams and gaps, do a final inspection to ensure you haven’t missed any areas. Pay close attention to areas around windows, doors, or any other potential entry points for moisture.
Properly sealing any seams or gaps in the vapor barrier is essential for maintaining an effective moisture barrier. By taking the time to thoroughly inspect and seal these areas, you can minimize the risk of moisture infiltration and maximize the performance of the vapor barrier.
Step 6: Install the flooring over the vapor barrier
With the vapor barrier securely in place, the next step is to install the flooring over it. This adds an extra layer of protection and provides a finished look to your basement. Follow these steps to correctly install the flooring:
- Select the appropriate flooring: Choose a flooring material that is suitable for basements and can be installed over a vapor barrier. Options such as laminate, engineered wood, or vinyl are commonly used due to their durability and moisture-resistance.
- Clean the vapor barrier surface: Ensure the surface of the vapor barrier is clean and free from any debris before beginning the flooring installation process.
- Follow manufacturer guidelines: Refer to the manufacturer’s guidelines or instructions for the flooring material you have chosen. These instructions will provide specific information on installation methods, required tools, and any additional steps that may be necessary.
- Start from one corner: Typically, it is best to start installing the flooring from a corner of the room and work your way towards the opposite wall.
- Follow proper installation techniques: Depending on the type of flooring material you have chosen, follow the appropriate installation techniques. This may involve interlocking the flooring planks or using adhesive to secure them.
- Leave expansion gaps: Remember to leave small expansion gaps around the perimeter of the room and in between flooring planks, as directed by the manufacturer. This allows the flooring to expand and contract with changes in temperature and humidity.
- Trim excess vapor barrier: If necessary, trim any excess vapor barrier that may extend beyond the flooring area. This creates a neat and finished appearance.
Installing the flooring over the vapor barrier not only enhances the aesthetic appeal of your basement but also provides an additional layer of protection against moisture. Follow the proper installation techniques and manufacturer’s guidelines to ensure a successful and long-lasting flooring installation.
Step 7: Final steps and considerations
As you near the completion of your vapor barrier installation in the basement, it’s important to take care of a few final steps and consider some important factors. Follow these steps to wrap up the process and ensure a successful outcome:
- Clean up: Before you can fully enjoy your newly installed vapor barrier and flooring, take the time to clean up any debris or tools from the installation process. A clean and tidy space adds the finishing touch to your project.
- Inspect for any missed spots or damage: Do a final inspection of the vapor barrier and flooring to ensure that you haven’t missed any areas or overlooked any potential issues. Address any missed spots or damage promptly.
- Monitor for moisture: After the installation is completed, keep an eye out for any signs of moisture or water intrusion in your basement. If you notice any dampness or unusual odors, investigate and address the issue promptly to prevent further damage.
- Maintain proper ventilation: Continue to maintain proper ventilation in your basement to promote a dry environment. Consider using fans, dehumidifiers, or opening windows periodically to allow for airflow.
- Consider professional assistance: If you feel unsure about any aspect of the installation process or if you encounter significant moisture issues, it may be worth seeking professional assistance from a waterproofing or basement renovation specialist. They can provide expert guidance and solutions tailored to your specific situation.
Remember, installing a vapor barrier is an effective preventive measure against moisture-related issues in your basement. However, it is important to monitor the condition of the vapor barrier regularly and address any maintenance or repair needs promptly to maintain its effectiveness over time.
Congratulations! With the completion of these final steps, you have successfully installed a vapor barrier in your basement, creating a dry and protected space for years to come.
Conclusion
Installing a vapor barrier in your basement is a proactive and effective way to protect your home from potential moisture damage. By following the step-by-step process outlined in this article, you can successfully install a vapor barrier and create a dry and comfortable living space.
We began by emphasizing the importance of gathering all the necessary materials before starting the installation process. From the vapor barrier itself to the tools and protective gear, having everything on hand ensures a smooth workflow.
We then discussed the crucial step of preparing the basement walls, which involves cleaning the walls, addressing any cracks or leaks, and ensuring proper ventilation. A clean and well-prepared surface sets the stage for a successful vapor barrier installation.
Next, we covered the process of measuring and cutting the vapor barrier to the appropriate size. Accurate measurements and precise cuts are essential for a seamless installation.
Attaching the vapor barrier to the walls was the next step, and we outlined the methods of using a staple gun or adhesive to securely fasten it. Taking care to avoid punctures and tears ensures the integrity of the vapor barrier.
Sealing any seams or gaps in the vapor barrier was discussed as a crucial step to create a continuous barrier. By using tape to seal the seams and ensuring proper overlaps at corners and edges, the barrier becomes more effective in preventing moisture infiltration.
Installing the flooring over the vapor barrier was highlighted as an additional layer of protection and a finishing touch to the basement. Following the manufacturer’s guidelines and leaving expansion gaps ensures a successful flooring installation.
In the final steps and considerations, we covered the importance of cleaning up, inspecting for any missed spots or damage, monitoring for moisture, maintaining proper ventilation, and considering professional assistance if needed.
With the completion of these steps, you can enjoy the benefits of a well-installed vapor barrier in your basement. It provides peace of mind, protects your home from moisture damage, and creates a healthier living environment for you and your family.
Remember, regular maintenance and monitoring are essential to ensure the ongoing effectiveness of the vapor barrier. By promptly addressing any issues that may arise, you can maintain a dry and protected basement for years to come.
So, roll up your sleeves and get started on installing a vapor barrier in your basement. With the knowledge and steps outlined in this article, you are well-equipped to take on this project and enjoy the benefits it brings!
Curious about keeping your basement in top shape? Once you've got your vapor barrier installed, consider delving deeper into basement maintenance. Understanding basement waterproofing methods could save your space from unwanted moisture and costly damages. On top of that, knowing when foundation repair is necessary can prevent major structural issues. These guides provide practical, step-by-step advice to ensure your home remains safe, dry, and stable for years to come.
Frequently Asked Questions about How To Install Vapor Barrier In Basement
Was this page helpful?
At Storables.com, we guarantee accurate and reliable information. Our content, validated by Expert Board Contributors, is crafted following stringent Editorial Policies. We're committed to providing you with well-researched, expert-backed insights for all your informational needs.


0 thoughts on “How To Install Vapor Barrier In Basement”