Home>Renovation & DIY>Home Renovation Guides>How To Paint The Eaves Of A House
Home Renovation Guides
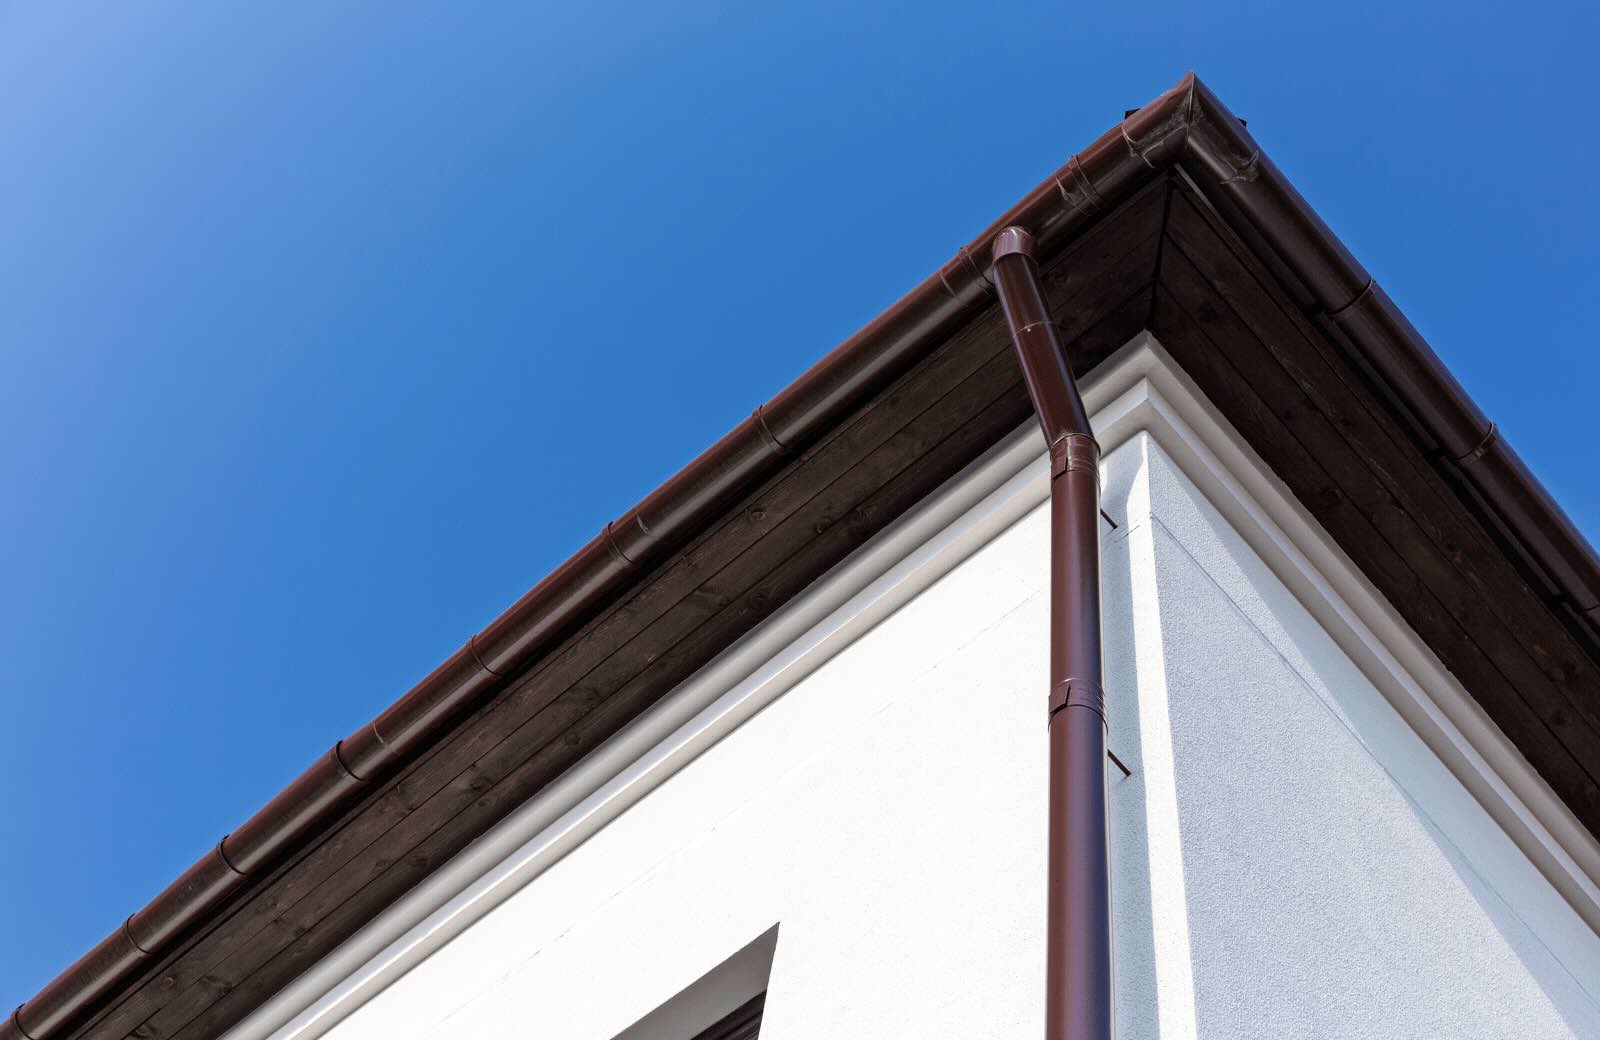
How To Paint The Eaves Of A House
Published: February 2, 2024
Learn how to paint the eaves of your house with our comprehensive home renovation guide. Follow our expert tips for a flawless finish.
(Many of the links in this article redirect to a specific reviewed product. Your purchase of these products through affiliate links helps to generate commission for Storables.com, at no extra cost. Learn more)
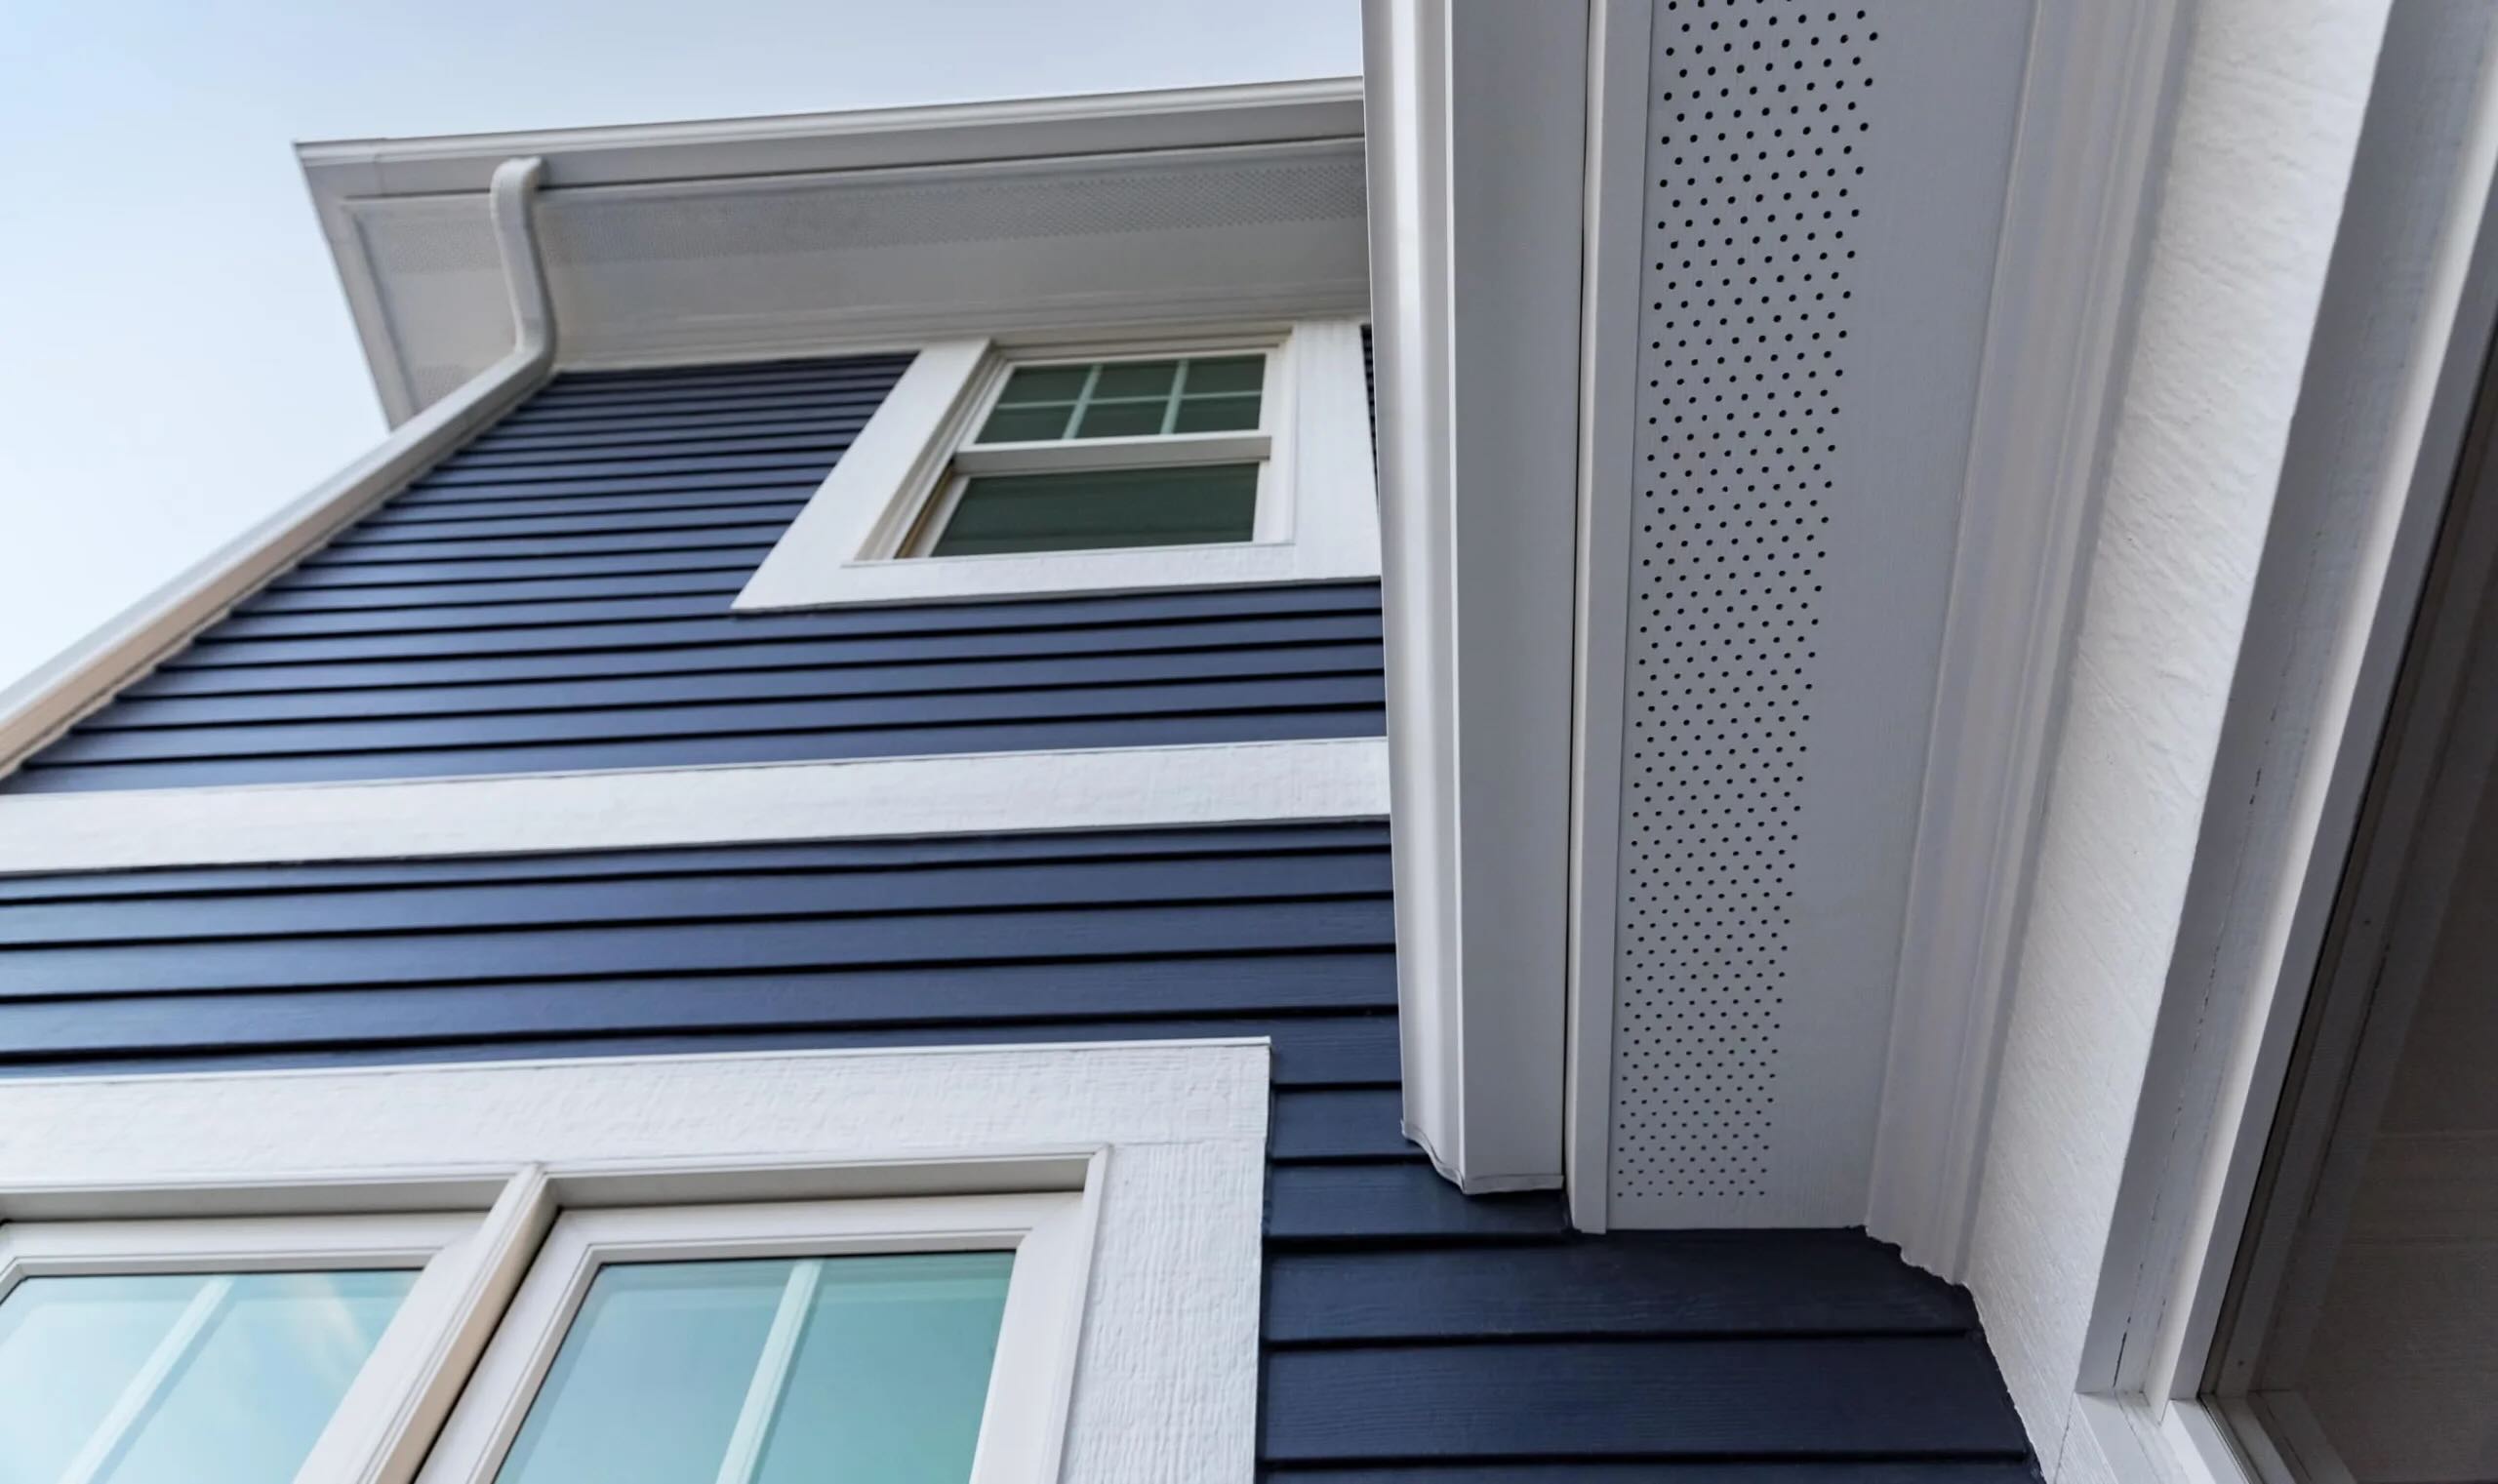
Choosing the Right Paint
Selecting the right paint for your eaves is crucial to ensure a long-lasting and visually appealing finish. The eaves of a house are constantly exposed to the elements, making it essential to choose a paint that can withstand the harsh outdoor conditions. Here's a comprehensive guide to help you make the best choice:
-
Weather Resistance: Opt for an exterior paint specifically designed to withstand the elements. Look for labels indicating resistance to UV rays, moisture, and temperature variations. These features will help prevent premature fading, cracking, or peeling, ensuring that your eaves maintain their vibrant appearance for years to come.
-
Durability and Longevity: Consider paints with high durability to withstand the wear and tear associated with outdoor exposure. Acrylic and latex-based paints are popular choices for eaves due to their flexibility and resistance to cracking. Additionally, look for products with a long lifespan to minimize the frequency of repainting, saving you time and effort in the long run.
-
Mold and Mildew Resistance: Given the potential for moisture buildup in eaves, especially in humid climates, it's essential to choose a paint with mold and mildew resistance. This feature helps prevent unsightly growth and ensures that your eaves remain clean and well-maintained.
-
Color Retention: Look for paints with excellent color retention properties to preserve the vibrancy of your chosen hue. This is particularly important for eaves, as they are often exposed to direct sunlight, which can cause colors to fade over time. High-quality paints with UV-resistant pigments can help maintain the desired color for an extended period.
-
Ease of Application: While considering the paint's performance, also evaluate its ease of application. Opt for paints that provide smooth coverage and are easy to work with, as this can streamline the painting process and contribute to a professional-looking finish.
-
Environmental Impact: For environmentally conscious homeowners, there are eco-friendly paint options available. Look for low-VOC (volatile organic compound) or zero-VOC paints, which minimize harmful emissions and contribute to a healthier indoor and outdoor environment.
By carefully considering these factors, you can confidently select a paint that meets the specific requirements of your eaves, ensuring a durable, visually appealing, and weather-resistant finish.
Key Takeaways:
- Choose durable, weather-resistant paint for eaves to maintain vibrant colors and prevent damage from UV rays and moisture. Look for eco-friendly options to minimize environmental impact.
- Properly prepare the eaves by cleaning, repairing, and priming the surface before painting. Attention to detail and finishing touches ensure a polished, long-lasting finish.
Read more: How To Repair Eaves On A House
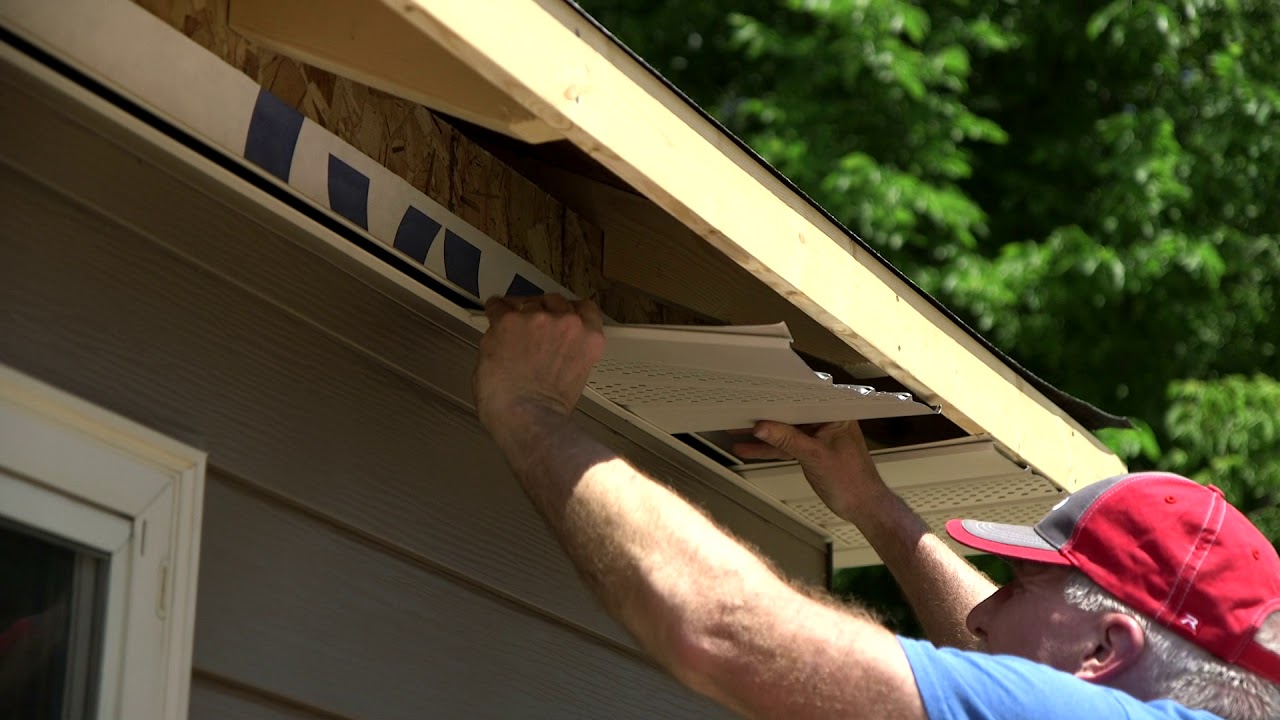
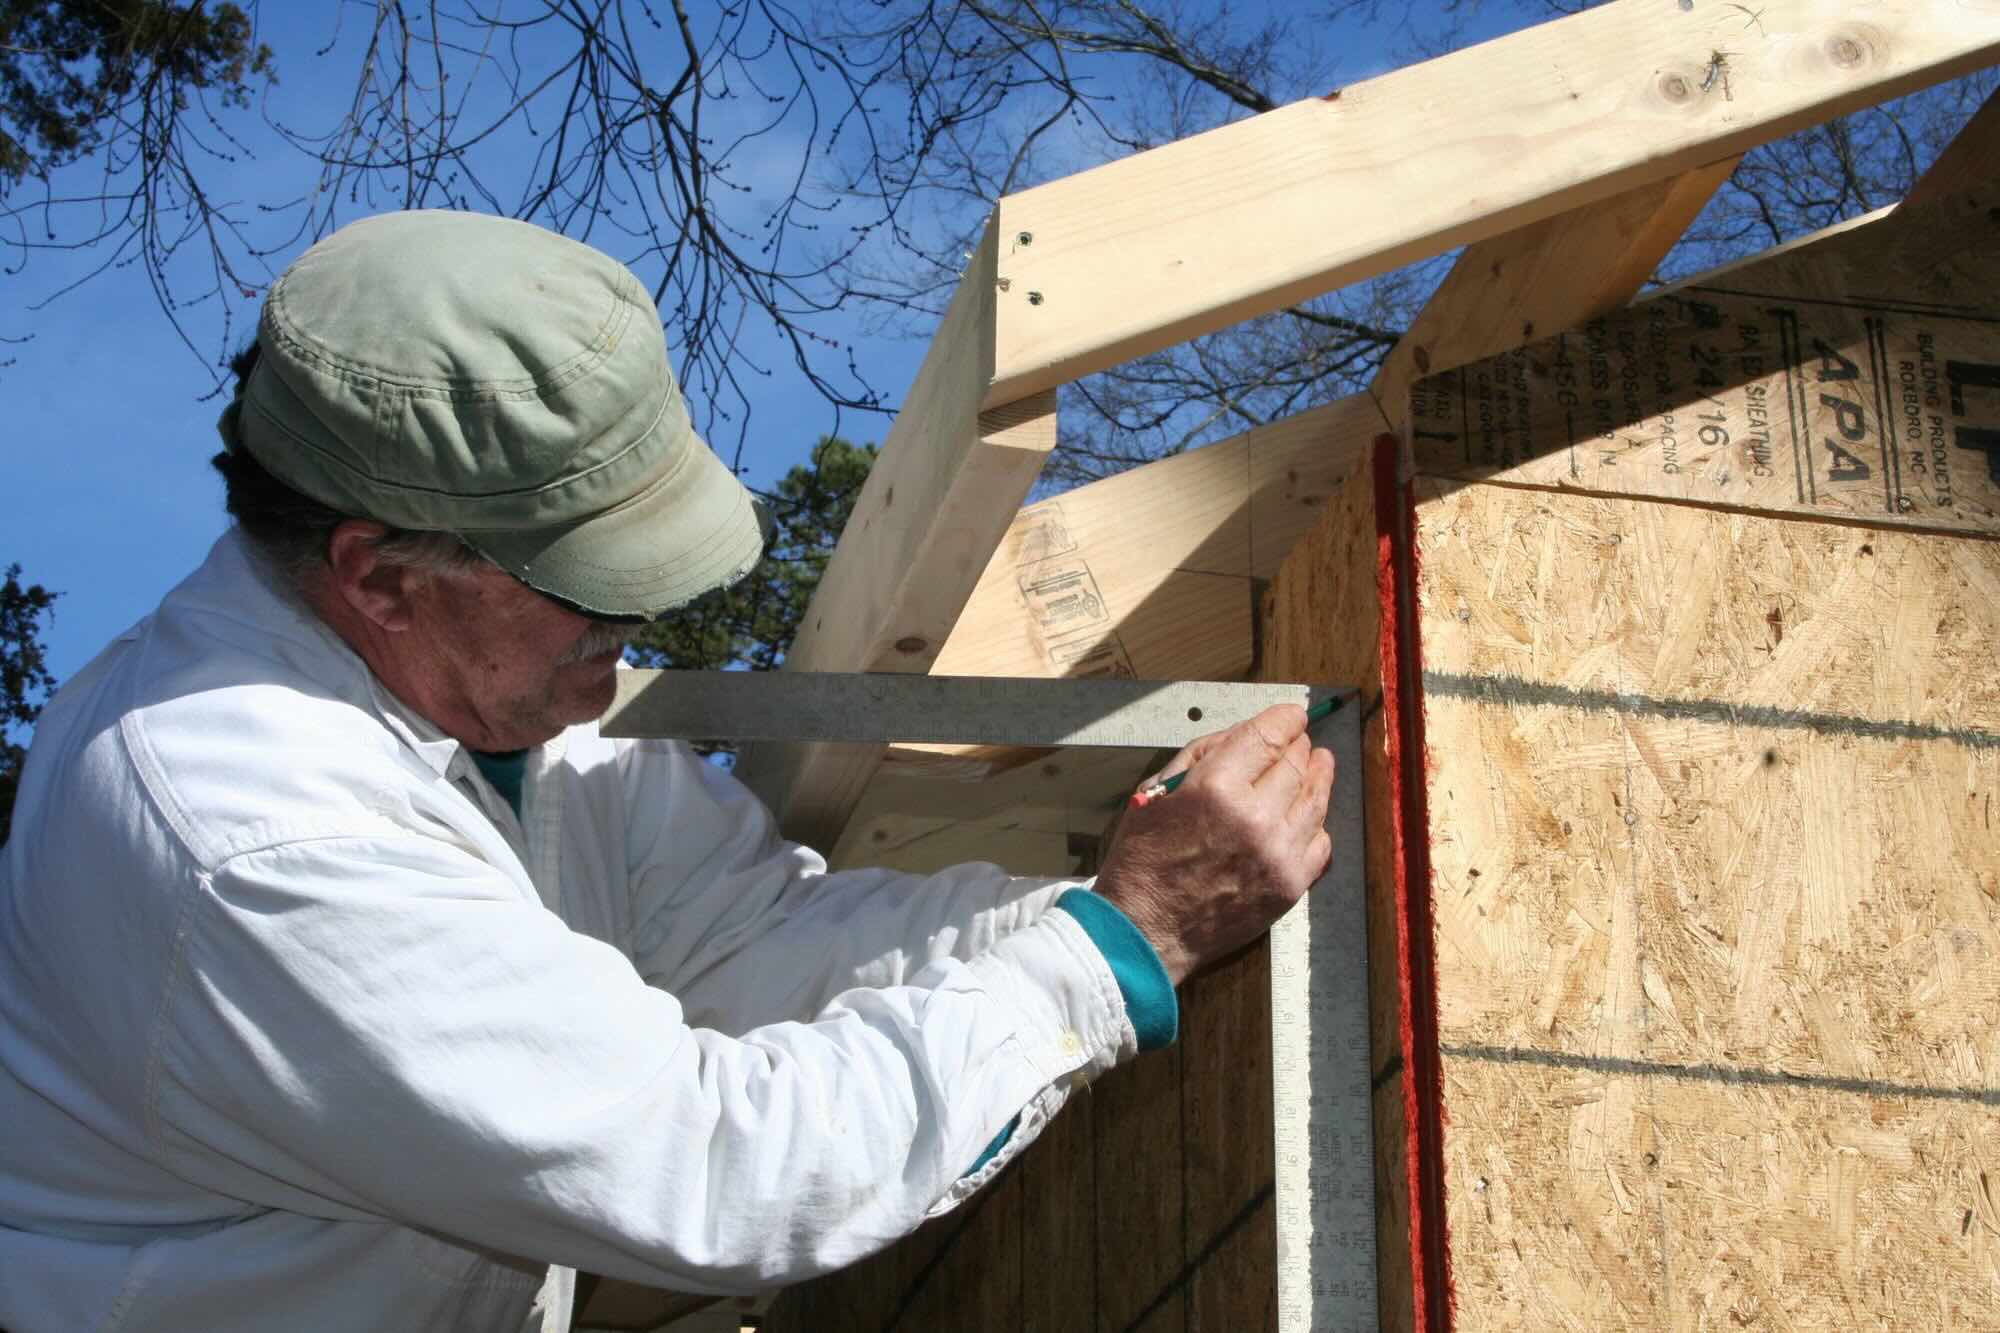
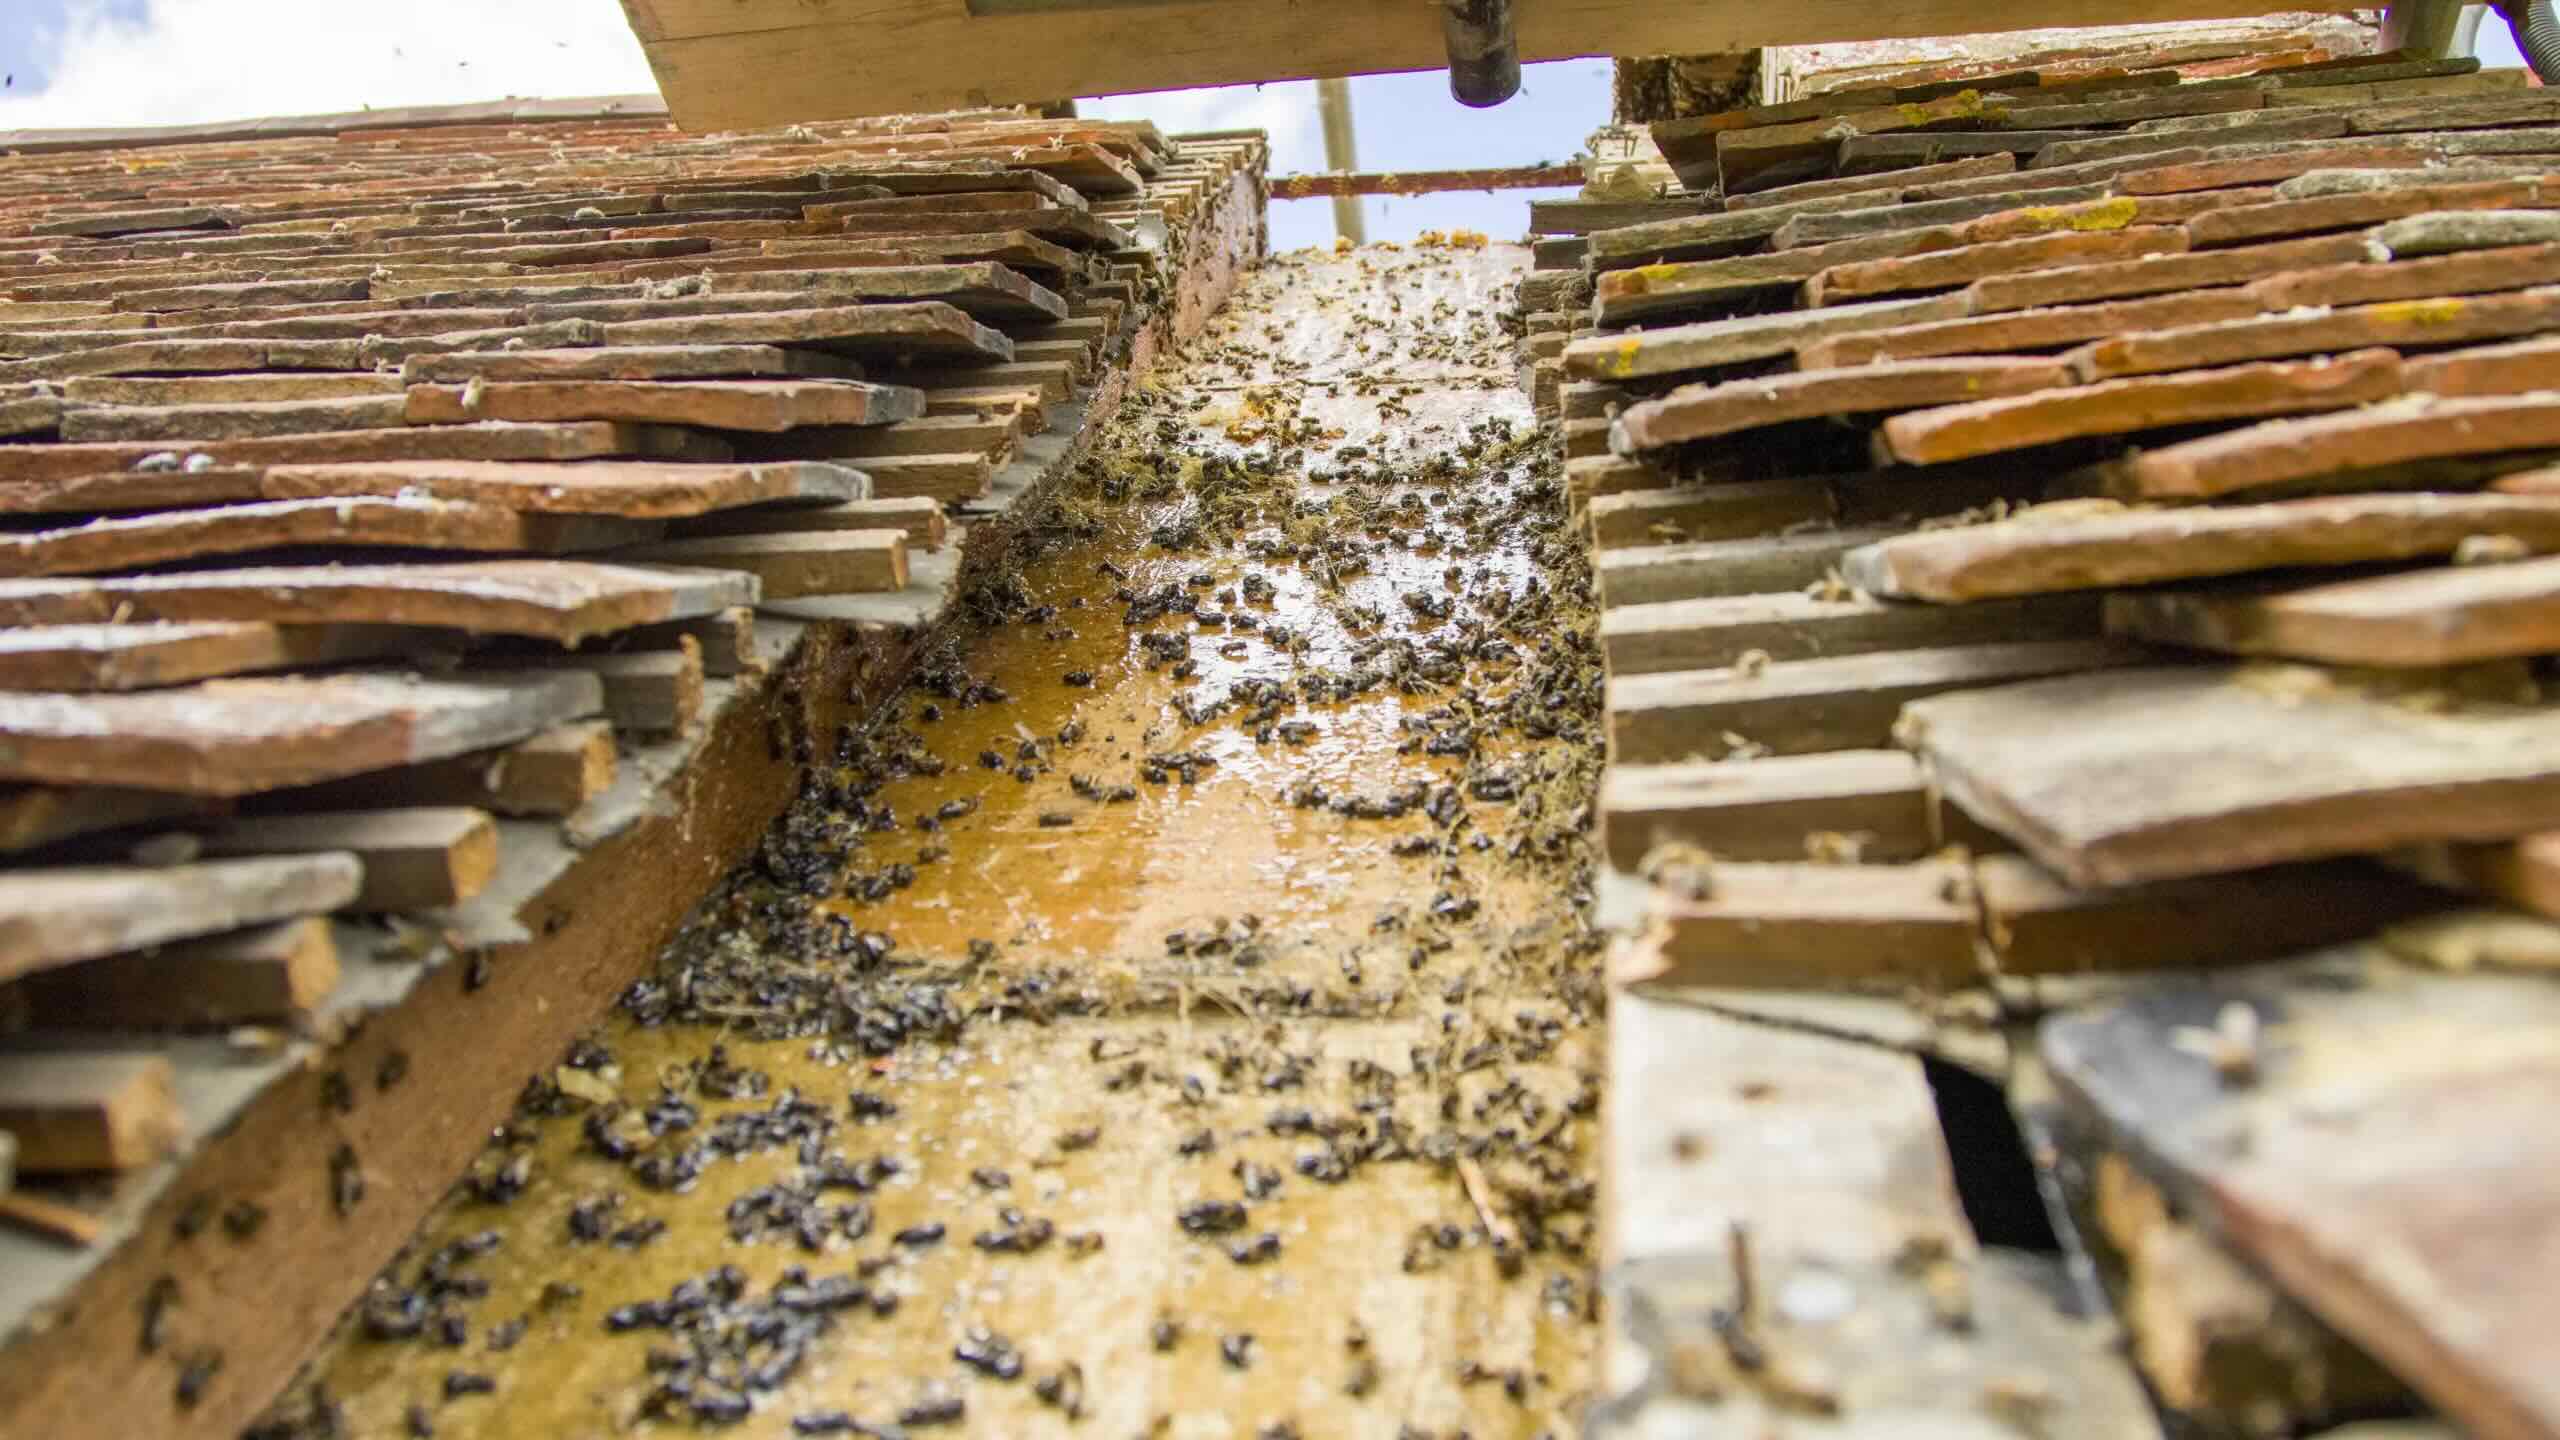
Preparing the Surface
Properly preparing the surface before painting is essential to achieve a flawless and long-lasting finish on the eaves of your house. This crucial step not only ensures better adhesion of the paint but also helps address any existing issues that could compromise the final result. Here's a detailed guide on how to prepare the surface effectively:
-
Cleaning the Surface: Begin by thoroughly cleaning the eaves to remove any dirt, dust, or debris that may have accumulated over time. Use a gentle detergent or a specialized cleaning solution to wash the surface, and consider using a pressure washer for hard-to-reach areas. This step is vital for promoting paint adhesion and preventing imperfections in the finish.
-
Removing Flaking Paint: Inspect the eaves for any signs of flaking or peeling paint. Use a scraper or a wire brush to remove these areas, ensuring that the surface is smooth and free of loose paint. This step is crucial for preventing the old paint from affecting the adhesion and appearance of the new coat.
-
Repairing Damaged Areas: Address any existing damage, such as cracks, holes, or rot, before proceeding with the painting process. Fill in cracks and holes with a high-quality exterior filler, and replace any rotted wood to ensure a solid and even surface for the new paint.
-
Sanding the Surface: After the surface is clean and any necessary repairs have been made, lightly sand the eaves to create a smooth and uniform texture. This step helps remove any remaining loose particles, smooth out rough areas, and promote better paint adhesion.
-
Priming the Surface: Applying a primer is highly recommended, especially if the eaves have been extensively cleaned, repaired, or sanded. A high-quality exterior primer helps seal the surface, promotes adhesion, and provides an even base for the paint to adhere to. Additionally, using a tinted primer that closely matches the color of the final paint can enhance the coverage and depth of the topcoat.
By meticulously preparing the surface in this manner, you can ensure that the eaves are ready to receive the new paint, setting the stage for a professional-looking and durable finish that enhances the overall aesthetic of your home.
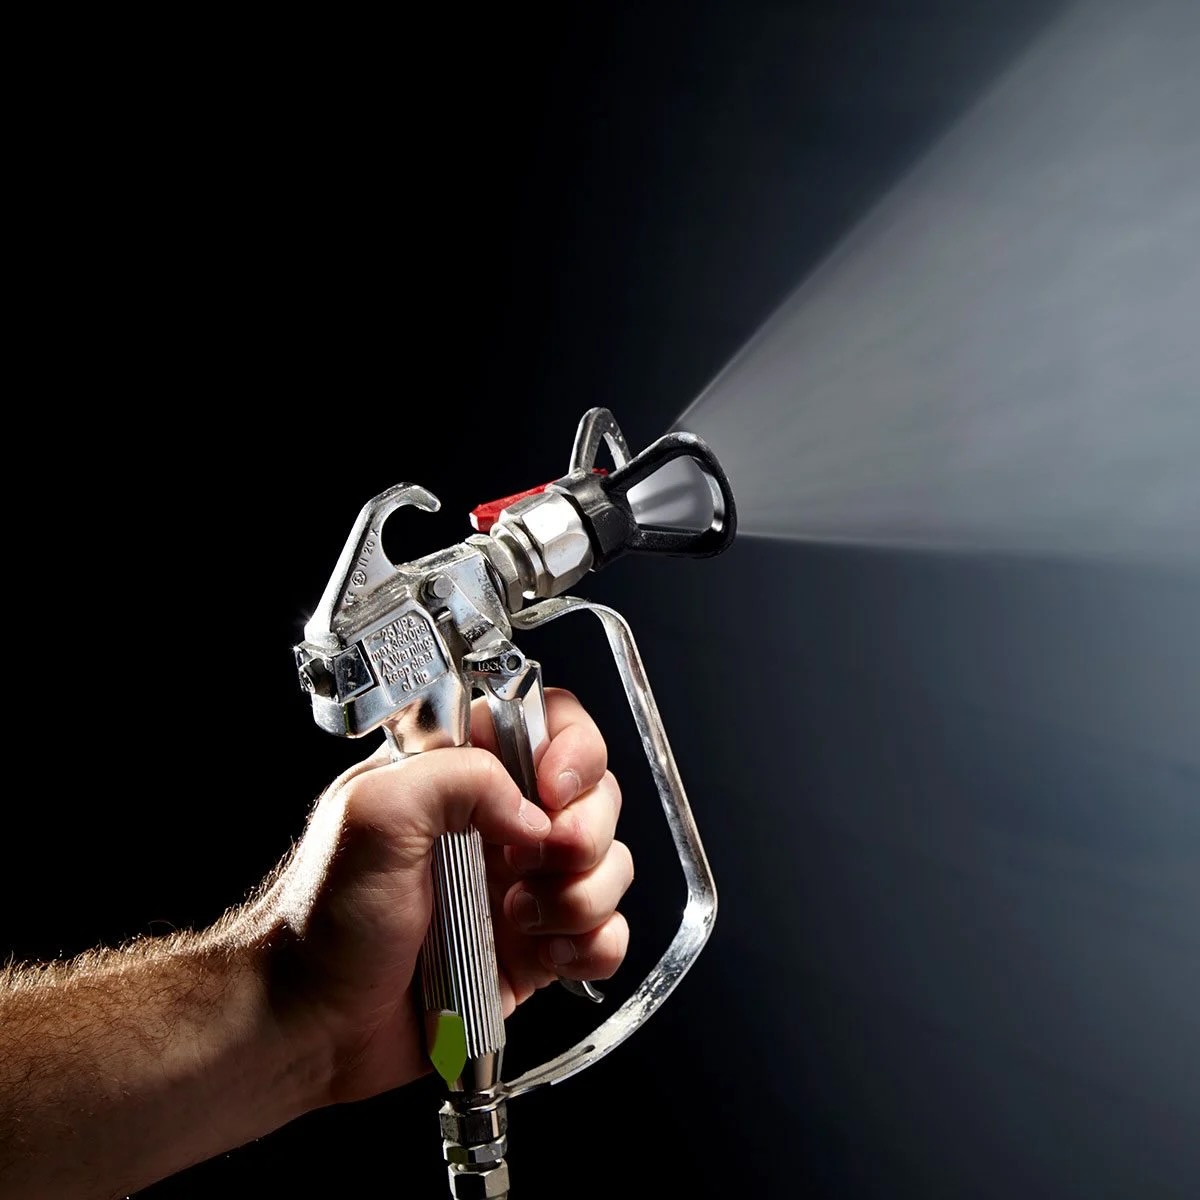
Applying the Paint
Once the surface preparation is complete, it's time to apply the paint to the eaves of your house. This step requires attention to detail and a systematic approach to ensure a smooth and flawless finish that enhances the overall appearance of your home. Here's a comprehensive guide on how to effectively apply the paint to your eaves:
Gather the Necessary Tools and Materials
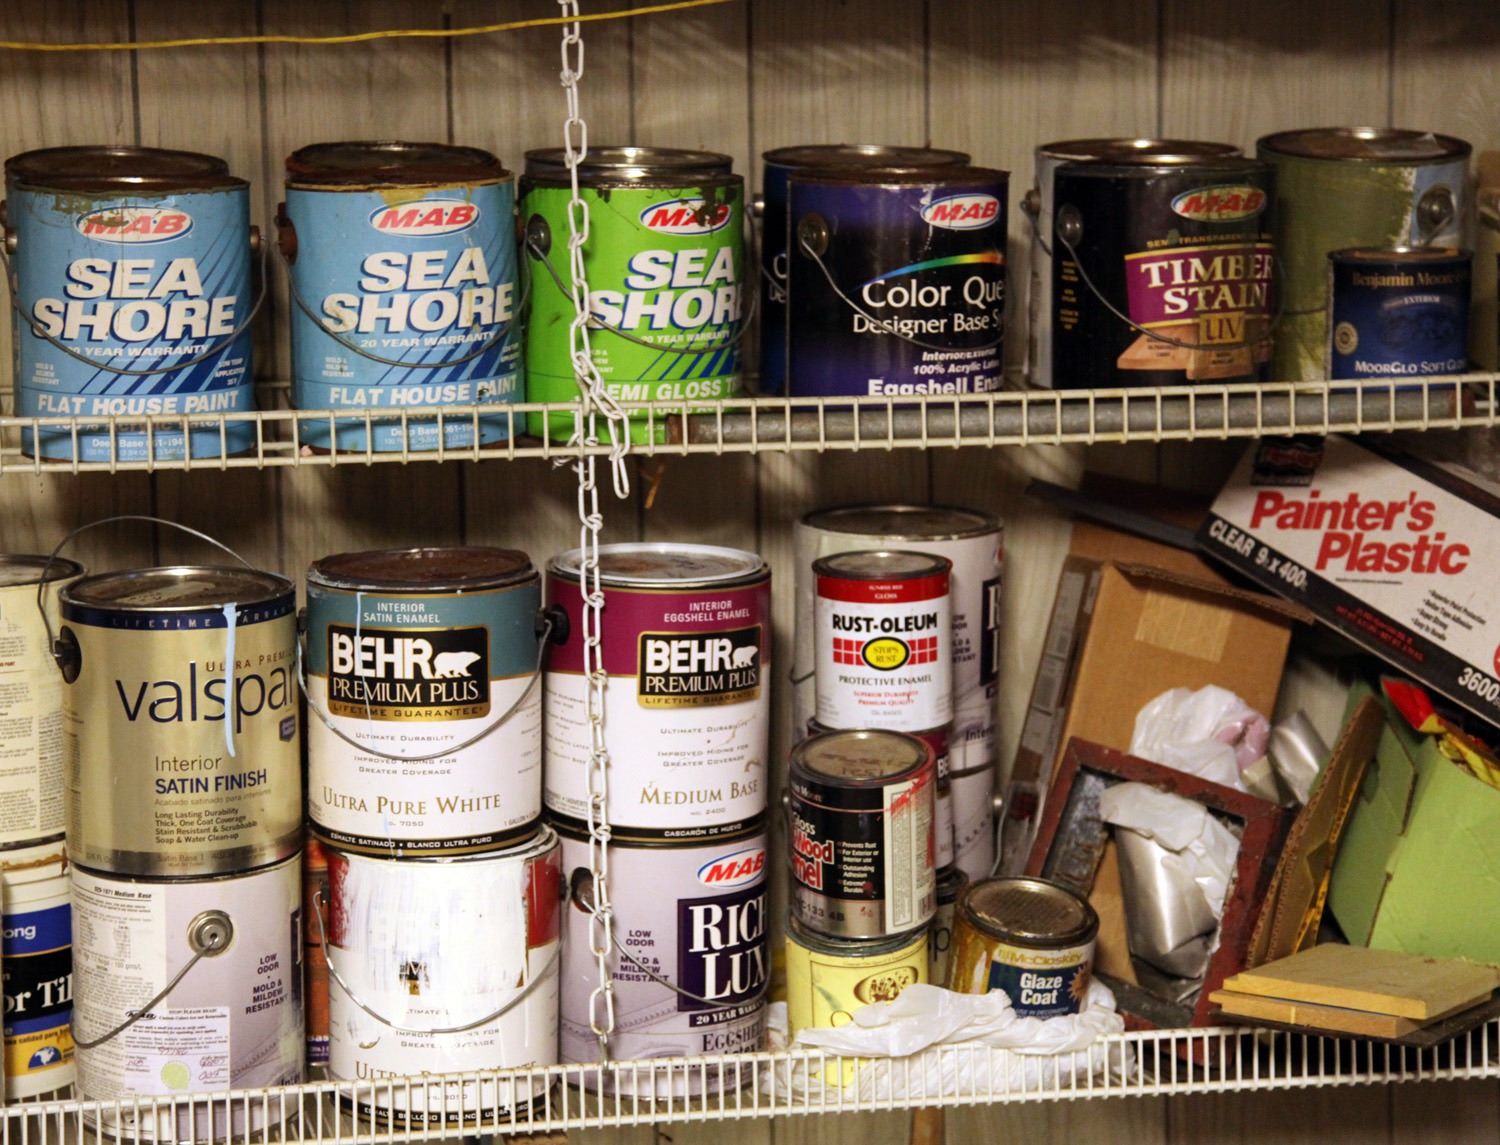
Before starting the painting process, gather all the essential tools and materials you'll need. This typically includes high-quality exterior paint, brushes suitable for trim work, a sturdy ladder or scaffolding, painter's tape, drop cloths to protect surrounding areas, and a paint tray or bucket.
Begin with the Trim
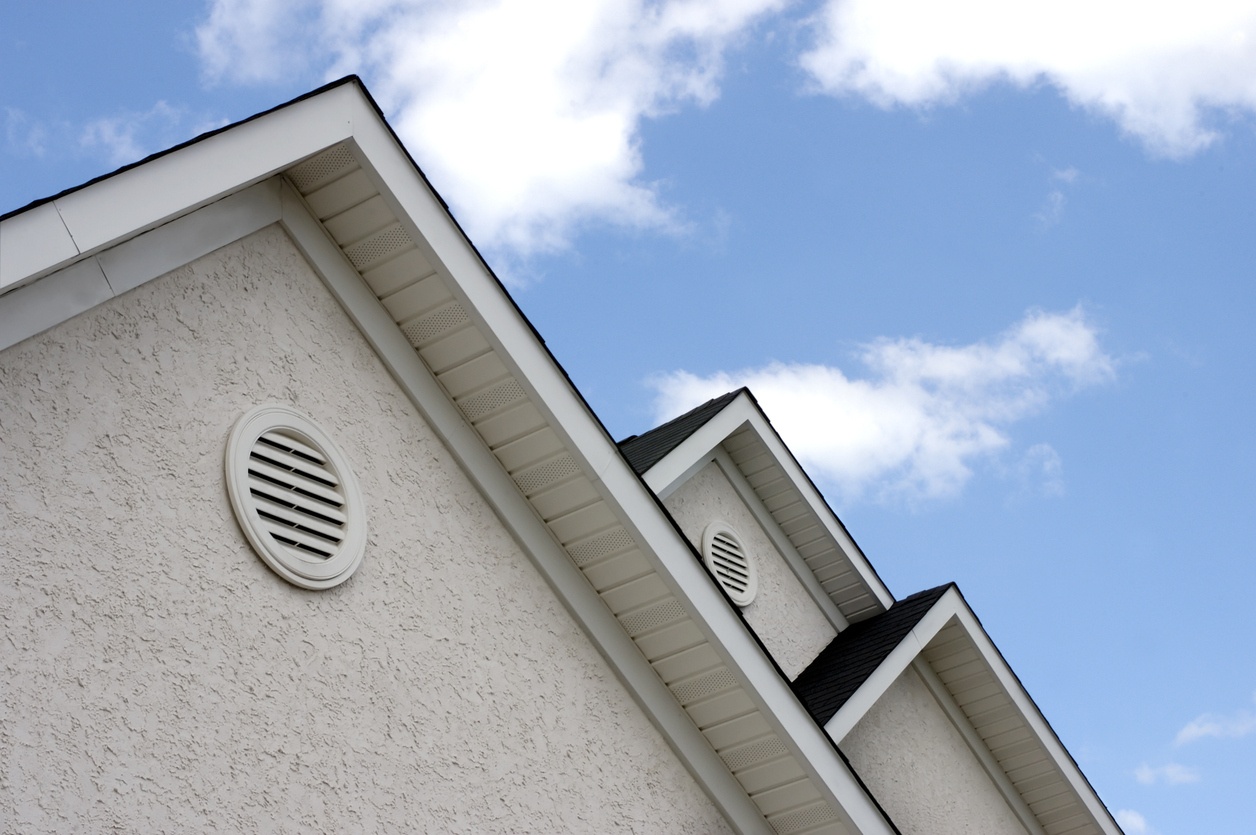
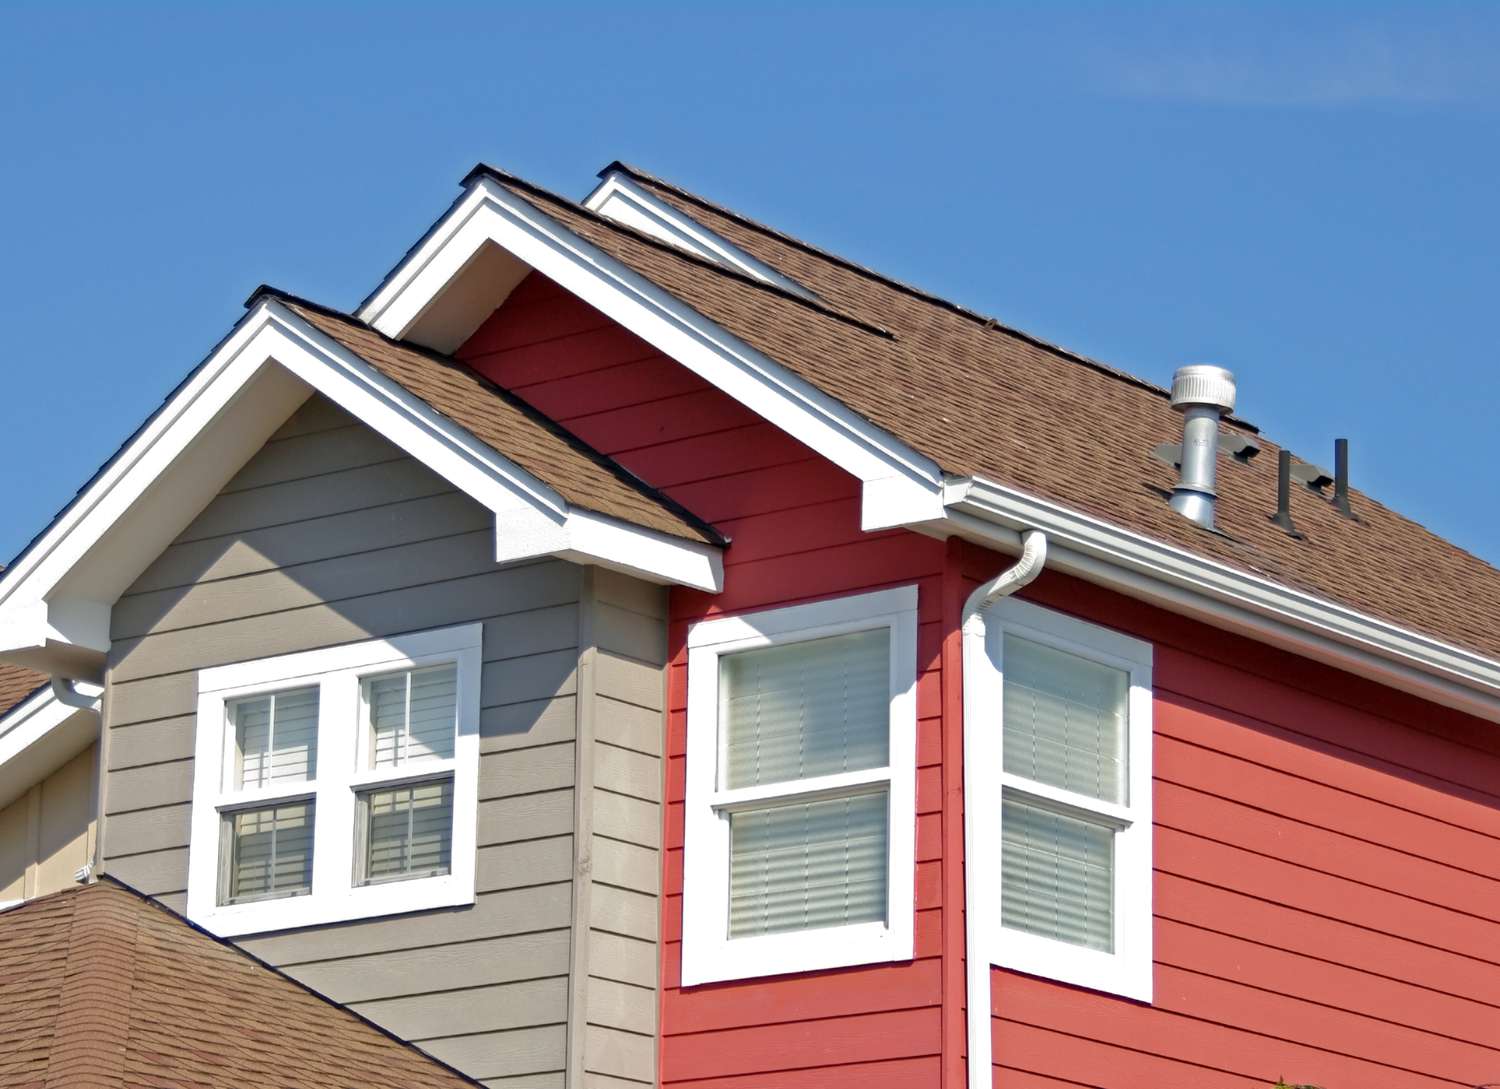
Start by painting the trim along the eaves, including any fascia boards, soffits, and other decorative elements. Use a high-quality brush designed for trim work to ensure precise application and clean lines. Take your time to carefully coat the trim, ensuring even coverage and paying attention to any intricate details or architectural features.
Read more: What Are The Eaves Of A House?
Apply the Paint to the Eaves
Once the trim is painted, it's time to move on to the main eaves. If using a brush, begin by cutting in along the edges where the eaves meet the walls or other surfaces. This step helps create a clean and seamless transition between the eaves and the rest of the exterior. For larger flat areas, consider using a high-quality roller designed for smooth surfaces to achieve consistent coverage and a uniform finish.
Work in Sections
To maintain a consistent appearance and avoid visible seams or lap marks, it's important to work in manageable sections. Divide the eaves into smaller areas and focus on painting one section at a time, ensuring that each section blends seamlessly with the adjacent areas. This approach helps prevent the paint from drying too quickly and allows for a more controlled application.
Pay Attention to Detail
As you apply the paint, pay close attention to any drips, runs, or uneven areas. Use a brush or roller to smooth out any imperfections and ensure that the paint is evenly distributed. Take the time to inspect your work regularly, making any necessary touch-ups or adjustments to maintain a professional and polished finish.
Allow Sufficient Drying Time
After applying the first coat of paint, allow sufficient drying time as recommended by the manufacturer before applying additional coats. This ensures that the paint cures properly and adheres securely to the surface, contributing to a long-lasting and durable finish.
By following these steps and taking a meticulous approach to applying the paint, you can achieve a visually stunning and well-protected eaves that enhance the overall curb appeal of your home.
Read more: How To Clean The Eaves Of A House
Finishing Touches
After the paint has been meticulously applied to the eaves of your house, attention to finishing touches is essential to ensure a polished and professional outcome. These final steps not only contribute to the visual appeal of the eaves but also play a crucial role in protecting the newly painted surface. Here's a detailed guide on the finishing touches that will elevate the overall quality of your eaves painting project:
Inspect for Imperfections
Carefully inspect the painted eaves for any imperfections, such as missed spots, uneven coverage, or drips. Address any such issues promptly to maintain a consistent and flawless appearance. A thorough inspection ensures that the eaves are visually appealing and free from any blemishes that could detract from the overall aesthetic.
Touch-Up Work
Perform any necessary touch-up work to refine the finish and address minor imperfections. Use a high-quality brush or roller to carefully touch up areas that may require additional paint or smoothing. This step contributes to a seamless and uniform appearance, enhancing the overall quality of the paint job.
Remove Protective Coverings
If you used painter's tape or drop cloths to protect surrounding areas during the painting process, carefully remove these protective coverings once the paint has dried. Take care to peel off the tape gently to avoid damaging the freshly painted surface. Removing the protective coverings reveals the clean lines and crisp edges of the eaves, showcasing the precision of the paint application.
Clean Up the Work Area
Thoroughly clean up the work area by removing any paint cans, brushes, and other tools. Dispose of used materials responsibly and ensure that the surrounding environment is left tidy and free from any paint-related debris. A clean work area reflects the care and attention invested in the painting project, leaving a positive impression of the overall craftsmanship.
Evaluate the Overall Result
Step back and evaluate the overall result of the eaves painting project. Take a moment to appreciate the transformation and assess the quality of the finish. Viewing the eaves from different angles and distances allows you to ensure that the paint job meets your expectations and enhances the visual appeal of your home's exterior.
Maintain and Protect the Finish
Consider applying a protective clear coat or sealant to safeguard the freshly painted eaves against environmental elements and prolong the longevity of the finish. This additional layer of protection helps maintain the vibrancy of the paint and shields the eaves from potential damage, contributing to a durable and resilient surface.
By meticulously attending to these finishing touches, you can elevate the quality of the eaves painting project, resulting in a visually stunning and well-protected exterior that enhances the overall beauty and curb appeal of your home.
Frequently Asked Questions about How To Paint The Eaves Of A House
Was this page helpful?
At Storables.com, we guarantee accurate and reliable information. Our content, validated by Expert Board Contributors, is crafted following stringent Editorial Policies. We're committed to providing you with well-researched, expert-backed insights for all your informational needs.


0 thoughts on “How To Paint The Eaves Of A House”