Home>Home Security and Surveillance>How To Install An Eave-Mount LED Motion Detector Fixture Under Eave
Home Security and Surveillance
How To Install An Eave-Mount LED Motion Detector Fixture Under Eave
Modified: August 26, 2024
Learn how to install a home-security-and-surveillance LED motion detector fixture under your eave for enhanced safety and protection. Follow our step-by-step guide!
(Many of the links in this article redirect to a specific reviewed product. Your purchase of these products through affiliate links helps to generate commission for Storables.com, at no extra cost. Learn more)
Introduction
Welcome to our comprehensive guide on how to install an eave-mount LED motion detector fixture under the eaves of your home. Adding a motion detector to your home’s security system can provide an extra layer of protection against potential intruders.
Installing an eave-mount LED motion detector fixture is a great DIY project that can be completed in a few simple steps. With the right tools and materials, you can have a functional motion sensor in no time.
In this guide, we will walk you through each step of the installation process, from gathering the necessary tools and materials to testing the fixture. Whether you’re a seasoned DIYer or a beginner, this guide will provide you with all the information you need to successfully install an eave-mount LED motion detector fixture.
Before we dive into the step-by-step instructions, it’s important to mention that safety should always be the top priority when working with electrical components. Make sure to turn off the power supply before starting the installation process and follow all safety guidelines provided by the manufacturer.
Now, let’s get started with the first step: gathering the necessary tools and materials.
Key Takeaways:
- Enhance Home Security
Installing an eave-mount LED motion detector fixture adds an extra layer of protection against intruders. Follow the step-by-step guide for a DIY project that provides peace of mind. - Prioritize Safety
Always turn off the power supply and follow safety guidelines when working with electrical components. Consider consulting a professional for a safe and proper connection.
Read more: How To Mount Cameras Under Eaves
Step 1: Gather the necessary tools and materials
Before you begin the installation process, it’s essential to gather all the tools and materials you will need. Having everything prepared ahead of time will make the installation process much smoother and more efficient. Here’s a list of the tools and materials you’ll need:
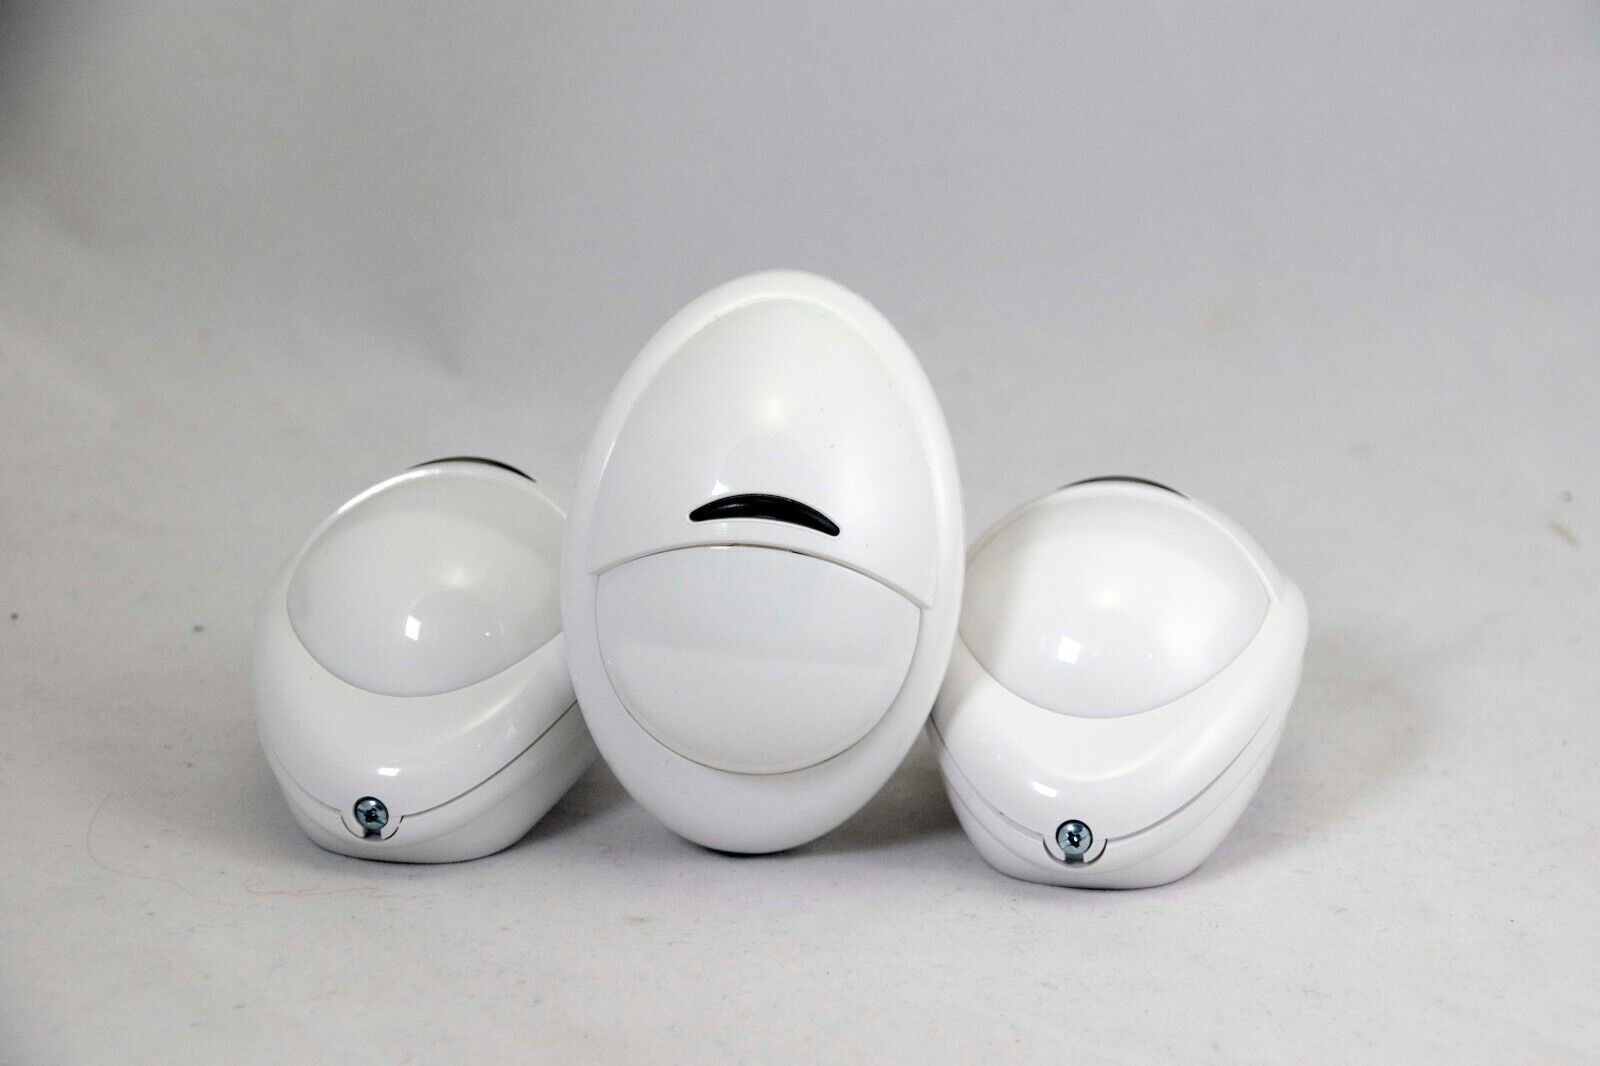
- LED motion detector fixture: Choose a high-quality motion detector fixture that is suitable for eave mounting. Look for a fixture that has adjustable sensitivity, range, and duration settings.
- Screwdriver: You’ll need a screwdriver to secure the mounting bracket and attach the fixture to the eave.
- Wire stripper: A wire stripper will be necessary to remove the insulation from the electrical wires.
- Wire nuts: Wire nuts are used to securely connect the wires together.
- Electrical tape: Electrical tape is used to insulate the electrical connections and prevent any accidental shorts.
- Electrical tester: An electrical tester is a crucial tool for verifying that the power supply is turned off before you start working on the installation.
- Ladder: Depending on the height of your eaves, you may need a ladder to reach the installation area safely.
- Pencil or marker: You’ll use a pencil or marker to mark the mounting holes on the eave.
- Safety glasses: It’s always a good idea to wear safety glasses when working with electrical components to protect your eyes.
Make sure to double-check that you have all the necessary tools and materials before you begin the installation to avoid any delays or interruptions. Once you have everything ready, you can move on to the next step: turning off the power supply.
Step 2: Turn off the power supply
Before you start working on the installation of the eave-mount LED motion detector fixture, it is crucial to ensure that the power supply to the area is turned off. This step is necessary to prevent any electrical accidents or damage that may occur during the installation process.
To turn off the power supply, you will need to locate the circuit breaker or fuse box that controls the power to the area where you will be installing the fixture. It’s important to note that some homes may have multiple circuit breakers or fuse boxes, so it’s essential to identify the correct one.
Once you’ve located the circuit breaker or fuse box, follow these steps to turn off the power:
- Identify the circuit breaker or fuse that controls the area where you will be installing the motion detector fixture.
- Flip the corresponding circuit breaker switch to the “off” position or remove the fuse from the fuse box.
- Double-check to ensure that the power has been successfully turned off by using a non-contact voltage tester. This device will indicate whether or not there is still electrical current present in the area.
It’s crucial to verify that the power is indeed turned off before proceeding with the installation. This step will help prevent any potential electrical shocks or hazards.
Once you have confirmed that the power supply is turned off, you can move on to the next step: choosing the installation location for the eave-mount LED motion detector fixture.
Step 3: Choose the installation location
Choosing the right installation location for your eave-mount LED motion detector fixture is crucial for optimal performance. The ideal location will provide maximum coverage and detection while minimizing false alarms.
Here are some factors to consider when selecting the installation location:
- Height: Install the motion detector fixture at a height that is convenient for adjustments, maintenance, and accessibility. Generally, a height of around 8-10 feet above the ground is recommended.
- Entry points: Identify the primary entry points to your property, such as doors and windows, and position the fixture so that it covers those areas effectively.
- Line of sight: Ensure the motion detector has a clear line of sight to the areas you want to monitor. Avoid obstacles that could block or interfere with the motion sensor’s field of view, such as trees, plants, or structures.
- Range: Determine the range of detection required for your specific needs. Some motion detector fixtures allow you to adjust the sensitivity and range settings to suit your preferences.
Take your time to assess the layout of your property and consider any unique features or potential blind spots. Keep in mind that the installation location should provide adequate coverage to detect any movement within the desired range.
Remember, the goal is to strike a balance between coverage and minimizing false alarms. Avoid placing the motion detector fixture in areas where the sensor may be triggered by movements caused by pets, passing cars, or other non-threatening sources.
Once you’ve identified the ideal installation location, you can move on to the next step: marking the mounting holes on the eave.
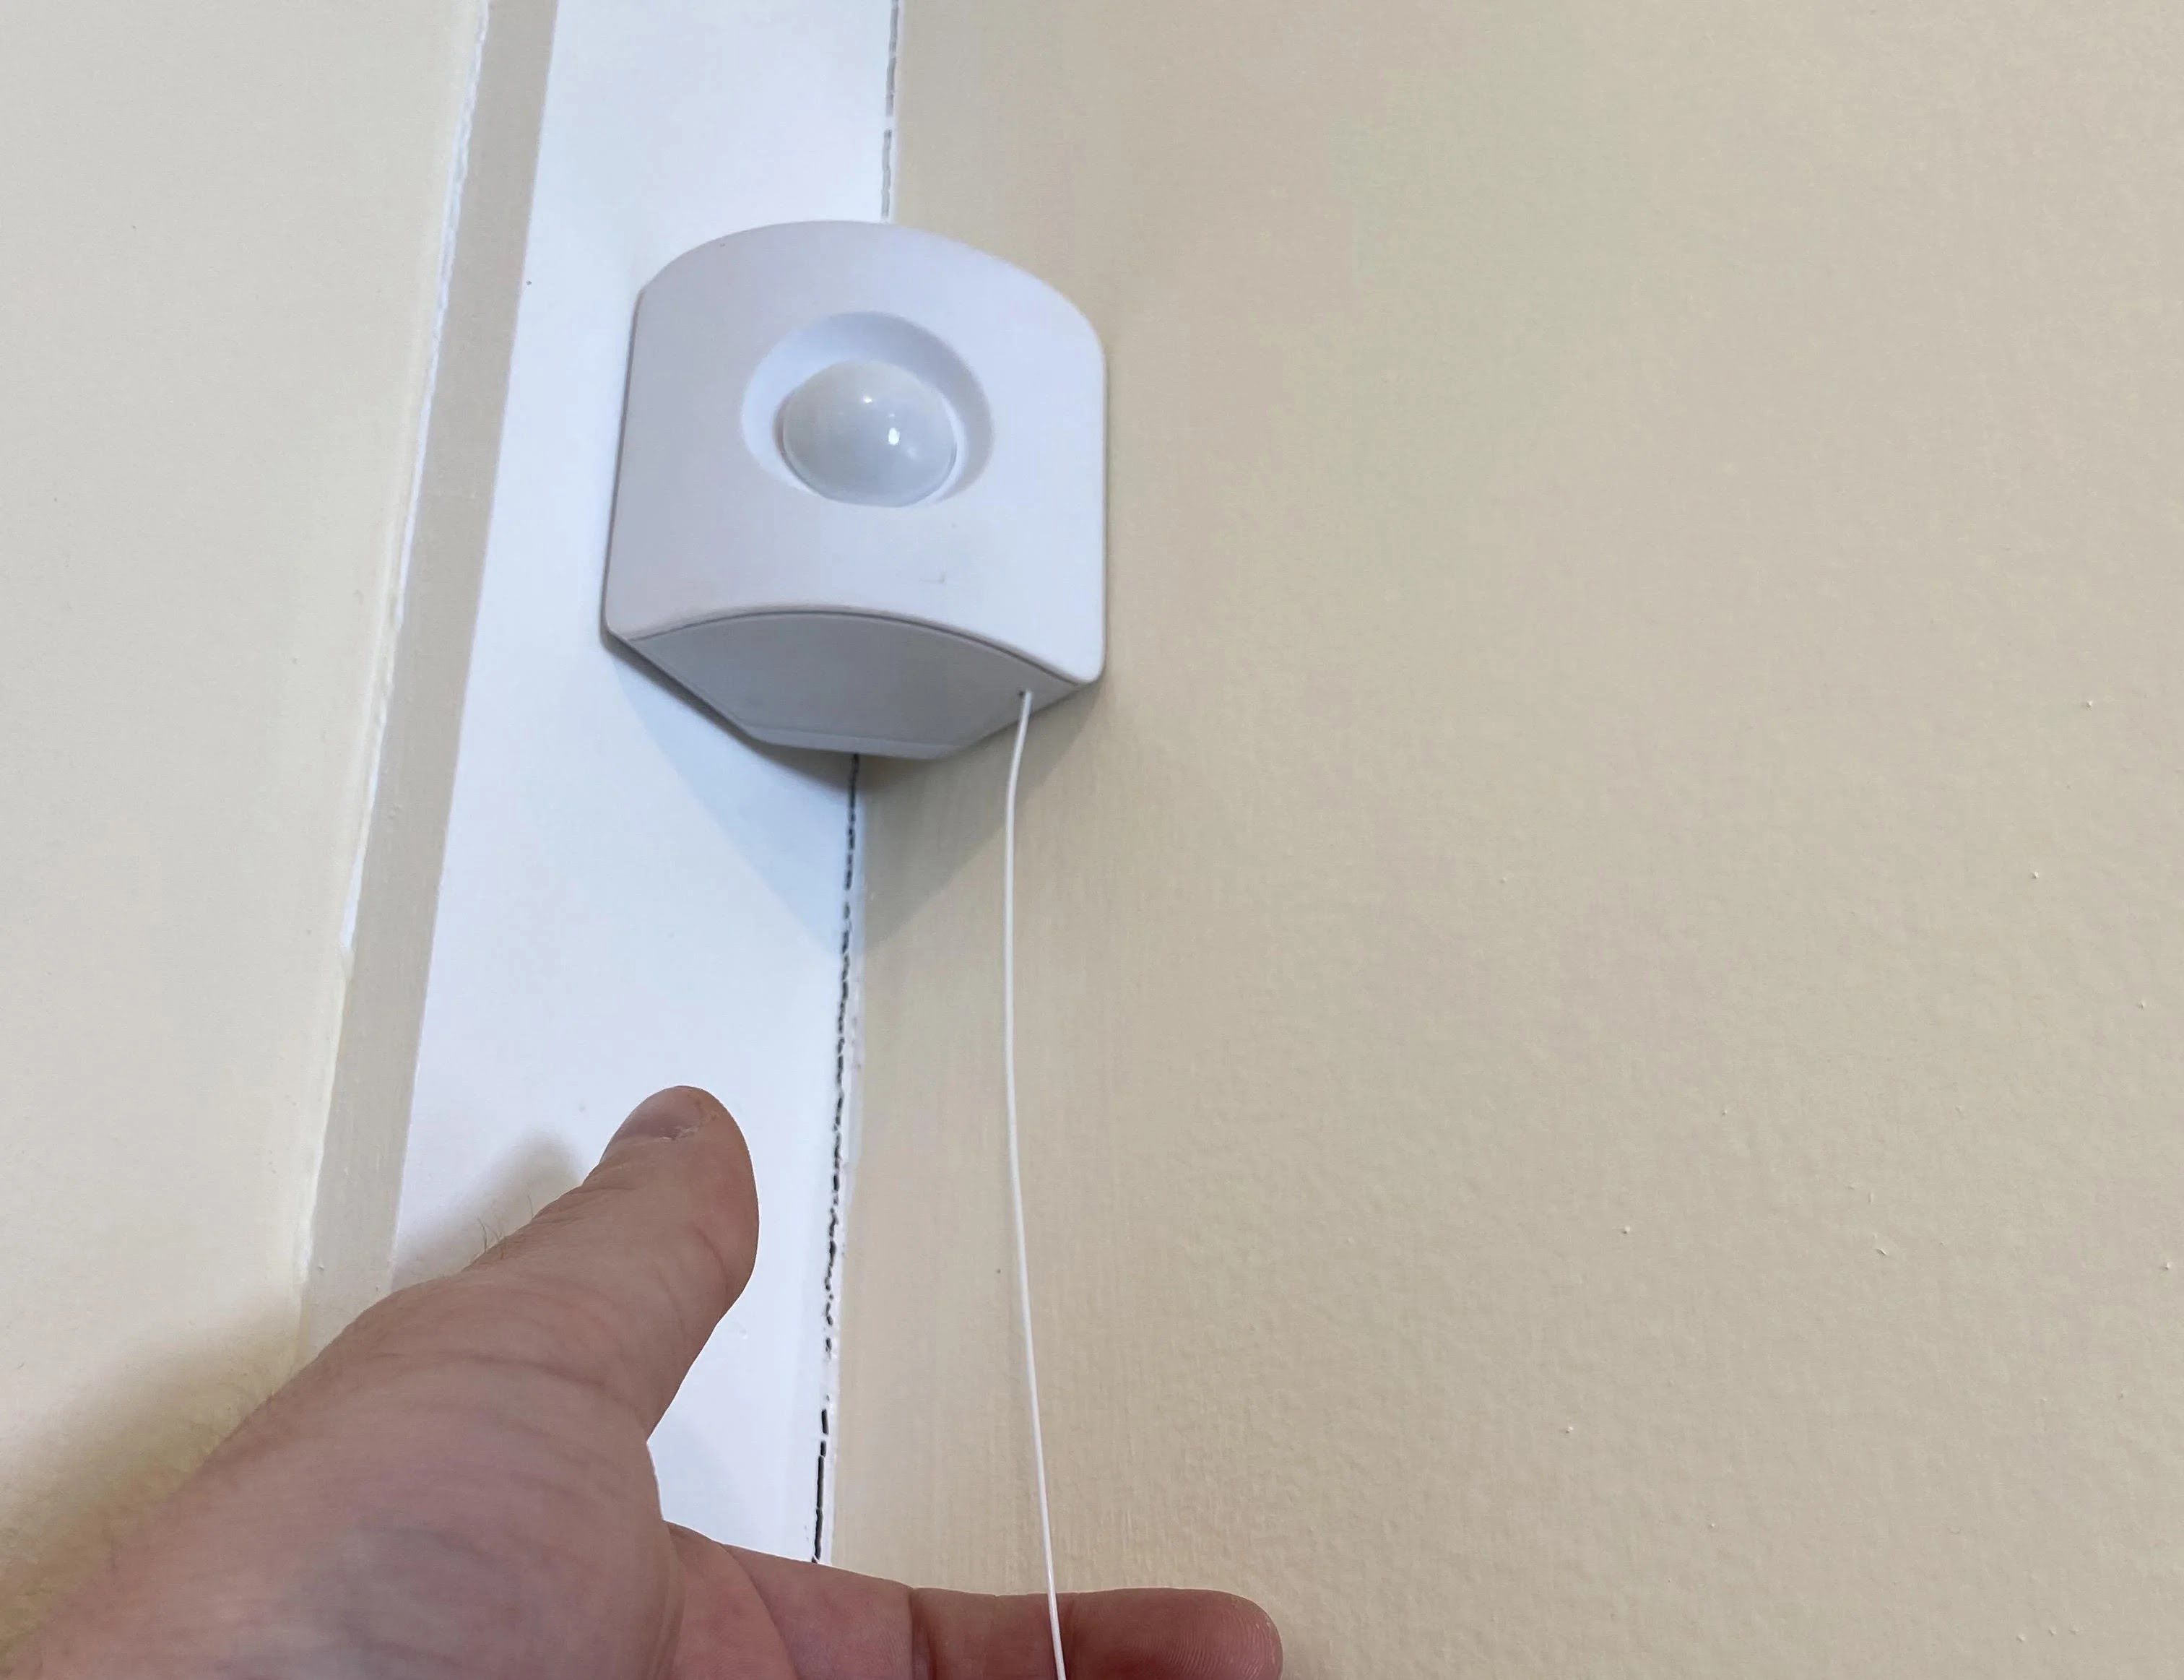
Step 4: Mark the mounting holes
Now that you’ve chosen the installation location for your eave-mount LED motion detector fixture, it’s time to mark the mounting holes on the eave. This step will ensure precise and accurate installation of the fixture.
Before you start marking the holes, make sure to position the fixture against the eave in the desired location. Align it carefully to ensure the sensor and motion detection angle are properly oriented.
Once the fixture is in position, follow these steps to mark the mounting holes:
- Use a pencil or marker to mark the top and bottom mounting holes on the eave. These holes will secure the mounting bracket.
- Next, mark the center of the electrical wiring hole if there isn’t a pre-existing hole in the eave. This will be used to feed the electrical wires through.
- Double-check the positions of the markings to ensure they are aligned and symmetrical.
It’s essential to take your time during this step to ensure accurate hole placement. Precise marking of the holes will make the installation process much smoother and prevent any unnecessary adjustments later on.
Once you have marked the mounting holes on the eave, you can move on to the next step: installing the mounting bracket.
When installing an eave-mount LED motion detector fixture, make sure to turn off the power at the breaker before starting. Follow the manufacturer’s instructions carefully and use the proper tools for a safe and secure installation.
Read more: How To Install Soffit Under Eaves
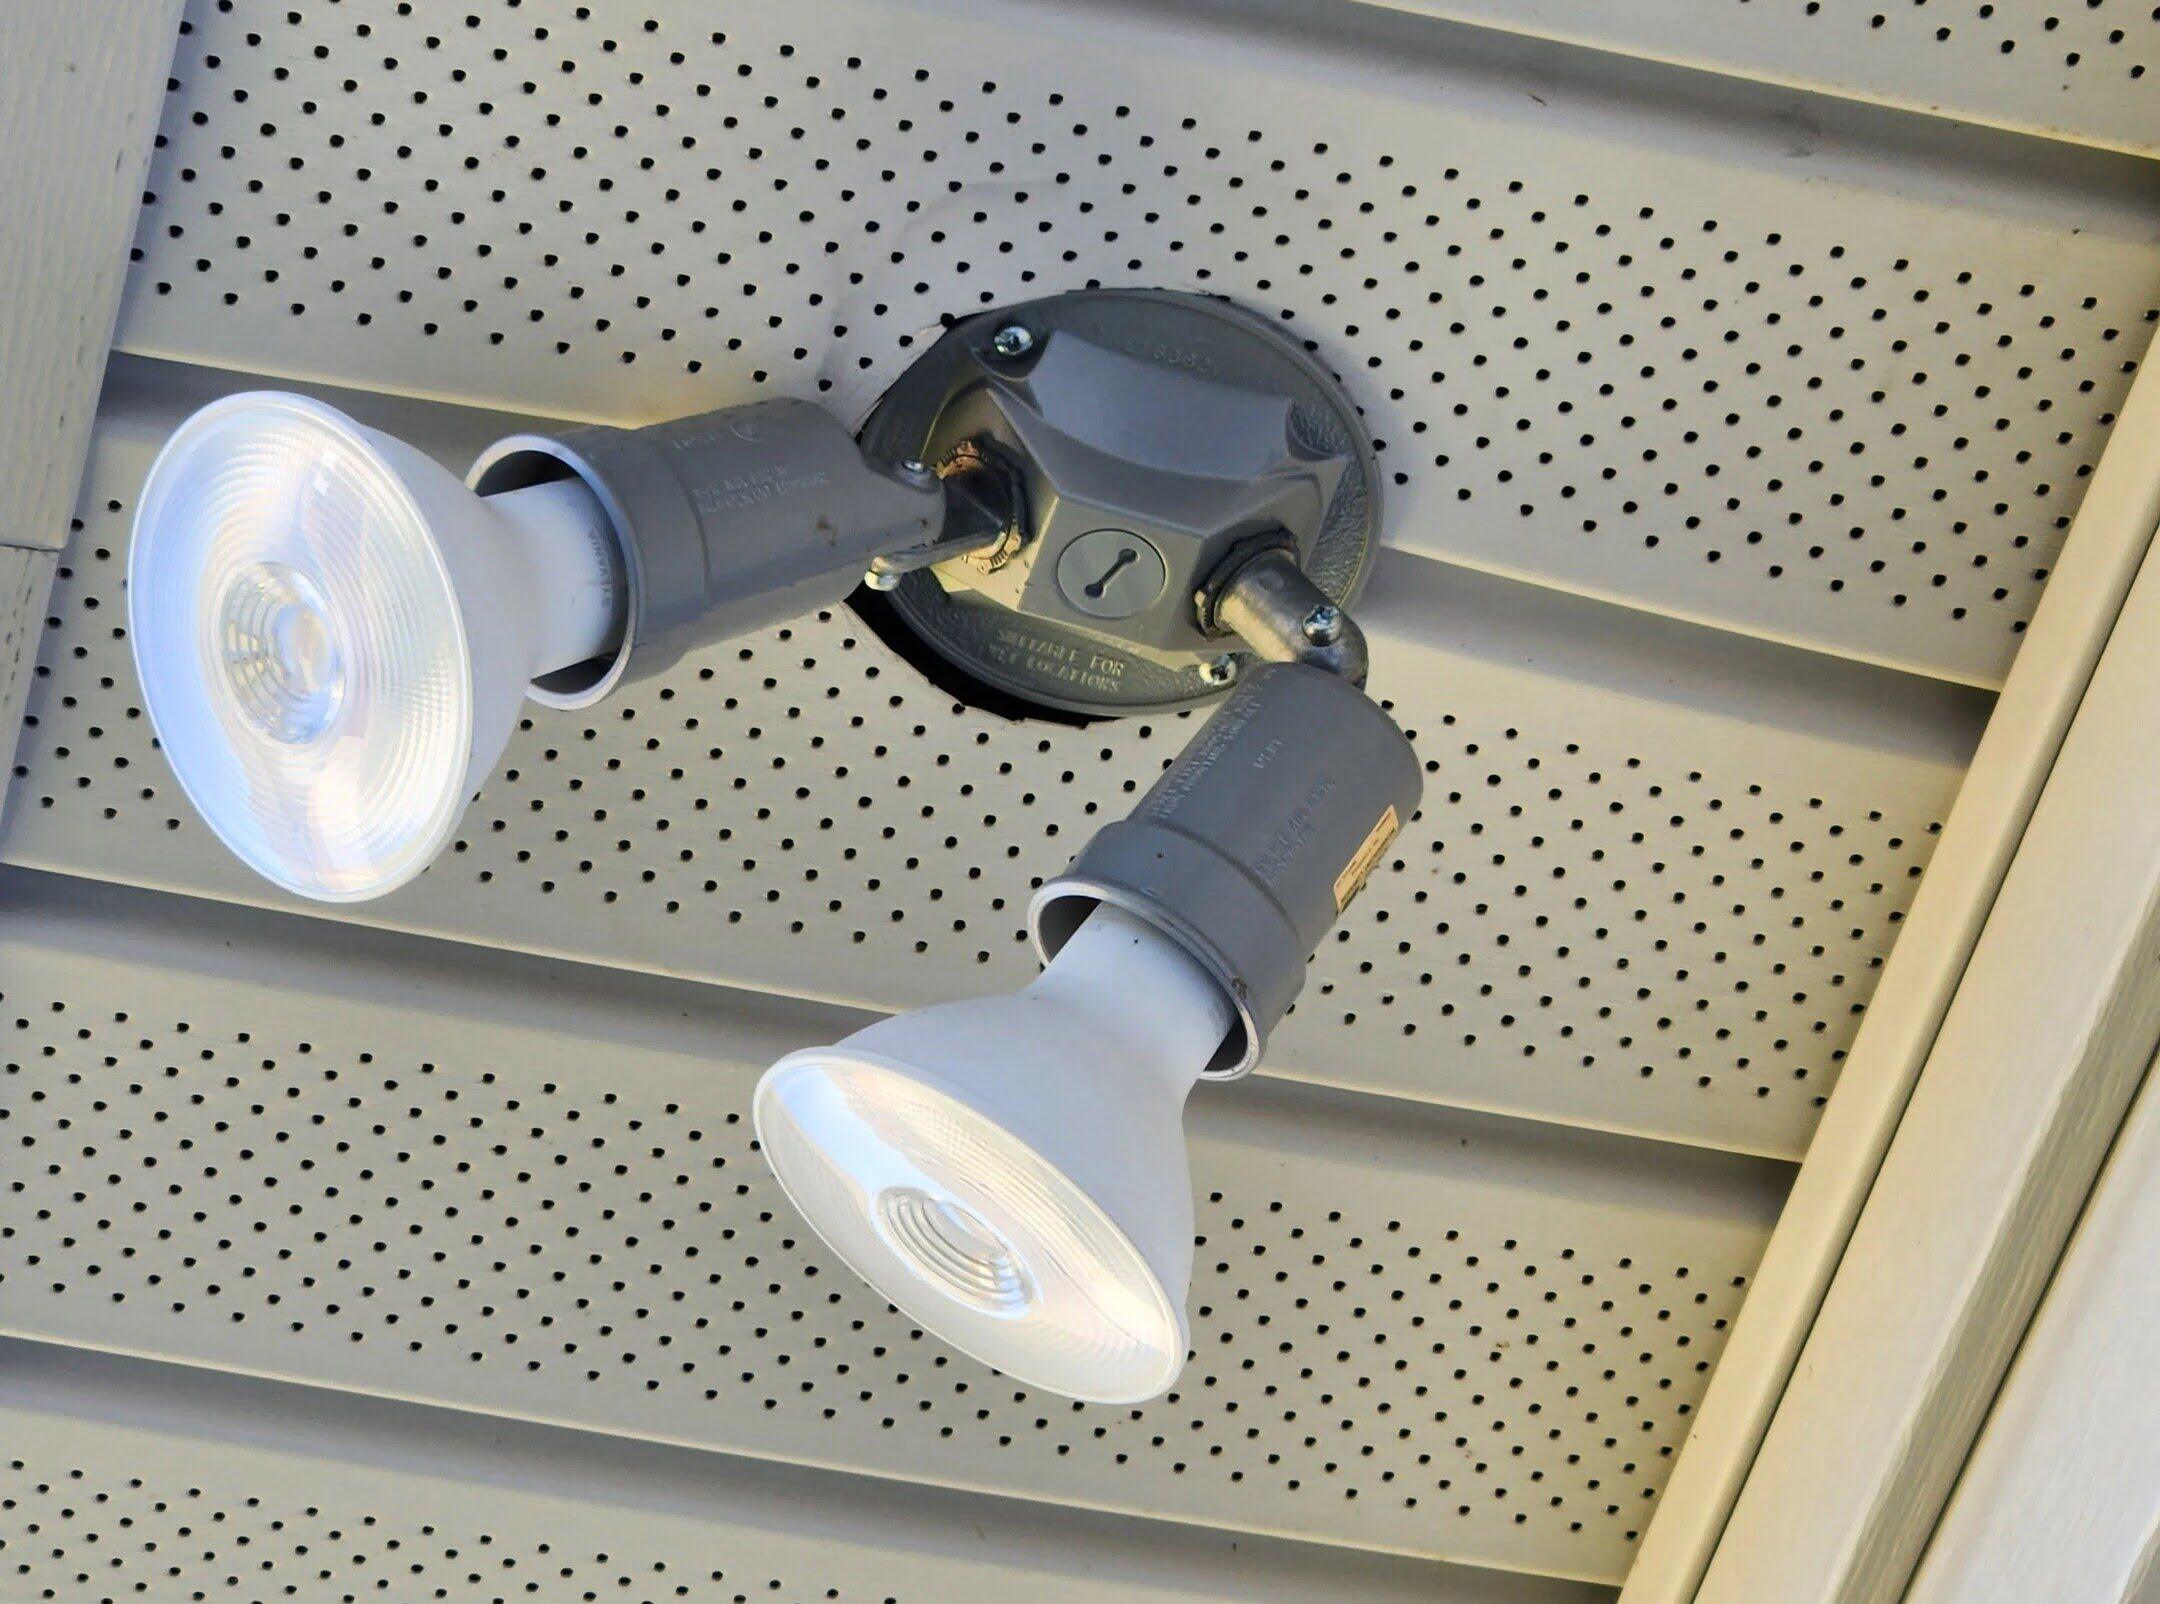
Step 5: Install the mounting bracket
With the mounting holes marked on the eave, it’s time to install the mounting bracket for your eave-mount LED motion detector fixture. The mounting bracket provides a stable and secure foundation for attaching the fixture to the eave.
To install the mounting bracket, follow these steps:
- Position the mounting bracket against the eave, aligning the holes you marked earlier with the corresponding holes on the bracket.
- Secure the mounting bracket in place by inserting screws through the mounting holes and tightening them with a screwdriver.
- Ensure that the bracket is securely fastened to the eave, providing a stable base for the motion detector fixture.
It’s important to note that the specific installation process may vary depending on the type of mounting bracket provided with your fixture. Always refer to the manufacturer’s instructions for any additional guidance or specific requirements.
By installing the mounting bracket correctly, you have completed an essential step in preparing the eave for the LED motion detector fixture. Now, it’s time to move on to the next step: connecting the wiring.
Step 6: Connect the wiring
Now that the mounting bracket is securely in place, it’s time to connect the wiring for your eave-mount LED motion detector fixture. Proper wiring connections ensure that the fixture receives power and functions correctly.
Follow these steps to connect the wiring:
- Thread the electrical wires from the motion detector fixture through the hole in the mounting bracket and into the eave.
- If necessary, strip the insulation from the ends of the electrical wires using a wire stripper.
- Locate the corresponding electrical wires in your electrical box. Typically, these wires include a black (hot) wire, a white (neutral) wire, and a green or bare copper (ground) wire.
- Connect the black wire from the motion detector fixture to the black (hot) wire in the electrical box using a wire nut. Twist the wire nut clockwise until it is secure.
- Connect the white wire from the motion detector fixture to the white (neutral) wire in the electrical box using another wire nut. Again, twist the wire nut securely.
- If your motion detector fixture includes a ground wire, connect it to the green or bare copper wire in the electrical box using a wire nut. Ensure that the connection is tight.
- After connecting the wires, gently tuck them into the electrical box and secure the fixture to the mounting bracket.
It’s essential to double-check all wire connections to ensure they are secure and properly insulated. The use of electrical tape is recommended to wrap around the wire nut connections for added protection and to prevent any accidental loosening.
Remember, if you are not confident in your electrical wiring skills, it’s always best to consult a licensed electrician to ensure a safe and proper connection.
Once the wiring is securely connected, you can proceed to the next step: attaching the motion detector fixture to the mounting bracket.
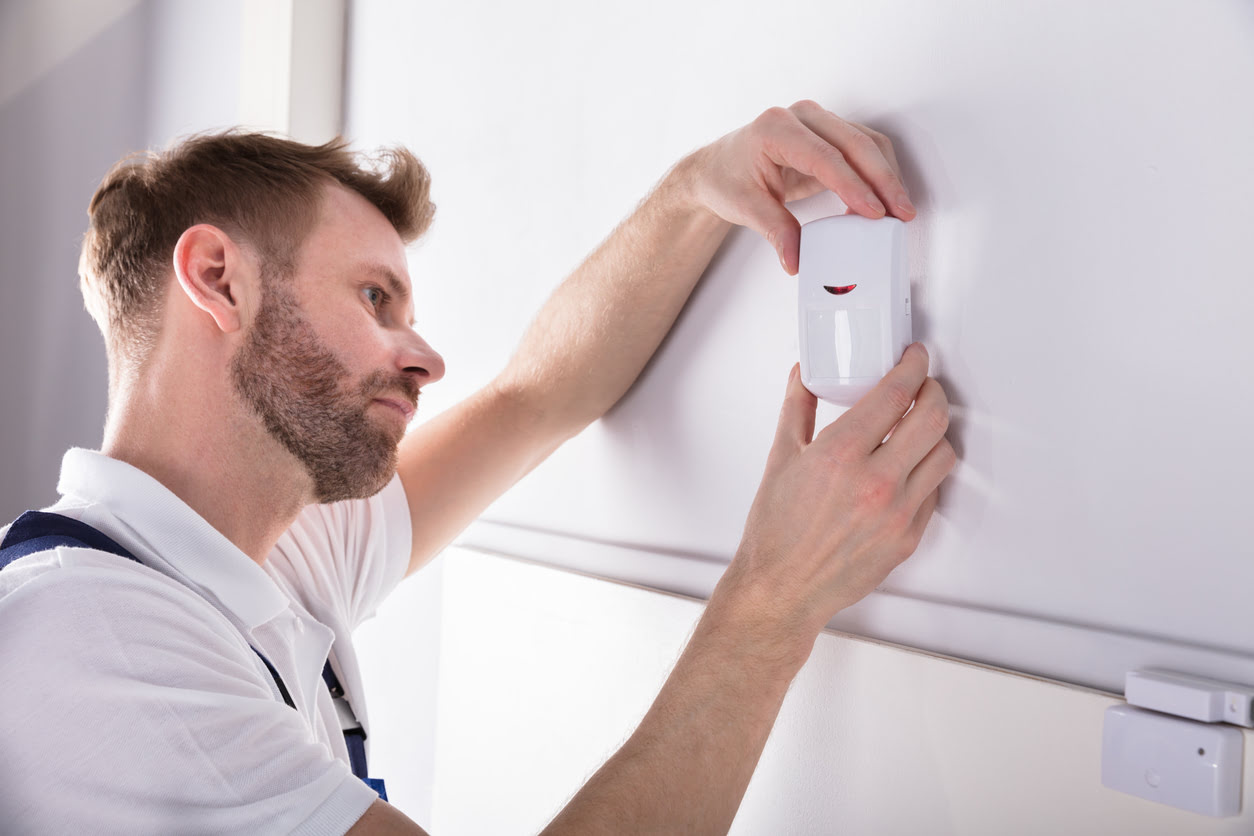
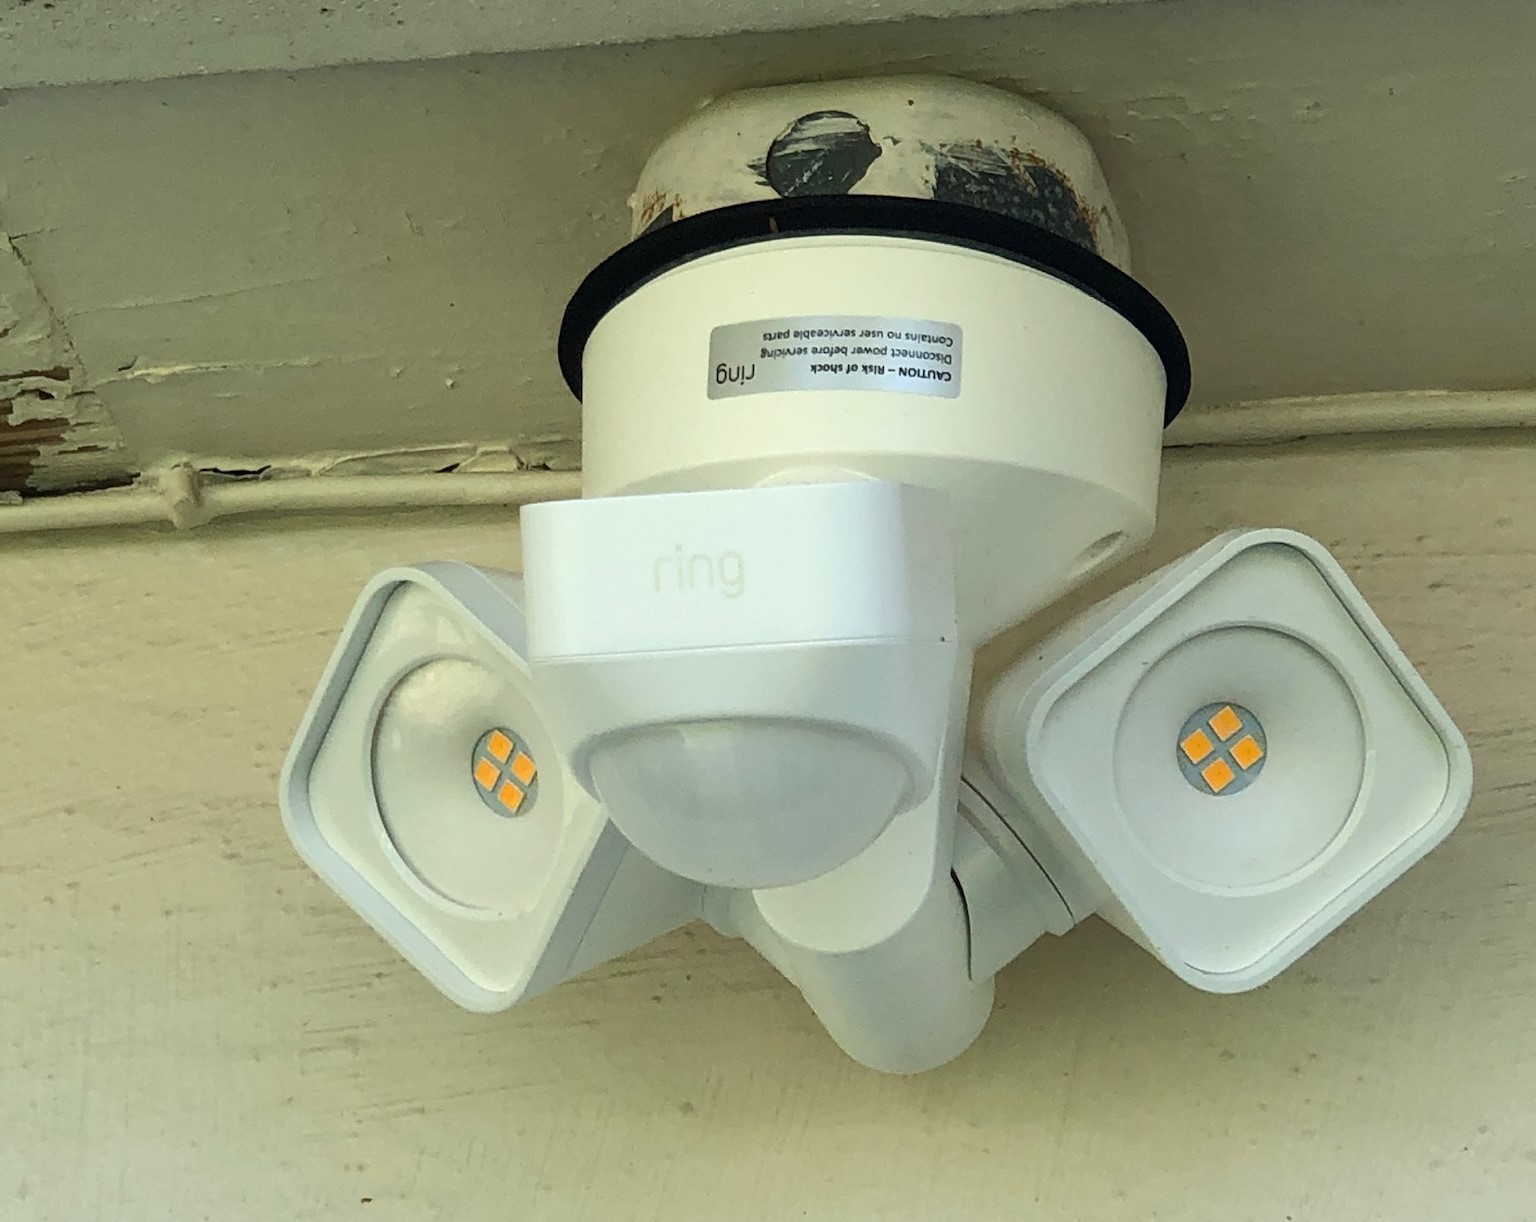
Step 7: Attach the motion detector fixture
With the wiring connected, it’s time to attach the motion detector fixture to the mounting bracket on the eave. Proper installation of the fixture ensures that it is securely in place and properly aligned for effective motion detection.
Follow these steps to attach the motion detector fixture:
- Align the screw holes on the back of the motion detector fixture with the corresponding holes on the mounting bracket.
- Insert screws through the holes and into the mounting bracket.
- Tighten the screws securely using a screwdriver to ensure that the fixture is firmly attached to the bracket.
It’s important to ensure that the motion detector fixture is positioned properly and securely attached to the mounting bracket. This will prevent any movement or misalignment that may affect the efficiency of the motion sensor.
Once the fixture is attached, visually inspect it from various angles to confirm that it is level and aligned with the surrounding area. Make any necessary adjustments before proceeding to the next step.
Now that the motion detector fixture is securely attached, you are ready for the final step: testing the fixture to ensure proper functionality.
Step 8: Test the fixture
After completing the installation of your eave-mount LED motion detector fixture, it’s essential to test it to ensure proper functionality. Testing the fixture will verify that it is detecting motion accurately and triggering the desired actions, such as turning on lights or sounding an alarm.
Follow these steps to test the fixture:
- Turn on the power supply to the area where the fixture is installed. If you had turned it off earlier, flip the corresponding circuit breaker switch to the “on” position or insert the fuse back into the fuse box.
- Adjust the sensitivity, range, and duration settings on the motion detector fixture according to the manufacturer’s instructions. These settings will determine how the fixture responds to motion.
- Wait for the fixture to initialize, which can take a few seconds or up to a minute, depending on the model.
- Move within the detection range of the fixture to test its responsiveness. Walk or wave your hand in front of the sensor to trigger the motion detection.
- Observe whether the fixture activates as expected. For example, check if the lights turn on or if an alarm is triggered.
If the motion detector fixture doesn’t react or doesn’t function as desired, there are a few troubleshooting steps you can take:
- Check the wiring connections to ensure they are secure.
- Verify that the power supply is functioning correctly by testing other devices or fixtures in the area.
- Adjust the sensitivity, range, or duration settings to optimize the performance of the fixture.
- Refer to the manufacturer’s instructions or consult a professional if you encounter persistent issues.
Once you have confirmed that the fixture is working correctly, you can consider the installation process complete! Remember, periodic testing and maintenance of the motion detector fixture are important to ensure continued functionality and reliable security monitoring.
Congratulations on successfully installing an eave-mount LED motion detector fixture under your eaves! You’ve taken an important step in enhancing the security of your home.
Finally, make sure to turn off the power supply to the area before making any adjustments, maintenance, or repairs to the fixture in the future.
If you have any concerns or questions about the installation or functionality of the motion detector fixture, don’t hesitate to reach out to the manufacturer or consult a professional for assistance.
Stay safe and enjoy the added peace of mind that comes with a well-installed motion detector fixture!
Conclusion
In conclusion, installing an eave-mount LED motion detector fixture can significantly enhance the security of your home. By following the step-by-step guide provided in this article, you can successfully install the fixture and enjoy the added peace of mind knowing that your property is protected.
Throughout the installation process, we covered important steps such as gathering the necessary tools and materials, turning off the power supply, choosing the installation location, marking the mounting holes, installing the mounting bracket, connecting the wiring, attaching the motion detector fixture, and testing its functionality.
Remember, safety should always be your top priority when working with electrical components. Be sure to follow all safety guidelines, turn off the power supply, and consult a licensed electrician if needed.
Once the motion detector fixture is installed, it’s essential to periodically test and maintain it to ensure that it continues to function optimally. Regular testing and maintenance will help maintain the security of your home and prevent any potential issues.
We hope that this comprehensive guide has provided you with the confidence and knowledge to install an eave-mount LED motion detector fixture. By taking this proactive step, you’re enhancing the security and protection of your home and loved ones.
If you have any further questions or need additional assistance, don’t hesitate to reach out to the manufacturer or consult a professional. Stay safe, secure, and enjoy the peace of mind that comes with a well-installed motion detector fixture!
Frequently Asked Questions about How To Install An Eave-Mount LED Motion Detector Fixture Under Eave
Was this page helpful?
At Storables.com, we guarantee accurate and reliable information. Our content, validated by Expert Board Contributors, is crafted following stringent Editorial Policies. We're committed to providing you with well-researched, expert-backed insights for all your informational needs.