Home>Renovation & DIY>Home Renovation Guides>How To Clean The Eaves Of A House
Home Renovation Guides
How To Clean The Eaves Of A House
Modified: February 17, 2024
Learn effective tips for cleaning the eaves of your house with our comprehensive home renovation guide. Keep your home in top shape with our expert advice.
(Many of the links in this article redirect to a specific reviewed product. Your purchase of these products through affiliate links helps to generate commission for Storables.com, at no extra cost. Learn more)
Introduction
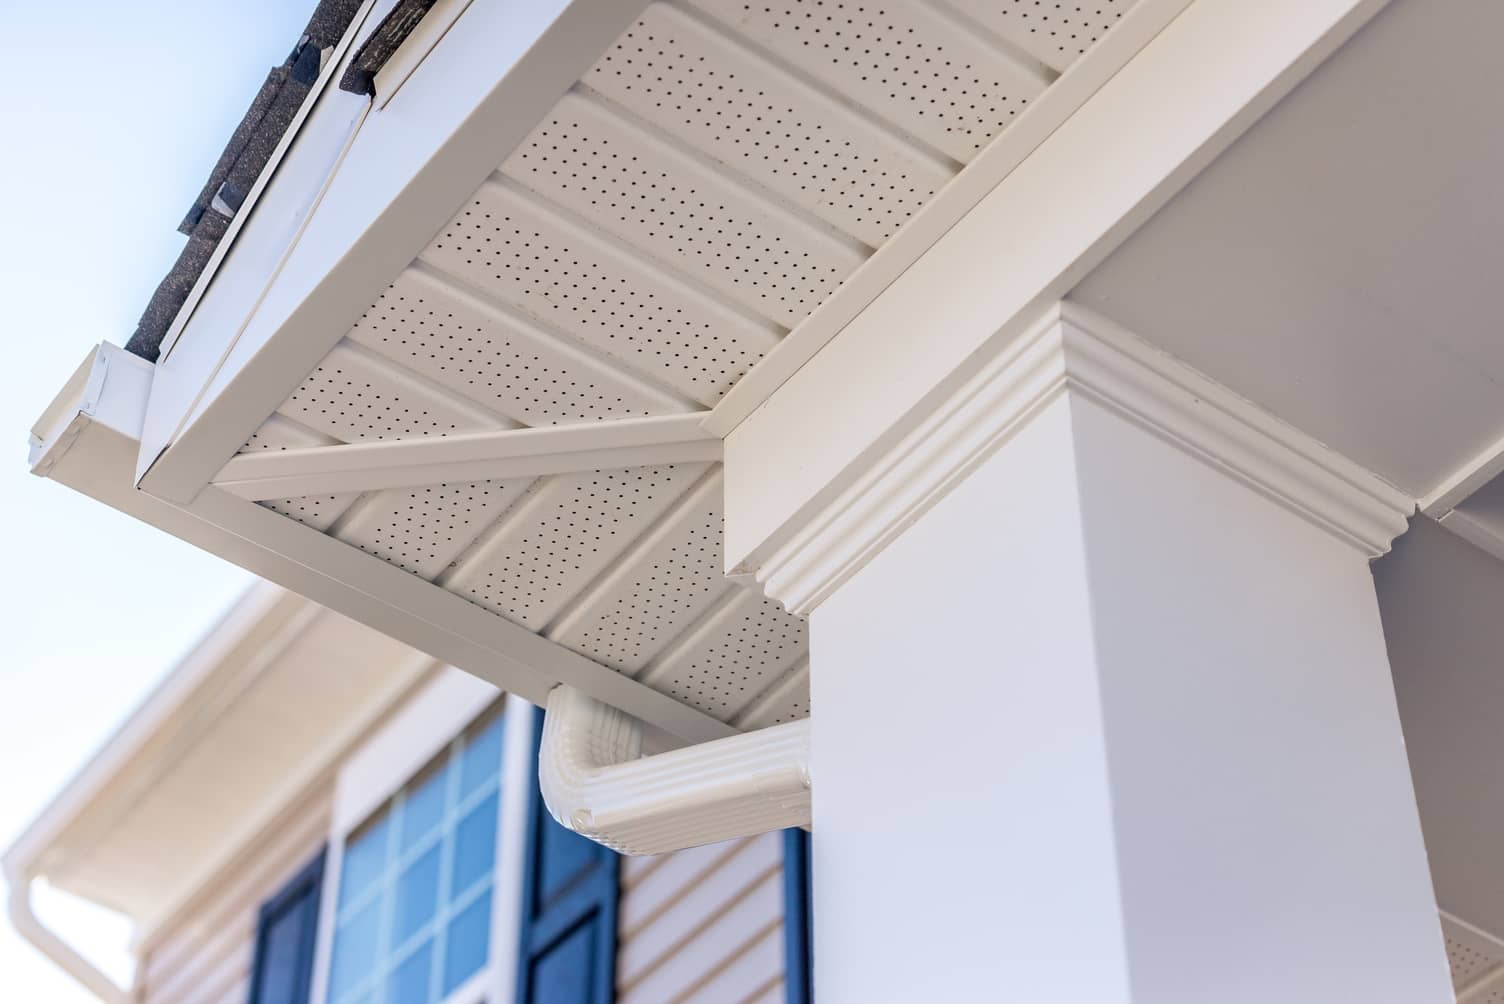
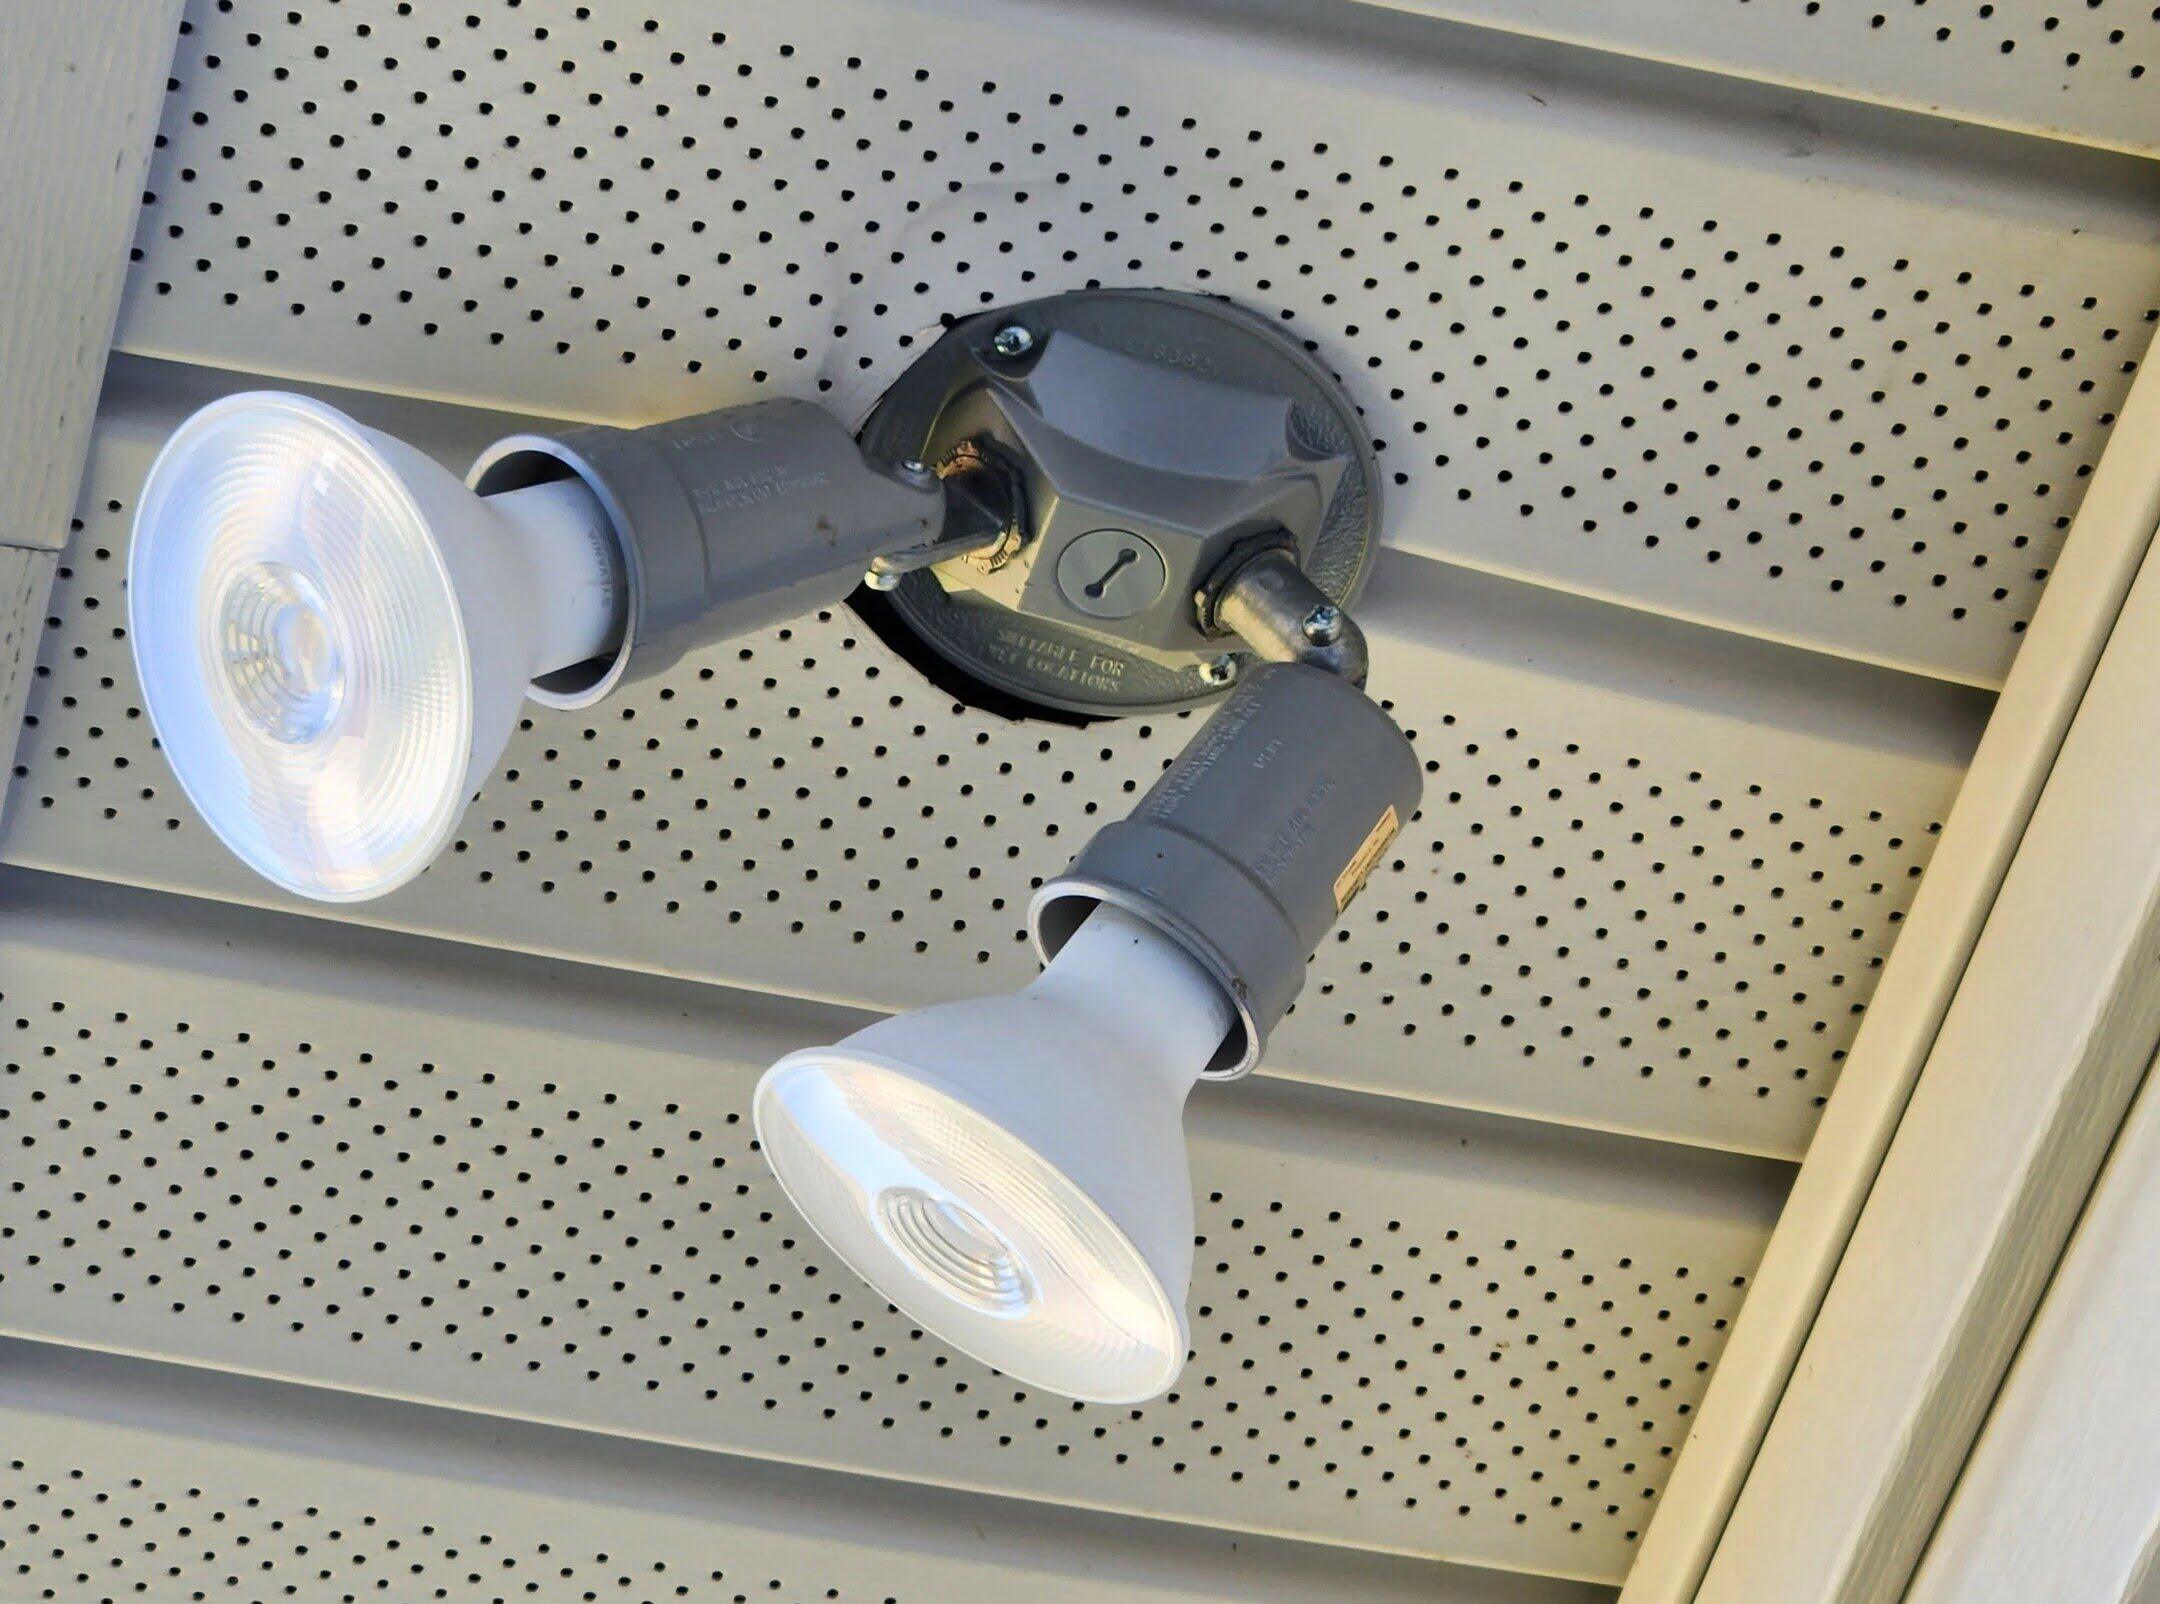
Cleaning the eaves of your house is an essential maintenance task that often gets overlooked. Over time, leaves, twigs, dirt, and other debris can accumulate in the eaves and gutters, leading to clogs and potential water damage to your home. By regularly cleaning the eaves, you can prevent costly repairs and ensure that your home remains in top condition.
In this comprehensive guide, we will walk you through the step-by-step process of cleaning the eaves of your house. From gathering the necessary tools and materials to safely removing debris and scrubbing the eaves, we've got you covered. By following these instructions, you'll not only maintain the aesthetic appeal of your home but also safeguard it from potential water damage and structural issues.
So, roll up your sleeves and get ready to give your eaves the attention they deserve. With the right tools, a bit of elbow grease, and our expert guidance, you'll be well-equipped to tackle this important home maintenance task. Let's dive in and ensure that your eaves are clean, clear, and ready to protect your home for years to come.
Key Takeaways:
- Regularly cleaning the eaves of your house prevents costly repairs and water damage. With the right tools and safety precautions, you can maintain your home’s appearance and structural integrity.
- Thoroughly inspecting and repairing the eaves after cleaning ensures long-term protection and structural soundness. By addressing potential issues promptly, you contribute to the longevity and resilience of your home.
Read more: How To Repair Eaves On A House
Tools and Materials Needed
When it comes to cleaning the eaves of your house, having the right tools and materials at your disposal is crucial for a successful and efficient cleaning process. Here's a comprehensive list of what you'll need to get the job done:
Tools:
-
Ladder: A sturdy, well-maintained ladder is essential for accessing the eaves and gutters safely. Ensure that the ladder is tall enough to reach the eaves without overreaching.
-
Gloves: Durable, waterproof gloves will protect your hands from debris, sharp edges, and potential contaminants while cleaning the eaves and gutters.
-
Safety Goggles: Invest in a pair of safety goggles to shield your eyes from dust, debris, and any splashing water or cleaning solutions.
-
Gutter Scoop or Trowel: A gutter scoop or trowel will help you efficiently remove leaves, twigs, and other debris from the gutters, allowing for a thorough cleaning.
-
Bucket: A sturdy bucket or container will come in handy for collecting debris and transporting cleaning supplies as you work along the eaves.
-
Scrub Brush: A stiff-bristled scrub brush or a specially designed eaves cleaning brush will aid in removing stubborn dirt, grime, and mildew from the eaves' surfaces.
-
Hose with Nozzle Attachment: A garden hose equipped with a nozzle attachment, such as a high-pressure nozzle or a spray wand, will be used for rinsing the eaves and gutters after cleaning.
Materials:
-
Protective Tarp or Drop Cloth: Lay down a protective tarp or drop cloth around the base of the house to catch falling debris and prevent it from scattering across the yard.
-
Cleaning Solution: Depending on the level of grime and mildew, you may need a suitable cleaning solution. This could range from a mild detergent solution to a specialized eaves cleaner.
-
Bleach (Optional): If you're dealing with mold or mildew, a diluted bleach solution can be effective in removing and preventing further growth.
-
Safety Harness (Optional): For added safety, especially when working on steep roofs, consider using a safety harness and tether system to prevent falls.
By ensuring that you have these essential tools and materials on hand, you'll be well-prepared to tackle the task of cleaning your eaves effectively and safely. With the right equipment and a methodical approach, you'll be able to maintain the integrity and appearance of your home's eaves, protecting it from potential damage and prolonging its lifespan.
Safety Precautions
When it comes to cleaning the eaves of your house, prioritizing safety is paramount. Working at heights and dealing with potential hazards requires a cautious and proactive approach to ensure the well-being of yourself and those around you. Before embarking on the eaves cleaning process, it's crucial to adhere to the following safety precautions:
-
Use a Sturdy Ladder: Before ascending to clean the eaves, inspect the ladder for any damage or defects. Ensure that it is placed on a level, stable surface and that it is tall enough to reach the eaves without overreaching. Always maintain three points of contact while climbing and working on the ladder.
-
Wear Protective Gear: Equip yourself with durable gloves to shield your hands from debris, sharp edges, and potential contaminants. Safety goggles are essential to protect your eyes from dust, debris, and any splashing water or cleaning solutions.
-
Secure the Work Area: Lay down a protective tarp or drop cloth around the base of the house to catch falling debris and prevent it from scattering across the yard. This not only keeps the area tidy but also minimizes the risk of slipping on loose debris.
-
Beware of Electrical Wires: Be mindful of nearby electrical wires when using a ladder or handling long tools. Keep a safe distance from power lines to avoid the risk of electrocution.
-
Use Caution on the Roof: If accessing the eaves requires climbing onto the roof, exercise extreme caution. Wear non-slip footwear and consider using a safety harness and tether system for added protection, especially when working on steep roofs.
-
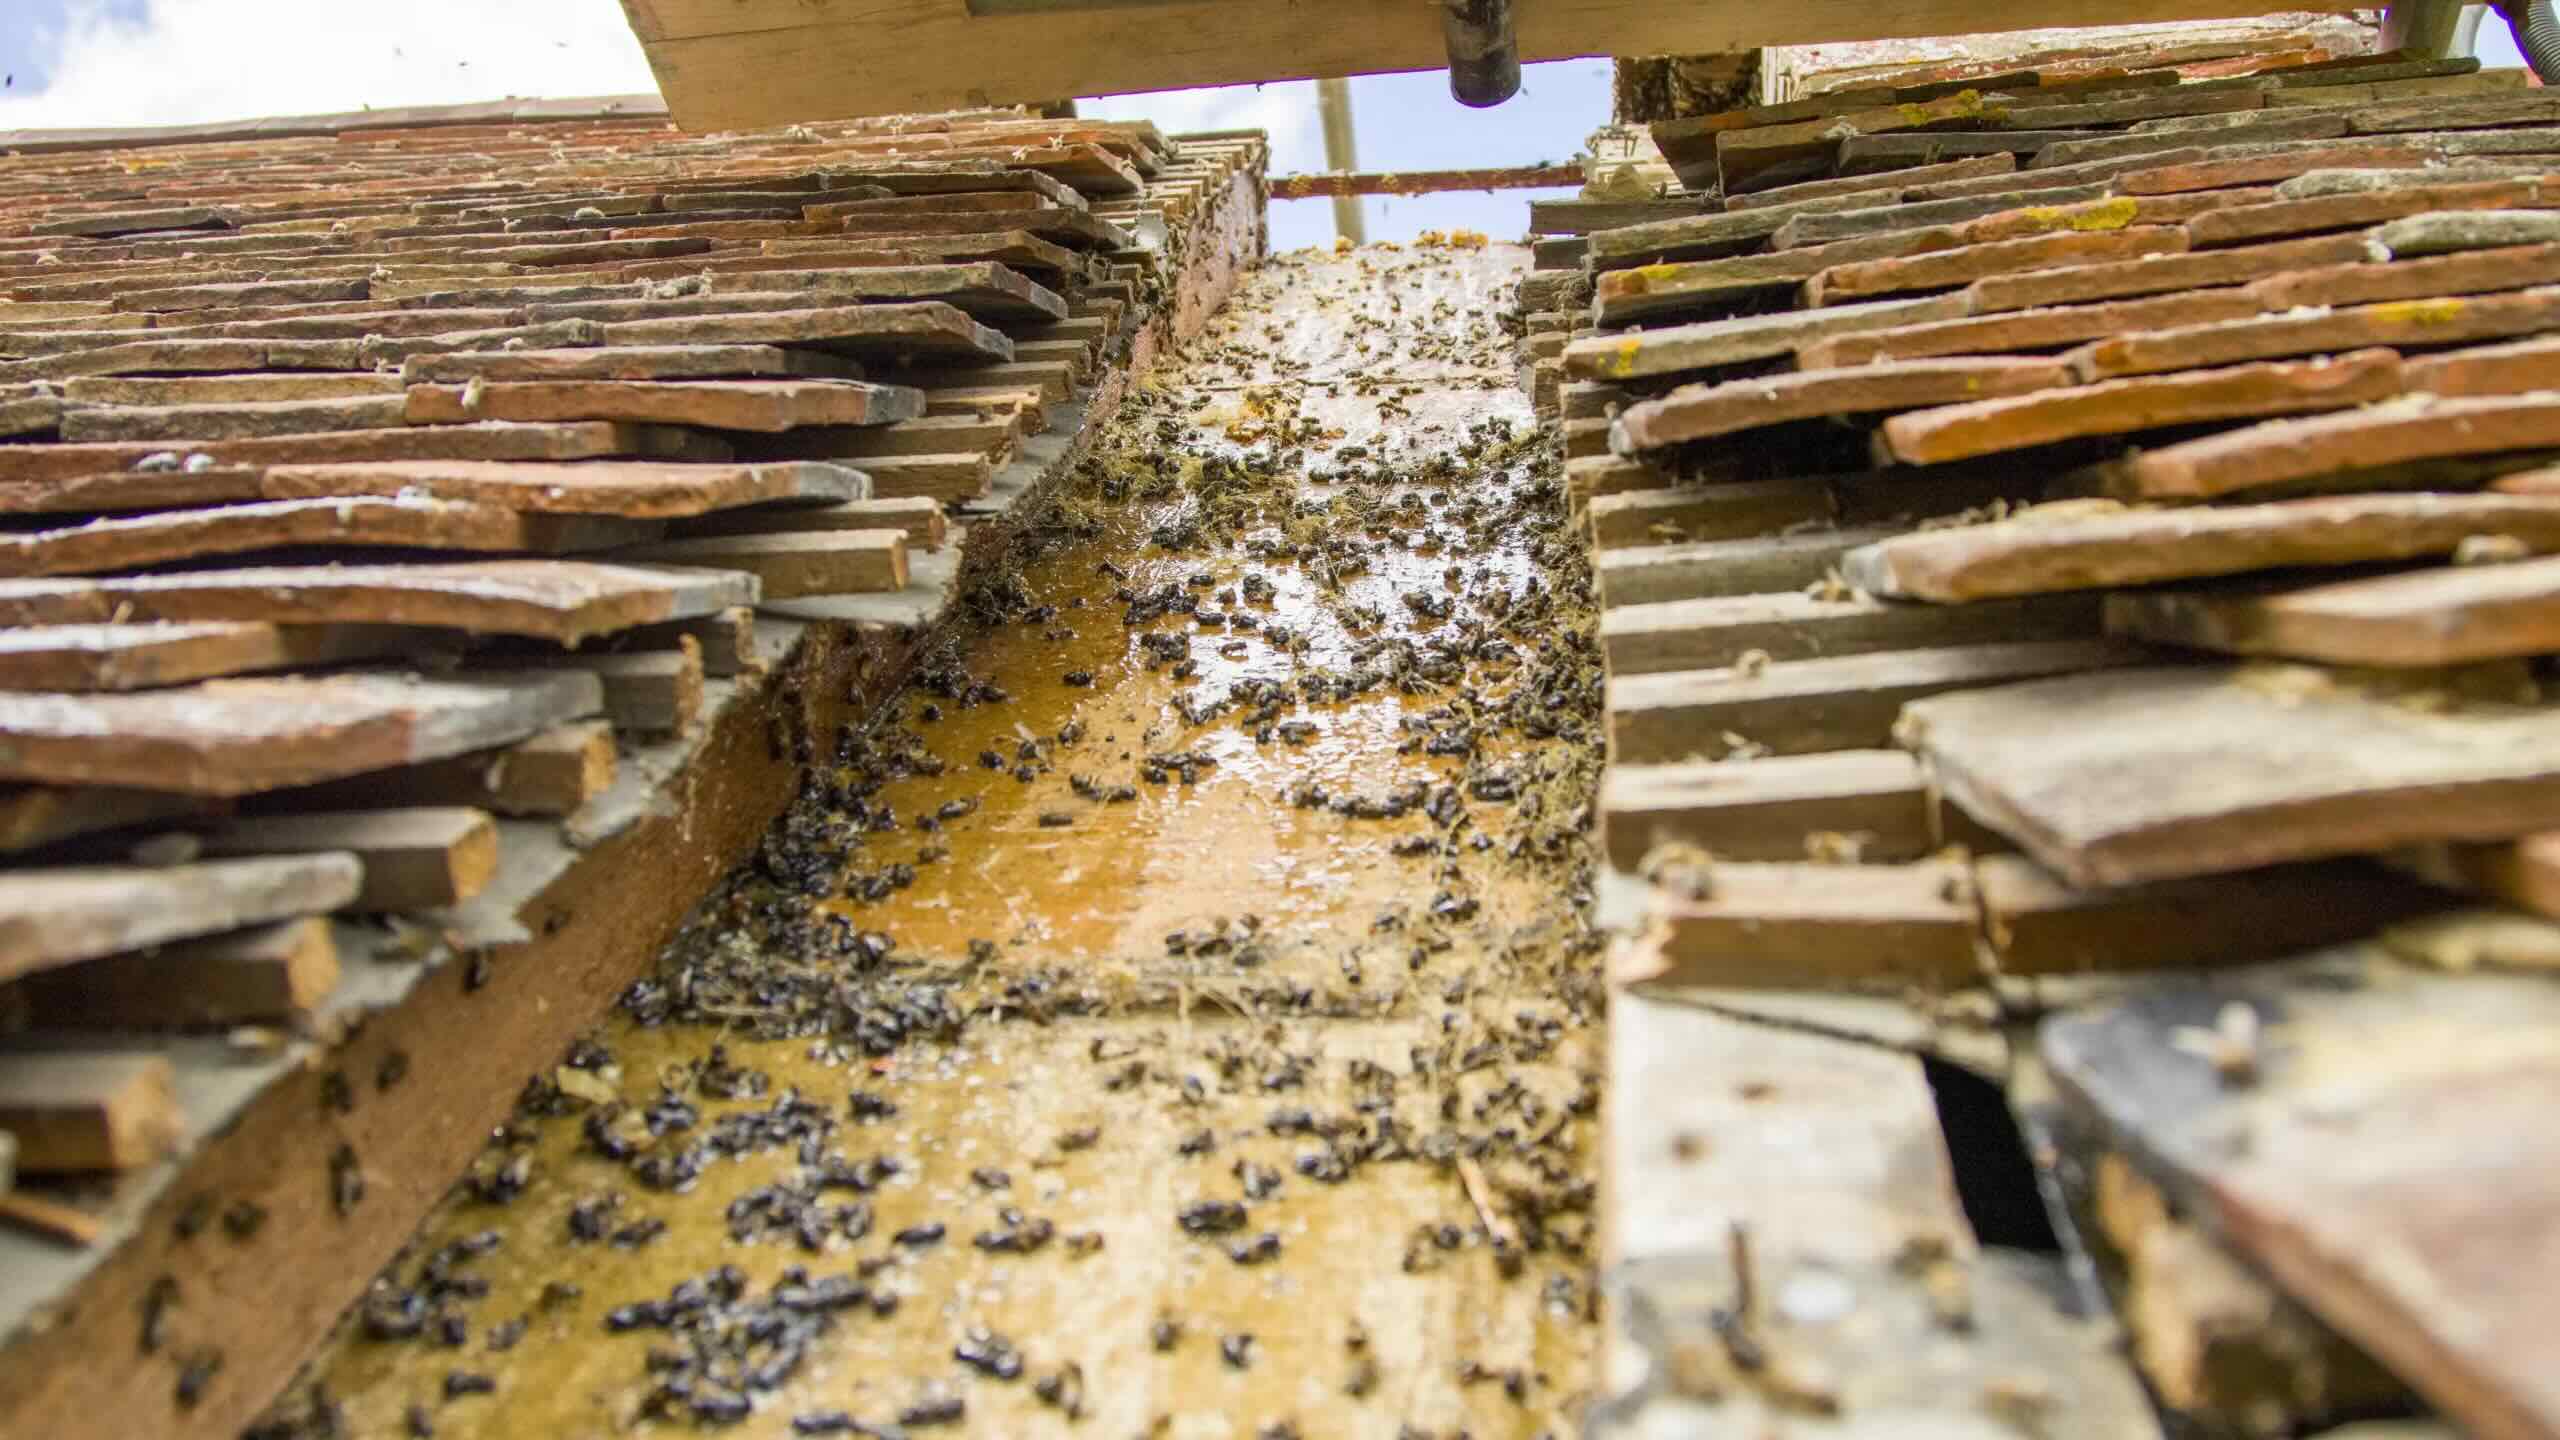
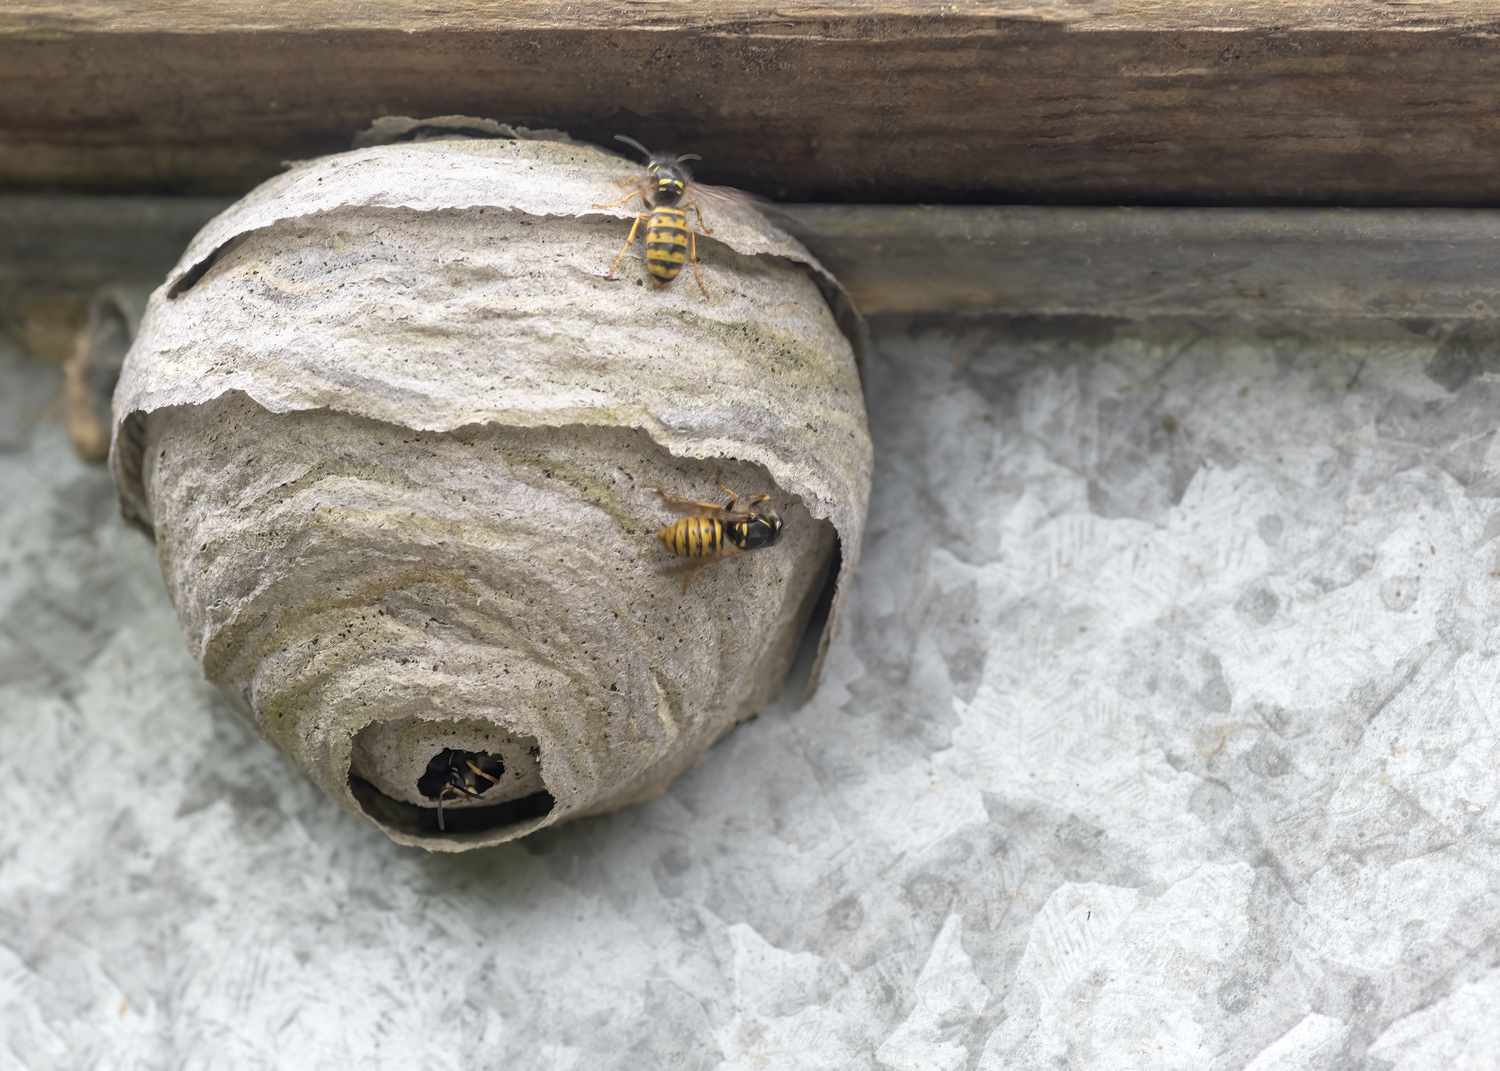
Beware of Wildlife: Before starting the cleaning process, inspect the eaves and gutters for any signs of wildlife, such as birds' nests or beehives. If present, take appropriate measures to address these before proceeding with the cleaning.
-
Work with a Partner: Whenever possible, have a partner present to assist you during the eaves cleaning process. They can provide support, hand you tools, or act as an extra set of eyes for safety.
By adhering to these safety precautions, you can minimize the risks associated with cleaning the eaves of your house and ensure a secure and efficient cleaning process. Prioritizing safety not only protects you and those around you but also contributes to a successful and stress-free eaves cleaning experience.
Read more: What Are The Eaves Of A House?
Step 1: Remove Debris
Before diving into the thorough cleaning of the eaves, it's essential to start by removing any accumulated debris, such as leaves, twigs, dirt, and other obstructions. This initial step sets the stage for a more effective and efficient cleaning process, ensuring that the eaves and gutters are clear of any blockages and ready to be thoroughly cleaned.
To begin, position your ladder securely near the eaves, ensuring that it provides stable access to the gutters and eaves without overreaching. Don your protective gloves and safety goggles to shield yourself from potential contaminants and sharp debris. With a sturdy gutter scoop or trowel in hand, carefully remove the debris from the gutters, working methodically from one end to the other.
As you scoop out the debris, deposit it into a sturdy bucket or container, making sure to clear the gutters of any clogs or blockages. It's important to exercise caution and avoid pushing the debris further into the downspouts, as this can lead to potential drainage issues. Instead, focus on systematically clearing the gutters, ensuring that they are free from any obstructive materials.
Simultaneously, be mindful of the surrounding area, using a protective tarp or drop cloth to catch any falling debris and prevent it from scattering across the yard. This not only maintains a tidy work environment but also minimizes the risk of slipping on loose debris.
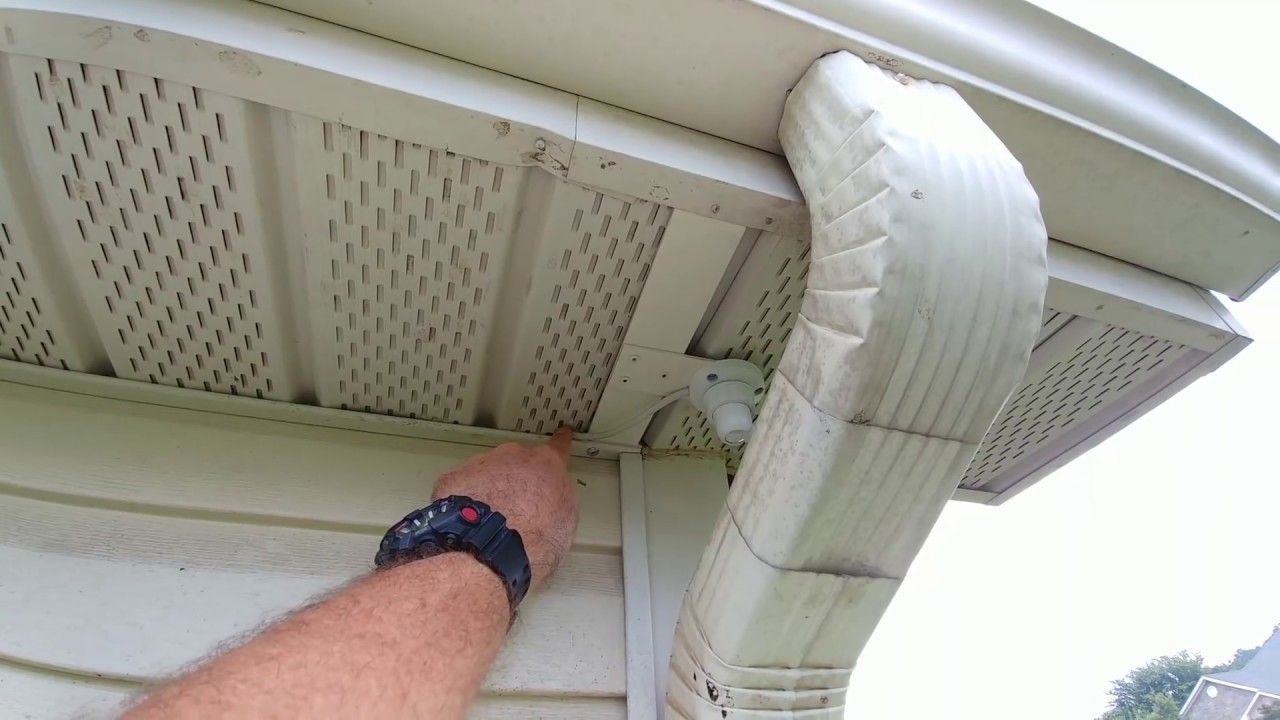
Once the gutters are cleared of visible debris, take a moment to inspect the eaves for any lingering dirt, leaves, or twigs that may have accumulated along the edges. Using a gloved hand or a small brush, carefully remove any remaining debris from the eaves, ensuring that they are free from obstructions and ready for the next phase of cleaning.
By diligently removing the debris from the eaves and gutters, you set the foundation for a more thorough and effective cleaning process. This proactive approach not only prevents potential water damage and blockages but also ensures that the subsequent cleaning steps can be carried out with precision and efficiency. With the debris cleared, you're now ready to move on to the next crucial phase of cleaning the eaves of your house.
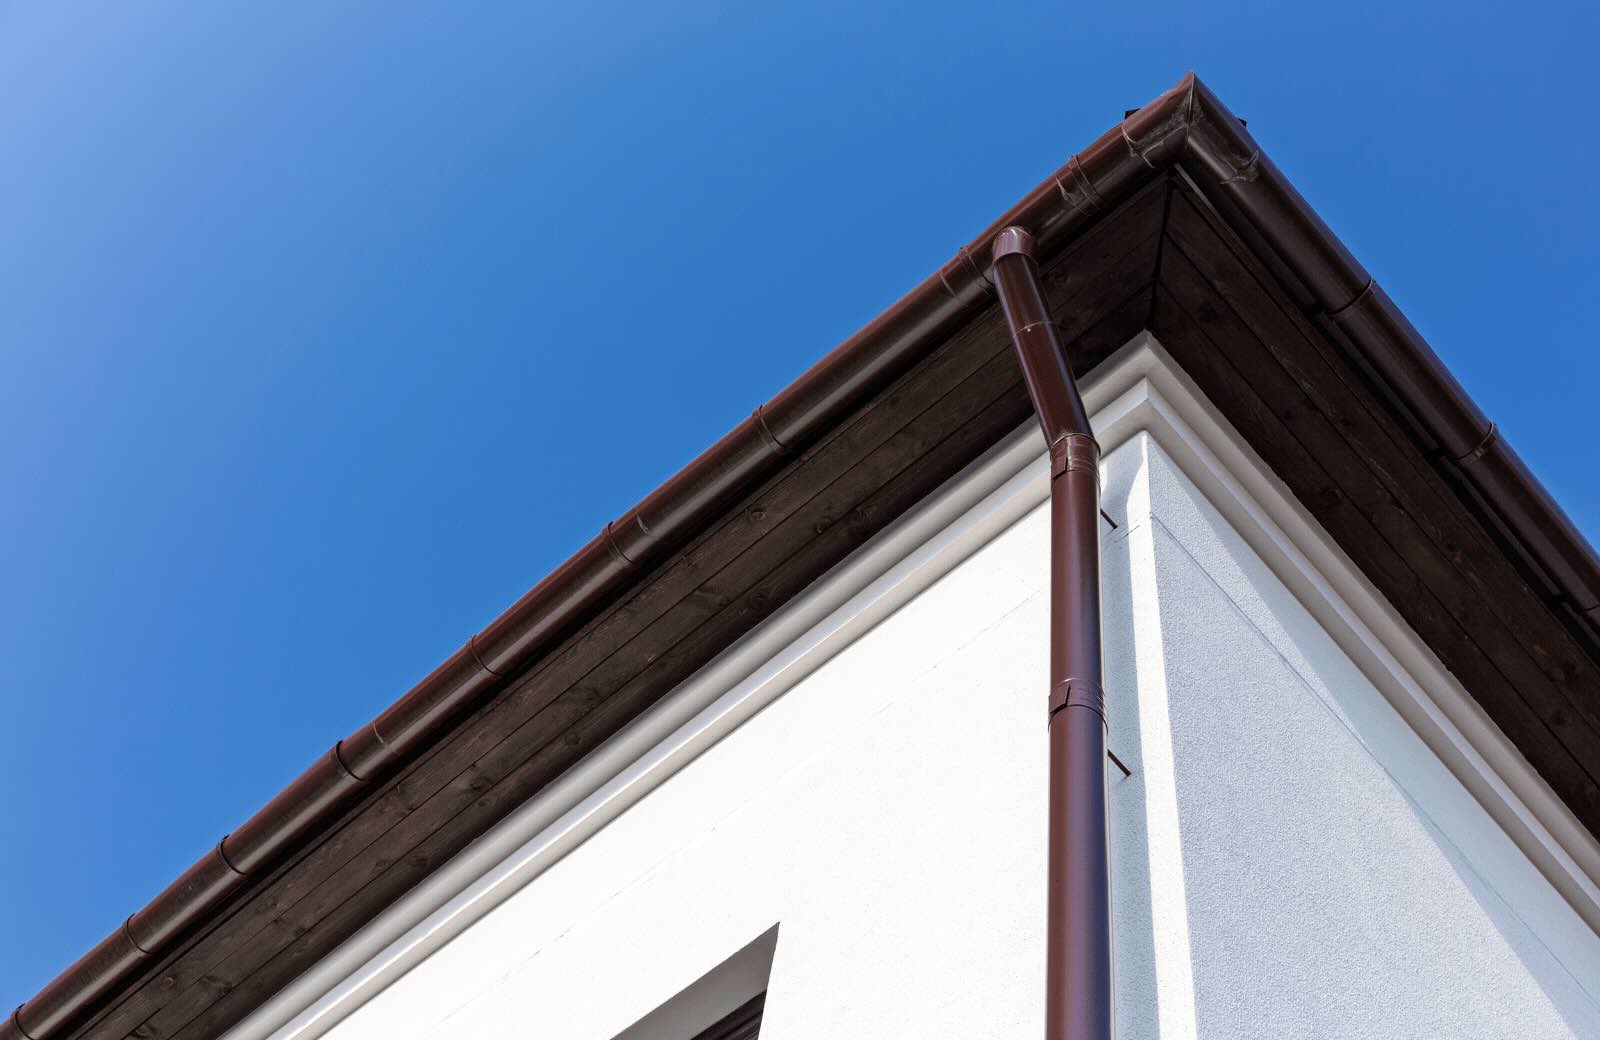
Step 2: Clean Gutters
With the debris cleared from the eaves, the next critical step in the cleaning process is to focus on the thorough cleaning of the gutters. Over time, gutters can accumulate a buildup of dirt, grime, and organic matter, leading to clogs and potential water damage if left unaddressed. By dedicating attention to cleaning the gutters, you can ensure optimal functionality and prevent issues such as overflowing water and structural damage to your home.
To commence the gutter cleaning process, equip yourself with the necessary tools and materials, including a sturdy ladder, gloves, and a gutter scoop or trowel. Position the ladder securely, providing stable access to the gutters, and don your protective gear to shield yourself from debris and potential contaminants.
Using the gutter scoop or trowel, systematically remove the remaining dirt, grime, and organic matter from the gutters, working from one end to the other. Ensure that the gutters are thoroughly cleared of any residual debris, paying particular attention to areas where clogs or blockages may have formed.
As you clean the gutters, deposit the removed debris into a sturdy bucket or container, preventing it from falling onto the ground and maintaining a tidy work environment. This meticulous approach not only ensures a comprehensive cleaning but also minimizes the risk of loose debris scattering across the yard.
Once the visible debris has been cleared, it's beneficial to flush the gutters with water to further remove any remaining dirt and ensure unobstructed water flow. Utilize a garden hose with a nozzle attachment, such as a high-pressure nozzle or a spray wand, to direct a steady stream of water through the gutters, starting from the end farthest from the downspout.
As the water flows through the gutters, observe the drainage and look for any signs of blockages or slow drainage. Address any remaining dirt or clogs by gently agitating the gutters with the gutter scoop or trowel, allowing the water to carry away the loosened debris.
By thoroughly cleaning the gutters and ensuring unobstructed water flow, you not only prevent potential water damage and blockages but also contribute to the overall maintenance and longevity of your home. With the gutters clear and functional, you're now prepared to proceed to the next phase of the eaves cleaning process, bringing you one step closer to a well-maintained and protected home.
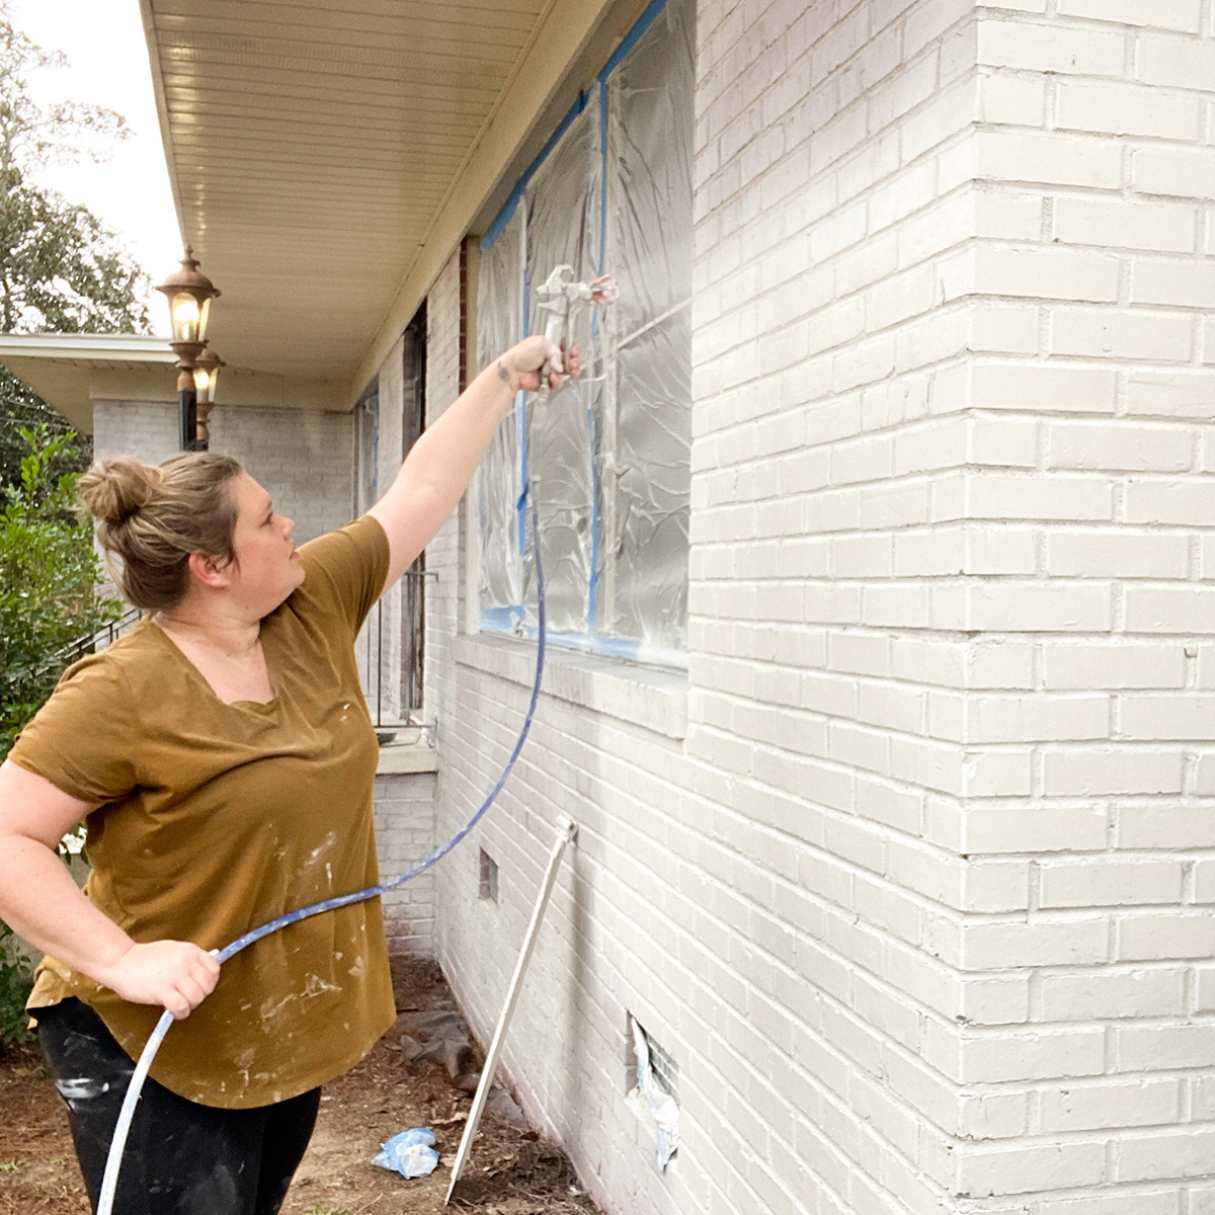
Step 3: Scrub Eaves
With the gutters cleared and the debris removed, the focus now shifts to the meticulous cleaning of the eaves themselves. Over time, eaves can accumulate a layer of dirt, grime, and even mildew, detracting from the overall appearance of your home and potentially leading to long-term damage if left unaddressed. By dedicating attention to scrubbing the eaves, you can restore their cleanliness and ensure that they remain in optimal condition.
To initiate the eaves scrubbing process, equip yourself with a sturdy ladder, gloves, a scrub brush, and a suitable cleaning solution. Position the ladder securely, providing stable access to the eaves, and don your protective gear to shield yourself from potential contaminants and cleaning solutions.
Before applying the cleaning solution, it's advisable to perform a spot test on a small, inconspicuous area of the eaves to ensure compatibility and prevent any adverse effects. Once confirmed, prepare the cleaning solution according to the manufacturer's instructions, whether it's a mild detergent solution or a specialized eaves cleaner.
Dip the scrub brush into the cleaning solution and begin scrubbing the eaves, working methodically from one end to the other. Pay particular attention to areas where dirt, grime, or mildew may be more pronounced, applying gentle but firm pressure to effectively lift and remove the accumulated residues.
As you scrub the eaves, periodically rinse the brush and replenish it with the cleaning solution to maintain its effectiveness. Focus on thorough and consistent strokes, ensuring that the entire surface of the eaves is covered and scrubbed to remove any stubborn dirt or mildew.
In areas where mildew is present, a diluted bleach solution can be effective in removing and preventing further growth. Exercise caution when using bleach, ensuring proper ventilation and taking necessary safety precautions to protect yourself and the surrounding environment.
By diligently scrubbing the eaves with the appropriate cleaning solution, you can effectively remove dirt, grime, and mildew, restoring their cleanliness and enhancing the overall appearance of your home. This proactive approach not only contributes to the aesthetic appeal of your property but also safeguards the eaves from potential long-term damage, ensuring that they remain in top condition for years to come.
With the eaves thoroughly scrubbed and cleaned, you're now ready to proceed to the next phase of the eaves cleaning process, bringing you one step closer to a well-maintained and protected home.
Use a ladder to reach the eaves and remove any debris like leaves and twigs. Use a hose or pressure washer to clean the eaves and remove any dirt or grime. Be careful and wear protective gear.
Step 4: Rinse Eaves
After the thorough scrubbing of the eaves, the next crucial step in the cleaning process is to rinse the eaves, ensuring that any remaining cleaning solution, dirt, and debris are effectively removed. This step not only serves to complete the cleaning process but also contributes to the overall maintenance and preservation of the eaves, safeguarding them from potential damage and prolonging their lifespan.
To commence the rinsing process, equip yourself with a garden hose equipped with a suitable nozzle attachment, such as a high-pressure nozzle or a spray wand. Position the ladder securely, providing stable access to the eaves, and ensure that the hose can reach the entirety of the eaves without difficulty.
With the hose in hand, begin rinsing the eaves, starting from one end and working methodically to cover the entire surface. Utilize a steady stream of water to effectively wash away any remaining cleaning solution, dirt, and debris, ensuring that the eaves are left clean and free from residues.
As you rinse the eaves, pay particular attention to areas where the cleaning solution was applied, ensuring that all traces of the solution are thoroughly washed away. Additionally, focus on the edges and crevices of the eaves, where dirt and grime may have accumulated, to ensure a comprehensive cleaning.
While rinsing, observe the water runoff to ensure that it is clear and free from any lingering residues. If necessary, adjust the water pressure to effectively dislodge any stubborn dirt or debris, allowing it to be carried away by the flowing water.
As the eaves are rinsed, take a moment to inspect the surrounding area, ensuring that any fallen debris or runoff is contained and does not contribute to a messy or hazardous environment. This proactive approach not only maintains a tidy work area but also minimizes the risk of slipping on wet surfaces.
By diligently rinsing the eaves, you complete the cleaning process, leaving them clean, clear, and free from any remaining residues. This meticulous approach not only enhances the overall appearance of your home but also contributes to the preservation and longevity of the eaves, ensuring that they remain in optimal condition for years to come.
With the eaves thoroughly rinsed and cleaned, you have successfully completed the essential task of cleaning the eaves of your house, safeguarding it from potential damage and preserving its aesthetic appeal.
Read more: How To Paint The Eaves Of A House
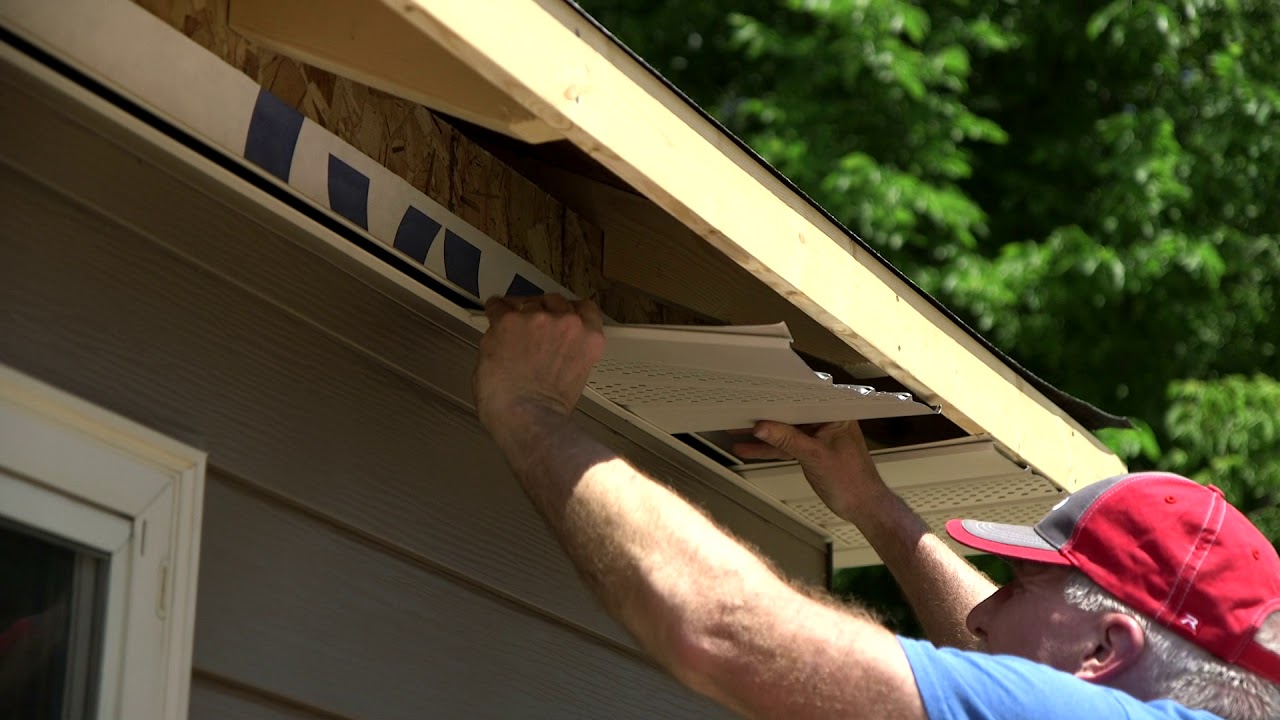
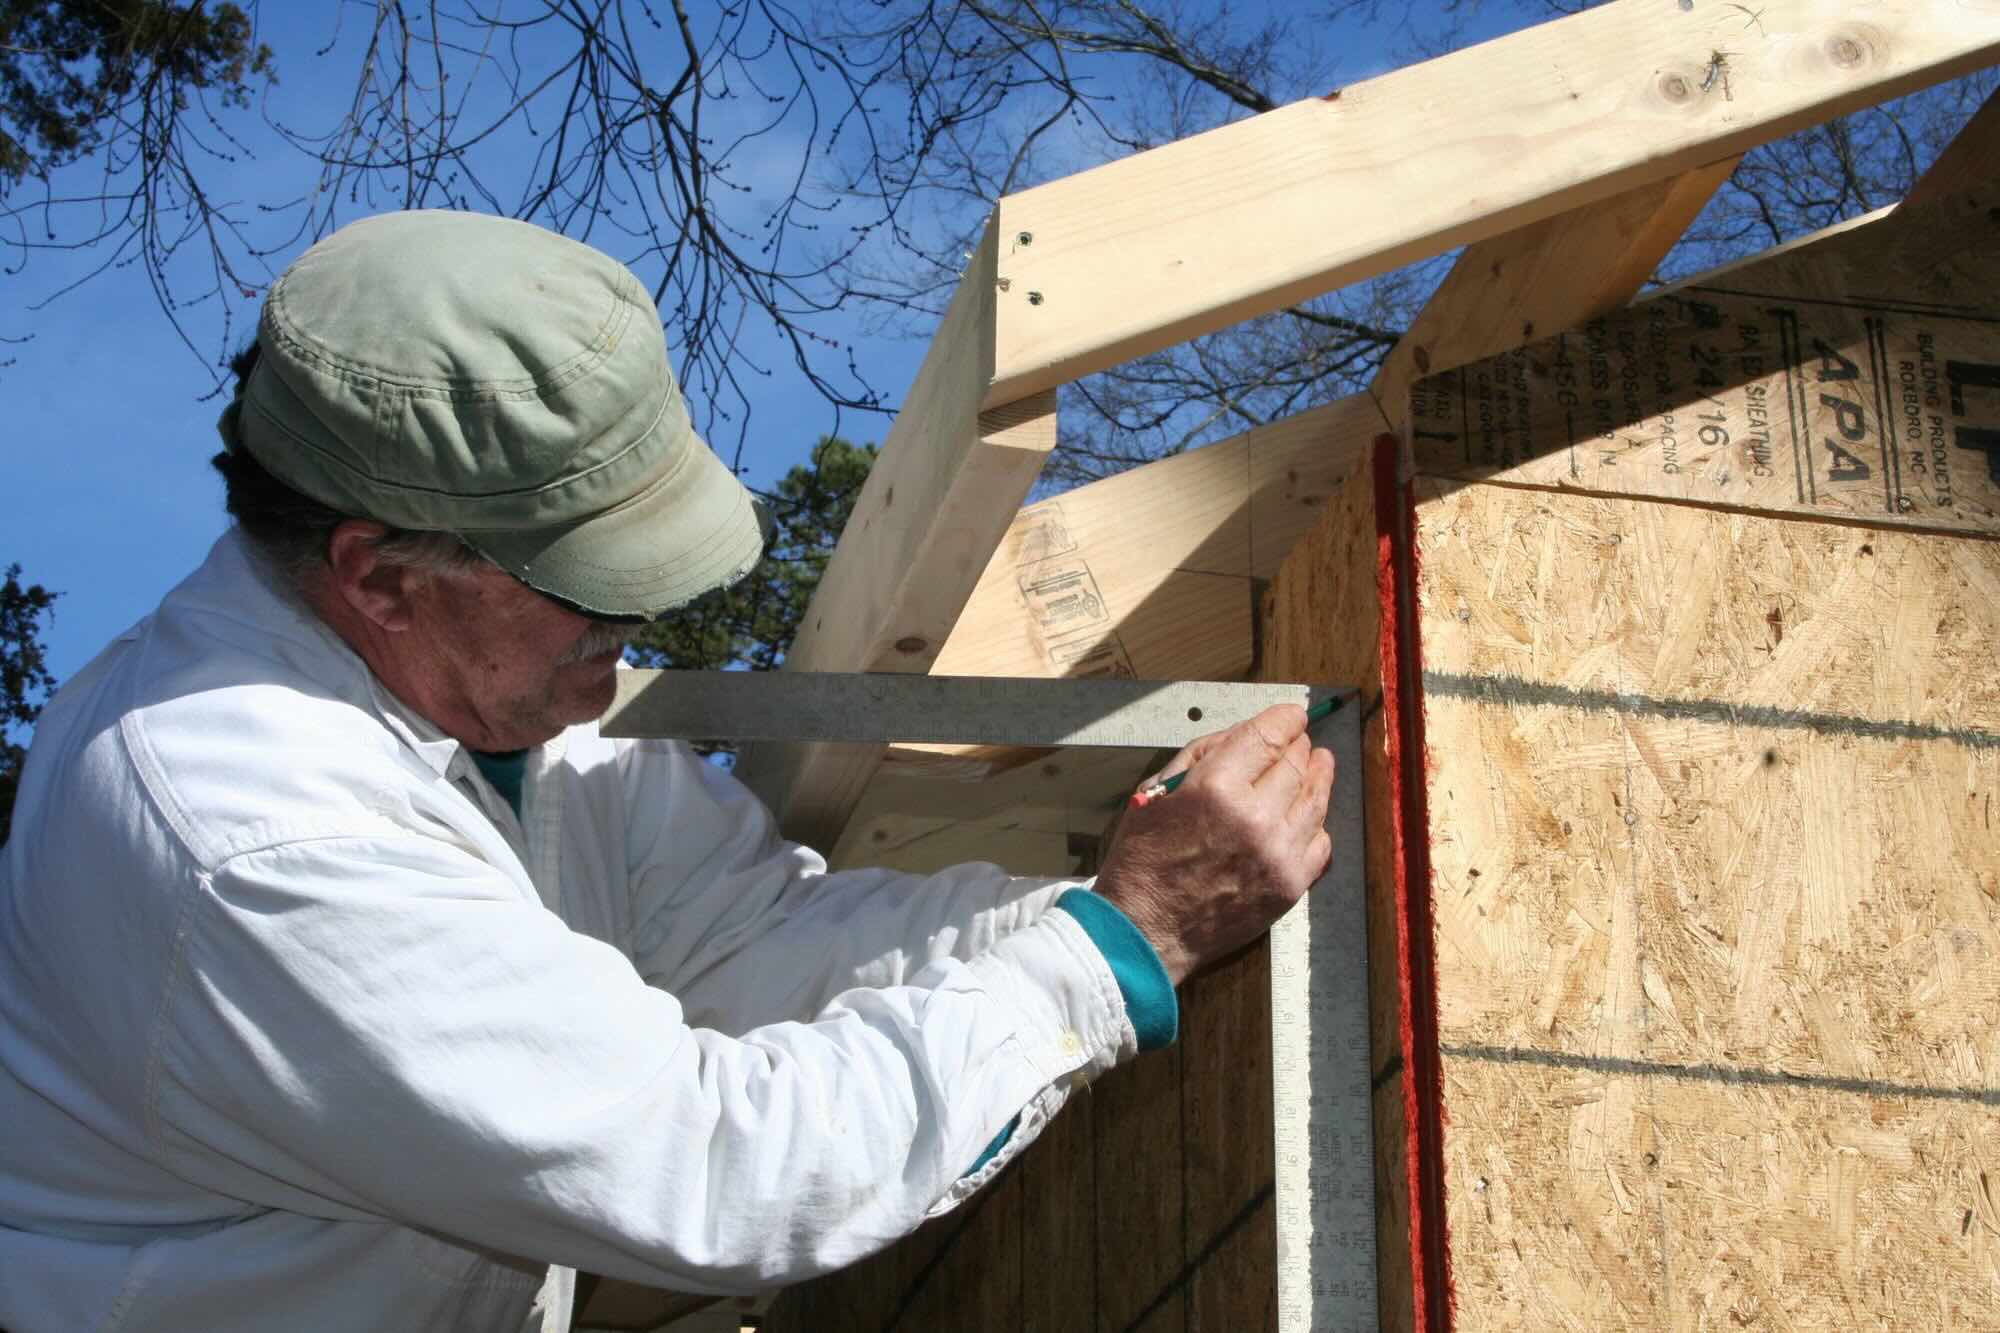
Step 5: Inspect and Repair
After the thorough cleaning and rinsing of the eaves, the final step in the eaves maintenance process involves a comprehensive inspection and any necessary repairs. This critical phase allows you to assess the condition of the eaves, identify any potential issues, and address them proactively, ensuring that your home remains well-protected and structurally sound.
To begin, carefully examine the eaves for any signs of damage, wear, or deterioration. Pay close attention to areas where the eaves meet the roofline, as well as the edges and corners, where issues such as rot, peeling paint, or loose components may be evident. Additionally, inspect the gutters for any signs of damage or sagging, which could indicate the need for repairs or adjustments.
As you conduct the inspection, take note of any areas where the paint may be chipped or peeling, as this can leave the underlying wood vulnerable to moisture and decay. Similarly, look for signs of rot or water damage, which may manifest as discolored or softened areas along the eaves. Addressing these issues promptly can prevent further deterioration and potential structural damage to your home.
In the event that you identify damaged or deteriorated sections of the eaves, it's essential to proceed with the necessary repairs. This may involve replacing rotted or damaged wood, reattaching loose components, or applying a fresh coat of paint to protect and enhance the appearance of the eaves. Additionally, addressing any issues with the gutters, such as leaks or misalignments, is crucial to ensure proper drainage and prevent water damage.
If the inspection reveals minor issues that can be addressed promptly, such as loose screws, small cracks, or peeling paint, take the opportunity to make these repairs to maintain the integrity of the eaves. For more extensive repairs or structural issues, consider enlisting the expertise of a professional contractor to ensure that the repairs are carried out effectively and in accordance with best practices.
By conducting a thorough inspection and addressing any necessary repairs, you not only safeguard your home from potential damage but also contribute to the overall maintenance and longevity of the eaves. This proactive approach ensures that your home remains structurally sound and aesthetically pleasing, providing peace of mind and long-term protection for your investment.
With the inspection and any required repairs completed, you can take pride in knowing that your eaves are in optimal condition, ready to fulfill their crucial role in protecting your home from the elements and maintaining its visual appeal.
Conclusion
In conclusion, the process of cleaning the eaves of your house is a vital aspect of home maintenance that should not be overlooked. By following the comprehensive steps outlined in this guide, you have taken proactive measures to ensure that your home remains well-protected, structurally sound, and visually appealing.
Throughout the cleaning process, you have equipped yourself with the necessary tools and materials, prioritized safety precautions, and diligently removed debris from the eaves and gutters. By scrubbing and rinsing the eaves, you have effectively removed dirt, grime, and potential contaminants, restoring their cleanliness and enhancing the overall appearance of your home.
Moreover, the thorough inspection and any necessary repairs have allowed you to address potential issues proactively, ensuring that your eaves remain in optimal condition and capable of safeguarding your home from the elements.
By dedicating attention to the maintenance of your eaves, you have not only prevented potential water damage and structural issues but also contributed to the longevity and resilience of your home. This proactive approach reflects your commitment to preserving the integrity and aesthetic appeal of your property, creating a welcoming and well-maintained environment for you and your family.
As you reflect on the completion of the eaves cleaning process, take pride in knowing that you have taken a significant step towards maintaining the value and functionality of your home. Your dedication to this essential aspect of home maintenance ensures that your eaves are prepared to fulfill their crucial role in protecting your home for years to come.
With the eaves of your house now clean, clear, and well-maintained, you can enjoy the peace of mind that comes with knowing that your home is safeguarded and visually appealing. By incorporating regular eaves cleaning into your home maintenance routine, you are actively preserving the beauty and structural integrity of your property, creating a welcoming and secure haven for yourself and your loved ones.
Frequently Asked Questions about How To Clean The Eaves Of A House
Was this page helpful?
At Storables.com, we guarantee accurate and reliable information. Our content, validated by Expert Board Contributors, is crafted following stringent Editorial Policies. We're committed to providing you with well-researched, expert-backed insights for all your informational needs.


0 thoughts on “How To Clean The Eaves Of A House”