Home>Renovation & DIY>Home Renovation Guides>How To Replace Crawl Space Vents
Home Renovation Guides
How To Replace Crawl Space Vents
Modified: February 18, 2024
Learn how to replace crawl space vents with our comprehensive home renovation guide. Get step-by-step instructions and expert tips for a successful project.
(Many of the links in this article redirect to a specific reviewed product. Your purchase of these products through affiliate links helps to generate commission for Storables.com, at no extra cost. Learn more)
Introduction
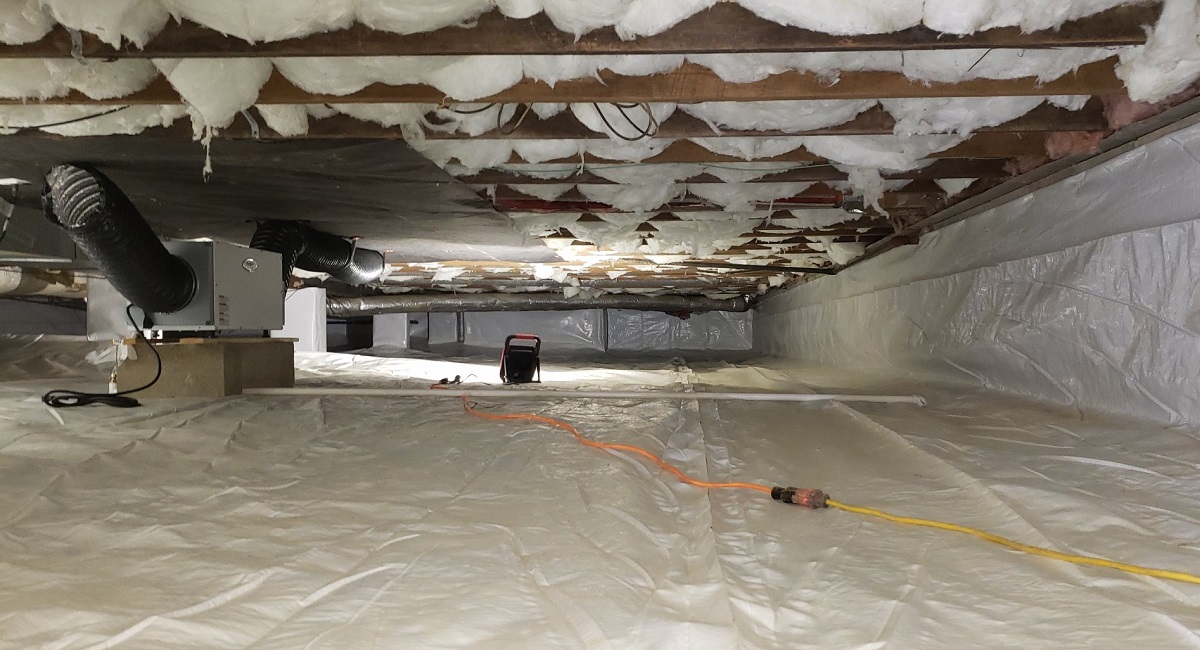
When it comes to maintaining a healthy and efficient home, the often overlooked crawl space plays a crucial role. Crawl space vents, in particular, are essential components that contribute to the overall well-being of your home. These vents facilitate air circulation, moisture control, and temperature regulation, all of which are vital for preserving the structural integrity of your property and ensuring a comfortable living environment.
Over time, crawl space vents can deteriorate due to exposure to the elements, leading to issues such as moisture intrusion, pest infestation, and energy inefficiency. As a responsible homeowner, it's important to periodically inspect and replace these vents to prevent potential problems and maintain the optimal condition of your crawl space.
In this comprehensive guide, we will walk you through the step-by-step process of replacing crawl space vents. Whether you're a seasoned DIY enthusiast or a novice homeowner looking to tackle a new project, this guide will equip you with the knowledge and confidence to successfully complete the task. From assessing the condition of the existing vents to installing new ones and implementing proper sealing and insulation techniques, we've got you covered.
By following the instructions outlined in this guide, you'll not only enhance the functionality and durability of your crawl space vents but also contribute to the overall efficiency and longevity of your home. So, roll up your sleeves, gather your tools, and let's dive into the rewarding journey of replacing crawl space vents.
Key Takeaways:
- Replacing crawl space vents is crucial for a healthy home. By assessing, removing, and installing new vents, you can prevent issues like moisture and pests, and improve energy efficiency. It’s a rewarding project that enhances your home’s durability and comfort.
- Sealing and insulating the new vents is essential for energy efficiency and moisture control. It helps create a well-protected and comfortable crawl space environment, reducing maintenance costs and preserving your home’s structure for the long term.
Read more: How To Vent Crawl Space
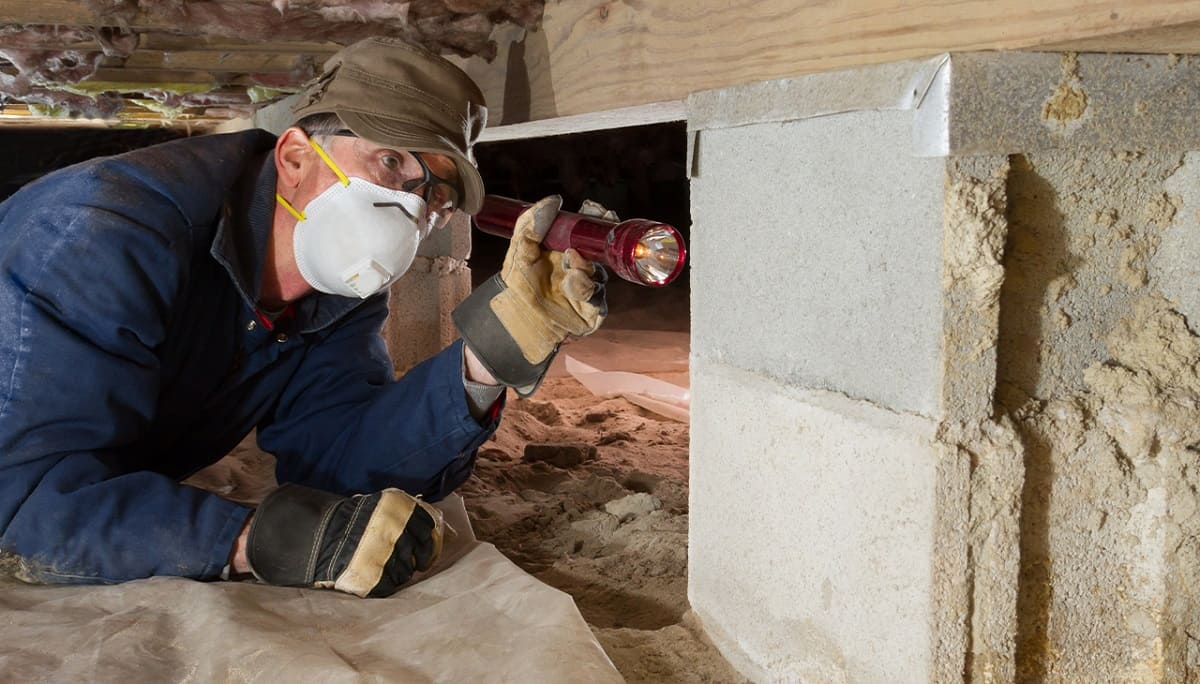
Step 1: Assessing the Condition of the Crawl Space Vents
Before diving into the process of replacing crawl space vents, it's crucial to conduct a thorough assessment of the existing vents. This initial step sets the foundation for the subsequent tasks and allows you to gain valuable insights into the condition of the vents and the specific requirements for their replacement.
Visual Inspection
Begin by visually inspecting the crawl space vents from both the interior and exterior of your home. Look for signs of damage, corrosion, rust, or deterioration. Pay close attention to any visible gaps, cracks, or warping that may compromise the structural integrity of the vents. Additionally, check for the accumulation of debris, such as dirt, leaves, or insect nests, which can obstruct airflow and contribute to moisture retention.
Moisture and Mold Assessment
Moisture intrusion and mold growth are common issues in crawl spaces, and the vents play a pivotal role in mitigating these problems. Use a moisture meter to assess the humidity levels in the vicinity of the vents. Elevated moisture readings may indicate poor ventilation or potential water seepage, highlighting the need for vent replacement. Furthermore, inspect for any visible signs of mold or mildew on the vent covers or surrounding surfaces, as these indicate excessive moisture and inadequate ventilation.
Structural Integrity
Evaluate the overall structural integrity of the vents, including the frames, screens, and louvers. Ensure that the frames are securely attached to the crawl space walls and that the screens are intact without any tears or damage. Check for any signs of sagging or misalignment that could compromise the functionality of the vents.
Read more: How To Close Vents In Crawl Space
Energy Efficiency
Assess the energy efficiency of the existing vents by determining if they provide adequate insulation and sealing. Inefficient vents can lead to heat loss during the winter and heat gain during the summer, impacting the overall energy consumption of your home. Look for drafts or air leaks around the vents, as these indicate a lack of proper insulation and sealing.
By meticulously evaluating these key aspects, you'll gain a comprehensive understanding of the condition of your crawl space vents, enabling you to make informed decisions regarding their replacement. This proactive approach sets the stage for a successful vent replacement project and ensures that the new vents will effectively address any existing issues while enhancing the overall functionality of your crawl space.
Step 2: Gathering the Necessary Tools and Materials
Before embarking on the task of replacing crawl space vents, it's essential to gather all the required tools and materials to ensure a smooth and efficient process. By having everything at your disposal, you can minimize interruptions and complete the project with confidence. Here's a comprehensive list of the necessary tools and materials:
Tools:
- Screwdriver or Power Drill: A screwdriver or power drill will be essential for removing the existing vent covers and securing the new ones in place.
- Pry Bar or Hammer: Use a pry bar or hammer to carefully detach the old vents from the crawl space walls without causing damage.
- Measuring Tape: Accurate measurements are crucial for ensuring the proper fit of the new vent covers, so a measuring tape is indispensable.
- Utility Knife: A utility knife will come in handy for cutting and trimming any sealing materials or insulation during the installation process.
- Safety Gear: It's important to prioritize safety, so be sure to have protective gloves, safety goggles, and a dust mask to shield yourself from debris and potential hazards.
Materials:
- Crawl Space Vents: Acquire high-quality vent covers that are specifically designed for crawl spaces, ensuring durability and optimal functionality.
- Fasteners: Depending on the type of vents and the construction of your crawl space walls, you may need screws, nails, or other appropriate fasteners to secure the new vent covers.
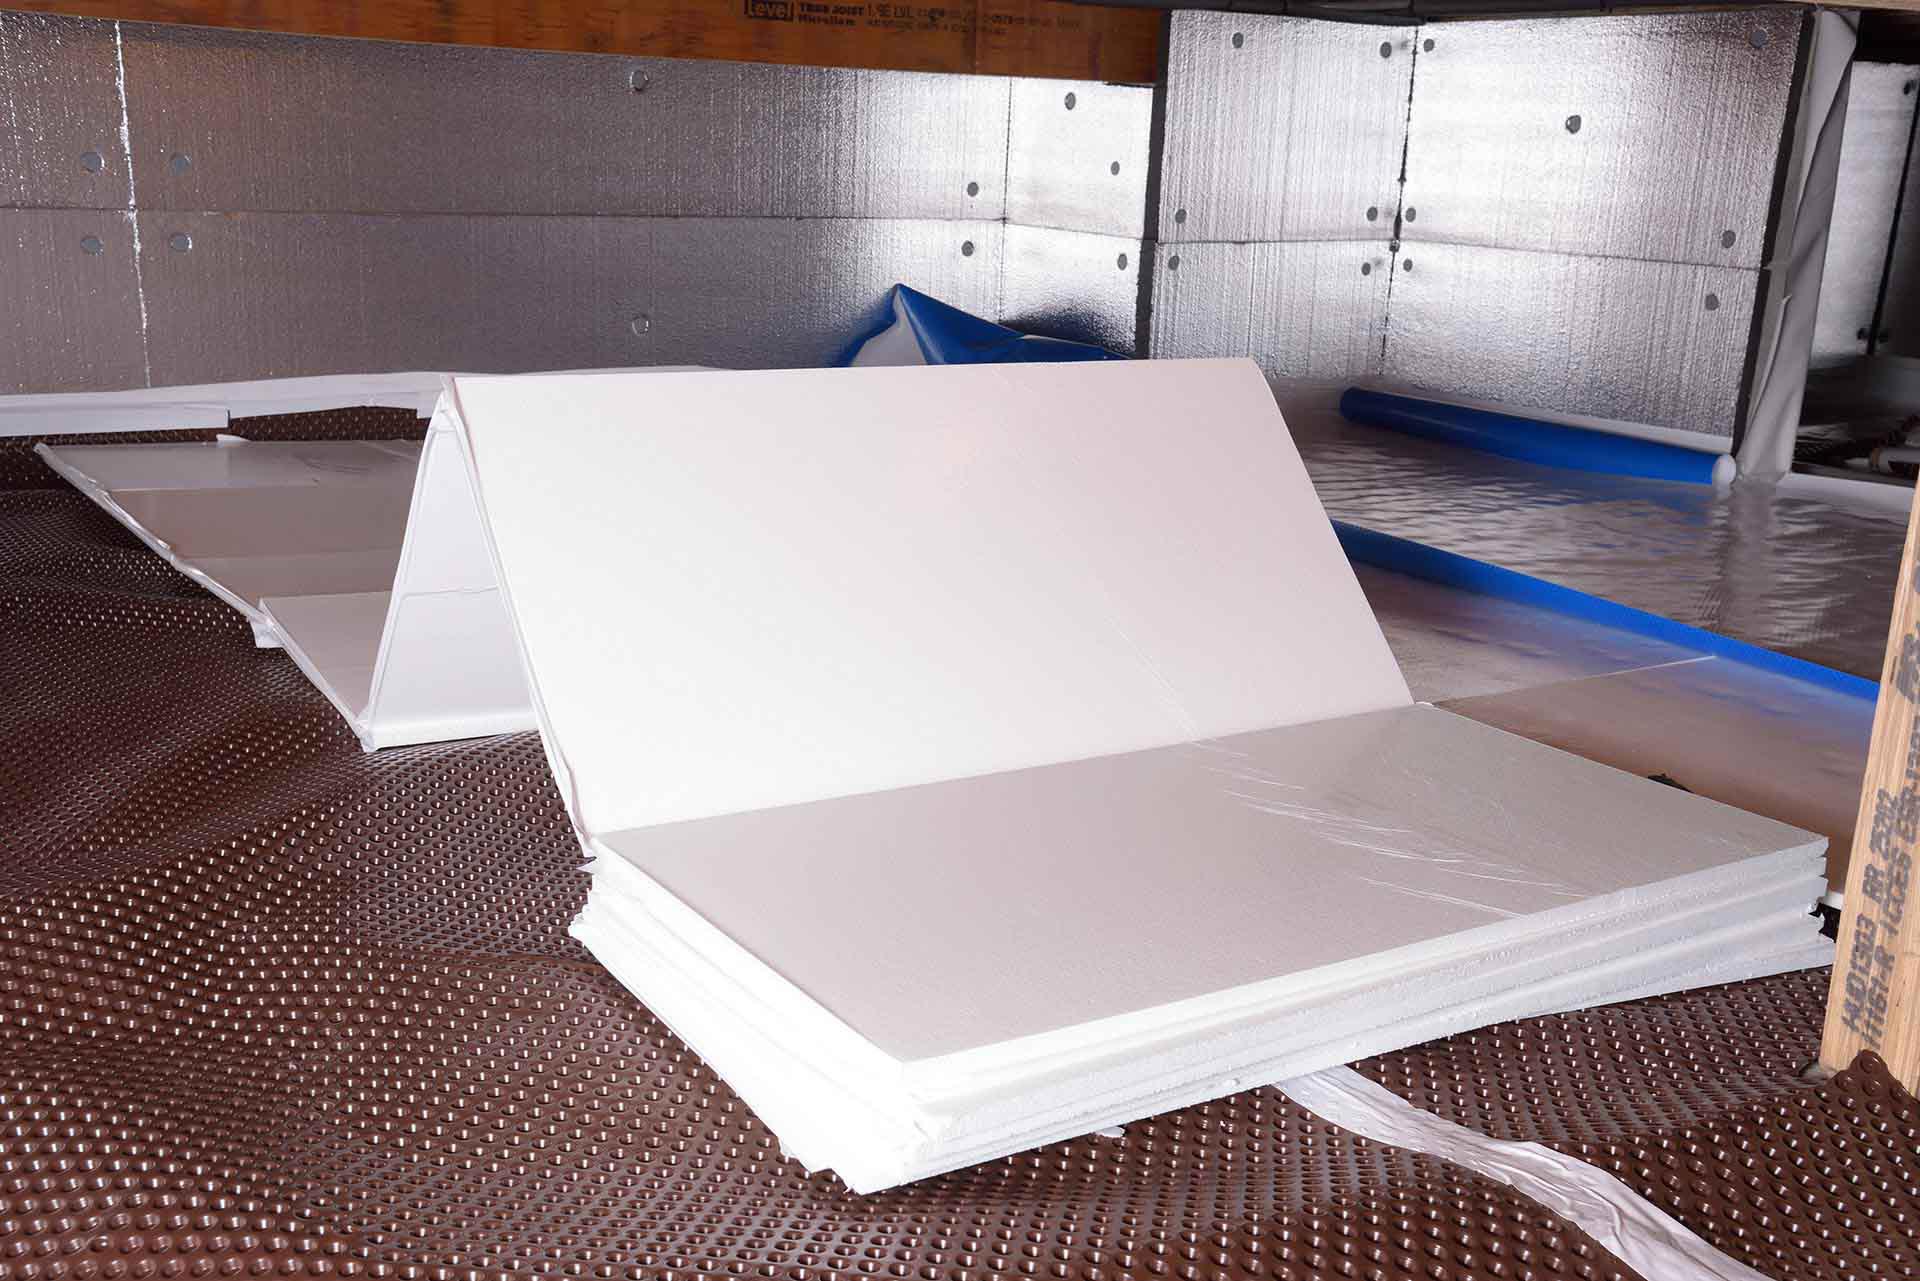
- Sealing and Insulation Materials: Invest in weather-resistant sealant, such as silicone caulk, to seal the perimeter of the new vent covers and prevent air and moisture infiltration. Additionally, consider insulation materials, such as foam board or insulation batts, to enhance energy efficiency.
- Cleaning Supplies: Before installing the new vents, it's advisable to clean the surrounding area to remove any debris, dirt, or mold. Have cleaning supplies such as a brush, vacuum, and mild detergent on hand.
- Optional Accessories: Depending on your specific requirements, you may also consider additional accessories, such as insect screens or pest barriers, to further enhance the functionality and protection of the crawl space vents.
By ensuring that you have all the necessary tools and materials ready, you can streamline the vent replacement process and address any unforeseen challenges with ease. This proactive approach sets the stage for a successful and rewarding home improvement project, allowing you to effectively upgrade the ventilation and protection of your crawl space.
Read more: How To Replace Joists In Crawl Space
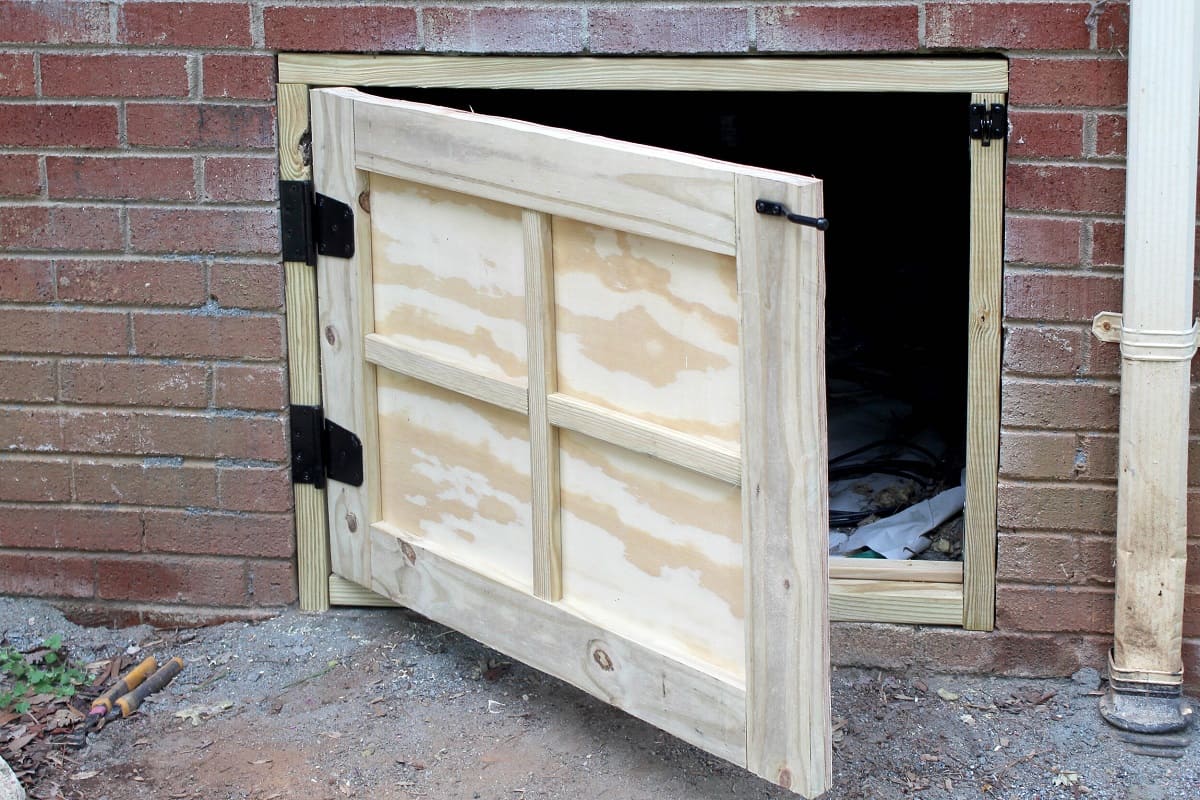
Step 3: Removing the Old Crawl Space Vents
Removing the old crawl space vents is a critical phase in the process of vent replacement, requiring precision and care to avoid causing damage to the surrounding structures. By following the steps outlined below, you can effectively dismantle the existing vents and prepare the space for the installation of new ones.
1. Preparation and Safety Measures
Before initiating the removal process, it's essential to prioritize safety. Put on protective gloves, safety goggles, and a dust mask to shield yourself from debris and potential hazards. Additionally, ensure that the work area is well-lit and adequately ventilated to facilitate a safe and comfortable working environment.
2. Unfastening the Vent Covers
Using a screwdriver or power drill, carefully unfasten the screws or nails securing the old vent covers to the crawl space walls. Exercise caution to avoid stripping the screws or causing damage to the surrounding surfaces. If the vent covers are attached with adhesive or sealant, gently pry them away using a pry bar or hammer, taking care not to exert excessive force that could lead to structural damage.
3. Detaching the Frames
Once the vent covers are removed, focus on detaching the frames from the walls. Inspect the frames for any signs of corrosion or deterioration that may necessitate repairs or replacements. Employ a pry bar or hammer to gently dislodge the frames, ensuring that the underlying surfaces remain intact. If the frames are stubbornly adhered, use a utility knife to carefully cut through any sealant or caulking holding them in place.
Read more: How To Insulate Crawl Space Vents For Winter
4. Clearing Debris and Cleaning
With the old vents and frames removed, take the opportunity to clear any accumulated debris, such as dirt, dust, or cobwebs, from the exposed crawl space area. Use a vacuum, brush, or mild detergent to thoroughly clean the surfaces, ensuring that the area is free from obstructions and contaminants. This preparatory step sets the stage for a seamless installation of the new crawl space vents.
5. Inspection and Assessment
After removing the old vents, conduct a final inspection of the surrounding walls and structural components. Look for any signs of damage, moisture intrusion, or pest activity that may require remediation before installing the new vents. Addressing any underlying issues at this stage will contribute to the long-term effectiveness and durability of the vent replacement project.
By meticulously following these steps, you can successfully remove the old crawl space vents, paving the way for the subsequent installation of new vents. This phase of the process sets the foundation for enhancing the ventilation, moisture control, and overall functionality of your crawl space, contributing to the well-being and longevity of your home.
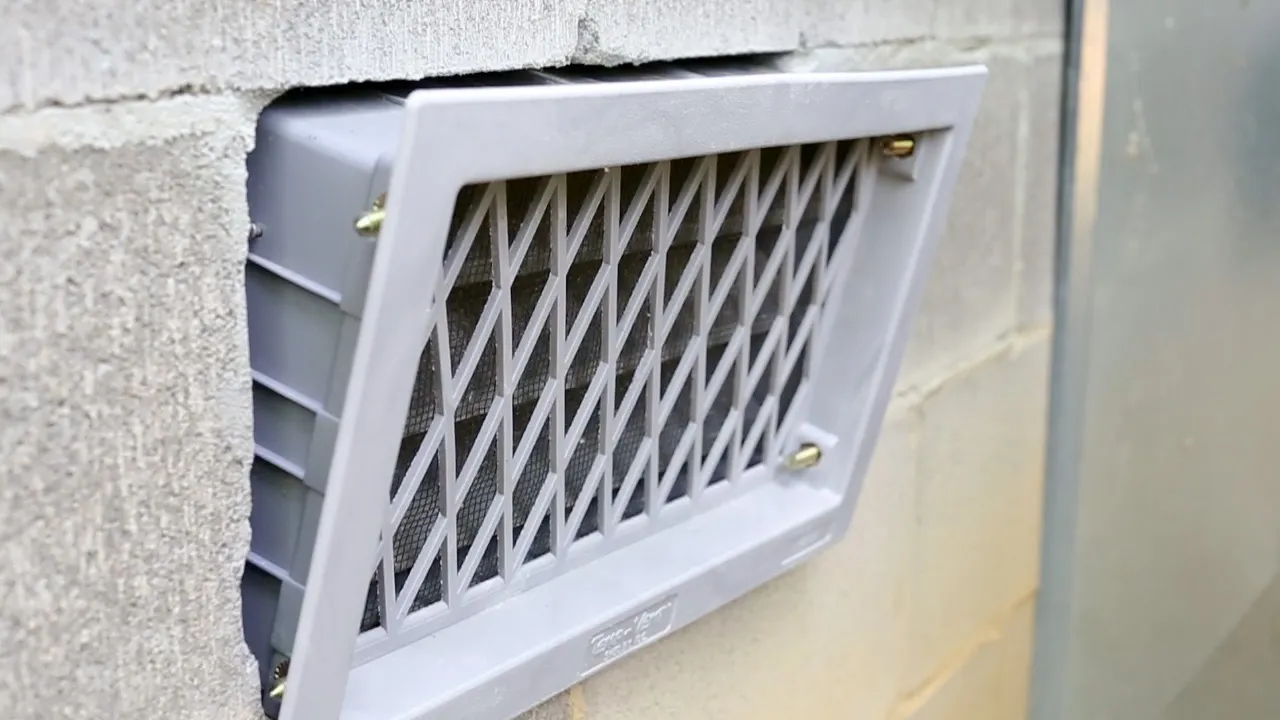
Step 4: Installing the New Crawl Space Vents
With the old crawl space vents successfully removed and the area prepared, it's time to embark on the pivotal phase of installing the new vents. This step is crucial in enhancing the functionality and efficiency of your crawl space, contributing to a healthier and more resilient home environment. By following the detailed guidelines outlined below, you can confidently proceed with the installation process and achieve optimal results.
1. Selecting the Appropriate Vents
Before commencing the installation, ensure that you have chosen high-quality crawl space vents that are specifically designed to meet the ventilation and moisture control needs of your home. Consider factors such as material durability, insect resistance, and compatibility with the existing crawl space structure. Additionally, assess the appropriate size and configuration of the vents to ensure a seamless fit and optimal airflow.
Read more: When Should You Open Crawl Space Vents
2. Positioning and Alignment
Carefully position the new vent covers at the designated openings in the crawl space walls, ensuring proper alignment and symmetry. Use a measuring tape to verify the precise placement of the vents, taking into account any surrounding obstructions or structural elements. This meticulous approach will contribute to a visually appealing and functionally efficient installation.
3. Securing the Vent Covers
Once the vents are positioned correctly, secure them in place using the appropriate fasteners, such as screws or nails. Ensure that the fasteners are driven securely into the crawl space walls, providing stability and resistance to external forces. If the vents feature adjustable louvers, verify that they operate smoothly and can be easily manipulated to regulate airflow as needed.
4. Implementing Sealing and Insulation
To enhance the energy efficiency and moisture resistance of the new vents, apply a weather-resistant sealant, such as silicone caulk, around the perimeter of the vent covers. This sealing process effectively prevents air and moisture infiltration, contributing to a more controlled and insulated crawl space environment. Additionally, consider installing insulation materials, such as foam board or insulation batts, behind the vents to further optimize thermal performance.
5. Final Inspection and Testing
Upon completing the installation, conduct a comprehensive inspection of the newly installed vents to ensure that they are securely affixed and properly sealed. Verify that the louvers operate smoothly and that there are no visible gaps or irregularities in the installation. Test the functionality of the vents by assessing the airflow and observing any changes in the crawl space environment. This final evaluation ensures that the installation meets the highest standards of quality and performance.
By diligently following these steps, you can successfully install the new crawl space vents, significantly improving the ventilation, moisture control, and energy efficiency of your home. This proactive enhancement contributes to the overall well-being and longevity of your property, underscoring the value of a well-maintained and optimally functioning crawl space.
Read more: How To Replace Sill Plate In A Crawl Space
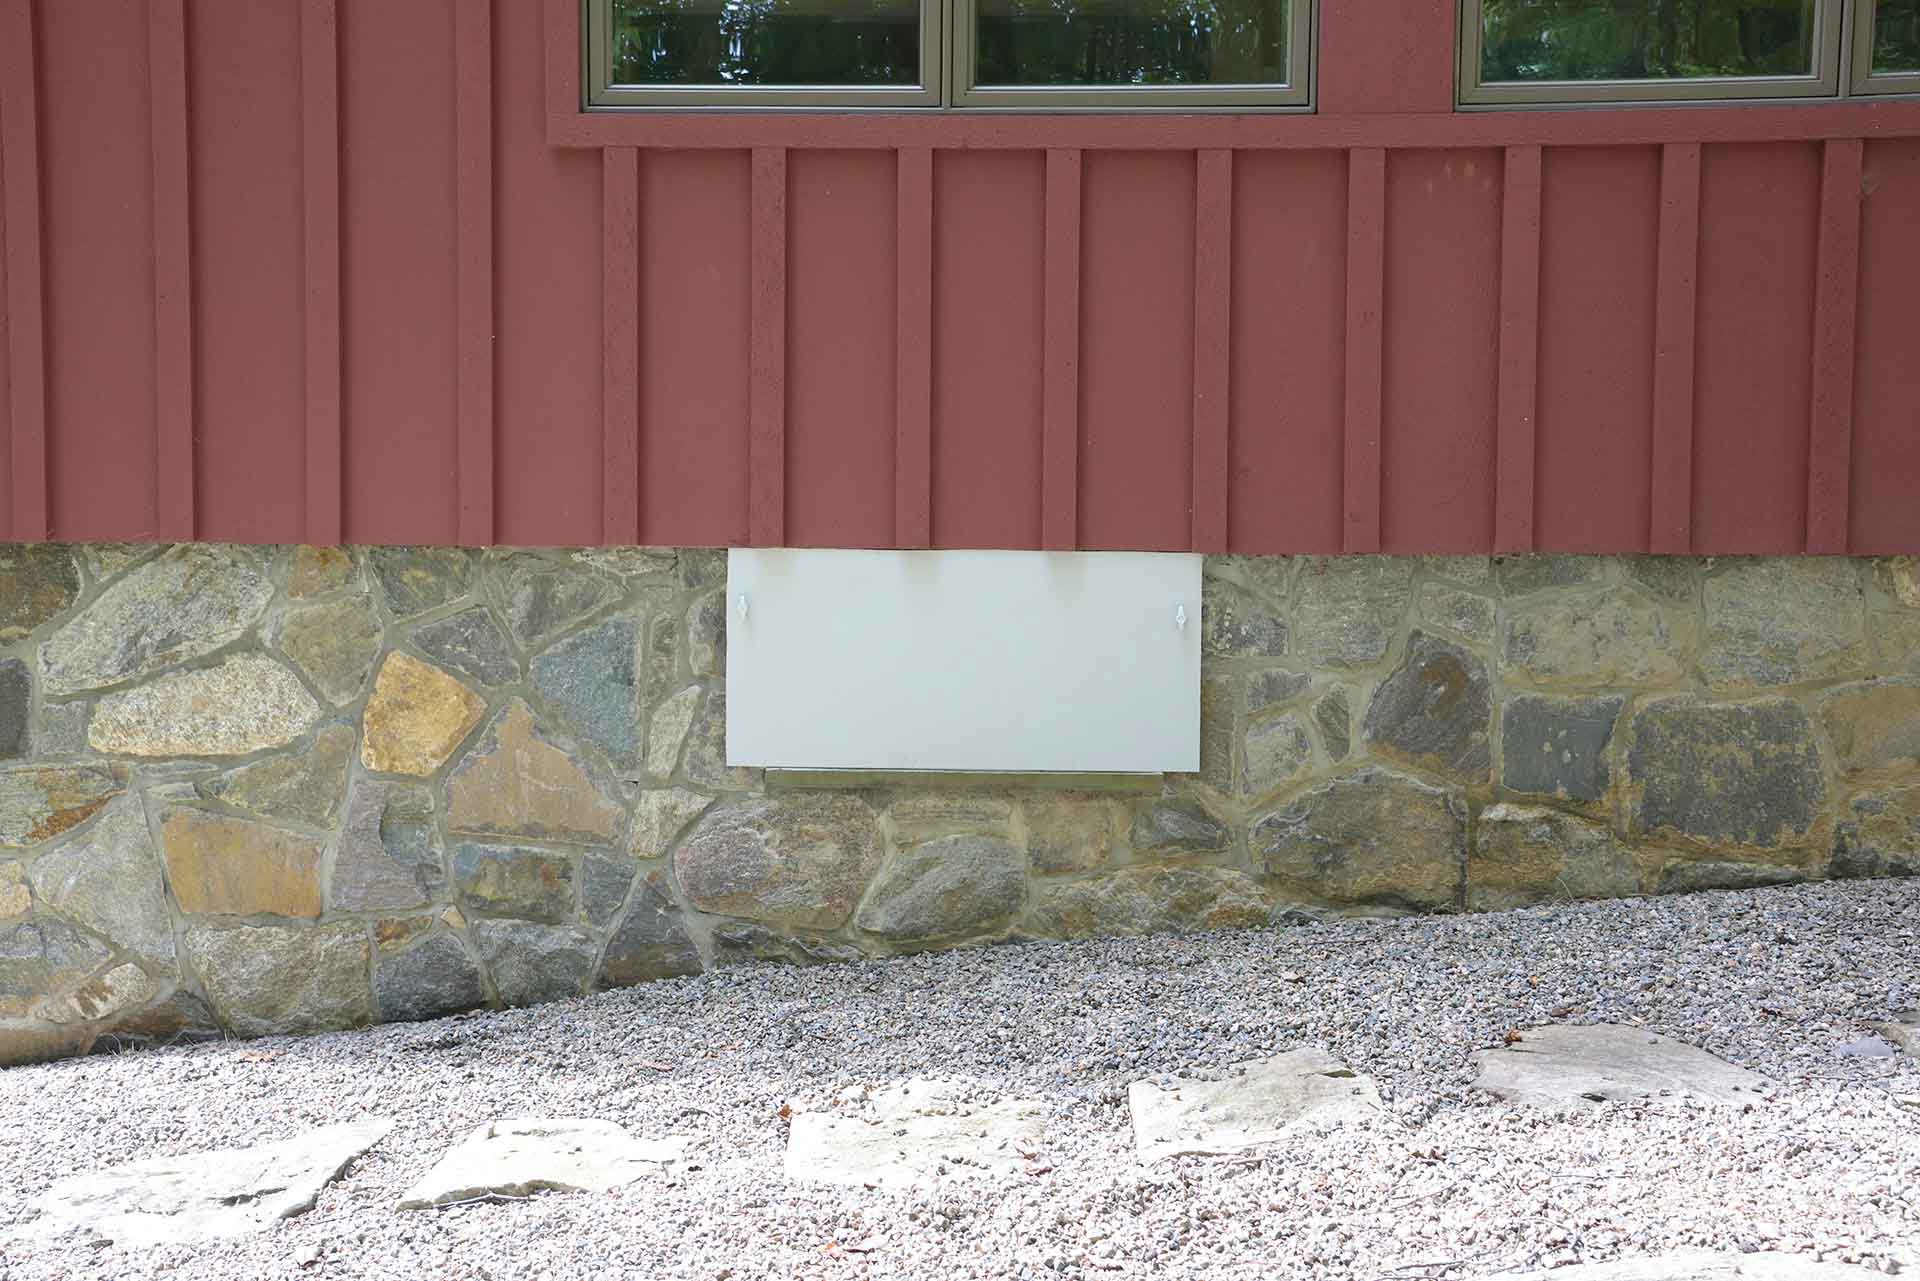
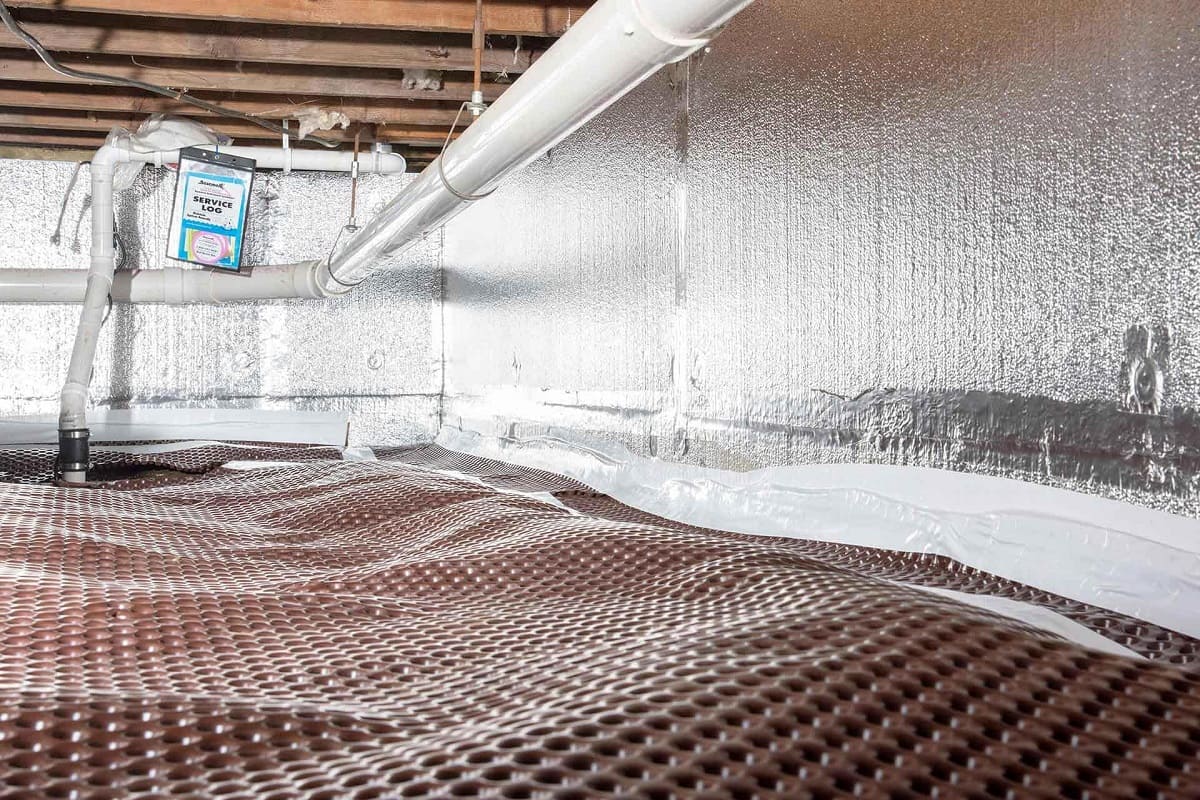
Step 5: Sealing and Insulating the Vents
Proper sealing and insulation of the newly installed crawl space vents are essential for optimizing energy efficiency, moisture control, and overall performance. By implementing effective sealing techniques and incorporating insulation materials, you can create a well-protected and thermally regulated crawl space environment, contributing to the overall comfort and durability of your home.
Sealing Process
After securely installing the new vent covers, the next crucial step involves sealing the perimeter of the vents to prevent air and moisture infiltration. Utilizing a high-quality weather-resistant sealant, such as silicone caulk, is instrumental in creating a durable and watertight seal. Begin by applying the sealant along the edges of the vent covers, ensuring complete coverage and a seamless bond with the surrounding crawl space walls. Pay special attention to any gaps or irregularities, meticulously sealing these areas to eliminate potential entry points for external elements.
The sealing process serves as a protective barrier, safeguarding the crawl space against the intrusion of outdoor air, water, and pests. By effectively sealing the vents, you can mitigate the risk of moisture accumulation, air leaks, and unwanted environmental contaminants, thereby promoting a healthier and more controlled crawl space environment.
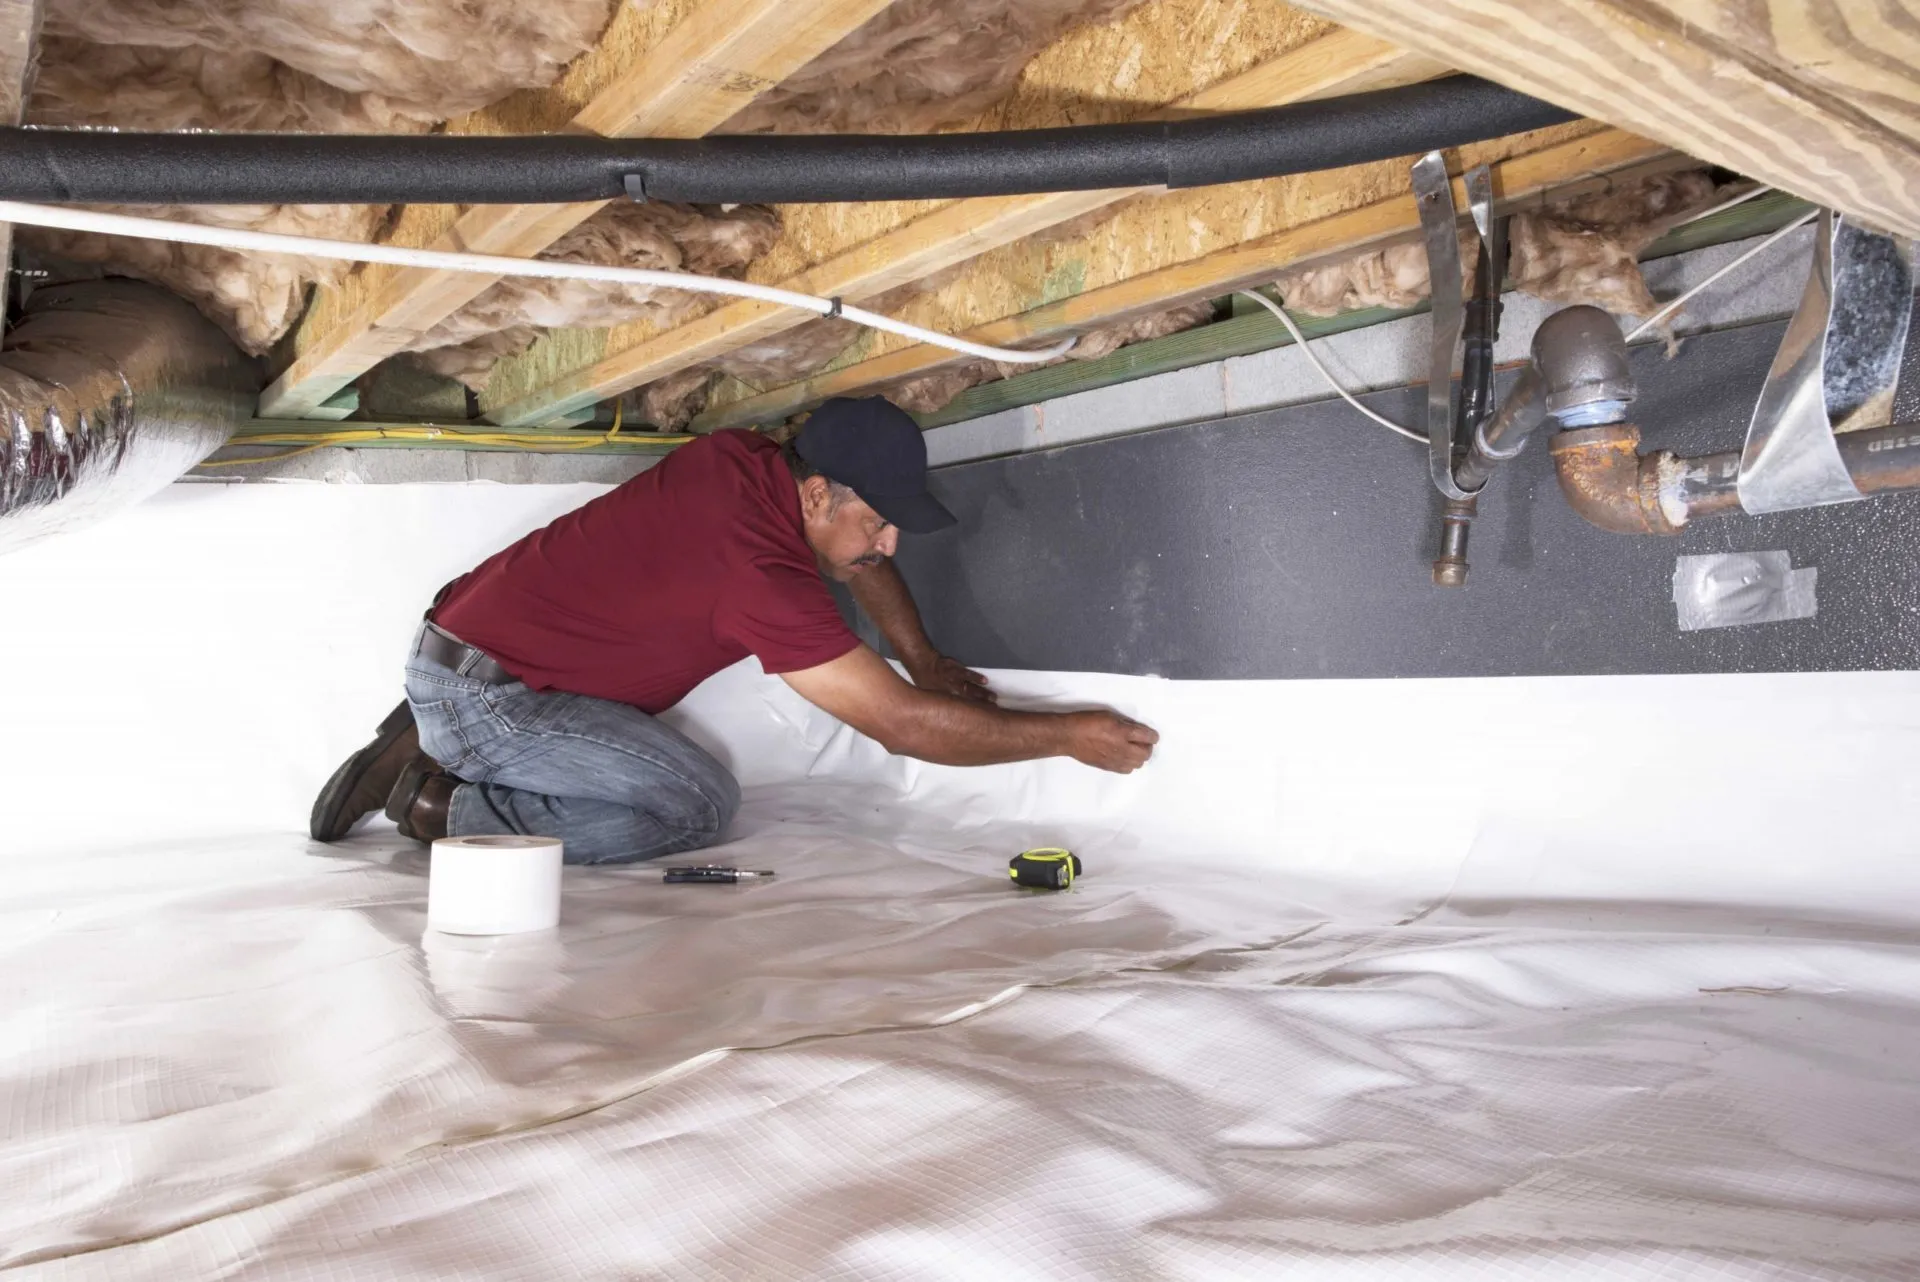
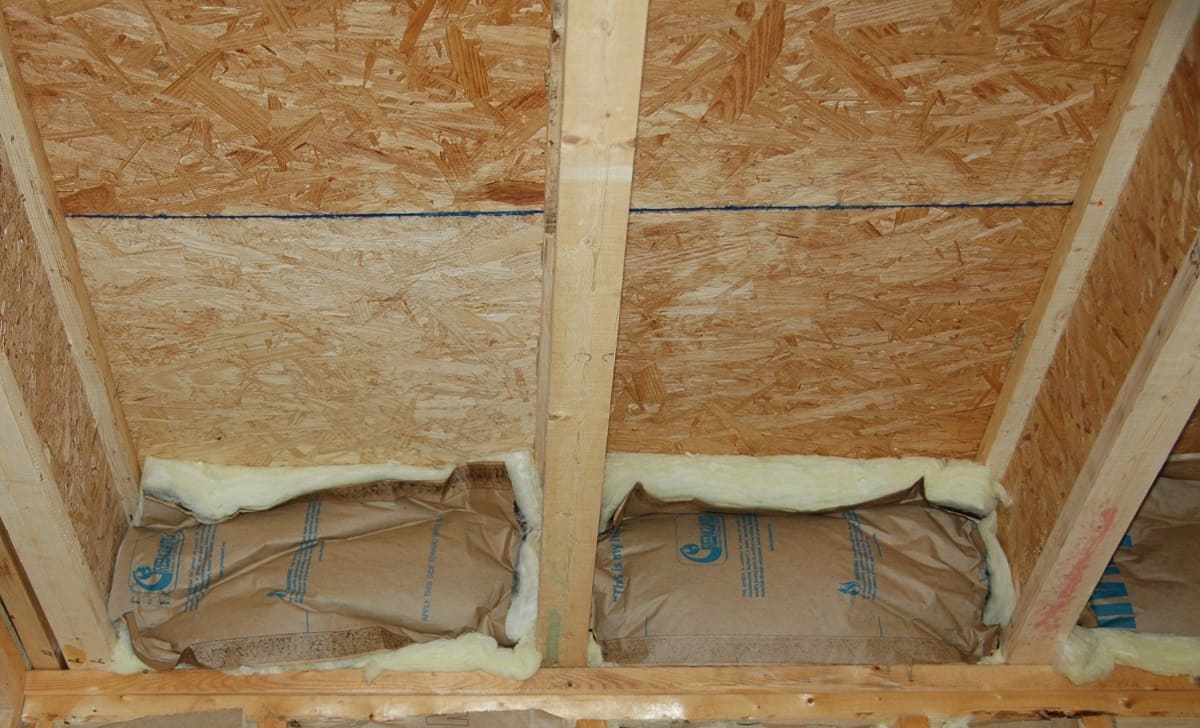
Insulation Enhancement
In addition to sealing, the integration of insulation materials further enhances the thermal performance and energy efficiency of the crawl space vents. Insulation serves as a barrier against heat transfer, helping to maintain consistent temperatures within the crawl space while reducing the workload on your home's heating and cooling systems.
Consider utilizing foam board insulation or insulation batts to line the interior of the crawl space walls behind the vents. This insulation layer acts as a buffer, minimizing heat loss during colder months and preventing heat gain during warmer periods. By effectively regulating the temperature within the crawl space, insulation contributes to overall energy savings and a more comfortable indoor environment.
Furthermore, insulation aids in moisture control by reducing the potential for condensation and dampness within the crawl space. This proactive measure helps to mitigate the risk of mold growth, wood decay, and structural damage, preserving the integrity of your home's foundation and subflooring.
By meticulously sealing and insulating the crawl space vents, you create a robust and energy-efficient barrier that enhances the overall functionality and resilience of your home. This proactive approach not only contributes to long-term cost savings and environmental sustainability but also reinforces the structural integrity and livability of your property. With the vents effectively sealed and insulated, you can enjoy the peace of mind that comes with a well-protected and optimized crawl space environment.
Conclusion
In conclusion, the process of replacing crawl space vents is a fundamental aspect of home maintenance and improvement, with far-reaching implications for the overall well-being and longevity of your property. By diligently assessing the condition of the existing vents, gathering the necessary tools and materials, and executing the meticulous steps of removal, installation, sealing, and insulation, you have taken proactive measures to enhance the functionality and efficiency of your crawl space.
The replacement of crawl space vents not only addresses potential issues such as moisture intrusion, pest infestation, and energy inefficiency but also contributes to the creation of a healthier and more resilient home environment. Through the careful selection and installation of high-quality vent covers, you have optimized ventilation and moisture control, mitigating the risk of structural damage and safeguarding the integrity of your property.
Furthermore, the implementation of effective sealing and insulation techniques has elevated the thermal performance and energy efficiency of the crawl space, reducing heat loss and minimizing the impact on your home's heating and cooling systems. By creating a well-protected and controlled crawl space environment, you have established a foundation for sustainable energy savings and enhanced comfort within your home.
It's important to recognize that the benefits of replacing crawl space vents extend beyond immediate improvements, encompassing long-term advantages such as reduced maintenance costs, improved indoor air quality, and the preservation of structural components. Your proactive approach to vent replacement reflects a commitment to the overall health and resilience of your home, underscoring the value of preventive maintenance and strategic home improvement initiatives.
As you reflect on the completion of this project, take pride in the positive impact it has on your home and the well-being of your family. The investment of time and effort in replacing crawl space vents serves as a testament to your dedication to creating a safe, efficient, and sustainable living environment. With the enhanced functionality and protection of the new vents, you can look forward to enjoying a home that is better equipped to withstand environmental challenges and provide lasting comfort for years to come.
Frequently Asked Questions about How To Replace Crawl Space Vents
Was this page helpful?
At Storables.com, we guarantee accurate and reliable information. Our content, validated by Expert Board Contributors, is crafted following stringent Editorial Policies. We're committed to providing you with well-researched, expert-backed insights for all your informational needs.

0 thoughts on “How To Replace Crawl Space Vents”