Home>Renovation & DIY>Home Renovation Guides>How To Replace Sill Plate In A Crawl Space
Home Renovation Guides
How To Replace Sill Plate In A Crawl Space
Modified: February 18, 2024
Learn how to replace a sill plate in a crawl space with our comprehensive home renovation guide. Follow our step-by-step instructions for a successful project.
(Many of the links in this article redirect to a specific reviewed product. Your purchase of these products through affiliate links helps to generate commission for Storables.com, at no extra cost. Learn more)
Introduction
Replacing a sill plate in a crawl space is a crucial task that ensures the structural integrity of your home. The sill plate, a horizontal wooden member that rests on the foundation and supports the vertical studs of the wall, plays a vital role in distributing the weight of the structure. Over time, due to moisture, pests, or other factors, the sill plate may deteriorate, compromising the stability of the entire building. In this comprehensive guide, we will walk you through the step-by-step process of replacing a sill plate in a crawl space, empowering you to tackle this essential home renovation project with confidence.
By understanding the signs of a damaged sill plate and learning the necessary techniques for its replacement, you can safeguard your home against potential structural issues. Whether you are a seasoned DIY enthusiast or a homeowner looking to expand your knowledge of home maintenance, this guide will equip you with the essential knowledge and practical skills needed to successfully replace a sill plate in a crawl space.
Throughout this guide, we will cover the critical steps involved in the replacement process, from assessing the damage and preparing the work area to removing the old sill plate, installing the new one, and ensuring its secure attachment. Additionally, we will emphasize the importance of inspecting and testing the replacement to guarantee its effectiveness in fortifying the structural stability of your home.
With a clear understanding of the significance of the sill plate and the necessary steps for its replacement, you will be well-prepared to embark on this essential home renovation project. Let's delve into the details of each step, empowering you to safeguard your home and ensure its long-term structural resilience.
Key Takeaways:
- Assessing the Damage
Before replacing a sill plate, carefully check for rot, pests, and structural shifts. Get professional help to ensure a thorough assessment and a targeted approach to the replacement process. - Securing the Sill Plate
When installing the new sill plate, use suitable fasteners, ensure uniform attachment, and verify compliance with structural guidelines. Thoroughly inspect and test the replacement to ensure long-term stability.
Read more: What Is A Sill Plate In Construction
Step 1: Assessing the Damage
Before embarking on the replacement of a sill plate in a crawl space, it is crucial to conduct a thorough assessment of the existing structure to determine the extent of the damage. Several indicators may point to a deteriorating sill plate, necessitating its replacement. These signs include visible rot or decay, pest infestation, moisture damage, or structural shifts in the walls above the crawl space.
Begin the assessment by carefully inspecting the crawl space, paying close attention to the condition of the existing sill plate. Look for any signs of water damage, such as mold, mildew, or discoloration, which may indicate prolonged exposure to moisture. Additionally, examine the wood for soft spots, crumbling, or visible decay, as these are common manifestations of rot.
Furthermore, keep an eye out for any evidence of pest infestation, such as termite tunnels, wood shavings, or insect droppings. Pests can significantly compromise the integrity of the sill plate, leading to structural instability if left unaddressed.
In addition to visual cues, it is essential to assess the overall alignment and levelness of the walls above the crawl space. Any noticeable shifts or unevenness may be indicative of underlying issues with the sill plate, warranting a closer inspection.
To ensure a comprehensive assessment, consider enlisting the expertise of a qualified structural engineer or a professional contractor. Their trained eye and experience can provide valuable insights into the condition of the sill plate and any associated structural concerns.
By meticulously evaluating the damage and identifying the specific issues affecting the existing sill plate, you will be equipped with the necessary information to proceed with the subsequent steps of the replacement process. This diligent assessment sets the foundation for a targeted and effective approach to replacing the sill plate, ultimately contributing to the long-term stability and resilience of your home's structure.
With a clear understanding of the signs of damage and the importance of a thorough assessment, you are now prepared to move on to the next step: preparing the work area for the replacement process.
Step 2: Preparing the Work Area
Before commencing the replacement of the sill plate in a crawl space, it is essential to meticulously prepare the work area to ensure a safe, organized, and efficient renovation process. Proper preparation lays the groundwork for seamless execution and minimizes potential obstacles that may arise during the project. Here's a detailed overview of the crucial steps involved in preparing the work area for the replacement of the sill plate:
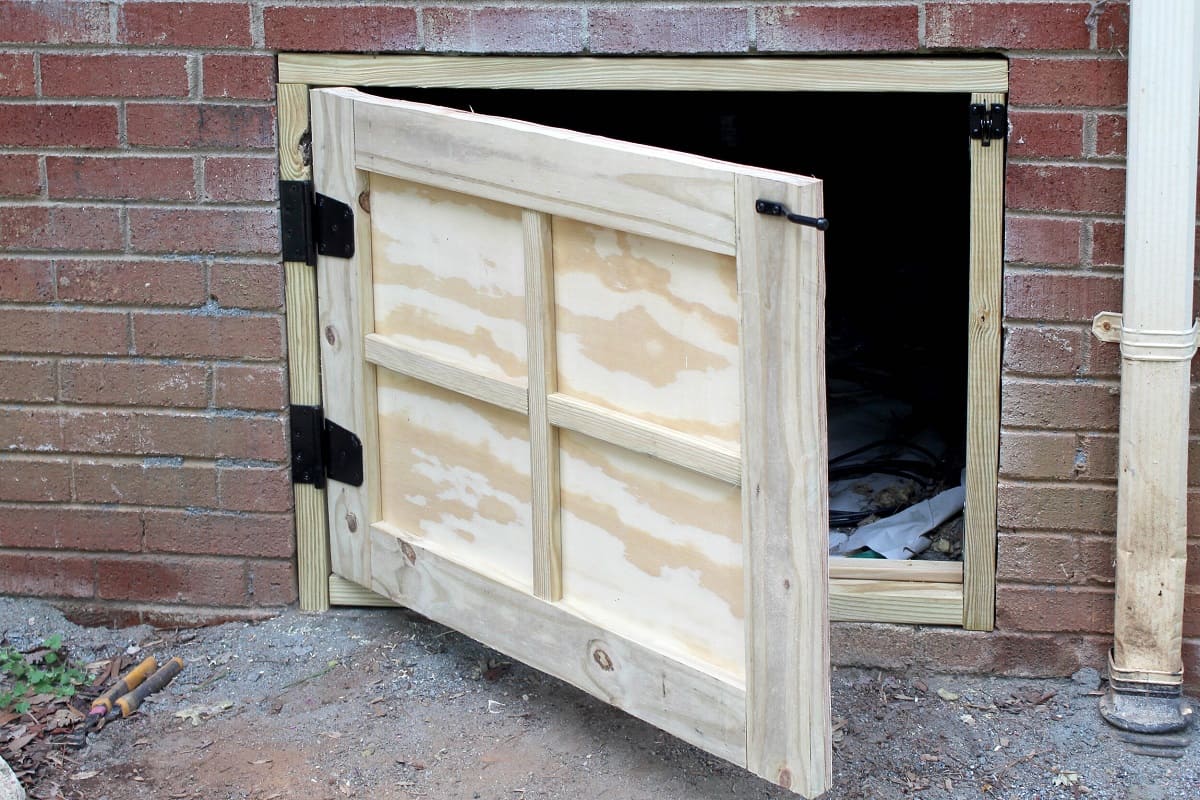
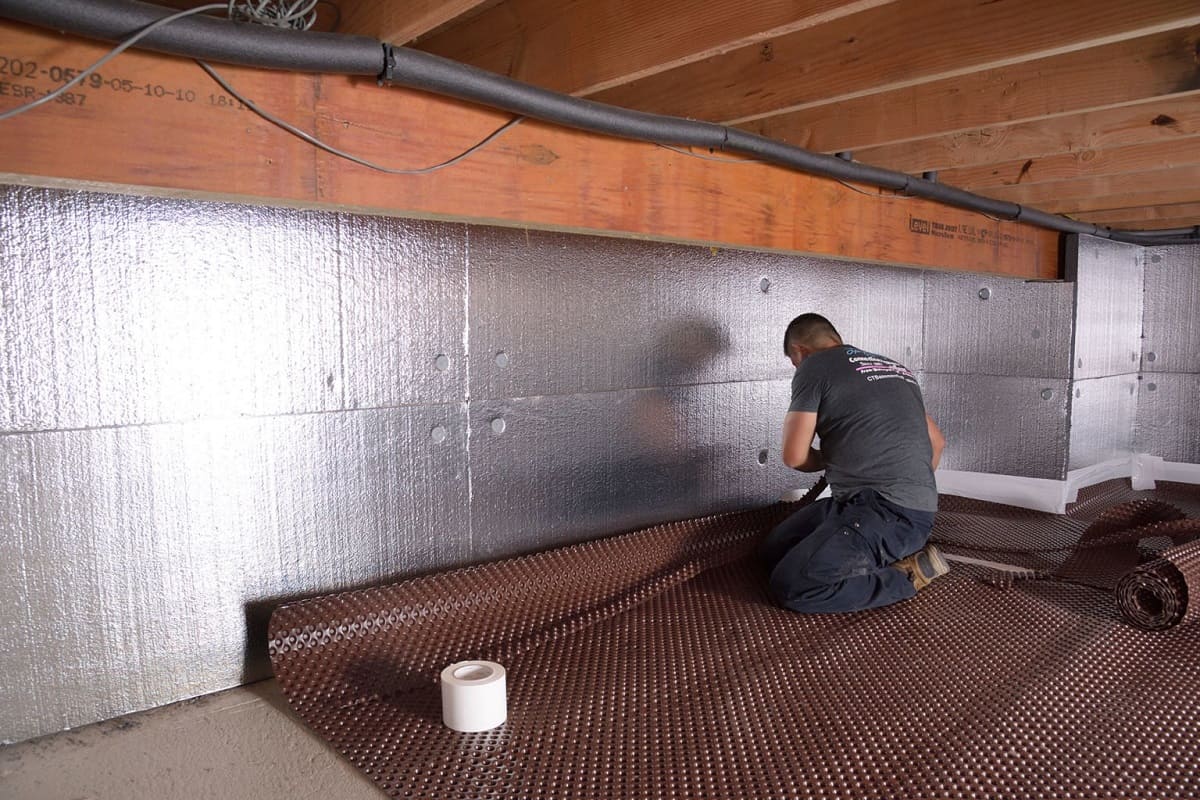
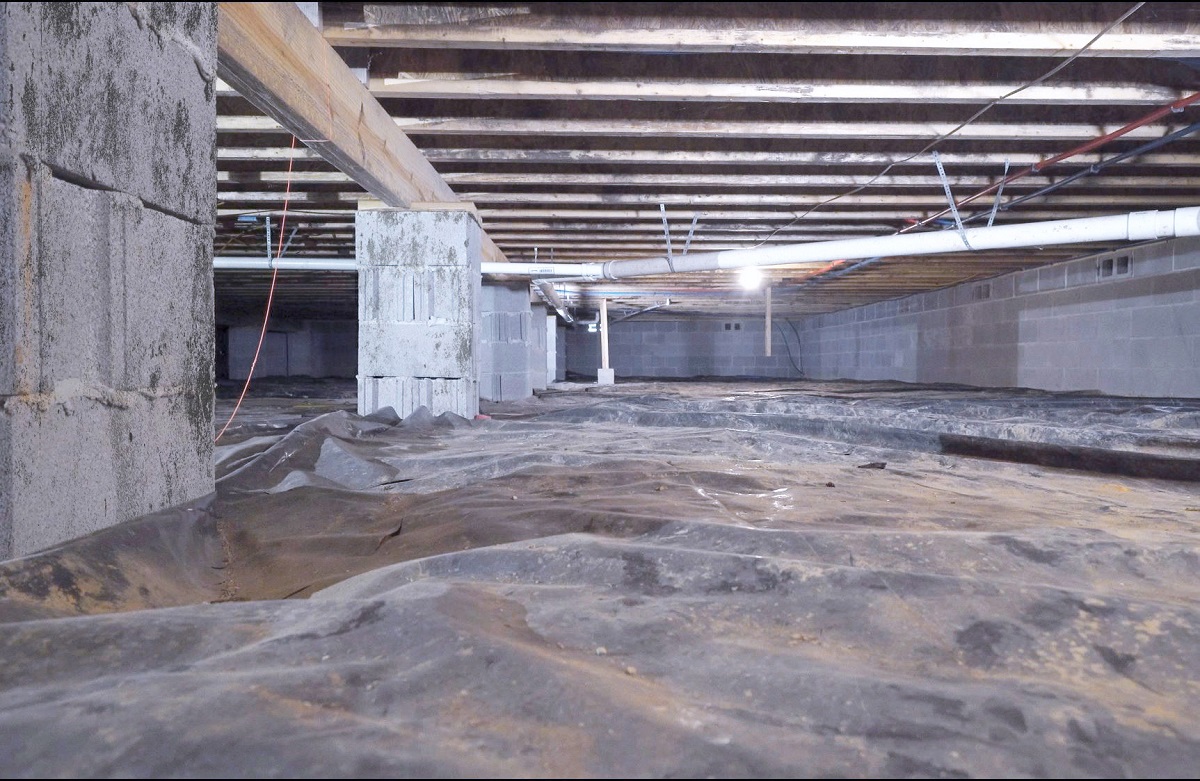
Clearing and Securing the Crawl Space
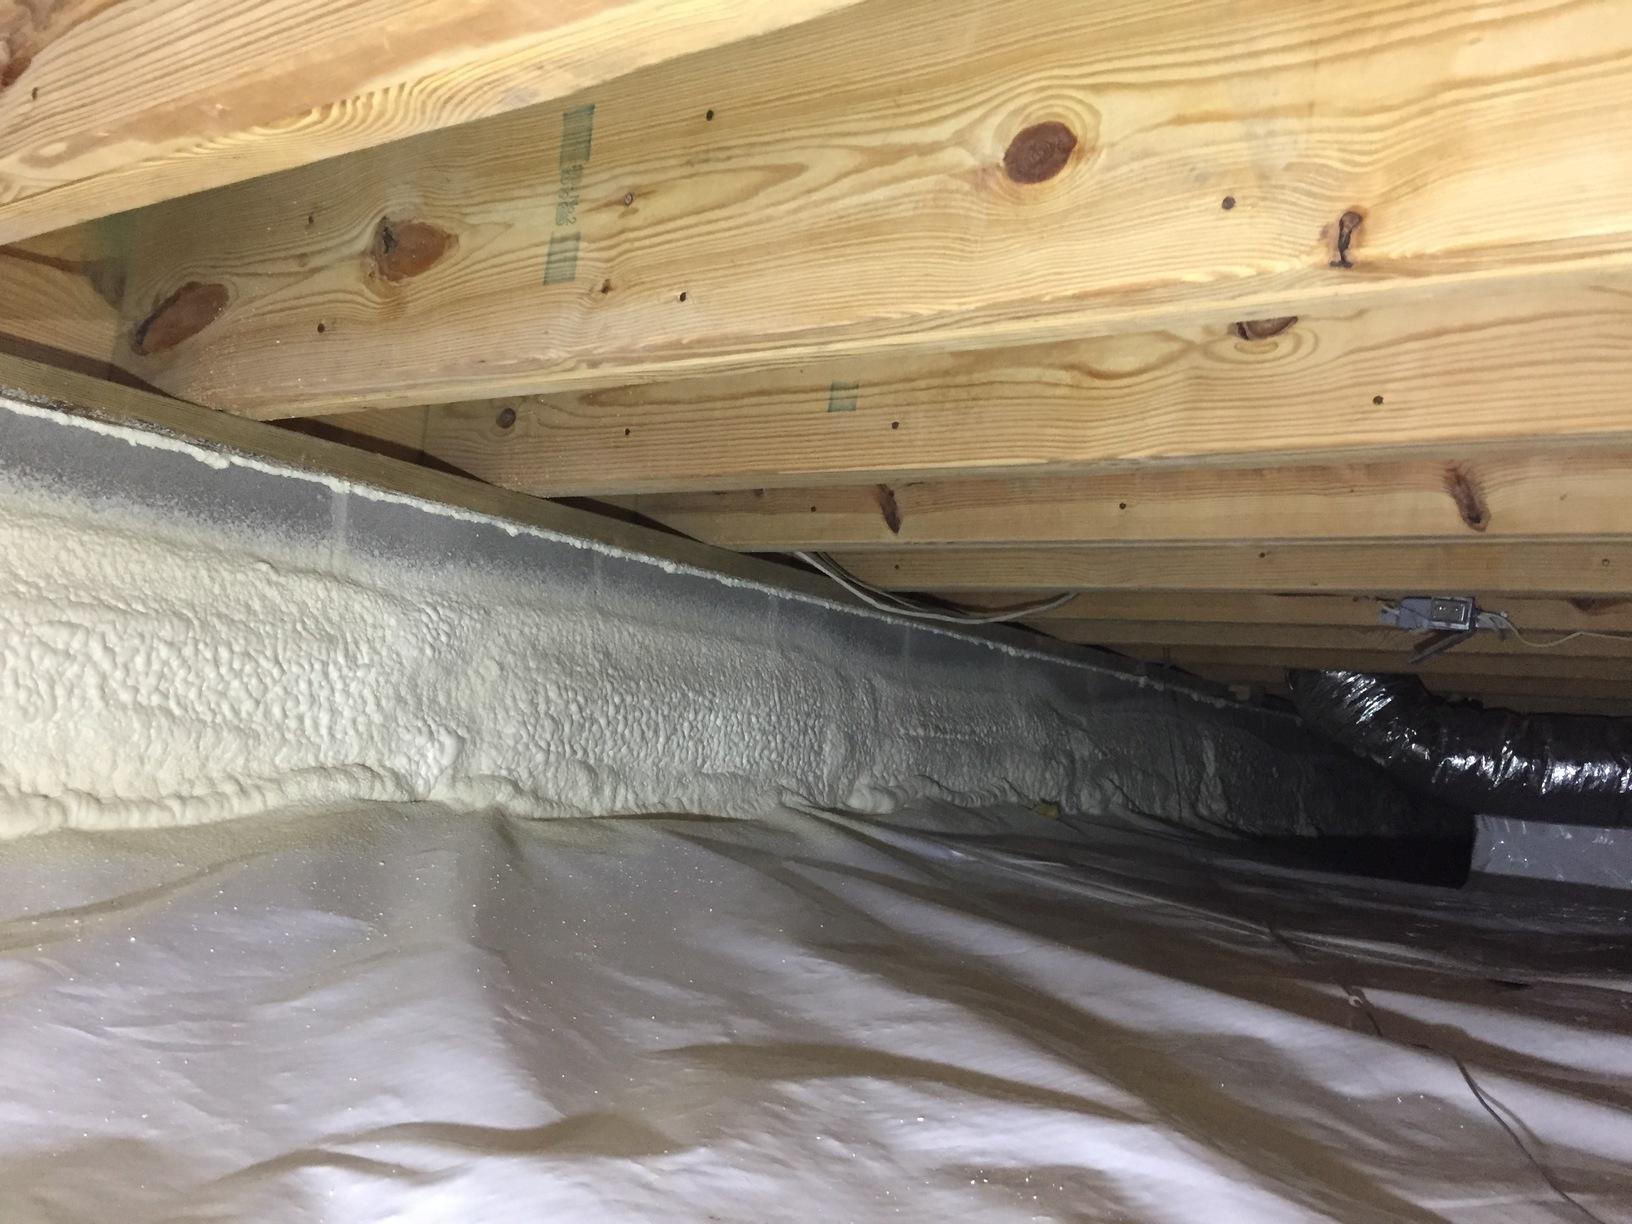
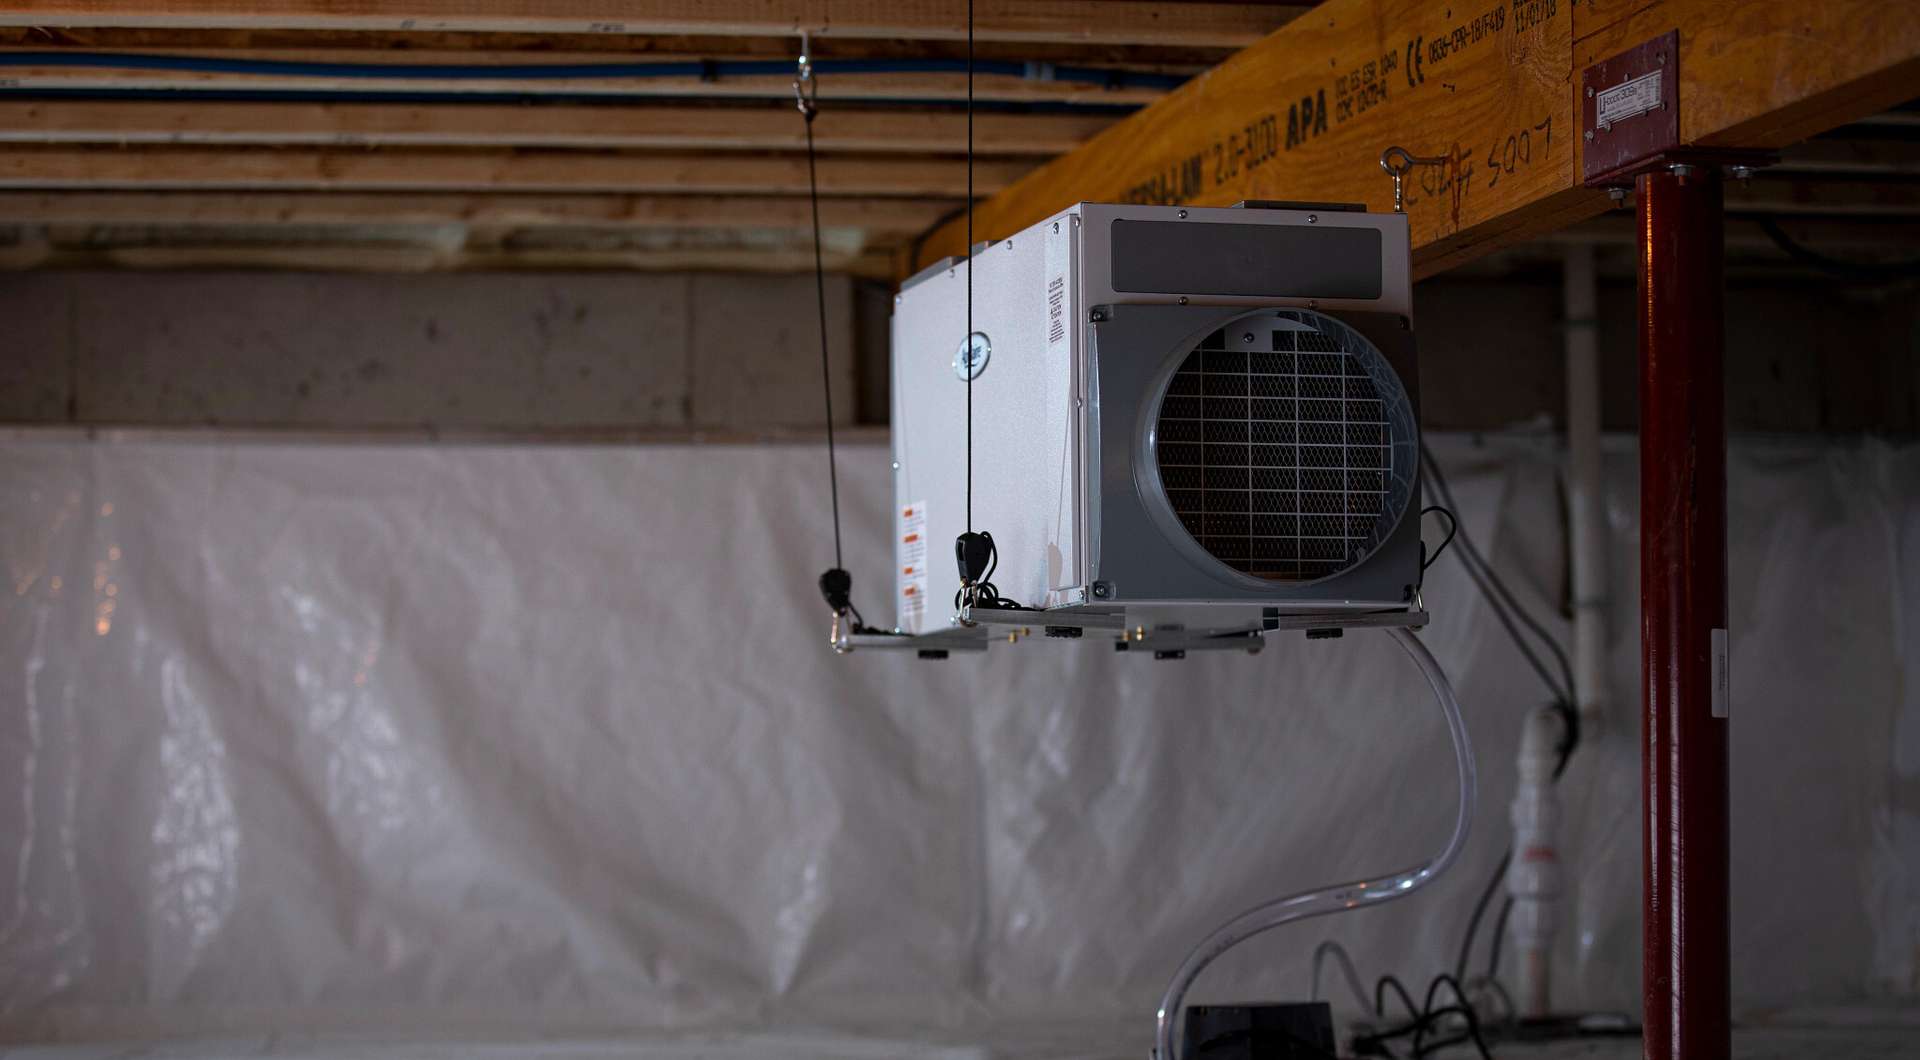
Begin by clearing the crawl space of any debris, obstructions, or stored items that may impede the renovation work. This includes removing loose objects, excess insulation, and any accumulated debris that could hinder access to the sill plate. Additionally, ensure that the crawl space is adequately ventilated to promote a conducive working environment.
Ensuring Adequate Lighting and Ventilation
Proper lighting is essential for carrying out precise and safe renovation work in the crawl space. Verify that the area is well-lit, either through natural light sources or portable lighting equipment. Adequate ventilation is also crucial to mitigate the buildup of fumes or airborne particles, enhancing the overall safety and comfort of the work environment.
Read more: How To Replace Joists In Crawl Space
Supporting the Structure
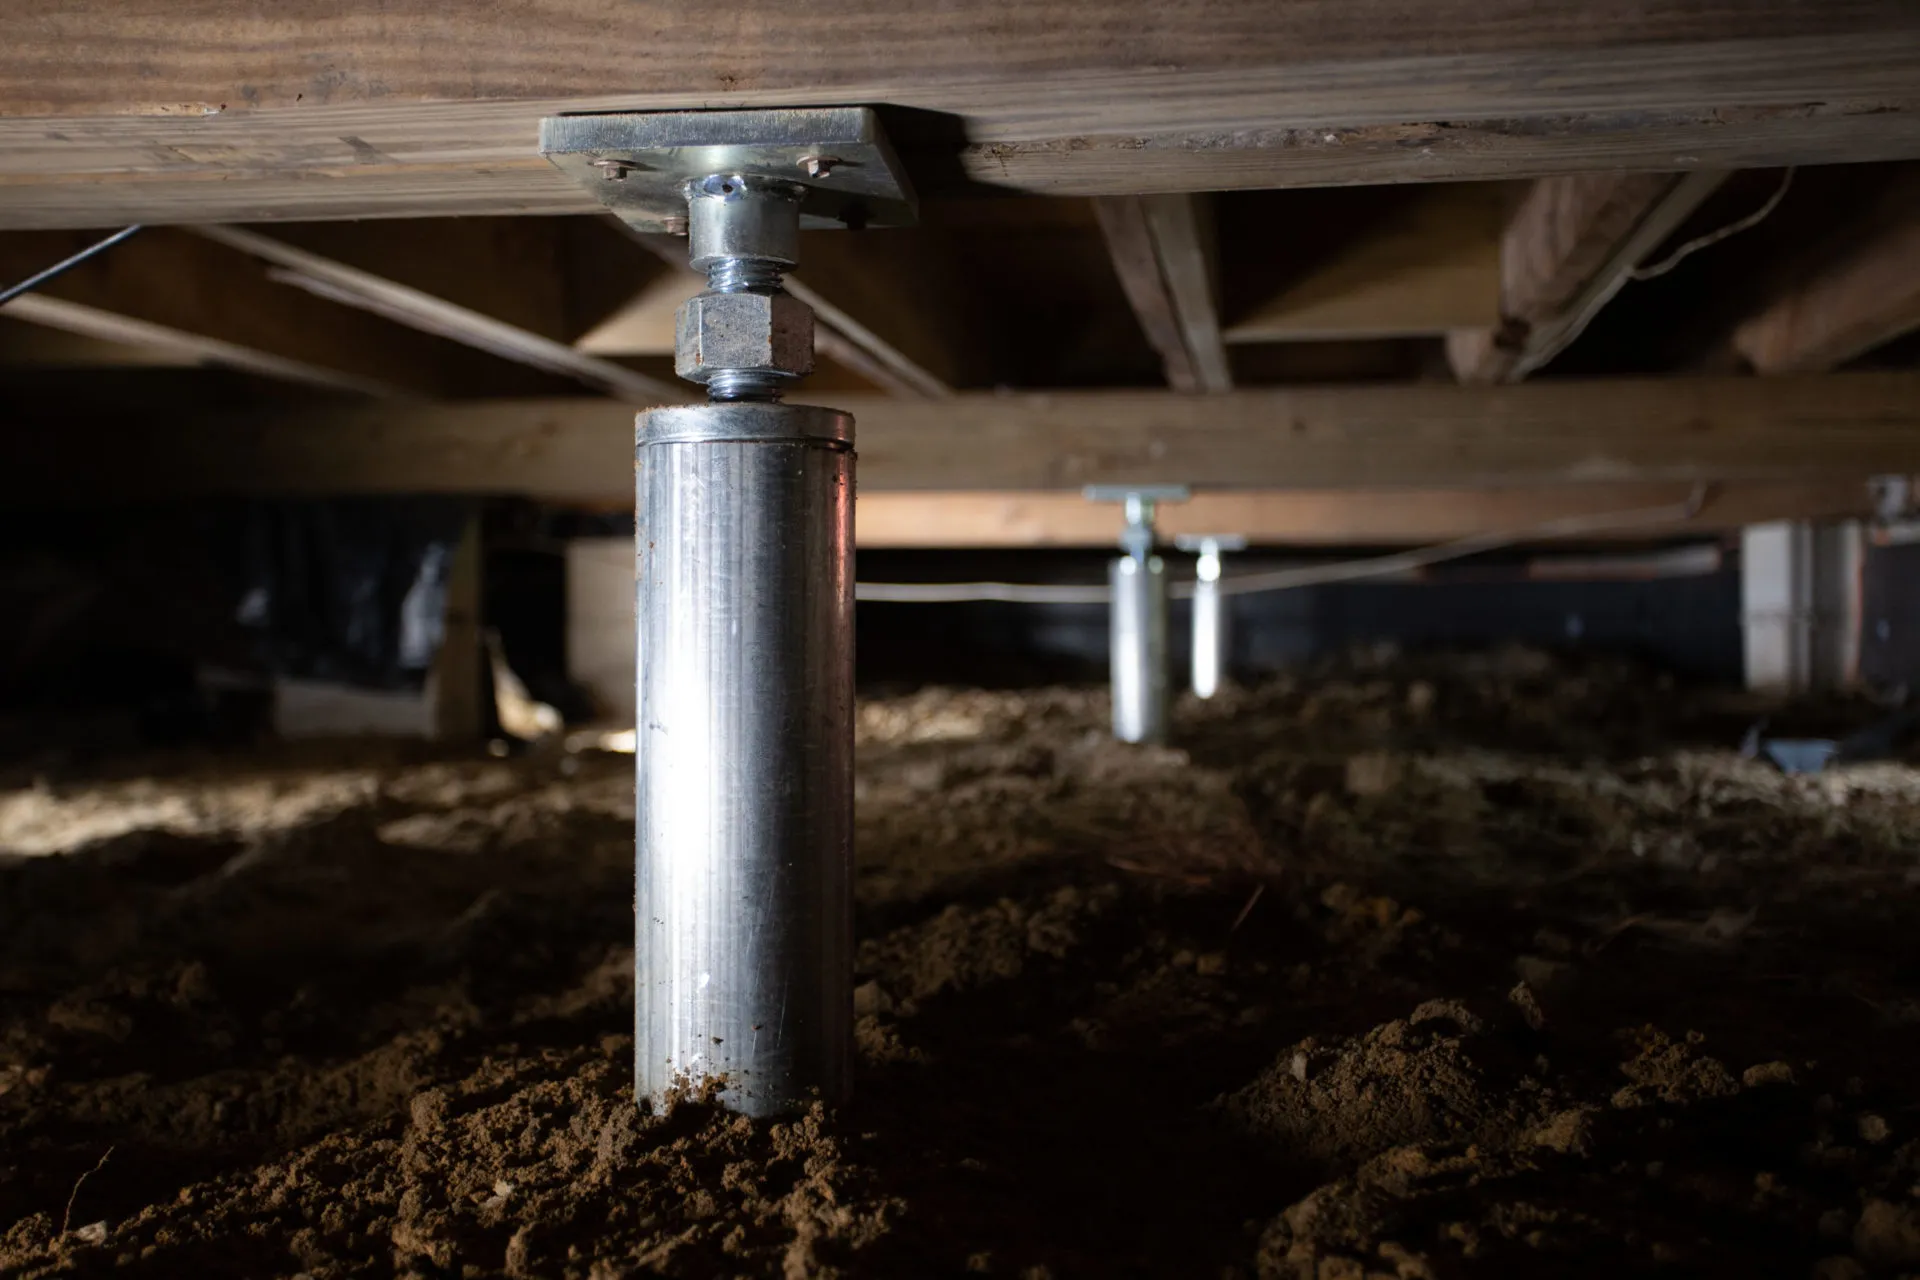
As the sill plate provides foundational support for the vertical studs of the wall, it is imperative to provide temporary structural support to the load-bearing elements before removing the old sill plate. This may involve installing temporary shoring or bracing to uphold the integrity of the structure during the replacement process.
Gathering Necessary Tools and Materials
Compile all the essential tools and materials required for the replacement, including a reciprocating saw, pry bar, hammer, safety goggles, work gloves, pressure-treated lumber for the new sill plate, fasteners, and any additional equipment specified for the project. Having all the necessary items readily available streamlines the renovation process and minimizes disruptions.
Implementing Safety Measures
Prioritize safety by wearing appropriate personal protective equipment, such as safety goggles and work gloves, to shield against potential hazards. Additionally, ensure that the work area is well-ventilated and that safety protocols, such as proper ladder usage and adherence to electrical safety guidelines, are strictly observed throughout the renovation process.
By diligently preparing the work area in accordance with these essential steps, you will establish a conducive environment for the seamless replacement of the sill plate in the crawl space. This meticulous preparation sets the stage for the subsequent phases of the renovation, ensuring a structured and efficient approach to safeguarding the structural integrity of your home.
Step 3: Removing the Old Sill Plate
Removing the old sill plate is a critical phase in the process of replacing a sill plate in a crawl space. This step requires precision, careful planning, and adherence to safety protocols to ensure the seamless extraction of the deteriorated sill plate. Here's a detailed breakdown of the essential procedures involved in removing the old sill plate:
Read more: How To Replace A Door Threshold And Sill
1. Clearing the Surrounding Area
Begin by clearing the immediate area surrounding the sill plate to create unobstructed access for the removal process. Remove any residual debris, insulation, or accumulated materials that may impede the extraction of the old sill plate. This preparatory step sets the stage for a focused and unobstructed approach to removing the deteriorated component.
2. Detaching the Sill Plate from the Foundation
Using a reciprocating saw, carefully cut through the fasteners and any adjoining sections of the old sill plate to detach it from the foundation. Exercise caution to avoid damaging the surrounding structural elements while disengaging the sill plate from its secured position. Additionally, employ a pry bar to gently dislodge the old sill plate from its resting position, gradually loosening it from the foundation.
3. Addressing Structural Attachments
As the sill plate is intricately connected to the vertical studs and other structural components, take care to address any attachments or fasteners securing the sill plate to the adjoining elements. Utilize appropriate tools, such as a hammer and pry bar, to carefully disengage the connections, ensuring that the surrounding structural integrity remains uncompromised throughout the removal process.
4. Ensuring Safe Disposal
Upon successful removal of the old sill plate, prioritize safe disposal practices to responsibly manage the extracted materials. Dispose of the deteriorated sill plate in accordance with local regulations and environmental guidelines, considering appropriate waste management methods to minimize ecological impact.
Read more: How To Maintain A Crawl Space
5. Inspecting the Foundation
Following the removal of the old sill plate, conduct a thorough inspection of the foundation to assess its condition and identify any underlying issues that may have contributed to the deterioration of the previous sill plate. Address any structural concerns or damage to the foundation before proceeding with the installation of the new sill plate, ensuring a stable and secure foundation for the subsequent phase of the renovation.
By meticulously executing these steps, you will effectively remove the old sill plate, paving the way for the subsequent installation of the new sill plate. This methodical approach ensures that the replacement process proceeds seamlessly, contributing to the long-term structural resilience of your home.
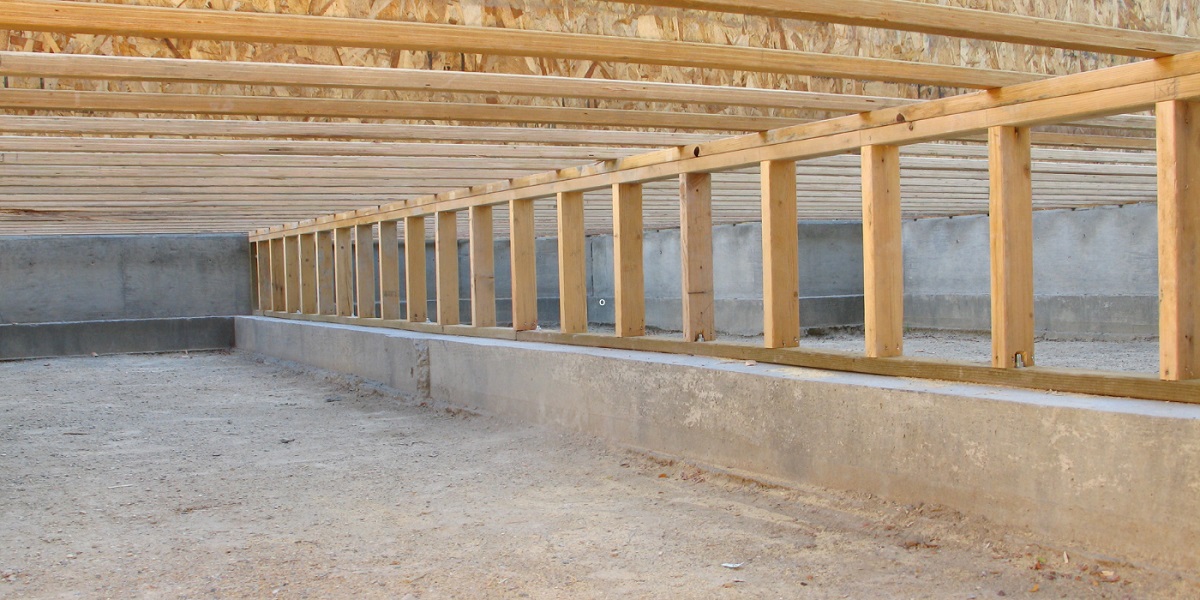
Step 4: Installing the New Sill Plate
With the old sill plate successfully removed, the installation of the new sill plate marks a pivotal phase in the process of fortifying the structural integrity of the crawl space. This step demands meticulous attention to detail, precise measurements, and adherence to best practices to ensure the seamless integration of the new component. Here's a comprehensive overview of the essential procedures involved in installing the new sill plate:
1. Measuring and Cutting the New Sill Plate
Begin by accurately measuring the dimensions of the replacement sill plate to align with the specific requirements of the crawl space. Utilize a tape measure and marking tools to outline the precise dimensions, ensuring a tailored fit that aligns with the foundational layout. Subsequently, employ a saw to cut the pressure-treated lumber according to the measured specifications, maintaining precision throughout the cutting process.
2. Positioning the New Sill Plate
Carefully position the newly cut sill plate along the foundation, aligning it with the designated placement to ensure a snug and secure fit. Verify that the new sill plate rests evenly and aligns with the structural layout of the crawl space, providing a stable foundation for the subsequent attachment and securing processes.
Read more: How To Inspect A Crawl Space
3. Securing the Sill Plate
Utilize appropriate fasteners, such as anchor bolts or screws, to securely attach the new sill plate to the foundation. Ensure that the fasteners are driven in at consistent intervals, maintaining the structural stability and uniform distribution of support along the length of the sill plate. Additionally, verify that the attachment is firm and secure, fortifying the foundational connection between the new sill plate and the underlying structure.
4. Aligning with Structural Elements
Verify that the new sill plate aligns seamlessly with the vertical studs and other structural components, ensuring a cohesive integration that upholds the overall stability of the crawl space. Address any discrepancies or misalignments to guarantee a harmonious connection between the new sill plate and the adjoining structural elements, fostering a unified and resilient framework.
5. Verifying Levelness and Alignment
Thoroughly inspect the newly installed sill plate to confirm its levelness and alignment with the foundation and surrounding structural elements. Utilize a spirit level or laser level to assess the horizontal orientation of the sill plate, making any necessary adjustments to achieve optimal alignment and uniform support across the entirety of the crawl space.
By meticulously executing these steps, you will effectively install the new sill plate, reinforcing the structural foundation of the crawl space and fortifying the long-term stability of your home. This methodical approach ensures a seamless integration of the replacement component, contributing to the resilience and structural integrity of the entire building.
Step 5: Securing the Sill Plate
Securing the new sill plate to the foundation is a critical phase that directly influences the stability and resilience of the entire structure. This step demands meticulous attention to detail, precise execution, and adherence to industry best practices to ensure the seamless integration and steadfast attachment of the replacement component.
Read more: What Is A Crawl Space?
1. Selecting Appropriate Fasteners
The selection of suitable fasteners is paramount to the secure attachment of the new sill plate. Anchor bolts or screws specifically designed for foundational applications are commonly employed to fasten the sill plate securely to the foundation. These fasteners should exhibit corrosion resistance and structural durability to withstand the environmental conditions within the crawl space, ensuring long-term stability and reliability.
2. Strategic Placement of Fasteners
Strategically position the fasteners along the length of the sill plate, maintaining consistent intervals to uphold uniform support and distribution of the structural load. The spacing between the fasteners should align with industry standards and local building codes, ensuring optimal anchoring and load-bearing capacity. By adhering to prescribed fastening patterns, you fortify the foundational connection, mitigating the risk of structural shifts or instability over time.
3. Ensuring Firm and Uniform Attachment
Utilize appropriate tools, such as impact drivers or wrenches, to drive the fasteners securely into the foundation, ensuring a firm and uniform attachment of the sill plate. The fasteners should penetrate the foundation to the specified depth, establishing a robust connection that withstands lateral forces and structural loads. Verify the torque and tension of the fasteners to guarantee a steadfast attachment that reinforces the foundational support provided by the new sill plate.
4. Adhering to Structural Guidelines
Adhere to structural engineering guidelines and local building regulations regarding the installation of sill plates, ensuring compliance with prescribed anchoring methods and load-bearing specifications. By aligning with industry standards, you uphold the structural integrity of the foundation and contribute to the overall safety and stability of the building. Additionally, consult with qualified professionals to validate the appropriateness of the selected fasteners and attachment methods, leveraging their expertise to optimize the security and reliability of the installation.
Read more: How To Close Vents In Crawl Space
5. Verifying Secure Attachment
Thoroughly inspect the attachment of the new sill plate, verifying the secure fastening of the component to the foundation. Conduct a comprehensive assessment to confirm the absence of any structural gaps or loose connections, ensuring that the sill plate is firmly and uniformly secured. By meticulously verifying the attachment, you instill confidence in the structural resilience of the replacement sill plate, fortifying the foundational support and contributing to the long-term stability of the entire structure.
By meticulously executing these steps, you will effectively secure the new sill plate to the foundation, establishing a robust and reliable foundational connection that safeguards the structural integrity of the crawl space. This methodical approach ensures a steadfast attachment, contributing to the resilience and stability of the entire building.
Step 6: Inspecting and Testing the Replacement
After the meticulous installation and secure attachment of the new sill plate, the critical phase of inspecting and testing the replacement ensures the efficacy and reliability of the renovated structural foundation. This comprehensive evaluation encompasses a series of essential procedures aimed at validating the integrity and functionality of the newly installed sill plate, safeguarding the long-term stability and resilience of the entire structure.
1. Visual Inspection
Commence the inspection by conducting a thorough visual assessment of the newly installed sill plate. Examine the alignment, levelness, and overall condition of the replacement component, ensuring that it seamlessly integrates with the foundation and adjoining structural elements. Look for any signs of misalignment, gaps, or irregularities that may indicate suboptimal installation, addressing any discrepancies to uphold the structural uniformity and stability.
2. Load-Bearing Verification
Verify the load-bearing capacity of the new sill plate by assessing its ability to support the vertical studs and distribute the structural load evenly across the crawl space. This entails confirming that the replacement component effectively shoulders the weight of the wall structure without exhibiting signs of deflection, sagging, or undue stress. By validating the load-bearing functionality, you ensure that the sill plate fulfills its pivotal role in sustaining the structural integrity of the building.
Read more: How To Dig Out Crawl Space
3. Structural Stability Testing
Conduct structural stability tests to assess the resilience and steadfastness of the newly installed sill plate. Apply controlled pressure or stress along the length of the sill plate, gauging its ability to withstand external forces and maintain its secure attachment to the foundation. This testing phase serves to validate the structural robustness of the replacement component, assuring its capacity to endure dynamic loads and environmental factors within the crawl space.
4. Compliance Verification
Ensure that the replacement sill plate aligns with prescribed structural engineering guidelines, local building codes, and industry standards governing foundational components. Verify that the installation adheres to specified anchoring methods, fastening patterns, and load-bearing requirements, validating the compliance of the replacement sill plate with established structural regulations. By upholding regulatory compliance, you reinforce the safety and reliability of the renovated structural foundation.
5. Professional Validation
Seek the expertise of qualified structural engineers or professional contractors to validate the efficacy and integrity of the replacement sill plate. Leverage their specialized knowledge and experience to conduct comprehensive assessments, leveraging their insights to confirm the structural soundness and reliability of the renovated foundation. Professional validation provides an additional layer of assurance, ensuring that the replacement sill plate meets rigorous structural standards and performance criteria.
By meticulously executing these inspection and testing procedures, you will effectively validate the integrity and functionality of the replacement sill plate, fortifying the structural foundation of the crawl space and ensuring the long-term stability and resilience of the entire building. This comprehensive evaluation serves as a crucial final step in the renovation process, instilling confidence in the structural integrity and reliability of the newly replaced sill plate.
Conclusion
In conclusion, the process of replacing a sill plate in a crawl space is a fundamental aspect of maintaining the structural integrity and stability of a home. By embarking on this essential home renovation project, homeowners can fortify the foundational support of their dwellings, mitigating the risks associated with deteriorating sill plates and safeguarding against potential structural issues.
Throughout this comprehensive guide, we have delved into the critical steps involved in replacing a sill plate, from assessing the damage and preparing the work area to removing the old sill plate, installing the new one, and ensuring its secure attachment. Each phase of the replacement process demands meticulous attention to detail, adherence to safety protocols, and a commitment to upholding structural integrity.
The assessment of the existing sill plate serves as the initial step, enabling homeowners to identify signs of damage, such as rot, pest infestation, or moisture-related issues. This diligent evaluation sets the stage for a targeted and effective approach to replacing the sill plate, empowering homeowners to address specific structural concerns with precision and confidence.
Furthermore, the meticulous preparation of the work area is paramount to ensuring a safe, organized, and efficient renovation process. Clearing the crawl space, ensuring adequate lighting and ventilation, supporting the structure, and gathering necessary tools and materials are essential preparatory measures that lay the groundwork for seamless execution and minimize potential obstacles during the project.
The subsequent phases of removing the old sill plate, installing the new one, and securing its attachment demand precision, careful planning, and adherence to best practices. From measuring and cutting the new sill plate to strategically positioning and securing it to the foundation, each step contributes to the seamless integration of the replacement component, fortifying the structural foundation of the crawl space.
Finally, the inspection and testing of the replacement sill plate serve as a comprehensive evaluation, validating the integrity, functionality, and compliance of the renovated structural foundation. This critical phase ensures that the newly replaced sill plate meets rigorous structural standards, providing homeowners with confidence in the long-term stability and resilience of their homes.
In essence, the process of replacing a sill plate in a crawl space is a testament to the commitment to maintaining a safe, durable, and structurally sound home. By embracing the knowledge and practical skills outlined in this guide, homeowners are empowered to safeguard their dwellings against the detrimental effects of deteriorating sill plates, ensuring the enduring strength and stability of their living spaces.
Frequently Asked Questions about How To Replace Sill Plate In A Crawl Space
Was this page helpful?
At Storables.com, we guarantee accurate and reliable information. Our content, validated by Expert Board Contributors, is crafted following stringent Editorial Policies. We're committed to providing you with well-researched, expert-backed insights for all your informational needs.

0 thoughts on “How To Replace Sill Plate In A Crawl Space”