Articles
How To Replace A Roof Vent
Modified: August 28, 2024
Learn how to replace a roof vent with these informative articles. Find step-by-step instructions and tips for a successful vent replacement.
(Many of the links in this article redirect to a specific reviewed product. Your purchase of these products through affiliate links helps to generate commission for Storables.com, at no extra cost. Learn more)
Introduction
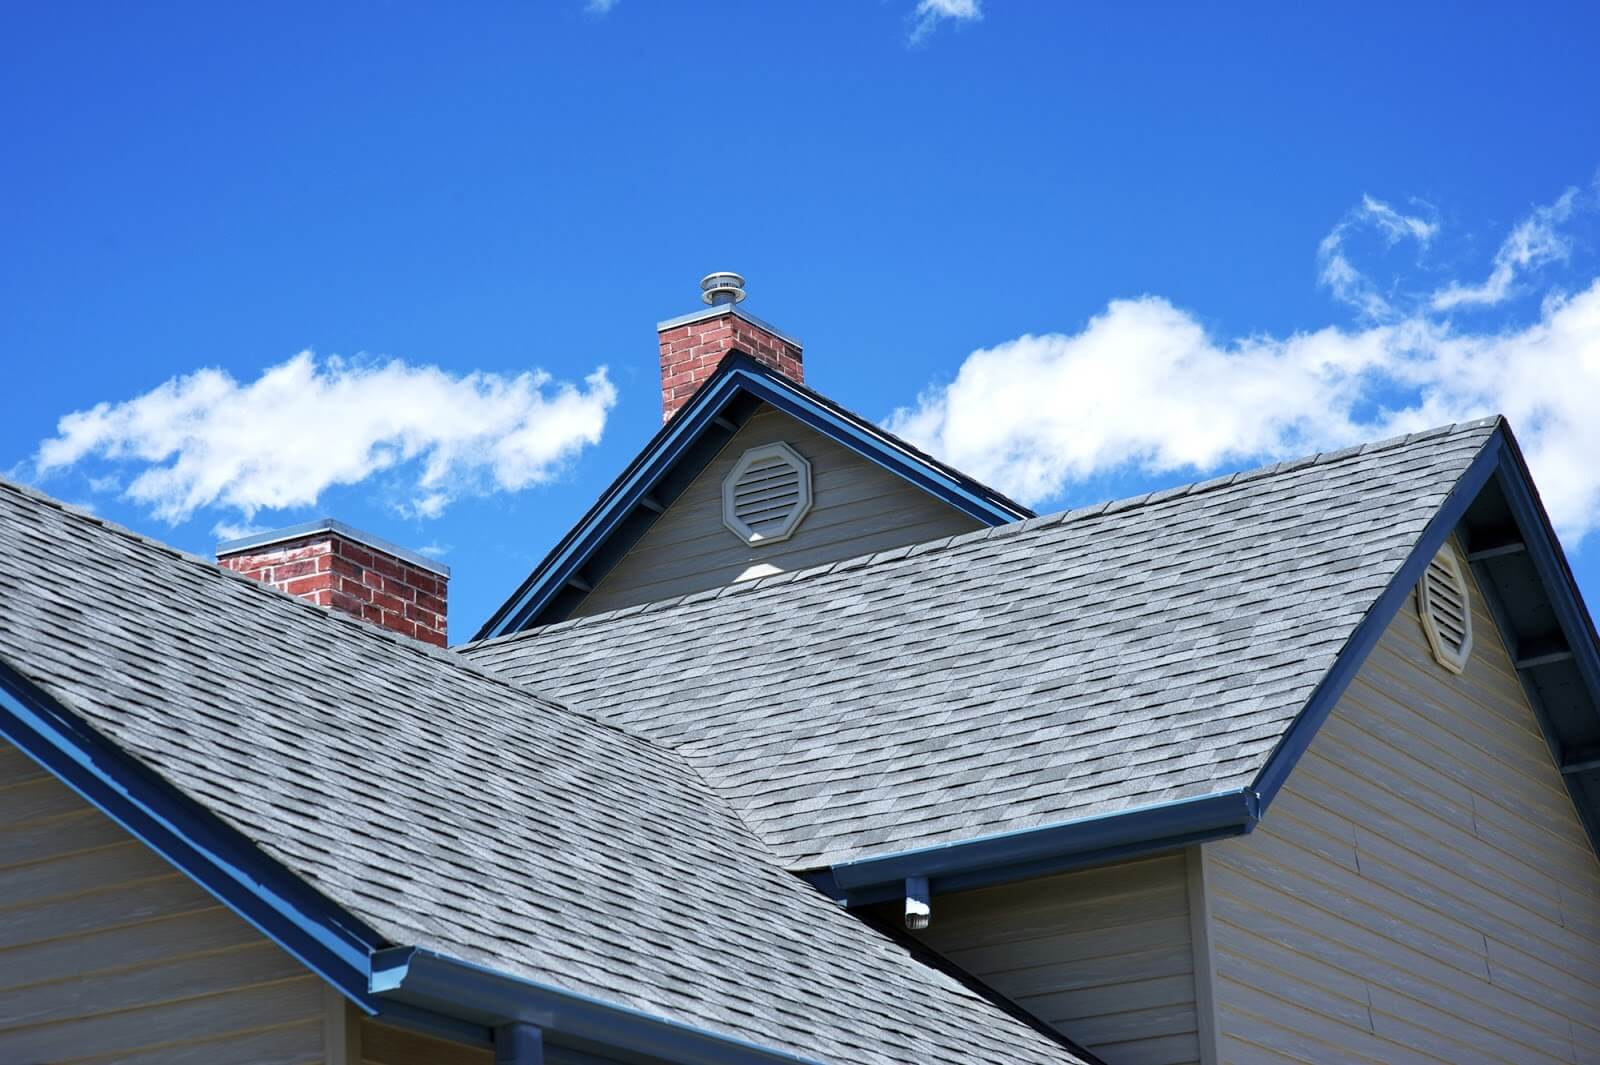
Replacing a roof vent is an essential maintenance task that every homeowner should know how to do. Roof vents play a crucial role in maintaining proper ventilation in the attic, preventing moisture buildup, and reducing the risk of mold and mildew growth. Over time, roof vents can become damaged, worn out, or simply no longer function efficiently. When this happens, it’s essential to replace the vent as soon as possible to ensure the continued integrity of your home’s ventilation system.
In this article, we will guide you through the step-by-step process of replacing a roof vent. We will provide you with the necessary tools and materials, explain how to assess the condition of the existing vent, how to remove it safely, and how to install a new vent. Additionally, we will cover the crucial steps of cleaning the area around the vent, securing the new vent in place, and properly sealing the area to prevent any potential leaks.
Before we dive into the details, it’s important to note that replacing a roof vent requires basic DIY skills, but if you are uncomfortable working on the roof or if your roof has a complex design, it may be best to hire a professional roofing contractor.
Now that we have covered the basics, let’s move on to the first step: gathering the necessary tools and materials.
Key Takeaways:
- Properly replacing a roof vent involves assessing its condition, safely removing the old vent, cleaning the area, and meticulously installing and sealing the new vent. Following these steps ensures a well-ventilated and protected home.
- Regular maintenance and inspection of roof vents are essential for identifying potential issues early on and preventing costly repairs. By staying proactive, homeowners can ensure the longevity and effectiveness of their roof ventilation system.
Read more: How To Install A Roof Vent
Step 1: Gather the necessary tools and materials
Before you begin the process of replacing a roof vent, it’s essential to gather all the necessary tools and materials. Having everything prepared and at hand will make the process smoother and more efficient. Here is a list of items you will need:
- Safety goggles or glasses
- Gloves
- Ladder or scaffolding
- Roofing hammer or pry bar
- Utility knife
- Drill
- Screwdriver
- Measuring tape
- Ventilation duct or pipe
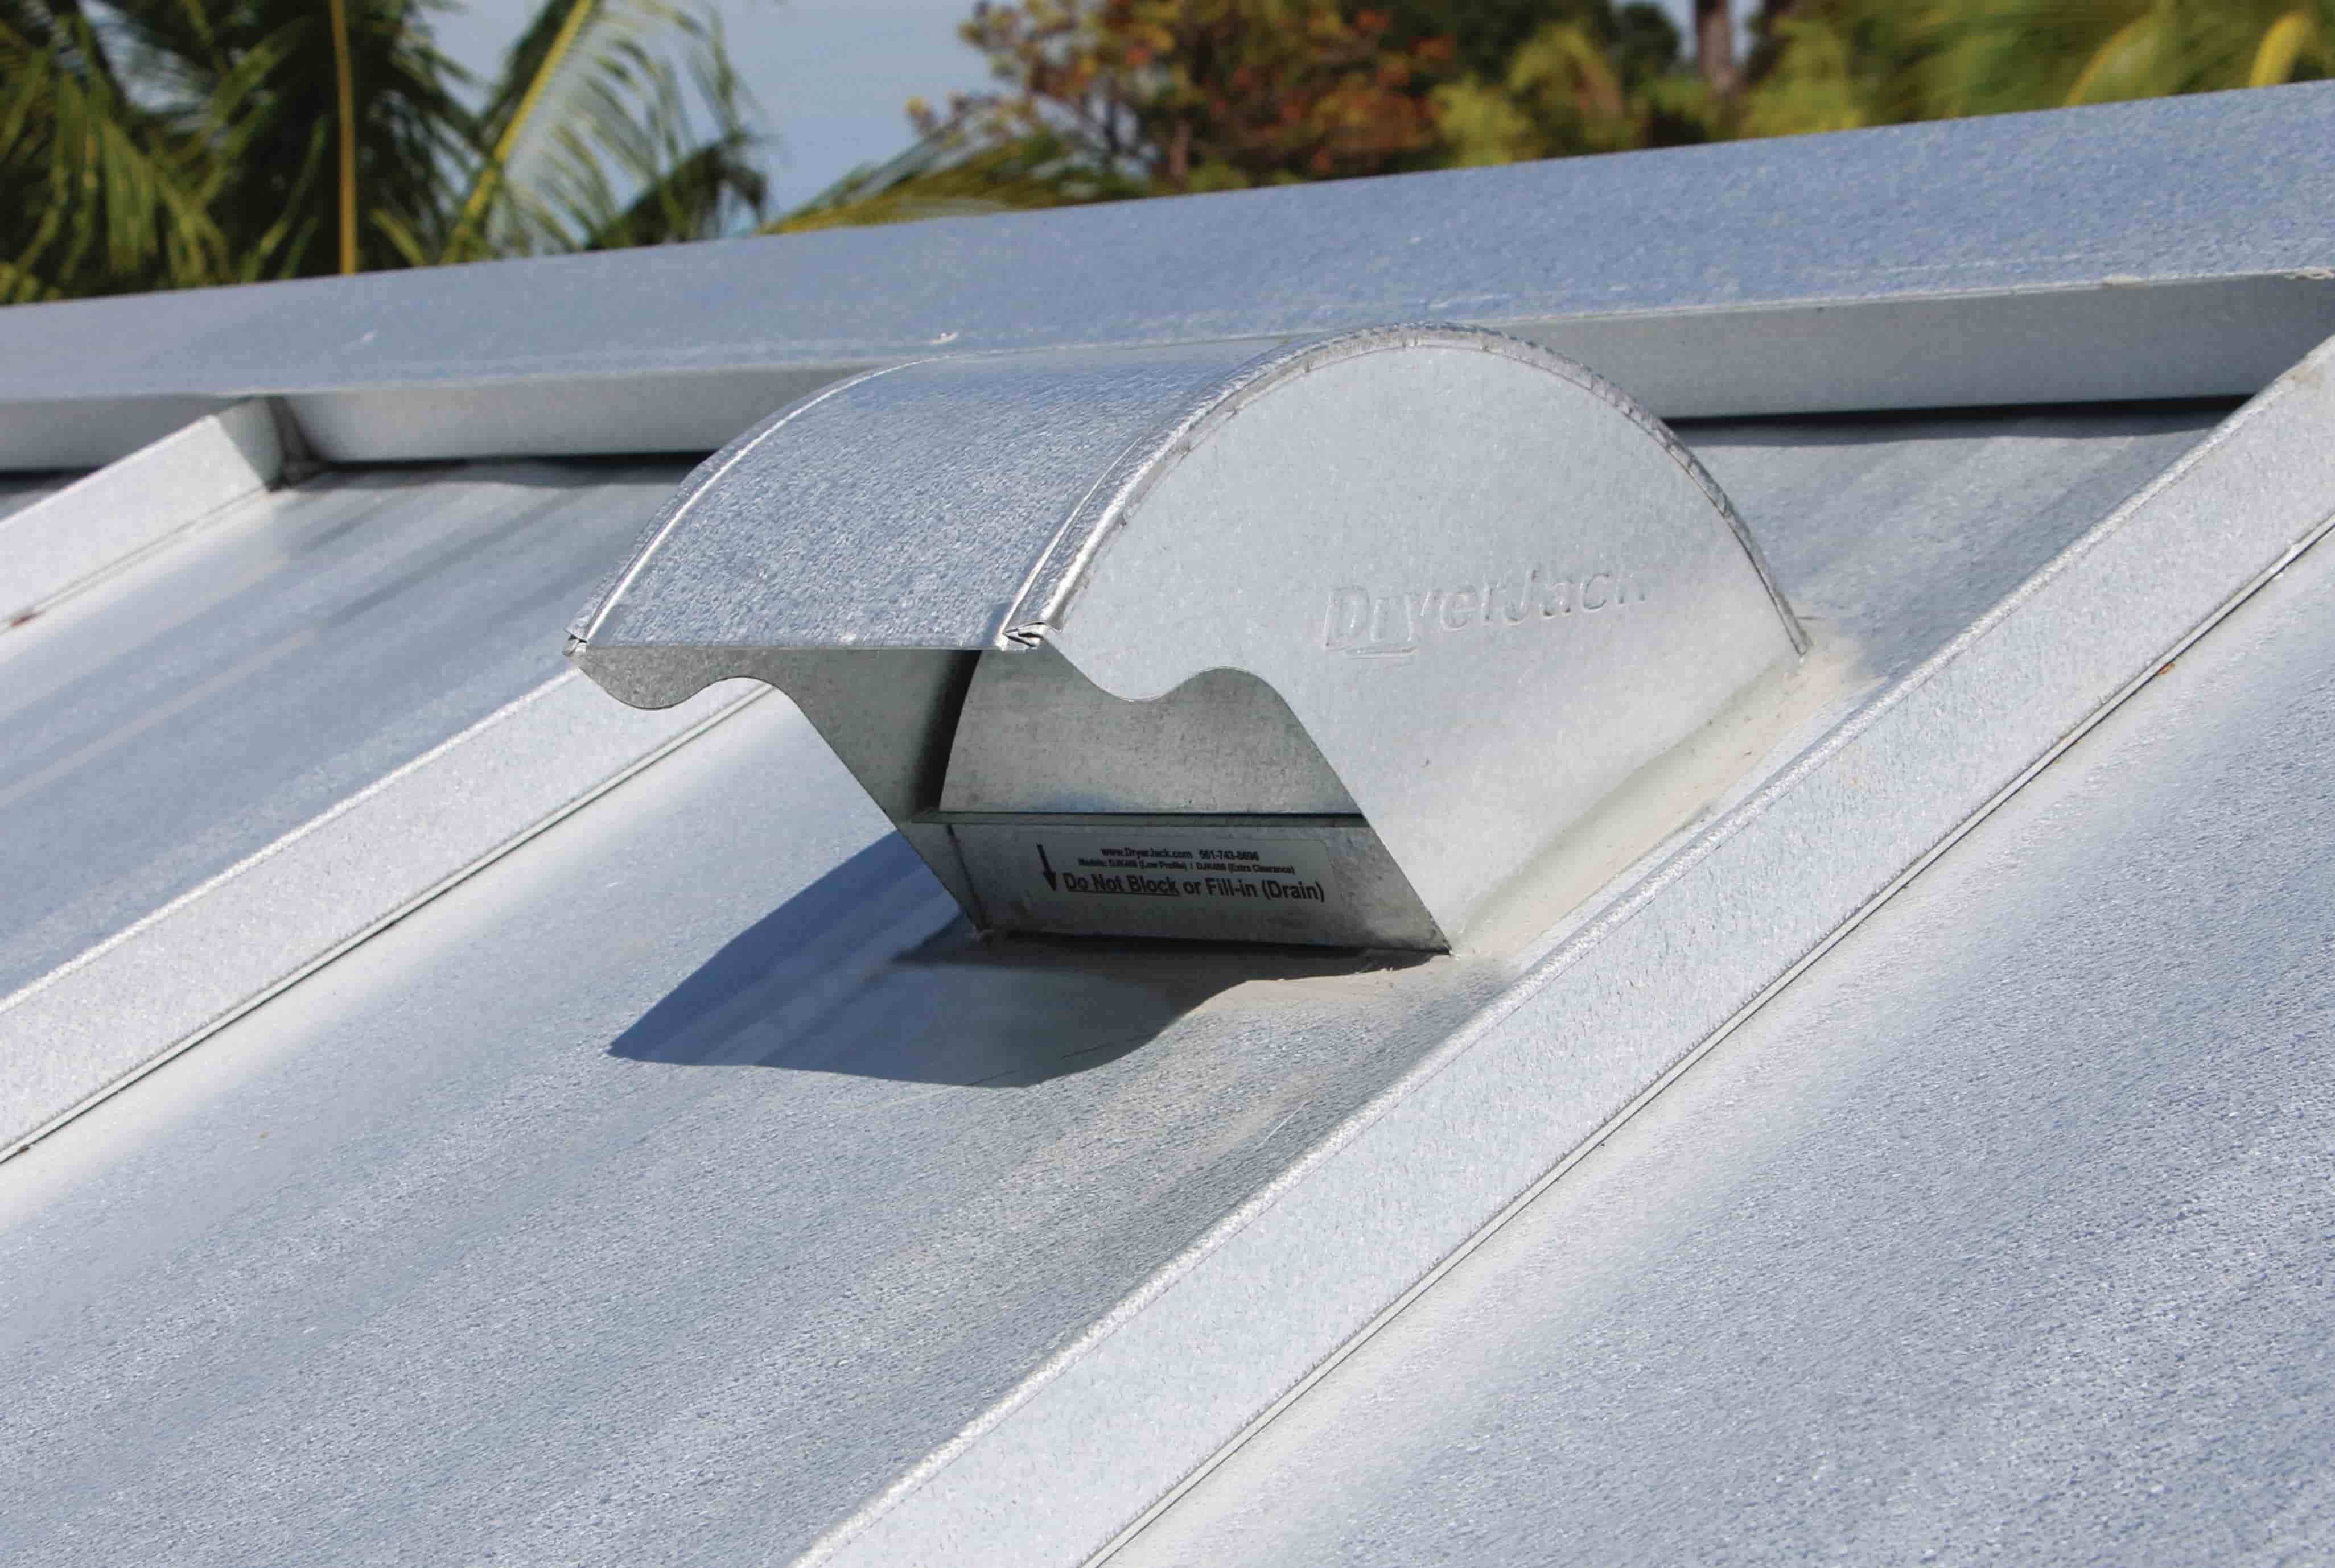
- Roof vent
- Roofing nails or screws
- Roofing adhesive or sealant
- Roofing cement
- Flashing material
Make sure to check the vent manufacturer’s instructions for any specific tools or materials required for your particular vent model. Once you have gathered all the necessary tools and materials, you are ready to move on to the next step which is assessing the condition of the roof vent.
Step 2: Assess the roof vent condition
Before proceeding with the replacement, it’s important to assess the condition of the existing roof vent. This will help determine if a full replacement is necessary or if minor repairs can suffice. Here are the key factors to consider during the assessment:
- Visible damage: Take a close look at the vent to check for any visible signs of damage such as cracks, missing parts, or rust. These issues can compromise the vent’s functionality and warrant a replacement.
- Aging: Consider the age of the vent. If it’s nearing the end of its lifespan or is exhibiting signs of wear and tear, it’s advisable to replace it to avoid any potential issues in the future.
- Mold or mildew: Inspect the vent and the surrounding area for the presence of mold or mildew. If you notice any, it may indicate a ventilation problem or a leak. In such cases, it’s crucial to replace the vent and address the underlying issue.
- Inefficiency: Evaluate the performance of the current vent. If the ventilation in your attic is inadequate, there may be an issue with the vent’s functionality. Upgrading to a more efficient vent can improve air circulation and prevent moisture buildup.
- Compatibility: Consider if the current vent is compatible with your roof’s design and materials. If it’s not a proper fit or if it’s not designed for your specific roof type, it’s essential to replace it with a vent that is compatible and can ensure a proper seal.
Take note of your observations during the assessment. If you find any significant damage or inefficiency, it’s highly recommended to proceed with the replacement process. However, if the vent is in good condition and only requires minor repairs, you can address those issues before moving forward with the replacement.
Once you have assessed the roof vent’s condition, you can proceed to the next step of removing the old vent.
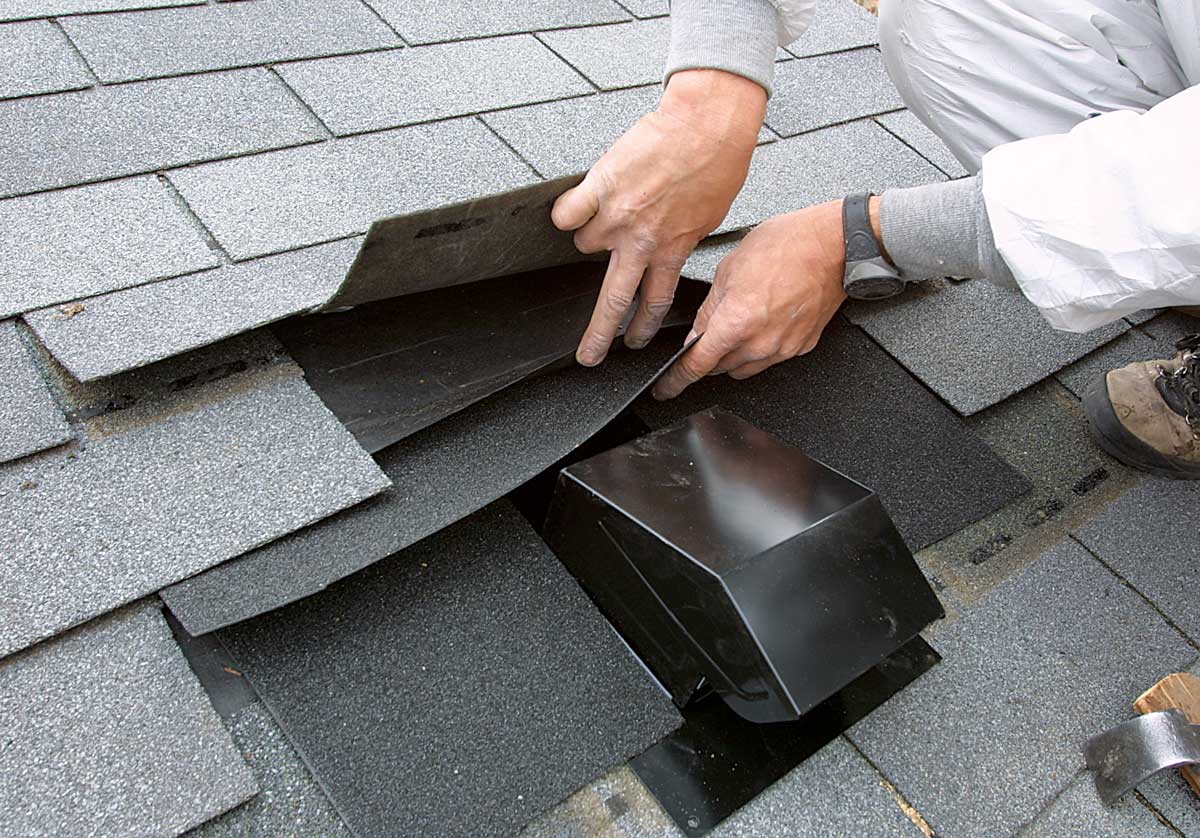
Step 3: Remove the old roof vent
Now that you have assessed the condition of the roof vent and determined that a replacement is necessary, it’s time to remove the old vent. Before proceeding, ensure that you are wearing safety goggles or glasses and gloves to protect yourself from any possible hazards.
Follow these steps to remove the old roof vent:
- Safely access the roof: Use a ladder or scaffolding to reach the roof safely. Make sure the ladder is stable and properly positioned before climbing up.
- Locate the vent: Identify the location of the roof vent and carefully remove any shingles or roofing materials covering it. Use a roofing hammer or pry bar to gently lift the materials without causing damage.
- Disconnect the vent: Depending on the type of vent, there may be screws, nails, or adhesive holding it in place. Use a screwdriver or utility knife to remove any fasteners or cut through the adhesive.
- Remove the vent: Once the vent is disconnected, gently lift it out of its position. Be cautious not to damage the roof or surrounding materials during this process.
- Inspect the area: With the vent removed, examine the area for any signs of damage or decay. If you notice any issues, make note of them to address later before installing the new vent.
Properly disposing of the old vent is essential. Check with your local regulations to determine the appropriate disposal method. Some vents can be recycled, while others may need to be taken to a designated waste disposal facility.
Now that the old vent is removed, you can proceed to the next step of cleaning the area around the vent in preparation for the installation of the new vent.
Step 4: Clean the area around the vent
After removing the old roof vent, it’s important to clean the area thoroughly before installing the new vent. Cleaning the area ensures a proper seal and improves the longevity of the new vent. Here’s how to clean the area around the vent:
- Remove debris: Use a broom or brush to sweep away any dirt, leaves, or debris that may have accumulated around the vent area. Be careful not to push the debris into the roof’s drainage system or gutters.
- Inspect for damage: Take a closer look at the area for any signs of damage, such as cracks or decay. If you notice any issues, it’s important to address them before proceeding with the installation. Repair any damaged roofing materials or seek professional assistance if necessary.
- Clean with a roof cleaner: If there are any stains or discoloration on the roof surface, consider using a roof cleaner specifically designed for your roof type. Follow the manufacturer’s instructions to effectively clean the area without causing any harm to the roof materials.
- Remove existing sealant: If there is any remaining sealant or adhesive from the previous vent, use a putty knife or scraper to carefully scrape it away. This will provide a clean surface for the installation of the new vent.
- Inspect for proper drainage: Ensure that the roof surface around the vent has proper drainage. Look for any blockages or buildup that could impede water flow. Clear any clogged or obstructed drainage channels.
Remember to exercise caution and be mindful of your safety while working on the roof. If you are unsure about any aspect of the cleaning process or notice significant damage, it’s best to consult with a professional roofer.
With the area around the vent clean and prepared, you are now ready to move on to the next step which is installing the new roof vent.
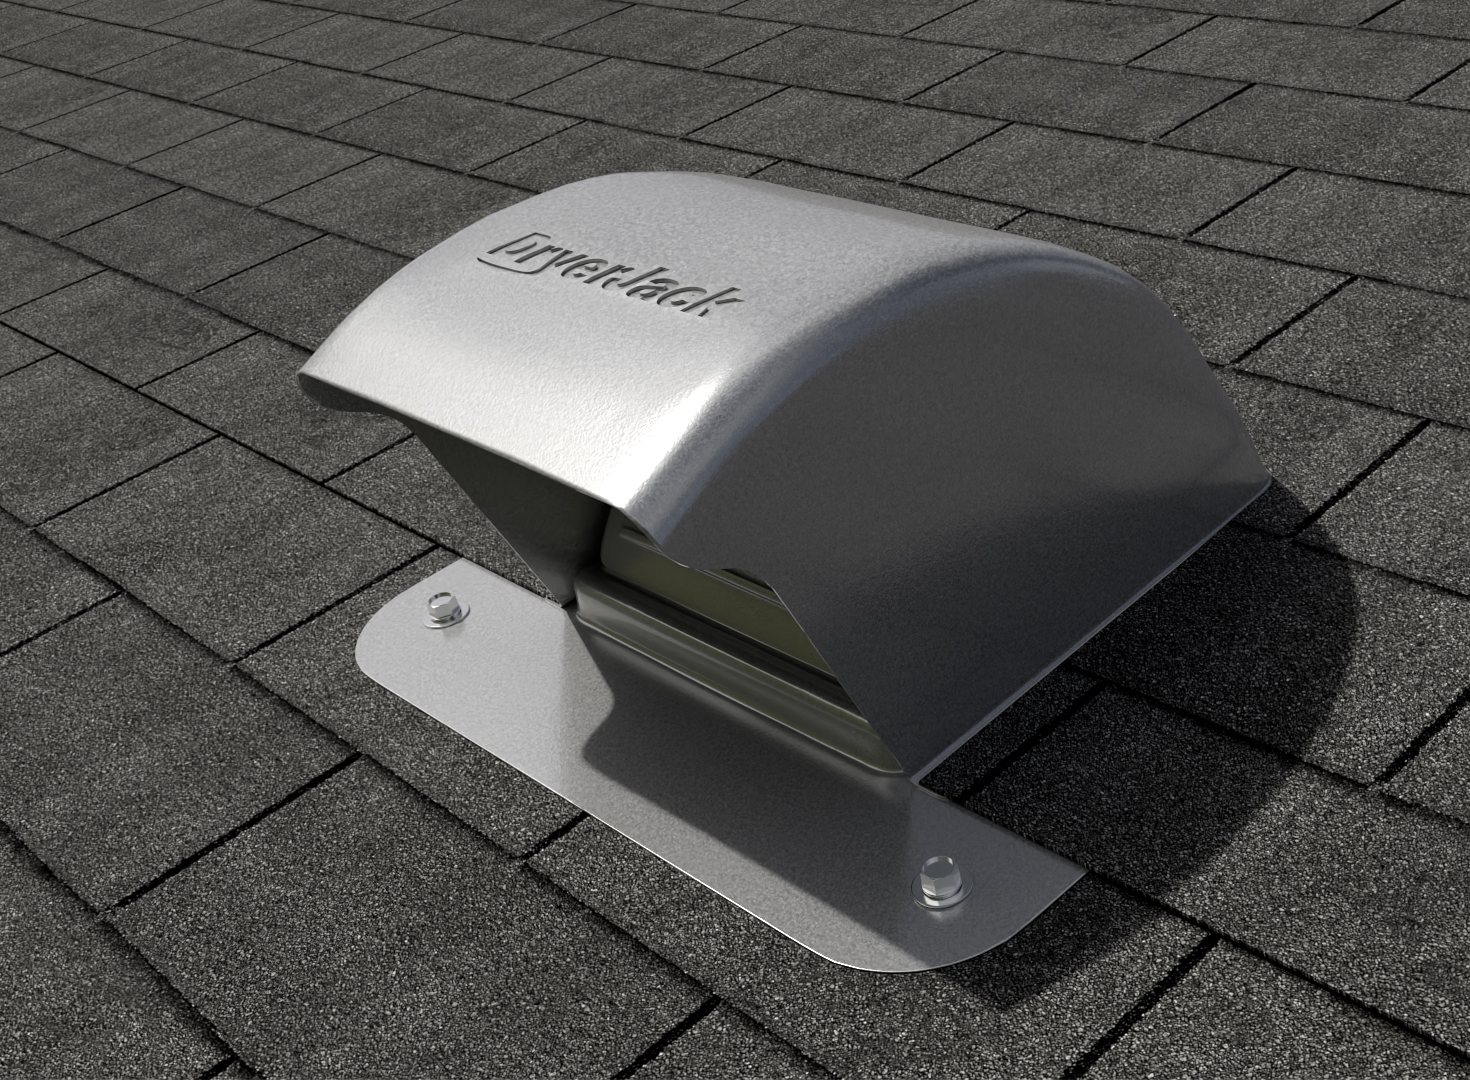
When replacing a roof vent, be sure to choose a vent that is the same size and style as the original to ensure a proper fit and function.
Read more: How To Replace A Flat Roof
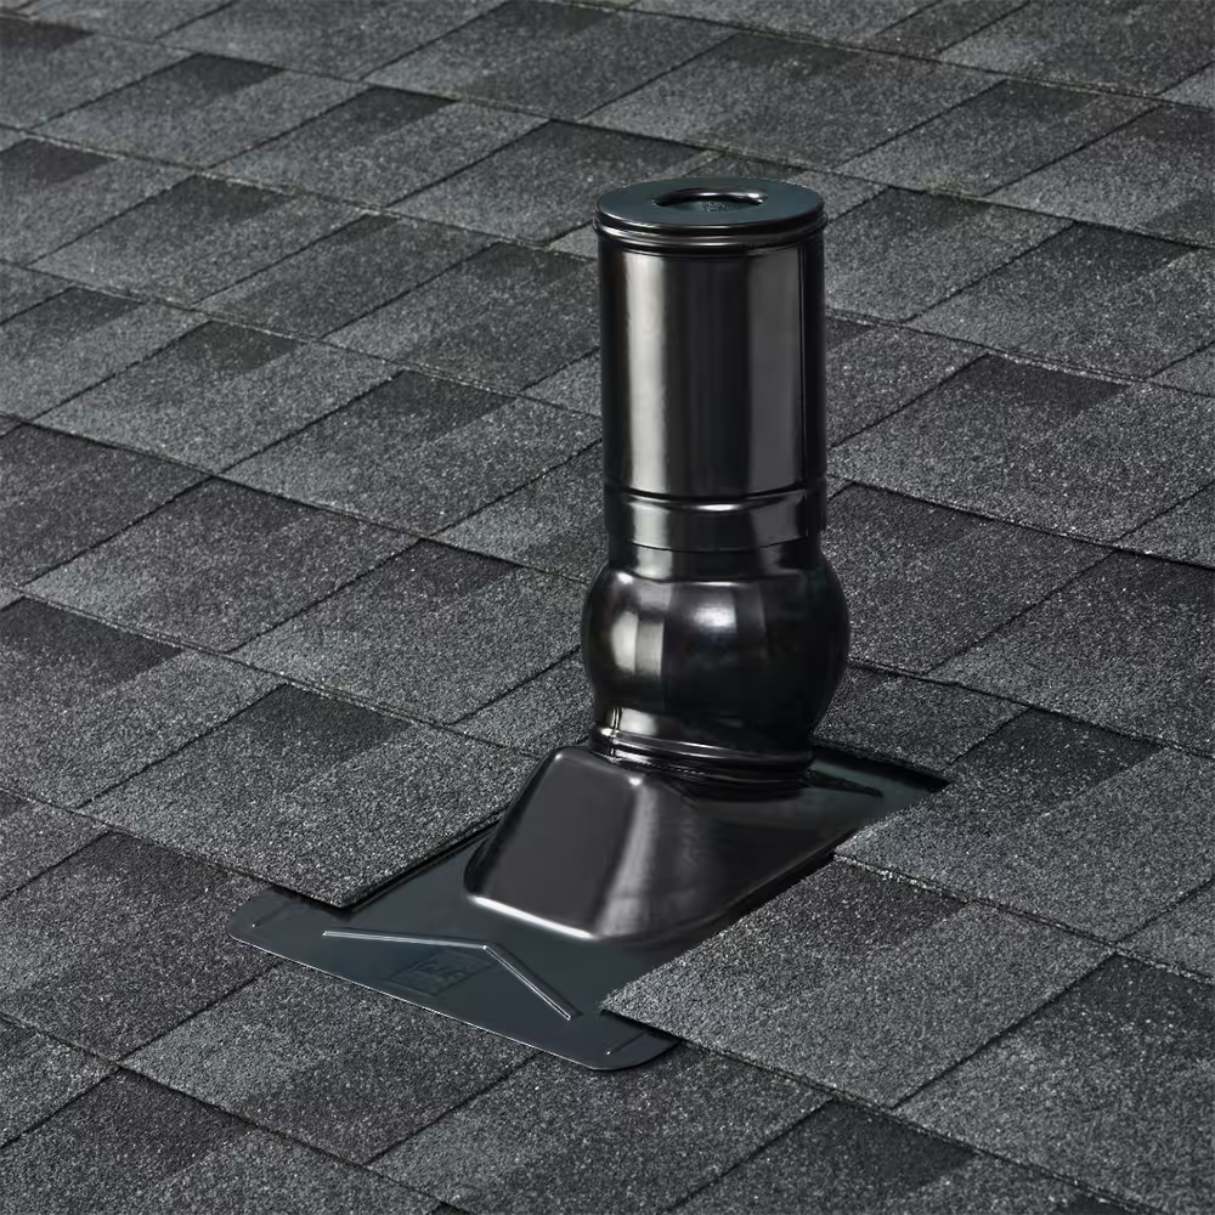
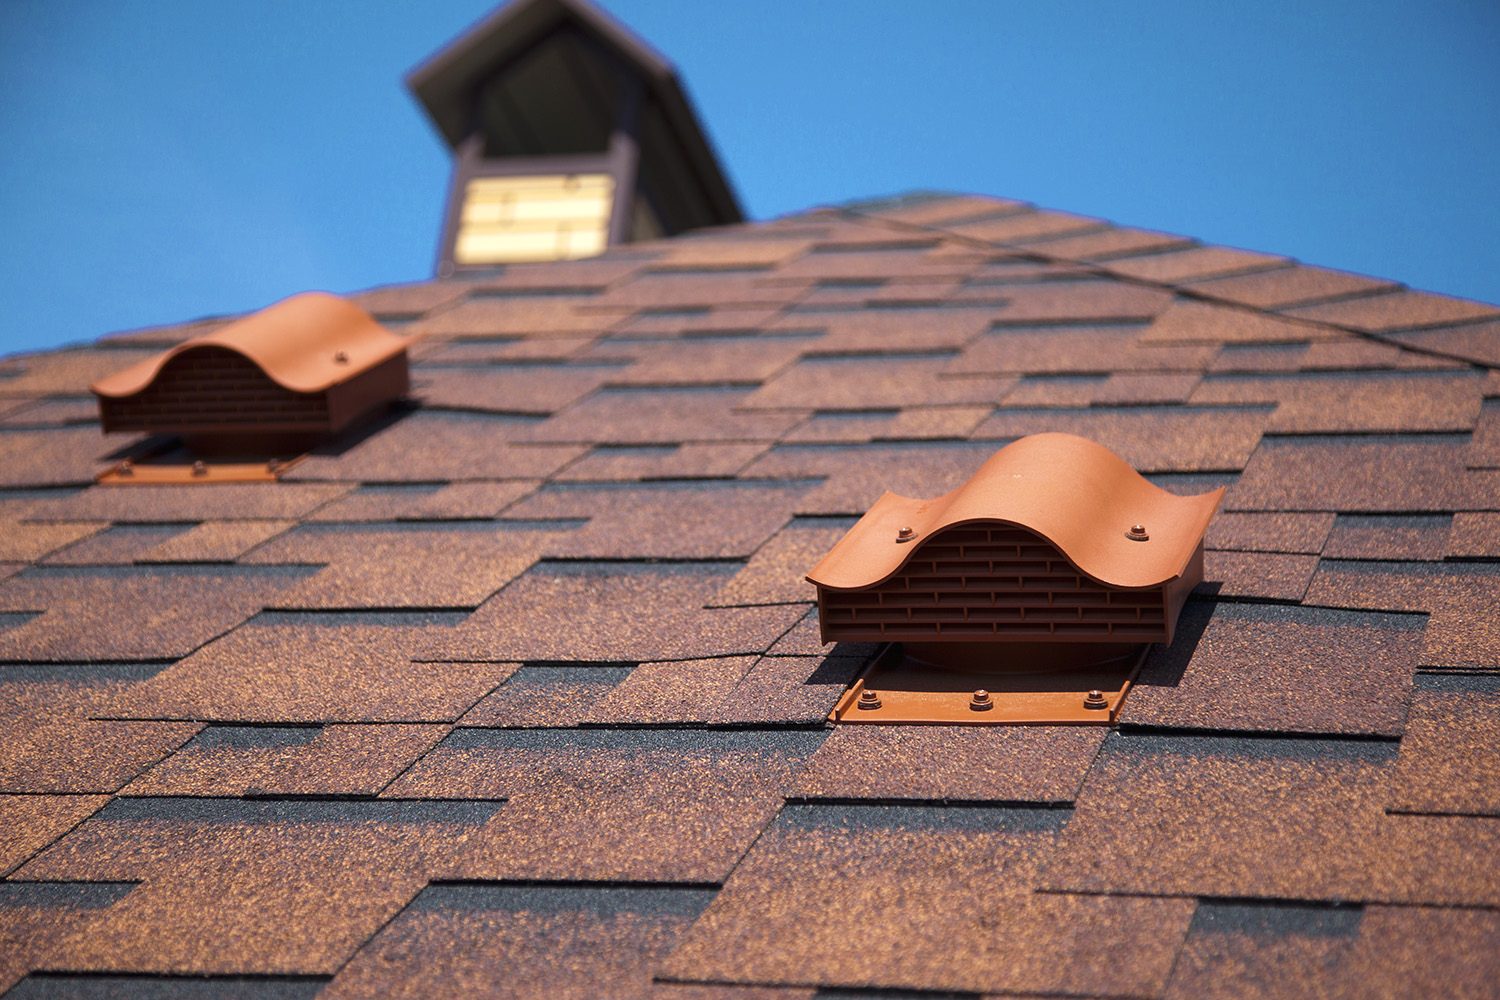
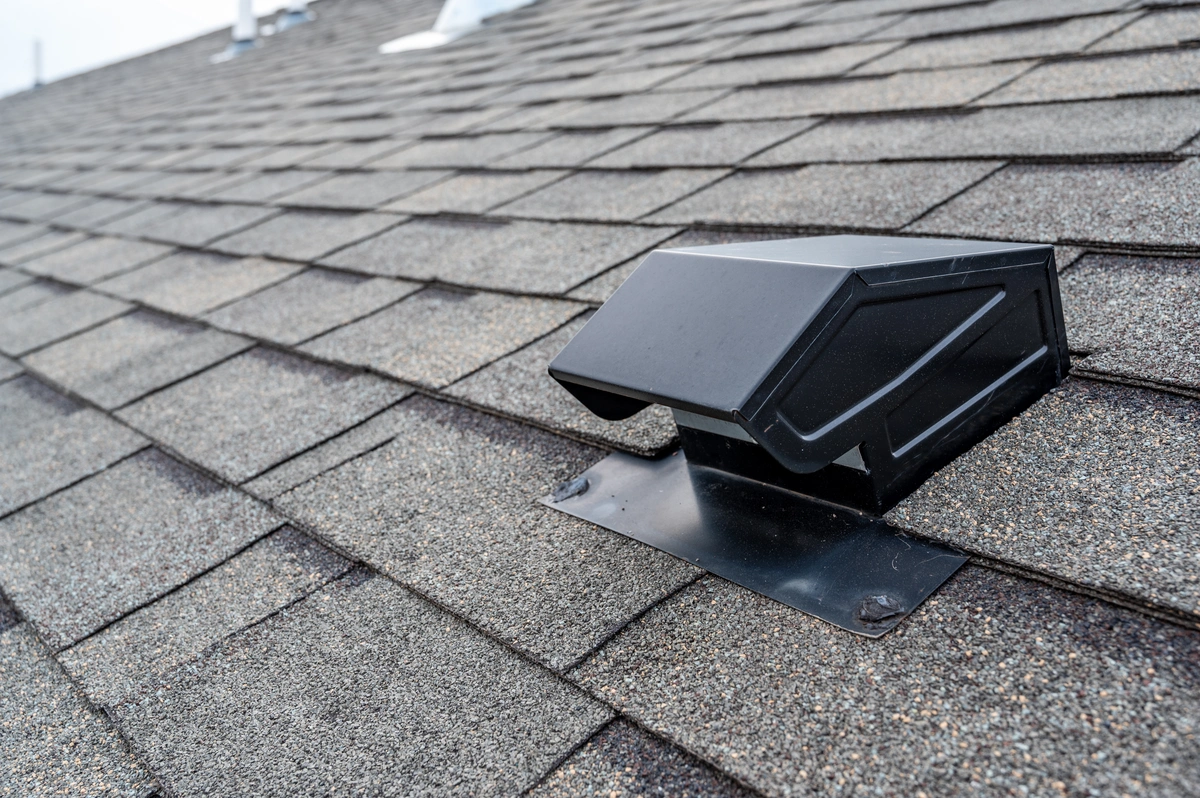
Step 5: Install the new roof vent
With the area around the vent cleaned and prepped, you are ready to proceed to the installation of the new roof vent. Follow these steps to ensure a proper installation:
- Position the new vent: Carefully position the new vent on the roof, aligning it with the opening left by the previous vent. Make sure it is centered and level.
- Mark the vent outline: Use a pencil or marker to trace the outline of the new vent onto the roof. This will serve as a guide during the installation process.
- Attach the vent: Depending on the vent type, use roofing nails or screws to secure it in place. Ensure that the fasteners are properly driven into the roof, but be cautious not to overdrive them, as it can cause damage.
- Apply roofing adhesive/sealant: Apply a generous amount of roofing adhesive or sealant around the edges of the vent, creating a watertight seal. This will prevent water from seeping under the vent and causing damage.
- Install flashing: If your vent requires flashing for extra protection against leaks, carefully install it around the base of the vent according to the manufacturer’s instructions. Ensure that the flashing overlaps the vent and the surrounding roof surface.
- Double-check alignment and level: Once the vent is installed, double-check that it is properly aligned and level by using a level tool. Adjust if necessary.
During the installation process, it’s important to follow the manufacturer’s instructions for your specific roof vent model. This will ensure that you install the vent correctly and minimize the risk of future leaks or damage.
With the new vent securely installed, you are now ready to move on to the next step, which is securing the vent in place.
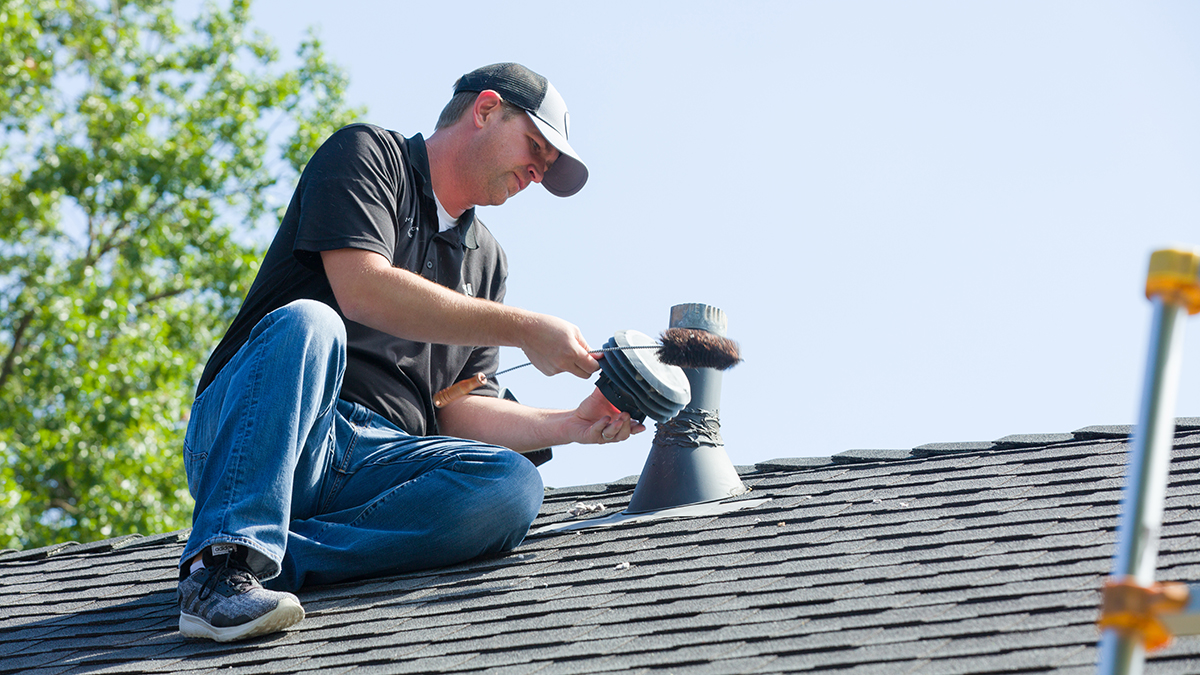
Step 6: Secure the new roof vent in place
Now that you have installed the new roof vent, the next step is to secure it in place to ensure its stability and prevent any potential movement or damage. Follow these steps to properly secure the vent:
- Tighten fasteners: If you used roofing nails or screws to attach the vent, make sure they are securely tightened. Use a screwdriver or a drill with the appropriate bit to ensure a snug fit. Be careful not to overtighten, as it can cause damage to the vent or the roof.
- Check for stability: Once the fasteners are tightened, gently push and test the vent to ensure it is securely in place. It should not move or wobble. If you notice any instability, recheck the fasteners and make necessary adjustments.
- Inspect the roof surface: After securing the vent, inspect the roof surface around it to ensure that there are no visible gaps or openings. The area around the vent should be flush with the roof surface, providing a seamless appearance.
- Verify proper alignment: Check the alignment of the vent once again by visually inspecting it from different angles. It should be centered and level, blending seamlessly with the surrounding roof materials.
By properly securing the new roof vent, you ensure its longevity and effectiveness in maintaining proper ventilation in your attic. A secure vent also reduces the risk of leaks and potential damage to the roof and the interior of your home.
Now that the new roof vent is securely in place, the next step is to seal the area to ensure a watertight and weather-resistant installation.
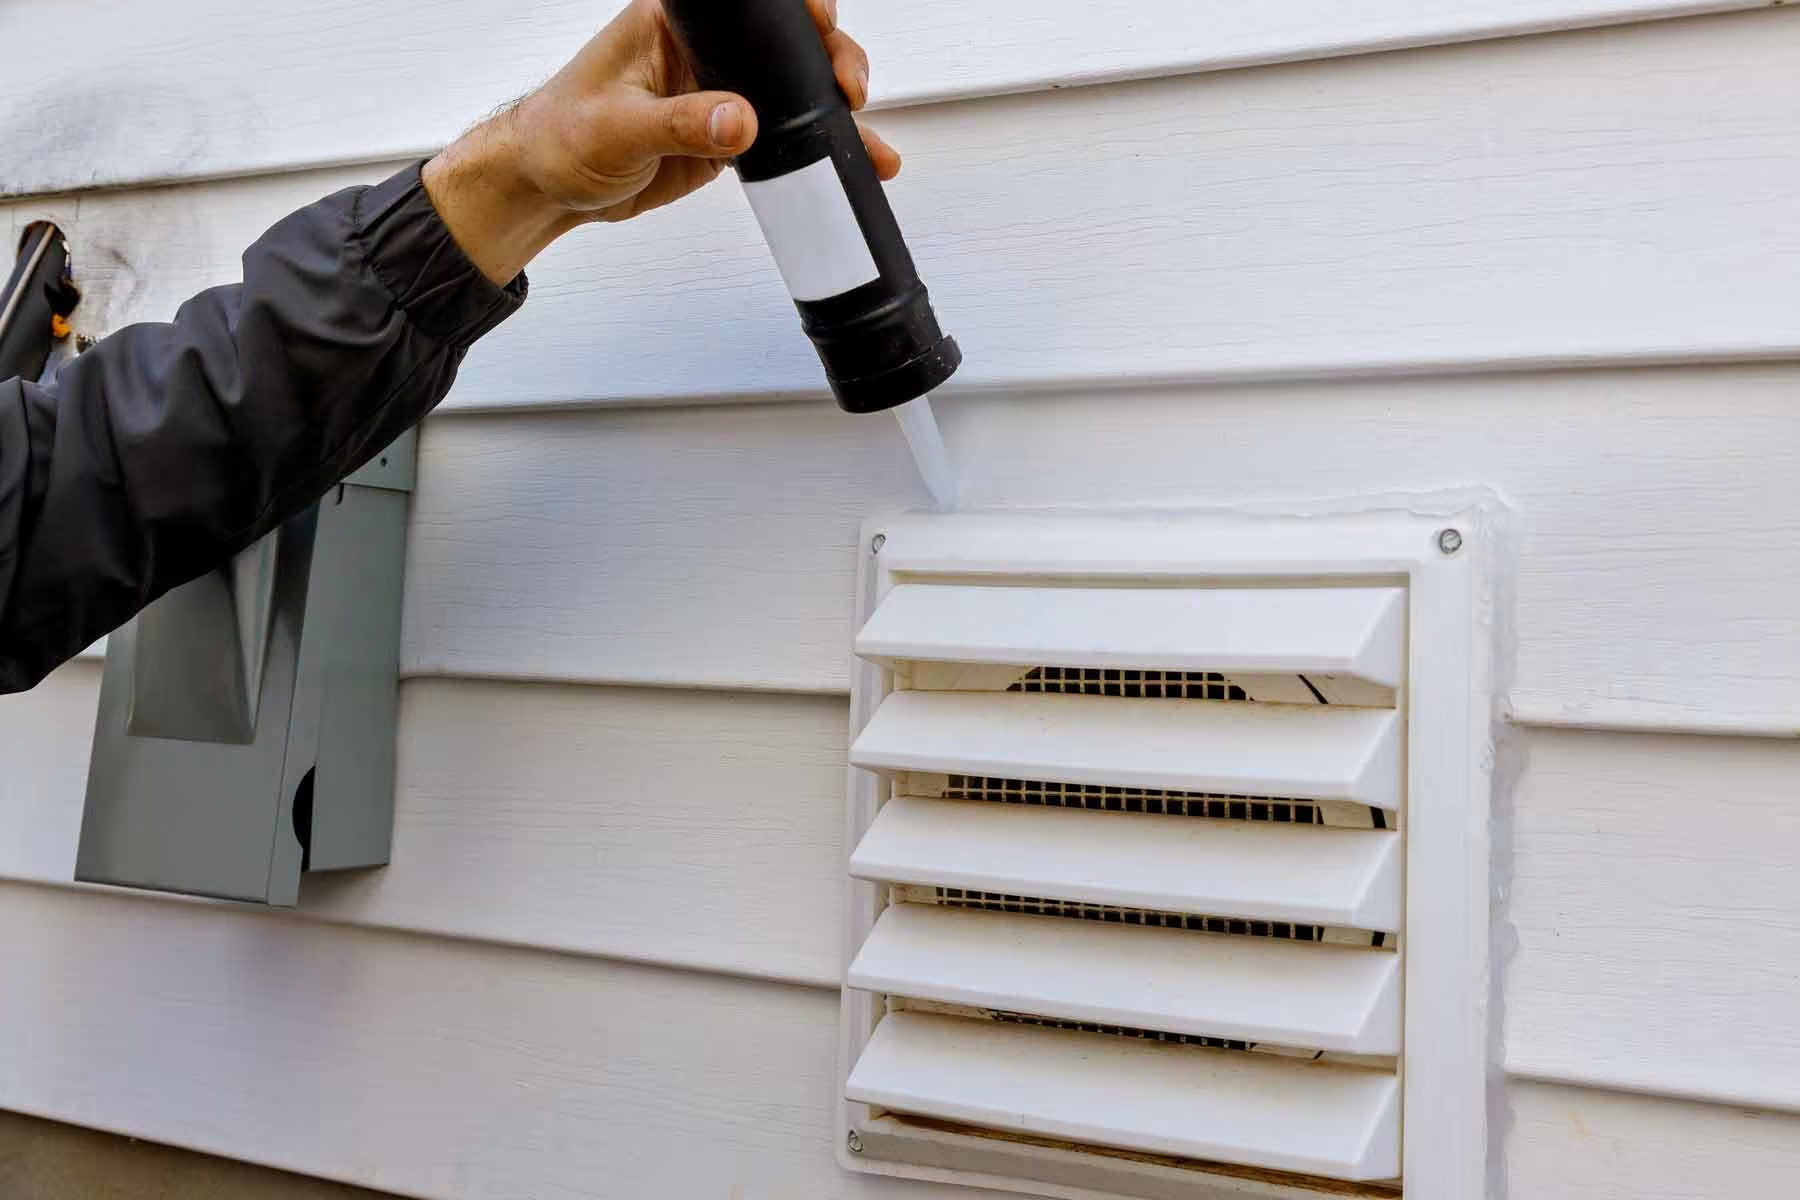
Step 7: Seal the roof vent and surrounding area
Sealing the roof vent and the surrounding area is a critical step to prevent water infiltration, air leaks, and other potential issues. Follow these steps to properly seal the roof vent:
- Apply roofing adhesive/sealant: Using a roofing adhesive or sealant recommended for your specific roof type, apply a thick bead of sealant around the edges of the vent where it meets the roof surface. Ensure that the sealant covers the entire perimeter for a watertight seal.
- Seal any gaps: Inspect the area around the vent for any gaps or openings. Fill these gaps with sealant to prevent water penetration and airflow. Pay close attention to any areas where the vent meets the roof surface or flashing.
- Check for proper coverage: Verify that the sealant covers any exposed fasteners, such as roofing nails or screws. This will further protect against moisture intrusion and potential leaks.
- Smooth out the sealant: Use a putty knife or a gloved finger to carefully smooth out the sealant, ensuring an even and neat application. This helps create a professional-looking finish and improves the sealant’s effectiveness.
- Inspect for any missed areas: After applying the sealant, thoroughly inspect the vent and the surrounding area to ensure that no spots were missed. Address any overlooked gaps or openings by applying additional sealant as needed.
Properly sealing the roof vent and the surrounding area is crucial for preventing water leaks, drafts, and other potential issues that can compromise the integrity of your roof and home. Take your time during this step to ensure a thorough and effective seal.
With the roof vent and the surrounding area properly sealed, you are ready for the final step: testing for proper installation.
Step 8: Test for proper installation
After completing the installation and sealing process, it’s important to test for proper installation to ensure the roof vent functions as intended. Follow these steps to perform a test for proper installation:
- Check for air leaks: Visually inspect the area around the vent for any signs of air leaks. Hold a lit candle or a smoke source near the vent and observe if there is any noticeable air movement. If you detect air leaks, it may indicate gaps or areas that need additional sealing.
- Inspect for water leaks: After a rain shower or using a hose, check the area around the vent for any signs of water leakage. Look for water stains on the ceiling or walls inside the house and examine the roof surface for any signs of water ingress. If you notice any leaks, it may indicate improper installation or sealing, and further adjustments may be necessary.
- Verify adequate ventilation: Monitor the attic or the area where the vent leads to ensure proper ventilation. Check for any signs of condensation, excessive heat buildup, or musty odors. If these issues persist, it may indicate inadequate ventilation, and additional measures may be required.
- Consult a professional, if needed: If you encounter persistent air or water leaks or notice ventilation problems, it’s recommended to consult a professional roofing contractor. They can assess the situation, offer expert advice, and make any necessary adjustments to ensure proper installation and functionality of the roof vent.
Performing a thorough test for proper installation allows you to identify and address any issues early on, ensuring the effectiveness and longevity of your newly installed roof vent. Regularly inspecting the vent in the future will help maintain its optimal performance and address any potential problems promptly.
Congratulations! You have successfully completed the steps to replace a roof vent. By following the proper installation and testing procedures, you have taken an important step towards maintaining a well-ventilated and protected home.
Remember, while this guide provides a general overview of the process, it’s essential to follow the specific instructions provided by the manufacturer of your roof vent to ensure a proper and safe installation.
If you are uncomfortable performing this task or if your roof has a complex design, it’s always a good idea to consult with a professional roofing contractor who can handle the job for you.
With your newly replaced roof vent, you can now enjoy better ventilation, improved energy efficiency, and the peace of mind that comes with a well-maintained roof.
Read more: How To Replace A Porch Roof
Conclusion
Replacing a roof vent is a vital maintenance task that ensures proper ventilation and protects your home from potential issues like moisture buildup and mold growth. By following the step-by-step process outlined in this guide, you can successfully replace a roof vent and ensure its proper installation and functionality.
Throughout this article, we discussed the importance of gathering the necessary tools and materials, assessing the condition of the existing vent, safely removing the old vent, cleaning the area, and installing and securing the new roof vent. We also covered the crucial step of sealing the vent and conducting a test for proper installation to make sure the vent functions as intended.
While this guide provides a comprehensive overview of the replacement process, it’s essential to follow the specific instructions provided by your vent’s manufacturer. Each vent model may have unique requirements and installation techniques, so it’s crucial to consult the product’s documentation for accurate guidance.
Remember, if you are uncomfortable working on the roof or if your roof has a complex design, it’s best to hire a professional roofing contractor. They have the expertise and experience to handle the job safely and efficiently.
By replacing a damaged or inefficient roof vent, you improve the ventilation in your attic, reduce the risk of moisture-related issues, and enhance the overall performance of your home’s ventilation system. It’s a relatively straightforward task that, when done correctly, can have long-lasting benefits for your home’s health and integrity.
Regular maintenance and inspection of your roof vents are also recommended to identify any potential issues early on and prevent costly repairs or damage to your home. By staying proactive and addressing any vent-related issues promptly, you can ensure the longevity and effectiveness of your roof ventilation system.
We hope this article has provided you with the knowledge and guidance you need to confidently replace a roof vent. By taking the necessary steps to maintain and care for your roof vents, you are contributing to the overall health and well-being of your home.
Take pride in your DIY skills and enjoy the benefits of a well-ventilated and protected home!
Frequently Asked Questions about How To Replace A Roof Vent
Was this page helpful?
At Storables.com, we guarantee accurate and reliable information. Our content, validated by Expert Board Contributors, is crafted following stringent Editorial Policies. We're committed to providing you with well-researched, expert-backed insights for all your informational needs.


0 thoughts on “How To Replace A Roof Vent”