Articles
How To Grout Shower Floor
Modified: December 7, 2023
Learn how to grout your shower floor with our informative articles. Find step-by-step instructions and expert tips for achieving a perfect result.
(Many of the links in this article redirect to a specific reviewed product. Your purchase of these products through affiliate links helps to generate commission for Storables.com, at no extra cost. Learn more)
Introduction
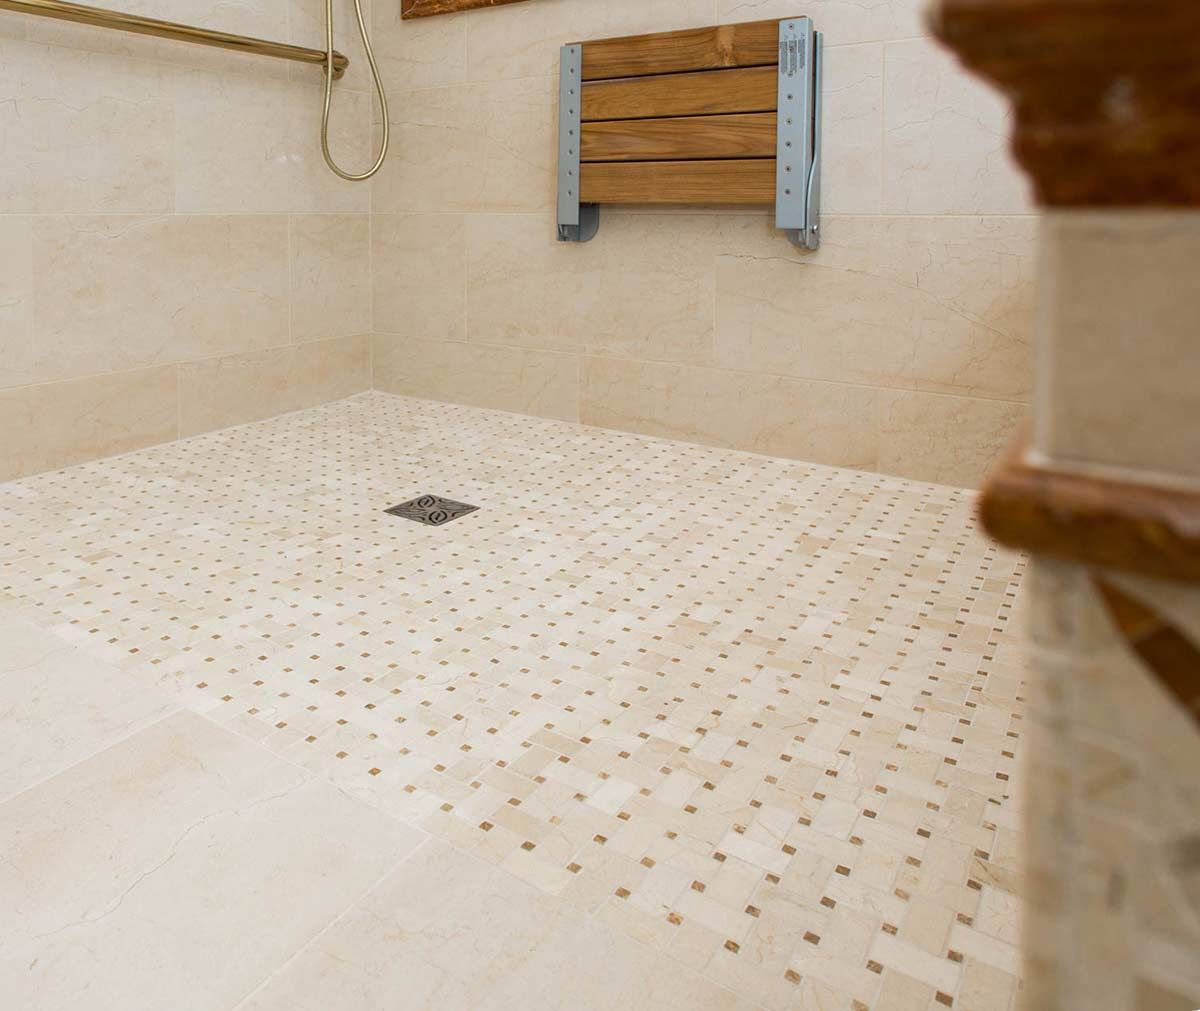
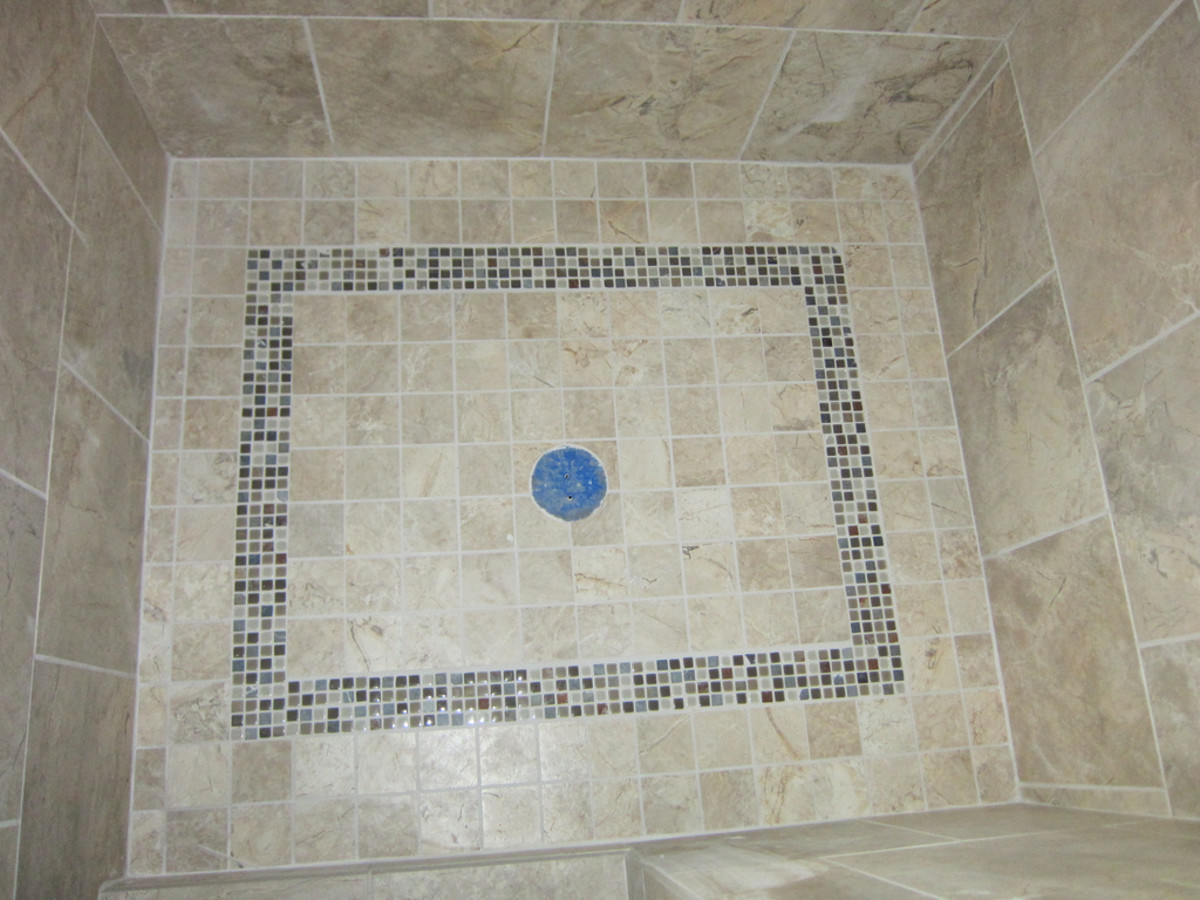
Grouting the shower floor is an essential step in ensuring the durability and aesthetic appeal of your bathroom. Properly grouted tiles not only prevent water from seeping into the subfloor, but they also give your shower a polished and finished look. While grouting may seem like a daunting task, with the right tools and materials, it can be a relatively simple and rewarding DIY project.
In this article, we will guide you through the process of grouting your shower floor, from preparing the surface to cleaning and finishing the grout. Whether you are a seasoned DIY enthusiast or a first-time grouter, we’ve got you covered with step-by-step instructions, helpful tips, and tricks to achieve a professional-looking result.
Before we dive into the grouting process, let’s take a look at the tools and materials you will need:
Key Takeaways:
- Properly grouting your shower floor not only prevents water damage but also enhances the overall look of your bathroom. With the right tools and techniques, you can achieve a professional finish and long-lasting results.
- From preparing the surface to cleaning and finishing the grout, following the step-by-step instructions and valuable tips provided in this article will help you transform your shower floor with confidence and creativity.
Read more: How To Seal Floor Grout
Tools and Materials Needed
To successfully grout your shower floor, you will need the following tools and materials:
- Grout – Choose a grout that is suitable for your shower floor material, such as sanded or unsanded grout.
- Grout float – This tool is used to apply and spread the grout evenly between the tiles.
- Sponge – A clean, damp sponge is essential for wiping away excess grout and smoothing out the surface.
- Bucket – You will need a bucket to mix the grout and water together.
- Mixing paddle – Use a mixing paddle to combine the grout and water to the desired consistency.
- Grout sealer – A grout sealer helps protect the grout from stains and moisture, extending its lifespan.
- Gloves – Wear gloves to protect your hands from chemicals in the grout and to keep the grout clean.
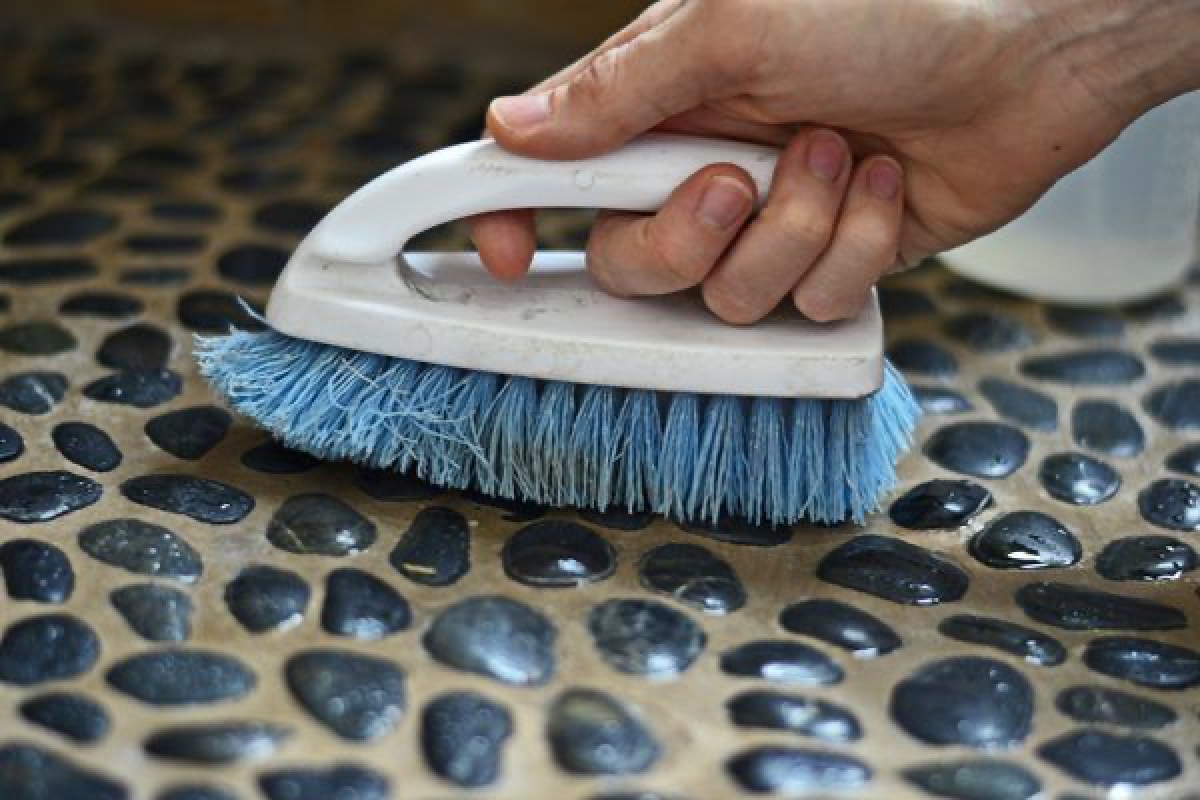
- Grout brush – A grout brush can be used for scrubbing away any tough stains or residue during the cleaning process.
- Drop cloth – Protect your bathroom floor and any surrounding surfaces by laying down a drop cloth.
- Safety glasses – It’s always a good idea to wear safety glasses to protect your eyes from any debris or splatters.
Make sure you have all these tools and materials ready before you begin grouting your shower floor. It will ensure a smooth and efficient process.
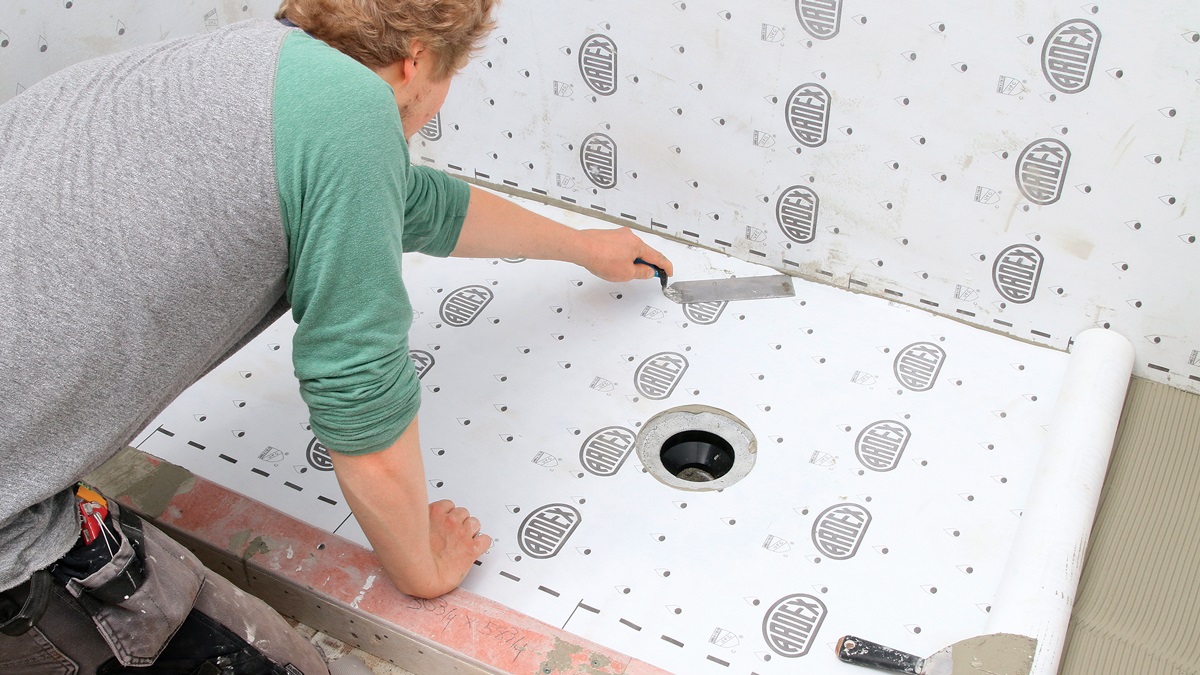
Preparing the Shower Floor
Before you start grouting, it’s essential to prepare the shower floor to ensure the best results. Here’s how:
- Clean the tiles: Begin by thoroughly cleaning the tiles and removing any dirt, grime, or residue. Use a mild cleaner or a mixture of water and vinegar to ensure a clean surface.
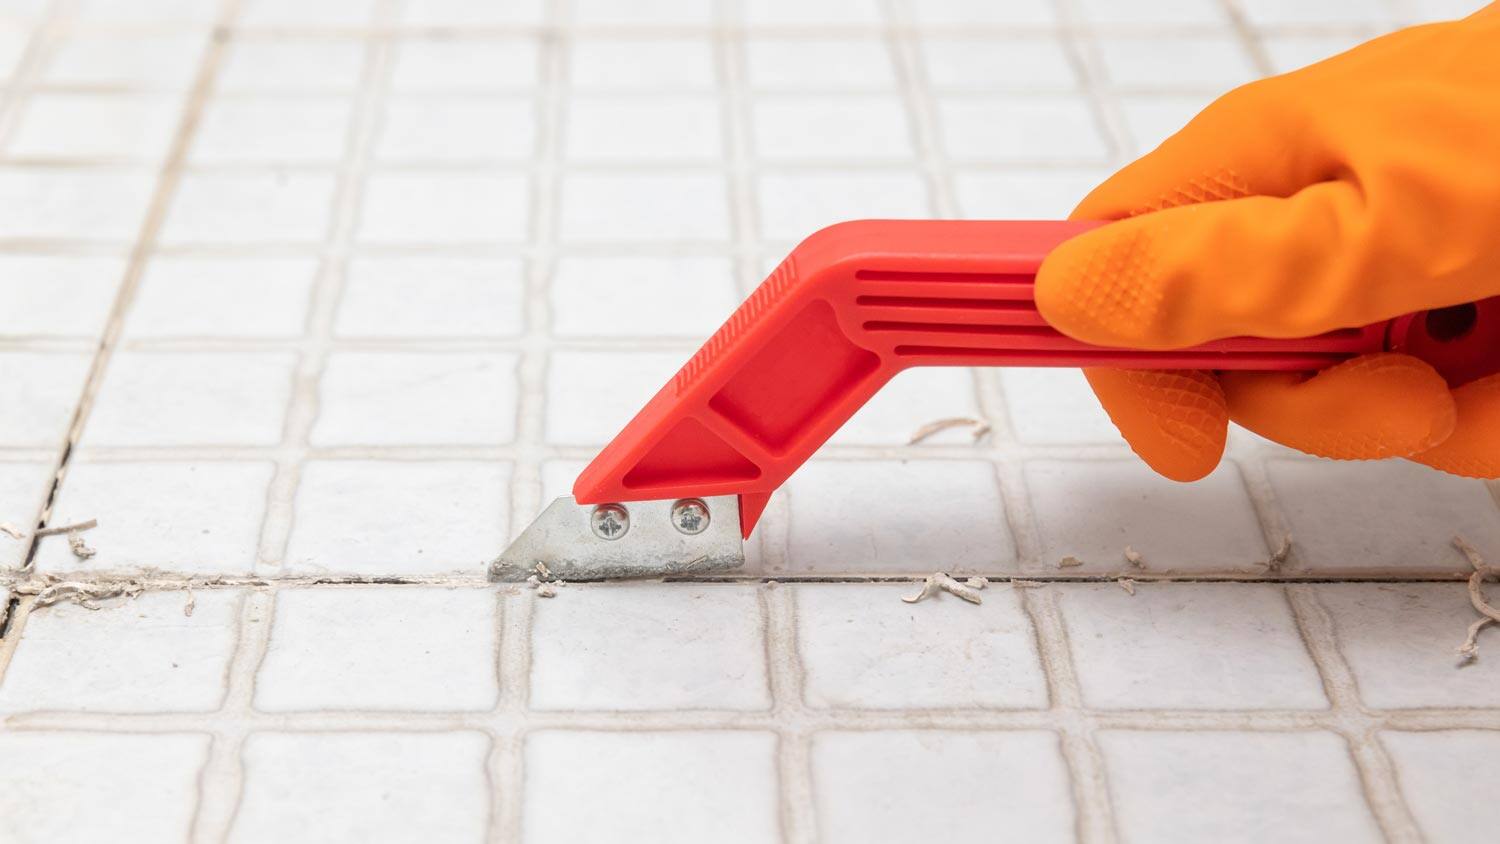
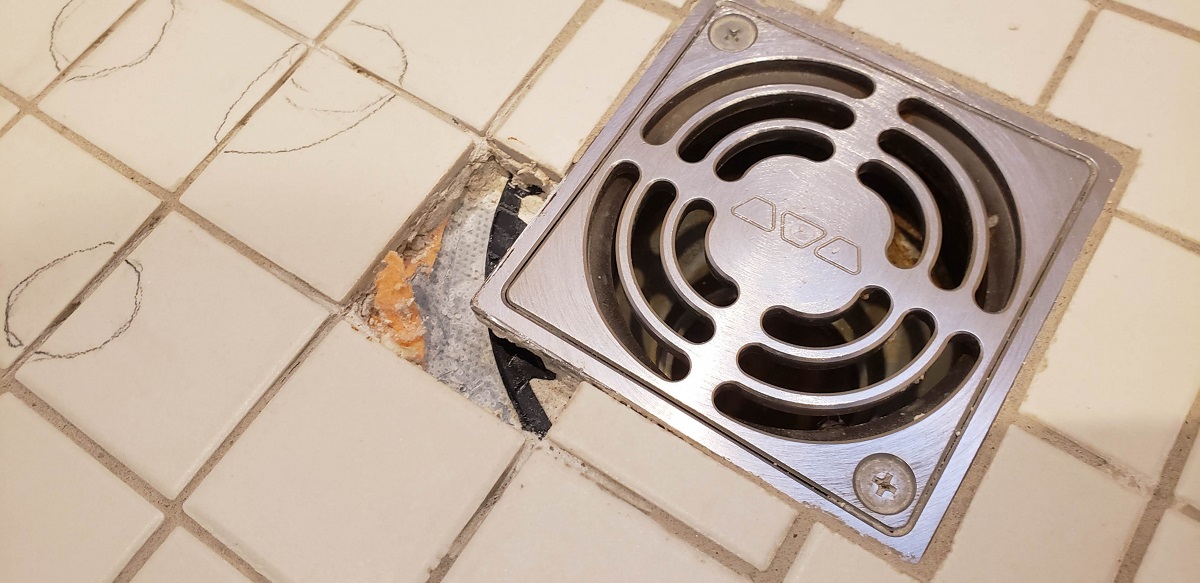
- Remove any existing grout: If you’re regrouting, it’s important to remove any old or damaged grout. Use a grout saw or a grout removal tool to scrape out the old grout carefully.
- Repair any damaged tiles: Inspect the shower floor for any cracked or loose tiles. If you come across any, fix or replace them before proceeding with the grouting process.
- Prevent water penetration: Ensure that the shower floor is properly waterproofed. Apply a waterproofing membrane or a sealer to protect the subfloor from water damage.
- Mask off edges and fixtures: To prevent accidental grout application on surrounding surfaces, use masking tape to cover the edges of the tiles and fixtures in the shower area.
Once you’ve completed these steps, you’re now ready to mix the grout and start applying it to the shower floor.
Mixing the Grout
Now that you’ve prepared the shower floor, it’s time to mix the grout. Follow these steps to ensure a well-mixed and consistent grout:
- Read the instructions: Before you begin mixing the grout, carefully read and follow the manufacturer’s instructions provided on the packaging. Different grout brands may have specific mixing ratios and guidelines.
- Measure the grout and water: Using a bucket or a mixing container, measure the appropriate amount of grout powder according to the instructions. Then, add the required amount of water gradually, following the recommended water-to-grout ratio.
- Mix thoroughly: Using a mixing paddle or a grout mixer attachment for a drill, mix the grout and water together until you achieve a smooth and lump-free consistency. Ensure that there are no dry or clumpy areas of grout remaining.
- Let the grout slake: Allow the grout to sit for a few minutes after mixing, typically around 5-10 minutes. This resting period, known as “slaking,” allows the grout powder to fully absorb the water and ensures a better bond.
Remember, it’s important to mix only as much grout as you can comfortably apply within the working time specified by the manufacturer. This will prevent the grout from drying out prematurely.
Once the grout is thoroughly mixed and has slaked, it’s time to start applying it to the shower floor.
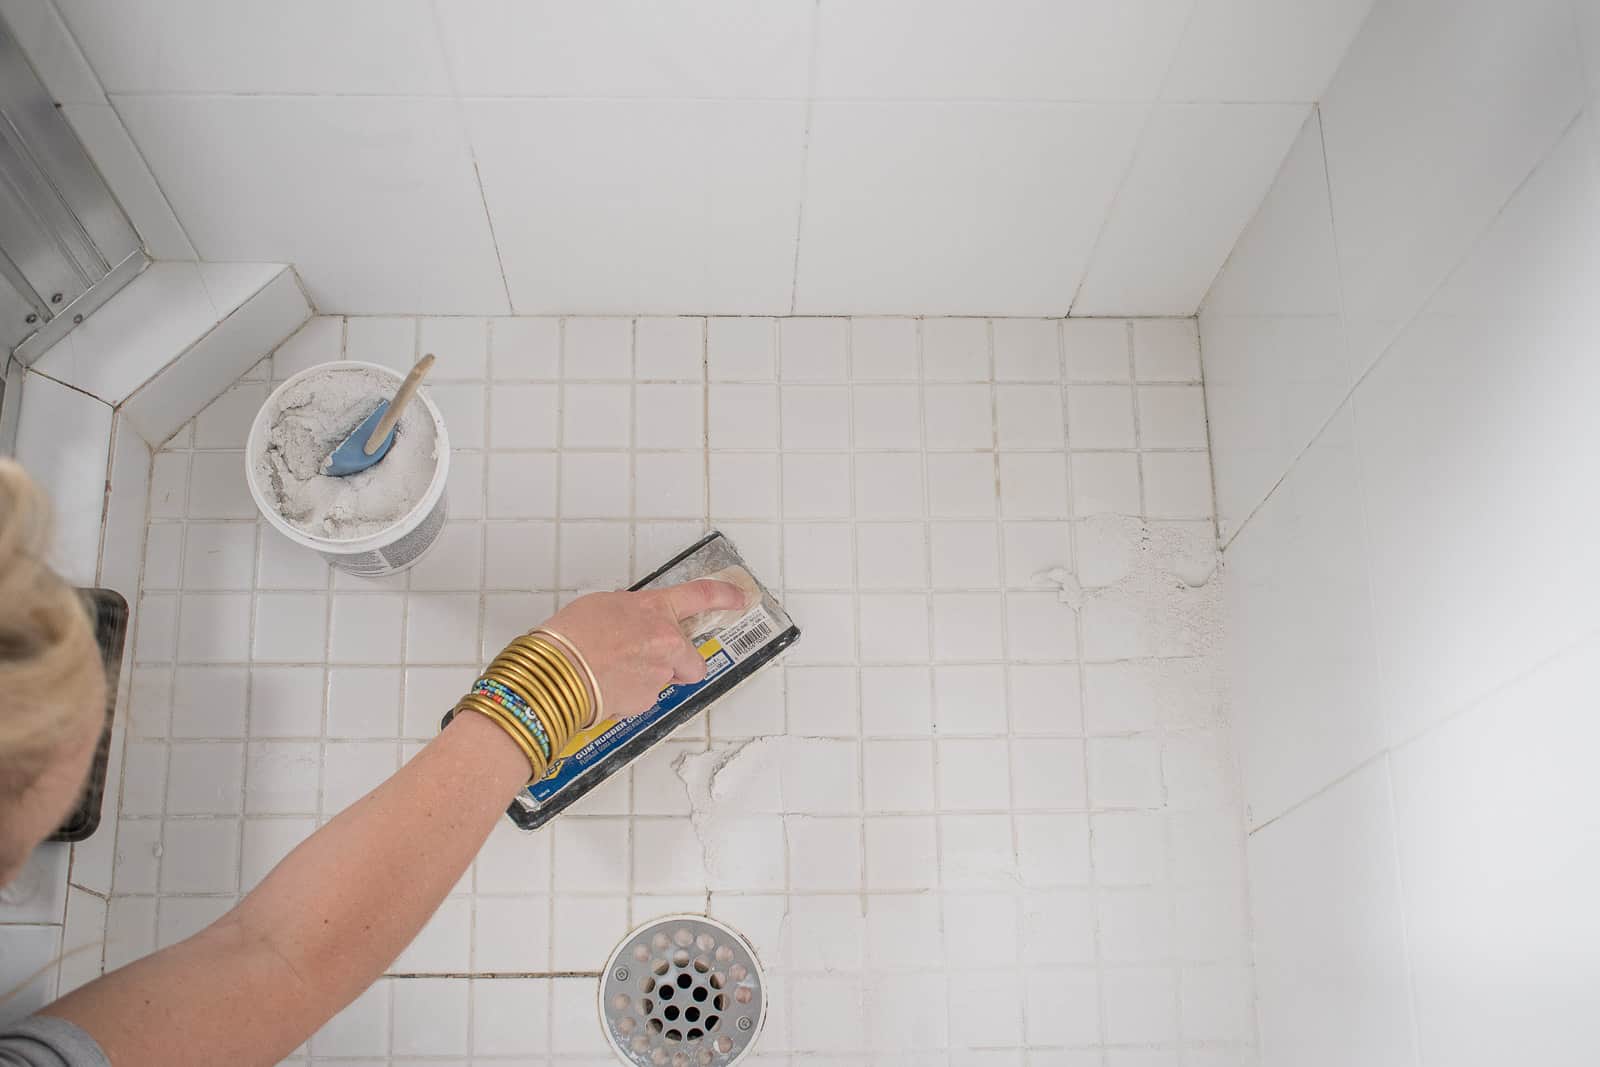
Use a rubber float to press the grout into the joints, working at a 45-degree angle. Wipe off excess grout with a damp sponge before it dries.
Applying the Grout
Now that you have mixed the grout to the desired consistency, it’s time to apply it to the shower floor. Here are the steps to follow:
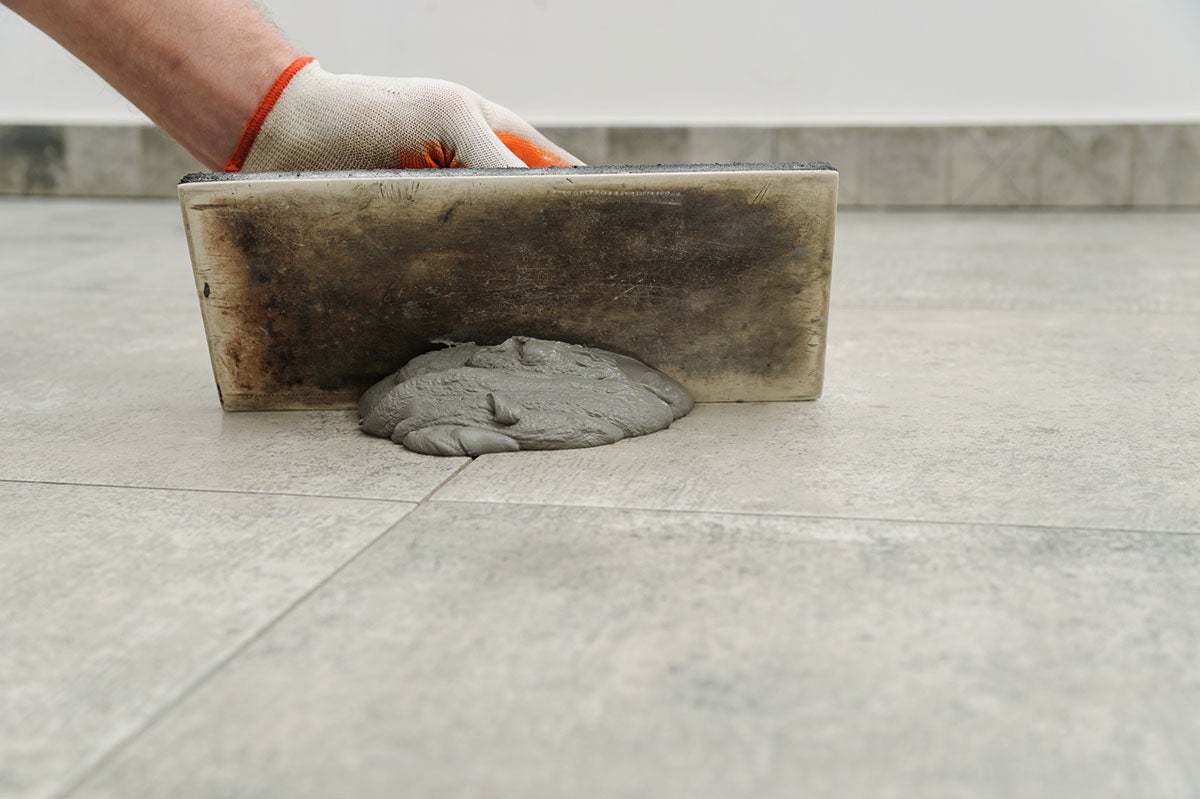
- Scoop the grout: Using a grout float, scoop a generous amount of grout onto the float’s surface. Make sure the grout fills the indentations of the float.
- Spread the grout: Holding the grout float at a 45-degree angle, apply the grout onto the shower floor, starting from one corner and working your way across. Use a sweeping motion to ensure that the grout fills the gaps between the tiles evenly.
- Work in small sections: It’s best to work in small sections, approximately 3×3 feet, to prevent the grout from drying out too quickly. This will give you enough time to spread and smooth the grout before moving on to the next area.
- Press the grout into the joints: Once you have spread the grout onto the shower floor, use the edge of the grout float to press the grout into the joints. This will fill any gaps and ensure a solid bond.
- Remove excess grout: After pressing the grout into the joints, use the edge of the grout float to scrape off the excess grout from the surface of the tiles. Hold the float at a 90-degree angle and make gentle, diagonal strokes to remove the excess grout.
- Clean the tiles: Once you have removed the excess grout, use a damp sponge to clean the tiles. Gently wipe the surface in a circular motion, being careful not to dislodge any grout from the joints.
- Repeat the process: Continue the process of applying, pressing, and cleaning the grout in small sections until you have covered the entire shower floor.
Remember to work efficiently, as grout can start drying within 15-20 minutes. It’s important to clean the tiles as you go to prevent the grout from hardening on the surface.
Once you have applied the grout to the entire shower floor, it’s time to move on to the next step: cleaning and finishing the grout.
Read more: How To Grout A Shower Tile
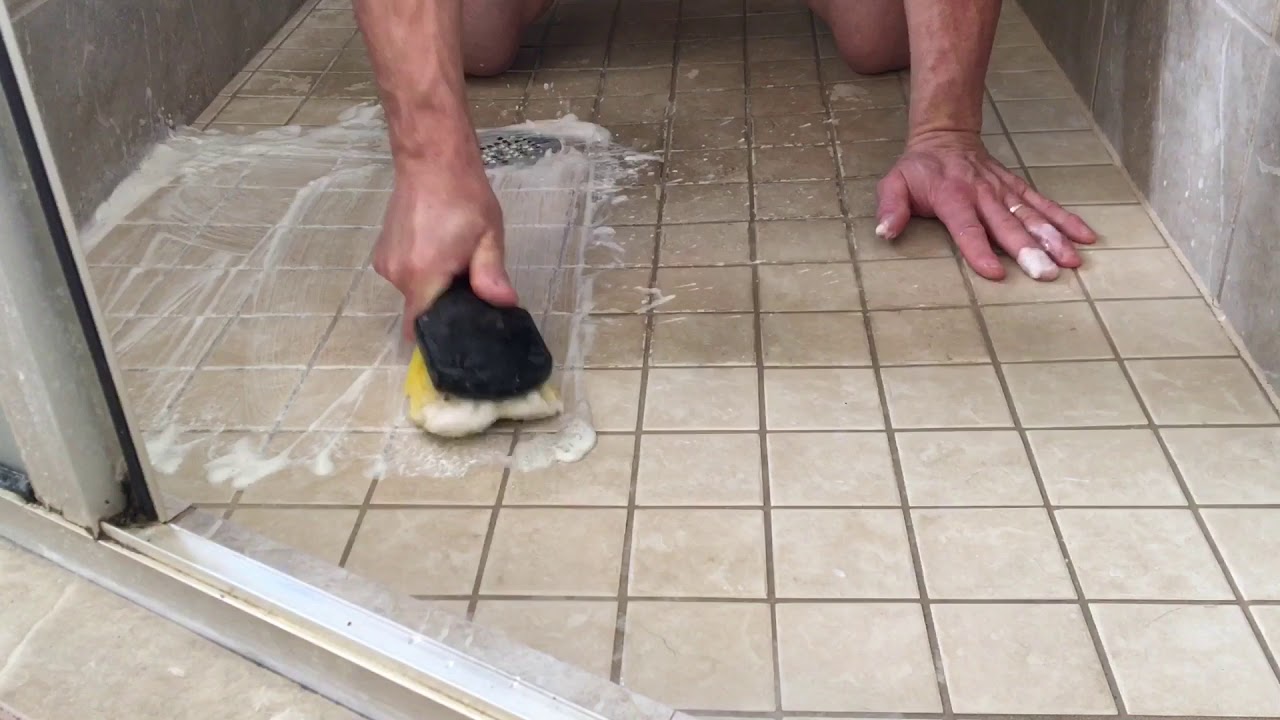
Cleaning and Finishing the Grout
After applying the grout to the shower floor, it’s crucial to clean and finish the grout to achieve a polished and professional look. Here’s how you can do it:
- Wait for the grout to set: Allow the grout to set for the recommended time specified by the manufacturer. This typically ranges from 15-30 minutes.
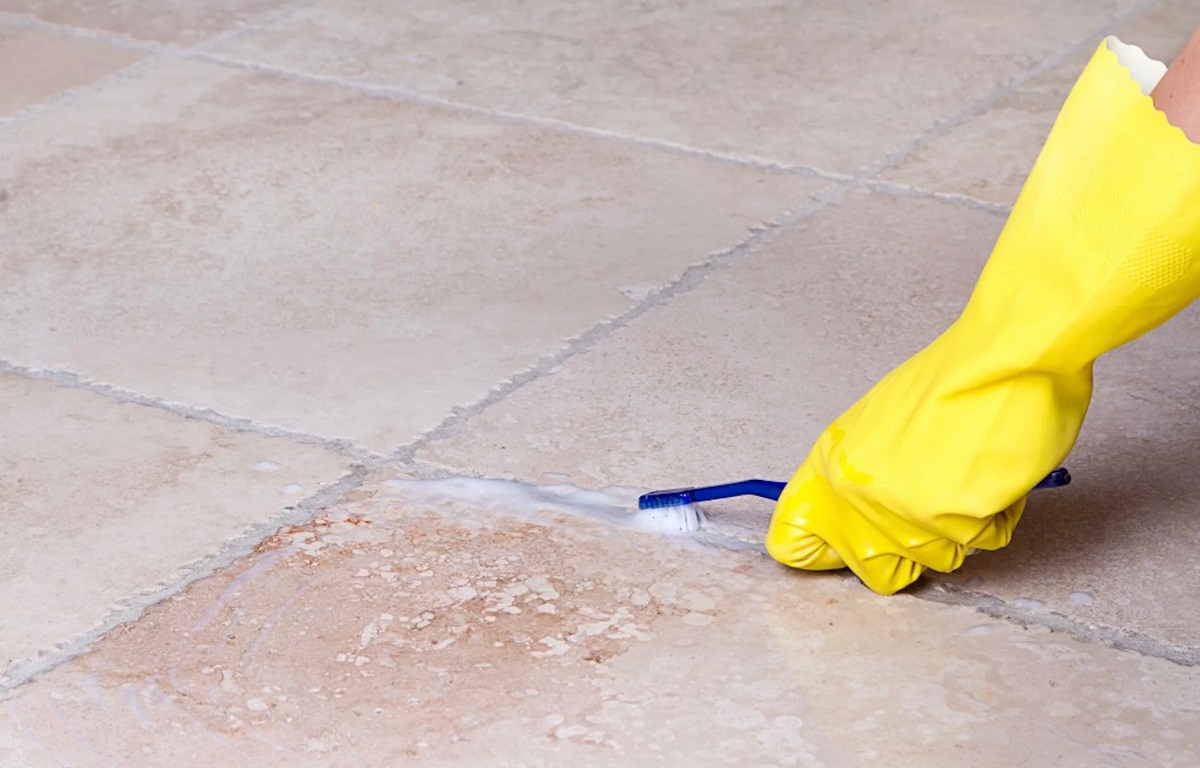
- Begin the cleaning process: Once the grout has set, wet a clean sponge and gently wipe the surface of the tiles in a circular motion. Make sure to remove any haze or grout residue from the tile surface.
- Change the water frequently: As you clean, rinse the sponge often and use clean water to avoid spreading grout residue. This will ensure a more effective cleaning process.
- Use a grout brush for stubborn stains: If you encounter any stubborn stains or hardened grout residue, gently scrub the affected areas with a grout brush. Be careful not to scrub too hard and damage the grout.
- Let the grout fully cure: Once you have cleaned the grout, allow it to dry and cure completely. This can take anywhere from 24-48 hours, depending on the type of grout and environmental conditions.
- Apply grout sealer: To protect the grout from stains and moisture, consider applying a grout sealer. Follow the manufacturer’s instructions for the application process and allow sufficient drying time before using the shower.
By cleaning and finishing the grout properly, you will not only enhance its appearance but also ensure its longevity.
Now that you have completed the grouting process, here are some additional tips and tricks to help you achieve the best results.
Tips and Tricks
Here are some helpful tips and tricks to enhance your grouting process:
- Work efficiently: Grout can dry quickly, so it’s important to work in small sections and clean the tiles as you go. This will prevent the grout from hardening on the tile surface.
- Use the right grout consistency: Follow the manufacturer’s instructions to achieve the correct grout consistency. Adding too much water can weaken the grout, while too little water can make it difficult to spread.
- Protect adjacent surfaces: Use masking tape to protect adjacent surfaces, such as the walls and fixtures, from accidental grout application. This will make the cleanup process easier.
- Avoid excess water during cleaning: When cleaning the grout, make sure your sponge is only damp, not overly wet. Excess water can weaken the grout and affect its strength.
- Use a diagonal motion: When smoothing the grout with the grout float and when wiping the tiles with the sponge, use a diagonal motion. This helps to ensure that the grout fills the joints evenly and avoids leaving streaks on the tile surface.
- Seal the grout regularly: To maintain the longevity and appearance of your grout, reapply a grout sealer every 6-12 months. This will help protect it from stains and moisture.
- Keep tools clean: Regularly clean your grout float, sponge, and grout brush with warm water after each use to remove any grout residue. This will extend the lifespan of your tools and ensure a cleaner application.
- Take breaks if needed: If the grouting process becomes tedious or if you’re working on a large area, take regular breaks to prevent fatigue. This will help you maintain focus and achieve better results.
With these tips and tricks in mind, you are now equipped to successfully grout your shower floor and achieve a professional finish.
Conclusion
Grouting your shower floor is a crucial step in creating a durable and visually appealing bathroom. By following the proper techniques and using the right tools and materials, you can achieve a professional-looking result that will stand the test of time.
In this article, we have covered the essential steps involved in grouting a shower floor, from preparing the surface to cleaning and finishing the grout. We have also provided valuable tips and tricks to help you throughout the process.
Remember to take your time and work diligently to ensure that the grout is evenly spread and properly sealed. Regular maintenance, such as cleaning and resealing the grout as needed, will help preserve its appearance and prolong its lifespan.
Now that you have the knowledge and guidance, it’s time to roll up your sleeves and transform your shower floor. Get ready to enjoy a beautiful and long-lasting result that will enhance the overall look and functionality of your bathroom.
So go ahead, gather your tools, mix that grout, and let your creativity shine as you complete this rewarding DIY project.
Frequently Asked Questions about How To Grout Shower Floor
Was this page helpful?
At Storables.com, we guarantee accurate and reliable information. Our content, validated by Expert Board Contributors, is crafted following stringent Editorial Policies. We're committed to providing you with well-researched, expert-backed insights for all your informational needs.


0 thoughts on “How To Grout Shower Floor”