Home>Renovation & DIY>Tools & Equipment>How Many Sheets Of Sandpaper To Sand A Floor

Tools & Equipment
How Many Sheets Of Sandpaper To Sand A Floor
Published: December 20, 2023
Discover the right tools and equipment needed to sand a floor and learn how many sheets of sandpaper you'll require for a smooth finish. Simplify your floor sanding project with expert tips and advice.
(Many of the links in this article redirect to a specific reviewed product. Your purchase of these products through affiliate links helps to generate commission for Storables.com, at no extra cost. Learn more)
Understanding the Importance of Sandpaper Grits for Floor Sanding
Introduction
When it comes to reviving the allure of a wooden floor, sanding is a pivotal step. However, determining the number of sheets of sandpaper needed to sand a floor can be a perplexing task. To unravel this mystery, one must first comprehend the significance of sandpaper grits and assess the condition of the floor. By delving into these aspects, you can effectively calculate the quantity of sandpaper required and ensure a successful floor sanding endeavor.
Sanding a floor is a transformative process that breathes new life into worn-out wooden surfaces, unveiling their natural beauty. Whether you are embarking on a home renovation project or aiming to enhance the aesthetic appeal of a space, understanding the nuances of floor sanding is essential. The key to achieving a flawless finish lies in comprehending the intricacies of sandpaper grits, evaluating the condition of the floor, and accurately calculating the quantity of sandpaper needed for the task at hand.
In this comprehensive guide, we will explore the fundamentals of sandpaper grits, delve into the process of determining the condition of the floor, and provide invaluable tips for calculating the number of sheets required for floor sanding. By the end of this journey, you will be equipped with the knowledge and confidence to embark on a successful floor sanding venture, breathing new life into your wooden floors. So, let's dive in and unravel the secrets of sandpaper grits and floor sanding!
Key Takeaways:
- Sandpaper grits play a crucial role in floor sanding, with coarser grits addressing imperfections and finer grits refining the surface for a flawless finish.
- Assessing the floor’s condition and calculating the quantity of sandpaper needed are essential for a successful floor sanding project, ensuring meticulous restoration and a beautifully rejuvenated floor.
Read more: How To Sand Wood Using Sandpaper
Understanding Sandpaper Grits
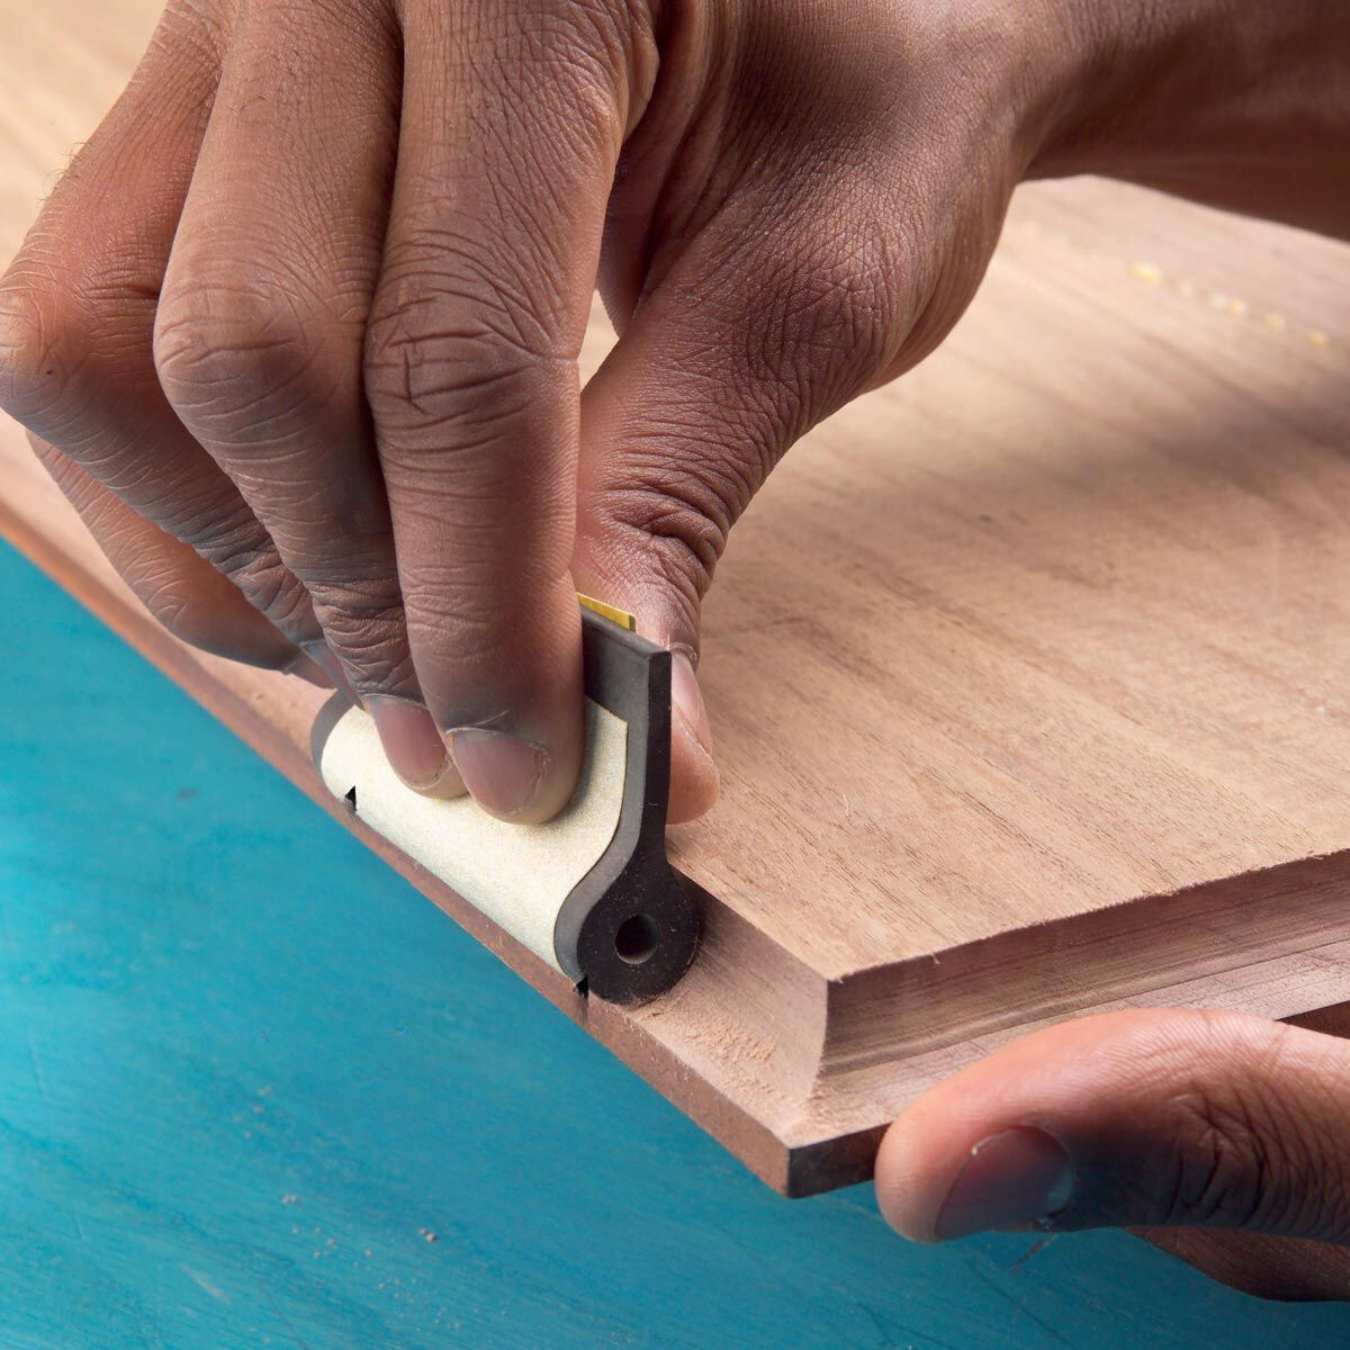
Before delving into the process of determining the number of sheets of sandpaper needed to sand a floor, it is crucial to grasp the significance of sandpaper grits. Grit, in the realm of sandpaper, refers to the coarseness or fineness of the abrasive particles embedded on the paper. These particles play a pivotal role in the sanding process, as they abrade the surface, smoothing out imperfections and preparing it for refinishing.
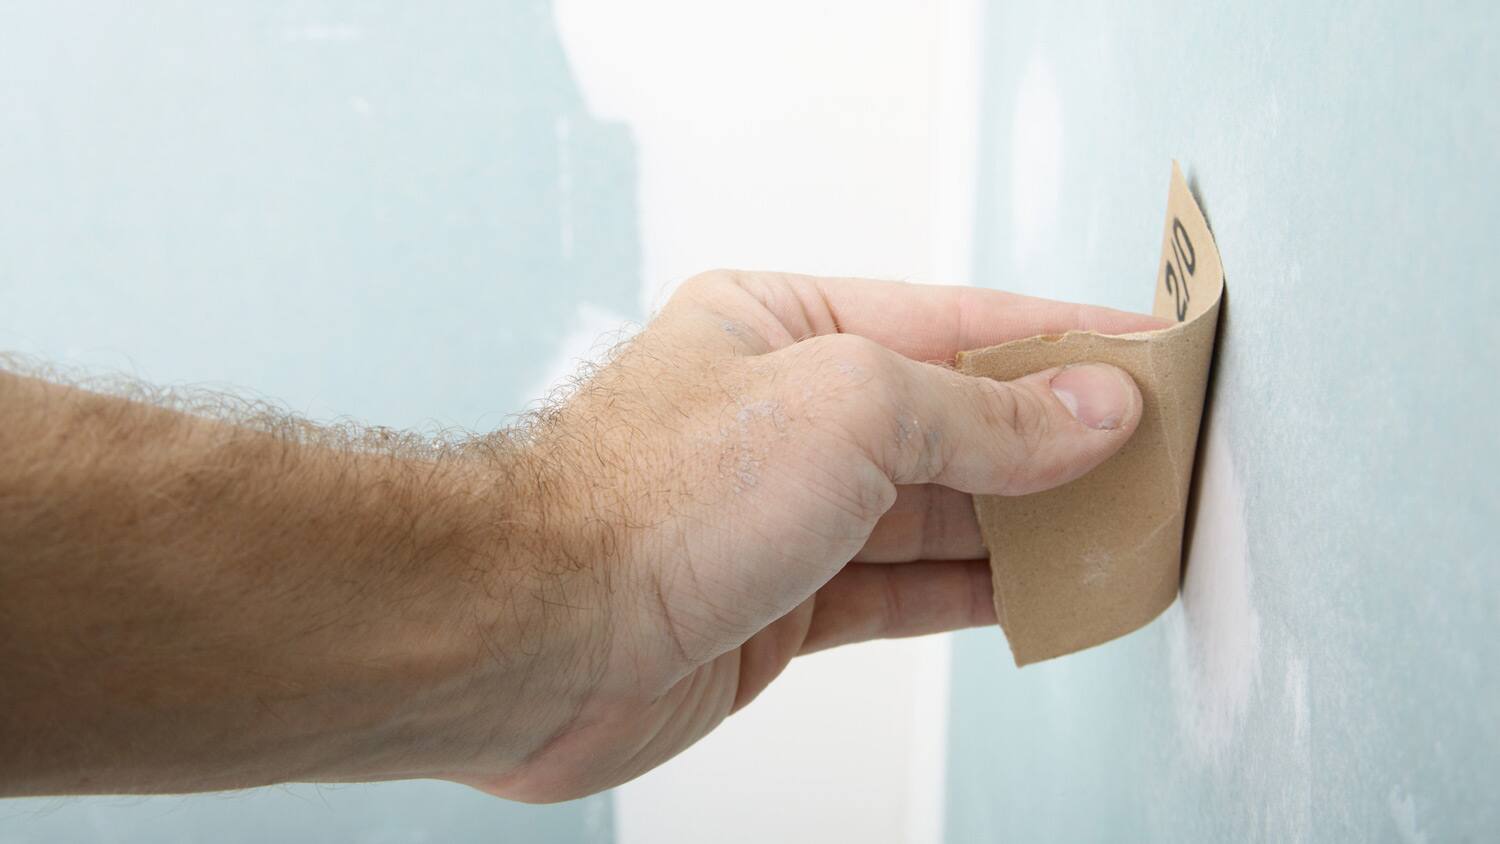
Sandpaper is available in a spectrum of grit sizes, ranging from coarse to fine. Common grits include 24, 36, 60, 80, 100, 120, 150, 180, 220, 320, 400, and beyond. The lower the grit number, the coarser the sandpaper, and vice versa. Coarse grits are ideal for removing old finishes, leveling uneven surfaces, and addressing deep scratches and imperfections. As the sanding process progresses, finer grits are employed to refine the surface, eliminating coarser sanding marks and achieving a smooth, uniform texture.
When sanding a wooden floor, the initial stages typically necessitate the use of coarser grits to address any existing coatings, blemishes, or unevenness. As the process advances, finer grits are employed to achieve a polished, pristine surface. Understanding the progression of grits and their respective purposes is essential for executing a successful floor sanding project.
Additionally, it is imperative to consider the type of wood when selecting sandpaper grits. Softer woods, such as pine, are more susceptible to scratches from coarser grits, necessitating a more gradual progression from coarse to fine grits. Harder woods, like oak, can withstand coarser grits initially, allowing for a more aggressive approach in the early stages of sanding.
By comprehending the role of sandpaper grits and their impact on different wood types, you can make informed decisions regarding the progression of grits throughout the sanding process. This knowledge serves as the foundation for effectively determining the number of sheets of sandpaper required to sand a floor, ensuring a methodical and successful approach to floor restoration.
Determining the Condition of the Floor
Assessing the condition of the floor is a crucial preliminary step in the process of determining the number of sheets of sandpaper needed for sanding. The state of the floor, including its existing finish, imperfections, and level of wear, significantly influences the sanding approach and the quantity of sandpaper required.
Before commencing the sanding process, it is essential to thoroughly inspect the floor surface. Evaluate the current finish, noting any varnish, paint, or sealant that may be present. Additionally, identify any scratches, dents, or uneven areas that require attention. Understanding the nature and extent of these imperfections is pivotal in devising an effective sanding strategy.
If the floor exhibits a substantial amount of old finish, deep scratches, or unevenness, a more aggressive sanding approach may be necessary, requiring the use of coarser grits initially. Conversely, if the floor has a relatively smooth surface with minimal imperfections, a finer grit may suffice to prepare it for refinishing. By meticulously assessing the floor’s condition, you can tailor the sanding process to address specific areas of concern, optimizing the efficiency and quality of the restoration.
Furthermore, the size of the floor area plays a significant role in determining the quantity of sandpaper needed. Larger areas necessitate a greater quantity of sandpaper, as the surface area to be sanded increases. It is essential to factor in the dimensions of the floor when calculating the number of sheets required, ensuring that an adequate supply of sandpaper is available to complete the project seamlessly.
Moreover, the type of wood comprising the floor influences the sanding process and the quantity of sandpaper needed. Different wood species exhibit varying levels of hardness and susceptibility to abrasion, influencing the progression of grits and the overall sanding duration. Understanding the unique characteristics of the wood enables you to tailor the sanding approach and accurately estimate the amount of sandpaper required for the specific wood type.
By meticulously evaluating the condition of the floor, considering the existing finish, imperfections, floor size, and wood type, you can effectively gauge the scope of the sanding project and calculate the precise number of sheets of sandpaper needed to achieve a beautifully restored floor surface.
Start with a coarse grit (like 36 or 60) to remove old finish and level the floor. Then use medium grit (like 80 or 100) to smooth the surface. Finish with a fine grit (like 120 or 150) for a polished look.
Calculating the Number of Sheets Needed
Once you have gained a comprehensive understanding of sandpaper grits and assessed the condition of the floor, you are well-equipped to calculate the number of sheets of sandpaper needed for the sanding process. This calculation involves factoring in the grit progression, the floor size, and the estimated quantity of sandpaper required to achieve a seamless restoration.
Begin by determining the grit progression necessary for the sanding project. As a general guideline, a typical sanding sequence may involve starting with a coarse grit, such as 24 or 36, to address existing finishes, imperfections, and unevenness. Subsequently, the grit progression gradually advances to finer grits, such as 60, 80, 100, and beyond, to refine the surface and prepare it for refinishing. By outlining the grit sequence based on the floor’s condition and wood type, you can ascertain the range of grits needed for the project.
Next, consider the size of the floor area to be sanded. Measure the dimensions of the space to calculate the total surface area in square feet. This measurement serves as a foundational parameter for estimating the quantity of sandpaper required. Larger floor areas necessitate a greater quantity of sandpaper, while smaller spaces require a proportionate amount to cover the surface adequately.
It is essential to account for potential inefficiencies and the wear and tear experienced by sandpaper during the sanding process. As sandpaper gradually diminishes in effectiveness due to wear, clogging, or tearing, it is prudent to procure a surplus of sandpaper to accommodate any unforeseen circumstances. Additionally, having extra sandpaper on hand ensures a seamless continuation of the sanding process without interruptions or delays.
Considering the grit progression, floor size, and potential inefficiencies, you can calculate the number of sheets of sandpaper needed for the project. This calculation involves estimating the quantity of each grit required based on the surface area to be sanded and factoring in a surplus to mitigate potential inefficiencies. By diligently planning and accounting for these variables, you can ensure that the sanding process proceeds smoothly and that the floor receives the meticulous attention it deserves.
By meticulously evaluating the condition of the floor, considering the existing finish, imperfections, floor size, and wood type, you can effectively gauge the scope of the sanding project and calculate the precise number of sheets of sandpaper needed to achieve a beautifully restored floor surface.
Tips for Sanding a Floor
Embarking on a floor sanding project requires careful planning, attention to detail, and a methodical approach to achieve exceptional results. To ensure a successful and efficient sanding endeavor, consider the following tips that will guide you through the process and contribute to the restoration of a stunning, revitalized floor.
- Prepare the Space: Before commencing the sanding process, clear the area of furniture, rugs, and any obstructions. This creates a spacious and unobstructed work environment, allowing for seamless movement and access to the entire floor surface.
- Inspect and Repair Imperfections: Thoroughly inspect the floor for scratches, dents, and other imperfections. Address any necessary repairs, such as filling gaps or replacing damaged boards, before initiating the sanding process. This ensures a smooth and uniform surface for sanding.
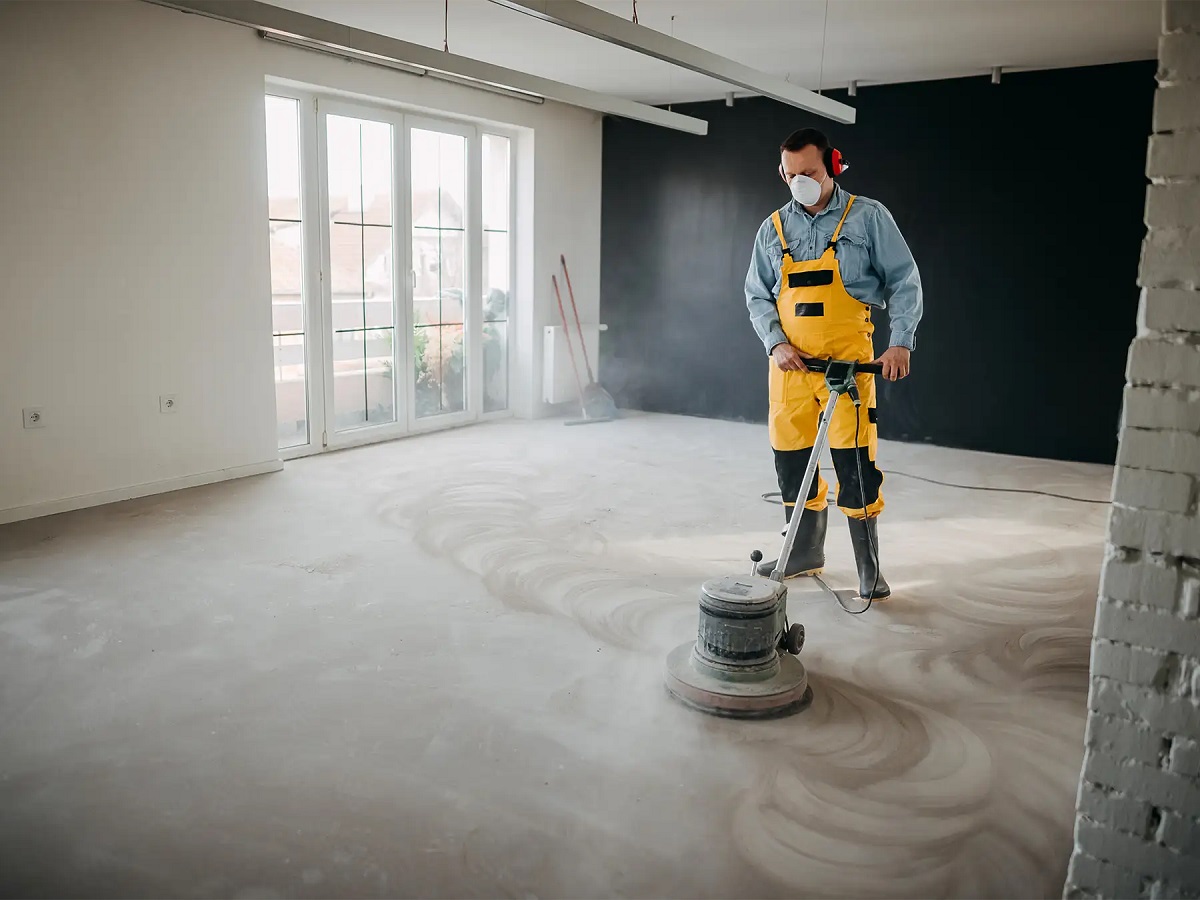
- Utilize Proper Safety Gear: Prioritize safety by wearing protective gear, including a dust mask, safety goggles, and ear protection. Sanding generates fine dust particles and noise, necessitating the use of appropriate safety equipment to safeguard your well-being.
- Progressive Grit Sequence: Adhere to a progressive grit sequence, starting with a coarse grit to address existing finishes and imperfections, and gradually advancing to finer grits for surface refinement. This systematic approach ensures an optimal sanding outcome.
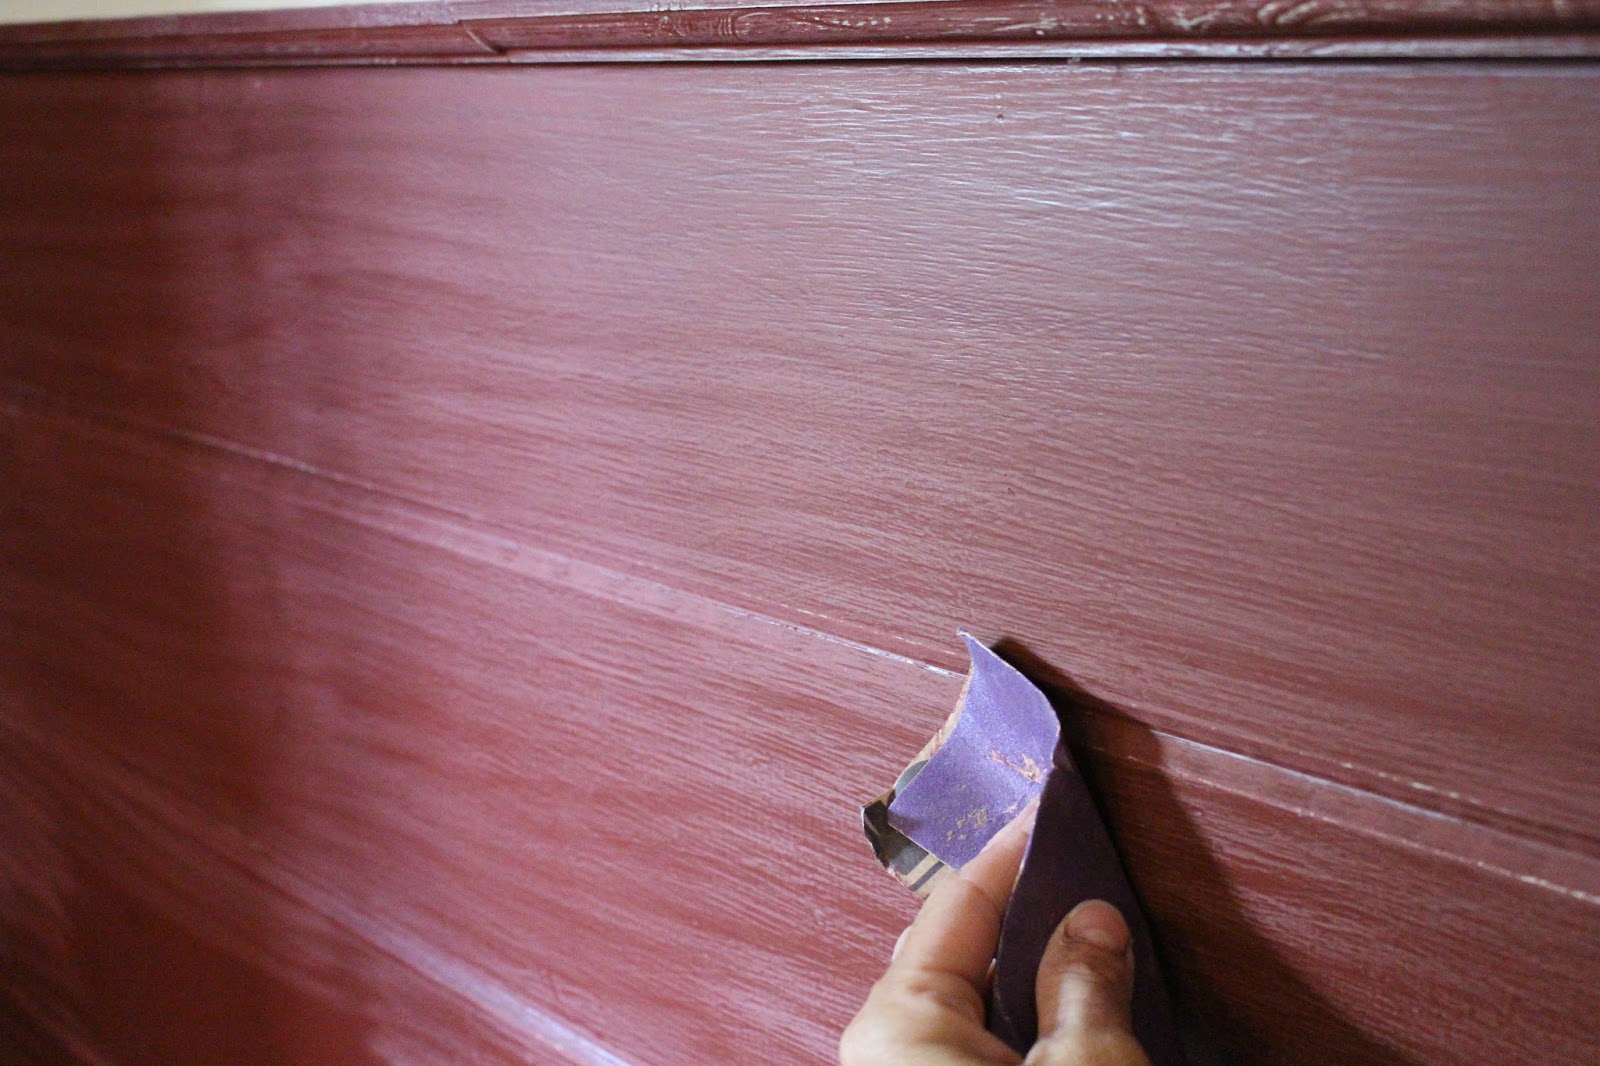
- Efficient Sanding Techniques: Employ smooth and consistent sanding motions, moving with the grain of the wood to prevent uneven abrasion. Overlapping each pass slightly ensures uniform sanding and a seamless surface texture.
- Regularly Inspect Sandpaper: Periodically inspect the condition of the sandpaper, ensuring it remains effective and free from clogging or wear. Replace sandpaper as needed to maintain optimal sanding performance throughout the project.
- Manage Dust Accumulation: Implement dust containment measures, such as using a vacuum or dust collection system, to minimize airborne dust particles. Regularly clean the work area to maintain a tidy and safe environment during the sanding process.
- Final Sanding Pass: Conclude the sanding process with a final pass using a fine grit to achieve a smooth and polished surface. This last step prepares the floor for refinishing, yielding a pristine canvas for the application of sealants or finishes.
- Post-Sanding Cleanup: After completing the sanding process, thoroughly clean the area to remove residual dust and debris. This prepares the floor for the subsequent stages of refinishing, ensuring a clean and immaculate surface.
By adhering to these tips and implementing a meticulous approach to floor sanding, you can elevate the aesthetic appeal of your wooden floors and breathe new life into your living space. With careful preparation, attention to detail, and a systematic sanding strategy, you can achieve a beautifully restored floor that exudes timeless elegance and charm.
Read more: How To Sand Spackle Without A Sandpaper
Conclusion
As we conclude our exploration of the intricacies of sandpaper grits and the determination of the number of sheets needed to sand a floor, it is evident that a successful floor sanding project hinges on a thorough understanding of the sanding process and meticulous planning. By comprehending the nuances of sandpaper grits, assessing the condition of the floor, and calculating the precise quantity of sandpaper required, you can embark on a transformative journey to revitalize your wooden floors with confidence and precision.
The journey of floor sanding is a harmonious blend of artistry and technique, where the careful selection of sandpaper grits, the evaluation of the floor’s condition, and the calculated estimation of the number of sheets converge to orchestrate a seamless restoration. Each step in the process contributes to the realization of a beautifully rejuvenated floor, exuding warmth, character, and timeless allure.
Armed with the knowledge gleaned from this guide, you are poised to embark on a floor sanding venture that transcends the ordinary. By incorporating progressive grit sequences, meticulous floor assessments, and efficient sanding techniques, you can breathe new life into your wooden floors, unveiling their natural splendor and enhancing the ambiance of your living space.
As you navigate the intricacies of floor sanding, remember that attention to detail, safety, and the utilization of proper techniques are paramount. By embracing these principles and infusing your sanding endeavor with passion and precision, you can achieve a floor that stands as a testament to your dedication and craftsmanship.
Ultimately, the art of floor sanding is a transformative odyssey, where the marriage of sandpaper grits, floor assessment, and calculated planning converges to yield a resplendent outcome. Embrace this journey with enthusiasm and reverence, for within its folds lies the promise of a floor that exudes timeless elegance and enduring beauty.
May your floor sanding venture be a testament to your unwavering commitment to excellence, and may the floors you restore bear the hallmark of meticulous artistry and timeless allure.
Frequently Asked Questions about How Many Sheets Of Sandpaper To Sand A Floor
Was this page helpful?
At Storables.com, we guarantee accurate and reliable information. Our content, validated by Expert Board Contributors, is crafted following stringent Editorial Policies. We're committed to providing you with well-researched, expert-backed insights for all your informational needs.


0 thoughts on “How Many Sheets Of Sandpaper To Sand A Floor”