Tableware
How To Make A Placemat Out Of Paper
Modified: January 4, 2024
Learn how to create a beautiful placemat out of paper, perfect for adding a touch of elegance to your tableware. Step-by-step instructions and easy DIY tips.
(Many of the links in this article redirect to a specific reviewed product. Your purchase of these products through affiliate links helps to generate commission for Storables.com, at no extra cost. Learn more)
Introduction
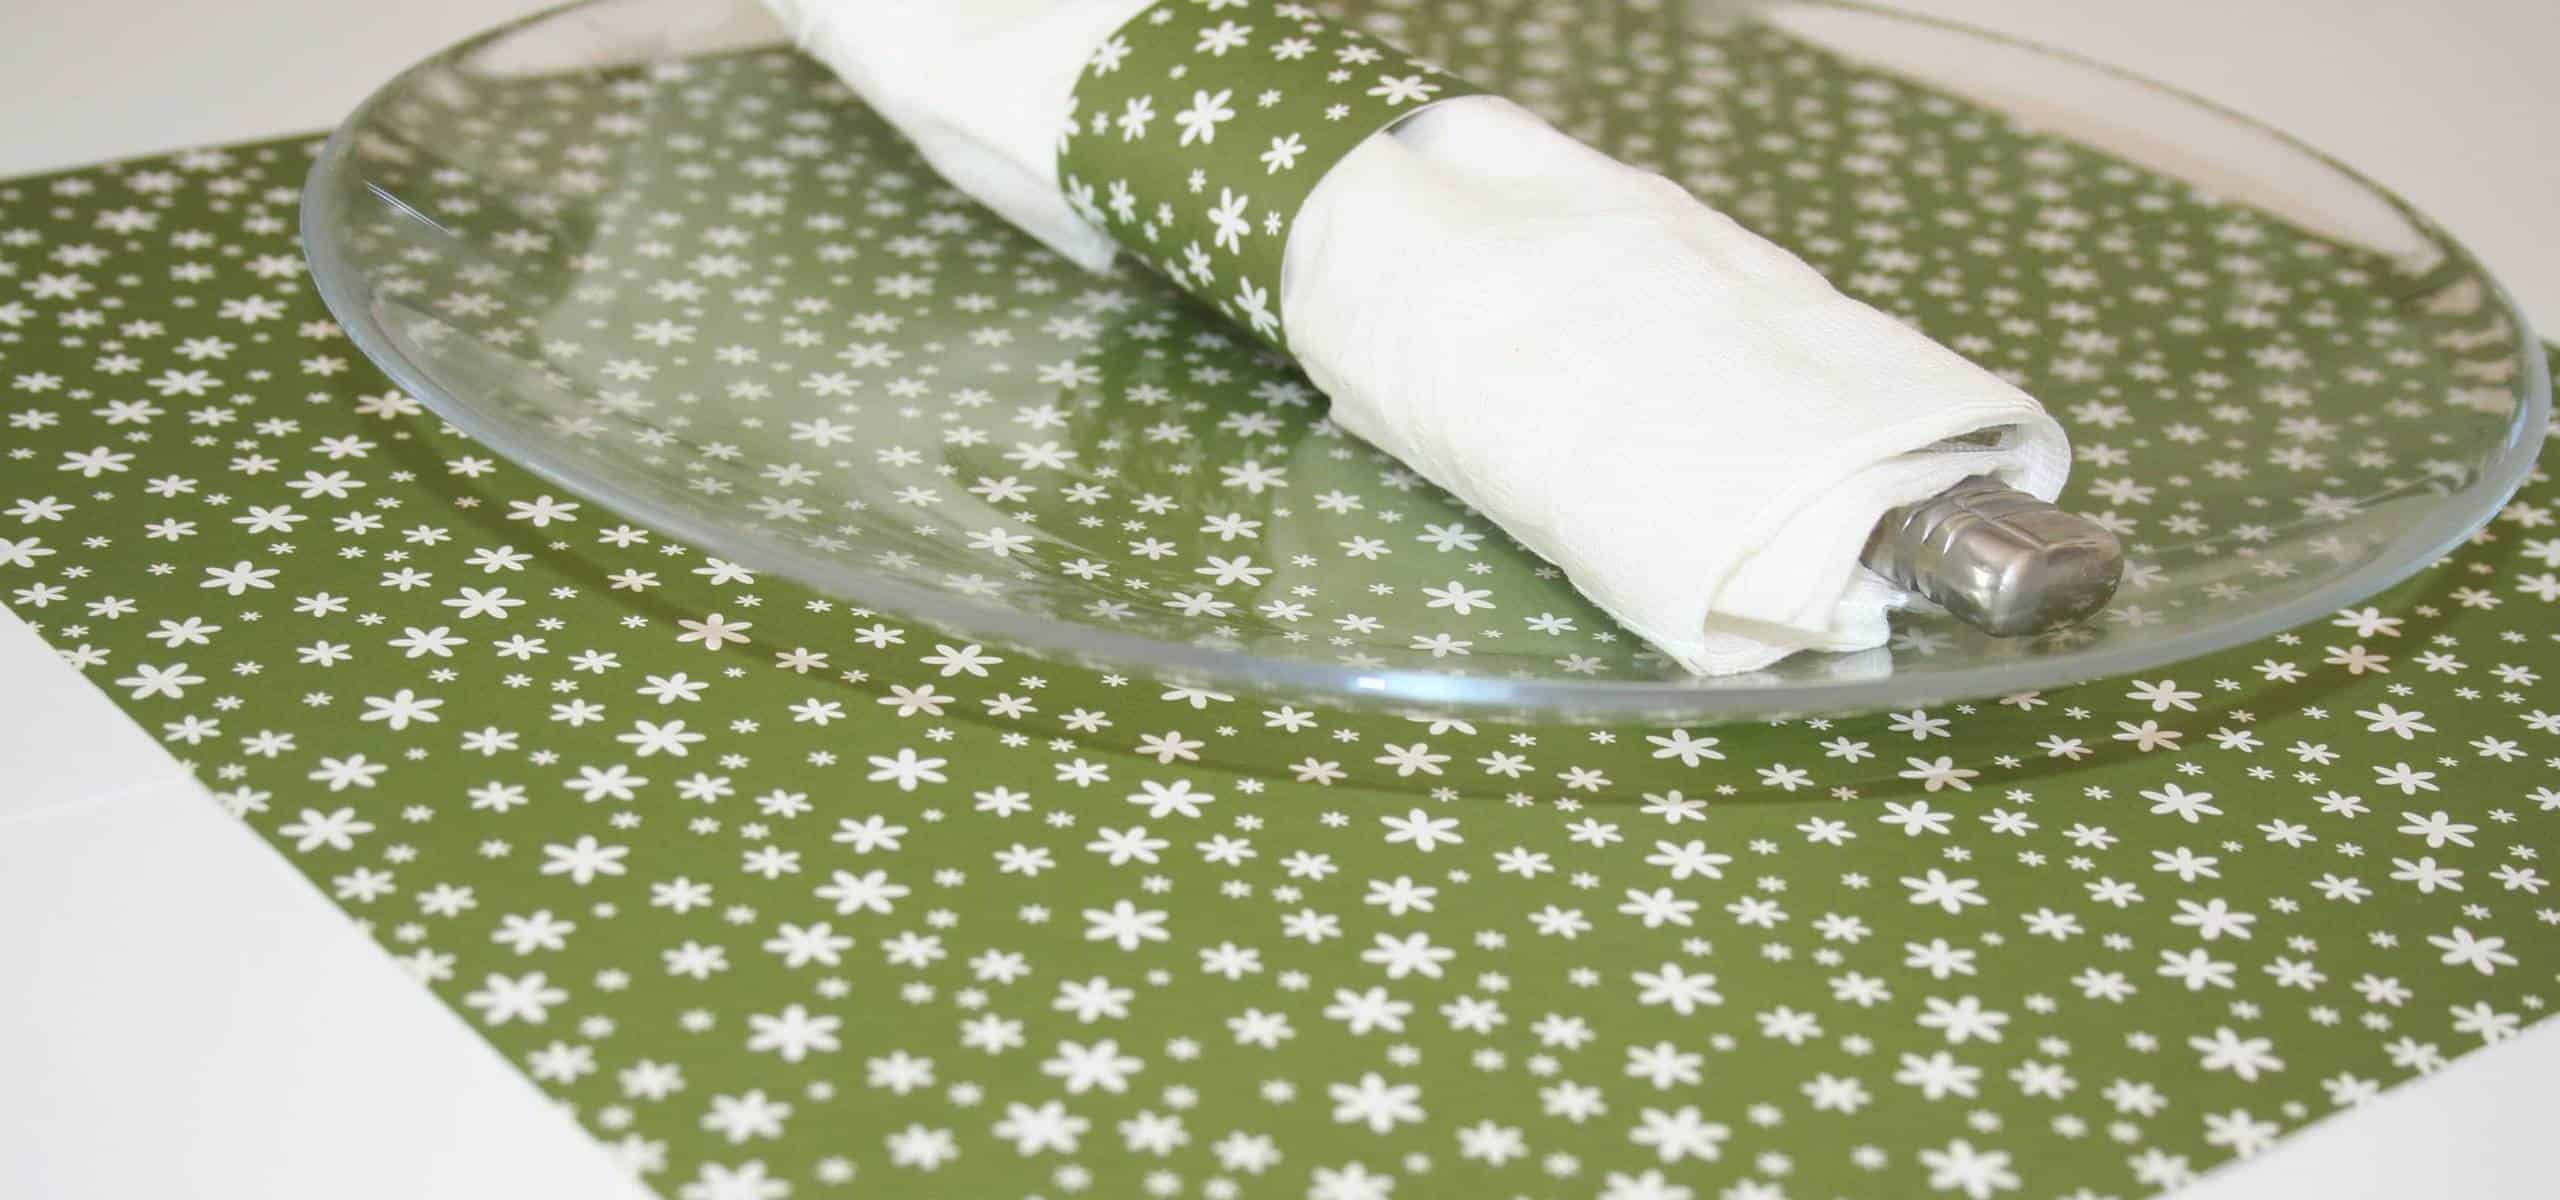
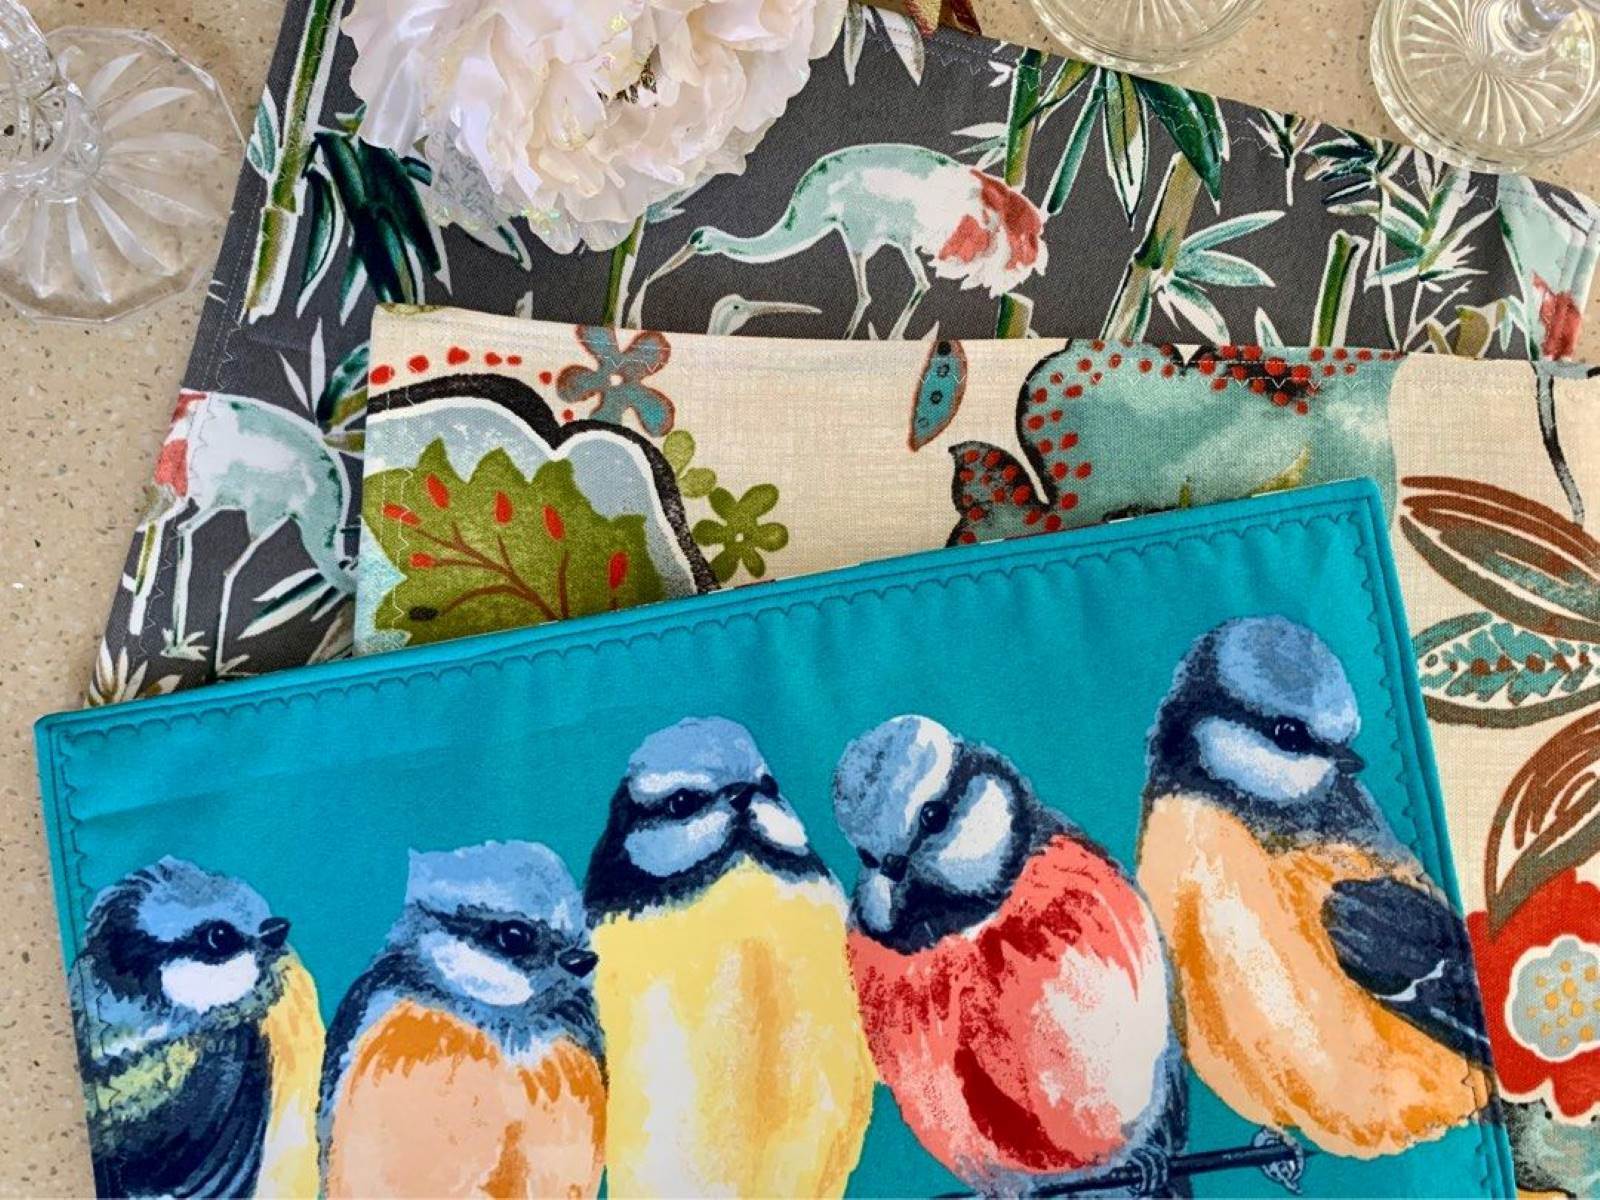
When it comes to setting the table for a meal, the right tableware can make all the difference. Placemats not only protect your table from spills and stains but also add a touch of elegance to your dining experience. While there are plenty of placemats available in the market, why not unleash your creativity and make your own? In this article, we will explore how to make a placemat out of paper, a simple and cost-effective DIY project that anyone can do.
Making a paper placemat is not only a fun and engaging activity but also a great way to express your personal style. Whether you want to create a festive theme for a holiday gathering or bring a pop of color to your everyday meals, a paper placemat allows you to customize your dining experience to your liking. So, gather your materials and let’s get started on this creative journey of making a unique and eco-friendly placemat!
Key Takeaways:
- Making your own paper placemat is a creative and eco-friendly way to add a personal touch to your dining experience, while also protecting your table from spills and stains.
- With simple materials and a dash of creativity, you can customize your placemat to suit any occasion or theme, making it a versatile and cost-effective tableware option.
Read more: How To Make Paper Placemats For Kids
Materials Needed
Before we begin, let’s gather all the materials required to make a paper placemat. The great thing about this DIY project is that you most likely have many of these items already available at home. Here’s what you’ll need:
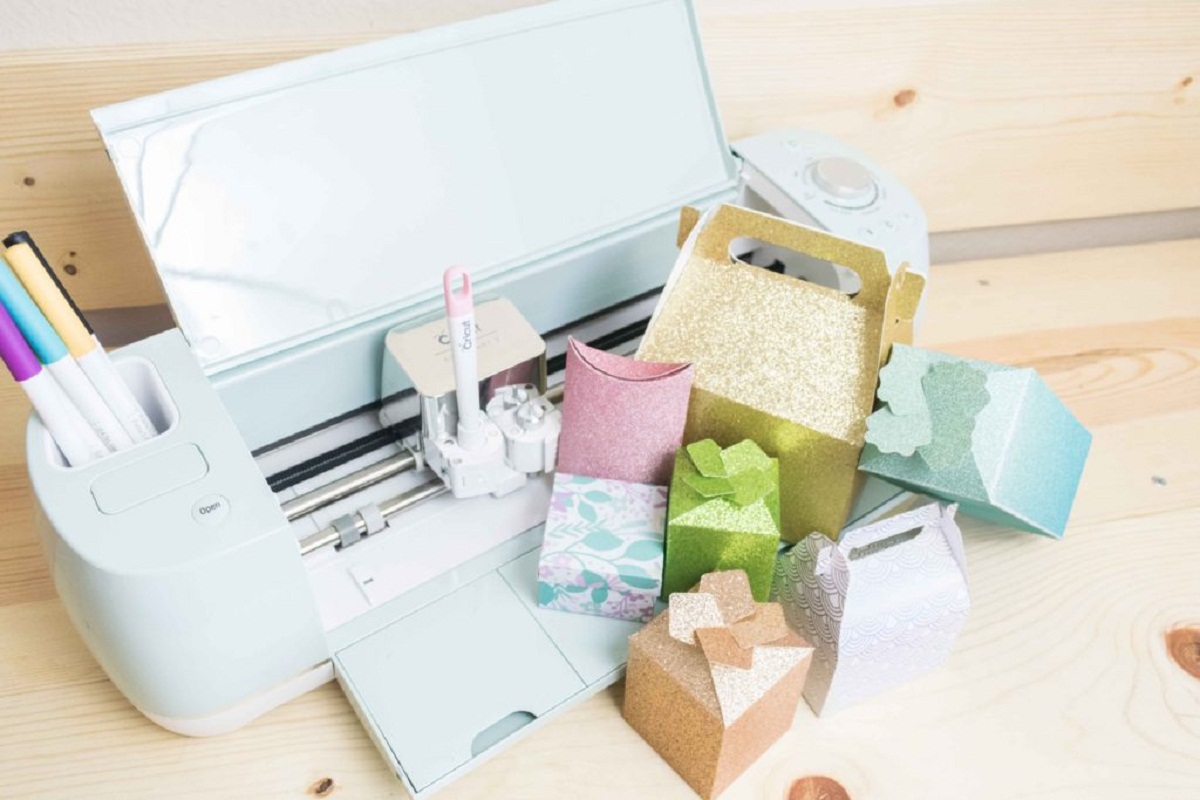
- Paper: Start with a large sheet of paper. You can use various types of paper, such as construction paper, cardstock, patterned scrapbook paper, or even old magazines. Choose a paper that suits the theme or color scheme you have in mind for your placemat.
- Ruler: A ruler will come in handy for measuring and creating straight lines.
- Pencil: Use a pencil to mark measurements and sketch out designs before finalizing them.
- Scissors: Sharp scissors are essential for cutting the paper into the desired shape and size of the placemat.
- Decorative Materials: Get creative with your placemat decoration by adding stickers, markers, colored pencils, crayons, or even glitter. Select materials that will help you achieve the style and theme you envision for your placemat.
- Clear Contact Paper or Lamination Sheets (optional): If you want to protect your placemat from spills and make it more durable, you can consider covering it with clear contact paper or laminating sheets. This step is optional but recommended for long-lasting use.
Once you have gathered all the necessary materials, you are ready to move on to the next steps of creating your paper placemat.
Step 1: Choosing the Paper
The first step in making a paper placemat is selecting the right paper to suit your style and purpose. The paper you choose will impact the overall look and feel of your placemat. Here are a few considerations to keep in mind:
- Type of Paper: There are various types of paper you can use, depending on your preference. Construction paper is a popular choice as it comes in a wide range of colors and is sturdy. Cardstock is another good option as it is thicker and more durable. If you want to add patterns or designs to your placemat, consider using patterned scrapbook paper or even cutting out images from old magazines.
- Color and Theme: Think about the color scheme and theme you want for your placemat. If you want something bright and vibrant, choose colorful papers. For a more elegant or sophisticated look, opt for neutral or pastel shades. If you’re making a placemat for a specific occasion, such as a holiday or party, select paper that matches the theme.
- Size: Consider how big you want your placemat to be. Measure the dimensions of your table or set a standard size that suits your needs. Keep in mind that standard placemats are usually around 12×18 inches, but you can adjust the size according to your preferences.
Once you have determined the type, color, and size of the paper you want to use, you are ready to move on to the next step of folding the paper to create the placemat shape.
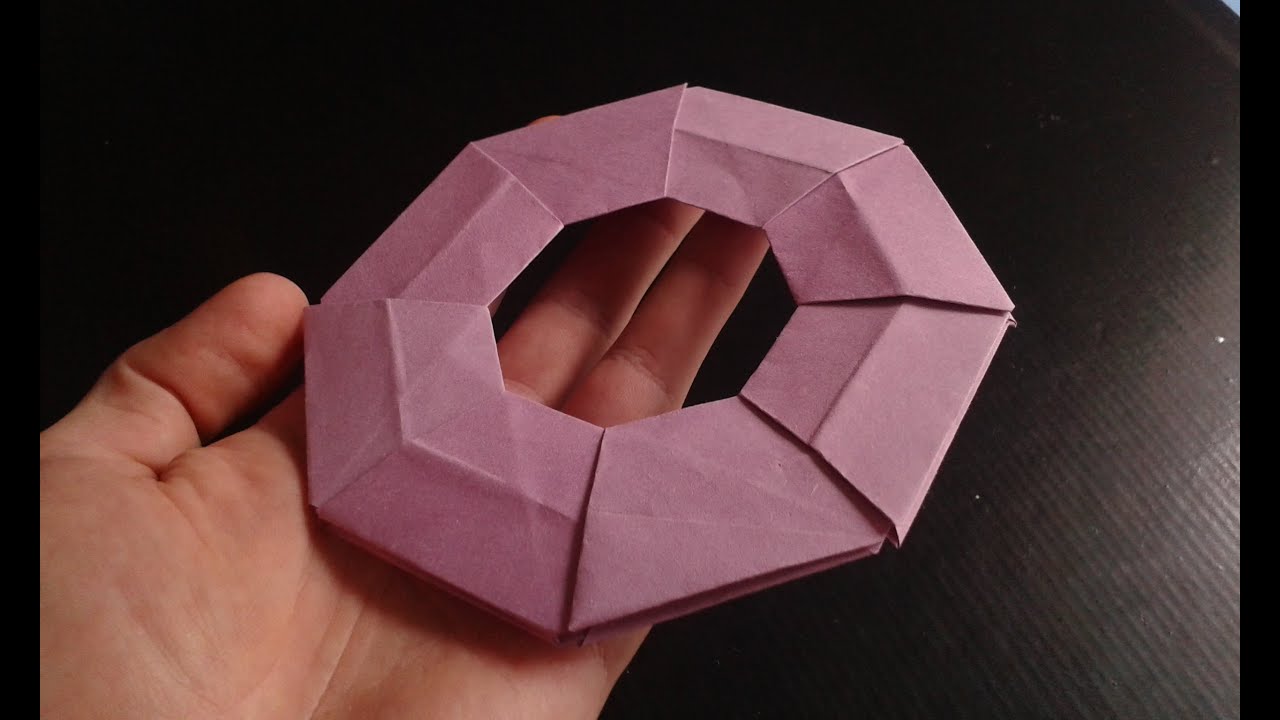
Step 2: Folding the Paper
Now that you have chosen the perfect paper for your placemat, it’s time to fold it into the desired shape. Folding the paper not only adds structure to the placemat but also creates a neat and professional look. Follow these steps to fold your paper placemat:
- Measure and Mark: Using a ruler and pencil, measure and mark the dimensions of your desired placemat on the paper. Make sure to leave a small margin around the edges for folding.
- Fold in Half: Fold the paper in half horizontally, along the marked line. Press firmly along the fold to create a crisp crease.
- Open and Fold Sides: Open up the paper and fold the sides towards the center, aligning the edges with the central fold. This will create a more sturdy and symmetrical placemat shape. Again, press firmly to create creases along the folds.
- Optional: Diagonal Fold: If you want to add some flair to your placemat, you can fold it diagonally. To do this, fold the placemat in half diagonally, aligning the corners. Press firmly to form a sharp diagonal crease.
- Adjust and Flatten: Once you have folded the paper according to your desired shape, adjust any creases or folds as needed. Flatten the placemat to ensure it lies flat on the table.
Now that you have successfully folded the paper, you have the foundation for your paper placemat. It’s time to move on to the next step of adding decorative elements to make your placemat visually appealing.
When making a placemat out of paper, consider using a thicker paper or laminating the paper to make it more durable and easy to clean. This will help your placemat last longer and withstand spills and stains.
Step 3: Decorating the Placemat
Now that you have folded the paper into a placemat shape, it’s time to unleash your creativity and add decorative elements. Decorating the placemat allows you to personalize it and make it visually appealing. Here are some ideas to inspire your decoration process:
- Coloring and Drawing: Use markers, colored pencils, or crayons to color in designs or draw patterns on your placemat. You can create geometric shapes, floral motifs, or even freehand drawings. Let your imagination soar and make it uniquely yours.
- Stickers and Cutouts: If you prefer a simpler decoration approach, use stickers or cutouts to add flair to your placemat. You can find a wide variety of stickers at craft stores or use cutouts from magazines or decorative paper to create collages on the placemat.
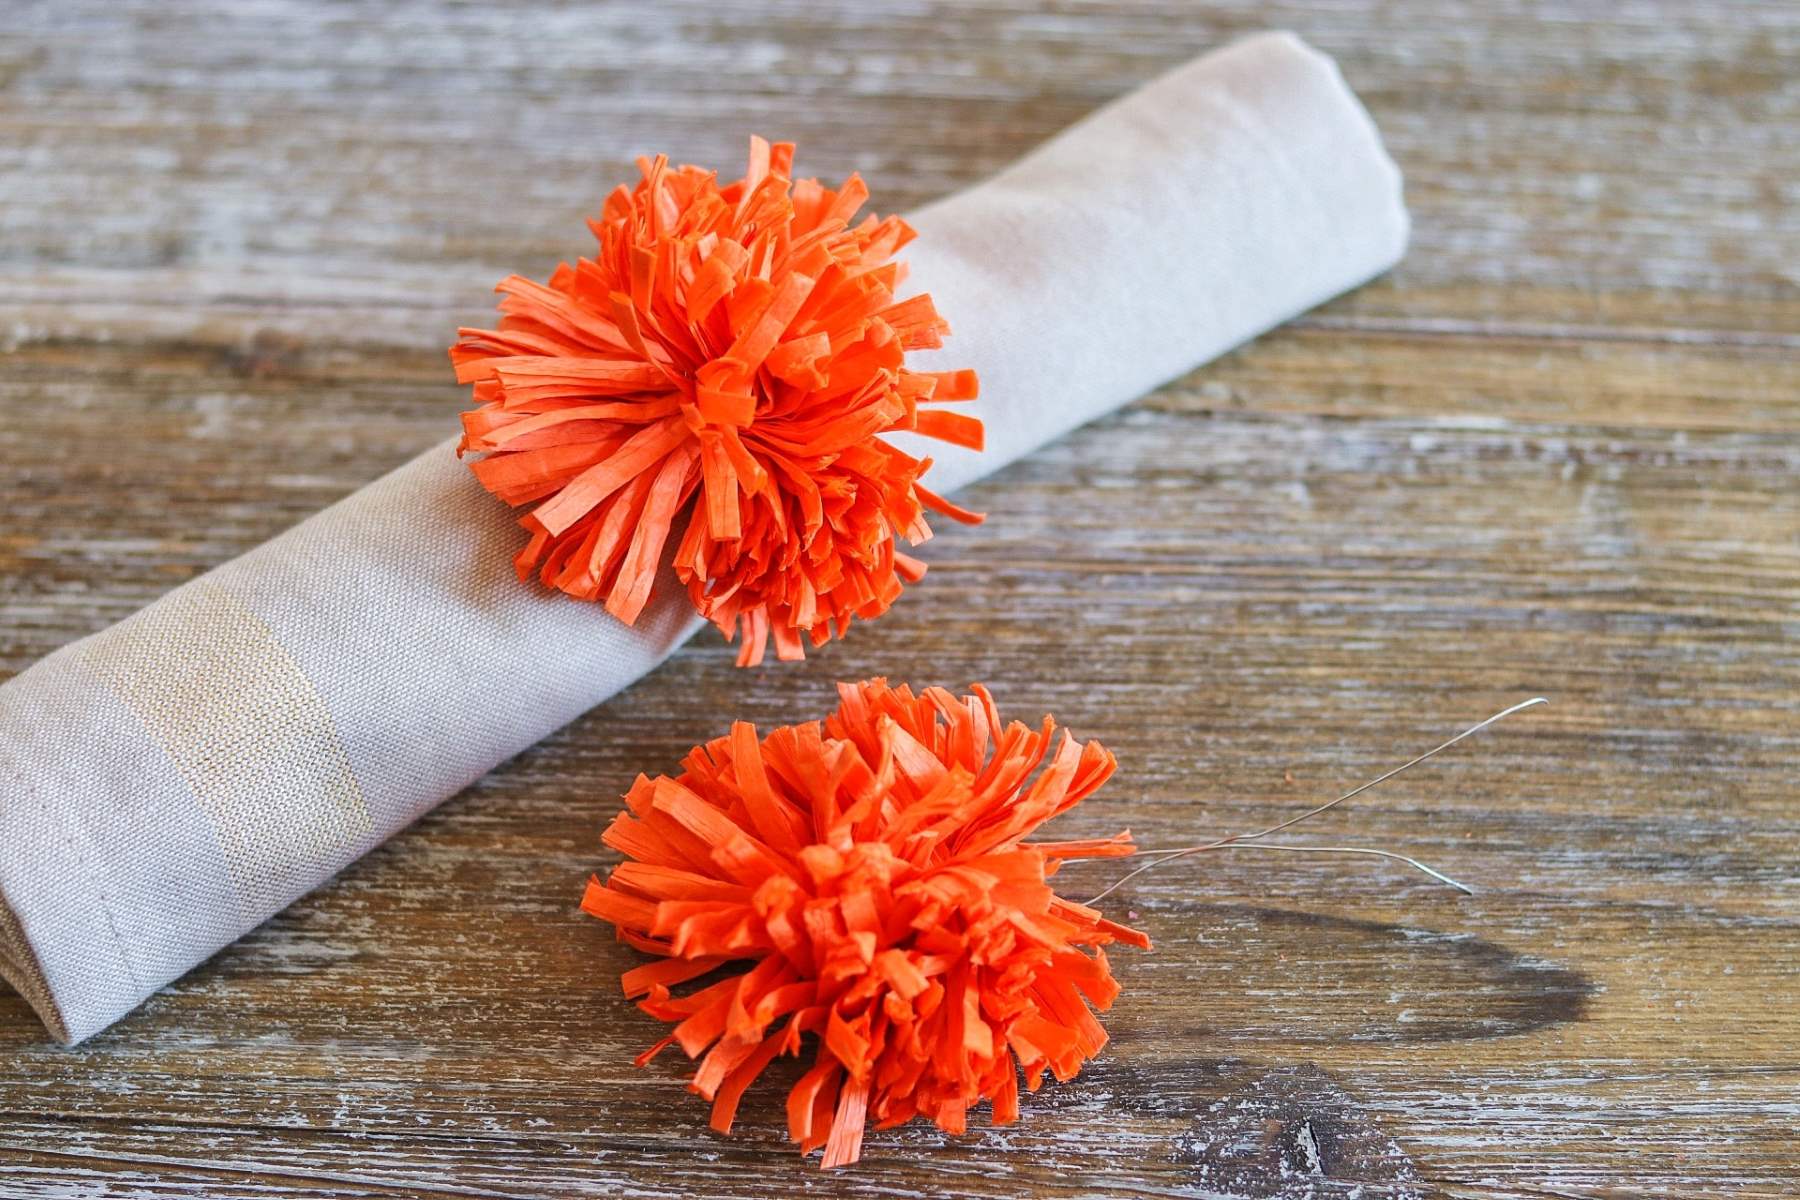
- Theme-based Elements: If you are creating a placemat for a specific occasion or theme, incorporate relevant elements. For example, for a beach-themed placemat, you can glue on seashells or draw palm trees. For a holiday placemat, consider using festive stickers or cutouts associated with the holiday.
- Embellishments: Add a touch of sparkle and dimension to your placemat by using glitter, sequins, or small beads. These embellishments can be glued onto the paper to create eye-catching accents.
Remember, there are no rules when it comes to decorating your placemat. Let your creativity guide you and create a design that reflects your personal style. Once you are satisfied with the decorations, move on to the next step to add some finishing touches to your paper placemat.
Read more: How To Make Purses Out Of Placemats
Step 4: Adding Finishing Touches
After you have decorated your paper placemat to your heart’s content, it’s time to add some finishing touches to enhance its durability and overall appearance. These final steps will ensure that your placemat is ready to be used and enjoyed. Follow these guidelines to complete your placemat:
- Trim Excess Paper: Carefully trim any excess paper around the edges of your placemat using scissors. This will give it a clean and polished look.
- Optional: Cover with Contact Paper or Lamination: To increase the longevity of your paper placemat, consider covering it with a layer of clear contact paper or laminating it. This will protect it from spills and stains, making it easier to clean after each use.
- Inspect for Loose Decorations: Take a moment to check if any decorations on your placemat are loose or not securely adhered. If necessary, apply additional glue or adhesive to ensure everything stays in place.
- Let it Dry: If you have used glue or other wet materials during the decorating process, allow your placemat to dry completely before using or storing it.
Once you have completed these finishing touches, your paper placemat is ready to be showcased on your dining table or used as a decorative element for special occasions. Now, let’s move on to the final step of using and maintaining your paper placemat.
Step 5: Using and Cleaning the Paper Placemat
Congratulations! Your paper placemat is now complete and ready to be used. Here are some tips on how to use and clean your paper placemat to ensure its longevity and functionality:
- Table Protection: Place your paper placemat directly on the table surface before setting the table. This will protect your table from spills, stains, and scratches, making cleanup easier.
- Wipe Clean: After each use, simply wipe the paper placemat with a damp cloth or sponge to remove any food particles or spills. Avoid soaking the placemat in water, as this can cause it to warp or lose its shape.
- Avoid Hot Items: While paper placemats are great for casual meals, it’s important to avoid placing hot items directly on them, as this can cause damage. Use trivets or heat-resistant mats for hot dishes or utensils to protect the placemat.
- Store properly: When not in use, store your paper placemat in a clean and dry place to prevent it from getting damaged or wrinkled. Consider using a folder or envelope specifically designed to hold placemats to keep them organized and protected.
- Replace or Repurpose: Depending on the quality of the paper and frequency of use, your paper placemat may eventually wear out or become stained beyond cleaning. When this happens, consider replacing it with a new one or repurposing the old placemat for arts and crafts projects.
It’s important to note that paper placemats are not intended for long-term use or heavy-duty cleaning. However, they provide a cost-effective and customizable option for adding style and protection to your dining experience, especially for casual or themed occasions.
Conclusion
Congratulations on completing your DIY paper placemat! By following these simple steps, you have created a unique and personalized table accessory that adds a touch of style to your dining experience. Making your own placemat allows you to explore your creativity, choose your preferred colors and designs, and customize it to suit any occasion or theme.
Not only is making a paper placemat a fun and engaging activity, but it is also an eco-friendly option compared to disposable placemats. You can recycle or repurpose your paper placemat once it has served its purpose, making it a sustainable choice for your tableware.
Remember, the materials and decoration options are flexible, so feel free to experiment and try different techniques to make your placemats truly one-of-a-kind. Whether you are hosting a dinner party, celebrating a special occasion, or simply want to add a pop of color to your everyday meals, your homemade paper placemat will surely impress your guests and elevate the overall ambiance.
In addition to its aesthetic appeal, a paper placemat also serves a practical purpose by protecting your table from spills, stains, and scratches. By following the simple cleaning and maintenance tips provided, you can ensure that your placemat remains in good condition for repeated use.
So, gather your materials, unleash your creativity, and enjoy the process of making your own paper placemats. Get ready to impress your guests with a stylish and eco-friendly table setting. Cheers to your newfound DIY tableware skills!
Frequently Asked Questions about How To Make A Placemat Out Of Paper
Was this page helpful?
At Storables.com, we guarantee accurate and reliable information. Our content, validated by Expert Board Contributors, is crafted following stringent Editorial Policies. We're committed to providing you with well-researched, expert-backed insights for all your informational needs.

0 thoughts on “How To Make A Placemat Out Of Paper”