Articles
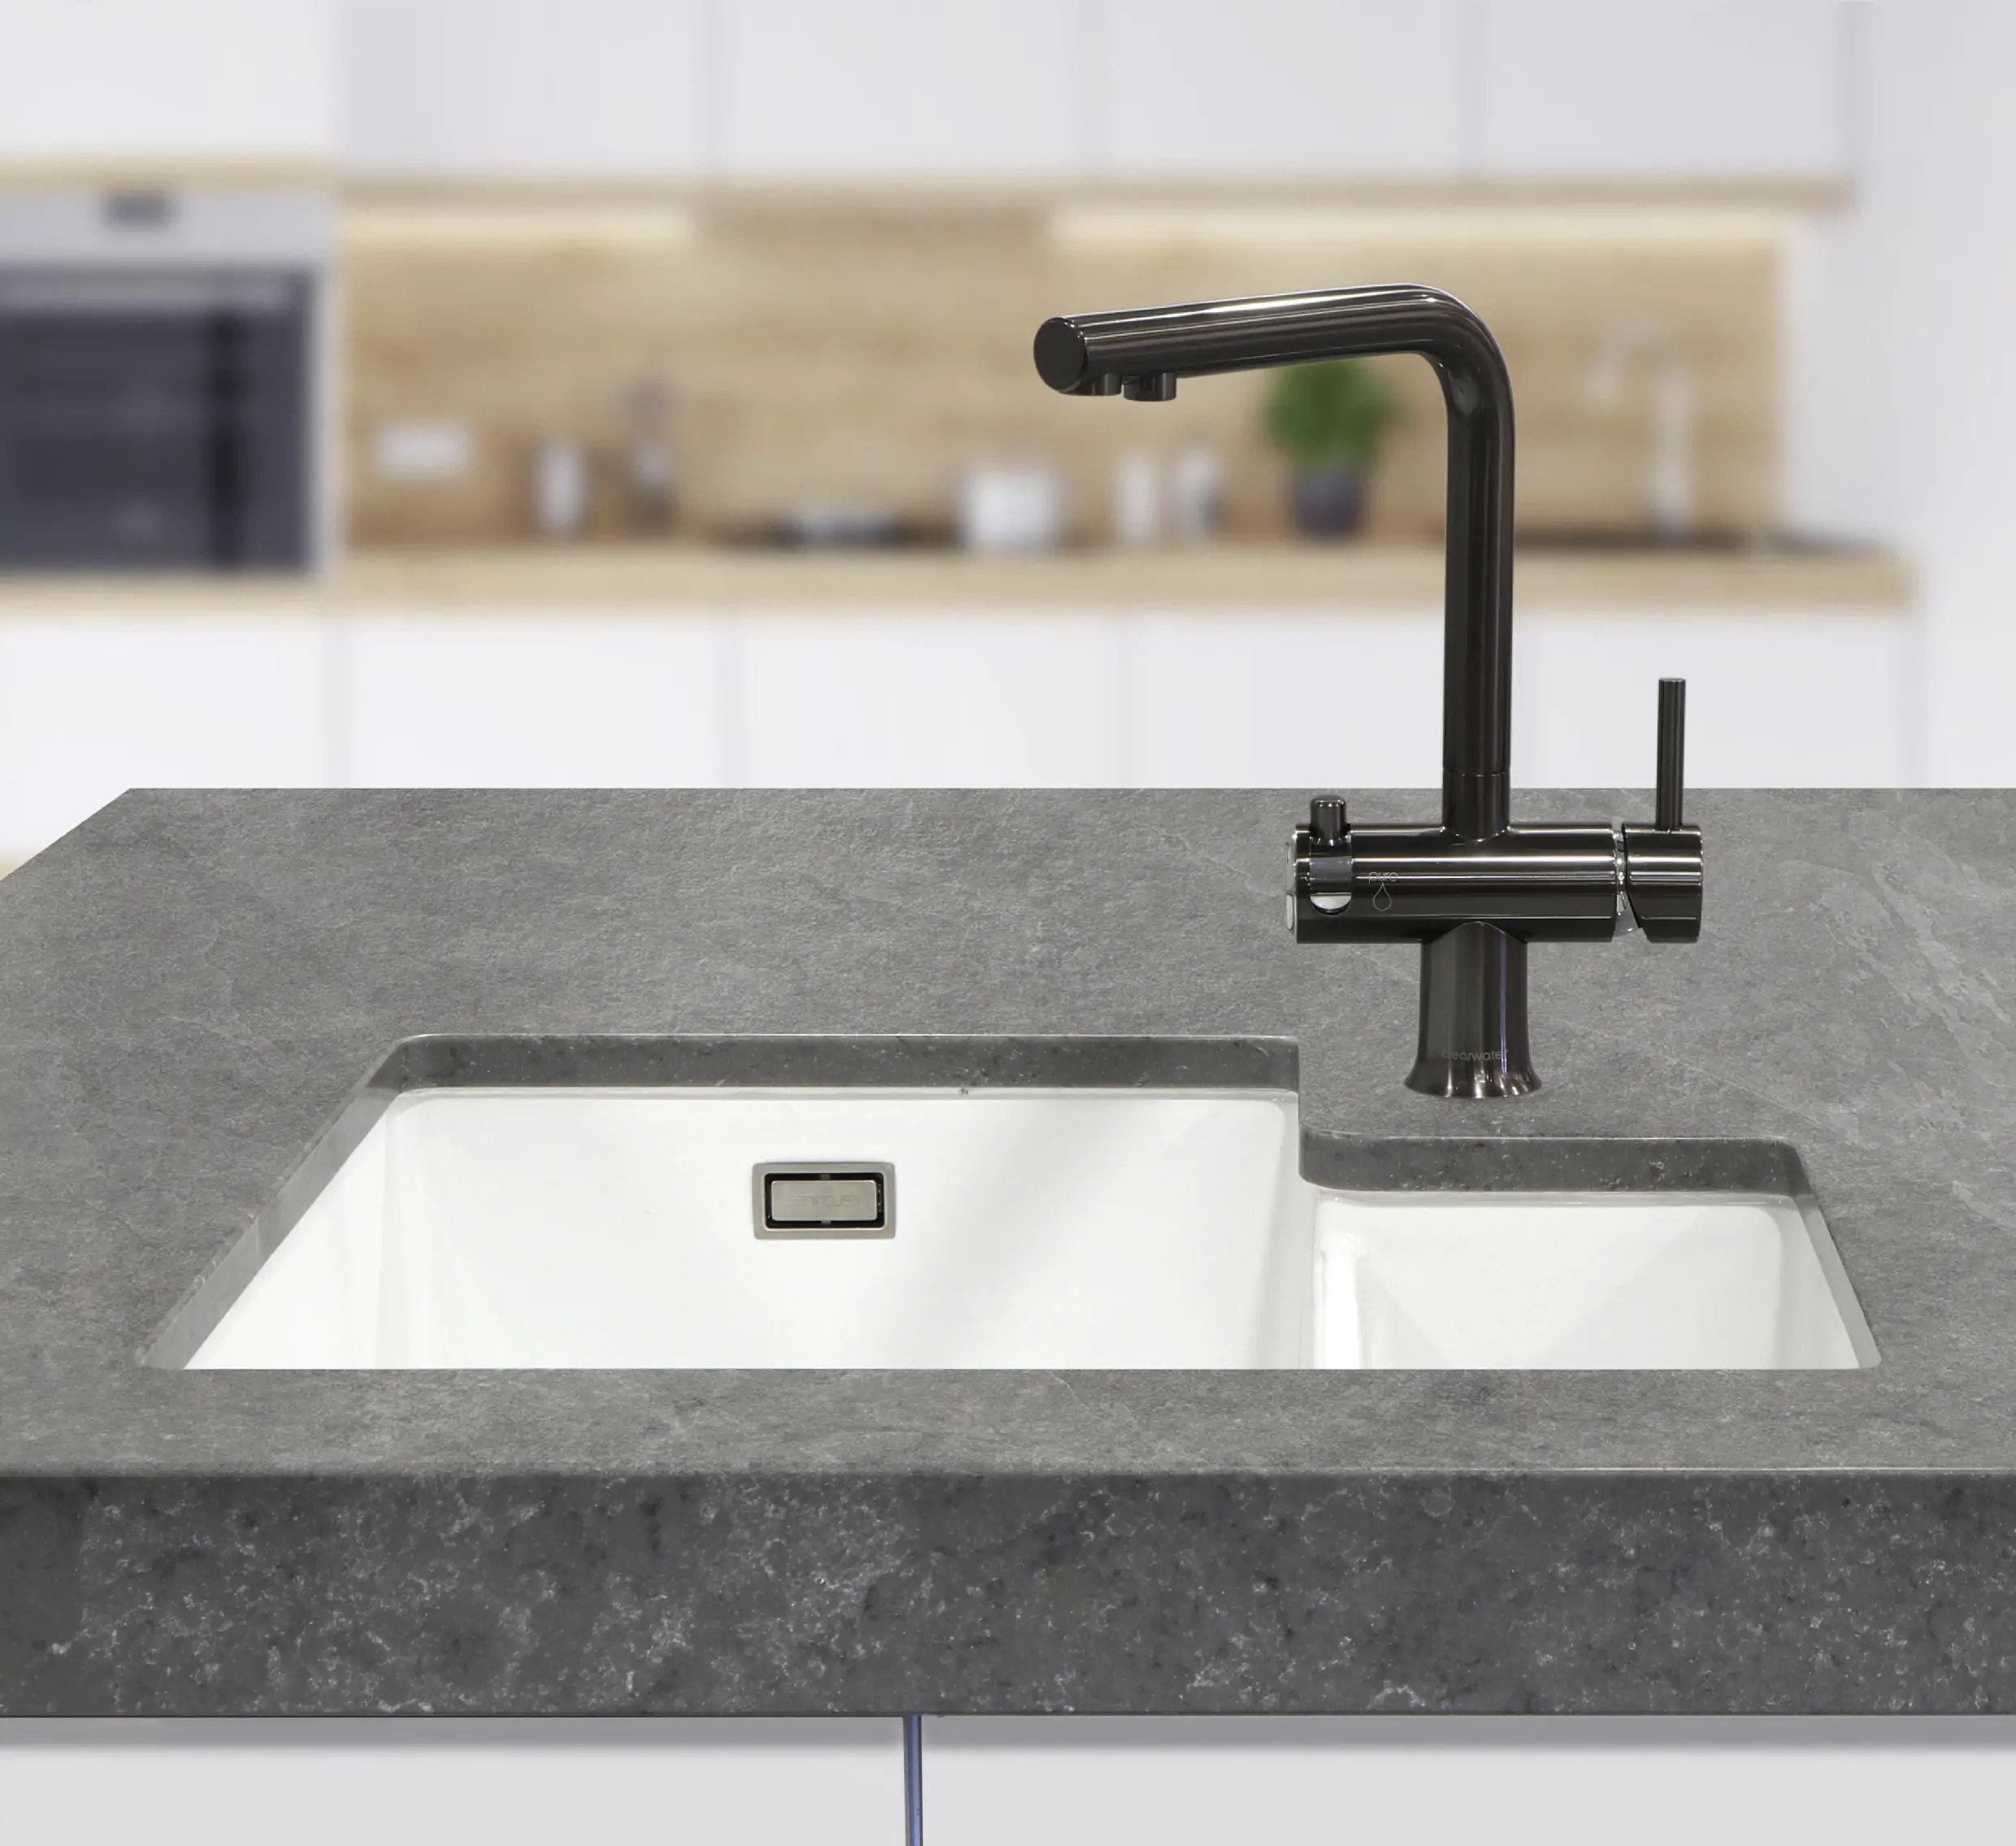
What To Use To Clean Kitchen Sink
Modified: October 20, 2024
Looking for the best articles on what to use to clean your kitchen sink? Discover effective cleaning solutions and tips for a sparkling clean sink.
(Many of the links in this article redirect to a specific reviewed product. Your purchase of these products through affiliate links helps to generate commission for Storables.com, at no extra cost. Learn more)
Introduction
When it comes to keeping your kitchen clean and hygienic, one area that often gets overlooked is the kitchen sink. We may use it every day for various tasks, such as washing dishes, cleaning vegetables, or even filling up a glass of water, but how often do we actually clean the sink itself? Neglecting to clean the kitchen sink not only leads to a buildup of dirt, grime, and bacteria but can also affect the overall cleanliness and appearance of your kitchen.
Regularly cleaning your kitchen sink is essential for maintaining a healthy and beautiful kitchen environment. Not only will it help prevent the growth of bacteria and eliminate unpleasant odors, but it will also prolong the lifespan of your sink and keep it looking fresh and appealing.
However, with so many cleaning products and methods available, it can be overwhelming to determine the best approach for cleaning your kitchen sink. In this article, we will explore the different types of kitchen sinks, the materials used in their construction, common cleaning mistakes to avoid, natural cleaning solutions, commercial cleaning products, and tips for proper maintenance. By the end of this article, you will have all the knowledge you need to effectively clean and care for your kitchen sink.
Key Takeaways:
- Regularly cleaning your kitchen sink is crucial for hygiene, odor elimination, maintaining appearance, and preventing damage. Choose gentle cleaning methods and avoid common cleaning mistakes for a sparkling and long-lasting sink.
- Natural cleaning solutions like vinegar, lemon juice, and baking soda, along with commercial cleaning products, offer effective options for keeping your kitchen sink clean. Follow proper maintenance tips to ensure a sanitary and visually appealing sink for years to come.
Read more: How To Clean A Drain And A Kitchen Sink
Importance of Cleaning the Kitchen Sink
Keeping your kitchen sink clean goes beyond just maintaining a tidy appearance. There are several important reasons why regular cleaning of the kitchen sink is essential:
- Hygiene: The kitchen sink is a breeding ground for bacteria and germs. From leftover food particles to dirty dishes, various substances can accumulate in the sink, providing an ideal environment for microbial growth. These bacteria can spread to your hands, utensils, and even food, increasing the risk of foodborne illnesses. Regular cleaning helps eliminate these harmful pathogens, promoting a clean and hygienic kitchen.
- Odor Elimination: A dirty kitchen sink can produce unpleasant smells, especially if there is a buildup of food debris or stagnant water. These odors can linger throughout your kitchen, impacting the overall ambiance. By cleaning the sink regularly, you can prevent foul smells from permeating your culinary space, ensuring a fresh and pleasant environment.
- Maintaining Appearance: Your kitchen sink, being a prominent feature, plays a vital role in the overall aesthetics of your kitchen. A clean and sparkling sink can instantly improve the visual appeal of your entire kitchen. On the other hand, a neglected sink with stains, limescale, or soap scum can degrade the beauty of your kitchen. Regular cleaning helps preserve the sink’s appearance, keeping it looking pristine and well-maintained.
- Preventing Damage: The accumulation of dirt, grime, and mineral deposits can damage the surface of your sink over time. Scratches, stains, and discoloration can all occur if the sink is not properly cleaned. By regularly cleaning the sink and using appropriate cleaning methods, you can prevent potential damage and prolong the lifespan of your sink.
Overall, a clean kitchen sink not only enhances the hygiene and beauty of your kitchen but also ensures the longevity of your sink. With so many benefits at stake, it’s crucial to incorporate regular cleaning of your kitchen sink into your cleaning routine.
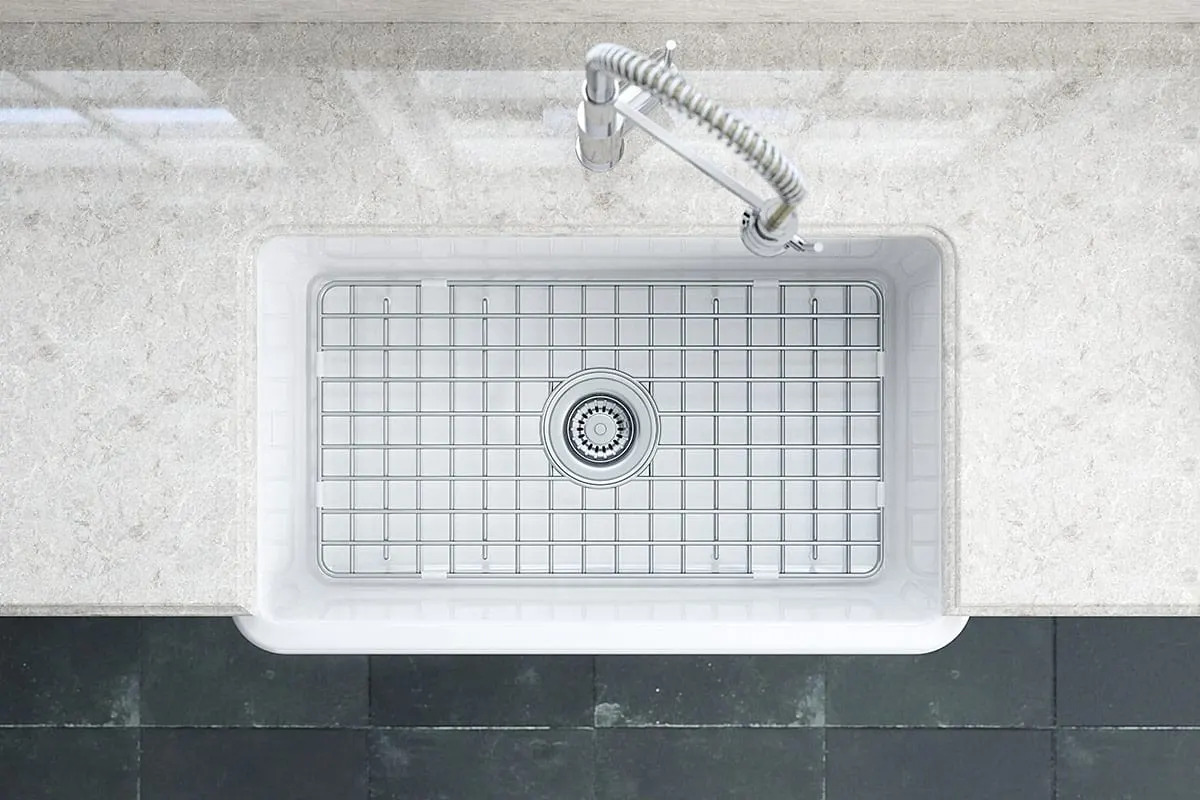
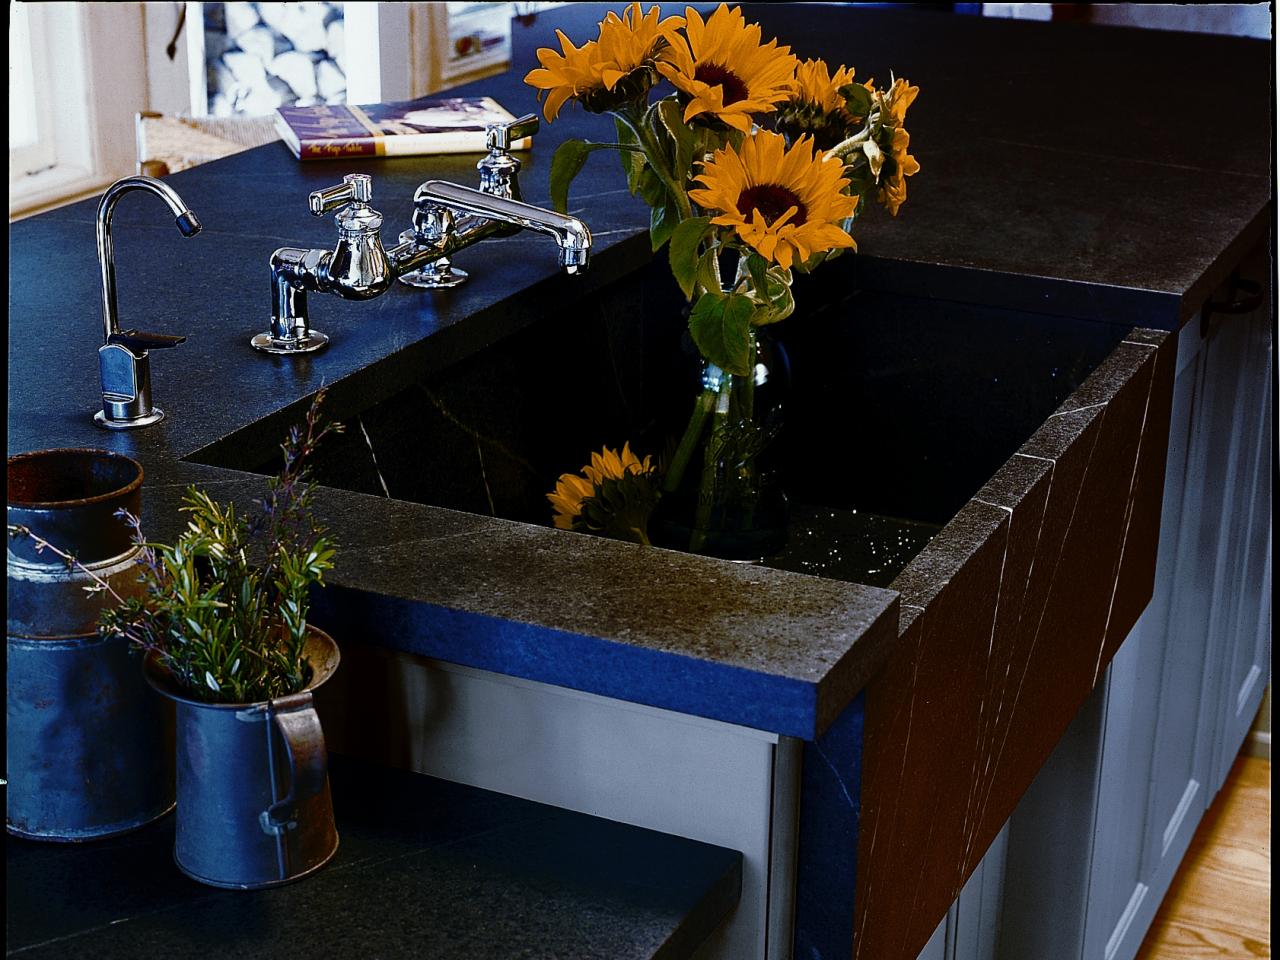
Types of Kitchen Sinks
Kitchen sinks come in various styles and designs, each with its own unique features and benefits. Here are some of the most common types of kitchen sinks:
- Top Mount Sink: Also known as a drop-in or self-rimming sink, the top mount sink is the most popular and versatile option. It is installed by dropping the sink into a pre-cut hole in the countertop, with the rim resting on top. This type of sink is easy to install and provides a seamless look.
- Undermount Sink: Unlike the top mount sink, the undermount sink is installed underneath the countertop, creating a sleek and seamless appearance. It offers a clean and modern look and is a popular choice for granite, marble, or solid surface countertops.
- Farmhouse Sink: Also known as an apron sink, the farmhouse sink is known for its deep basin and exposed front. It is a classic and elegant option that adds a touch of rustic charm to the kitchen. Farmhouse sinks are typically made of durable materials like fireclay or stainless steel.
- Single Bowl Sink: As the name suggests, a single bowl sink has only one basin. It is spacious and ideal for small kitchens or for those who prefer a minimalist design. Single bowl sinks are versatile and can accommodate large pots and pans.
- Double Bowl Sink: A double bowl sink consists of two separate basins, providing the convenience of multitasking. It allows you to separate tasks such as washing dishes and preparing food, making it a practical choice for busy kitchens.
- Corner Sink: Designed to fit into corner spaces, a corner sink utilizes otherwise unused areas in the kitchen. It maximizes countertop space and provides a unique and visually appealing layout.
- Bar Sink: Often installed in kitchen islands or wet bars, a bar sink is smaller in size and mainly used for prep work or to serve as a secondary sink. It is a convenient addition for those who frequently entertain guests or require an extra sink for various tasks.
These are just a few examples of the types of kitchen sinks available in the market. When choosing a sink, consider factors such as your kitchen layout, functionality needs, and personal style preferences to find the perfect fit for your kitchen.
Different Materials Used in Kitchen Sinks
When it comes to kitchen sinks, there are a variety of materials to choose from, each with its own unique characteristics and benefits. Here are some of the most common materials used in kitchen sinks:
- Stainless Steel: Stainless steel sinks are a popular choice due to their durability, affordability, and versatility. They are resistant to corrosion, stains, and heat, making them suitable for everyday use. Stainless steel sinks are available in different gauges, with a lower gauge indicating a thicker and more durable sink.
- Fireclay: Fireclay sinks are crafted from molded clay that is kiln-fired at extremely high temperatures. This results in a solid and durable sink with a smooth and glossy finish. Fireclay sinks are known for their resistance to stains, scratches, and fading, making them a great option for those seeking a classic and timeless sink.
- Cast Iron: Cast iron sinks are made by coating a cast iron core with enamel or porcelain. They are robust, durable, and able to withstand heavy use. Cast iron sinks come in various colors and finishes, adding a touch of elegance to any kitchen.
- Composite Granite: Composite granite sinks are made from a blend of granite stone dust and resin. They offer the beauty and durability of natural stone while being resistant to scratches, stains, and heat. Composite granite sinks are available in a range of colors and finishes to complement any kitchen style.
- Copper: Copper sinks are prized for their unique and distinctive appearance. They develop a beautiful patina over time, adding character to the sink. Copper sinks are antimicrobial, making them naturally resistant to bacteria. However, they require regular maintenance to prevent tarnishing and can be more expensive compared to other materials.
- Porcelain: Porcelain sinks, also known as ceramic sinks, feature a smooth and glossy surface. They are durable, easy to clean, and resistant to stains and scratches. Porcelain sinks come in a variety of shapes, sizes, and colors, making them a versatile option for any kitchen design.
These are just a few examples of the materials used in kitchen sinks. When choosing a sink material, consider factors such as durability, maintenance requirements, aesthetic appeal, and compatibility with your kitchen décor. Each material offers its unique benefits, so choose the one that best suits your needs and preferences.
Common Cleaning Mistakes to Avoid
When it comes to cleaning your kitchen sink, it’s important to be aware of common mistakes that can hinder your cleaning efforts or damage your sink. Here are some common cleaning mistakes to avoid:
- Using Abrasive Cleaners: Avoid using harsh or abrasive cleaners on your sink, especially if it is made of delicate materials like porcelain or fireclay. These cleaners can scratch or damage the surface of the sink. Instead, opt for gentler cleaning solutions specifically formulated for your sink material.
- Ignoring Hard Water Stains: Hard water stains can build up on your sink over time, leaving unsightly white deposits. Ignoring these stains can lead to long-term damage to the sink’s surface. Regularly remove hard water stains using vinegar or lemon juice to keep your sink looking clean and spotless.
- Neglecting to Dry the Sink: After cleaning your sink, make sure to thoroughly dry it with a clean, soft cloth. Allowing water to sit in the sink can lead to mineral deposits and streaks, diminishing the sink’s shine. Drying the sink helps prevent water spots and keeps the sink looking polished.
- Mixing Cleaning Products: While it may be tempting to mix various cleaning products together for a more potent cleaning solution, this can be dangerous. Mixing certain chemicals can result in harmful reactions and release toxic fumes. Always follow the instructions on cleaning product labels and avoid mixing different cleaners.
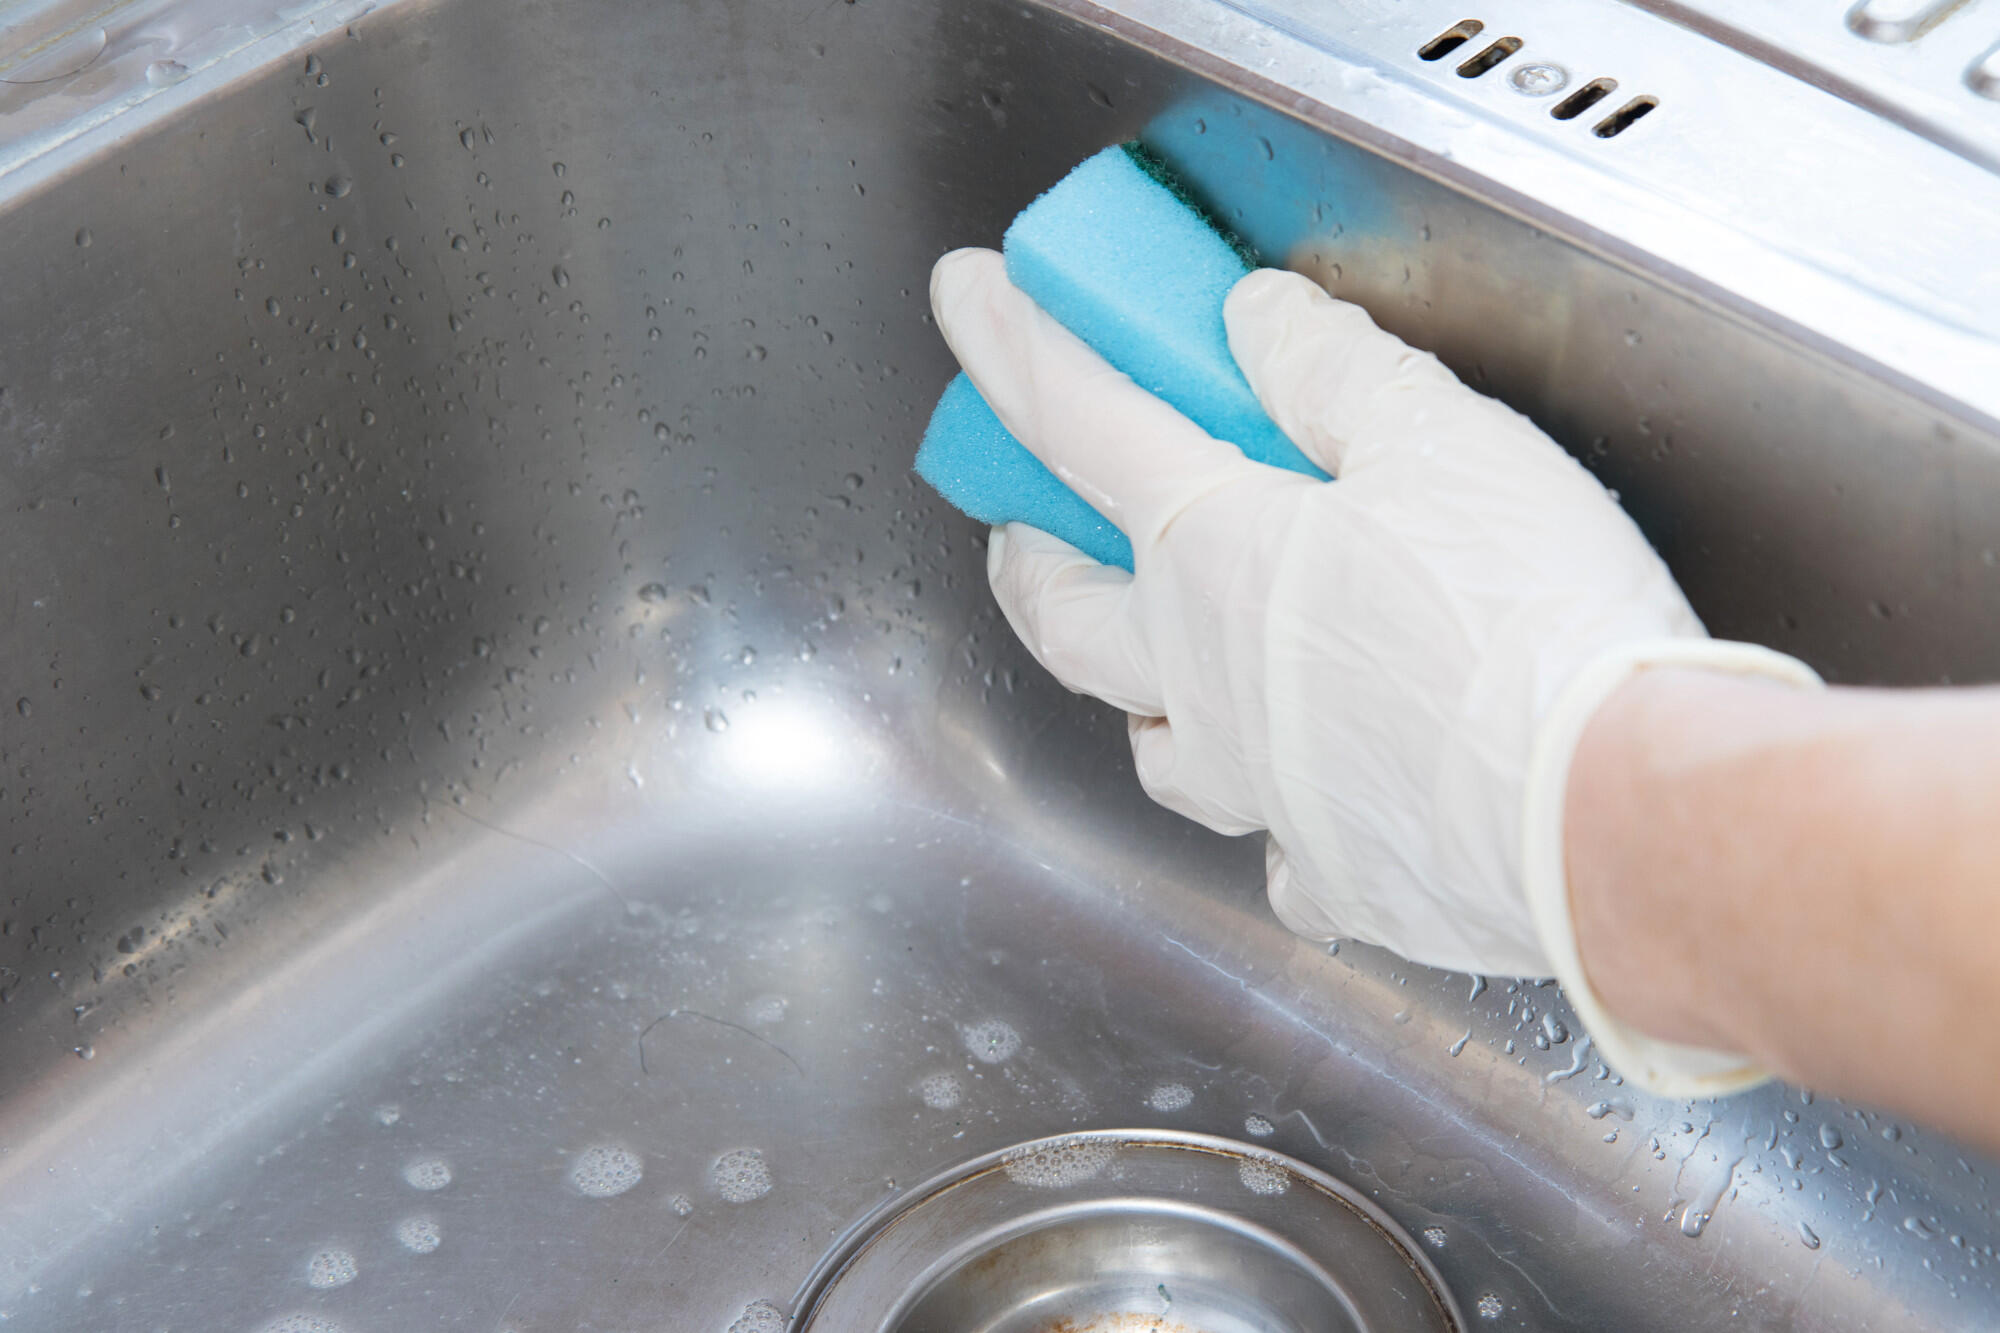
- Using Steel Wool or Scrub Brushes: While stainless steel sinks are durable, using steel wool or abrasive scrub brushes can lead to scratches or dulling of the surface. Opt for non-abrasive sponges or soft cloths when cleaning your sink to avoid causing damage.
- Forgetting about the Garbage Disposal: In addition to cleaning the sink itself, don’t forget to clean and deodorize the garbage disposal. Regularly running ice cubes, citrus peels, or baking soda and vinegar through the disposal can help eliminate odors and keep it running smoothly.
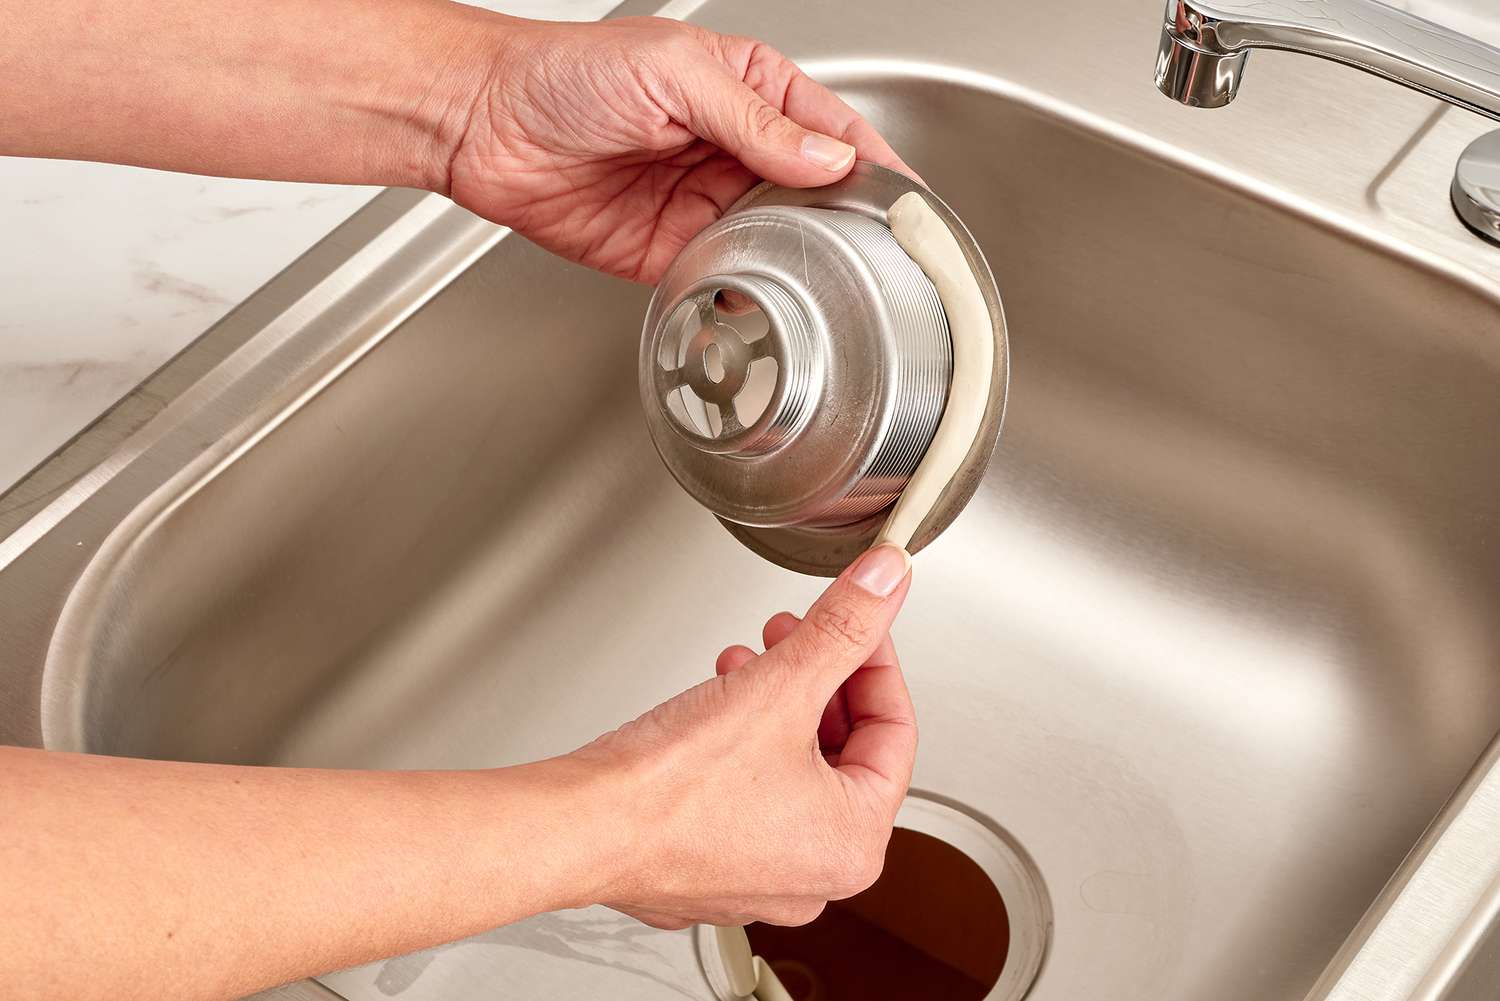
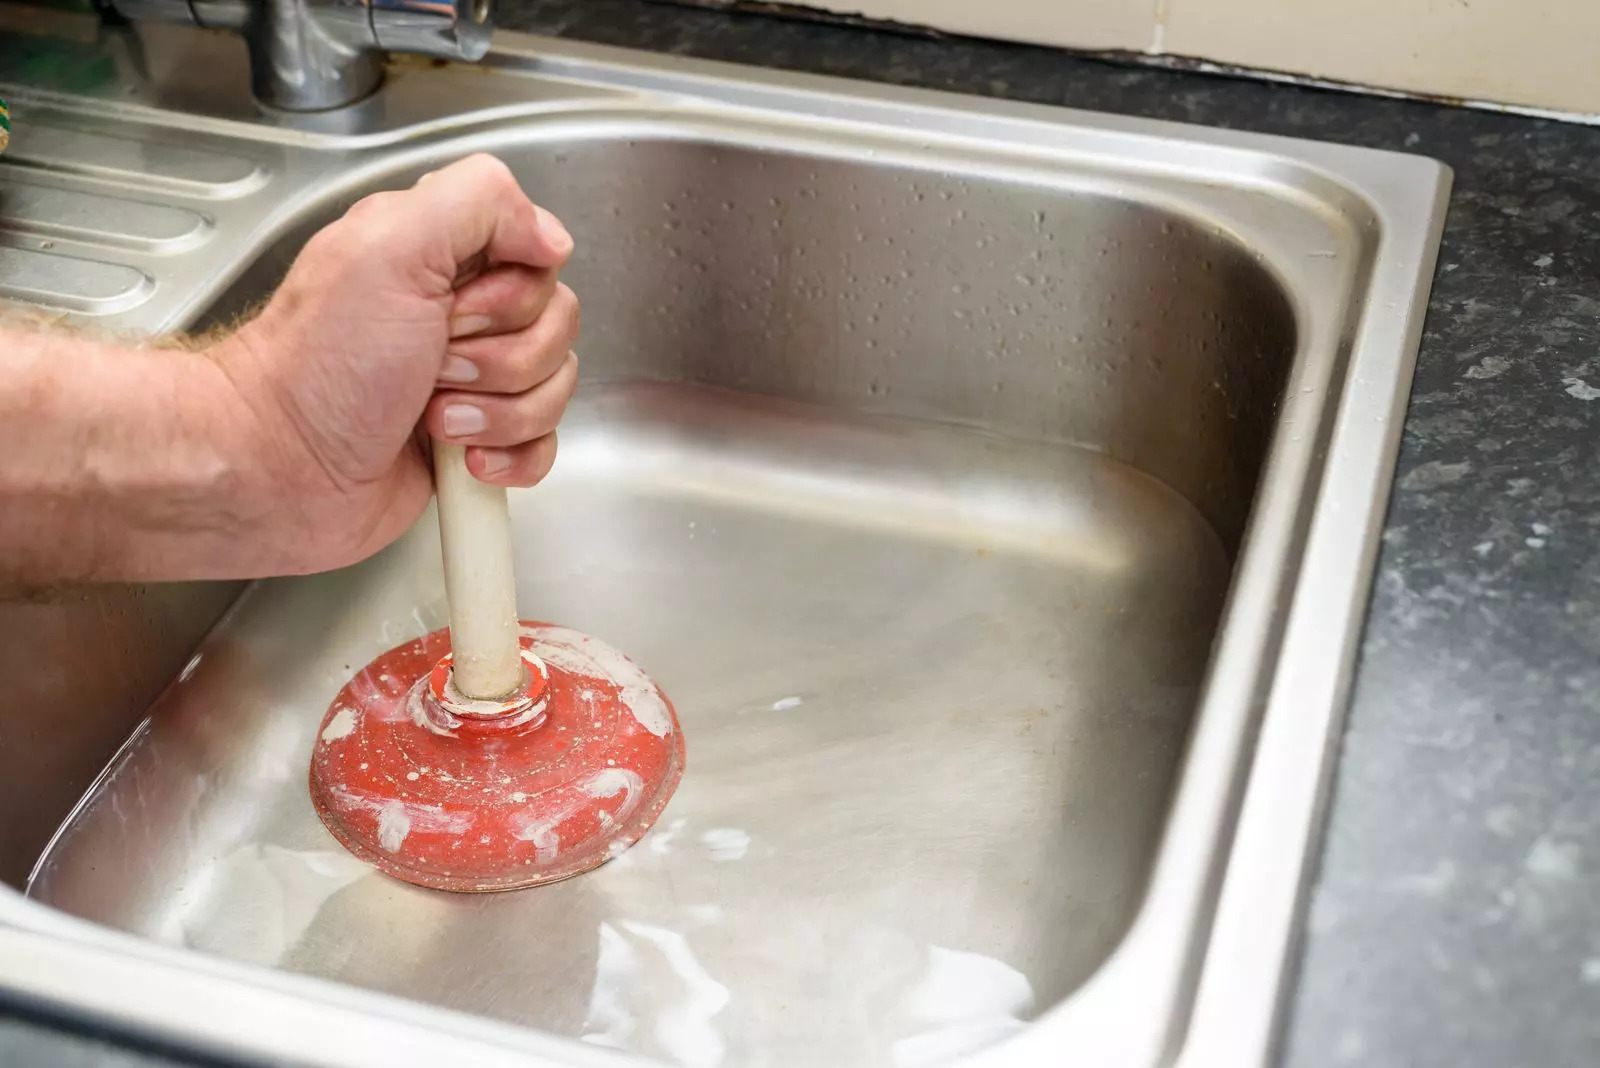
- Neglecting the Sink Overflow: Don’t forget to clean the sink overflow, which is the small opening near the top of the sink that prevents water from overflowing. This area can accumulate grime and bacteria if not cleaned regularly. Use a small brush or toothbrush to clean the overflow and keep it free from debris.
- Skipping Regular Maintenance: Cleaning your sink regularly is important, but don’t forget about routine maintenance. Check for any loose parts, seals, or leaks, and address them promptly. This will help extend the lifespan of your sink and ensure its proper functioning.
By avoiding these common cleaning mistakes, you can effectively clean your kitchen sink without causing damage or compromising its appearance. Take care of your sink, and it will continue to serve you well for years to come.
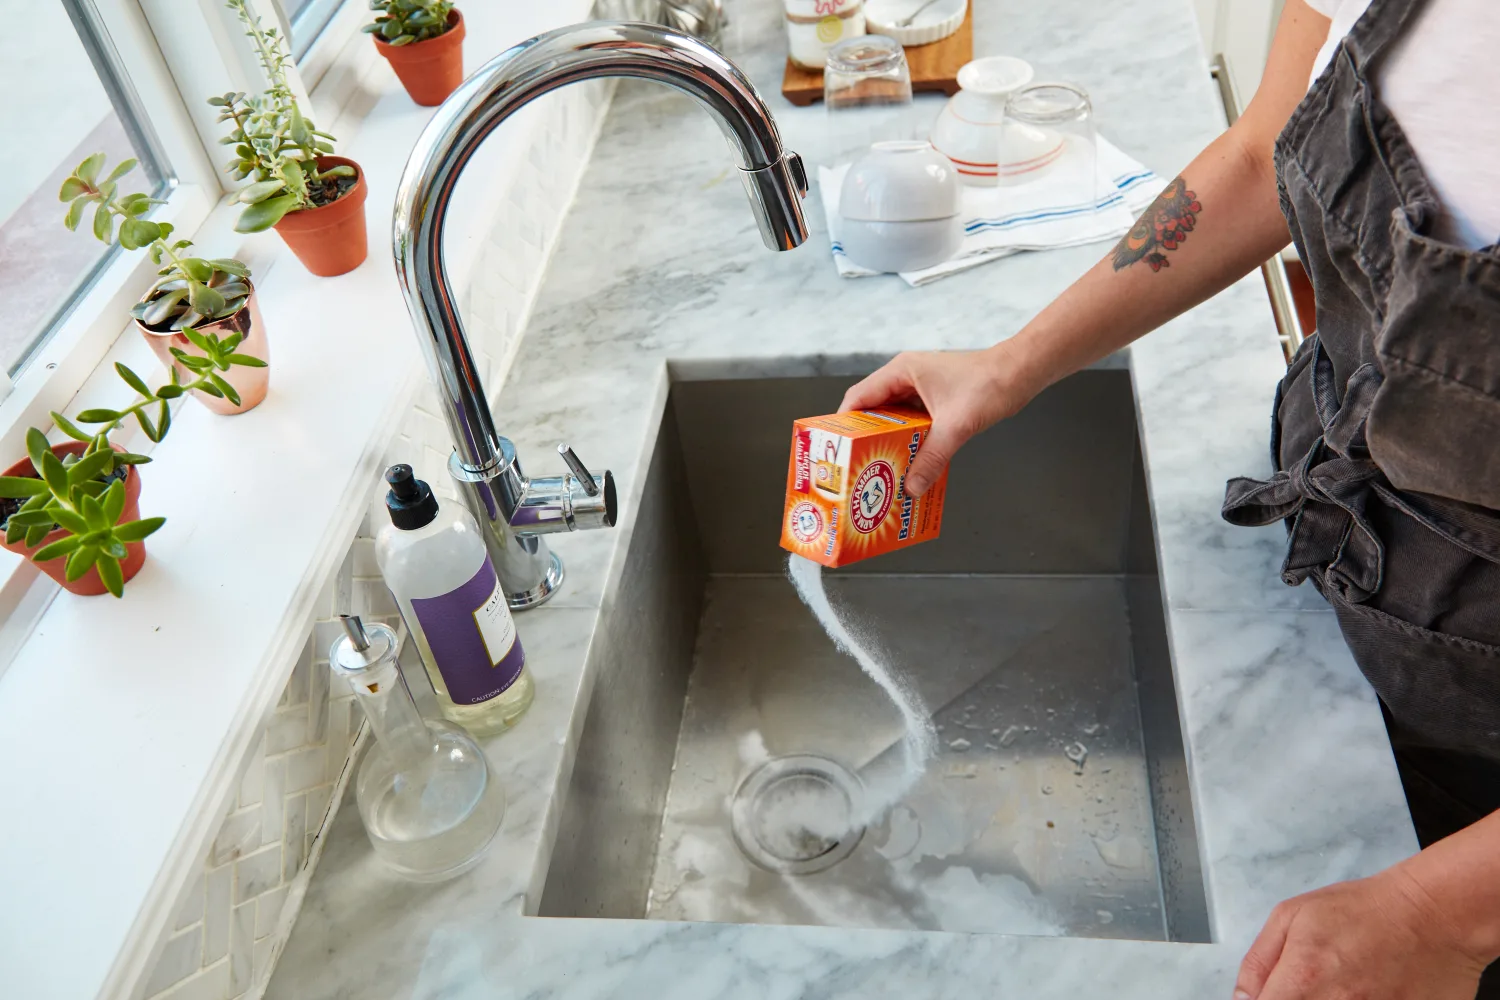
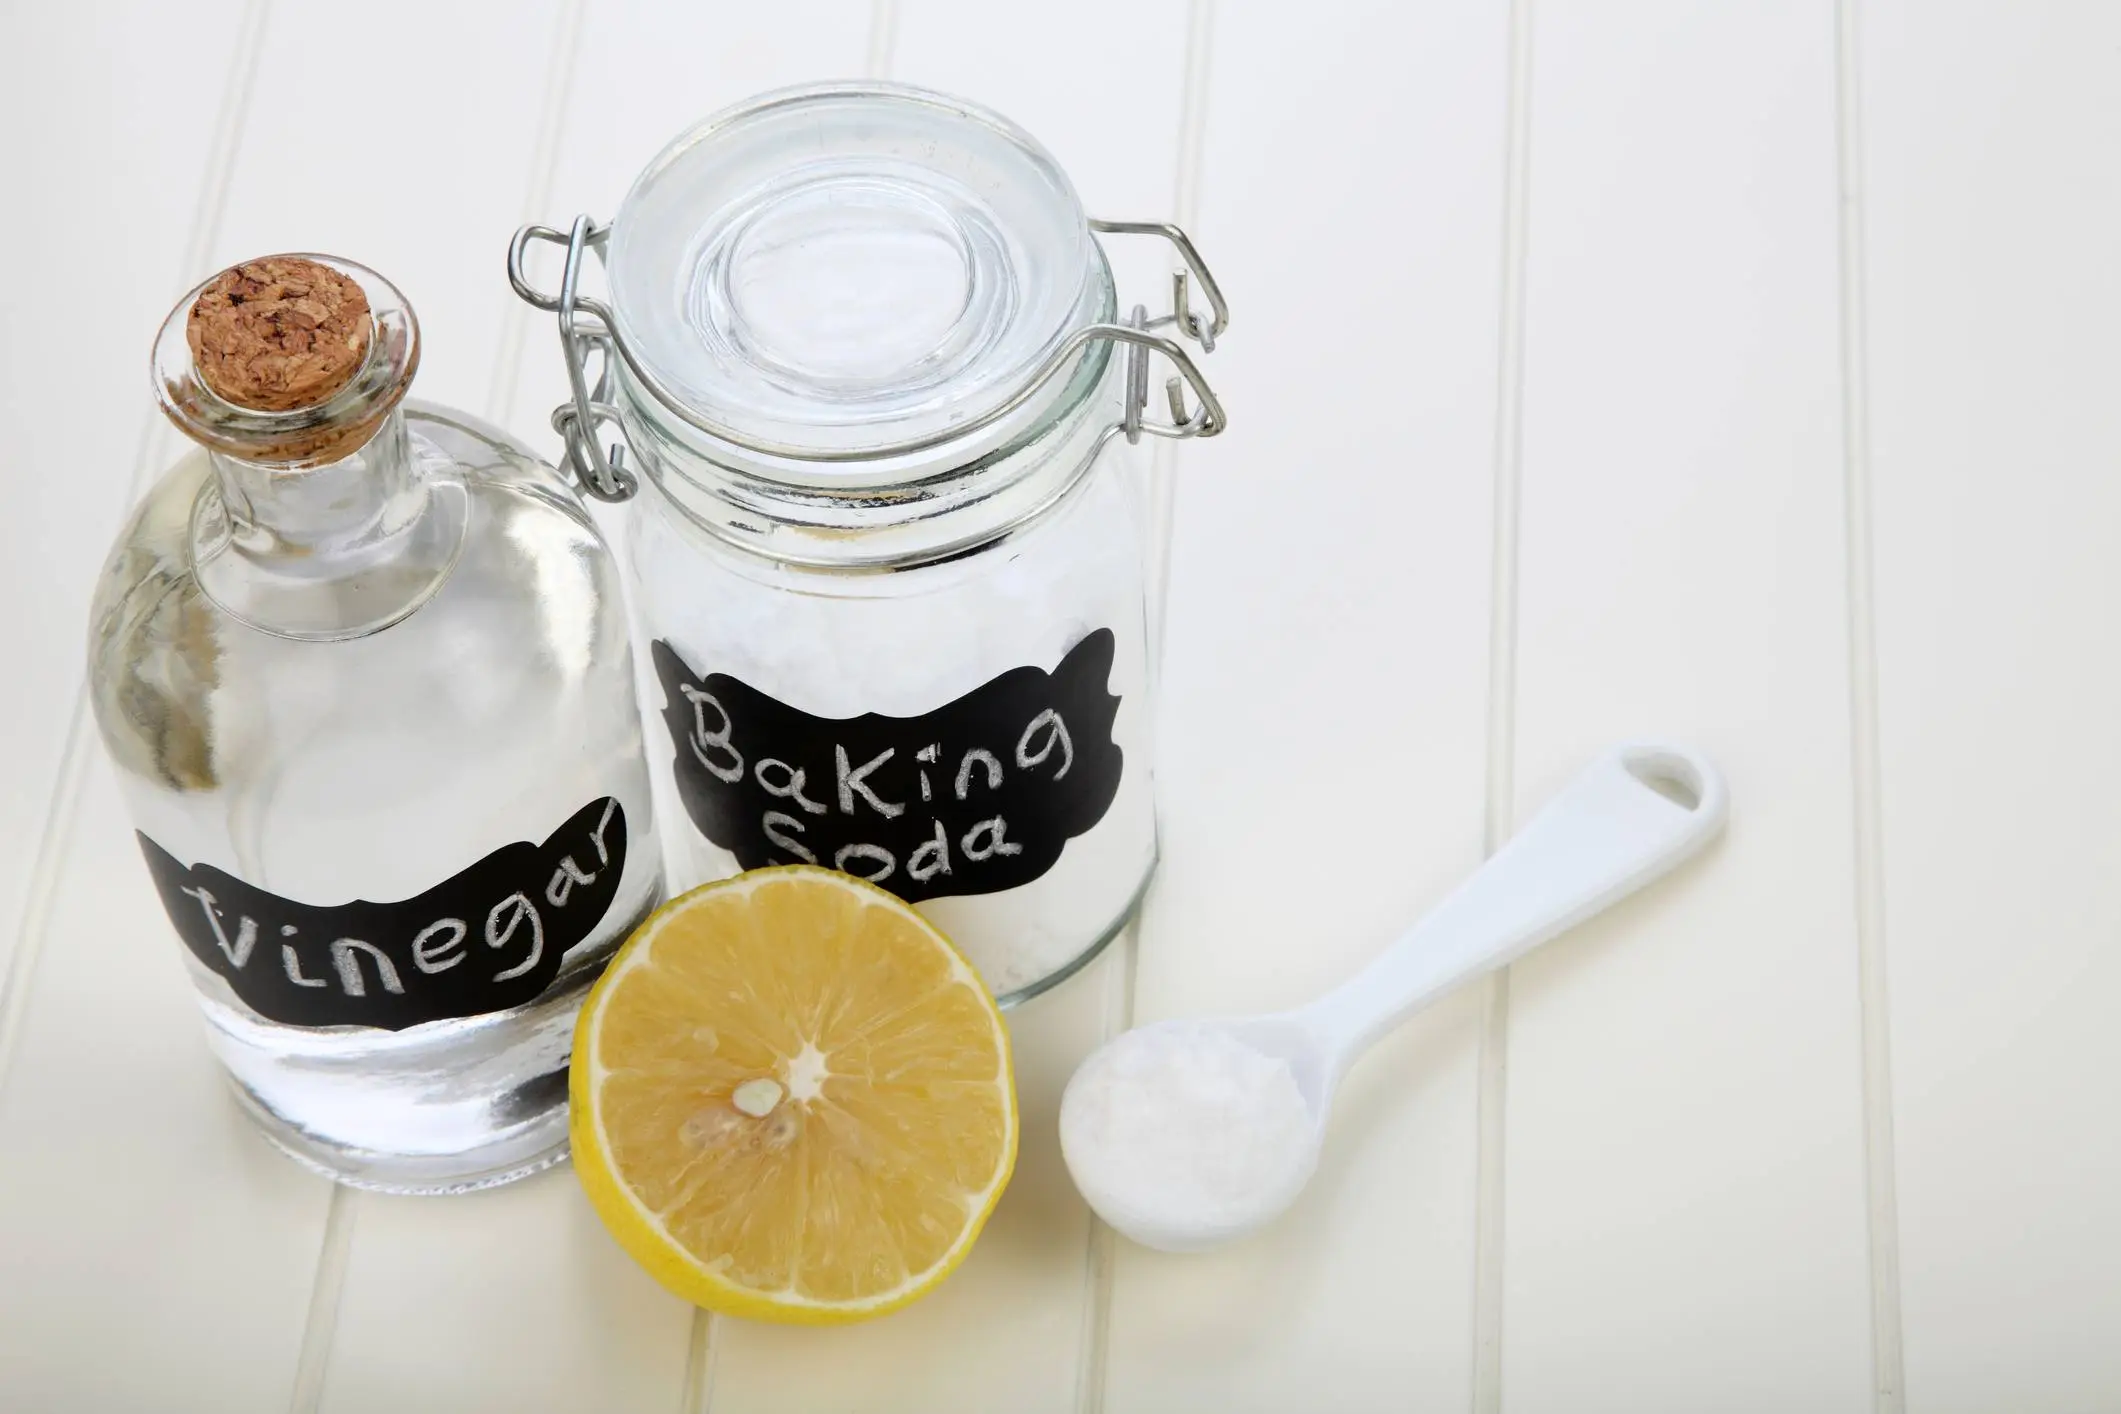
Use a mixture of baking soda and vinegar to clean your kitchen sink. Sprinkle baking soda, then pour vinegar and let it sit for 15 minutes before scrubbing with a brush and rinsing with hot water.
Read more: What To Clean Bathroom Sink With
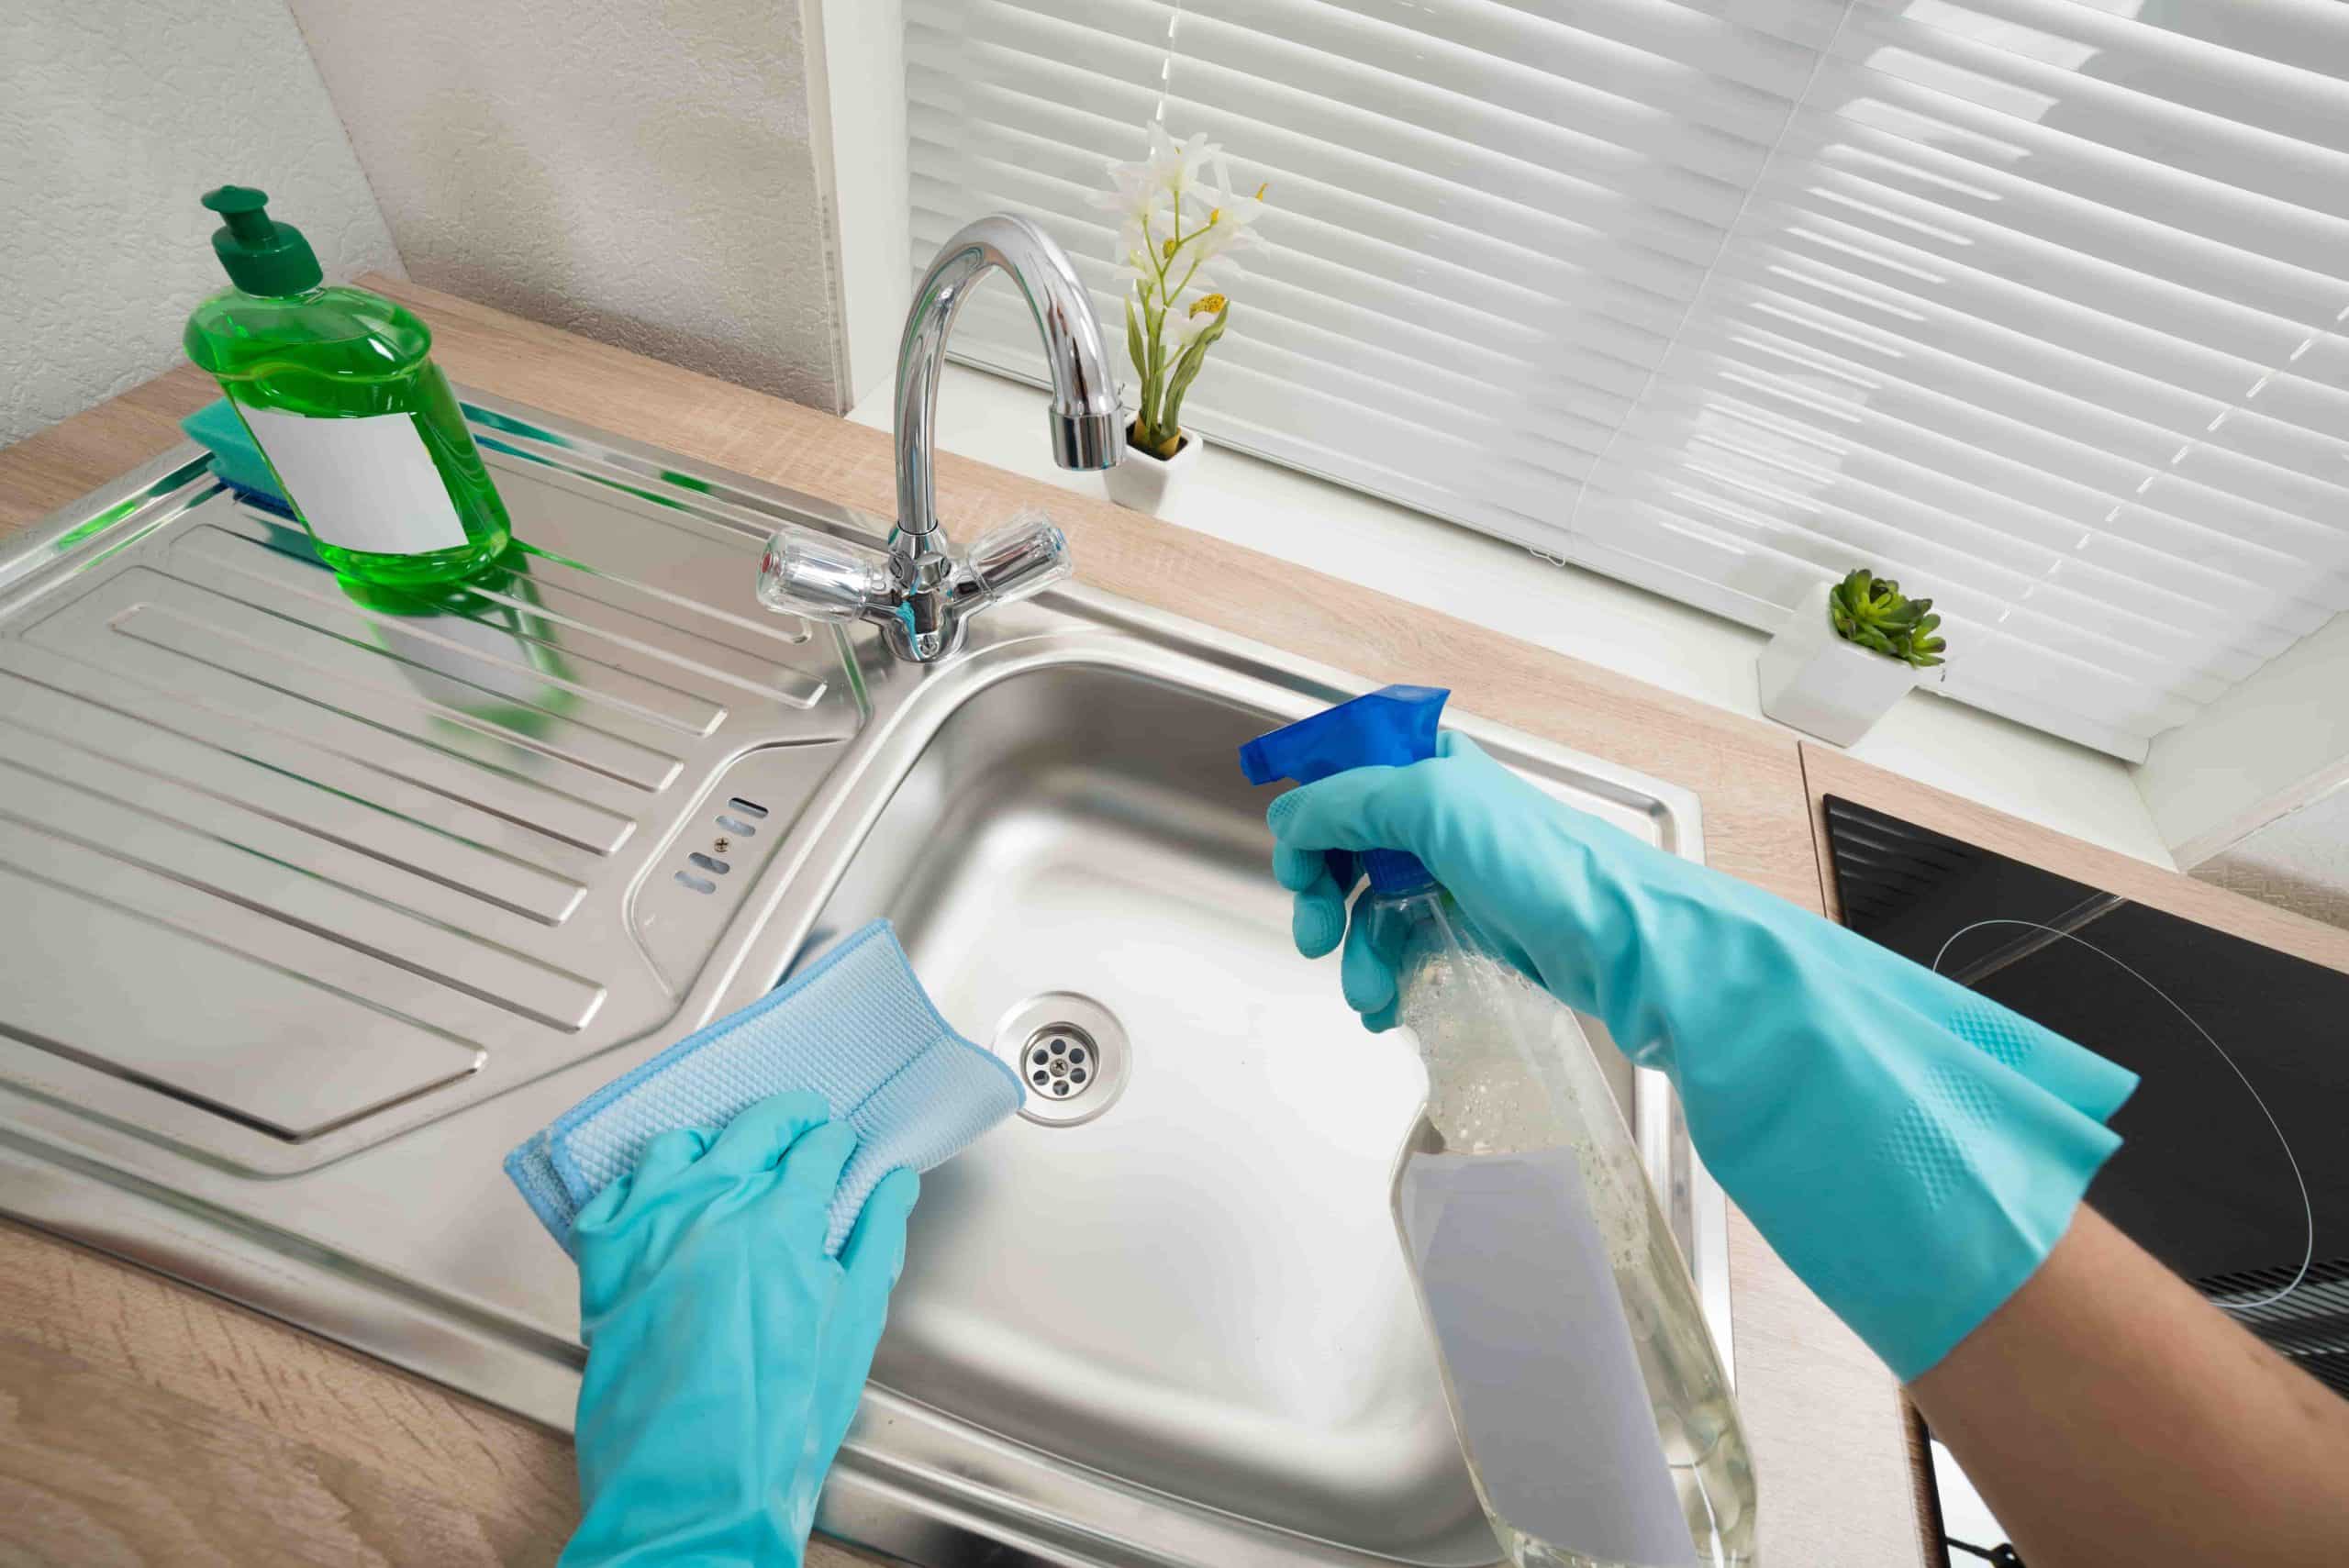
Natural Cleaning Solutions for Kitchen Sink
If you prefer to use natural cleaning solutions, there are several effective and eco-friendly options for cleaning your kitchen sink. These natural ingredients are safe, readily available, and can effectively remove dirt, grime, and stains. Here are some natural cleaning solutions to try:
- Vinegar and Water: Vinegar is a versatile and effective natural cleaner. Mix equal parts white vinegar and water in a spray bottle. Spray the solution onto the sink’s surface and let it sit for a few minutes. Scrub the sink with a soft brush or sponge, paying attention to any stained or dirty areas. Rinse thoroughly with water afterward to remove any residual vinegar smell.
- Lemon Juice: Lemon juice is a natural acid that works well for removing stains and cutting through grease. Squeeze some fresh lemon juice onto the sink’s surface and use a sponge or soft cloth to scrub the sink. Let it sit for a few minutes before rinsing with water. The refreshing citrus scent of lemons will leave your sink smelling fresh.
- Baking Soda: Baking soda is a gentle and versatile cleaning agent that effectively removes stains and eliminates odors. Sprinkle baking soda onto the sink’s surface and use a damp cloth or sponge to scrub the sink. For tough stains, create a paste of baking soda and water, apply it to the stained areas, and let it sit for a few minutes before scrubbing. Rinse thoroughly with water to reveal a clean and sparkling sink.
- Salt and Vinegar: For stubborn stains or mineral deposits, create a paste of salt and vinegar. Apply the paste to the affected areas and let it sit for a few minutes. Scrub the sink with a sponge, paying extra attention to the stained areas. Rinse thoroughly with water to remove the paste, revealing a clean and shiny sink.
- Hydrogen Peroxide: Hydrogen peroxide is a natural disinfectant that can effectively kill bacteria and remove stains. Mix equal parts hydrogen peroxide and water in a spray bottle. Spray the solution onto the sink’s surface and let it sit for a few minutes. Scrub the sink with a sponge or brush, focusing on any stained or dirty areas. Rinse thoroughly with water afterward.
These natural cleaning solutions are not only effective but also safe for you and the environment. They offer a cost-effective and chemical-free way to keep your kitchen sink clean and hygienic. Experiment with these natural ingredients to find the combination that works best for your sink and enjoy a fresh and sparkling kitchen sink the natural way.
Commercial Cleaning Products for Kitchen Sink
If you prefer to use commercial cleaning products for your kitchen sink, there are numerous options available specifically formulated to effectively clean and sanitize sinks. These products are designed to tackle tough stains, eliminate germs, and leave your sink looking fresh and shiny. Here are some popular commercial cleaning products for kitchen sinks:
- All-Purpose Cleaners: All-purpose cleaners are versatile and can be used to clean various surfaces, including kitchen sinks. Look for all-purpose cleaners that are specifically labeled for use on sinks. These cleaners typically contain surfactants and mild abrasives to remove dirt, grime, and stains without causing damage to your sink’s surface.
- Disinfectant Sprays: Disinfectant sprays are a great option for killing germs and bacteria in your kitchen sink. Look for disinfectant sprays that are labeled as effective against a wide range of bacteria, viruses, and fungi. These sprays can quickly sanitize your sink, providing a hygienic environment in your kitchen.
- Liquid Dish Soap: While primarily designed for washing dishes, liquid dish soap can also be used to clean your kitchen sink. It effectively removes grease and grime and leaves your sink looking clean and fresh. Choose a gentle dish soap that is tough on grease but gentle on your sink’s surface.
- Stainless Steel Cleaners: If you have a stainless steel sink, consider using a specialized stainless steel cleaner. These cleaners are formulated to remove fingerprints, water spots, and stains specific to stainless steel surfaces. They leave a protective layer that helps prevent future smudges and maintains the sink’s shine.
- Enamel or Porcelain Cleaners: For sinks made of enamel or porcelain, look for cleaners specifically formulated for these materials. These cleaners are gentle on the delicate surface of your sink and effectively remove stains, soap scum, and mineral deposits. Follow the instructions on the cleaner’s label to ensure proper application.
- Lime and Rust Removers: If your sink has stubborn lime or rust stains, consider using lime and rust removers. These products are specifically designed to dissolve and remove tough mineral deposits. However, be cautious when using such products and ensure they are compatible with your sink’s material.
When using commercial cleaning products, always follow the instructions provided on the label to ensure proper usage and safety. It’s also a good idea to test any new cleaning product on a small, inconspicuous area of your sink to ensure compatibility and to avoid potential damage.
Commercial cleaning products offer convenience and efficacy, making them a popular choice for many homeowners. Choose the appropriate products for your sink’s material, and enjoy a clean and sparkling sink with the help of these commercial cleaning solutions.
Tips for Proper Maintenance of Kitchen Sink
Proper maintenance of your kitchen sink is essential for keeping it clean, hygienic, and in good condition. By following these tips, you can ensure the longevity and functionality of your sink:
- Regular Cleaning: Clean your kitchen sink regularly to prevent the buildup of dirt, grime, and bacteria. Develop a cleaning routine that suits your needs and lifestyle. Aim to clean the sink at least once a week or more frequently if needed.
- Use Gentle Cleaning Methods: When cleaning your sink, use gentle cleaning methods to avoid scratching or damaging the surface. Avoid abrasive scrub brushes or harsh cleaning products that can cause scratches or dullness.
- Avoid Leaving Standing Water: After using the sink, make sure to empty it and dry it thoroughly. Avoid leaving standing water in the sink for extended periods as it can lead to mineral deposits and water spots.
- Prevent Stains: To prevent stains on your sink, avoid leaving coffee grounds, tea bags, or food residues in the sink for too long. Rinse your sink immediately after use, especially if you have spilled or cooked with strongly colored substances.
- Protect the Sink from Heavy Impact: Be cautious when handling heavy pots, pans, or sharp objects in your sink to prevent any damage. Consider using sink mats or protective grids to cushion the sink’s surface and prevent scratches or dents.
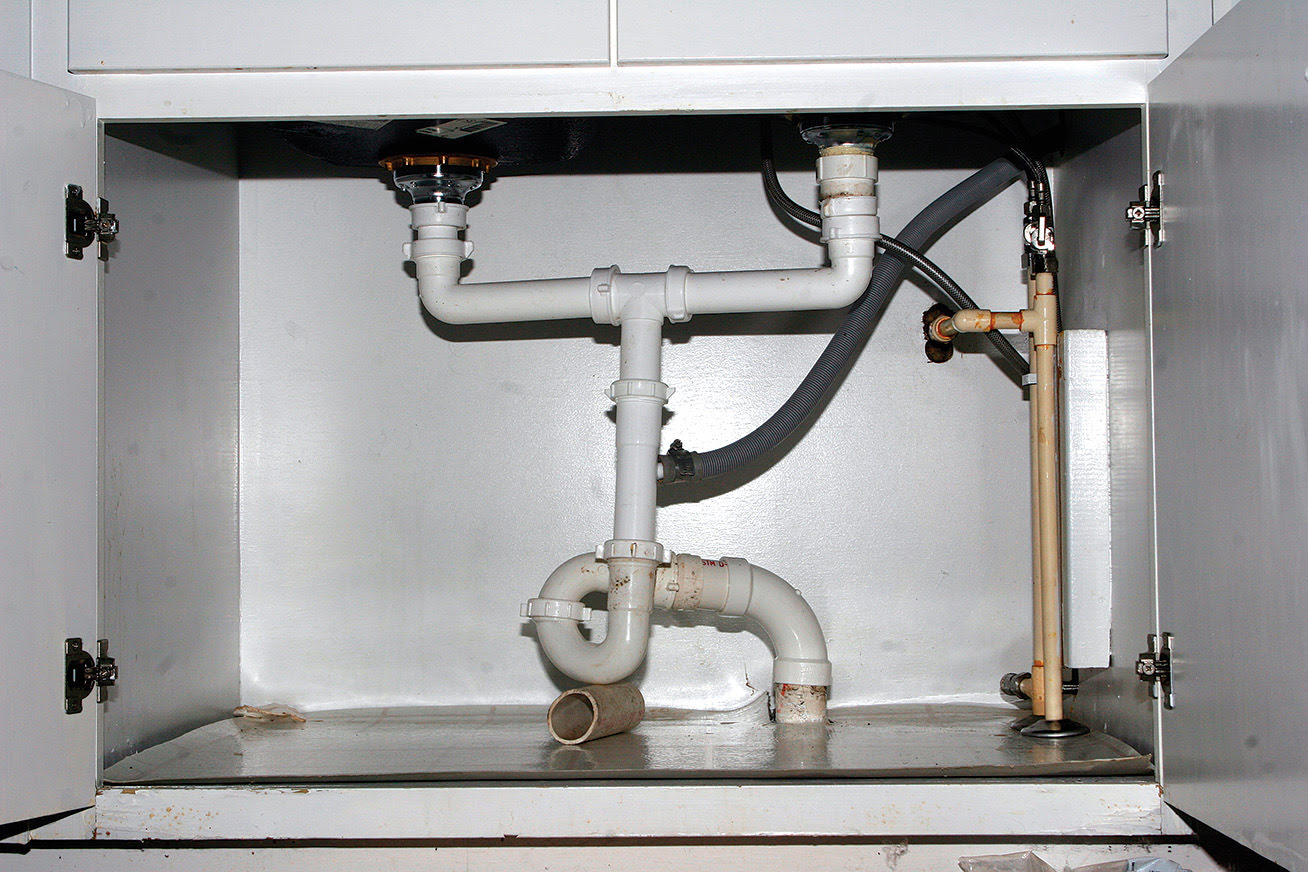
- Don’t Pour Harsh Chemicals Down the Drain: Avoid pouring harsh chemicals or drain cleaners down the sink as they can corrode the pipes and damage the sink’s finish. Instead, use natural or commercial drain cleaners specifically designed for kitchen sinks.
- Prevent Limescale Buildup: If you live in an area with hard water, use a water softener or install a water filter to reduce limescale buildup in your sink. Additionally, wipe the sink dry after each use to prevent mineral deposits from accumulating.
- Inspect for Leaks or Loose Parts: Regularly inspect your sink for any leaks or loose parts, such as faucets or drain fittings. Address any issues promptly to avoid further damage and ensure the proper functioning of your sink.
- Avoid Exposing to Extreme Temperatures: Avoid pouring boiling water or freezing water directly into your sink, as this can cause thermal shock and potentially damage the sink. Use caution when handling extreme temperatures around your sink.
- Maintain the Sink’s Surroundings: Take care of the area around your sink as well. Wipe spills and splashes immediately, clean the countertops regularly, and avoid using harsh chemicals or abrasive materials on the surrounding surfaces.
By following these maintenance tips, you can keep your kitchen sink looking clean and in optimal condition for years to come. Regular care and proper maintenance will ensure that your sink remains a functional and visually appealing centerpiece of your kitchen for a long time.
Conclusion
Keeping your kitchen sink clean and well-maintained is crucial for a hygienic and visually appealing kitchen. By regularly cleaning and properly caring for your sink, you can prevent the buildup of dirt, grime, bacteria, and stains, ensuring a clean and sanitary environment for food preparation and dishwashing.
In this article, we discussed the importance of cleaning the kitchen sink and explored various types of kitchen sinks available, each with its unique features and benefits. We also delved into the different materials used in kitchen sinks, allowing you to make an informed choice based on durability, style, and maintenance requirements.
We also highlighted common cleaning mistakes to avoid, such as using abrasive cleaners, neglecting to dry the sink, or mixing cleaning products. By avoiding these mistakes, you can maintain the integrity of your sink and prevent potential damage.
To address different preferences, we provided natural cleaning solutions using ingredients like vinegar, lemon juice, baking soda, and hydrogen peroxide. Additionally, we discussed the availability of commercial cleaning products specifically designed for different sink materials, which offer convenience and effectiveness.
Finally, we shared tips for proper maintenance of kitchen sinks, including regular cleaning, gentle cleaning methods, and preventing stains and damage. By following these tips, you can ensure the longevity and functionality of your sink while maintaining a clean and sanitary kitchen environment.
In conclusion, investing time and effort in the proper care and maintenance of your kitchen sink is essential for a healthy, functional, and beautiful kitchen. Whether you choose natural cleaning solutions or opt for commercial cleaners, remember to personalize your approach based on your sink’s material and specific cleaning needs. With regular cleaning and proper maintenance, your kitchen sink will continue to shine, providing a clean and inviting space for all your culinary adventures.
Frequently Asked Questions about What To Use To Clean Kitchen Sink
Was this page helpful?
At Storables.com, we guarantee accurate and reliable information. Our content, validated by Expert Board Contributors, is crafted following stringent Editorial Policies. We're committed to providing you with well-researched, expert-backed insights for all your informational needs.


0 thoughts on “What To Use To Clean Kitchen Sink”