Home>Renovation & DIY>Home Renovation Guides>How To Do A Herringbone Backsplash
Home Renovation Guides
How To Do A Herringbone Backsplash
Modified: August 26, 2024
Learn how to create a stunning herringbone backsplash with our comprehensive home renovation guide. Transform your space with our expert tips and advice.
(Many of the links in this article redirect to a specific reviewed product. Your purchase of these products through affiliate links helps to generate commission for Storables.com, at no extra cost. Learn more)
Introduction
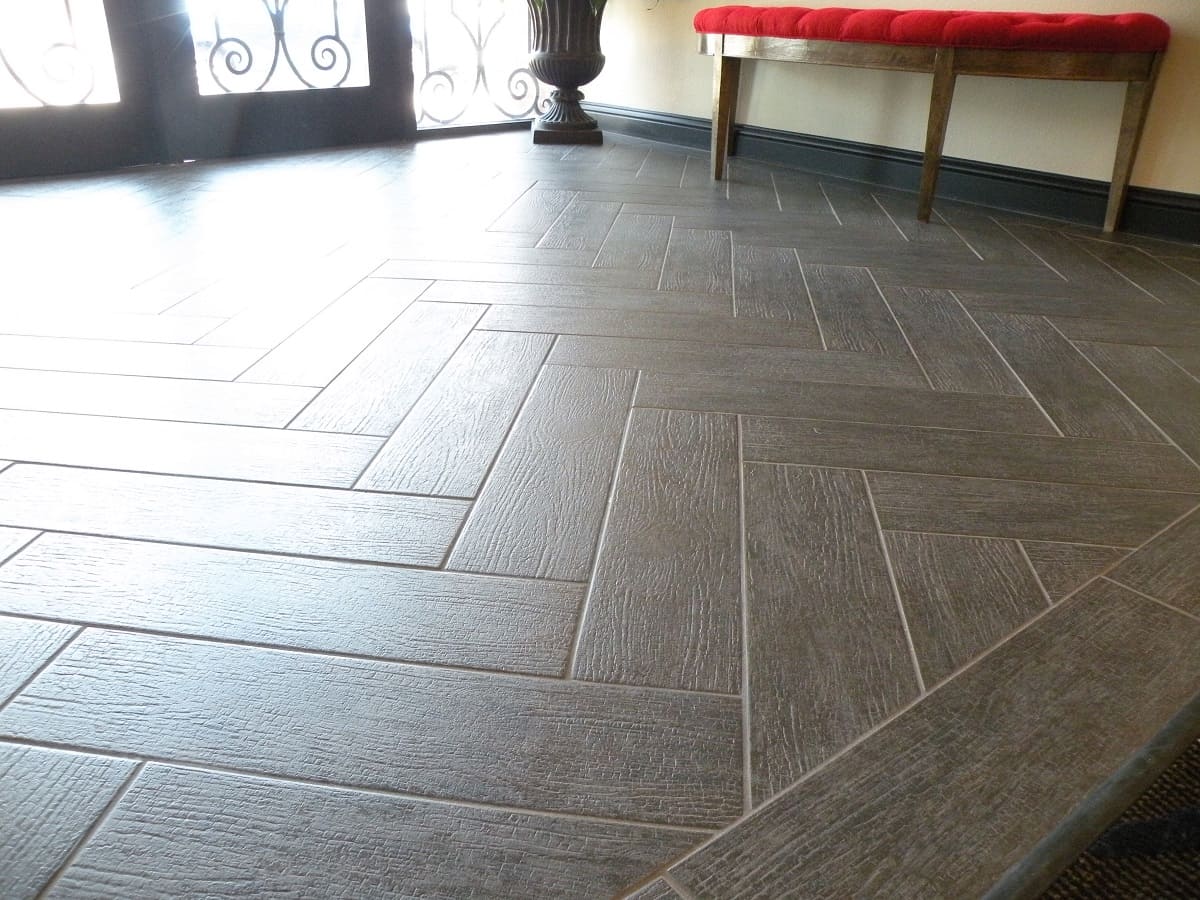
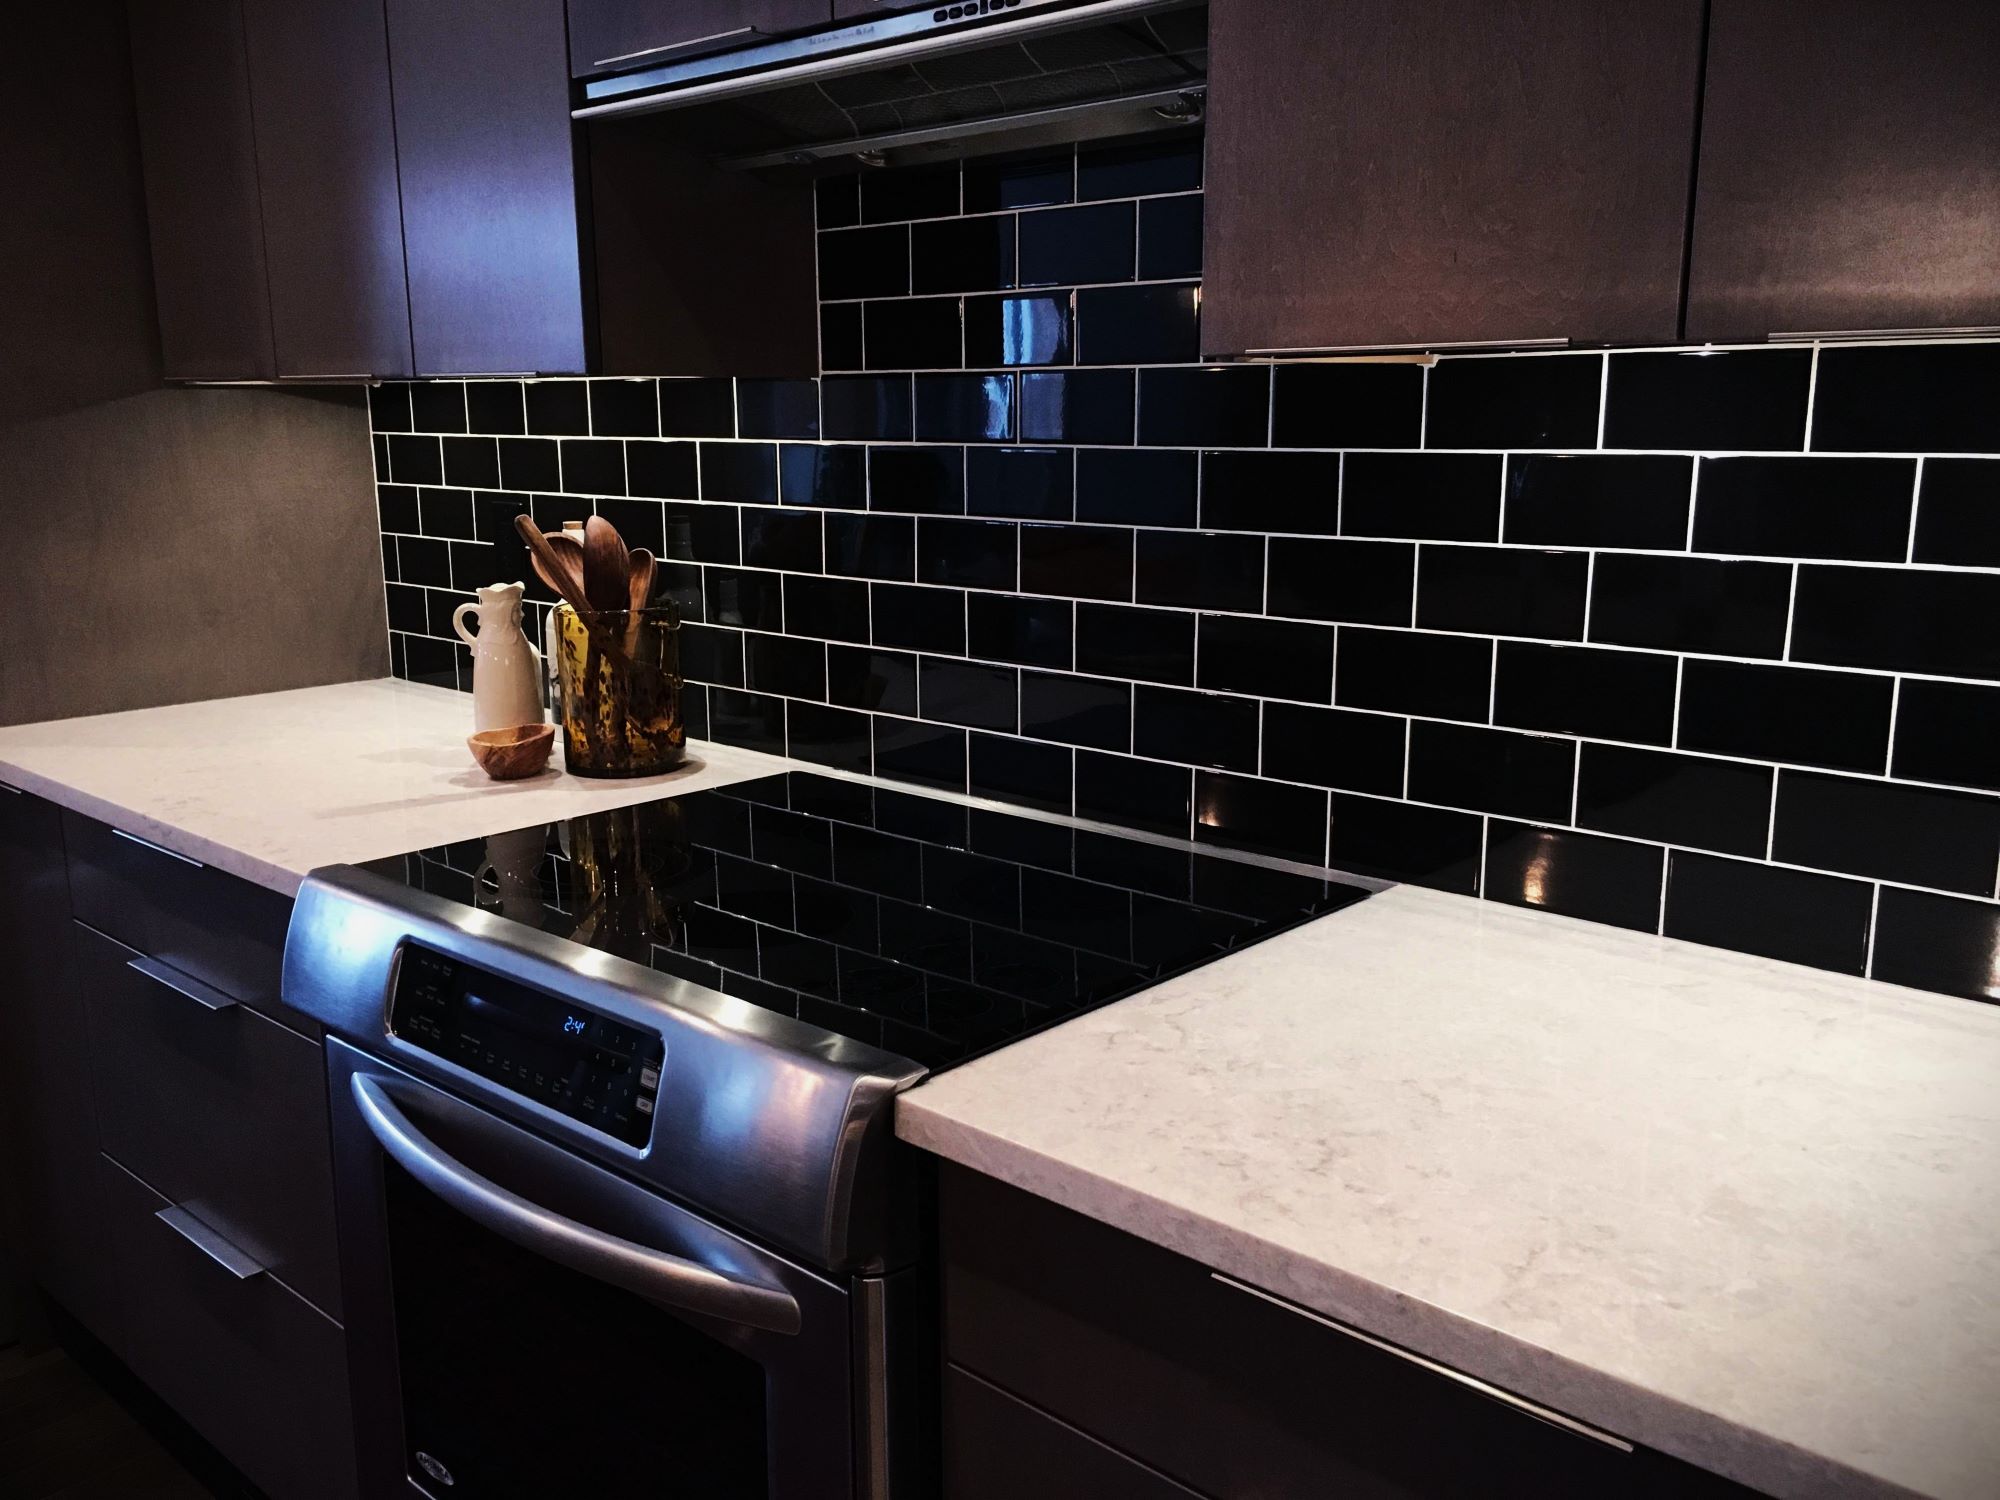
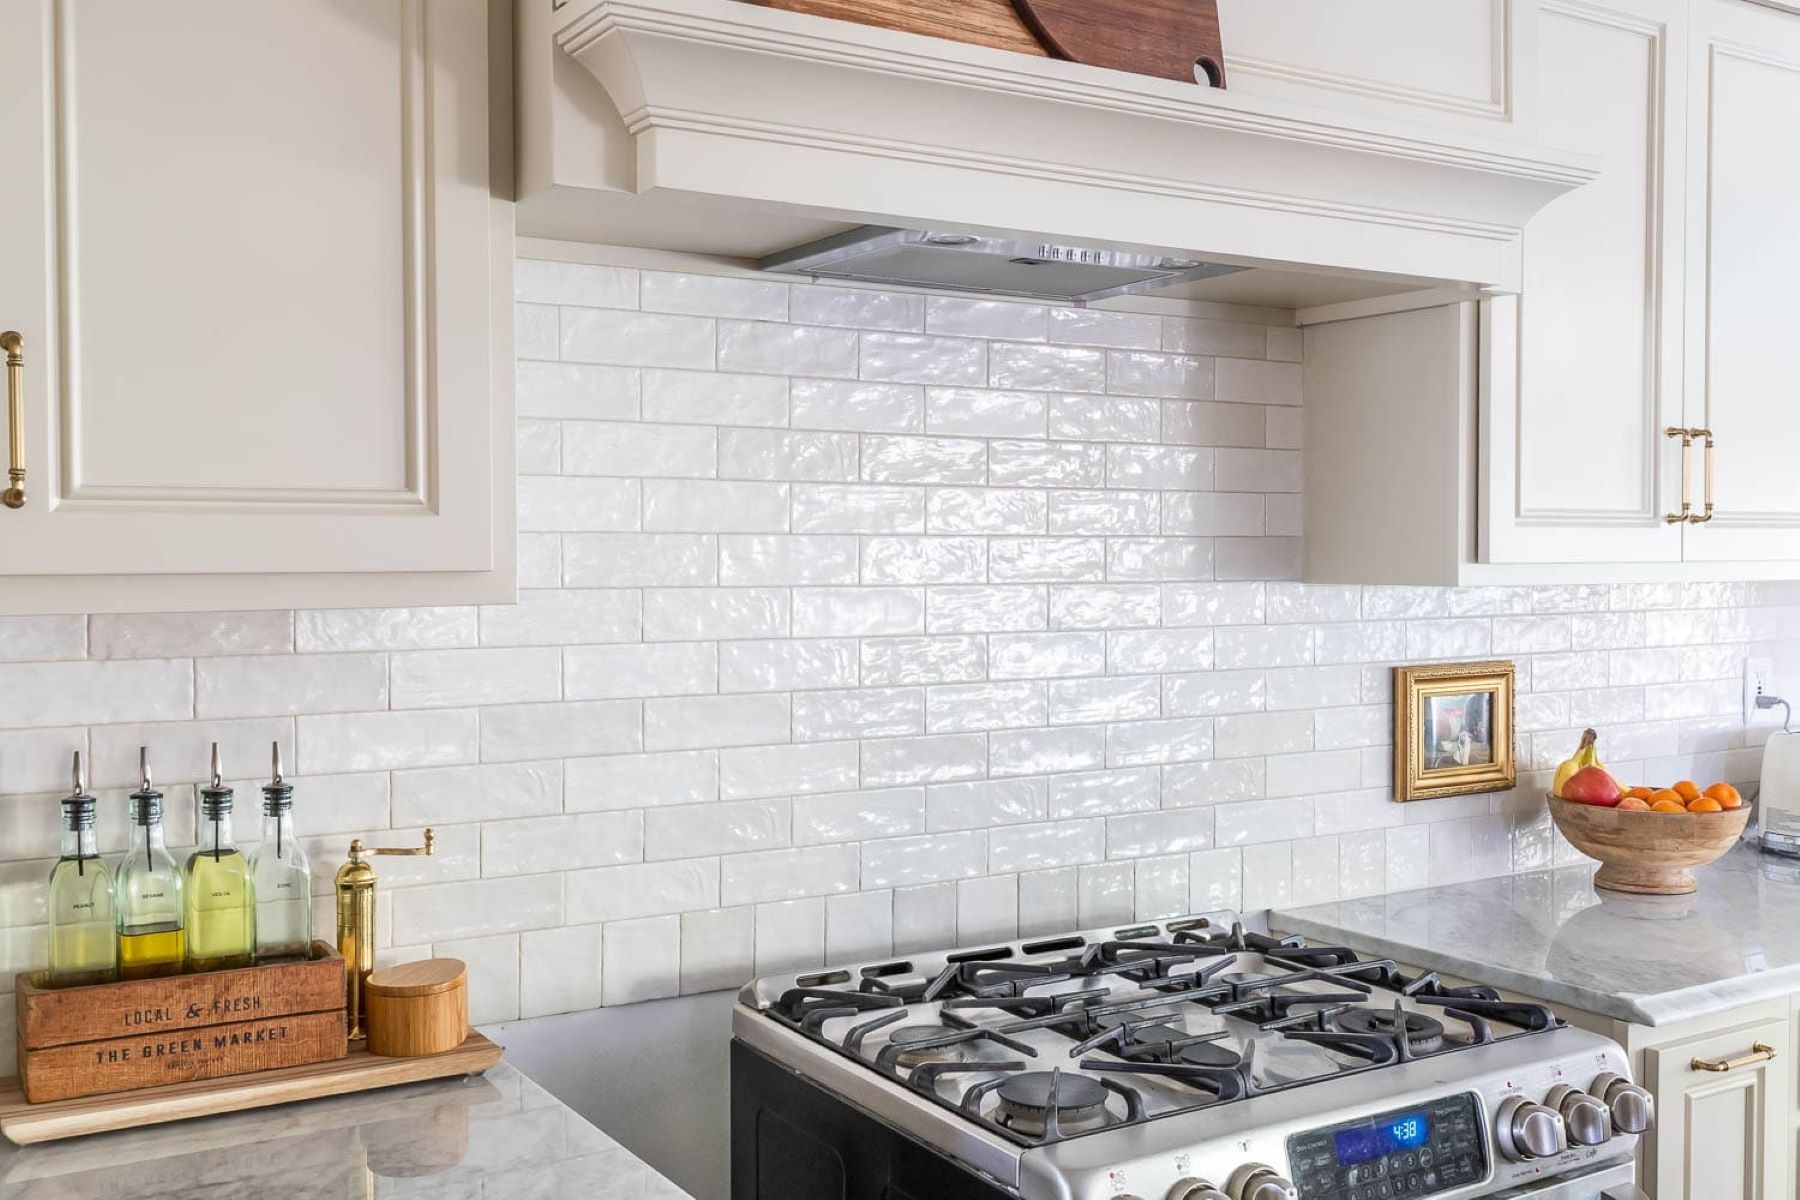
Embarking on a home renovation project can be an exhilarating endeavor, especially when it involves adding a touch of elegance and character to your kitchen or bathroom. One of the most visually striking and timeless choices for a backsplash is the herringbone pattern. Its intricate, interlocking design can transform a mundane space into a captivating focal point, elevating the overall aesthetic of the room.
Creating a herringbone backsplash is a rewarding and achievable DIY project that allows you to infuse your personal style into your living space. Whether you're a seasoned DIY enthusiast or a novice looking to take on a new challenge, this guide will walk you through the step-by-step process of installing a herringbone backsplash, from preparing the surface to sealing the finished masterpiece.
As you embark on this journey, envision the transformation that will take place in your kitchen or bathroom. The herringbone pattern's timeless allure will not only enhance the visual appeal of the room but also add a sense of sophistication and charm. With careful attention to detail and a touch of creativity, you can bring this classic design to life in your home, creating a space that exudes warmth and character.
Throughout this guide, you will discover the essential materials and tools needed, as well as the precise steps required to achieve a flawless herringbone backsplash installation. By following these instructions and infusing your unique flair, you will witness the remarkable impact that a herringbone backsplash can have on the ambiance of your living space.
So, roll up your sleeves, gather your tools, and let's embark on this exciting journey of creating a stunning herringbone backsplash that will become the envy of all who behold it.
Key Takeaways:
- Transform your kitchen or bathroom with a captivating herringbone backsplash, infusing timeless elegance and charm into your living space. Follow the step-by-step guide to achieve a visually stunning and enduring installation.
- Elevate your home renovation with a herringbone backsplash, creating a mesmerizing focal point that exudes sophistication and craftsmanship. Master the art of installation to bring timeless design to life in your kitchen or bathroom.
Materials and Tools Needed
To embark on the journey of creating a captivating herringbone backsplash, it is essential to gather the necessary materials and tools. By ensuring that you have everything at your disposal, you can streamline the installation process and achieve professional-looking results. Here's a comprehensive list of the items you will need:
Materials:
- Herringbone Tiles: Select high-quality tiles in the herringbone pattern that complement the color scheme and style of your kitchen or bathroom. These can be ceramic, porcelain, or marble tiles, depending on your preference and budget.
- Thinset: This adhesive mortar is crucial for securing the tiles to the wall. Opt for a thinset that is suitable for the type of tiles you have chosen.
- Grout: Choose a grout color that complements the tiles and enhances the herringbone pattern. Ensure that the grout is suitable for the tile material and is designed for backsplash installations.
- Tile Spacers: These small, plastic spacers help maintain consistent spacing between the tiles, ensuring a uniform and professional-looking finish.
- Backer Board: If the existing wall surface is not suitable for tiling, consider installing a backer board to provide a stable and even base for the tiles.
- Primer: If you are tiling over a painted surface, a high-quality primer will promote adhesion and prevent the paint from affecting the thinset.
- Sealer: Depending on the type of tiles you choose, a sealer may be necessary to protect the tiles from stains and moisture.
Tools:
- Notched Trowel: This tool is essential for spreading the thinset evenly on the wall before placing the tiles.
- Tile Saw or Cutter: A tile saw or cutter will be required to make precise cuts for tiles that need to fit around outlets, corners, or edges.
- Grout Float: This tool is used to apply and pack the grout into the spaces between the tiles, ensuring a solid and uniform fill.
- Level: To ensure that your herringbone pattern is straight and aligned, a level is indispensable for maintaining precision throughout the installation.
- Sponge and Bucket: These are necessary for cleaning excess grout from the tiles during the grouting process.
- Rubber Mallet: A rubber mallet will aid in gently tapping the tiles into place without causing damage.
- Safety Gear: Always prioritize safety by wearing goggles, gloves, and a dust mask when cutting tiles or working with thinset and grout.
By gathering these materials and tools, you will be well-equipped to commence the installation of your herringbone backsplash with confidence and precision. With careful preparation and attention to detail, you can ensure a seamless and visually stunning outcome that will breathe new life into your kitchen or bathroom.
Preparing the Surface
Before diving into the exhilarating process of installing your herringbone backsplash, it is crucial to prepare the surface meticulously. This preparatory phase lays the foundation for a successful and enduring installation, ensuring that the tiles adhere firmly and the finished result exudes a professional touch.
Read more: How To Do Backsplash In The Kitchen
Assessing the Wall
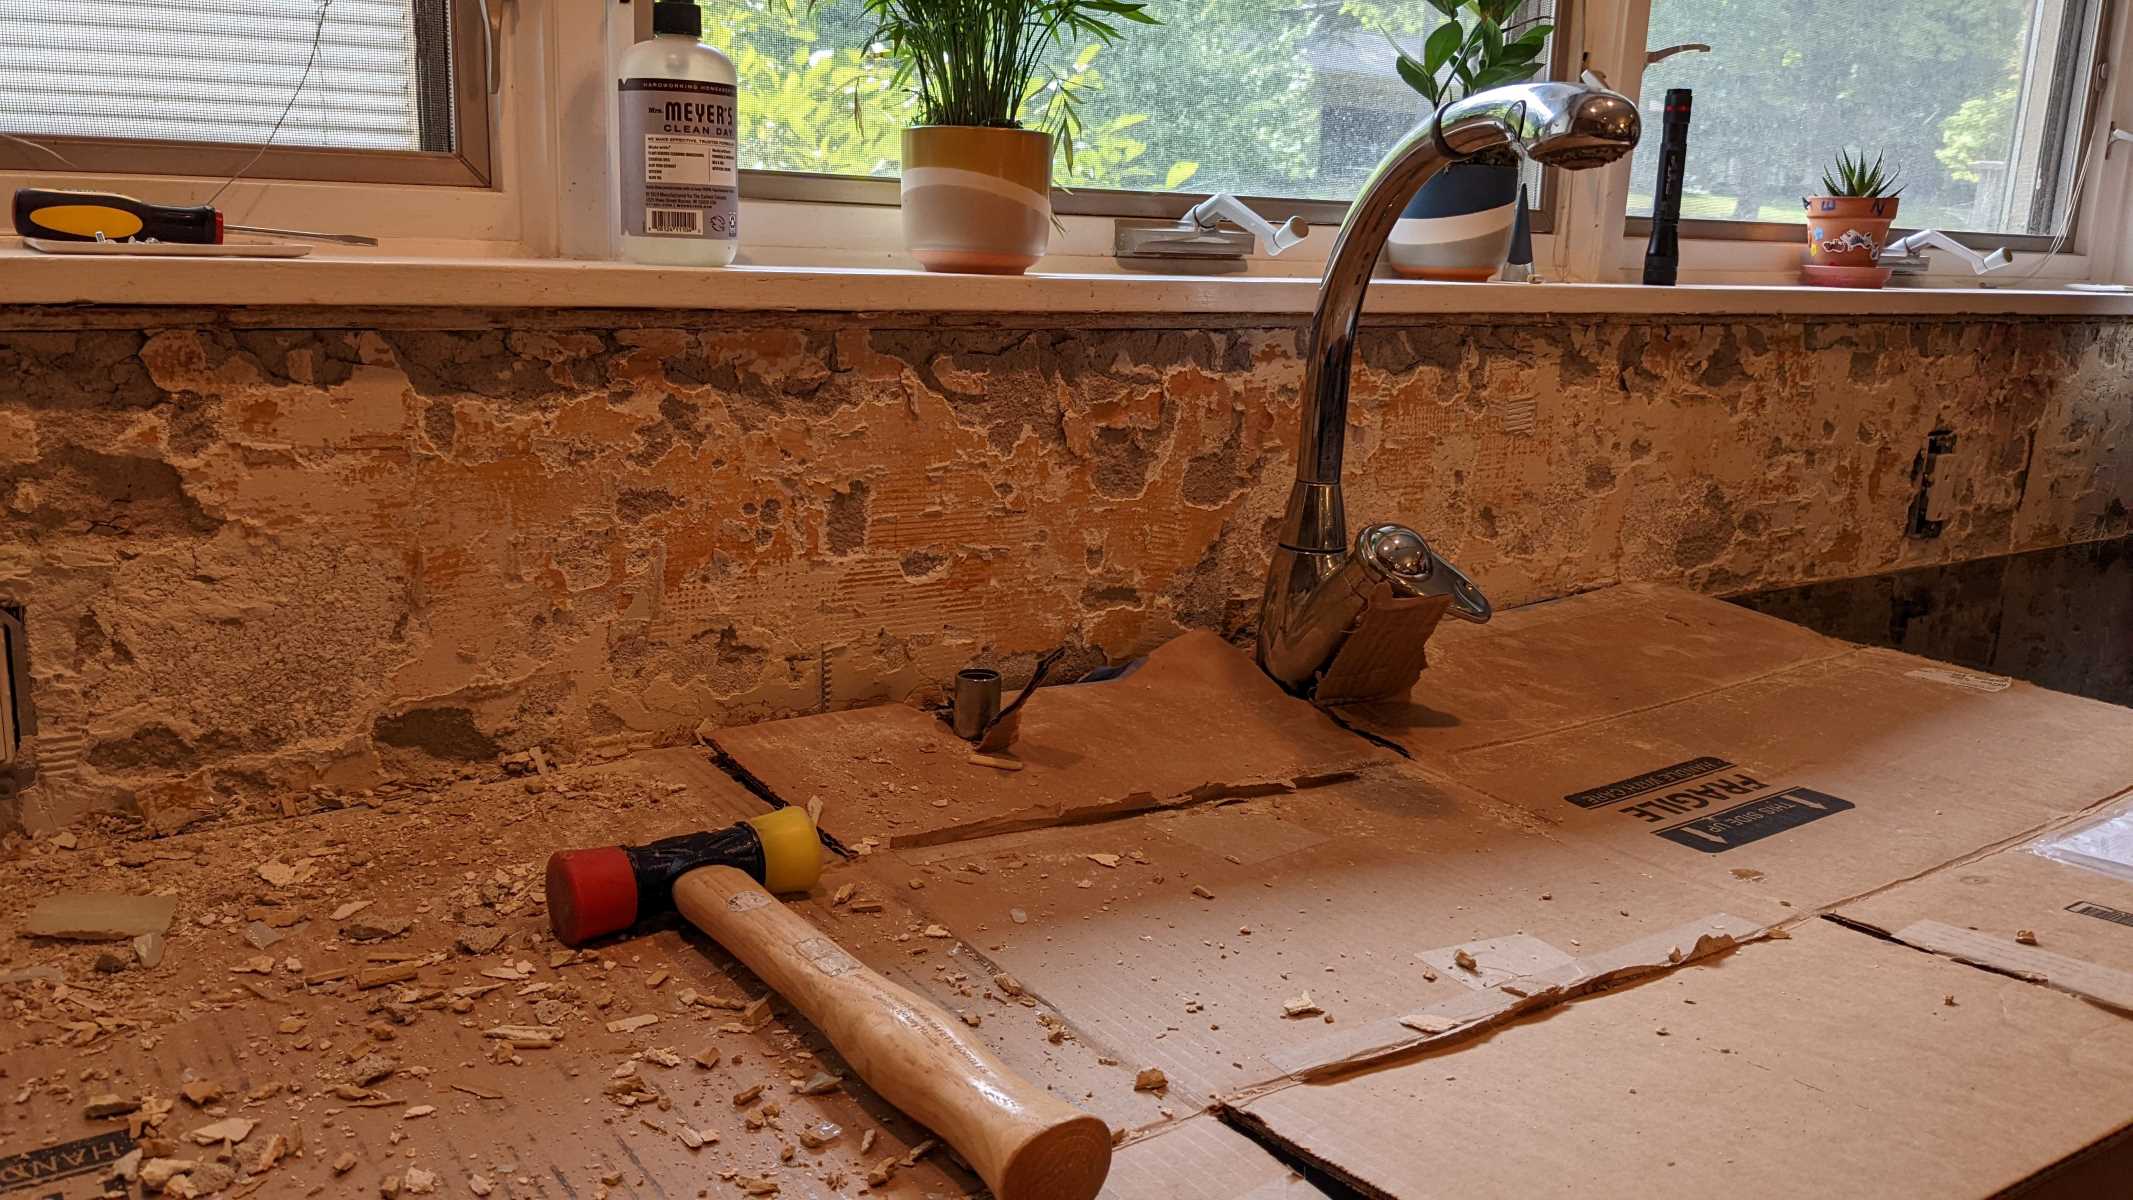
Begin by thoroughly examining the wall where the herringbone backsplash will be installed. Ensure that the surface is clean, dry, and free from any debris, grease, or residues that could hinder the adhesion of the tiles. If the existing wall is painted, assess the condition of the paint. If it is flaking or peeling, it is advisable to remove the paint entirely to create a smooth and stable base for the tiles.
Repairing Imperfections
Address any imperfections on the wall, such as cracks or uneven areas, to guarantee a seamless and uniform finish. Fill in any gaps or indentations with a suitable wall patching compound, and sand the surface to create a level and even plane. This meticulous attention to detail will ensure that the herringbone pattern is accentuated by a flawless backdrop, enhancing the overall visual impact of the backsplash.
Applying Primer
If the wall has been patched or if you are tiling over a painted surface, applying a high-quality primer is essential. The primer promotes adhesion, creating a strong bond between the wall and the thinset, while also preventing the paint from interfering with the installation process. Allow the primer to dry completely before proceeding to the next step, ensuring that the surface is optimally prepared for the tile application.
Installing Backer Board (if necessary)
In some cases, the existing wall surface may not be suitable for tiling, particularly in areas prone to moisture exposure, such as behind a kitchen sink. If this is the case, consider installing a backer board to provide a stable and moisture-resistant base for the tiles. Secure the backer board to the wall using appropriate screws, ensuring that it is level and securely affixed to support the weight of the tiles.
By meticulously preparing the surface, you are laying the groundwork for a flawless herringbone backsplash installation. This meticulous approach sets the stage for a seamless and enduring result, ensuring that your herringbone pattern takes center stage in a space that exudes elegance and charm.
Read more: How To Do Grout For Backsplash
Setting the Layout
Setting the layout for your herringbone backsplash is a critical step that will determine the visual impact and symmetry of the final installation. By meticulously planning and arranging the tiles, you can ensure that the herringbone pattern unfolds seamlessly, creating a captivating visual rhythm that enhances the overall aesthetic of the space.
Begin by identifying the focal point of the backsplash, which is often the area directly behind the stove or sink. This central point will serve as the starting point for laying out the herringbone pattern. Using a pencil and a level, mark a vertical and horizontal center line at the focal point to establish the initial reference for the layout.
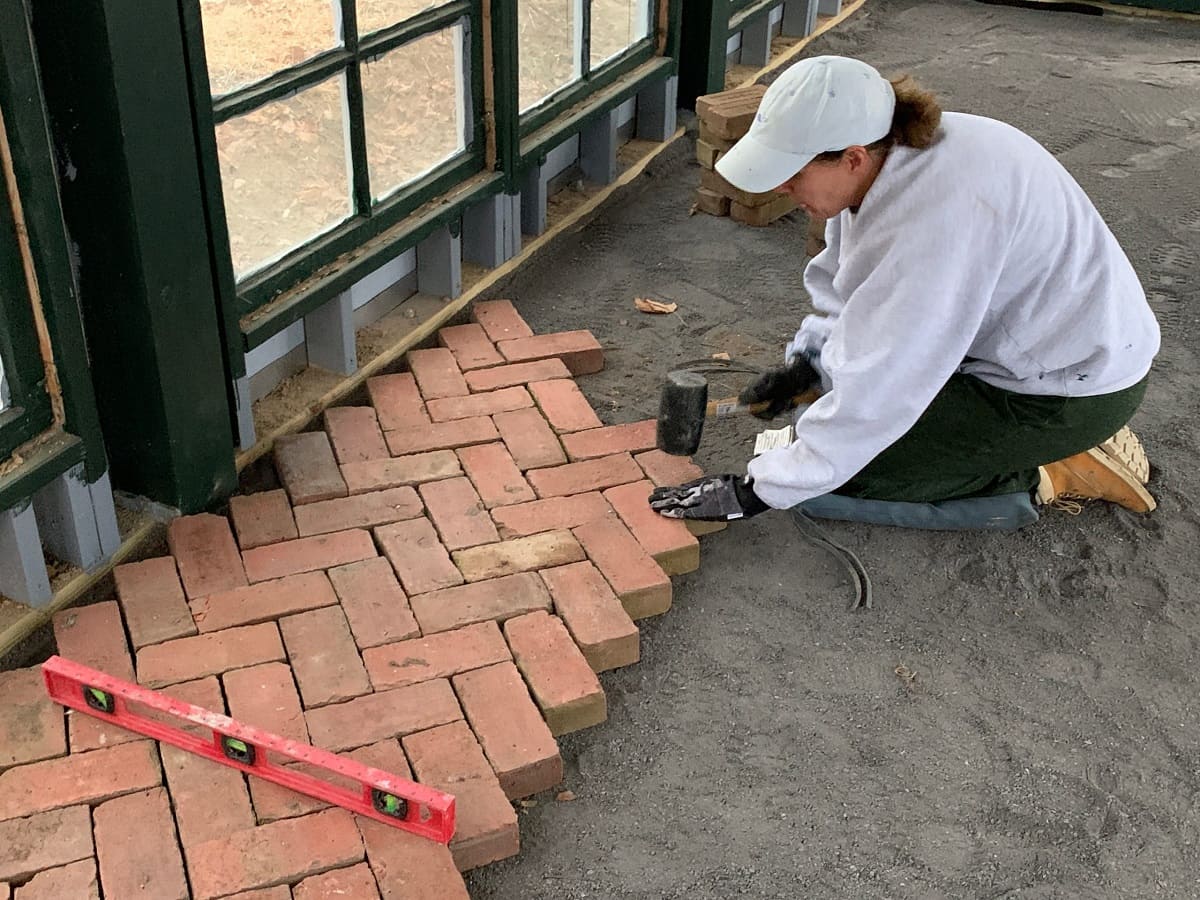
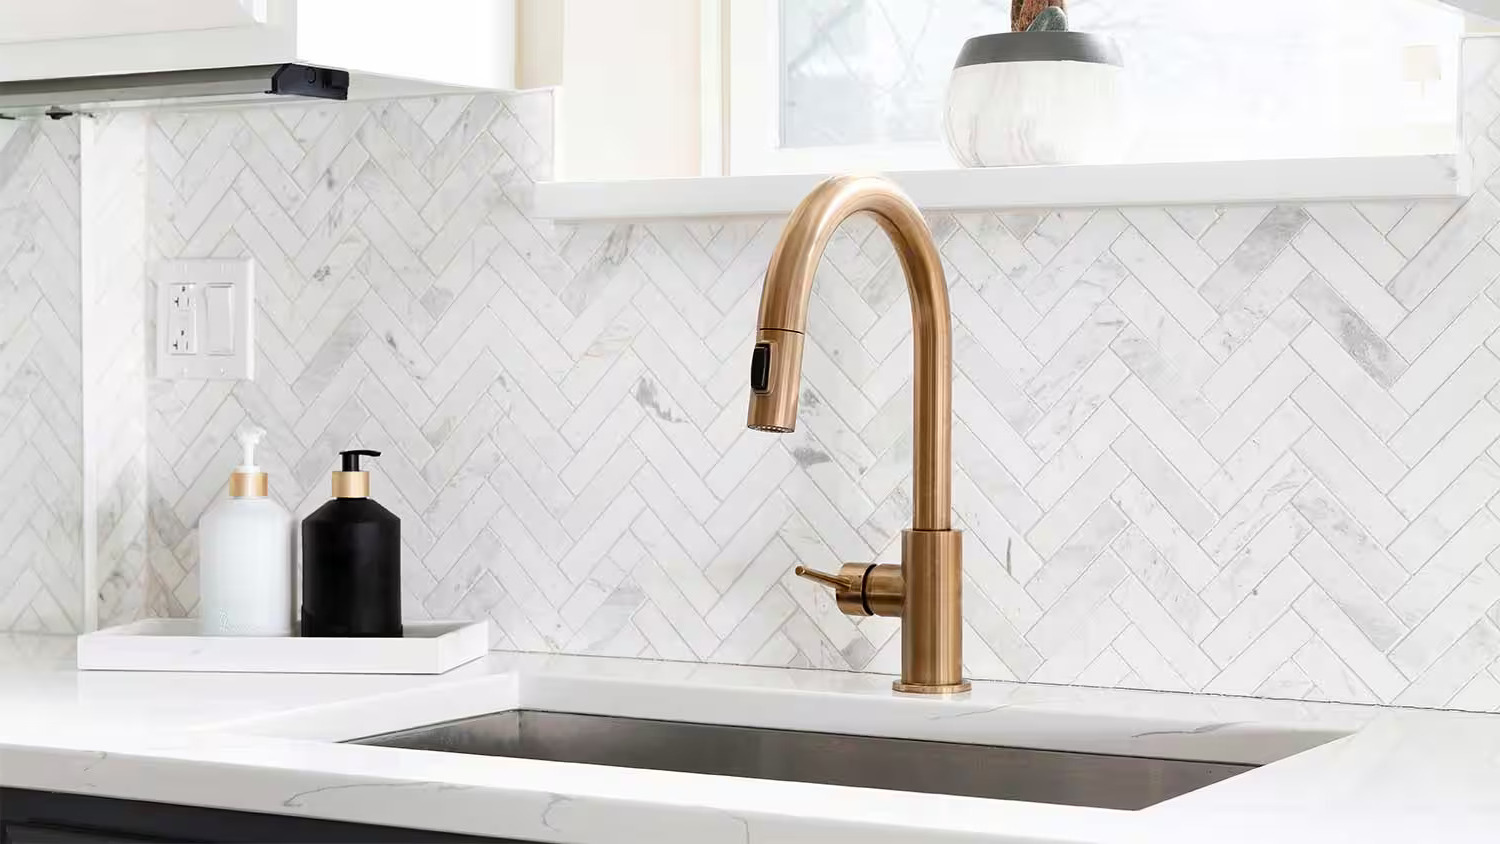
Next, determine the angle at which the herringbone pattern will be set. Traditionally, herringbone patterns are arranged at a 45-degree angle, creating a dynamic and visually engaging effect. To achieve this, use a protractor or a carpenter's square to ensure precision in setting the angle. By adhering to a consistent angle throughout the layout, you will achieve a uniform and professional-looking herringbone pattern.
With the central lines and angle established, begin dry-fitting the tiles along the layout lines to visualize the pattern and make any necessary adjustments. This dry-fitting process allows you to assess the symmetry and alignment of the herringbone pattern, ensuring that it radiates a sense of balance and harmony across the entire backsplash area.
As you progress with the dry-fitting, pay close attention to the spacing between the tiles. Utilize tile spacers to maintain consistent and even gaps, ensuring that the herringbone pattern remains cohesive and visually appealing. By meticulously aligning the tiles and adjusting the layout as needed, you can guarantee a flawless and captivating herringbone pattern that will become the focal point of your kitchen or bathroom.
By meticulously setting the layout for your herringbone backsplash, you are laying the foundation for a visually stunning and harmonious installation. This meticulous approach ensures that the herringbone pattern unfolds with precision and elegance, transforming your space into a captivating showcase of timeless design and craftsmanship.
Mixing and Applying Thinset
Mixing and applying thinset is a crucial step in the process of installing a herringbone backsplash. Thinset, also known as tile adhesive or mortar, serves as the bonding agent that secures the tiles to the wall, ensuring a durable and long-lasting installation. By mastering the art of mixing and applying thinset, you can lay the groundwork for a flawless and enduring herringbone backsplash.
Mixing the Thinset
Begin by selecting a high-quality thinset that is suitable for the type of tiles you are installing. Consult the manufacturer's instructions to determine the appropriate water-to-thinset ratio for mixing. Using a clean bucket, pour the recommended amount of water, followed by the thinset powder.
Using a mixing paddle attached to a power drill, blend the water and thinset thoroughly until a smooth, lump-free consistency is achieved. It is crucial to attain the ideal consistency, resembling that of creamy peanut butter, to ensure optimal adhesion and workability.
Applying the Thinset
With the mixed thinset prepared, it's time to apply it to the wall. Using a notched trowel, spread a generous layer of thinset onto the wall surface, covering an area that corresponds to the size of several tiles. The notched trowel creates ridges in the thinset, promoting strong adhesion and ensuring a level surface for the tiles.
Work methodically, ensuring that the layer of thinset is evenly distributed and the ridges are consistent in height. This meticulous approach guarantees a solid bond between the tiles and the wall, preventing any potential issues with unevenness or adhesion.
As you apply the thinset, maintain the layout lines and angle established earlier, ensuring that the herringbone pattern unfolds with precision. By adhering to the predetermined layout, you can guarantee that the tiles will align seamlessly, creating a visually captivating and harmonious herringbone pattern.
By mastering the art of mixing and applying thinset, you are laying the foundation for a flawless and enduring herringbone backsplash installation. This meticulous approach ensures that the tiles adhere securely to the wall, creating a visually stunning showcase of timeless design and craftsmanship in your kitchen or bathroom.
Read more: How To Store Herringbone Necklace
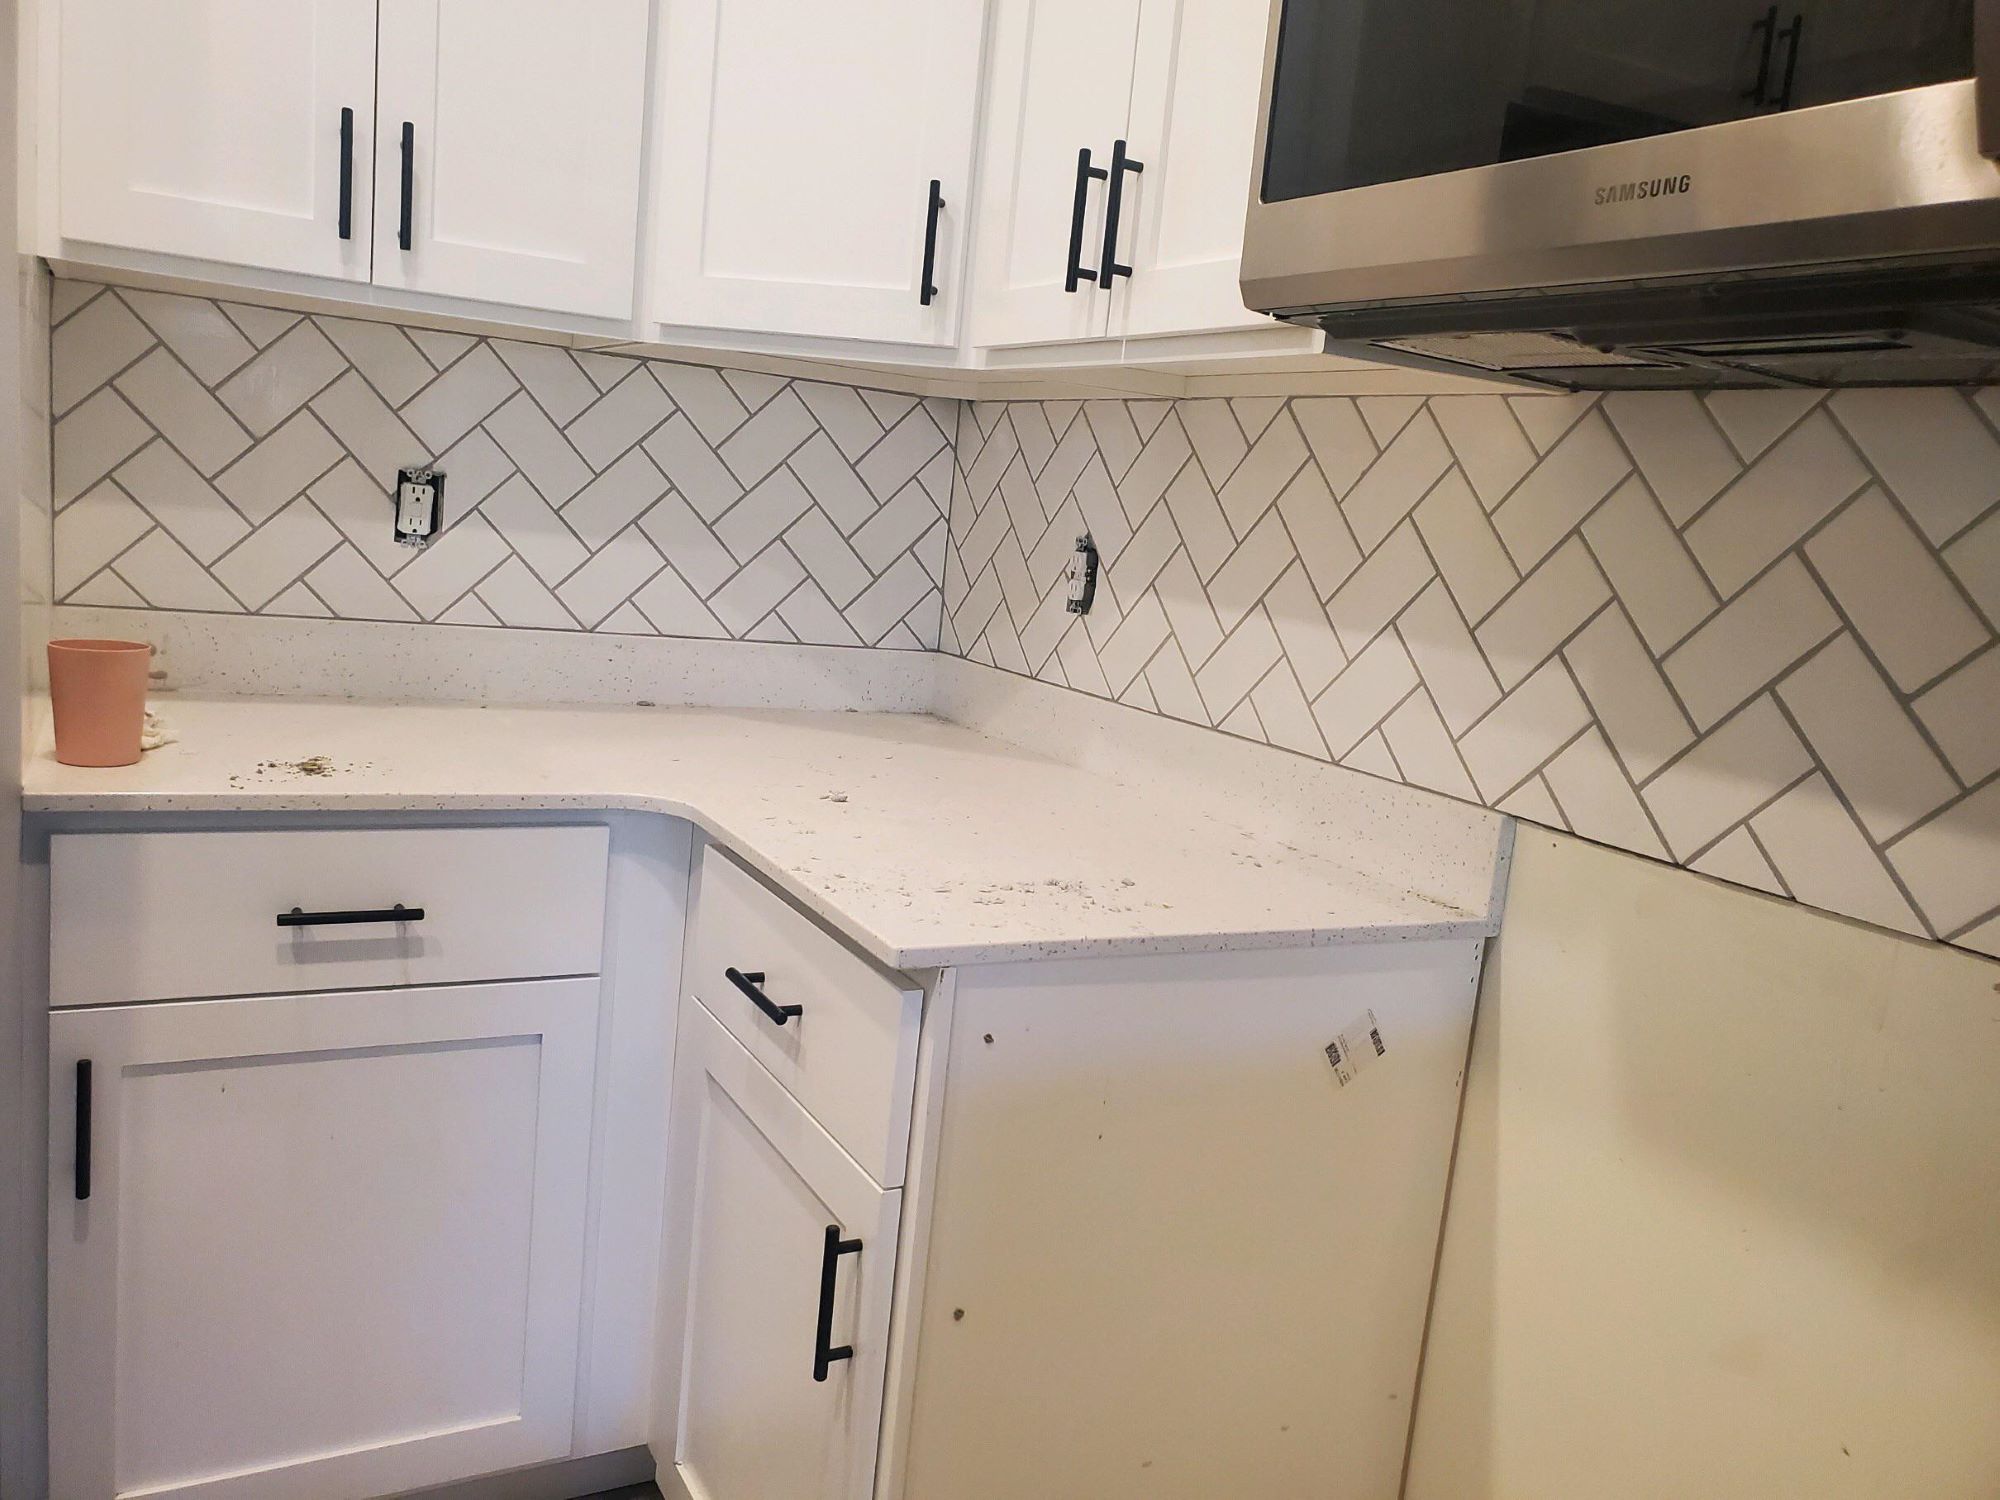
Installing the Tiles
With the surface meticulously prepared and the thinset expertly applied, it's time to embark on the exhilarating process of installing the herringbone tiles. This pivotal phase of the installation requires precision, patience, and a keen eye for detail to ensure that the herringbone pattern unfolds seamlessly, creating a captivating visual impact in your kitchen or bathroom.
Begin by carefully placing the first tile at the intersection of the layout lines, adhering to the predetermined angle and ensuring that it aligns with the central reference point. Press the tile firmly into the thinset, using a gentle twisting motion to secure it in place. This initial tile serves as the cornerstone of the herringbone pattern, setting the stage for the rhythmic interplay of the subsequent tiles.
As you progress with the installation, continue to place the tiles along the layout lines, alternating the orientation of each tile to create the characteristic interlocking effect of the herringbone pattern. Pay meticulous attention to the spacing between the tiles, utilizing tile spacers to maintain consistent and even gaps, ensuring that the pattern unfolds with precision and symmetry.
Throughout the installation, periodically step back to assess the emerging herringbone pattern, ensuring that the tiles align seamlessly and the pattern radiates a sense of balance and harmony. Adjust the positioning of the tiles as needed, fine-tuning the layout to achieve a flawless and visually captivating result.
As the herringbone pattern takes shape, revel in the transformation unfolding before your eyes. The rhythmic interplay of the tiles creates a mesmerizing visual impact, infusing your kitchen or bathroom with a sense of timeless elegance and sophistication. With each tile meticulously placed, the herringbone pattern becomes a testament to your attention to detail and dedication to craftsmanship.
By the time the final tile is set in place, the herringbone pattern will have blossomed into a captivating showcase of design and artistry. The installation process, marked by precision and meticulous attention to detail, culminates in a visually stunning herringbone backsplash that elevates the ambiance of your living space, leaving a lasting impression for years to come.
Cutting Tiles for Corners and Edges
As you progress with the installation of your herringbone backsplash, you will inevitably encounter areas where tiles need to be trimmed to fit around corners, edges, or obstacles such as electrical outlets. This phase of the installation demands precision and careful attention to detail to ensure that the herringbone pattern remains uninterrupted and visually seamless.
To begin, measure the space where the tile needs to fit, taking into account any necessary allowances for grout lines. Using a pencil, mark the cutting line on the tile, ensuring that the line is clear and precise. For straight cuts, a tile cutter or wet saw can be used to achieve clean and accurate results. When using a tile cutter, score the tile along the marked line, then apply pressure to snap the tile cleanly along the scored line. If a wet saw is employed, ensure that the appropriate safety precautions are taken, such as wearing goggles and gloves, and carefully guide the tile through the saw to achieve the desired cut.
For more intricate cuts, such as those required to fit around electrical outlets or along the edges of the backsplash, a tile nipper or tile file may be necessary. These tools allow for precise shaping and trimming of the tile to accommodate the specific contours of the space. When using a tile nipper, carefully nibble away small sections of the tile, gradually shaping it to fit the designated area. A tile file can then be used to smooth any rough edges and ensure a snug fit.
As you meticulously cut and trim the tiles to fit around corners and edges, maintain a keen focus on preserving the integrity of the herringbone pattern. Ensure that the trimmed tiles seamlessly integrate with the surrounding tiles, maintaining the visual continuity of the pattern. By approaching this phase with patience and precision, you can guarantee that the herringbone pattern remains uninterrupted and visually captivating, even in the most intricate and challenging areas of the backsplash.
With each precisely trimmed tile seamlessly integrated into the herringbone pattern, the visual impact of the installation is elevated, creating a cohesive and harmonious showcase of timeless design. The meticulous attention to detail applied during the cutting process ensures that the herringbone pattern unfolds with precision and elegance, culminating in a visually stunning backsplash that exudes craftsmanship and artistry.
Grouting the Backsplash
Grouting the herringbone backsplash marks a pivotal phase in the installation process, where the individual tiles coalesce into a unified and visually captivating surface. The grout not only fills the spaces between the tiles but also enhances the herringbone pattern, adding depth and definition to the overall aesthetic. This meticulous process demands precision and attention to detail to ensure a flawless and enduring finish.
Begin by selecting a high-quality grout that complements the color and style of the tiles, enhancing the visual impact of the herringbone pattern. It is essential to choose a grout that is suitable for backsplash installations and compatible with the type of tiles used. Additionally, consider whether a sanded or unsanded grout is appropriate based on the width of the grout lines.
Before applying the grout, ensure that the thinset has fully cured, typically for a minimum of 24 hours. Begin by mixing the grout to the desired consistency, following the manufacturer's instructions regarding water-to-grout ratio. A smooth and lump-free consistency is crucial to ensure optimal application and a uniform finish.
Using a rubber grout float, apply the grout diagonally across the tiles, ensuring that the spaces are thoroughly filled. Work the grout into the spaces, holding the float at a 45-degree angle to the surface to pack the grout effectively. As you progress, periodically remove excess grout from the tile surfaces using the edge of the grout float, ensuring that the tiles remain clean and free from grout residue.
Once the grout has been applied, allow it to set for a brief period as per the manufacturer's instructions. Then, using a damp sponge, gently clean the surface of the tiles, removing any remaining grout residue and smoothing the grout lines. Rinse the sponge frequently to ensure a thorough cleaning process, taking care not to remove too much grout from the spaces between the tiles.
As the grout sets and the tiles are cleaned, the herringbone pattern begins to emerge with striking clarity, each tile contributing to the rhythmic interplay of the design. The grout not only unifies the tiles but also accentuates the herringbone pattern, creating a visually captivating showcase of craftsmanship and artistry.
By meticulously grouting the herringbone backsplash, you are elevating the installation to a new level of visual impact and enduring elegance. The precision and attention to detail applied during the grouting process ensure that the herringbone pattern unfolds with clarity and definition, culminating in a visually stunning backsplash that exudes timeless charm and sophistication.
Sealing the Herringbone Backsplash
Sealing the herringbone backsplash is the final step in the installation process, serving as a crucial measure to protect the tiles and grout, ensuring their longevity and resilience in the face of daily wear and tear. By applying a high-quality sealer, you not only safeguard the visual integrity of the herringbone pattern but also simplify the maintenance of the backsplash, allowing it to retain its pristine allure for years to come.
Before proceeding with the sealing process, ensure that the grout has fully cured as per the manufacturer's recommendations, typically for a minimum of 48 to 72 hours. This waiting period allows the grout to set and attain its optimal strength, ensuring that it is ready to be sealed effectively.
Select a premium penetrating sealer that is specifically formulated for the type of tiles and grout used in the herringbone backsplash. Penetrating sealers are designed to infiltrate the porous surfaces of the tiles and grout, creating a protective barrier that repels moisture, stains, and dirt, without altering the natural appearance of the materials.
Using a clean, high-quality sealer applicator or brush, carefully apply the sealer to the entire surface of the herringbone backsplash, ensuring thorough coverage of both the tiles and grout. Work methodically, applying the sealer in a consistent manner to achieve uniform protection across the entire installation. Take care to avoid excess sealer pooling on the surface, as this may lead to uneven coverage and prolonged drying times.
As the sealer is applied, observe how it enriches the natural colors of the tiles and grout, enhancing their visual appeal while providing a protective shield against potential damage. The herringbone pattern begins to exude a subtle sheen, adding depth and character to the overall aesthetic, while the grout lines become fortified against the intrusion of moisture and stains.
Allow the initial coat of sealer to dry as per the manufacturer's instructions, typically for 15 to 30 minutes. Once the first coat has dried, apply a second coat of sealer to ensure comprehensive protection and durability. This dual-coat approach fortifies the herringbone backsplash, creating a resilient shield that preserves its beauty and integrity in the face of daily use and exposure.
As the final coat of sealer dries, take a moment to admire the transformative effect it has on the herringbone backsplash. The tiles and grout, now fortified and protected, radiate a timeless allure, while the herringbone pattern stands as a testament to the meticulous craftsmanship and attention to detail applied throughout the installation process.
By sealing the herringbone backsplash with precision and care, you are ensuring that its visual allure and structural integrity endure for years to come. The protective shield provided by the sealer not only enhances the aesthetic appeal of the installation but also simplifies its maintenance, allowing you to revel in the enduring beauty of the herringbone pattern, a captivating showcase of timeless design and craftsmanship.
Frequently Asked Questions about How To Do A Herringbone Backsplash
Was this page helpful?
At Storables.com, we guarantee accurate and reliable information. Our content, validated by Expert Board Contributors, is crafted following stringent Editorial Policies. We're committed to providing you with well-researched, expert-backed insights for all your informational needs.


0 thoughts on “How To Do A Herringbone Backsplash”