Home>Storage Ideas>Kitchen Storage>How To Change A Kitchen Faucet: An Expert Guide
Kitchen Storage
How To Change A Kitchen Faucet: An Expert Guide
Modified: September 2, 2024
Learn how to change a kitchen faucet with our expert guide. Upgrade your kitchen with new faucets and explore creative kitchen storage ideas.
(Many of the links in this article redirect to a specific reviewed product. Your purchase of these products through affiliate links helps to generate commission for Storables.com, at no extra cost. Learn more)
Introduction
Welcome to our expert guide on how to change a kitchen faucet! Whether you’re looking to upgrade your current faucet or need to replace a worn-out one, this comprehensive guide will walk you through the step-by-step process. Changing a kitchen faucet may seem like a daunting task, but with the right tools and instructions, it can be a manageable DIY project.
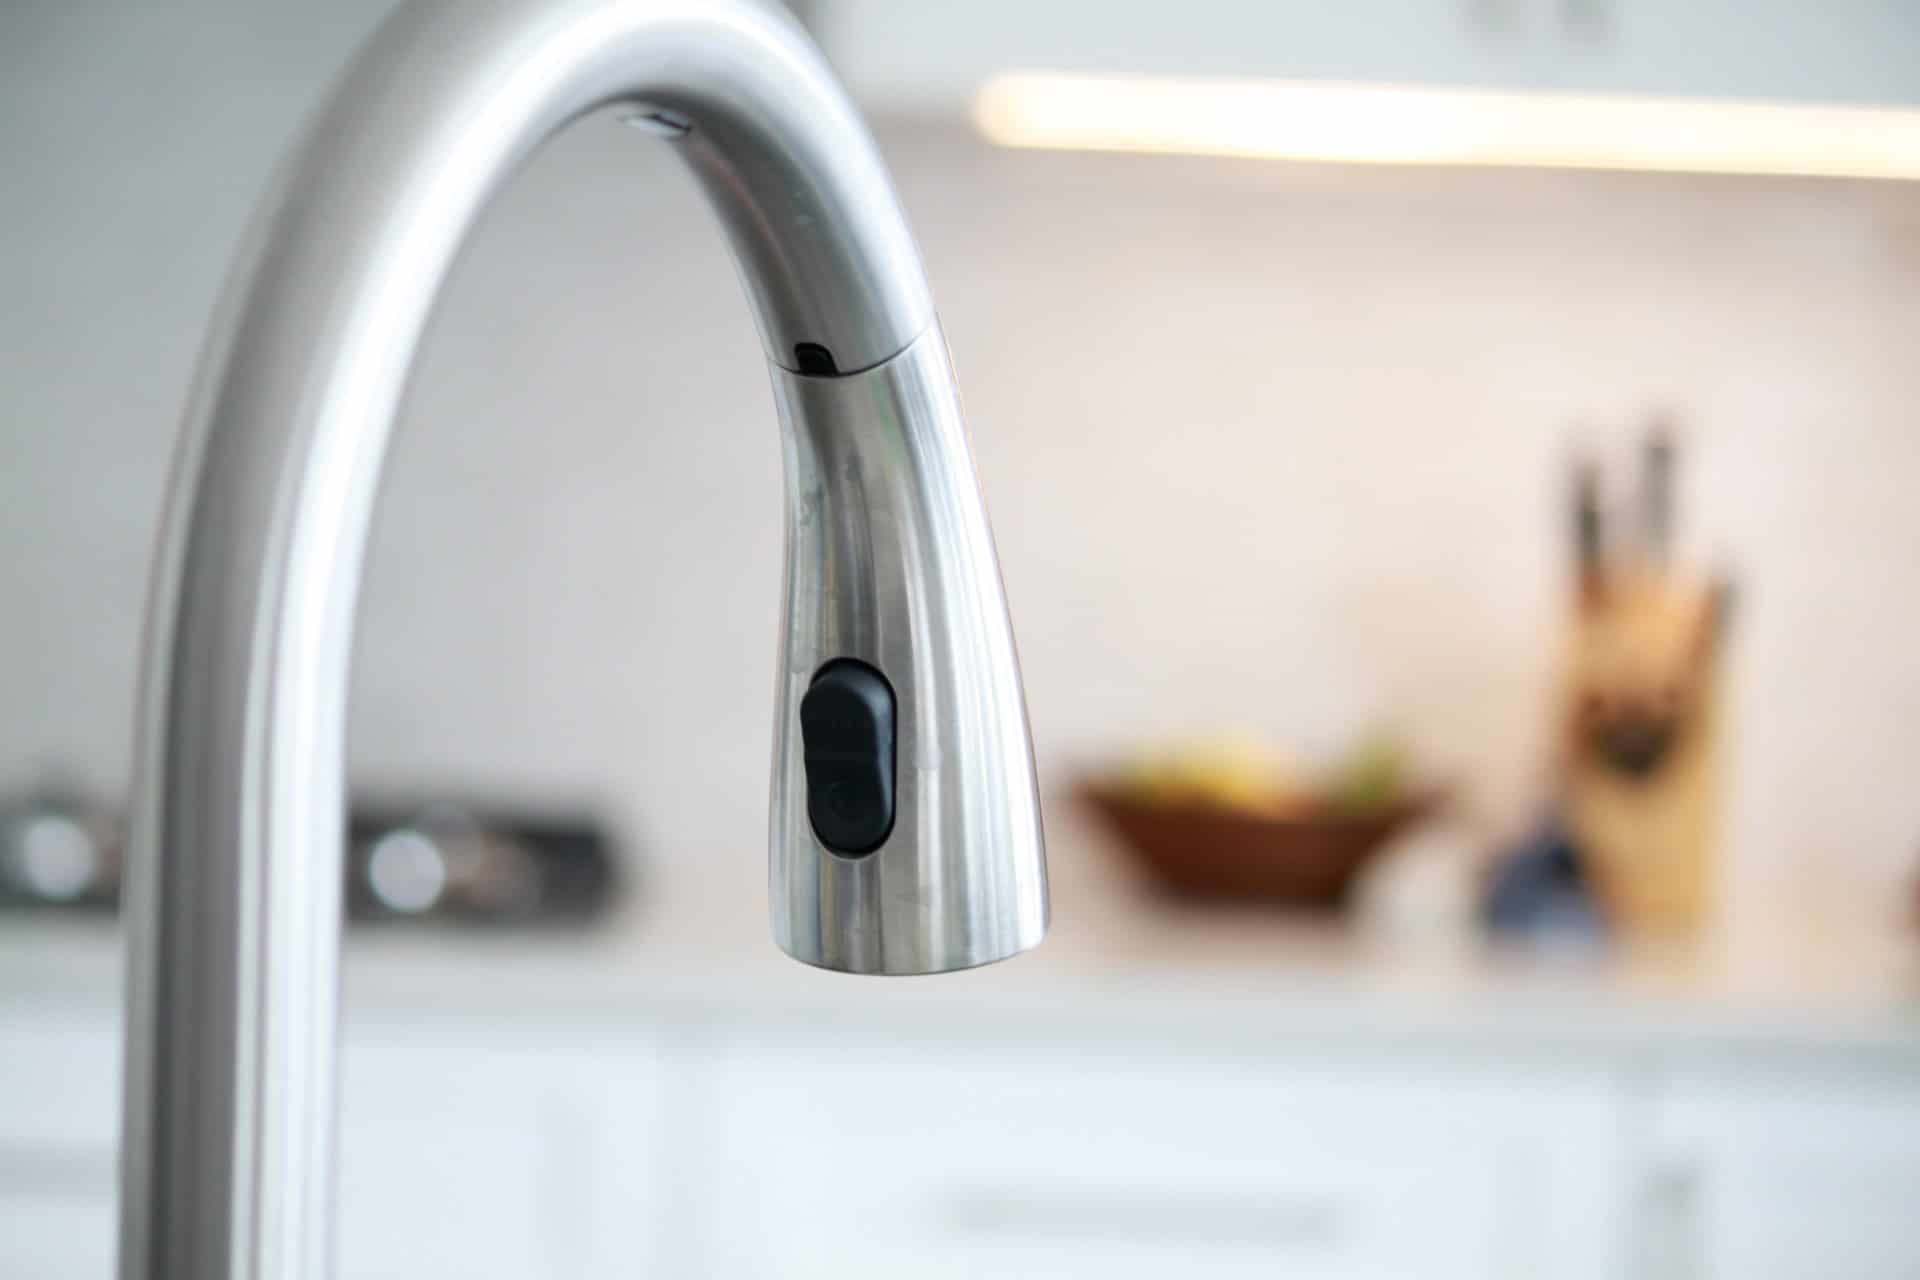
A kitchen faucet is an essential fixture that not only provides water for washing dishes and cooking, but also adds to the overall aesthetic of your kitchen. Over time, faucets can become worn out, develop leaks, or simply go out of style. By learning how to change a kitchen faucet, you can improve the functionality and appearance of your sink area.
In this guide, we will cover everything you need to know to successfully replace your kitchen faucet. From gathering the necessary tools and materials to installing the new faucet and testing its functionality, we’ve got you covered. So, let’s get started and transform your kitchen sink with a brand new faucet!
Key Takeaways:
- Upgrade your kitchen with a new faucet by following our expert guide. From gathering tools to testing functionality, you’ll confidently tackle this DIY project and enjoy a fresh, functional sink area.
- Safety first! Turn off water supply, gather tools, and follow step-by-step instructions to change your kitchen faucet. Enjoy a new look and improved functionality in your kitchen.
Step 1: Gather necessary tools and materials
Before you begin the process of changing your kitchen faucet, it’s important to gather all the necessary tools and materials. Having everything on hand will help streamline the installation process and prevent any delays or frustrations. Here are the tools and materials you’ll need:
- Adjustable wrench
- Plumber’s tape
- Screwdriver (flathead or Phillips, depending on your faucet)
- New kitchen faucet
- Bucket or towels (to catch any water drips)
- Rag or sponge (for cleaning the work area)
The adjustable wrench will be used to loosen and tighten the nuts and bolts on the faucet. Plumber’s tape, also known as Teflon tape, is essential for creating a watertight seal on the connections. The screwdriver will be needed to remove any screws or fasteners holding the old faucet in place.
When it comes to choosing a new kitchen faucet, there are a few factors to consider. Think about the style, finish, and features that will best suit your kitchen. Take measurements of your existing faucet and sink to ensure proper fit. Additionally, check the manufacturer’s guidelines to see if any additional materials or tools are required for your specific faucet model.
Once you have gathered all the necessary tools and materials, you’re ready to move on to the next step: turning off the water supply.
Step 2: Turn off the water supply
Before you begin removing the old faucet, it’s crucial to turn off the water supply to avoid any potential water damage or flooding. Here’s how to do it:
- Locate the water shutoff valves underneath your kitchen sink. There are typically two valves, one for hot water and one for cold water. These valves control the flow of water to the faucet.
- Turn the shutoff valves clockwise (to the right) to close them. This will cut off the water supply to the faucet.
- With the water supply turned off, turn on the faucet handles to release any remaining water in the lines. This will help minimize the amount of water that will spill when you disconnect the old faucet.
It’s important to note that if you can’t find the shutoff valves under your sink or if they’re not functioning properly, you may need to shut off the main water supply to your entire house. This can typically be done at the water meter or main shutoff valve. However, turning off the main water supply should only be done if you’re comfortable and confident in doing so, as it will affect the water supply to the entire house.
Once the water supply is turned off and the faucet is run to drain any remaining water, you’re ready to move on to the next step: removing the old faucet.
Step 3: Remove the old faucet
Now that the water supply is turned off, it’s time to remove the old faucet. Follow these steps to get the job done:
- Start by locating the connections between the faucet and the water supply lines. These connections are typically secured with nuts or connectors.
- Using an adjustable wrench, loosen and remove the nuts or connectors that are holding the water supply lines to the faucet. Be careful not to damage the water supply lines during this process.
- Next, locate the mounting nuts or screws that are securing the faucet to the sink or countertop. These are usually found underneath the sink.
- Using the appropriate screwdriver, loosen and remove the mounting nuts or screws. Once they’re removed, you should be able to lift the old faucet out of its position.
- As you remove the old faucet, be prepared for some water to drip out. Place a bucket or towels underneath the faucet to catch any water that may spill.
If the faucet is stubborn and difficult to remove, you may need to use some penetrating oil to loosen any corroded connections. Allow the oil to sit for a few minutes, then try again to remove the nuts or connectors.
Once the old faucet is completely removed, take this opportunity to clean the area thoroughly. Use a rag or sponge to wipe away any dirt, debris, or residue left behind by the old faucet.
With the old faucet removed and the area cleaned, you’re now ready to proceed to the next step: preparing the new faucet for installation.
Step 4: Prepare the new faucet
Now that the old faucet is removed, it’s time to prepare the new faucet for installation. Follow these steps to ensure a smooth and successful installation:
- Start by unpacking the new faucet and familiarizing yourself with its components. Make sure you have all the necessary parts, including the faucet body, handles, spout, and any additional accessories.
- If required, assemble any components of the new faucet according to the manufacturer’s instructions. This may involve attaching the handles to the faucet body or connecting other parts.
- Before installing the new faucet, apply plumber’s tape (also known as Teflon tape) to the threads of the water supply connections. This will help create a secure and watertight seal.
- If the new faucet came with a gasket or rubber seal, place it onto the base of the faucet. This will help prevent any water from leaking underneath the faucet and damaging the countertop or sink.
- Double-check the installation instructions provided by the manufacturer. Each faucet may have specific requirements for positioning and securing the faucet to the sink or countertop. Follow these instructions to ensure proper installation.
It’s important to note that some faucets may require additional steps or preparations. For example, some faucets may require the installation of a deck plate or require additional tools for certain adjustments. Be sure to carefully read and follow the manufacturer’s instructions included with your specific faucet model.
With the new faucet prepared and ready for installation, you’re now ready to move on to the next step: installing the new faucet.
When removing an old kitchen faucet, be sure to turn off the water supply first. This will prevent any water from leaking out and causing a mess during the replacement process.
Step 5: Install the new faucet
With the new faucet prepared, it’s time to install it and give your kitchen a fresh update. Follow these steps to install the new faucet:
- Start by positioning the new faucet into the mounting holes on your sink or countertop. Make sure the faucet is aligned properly and centered according to your preferences.
- Once the faucet is in position, secure it by tightening the mounting nuts or screws underneath the sink or countertop. Use an adjustable wrench or the appropriate screwdriver to ensure a snug fit. Avoid over-tightening, as it may damage the faucet or its connections.
- After the faucet is securely mounted, connect the water supply lines to the corresponding connections on the faucet. Make sure to tighten the nuts or connectors using an adjustable wrench.
- Ensure that the hot water supply line is connected to the designated hot water connection on the faucet, and the cold water supply line is connected to the cold water connection.
- Once the connections are tightened, double-check that all the connections are secure and there are no visible leaks. If necessary, use a rag or paper towel to wipe away any excess water.
It’s important to note that some faucets may have specific installation requirements or optional features, such as a sprayer attachment or soap dispenser. Refer to the manufacturer’s instructions included with your faucet to properly install and utilize these additional components.
With the new faucet securely installed and the connections checked for leaks, you’re ready to move on to the next step: connecting the supply lines.
Step 6: Connect the supply lines
Now that the new faucet is installed, it’s time to connect the supply lines to ensure a steady flow of water. Follow these steps to connect the supply lines:
- Start by ensuring that the water supply shut-off valves are still in the closed position.
- Take the hot water supply line and connect it to the hot water connection on the faucet. Use an adjustable wrench to tighten the nut securely.
- Repeat the same process with the cold water supply line, connecting it to the cold water connection on the faucet.
- Ensure that both supply lines are tightly secured, but be careful not to overtighten, as it may cause damage to the connections.
- Once the supply lines are connected, turn the water supply valves back on by rotating them counterclockwise (to the left).
- Check for any leaks around the supply line connections and the faucet itself. If you notice any leaks, tighten the connections further or use plumber’s tape to create a more secure seal.
If you notice any leaks, it’s important to address them promptly. A small leak can lead to bigger problems down the line, such as water damage or mold growth. Take the time to ensure all connections are secure and watertight.
With the supply lines connected and no visible leaks, you can move on to the next step: turning on the water supply.
Step 7: Turn on the water supply
Now that the supply lines are connected and secure, it’s time to turn on the water supply and ensure that everything is working properly. Follow these steps to turn on the water supply:
- Locate the water supply shut-off valves underneath your sink. These valves control the flow of water to the faucet.
- Turn the hot water supply valve counterclockwise (to the left) to open it. Then, do the same for the cold water supply valve.
- As you turn on the water supply, keep an eye out for any leaks or drips. Watch the connections, supply lines, and the faucet itself to ensure there are no visible signs of leakage.
- Allow the water to flow for a few minutes to flush out any air or debris that may have accumulated in the lines. This will help ensure a steady and clear flow of water.
If you notice any leaks during this process, turn off the water supply immediately and check the connections. Tighten any loose connections or replace faulty parts as needed.
It’s also a good idea to check both the hot and cold water handles on the faucet to ensure they are functioning properly. Make sure the water flows smoothly and that there are no issues with the handles or valves.
With the water supply turned on and no visible leaks or malfunctions, you’re ready to move on to the final step: testing the new faucet.
Step 8: Test the new faucet
Now that the new faucet is installed and the water supply is turned on, it’s important to test the functionality and performance of the faucet. Follow these steps to ensure the new faucet is working properly:
- Start by turning on the hot and cold water handles separately. Check for a smooth and steady flow of water from the faucet. Make sure there are no sudden changes in water pressure.
- Test the functionality of any additional features or accessories that came with the faucet, such as a sprayer attachment or soap dispenser. Ensure they are working as intended and there are no leaks or malfunctions.
- Pay attention to any unusual noises, vibrations, or leaks during the testing process. These could be signs of a faulty installation or underlying issues that need to be addressed.
- Check for proper temperature control. Adjust the hot and cold water handles to achieve your desired water temperature. Ensure that the water is not too hot or too cold.
- Inspect the area around the faucet and sink for any signs of water leakage. Run your fingers along the connections and base of the faucet to check for any moisture.
If you encounter any issues during the testing phase, such as leaks, inadequate water flow, or improper temperature control, it may be necessary to troubleshoot or make adjustments. Consult the manufacturer’s instructions or seek professional assistance if needed.
Once you are satisfied with the performance of the new faucet and have confirmed that there are no leaks or malfunctions, congratulations! You have successfully completed the process of changing your kitchen faucet.
Remember that proper maintenance and regular inspections can help prolong the lifespan of your new faucet. Stay vigilant for any signs of wear, leaks, or other issues, and address them promptly to prevent further damage or complications.
We hope this step-by-step guide has been helpful to you in changing your kitchen faucet. Enjoy your newly installed faucet and the enhanced functionality and aesthetics it brings to your kitchen!
Conclusion
Congratulations on successfully changing your kitchen faucet! By following this expert guide, you have learned how to tackle this DIY project with confidence. Not only have you upgraded the functionality of your sink area, but you have also given your kitchen a fresh look with a new faucet.
Throughout the process, we’ve covered important steps such as gathering the necessary tools and materials, turning off the water supply, removing the old faucet, preparing the new faucet, installing it, connecting the supply lines, turning on the water supply, testing the new faucet, and ensuring its functionality.
Remember, safety is a top priority when working with plumbing fixtures and water supply systems. Always take precautions, such as turning off the water supply and handling tools properly, to avoid accidents or damage.
By choosing a faucet that suits your style and meets your needs, you have added both functionality and beauty to your kitchen. Whether it’s a sleek modern design, a classic look, or a faucet with advanced features, a new kitchen faucet can enhance your daily tasks and elevate the overall aesthetics of your kitchen.
Regular maintenance of your new faucet is essential for its longevity and optimal performance. Routinely check for any leaks, clean the faucet, and address any issues promptly. This will help prevent any further complications and ensure that your faucet continues to serve you well for years to come.
We hope this guide has provided you with valuable insights and guidance throughout the process of changing your kitchen faucet. Remember, if you ever feel unsure or uncomfortable with any step, it’s always a good idea to consult a professional plumber.
Enjoy your newly installed kitchen faucet and the improved functionality it brings to your daily kitchen routines. Happy cooking and washing!
Frequently Asked Questions about How To Change A Kitchen Faucet: An Expert Guide
Was this page helpful?
At Storables.com, we guarantee accurate and reliable information. Our content, validated by Expert Board Contributors, is crafted following stringent Editorial Policies. We're committed to providing you with well-researched, expert-backed insights for all your informational needs.


0 thoughts on “How To Change A Kitchen Faucet: An Expert Guide”