Home>Storage Ideas>Living Room Storage>14 Tricks To Help You Speed-Clean Your Home
Living Room Storage
14 Tricks To Help You Speed-Clean Your Home
Modified: October 20, 2024
Discover 14 powerful tricks to speed-clean your home effortlessly. Maximize your living room storage space with expert tips for a clutter-free space.
(Many of the links in this article redirect to a specific reviewed product. Your purchase of these products through affiliate links helps to generate commission for Storables.com, at no extra cost. Learn more)
Introduction
Keeping a clean and organized home can sometimes feel like a daunting task. With busy schedules and limited time, it’s easy for clutter and mess to pile up. However, with a few clever tricks and strategies, you can speed-clean your home and maintain a tidy living space without spending hours on end. In this article, we will explore 14 effective tricks to help you clean your home quickly and efficiently.
Whether you need to quickly tidy up before unexpected guests arrive or simply want to streamline your cleaning routine, these tips will help you get the job done in no time. From creating a cleaning playlist to using multi-purpose cleaners, each trick is designed to save you time and effort while still delivering excellent results.
So, put on your cleaning shoes and let’s dive into these 14 helpful tricks that will transform your cleaning routine. With these tips, you’ll be able to speed-clean your home and enjoy a clean and organized living environment without the stress and hassle.
Key Takeaways:
- 1. Speed-clean your home with a cleaning playlist, timer, and multi-purpose cleaners. Enjoy a more efficient and enjoyable cleaning experience with these creative and practical tips.
- 2. Simplify your cleaning routine by decluttering, focusing on high-traffic areas, and using time-saving tools like microfiber cloths and squeegees. Embrace the “clean as you go” mindset for a consistently tidy living room.
Create a Cleaning Playlist
Cleaning can often feel like a monotonous task that lacks motivation and excitement. However, by creating a cleaning playlist, you can make the process much more enjoyable and energizing. Music has a way of lifting our spirits and increasing productivity, so why not use it to your advantage?
Start by curating a playlist of your favorite upbeat and energetic songs. Choose songs that make you want to move and groove. The tempo and rhythm of the music will help boost your energy levels and motivate you to clean more efficiently.
Not only does a cleaning playlist make the task more enjoyable, it also serves as a timer. Aim to finish cleaning a specific area or task by the time a song ends. This will help you stay focused and prevent you from getting sidetracked.
If you prefer podcasts or audiobooks, you can create a playlist featuring those as well. This way, you can listen to something interesting while getting your home spick and span.
Remember, the key is to choose music or audio content that keeps you engaged and entertained. By creating a cleaning playlist, you’ll find that the cleaning process becomes more enjoyable and the time flies by.
So, grab your headphones or bluetooth speaker, turn up the volume, and let the music motivate you as you tackle your cleaning tasks. With a captivating playlist, you’ll find yourself cleaning with a renewed sense of energy and enthusiasm.
Set a Timer
Setting a timer is a simple yet effective way to stay focused and avoid spending excessive time on one task. It helps create a sense of urgency and ensures that you’re allocating an appropriate amount of time to each cleaning task.
Start by estimating how long each task should ideally take. For example, you might allocate 15 minutes for dusting, 20 minutes for vacuuming, and so on. Set a timer for each task, and challenge yourself to complete it within the set time frame.
The timer acts as a reminder to stay on track and avoid getting caught up in perfectionism or becoming easily distracted. Knowing that you have a limited amount of time to complete a task pushes you to work efficiently and prioritize the most important aspects of cleaning.
Additionally, setting a timer adds an element of gamification to the cleaning process. It can be fun to race against the clock and see how much you can accomplish within the given time. This can be particularly helpful if you find cleaning to be tedious or overwhelming.
If you’re tackling a larger cleaning project, such as deep-cleaning your entire living room, you can set a timer for the overall task as well. This not only helps you stay focused, but it also prevents you from spending excessive time on one area while neglecting others.
By setting a timer, you can streamline your cleaning routine and ensure that you’re making the most efficient use of your time. So, grab your phone, set a timer, and watch as you breeze through your cleaning tasks with speed and efficiency.
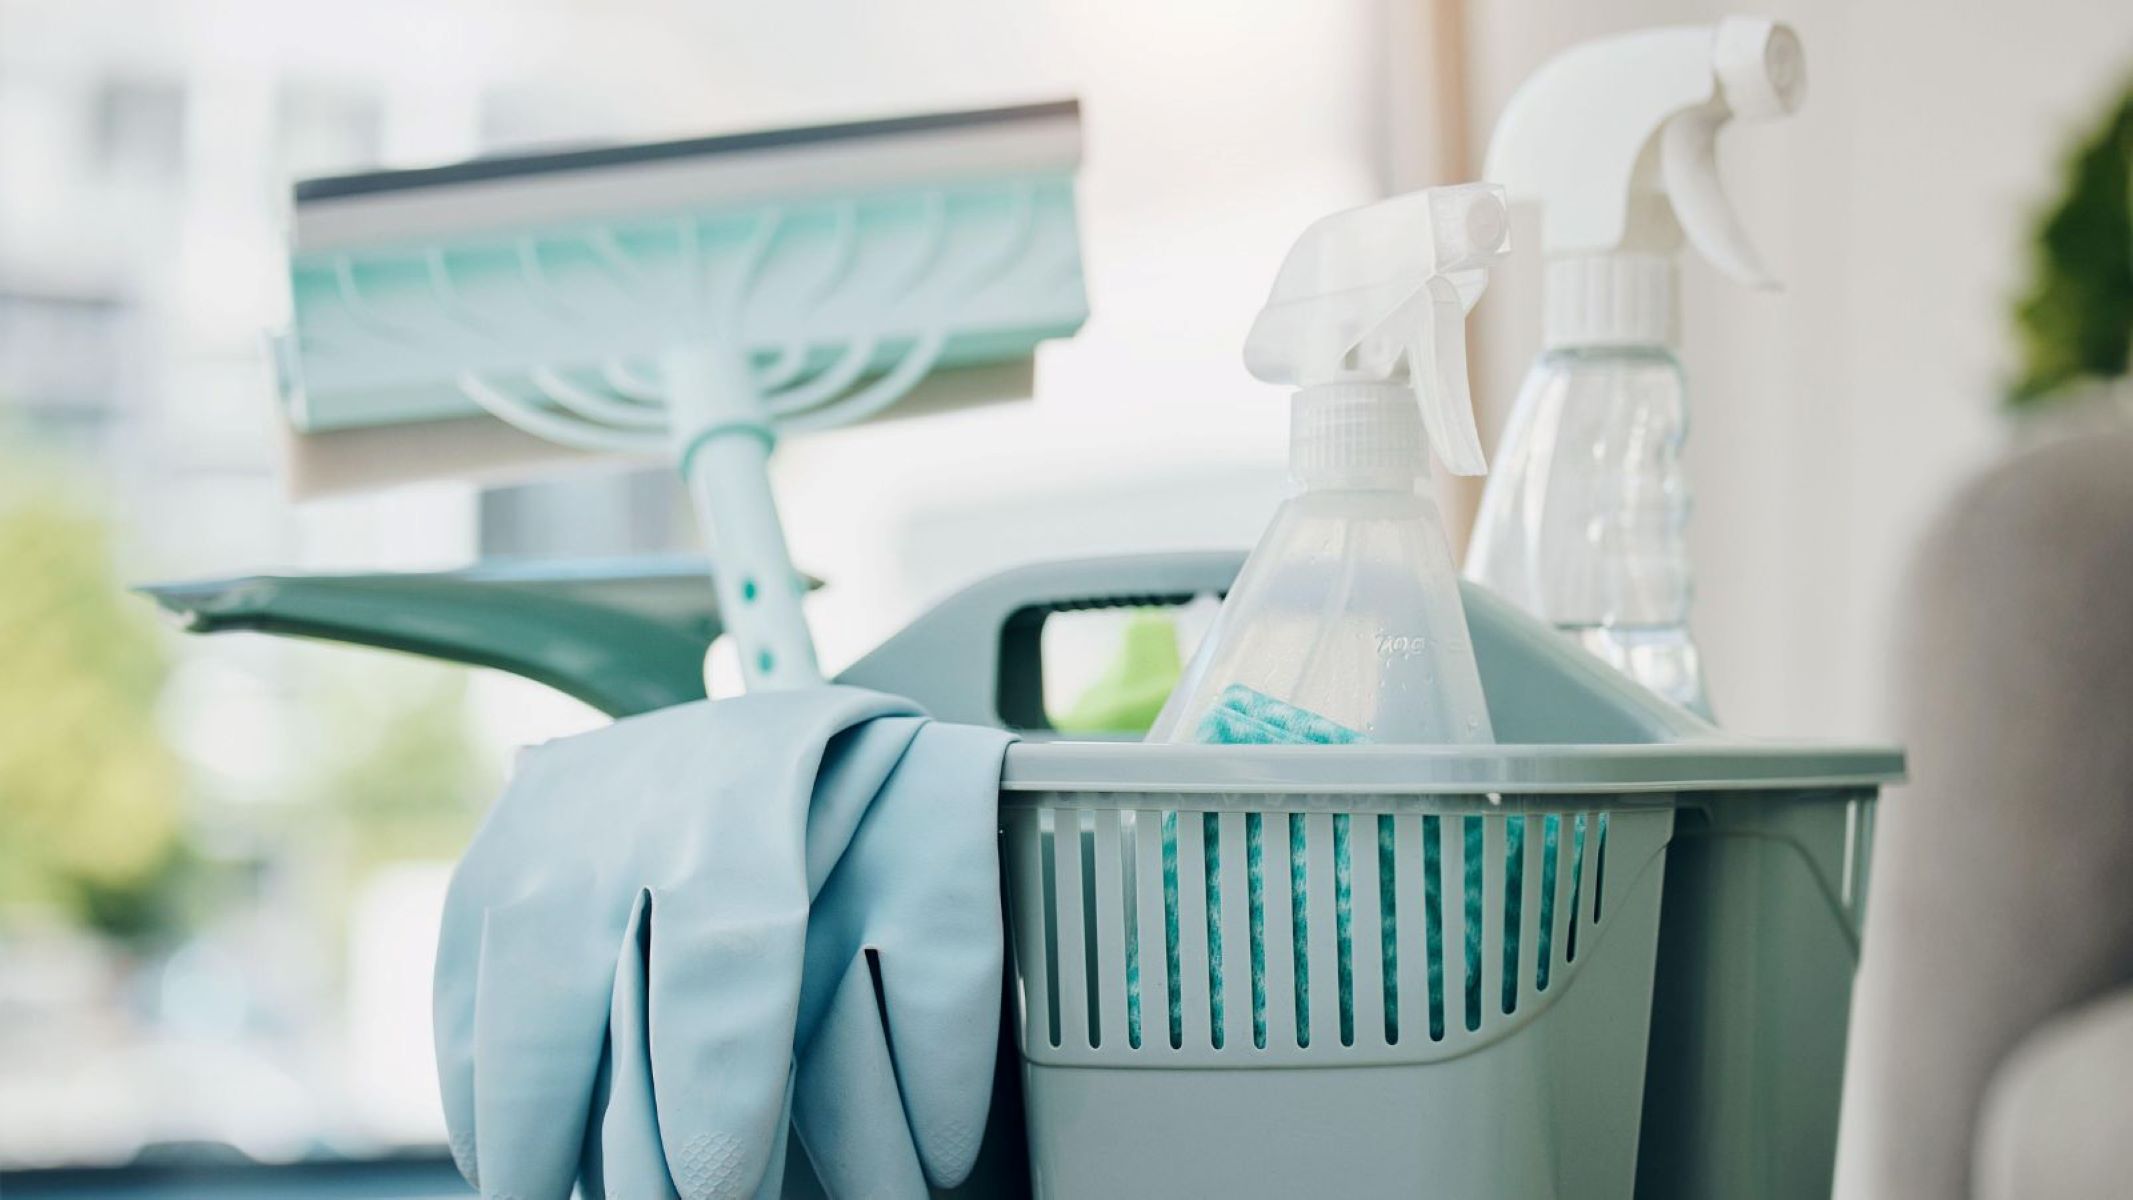
Gather Your Supplies
Before you dive into your cleaning tasks, it’s important to gather all the necessary cleaning supplies. Doing so will save you time and prevent interruptions as you won’t have to keep running back and forth to retrieve items.
Start by taking stock of the cleaning products you have on hand. Make sure you have general cleaning solutions, window cleaner, all-purpose spray, furniture polish, and any other specialized cleaners you may need for specific surfaces. Having these products ready and easily accessible will make your cleaning process more efficient.
In addition to cleaning solutions, gather all the necessary cleaning tools. This includes microfiber cloths, sponges, scrub brushes, dusters, and a vacuum cleaner. If there are any specific tools or attachments you need for certain cleaning tasks, be sure to gather those as well.
Consider using a cleaning caddy or bucket to keep all your supplies organized and within reach. This way, you can easily carry your supplies from room to room without having to search for them each time.
If you prefer to use homemade cleaning solutions, such as vinegar and water for glass cleaning or baking soda for scrubbing, make sure you have these ingredients readily available as well.
By gathering all your supplies before you start cleaning, you’ll eliminate the need for frequent interruptions and make the process more streamlined. This way, you can move seamlessly from one task to another, maximizing your cleaning efficiency.
So, take a few moments to gather your cleaning supplies, prepare your cleaning caddy, and ensure you have everything you need to tackle your cleaning tasks head-on.
Declutter First
Before you start deep-cleaning your living room, it’s essential to declutter and remove any unnecessary items. Clutter not only makes your space look untidy, but it can also hinder your cleaning progress.
Go through your living room and identify items that are out of place, no longer needed, or simply cluttering your surfaces. This could be random papers, magazines, toys, or any other items that don’t belong in the room. Put them away in their proper storage locations or designate a specific spot where they should be kept.
Consider implementing a minimalistic approach to keep your living room clutter-free. The fewer items you have in the space, the easier it will be to clean and maintain its cleanliness in the long run.
Once you’ve decluttered, you’ll have a clear canvas to work with, making it easier to see which areas need the most attention. Dusting and cleaning surfaces will be more efficient as you won’t need to move or clean around unnecessary items.
If you’re uncertain about whether to keep or discard certain items, consider following the “one in, one out” rule. For every new item you bring into the living room, remove an old or unused item. This way, you can prevent clutter from accumulating over time.
Lastly, create a system for organizing essential items in your living room, such as remote controls, books, and decorative items. Assign dedicated spots for each item so that they can be easily found and put away when not in use.
By decluttering before you clean, you’re setting yourself up for success. You’ll have a clean and organized space that is easier to maintain, making future cleaning endeavors much more efficient.
So, start by decluttering your living room, removing unnecessary items, and organizing essential belongings. This will lay the foundation for a sparkling clean and clutter-free living space.
Focus on High-Traffic Areas
When time is of the essence, it’s important to prioritize your cleaning efforts. One effective strategy is to focus on the high-traffic areas of your living room first.
High-traffic areas are the parts of your living room that receive the most use and are therefore prone to accumulating dirt and grime more quickly. These areas include entryways, hallways, and spots near furniture and entertainment centers.
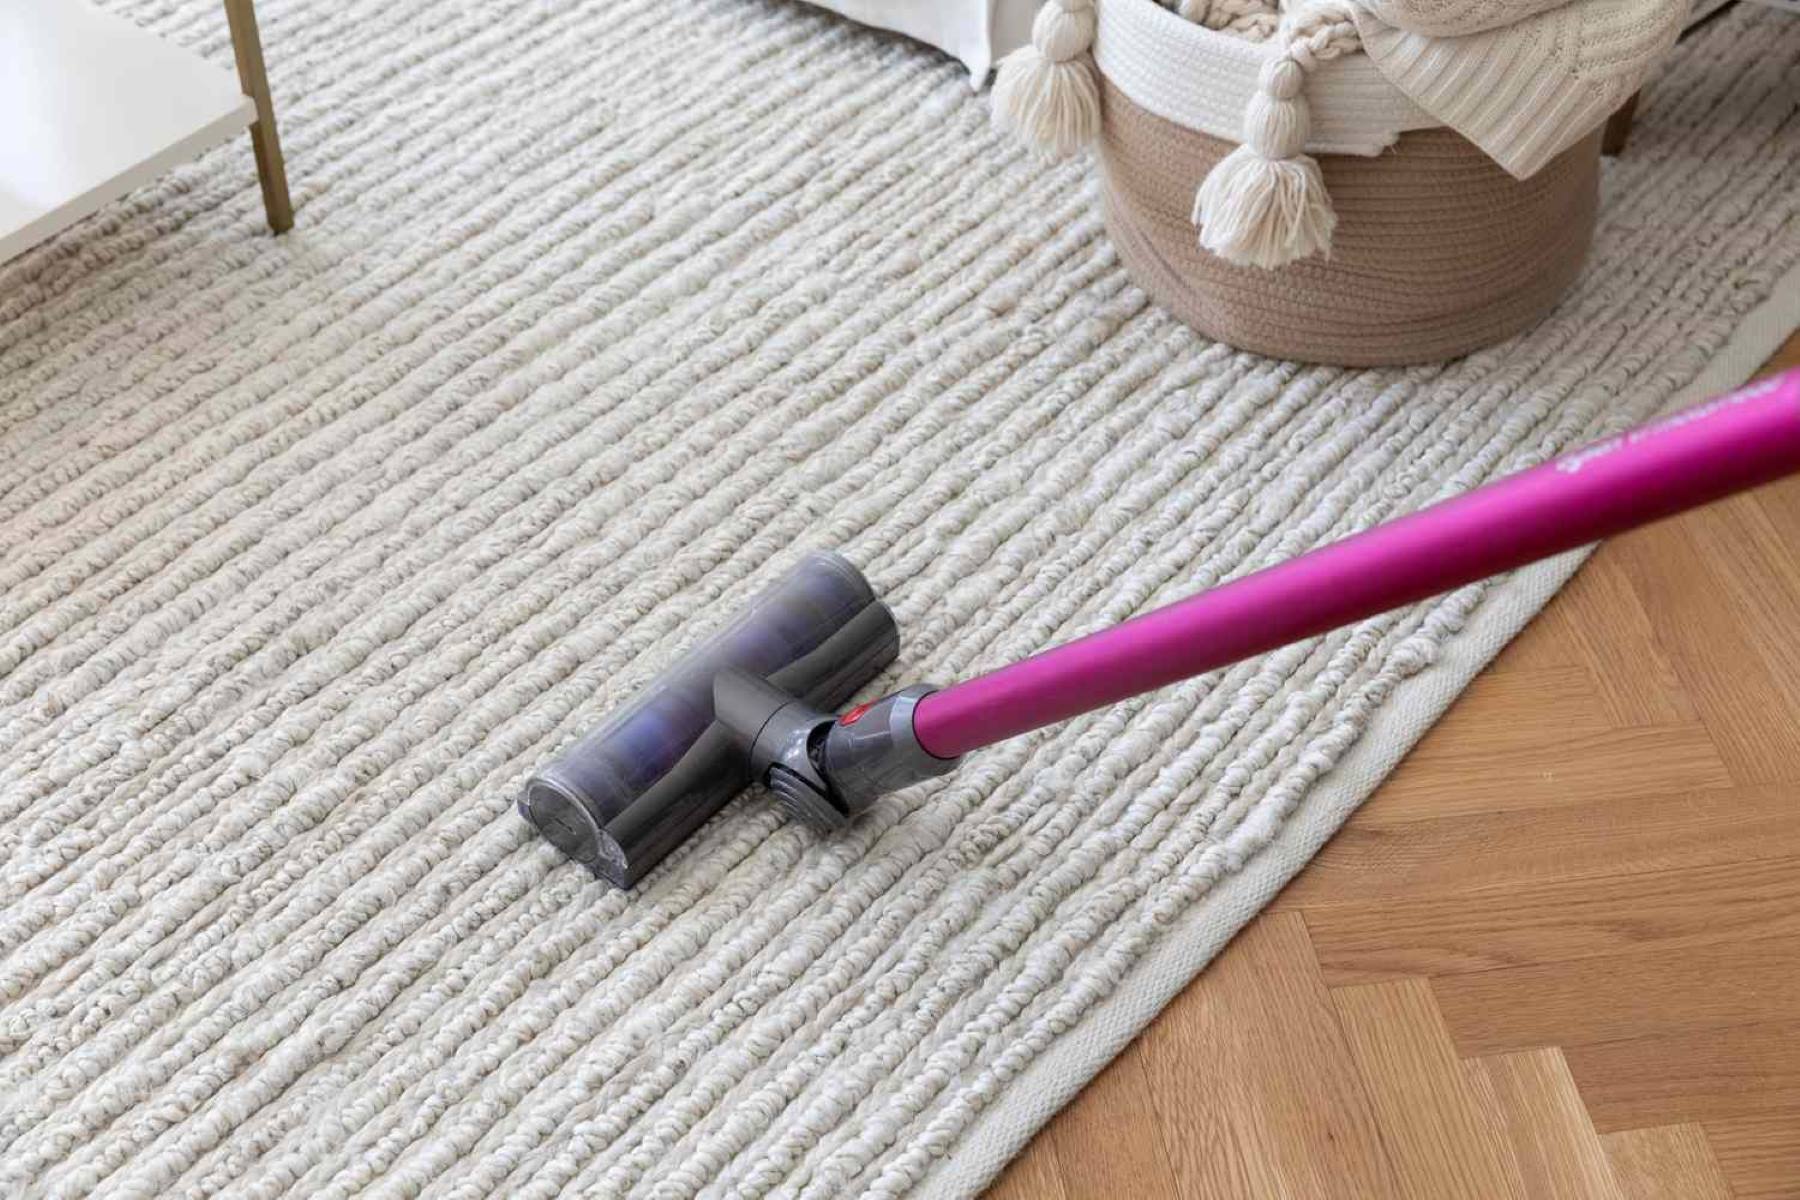
Start by thoroughly vacuuming or sweeping these areas to remove any dirt, dust, or debris. Pay special attention to corners, edges, and under furniture where dust tends to collect. Use a vacuum cleaner with attachments or a broom and dustpan to effectively clean these areas.
Next, move on to cleaning the floors. If you have hardwood or laminate flooring, use a damp mop or microfiber cloth to clean and remove any sticky spots or spills. For carpeted areas, a quick spot-cleaning or vacuuming will help freshen up the carpet’s appearance.
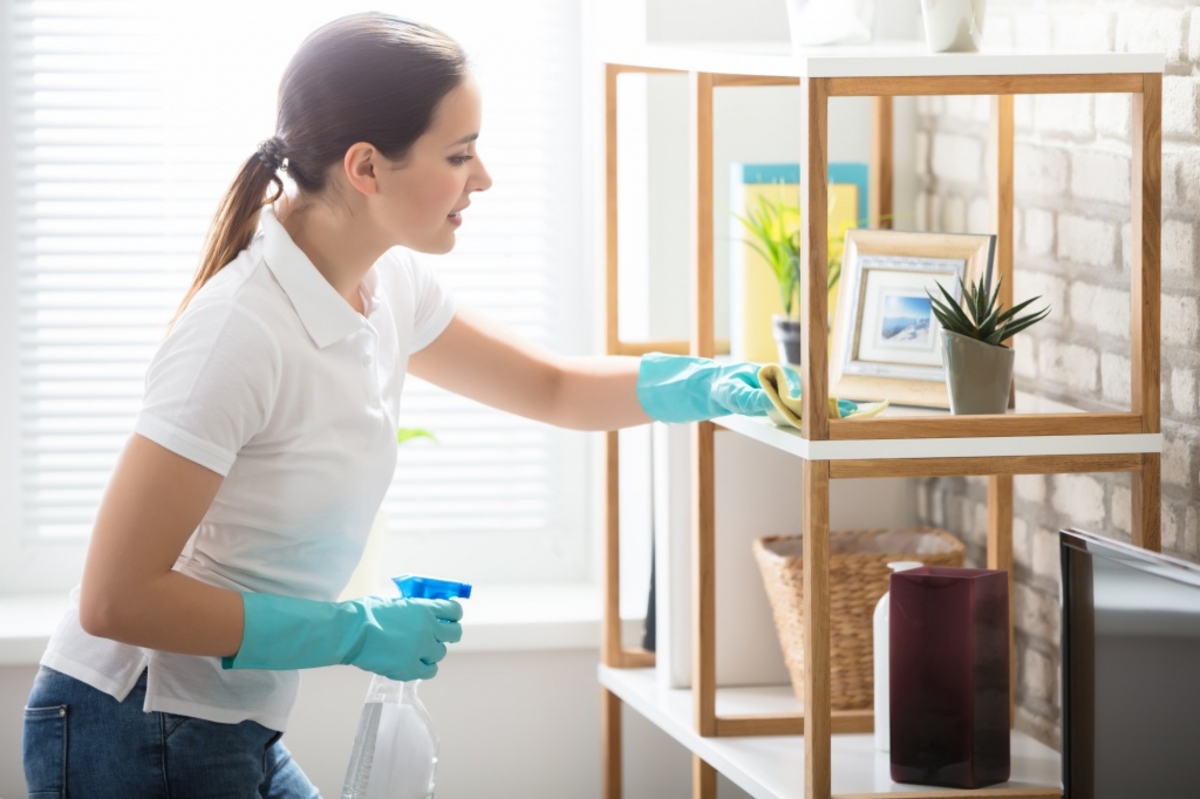
Once you’ve tackled the high-traffic areas, you can move on to other less frequently used parts of the living room, such as display shelves, side tables, and decorative items. Dust these surfaces using a microfiber cloth or duster, and wipe down any visible smudges or fingerprints.
Remember, the goal is to prioritize the areas that will have the greatest impact on the overall appearance of your living room. By focusing on high-traffic areas first, you’ll create a clean and inviting space, even if you’re short on time.
So, identify the high-traffic areas in your living room and give them the attention they need. By starting with these areas, you’ll maximize the impact of your cleaning efforts and make your living room look and feel fresh in no time.
Use the Two-Bucket Method for Mopping
Mopping is an essential part of keeping your floors clean, but it can often be time-consuming and ineffective if not done properly. To make your mopping process more efficient, consider using the two-bucket method.
Instead of using a single bucket of cleaning solution, fill two buckets with water – one for clean water and the other for dirty water. Start by dipping your mop into the bucket with clean water, wringing it out, and then mopping a section of the floor. After that, rinse the mop in the bucket with dirty water to remove the dirt and grime.
This two-bucket method helps to prevent the spread of dirt and maintain the cleanliness of the mop as you clean. By using clean water for each section, you avoid reapplying dirty water back onto your floor, resulting in a more thorough and effective clean.
Additionally, make sure to change the water in the dirty bucket regularly, especially if you’re cleaning a large area. As the water becomes dirtier, it can leave streaks or residue on your floors, diminishing the cleaning effect.
When mopping, it’s also important to use the right amount of cleaning solution. Excessive cleaning solution can leave a sticky residue, while using too little may not effectively clean the floors. Follow the instructions on the cleaning product and adjust the amount accordingly.
For hard-to-reach areas or stubborn stains, consider using a scrub brush with the same two-bucket method. Dip the brush in the clean water, scrub the area, and rinse the brush in the dirty water before continuing.
By implementing the two-bucket method for mopping, you’ll achieve cleaner floors in a more efficient manner. This technique saves time by reducing the need to refill or change the water frequently and ensures that you’re not just spreading dirt around.
So, grab two buckets, fill them with water, and experience the difference that the two-bucket method can make in your mopping routine. Enjoy sparkling clean floors with minimal effort!
Use Microfiber Cloths for Dusting
Dusting is a crucial step in maintaining a clean and fresh living room. It helps remove dust, allergens, and other particles that can accumulate on surfaces. To make your dusting routine more effective and efficient, consider using microfiber cloths.
Microfiber cloths are made of tiny synthetic fibers that have a unique ability to attract and trap dust particles. Unlike traditional cotton cloths or dusters, microfiber cloths have a static charge that helps lift and lock in dust, rather than just pushing it around.
To use microfiber cloths for dusting, start by lightly dampening the cloth with water or a minimal amount of cleaning solution. Avoid using excessive moisture, as this can leave streaks or damage certain surfaces.
Gently wipe the microfiber cloth over surfaces, including tabletops, shelves, TV screens, and other dusty areas. The microfiber cloth will effectively pick up and trap dust, leaving your living room cleaner and allergen-free.
What’s great about microfiber cloths is that they are reusable and machine washable. After each use, rinse the cloth under running water, wring it out, and hang it to dry. When it becomes heavily soiled, throw it in the washing machine with a mild detergent and wash it on a gentle cycle. Avoid using fabric softener, as it can reduce the cloth’s dust-attracting abilities.
In addition to dusting surfaces, microfiber cloths can also be used for spot-cleaning stains or spills. The fine fibers and absorbent nature of microfiber make it ideal for quickly addressing small messes without the need for excessive cleaning products or paper towels.
By using microfiber cloths for dusting, you’ll not only achieve a cleaner living room, but you’ll also save time and money on disposable cleaning supplies. The effectiveness and reusability of microfiber cloths make them a valuable tool in your cleaning arsenal.
So, invest in a few high-quality microfiber cloths and watch as they revolutionize your dusting routine. Say goodbye to dusty surfaces and hello to a sparkling clean living room!
Use a microfiber cloth when cleaning surfaces as it is more effective at picking up dust and dirt compared to traditional cleaning cloths.
Use a Squeegee for Windows and Glass Surfaces
Windows and glass surfaces can easily accumulate smudges, streaks, and fingerprints, making them look dirty and dull. To achieve crystal-clear and streak-free results, consider using a squeegee for cleaning these areas.
A squeegee is a handheld tool with a rubber blade that efficiently removes water, cleaning solution, and residue from smooth surfaces. It is commonly used for cleaning windows, glass doors, and mirrors, but it can also be used on other smooth surfaces like tabletops or glass cabinets.
Start by spraying a window cleaning solution or a mixture of vinegar and water onto the glass surface. Using a soft cloth, spread the solution across the surface to loosen any dirt or grime.
Next, take the squeegee and, starting from the top, firmly pull it down the glass surface. The rubber blade will glide smoothly, effectively removing the cleaning solution and any dirt or streaks in its path. Make sure to overlap each stroke slightly to avoid leaving any lines or streaks.
If you’re cleaning a large window or glass surface, have a clean cloth or towel handy to wipe the excess water from the squeegee after each stroke. This will prevent the water from dripping and creating streaks on the clean glass.
For smaller or hard-to-reach areas, there are mini squeegees available that provide the same efficient cleaning power in a more compact size.
Using a squeegee for windows and glass surfaces not only produces streak-free results but also saves time and effort compared to using traditional cleaning methods like paper towels or cloths. The rubber blade of the squeegee helps to eliminate streaks, leaving your windows and glass surfaces sparkling clean.
So, invest in a high-quality squeegee and say goodbye to streaky and dull glass surfaces. Enjoy the satisfaction of seeing your windows and mirrors reflect a clear and bright view.
Read more: How Home Staging Helps You Sell Your House
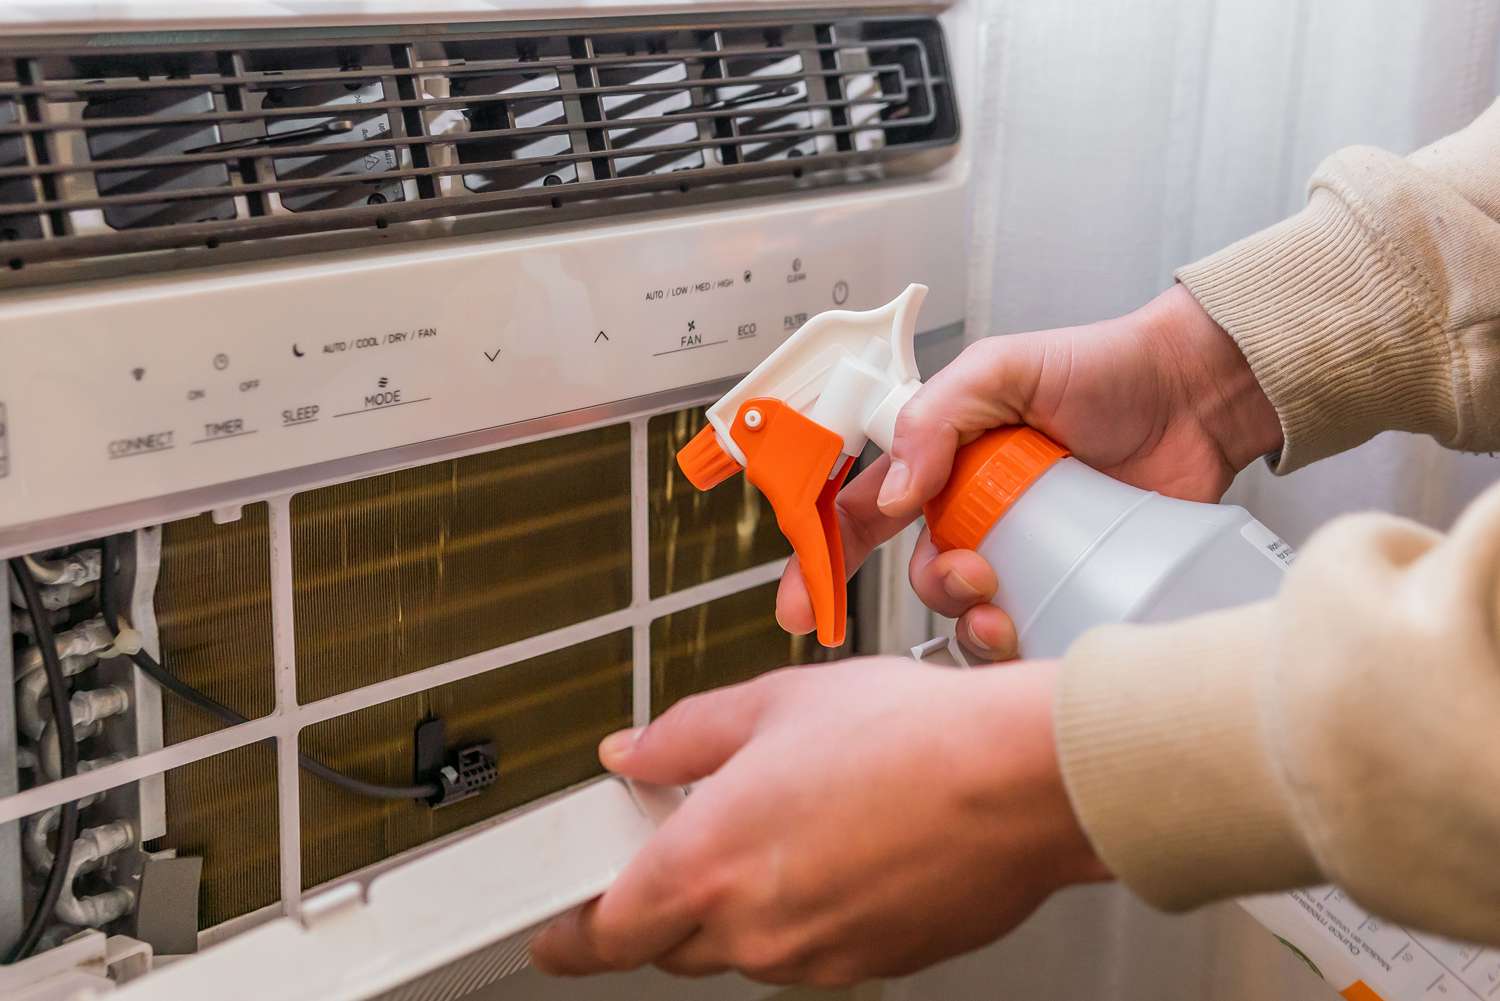
Utilize Multi-Purpose Cleaners
When it comes to cleaning your living room, having a wide array of specialized cleaning products can quickly become overwhelming and expensive. That’s where multi-purpose cleaners come in handy.
Multi-purpose cleaners are versatile and effective solutions that can be used on various surfaces, eliminating the need for multiple cleaning products. These cleaners are designed to tackle dirt, grime, and stains on countertops, tables, appliances, and other common surfaces found in your living room.
When choosing a multi-purpose cleaner, look for one that is safe for the specific materials in your living room, such as wood, glass, or stainless steel. Read the label for any specific instructions or warnings to ensure its suitability for your surfaces.
To use a multi-purpose cleaner, simply spray it onto the surface and use a clean cloth or sponge to wipe away the dirt and residue. The powerful cleaning agents in these products help to dissolve and lift dirt, leaving your surfaces sparkling clean.
Not only do multi-purpose cleaners simplify your cleaning routine, but they also save you time and money. With a single product that can effectively clean multiple surfaces, you’re able to streamline your cleaning process and eliminate the need for multiple specialized cleaners.
Remember to always follow the instructions on the label and test the cleaner on a small, inconspicuous area before applying it to larger surfaces. This will help ensure that the cleaner does not cause any damage or discoloration.
In addition to saving time and money, using multi-purpose cleaners helps reduce clutter in your cleaning supplies, making your living room cleaning routine more organized and efficient.
So, next time you’re stocking up on cleaning supplies, consider investing in a reliable multi-purpose cleaner. Simplify your cleaning routine while still achieving sparkling clean surfaces throughout your living room.
Simplify Your Bed-Making Routine
Making your bed every morning not only transforms the look of your bedroom but also sets a positive tone for the rest of the day. However, traditional bed-making routines can be time-consuming and intricate. To save time without sacrificing a well-made bed, consider simplifying your bed-making routine with a few practical tips.
Start by investing in a fitted sheet that stays securely in place. This can save you time and frustration when making your bed, as you won’t have to constantly readjust the corners of the sheet.
Next, utilize the power of layering. Instead of meticulously tucking in multiple blankets and sheets, choose a lightweight duvet or comforter as the top layer. By using a duvet cover, you can easily remove and wash it to keep your bed clean and fresh.
To achieve a neat and tidy look, focus on the pillows. Instead of using a multitude of decorative pillows, opt for two or three comfortable and practical pillows. This simplifies the process of arranging and fluffing the pillows each day.
Consider skipping the top sheet altogether. While top sheets can add an extra layer of warmth, eliminating it can save time and effort in the morning. Simply use a fitted sheet and the duvet or comforter as your main layers.
Lastly, make your bed as soon as you wake up. This prevents procrastination and ensures that you start your day with an accomplished task. It takes just a couple of minutes to straighten the covers and arrange the pillows.
Simplifying your bed-making routine not only saves time, but it also reduces the stress and frustration associated with intricate bedding arrangements. By following these simple steps, you’ll have a well-made bed that adds a touch of tidiness and comfort to your living space.
So, embrace a simplified bed-making routine and experience the ease and satisfaction of starting your day with a beautifully made bed.
Use Dryer Sheets for Quick Dusting
Dusting can be a time-consuming task, especially when you need to clean various surfaces in your living room. To expedite the process and add a fresh scent to your cleaning routine, consider using dryer sheets for quick dusting.
Dryer sheets are not just for the laundry room – their anti-static properties and soft fabric make them excellent tools for dusting. The sheets pick up and hold onto dust particles, leaving your surfaces clean and free from allergens.
To use dryer sheets for dusting, simply take a sheet and gently rub it across surfaces like tables, shelves, TV screens, and other dusty areas. The sheet will attract the dust, preventing it from resettling on the surface.
Not only do dryer sheets effectively remove dust, but they also leave a fresh scent behind. The pleasant aroma can enhance the cleanliness of your living room and create a more inviting environment.
Dryer sheets are particularly useful for eliminating static on surfaces that tend to attract dust, such as electronics or glass. By rubbing a dryer sheet over these surfaces, you can reduce static and prevent dust from accumulating as quickly.
Additionally, dryer sheets can be used to quickly freshen up upholstered furniture. Rubbing a sheet over the fabric helps to remove odors and give your furniture a pleasant scent.
Keep in mind that dryer sheets are not meant for deep cleaning or heavily soiled surfaces. They work best for light dusting and maintenance between more thorough cleaning sessions.
As an added bonus, you can reuse dryer sheets multiple times before discarding them. Simply shake off the collected dust or rinse them under running water, allow them to dry, and they’re ready to use again.
So, next time you need to do a quick dusting in your living room, reach for a dryer sheet. Enjoy the convenience, added freshness, and efficiency of using dryer sheets as a quick and effective dusting solution.
Clean as You Go
One of the most effective ways to keep your living room clean and organized is to adopt the “clean as you go” approach. This means tackling cleaning tasks in real-time as you go about your daily activities, rather than letting messes accumulate and tackling them all at once.
Start by making it a habit to clean up after yourself immediately. If you spill something, wipe it up right away. If you finish using an item, put it back in its designated spot. Taking these small, proactive steps throughout the day helps prevent clutter and maintain a tidy living room.
When it comes to meals or snacks in the living room, be mindful of any crumbs or spills. Use coasters, placemats, or trays to catch any mess and clean them up promptly. This prevents stains and makes cleaning up much easier later on.
Another aspect of “clean as you go” is to address any visible dust or messes as soon as you notice them. If you spot a dusty surface or a smudged glass, take a moment to grab a microfiber cloth or a designated cleaning tool to quickly clean it up. By taking immediate action, you’re preventing dirt from settling and making it easier to maintain cleanliness.
It’s also helpful to do a quick tidying session before you go to bed or before leaving the living room. Spend a few minutes picking up items, straightening cushions, and organizing any loose items. This ensures you start the next day with a clean slate and a more inviting living space.
By incorporating the “clean as you go” mentality into your daily routine, you’ll not only maintain a cleaner living room, but you’ll also save time in the long run. With small, consistent efforts, you’ll prevent messes from piling up and avoid the overwhelming task of deep-cleaning a cluttered space.
So, break down cleaning tasks into smaller, manageable steps and make cleaning a continuous process. Embrace the “clean as you go” approach to keep your living room consistently tidy and enjoyable.
Delegate Tasks
When it comes to maintaining a clean and organized living room, you don’t have to do it all on your own. Delegating tasks to other members of your household can help lighten the cleaning load and make the process more efficient. By dividing responsibilities, everyone can contribute to creating a clean and enjoyable living space.
Start by discussing and assigning specific tasks to each family member or household member. This can include dusting, vacuuming, tidying up, or any other cleaning tasks that need to be done regularly. Consider each person’s abilities, interests, and schedules when determining their tasks.
Encourage a sense of shared responsibility by having a regular cleaning schedule or assigning specific days or times for certain tasks. This ensures that cleaning tasks are consistently addressed and prevents them from being overlooked or neglected.
It’s important to be clear in your expectations and communicate effectively with members of your household. Clearly define what needs to be done and provide any necessary instructions or guidelines. This helps avoid misunderstandings and ensures that everyone is on the same page.
If you have children, make cleaning tasks age-appropriate and turn them into fun activities or games. This not only helps teach them the importance of cleanliness and responsibility but also allows them to contribute in a meaningful way.
Remember that delegation is not about assigning blame or shirking responsibilities. It’s about working together as a team and sharing the workload to create a clean and harmonious living space.
By delegating tasks, you’ll not only reduce your own cleaning burden but also cultivate a sense of shared responsibility and involvement within your household. Together, you can create a clean and welcoming living room that everyone can enjoy.
So, gather your household members, divide the cleaning tasks, and work together towards a clean and organized living room. By sharing the load, you’ll make the cleaning process more efficient and enjoyable for everyone involved.
Stay Consistent
Consistency is key when it comes to maintaining a clean and organized living room. By establishing and sticking to a regular cleaning routine, you can keep your living space looking its best without feeling overwhelmed by large cleaning tasks.
Start by creating a cleaning schedule that suits your lifestyle and preferences. Determine how often you want to tackle different tasks, such as dusting, vacuuming, or deep cleaning. Whether it’s a daily, weekly, or monthly routine, consistency is vital.
Stick to your cleaning schedule by setting aside dedicated time for cleaning. Prioritize these cleaning sessions and make them non-negotiable in your schedule. Treat them as any other important commitment and avoid putting them off or letting them slide to maintain consistency.
Break down larger cleaning tasks into smaller, more manageable steps. For example, instead of deep-cleaning the entire living room in one day, focus on one specific area or task each day. This ensures that cleaning remains achievable and doesn’t feel overwhelming.
Hold yourself accountable to your cleaning routine by tracking your progress. Use a checklist or cleaning app to mark off completed tasks. Seeing your progress visually can boost motivation and reinforce your commitment to consistent cleaning.
Consistency extends beyond just cleaning tasks. Embrace habits that contribute to overall cleanliness, such as removing shoes at the door, putting away items after use, and regularly decluttering surfaces. These small habits, done consistently, can significantly reduce the amount of cleaning needed in the long run.
Remember, consistency is not about striving for perfection. It’s about forming habits and maintaining a baseline level of cleanliness. Even a few minutes of daily tidying or regular maintenance can make a significant difference in the overall cleanliness of your living room.
By staying consistent with your cleaning efforts, you’ll reap the benefits of a clean and organized living room that requires less time and effort to maintain. Plus, it will create a more relaxing and enjoyable space for you and your family to spend time in.
So, commit to consistency in your cleaning routine and establish habits that promote cleanliness. With a little effort and dedication, you’ll be rewarded with a consistently clean and inviting living room.
Conclusion
Maintaining a clean and organized living room doesn’t have to be a daunting task. By implementing these 14 tricks and strategies, you can speed-clean your home and enjoy a tidy living space without spending hours on end.
From creating a cleaning playlist to using multi-purpose cleaners, each tip is designed to save you time and effort while still delivering excellent results. By infusing creativity and a human touch into your cleaning routine, you can transform the process into a more enjoyable and efficient experience.
Remember to simplify your bed-making routine, delegate tasks, and stay consistent in your cleaning efforts. By incorporating these practices into your daily routine, you’ll be able to maintain a tidy living room without feeling overwhelmed.
Utilize the power of tools like microfiber cloths and squeegees to make your cleaning tasks more efficient. Embrace the “clean as you go” mindset to prevent messes from piling up and reduce the overall cleaning load.
Lastly, remember that consistency is key. By sticking to a regular cleaning routine and cultivating good habits, you can enjoy a consistently clean and organized living room without the stress and hassle.
So, put these tricks into action, adapt them to your own preferences, and enjoy the benefits of a clean and inviting living space. With a little effort and the right strategies, you’ll be able to transform your living room into a space that you can be proud of.
Happy cleaning!
Frequently Asked Questions about 14 Tricks To Help You Speed-Clean Your Home
Was this page helpful?
At Storables.com, we guarantee accurate and reliable information. Our content, validated by Expert Board Contributors, is crafted following stringent Editorial Policies. We're committed to providing you with well-researched, expert-backed insights for all your informational needs.


0 thoughts on “14 Tricks To Help You Speed-Clean Your Home”