Home>Storage Ideas>Living Room Storage>How To Clean The House In An Hour
Living Room Storage
How To Clean The House In An Hour
Modified: October 21, 2024
Looking to clean your house quickly? Discover the best tips and tricks to clean your living room and maximize storage in just an hour.
(Many of the links in this article redirect to a specific reviewed product. Your purchase of these products through affiliate links helps to generate commission for Storables.com, at no extra cost. Learn more)
Introduction
Welcome to the ultimate guide on how to clean the house in just an hour! We all lead busy lives and finding time to keep our living spaces tidy can sometimes feel like a never-ending task. However, with a focused and efficient approach, it is possible to tackle the cleaning chores and still have time to relax and enjoy your home.
Whether you are expecting guests, hosting a last-minute gathering, or simply need to give your living room a quick refresh, this article will provide you with practical tips and tricks to clean your house in no time.
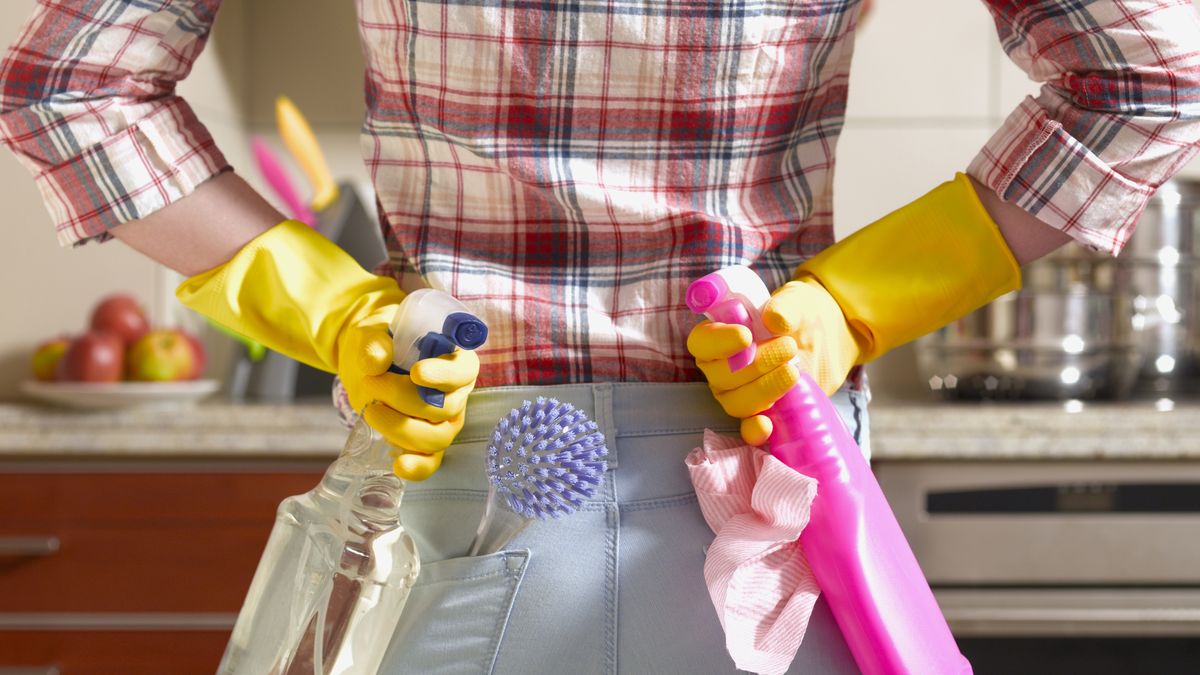
Before we dive into the cleaning process, it’s important to gather all the necessary supplies. Having everything on hand will save you time and prevent interruptions during the cleaning session. Grab a mop, vacuum cleaner, dusting cloth, all-purpose cleaner, microfiber cloths, and garbage bags. Once you have your supplies ready, you can proceed to the next step.
Key Takeaways:
- Efficiently clean your living room in just an hour with the right supplies, de-cluttering, dusting, vacuuming, mopping, and surface cleaning. Add final touches and quick tips for ongoing maintenance.
- Prepare, focus, and maintain consistency to achieve a thorough clean in a short amount of time. Delegate tasks, incorporate quick cleaning habits, and enjoy a fresh and inviting living space effortlessly.
Gathering Supplies
Before starting the cleaning process, it’s essential to gather all the necessary supplies. Having everything you need at your fingertips will help you clean efficiently and save time. Here are some essential supplies to gather:
- All-purpose cleaner: Look for a multi-purpose cleaner that can be used on various surfaces.
- Dusting cloth: A microfiber cloth works well for dusting as it attracts and holds onto dust particles.
- Vacuum cleaner: Make sure your vacuum cleaner is in good working condition with a clean filter.
- Mop: Choose a mop that suits your flooring type, whether it’s a traditional mop or a microfiber mop.
- Garbage bags: Keep several garbage bags handy to collect trash as you clean.
Having these supplies ready will ensure a smooth and efficient cleaning process without any interruptions. Once you have everything gathered, you can move on to the next step: de-cluttering.
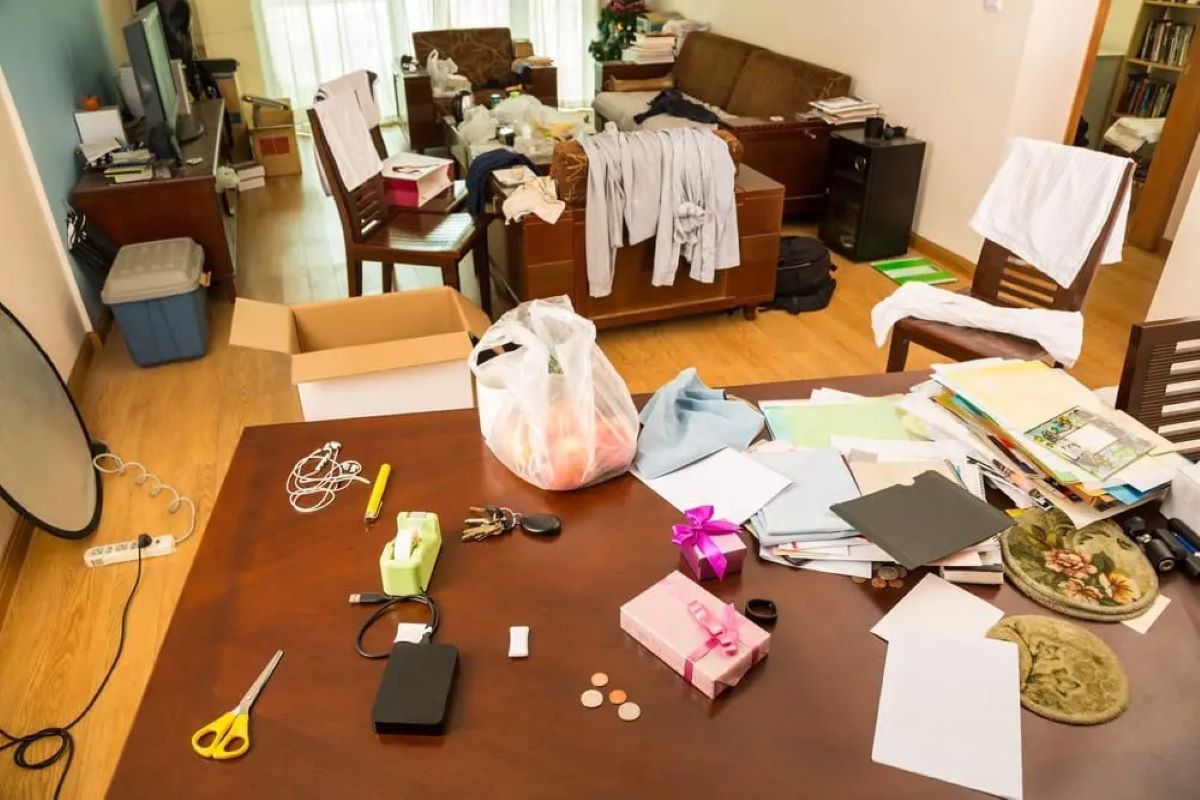
De-cluttering
One of the first steps in cleaning your living room is to de-clutter the space. Removing unnecessary items will not only make the cleaning process easier but also create a more organized and visually appealing environment. Here’s how you can effectively de-clutter:
- Start with a plan: Decide on the areas you want to tackle first. It could be clearing out the coffee table, organizing magazines, or putting away loose items.
- Designate a storage spot: Find a designated spot for items that don’t belong in the living room. This could be a basket or a container where you can gather these items to put away later.
- Take it section by section: To prevent becoming overwhelmed, work on one section of the room at a time. This could be the bookshelf, TV stand, or any other area that needs attention.
- Purge and declutter: As you go through each section, assess each item and decide if it’s something you need or can let go of. Donate or discard items that no longer serve a purpose or don’t bring you joy.
- Put things back in their place: Once you have cleared the clutter, put items back where they belong. Return books to the shelf, arrange remote controls neatly, and organize any loose items.
De-cluttering not only creates a cleaner and more organized living room but also gives you a sense of accomplishment and peace of mind. With a clutter-free space, you can now move on to the next step: dusting.
Dusting
Now that you have successfully de-cluttered your living room, it’s time to tackle the dusting. Dust can accumulate on various surfaces, making your space look dull and unclean. Follow these steps to effectively dust your living room:
- Start from the top: Begin dusting from the highest points in the room, such as ceiling fans, light fixtures, and shelves. Use a microfiber cloth or a duster to remove any dust buildup.
- Move to the furniture: Dust all surfaces of your furniture, including coffee tables, side tables, and entertainment centers. Pay attention to areas that tend to collect more dust, such as crevices and corners.
- Don’t forget electronic devices: Dust off your TV, computer, and any other electronic devices using a soft cloth. Be gentle to avoid causing any damage.
- Wipe down decor items: Dust decorative items, such as picture frames, vases, and figurines. Use a cloth or a small brush to remove dust from intricate details.
- Address the walls and baseboards: Use a duster or a microfiber cloth to wipe down the walls and baseboards, as they can collect dust over time. Pay attention to any visible smudges or marks as well.
- Remember the floors: Once you’ve finished dusting the surfaces, it’s time to address the floors. Use a broom or a vacuum cleaner with a dusting attachment to remove any loose dust and debris from the floor.
Dusting regularly helps to maintain a clean and healthy living environment. It also reduces allergens and improves indoor air quality. With the dusting done, you can now move on to vacuuming and mopping the floors.
Vacuuming and Mopping
After dusting your living room, it’s time to give the floors a thorough cleaning. Vacuuming and mopping will help remove dirt, crumbs, and any remaining dust, leaving your floors fresh and spotless. Follow these steps to effectively vacuum and mop your living room:
- Preparation: Clear the floor of any obstacles, like furniture or large rugs, to ensure smooth and efficient cleaning.
- Vacuuming: Start by vacuuming the entire floor, focusing on high-traffic areas and hard-to-reach corners. Use vacuum attachments for upholstery and curtains if needed.
- Spot cleaning: Pay attention to any stains or spills on the floor. Spot clean these areas using appropriate cleaning solutions and a damp cloth or sponge.
- Mopping: Fill a bucket with warm water and add a mild floor cleaner. Dip a mop into the solution, wring it out well, and start mopping the floors. Work your way across the room and don’t forget to mop underneath furniture and along baseboards.
- Drying: Once you have finished mopping, allow the floor to air dry or use a clean, dry mop or cloth to speed up the drying process.
By vacuuming and mopping your living room floors, you remove dirt and grime, leaving behind a clean and fresh space. Now that the floors are clean, let’s move on to cleaning the surfaces in your living room.
Start by decluttering each room, then focus on high-traffic areas like the kitchen and bathroom. Use multi-purpose cleaning products to save time, and work from top to bottom to catch dust and debris as you go. Don’t forget to vacuum or sweep last!
Read more: How To Clean The Eaves Of A House
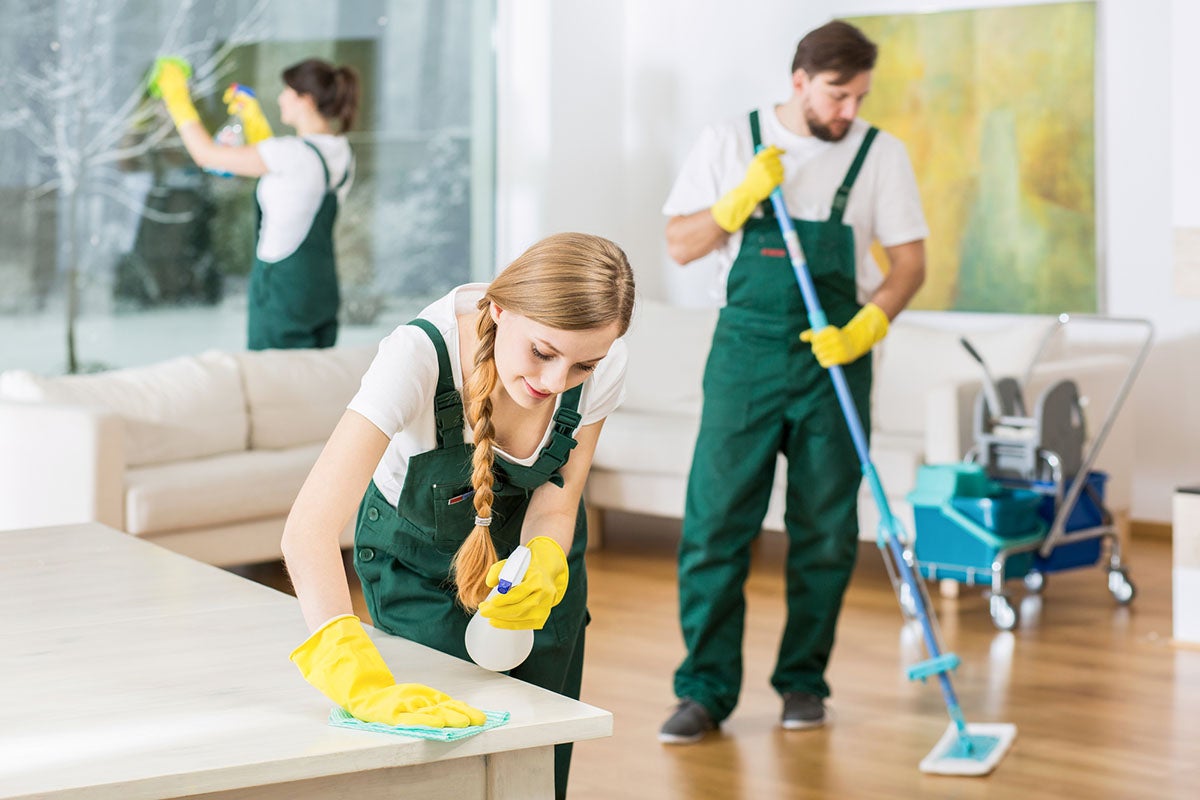
Cleaning Surfaces
Now that you’ve dusted and cleaned the floors, it’s time to focus on cleaning the surfaces in your living room. Surfaces like countertops, shelves, and windows can accumulate dirt, smudges, and fingerprints. Follow these steps to effectively clean the surfaces in your living room:
- Countertops and Tables: Wipe down countertops, coffee tables, and side tables using an all-purpose cleaner or a mild soap and water solution. Remove any stains or spills and ensure they are thoroughly cleaned and dried.
- Shelves and Bookcases: Dust off the shelves and bookcases using a microfiber cloth or a duster. If needed, remove items from the shelves and wipe them down. Organize and arrange items neatly.
- Glass Surfaces: Use a glass cleaner and a lint-free cloth to clean windows, glass tables, and mirrors. Spray the cleaner onto the cloth to avoid streaks and wipe the surfaces in a circular motion.
- Electronics: Clean TV screens, computer monitors, and other electronic devices using a soft, lint-free cloth. Avoid using harsh chemicals and ensure the cloth is slightly damp.
- Light Fixtures: Dust off light fixtures and lampshades using a duster or a cloth. If needed, remove the lampshades and clean them according to their specific instructions.
Cleaning the surfaces in your living room not only enhances the overall appearance but also ensures a clean and hygienic environment. With the surfaces sparkling, let’s move on to tackling the bathroom.
Tackling the Bathroom
The bathroom is an important part of your home that requires regular cleaning. A clean and fresh bathroom not only promotes hygiene but also creates a relaxing and inviting space. Here’s how you can tackle cleaning your bathroom quickly:
- Clear the clutter: Start by removing any unnecessary items from countertops, shelves, and the shower area. Put away toiletries and personal items to create a clean and organized space.
- Toilet: Apply a toilet cleaner to the bowl and let it sit while you move on to other tasks. Scrub the inside of the bowl using a toilet brush and then flush to rinse away the cleaner.
- Sink and countertops: Wipe down the sink and countertops using an all-purpose cleaner or a mixture of water and vinegar. Pay attention to soap scum, toothpaste residue, and any other stains or spills.
- Shower and bathtub: Spray the shower and bathtub with a bathroom cleaner or a mixture of water and vinegar. Scrub the surfaces using a sponge or a brush to remove soap scum, grime, and mold. Rinse thoroughly afterward.
- Mirror and fixtures: Clean the mirror using a glass cleaner and a lint-free cloth to achieve a streak-free shine. Wipe down the faucets, handles, and other fixtures to remove any water spots or fingerprints.
- Floors: Sweep or vacuum the bathroom floor to remove any loose dirt and debris. Then, mop the floor using a bathroom-specific cleaner or a mixture of water and mild detergent.
Tackling the bathroom can seem like a daunting task, but by following these steps, you can efficiently clean this important space in your home. With the bathroom shining, it’s time to give the kitchen a speedy cleanup.
Speedy Kitchen Cleanup
The kitchen is often the heart of the home, and keeping it clean and tidy is essential for a functional space. Here are some tips for a speedy kitchen cleanup:
- Clear the counters: Remove any unnecessary items from the countertops and put them away in their designated places. Having clean and clutter-free counters will instantly make your kitchen look more organized.
- Empty the sink: If there are dirty dishes in the sink, quickly wash and put them away or load them into the dishwasher. A clean and empty sink sets the stage for a clean kitchen.
- Wipe down surfaces: Use an all-purpose cleaner or a mixture of warm water and dish soap to wipe down countertops, stove, and other kitchen surfaces. Pay attention to spills, stains, and any sticky residue.
- Clean the microwave: If there are food splatters inside the microwave, place a microwave-safe bowl filled with water and a lemon slice inside. Microwave for a few minutes, then carefully remove the bowl and wipe down the interior with a sponge or a cloth.
- Sweep or vacuum the floor: Use a broom or a vacuum cleaner to quickly sweep or vacuum the kitchen floor. Focus on high-traffic areas and around the stove to remove any dirt or crumbs.
- Mop the floor: If your kitchen floor requires mopping, use a mop and a floor cleaner suited to your flooring type. Mop in a back and forth motion, ensuring that you cover the entire surface.
By following these steps, you can give your kitchen a speedy cleanup, leaving it looking fresh and inviting. With the kitchen taken care of, it’s time to add the final touches and implement some quick cleaning tips.
Final Touches and Quick Tips
As you near the end of your one-hour cleaning session, here are some final touches and quick tips to complete the process:
- Take out the trash: Empty all the garbage bins in your living room, bathroom, and kitchen. Replace the liners to keep the space clean and fresh.
- Fluff pillows and arrange cushions: Give your living room a cozy and inviting touch by fluffing pillows and arranging cushions on sofas and chairs. This helps create a neat and comfortable space.
- Add fresh scents: Light a scented candle or use an air freshener to add a pleasant fragrance to your living room. Opt for natural scents like lavender or citrus for a refreshing atmosphere.
- Quick cleanups: Incorporate quick cleaning habits into your daily routine to maintain a clean living space. For example, wiping down surfaces after each meal, doing a quick sweep before bed, or folding blankets and putting away clutter before you relax for the evening.
- Delegate tasks: If you have family members or roommates, don’t hesitate to delegate cleaning tasks to make the process even more efficient. Assign specific areas or tasks to each person to divide and conquer the cleaning responsibilities.
These final touches and quick tips will help put the finishing touches on your cleaning session and maintain a clean and organized home on an ongoing basis. Remember, consistency is key in keeping your living space looking its best.
Read more: How Much Is Landscaping Per Hour
Conclusion
Cleaning your living room in just an hour is achievable with the right approach and proper organization. By following the steps outlined in this guide, you can effectively clean and refresh your living space, giving it a neat and inviting appearance. From gathering supplies to de-cluttering, dusting, vacuuming and mopping, cleaning surfaces, tackling the bathroom, performing a speedy kitchen cleanup, and adding the final touches, you can accomplish a thorough clean in a short amount of time.
Remember, the key to efficient cleaning is preparation, focus, and consistency. By having all the necessary supplies on hand, breaking down tasks into manageable sections, and implementing quick cleaning habits in your daily routine, you can maintain a clean and organized living room effortlessly.
So next time you have limited time but still want a fresh and tidy living space, refer back to this guide and put these tips into action. By mastering the art of cleaning your house in an hour, you can spend more time enjoying your home and less time stressing about cleaning chores. Cheers to a cleaner and more relaxing living environment!
Frequently Asked Questions about How To Clean The House In An Hour
Was this page helpful?
At Storables.com, we guarantee accurate and reliable information. Our content, validated by Expert Board Contributors, is crafted following stringent Editorial Policies. We're committed to providing you with well-researched, expert-backed insights for all your informational needs.


0 thoughts on “How To Clean The House In An Hour”