Home>Technology>Home Entertainment Systems>How To Connect A Projector To MacBook Pro
Home Entertainment Systems
How To Connect A Projector To MacBook Pro
Modified: October 20, 2024
Learn how to easily connect a projector to your MacBook Pro for an enhanced home entertainment system. Follow our step-by-step guide for seamless setup.
(Many of the links in this article redirect to a specific reviewed product. Your purchase of these products through affiliate links helps to generate commission for Storables.com, at no extra cost. Learn more)
Introduction
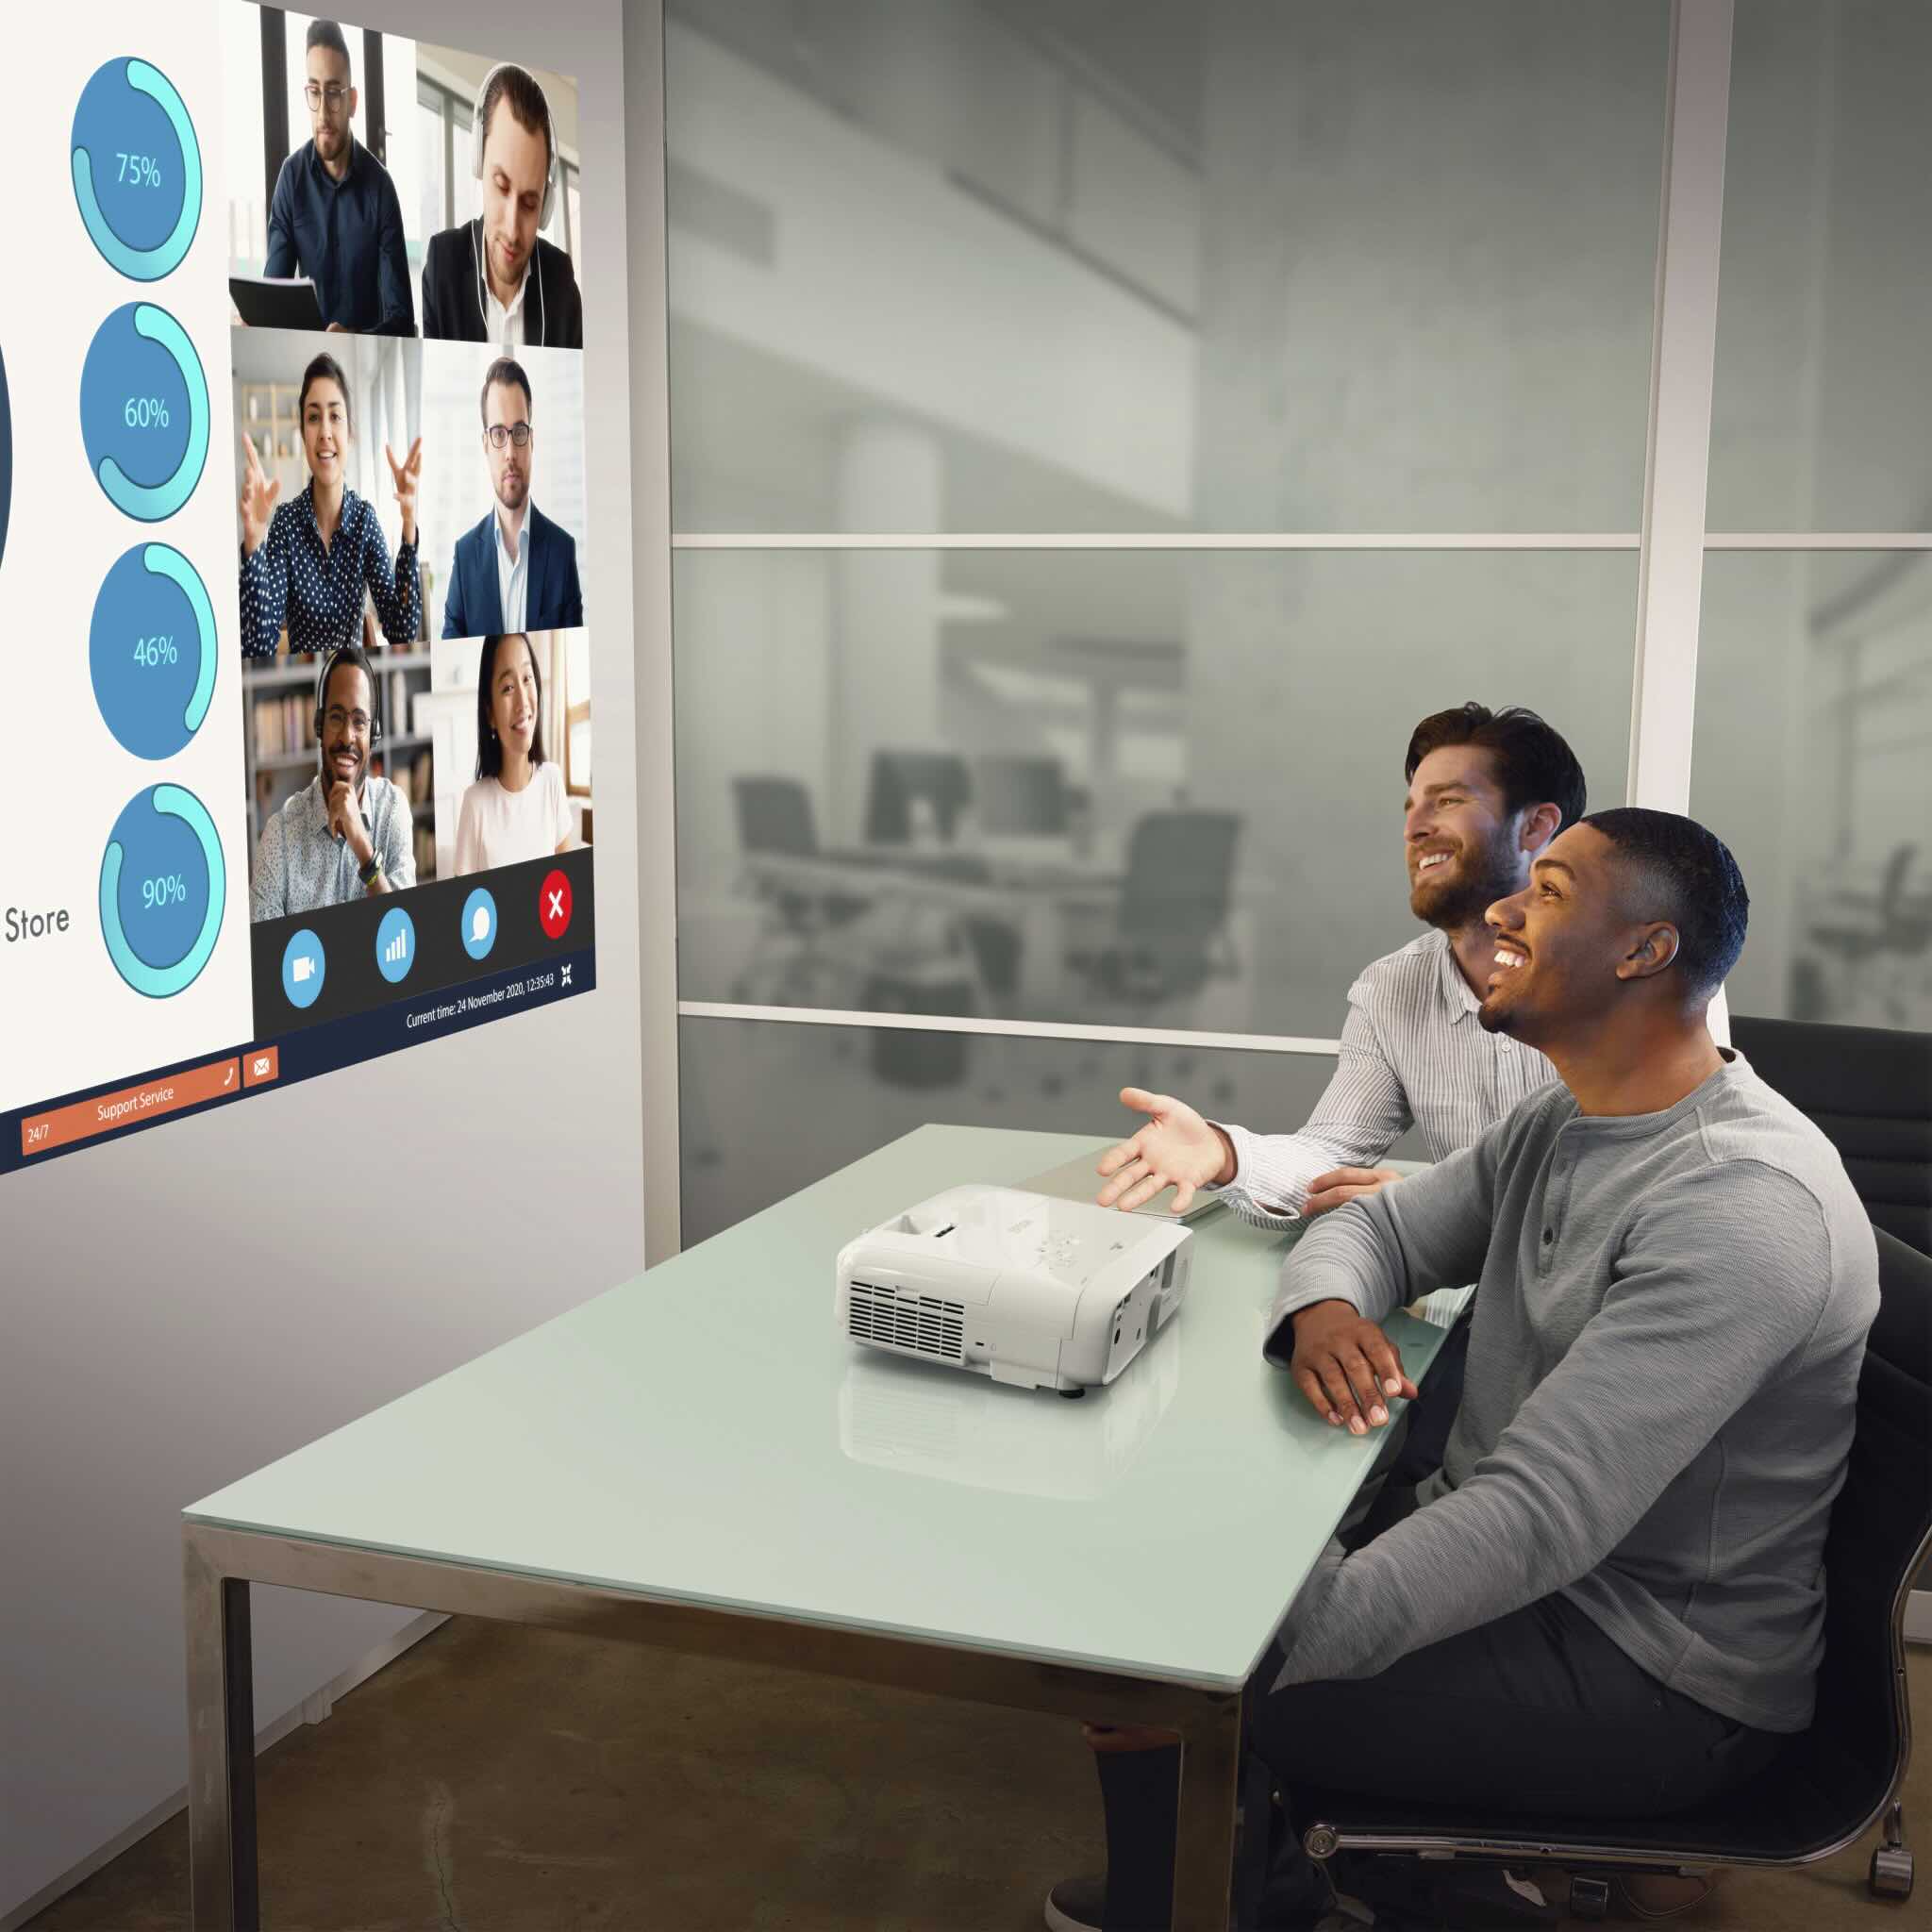
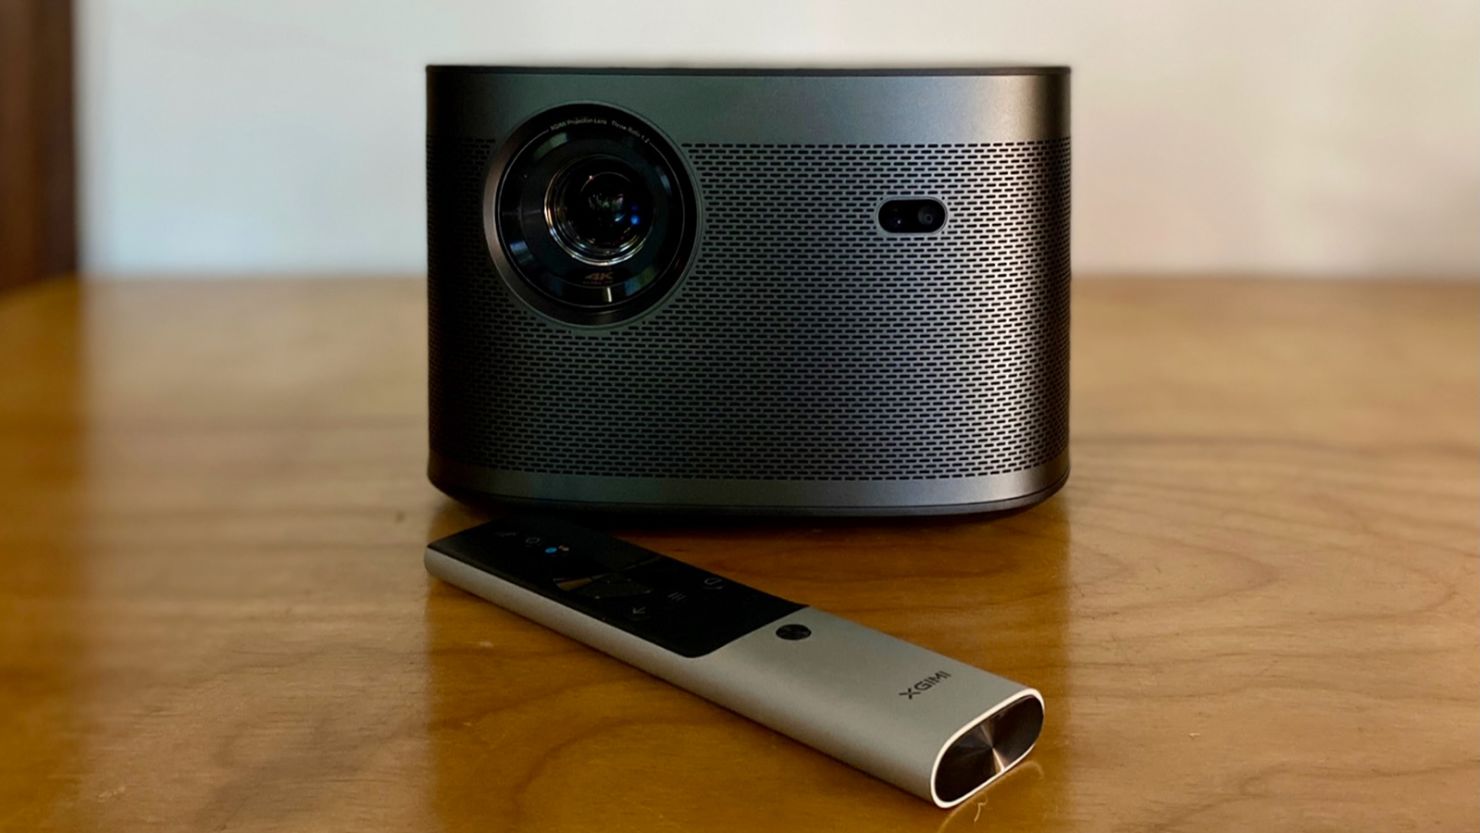
So, you've got a MacBook Pro and a projector, and you're eager to bring your presentations, movies, or other content to life on the big screen. Connecting your MacBook Pro to a projector is a convenient way to share your screen with a larger audience or enjoy a cinematic experience at home. Whether you're a business professional, educator, or entertainment enthusiast, knowing how to seamlessly connect these devices can significantly enhance your multimedia capabilities.
In this comprehensive guide, we'll walk you through the step-by-step process of connecting your MacBook Pro to a projector. You'll learn about the necessary cables and adapters, how to establish the physical connection, and how to adjust display settings to ensure optimal performance. Additionally, we'll provide troubleshooting tips to help you overcome common challenges that may arise during the setup process.
By the end of this guide, you'll have the knowledge and confidence to effortlessly connect your MacBook Pro to a projector, unlocking a world of possibilities for sharing and enjoying multimedia content. So, let's dive in and get ready to harness the full potential of your MacBook Pro and projector combination!
Key Takeaways:
- Easily connect your MacBook Pro to a projector by gathering the right cables and adapters, establishing a secure physical connection, and adjusting display settings for optimal performance.
- Overcome common challenges when connecting your MacBook Pro to a projector with troubleshooting tips, ensuring a seamless and uninterrupted multimedia experience.
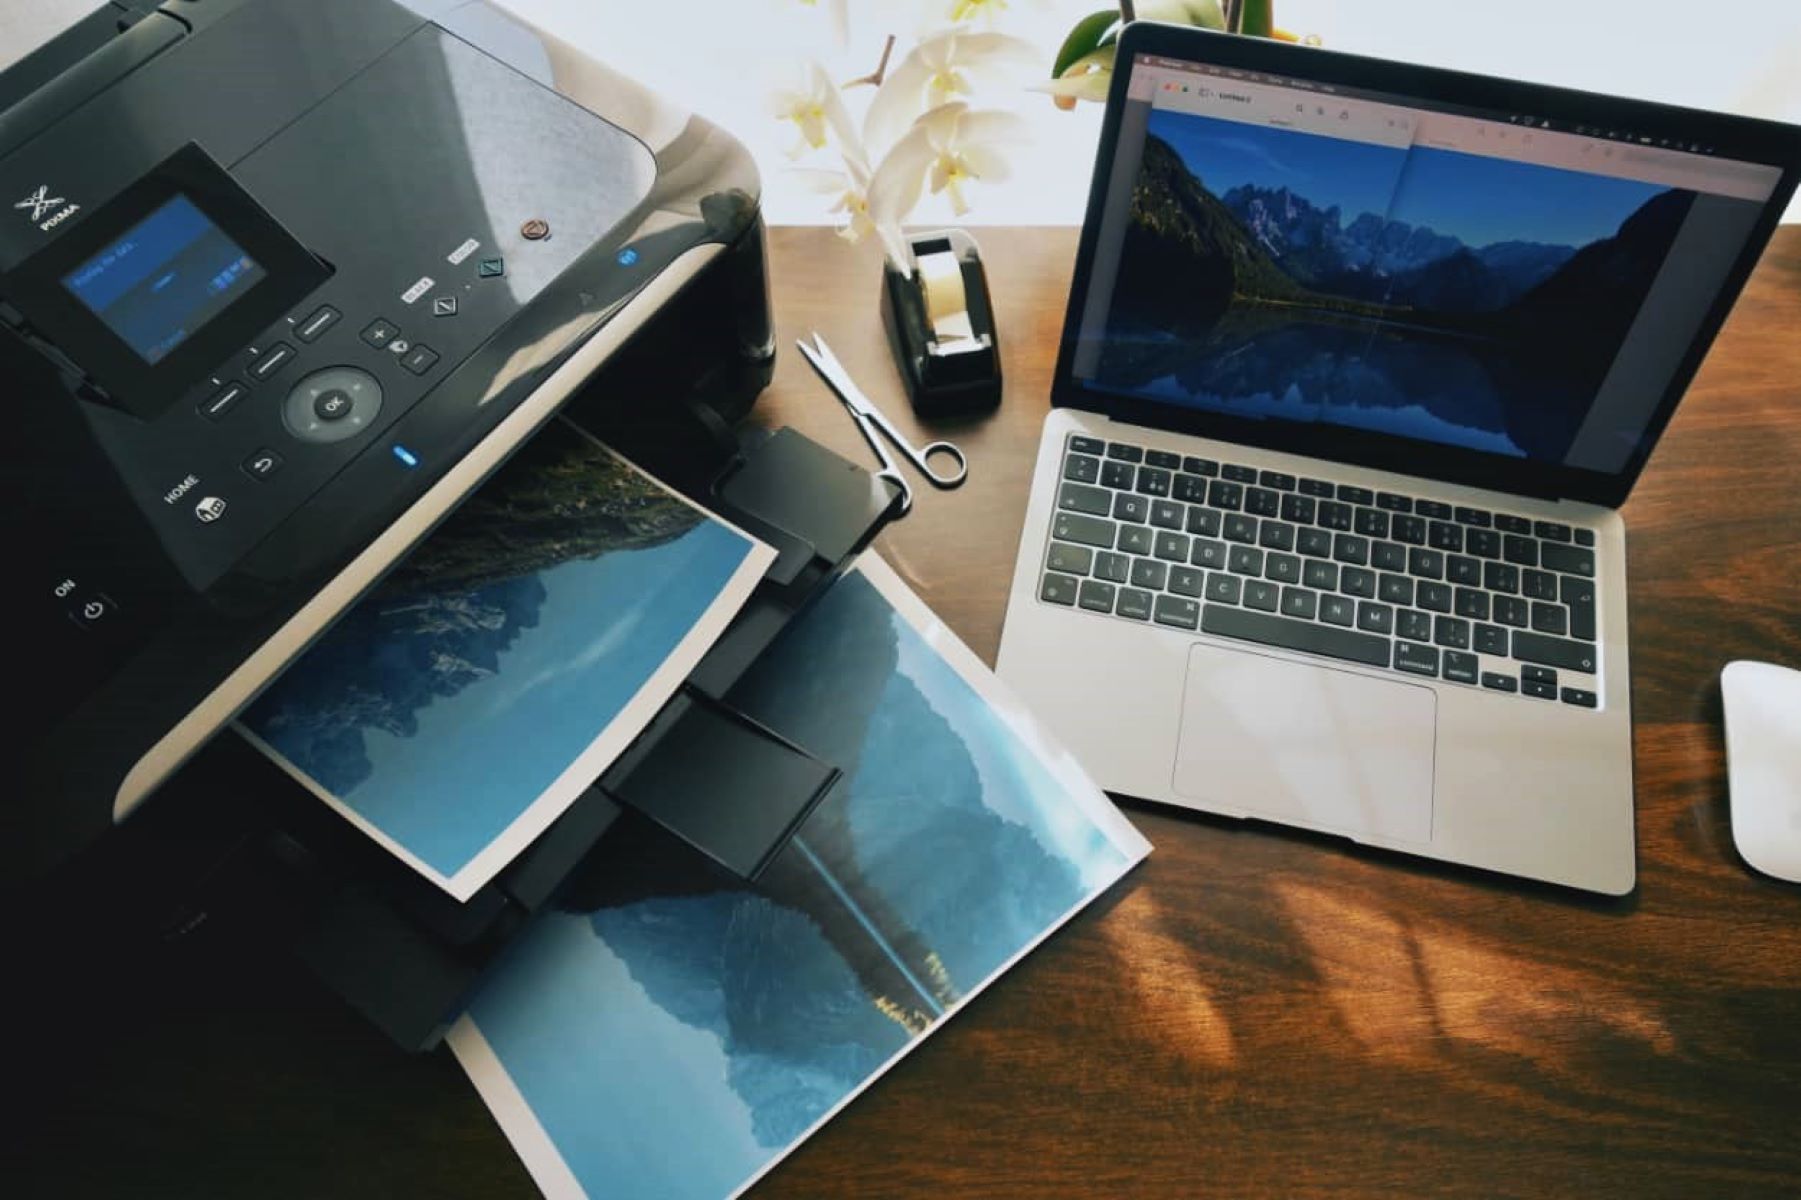
Read more: What Printer Is Compatible With Macbook Pro
Step 1: Gather the Necessary Cables and Adapters
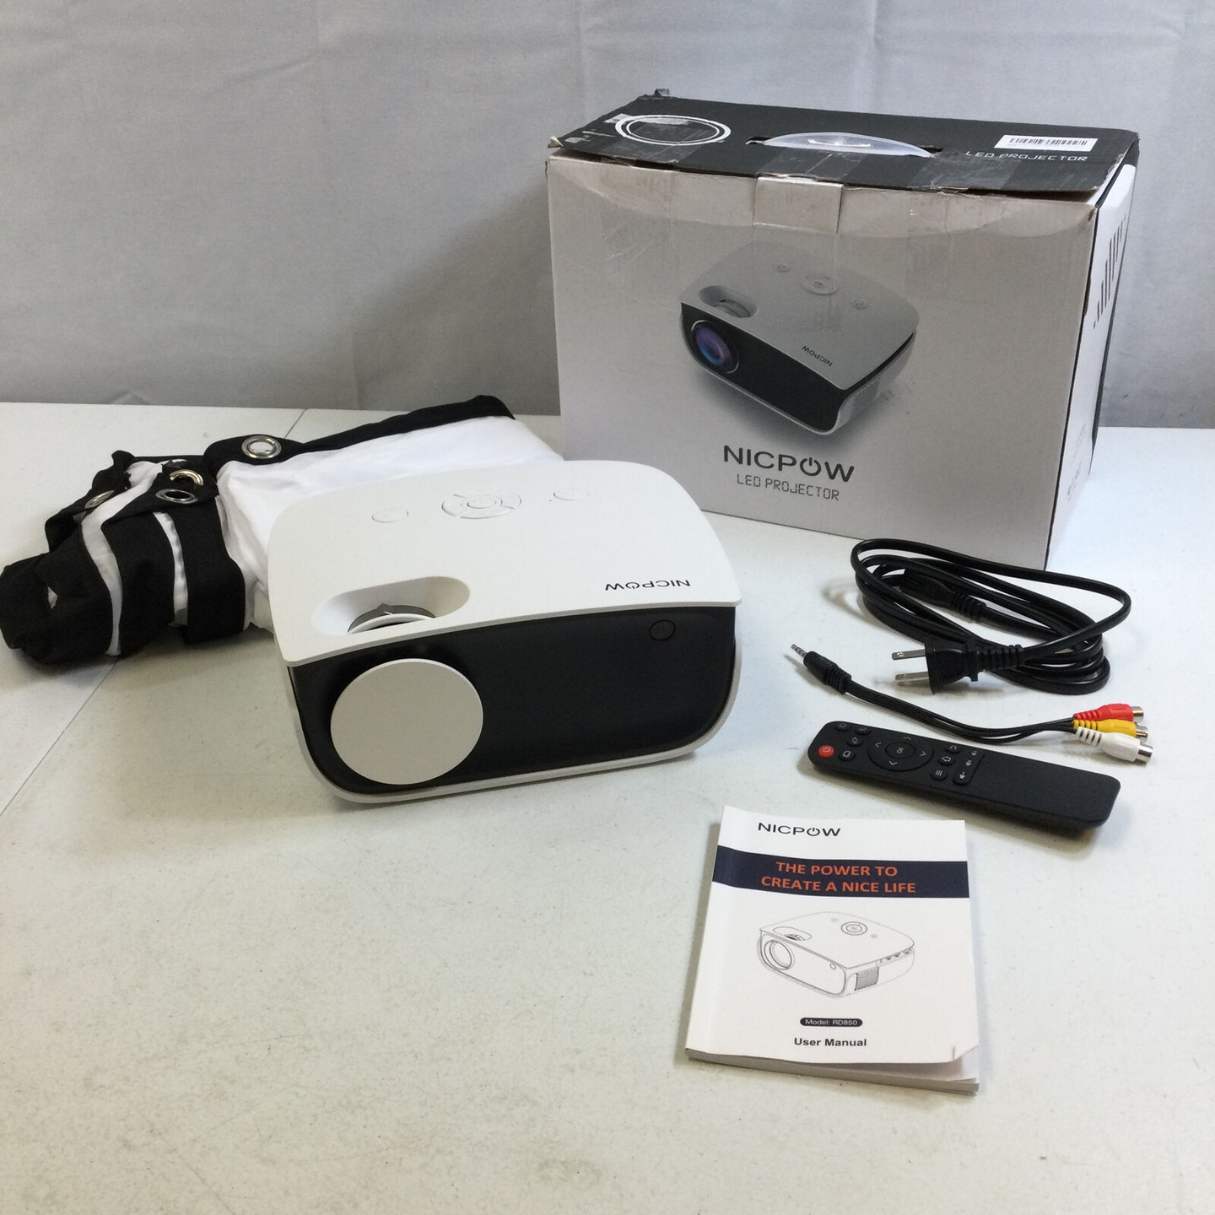
Before you begin the process of connecting your MacBook Pro to a projector, it's essential to ensure that you have the right cables and adapters on hand. The specific cables and adapters you'll need depend on the ports available on your MacBook Pro and the input options on the projector. Here are the key components you may require:
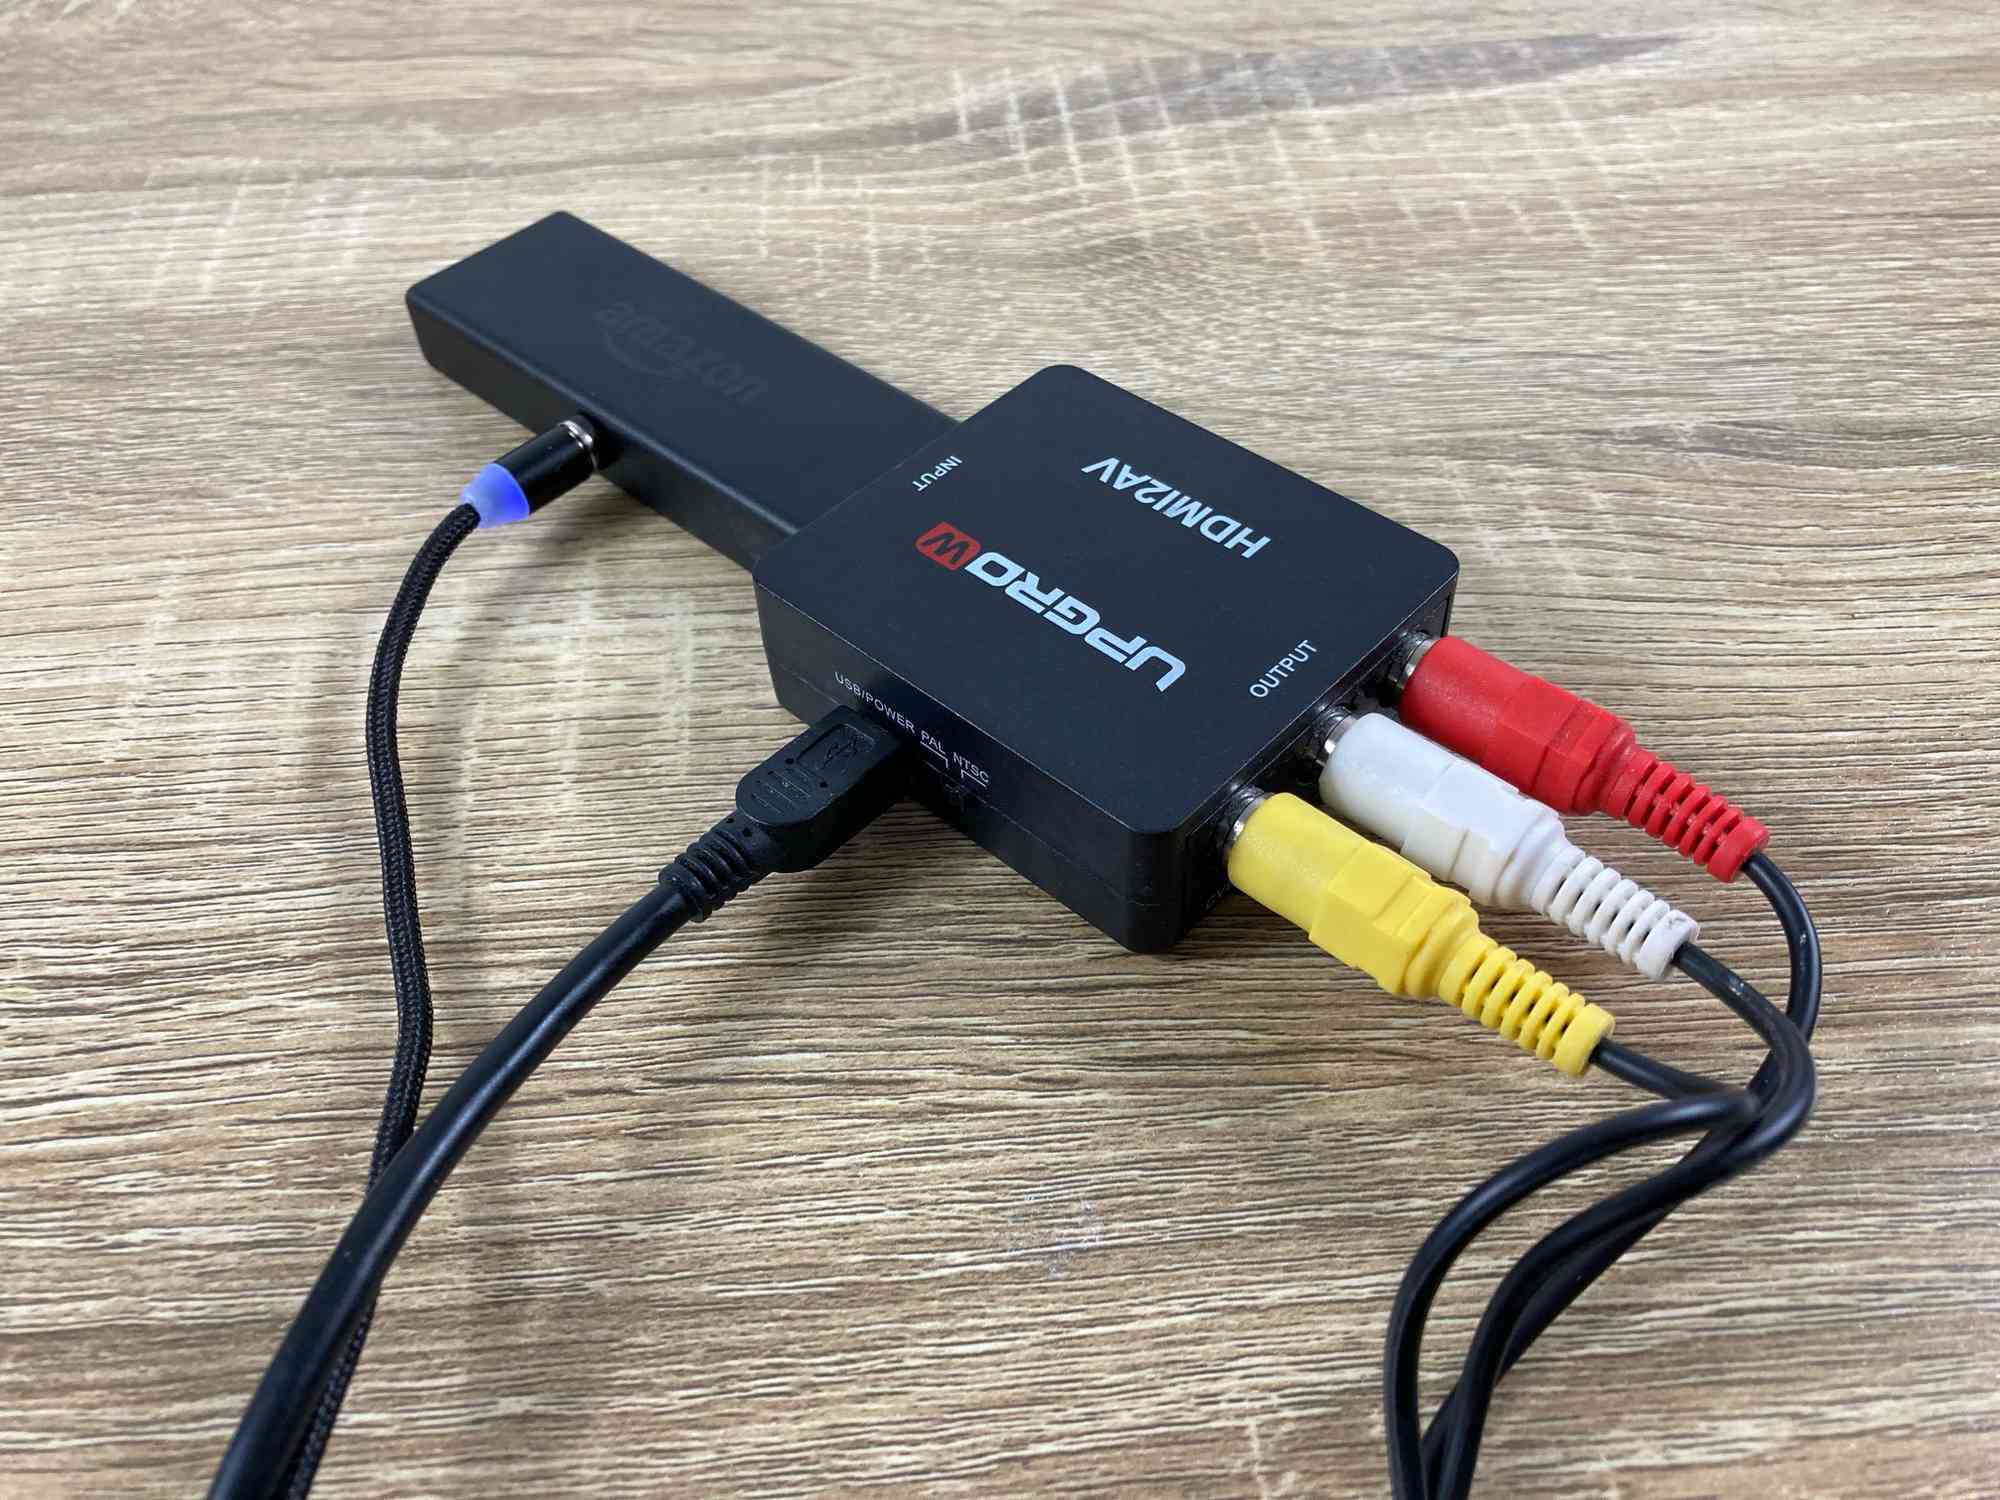
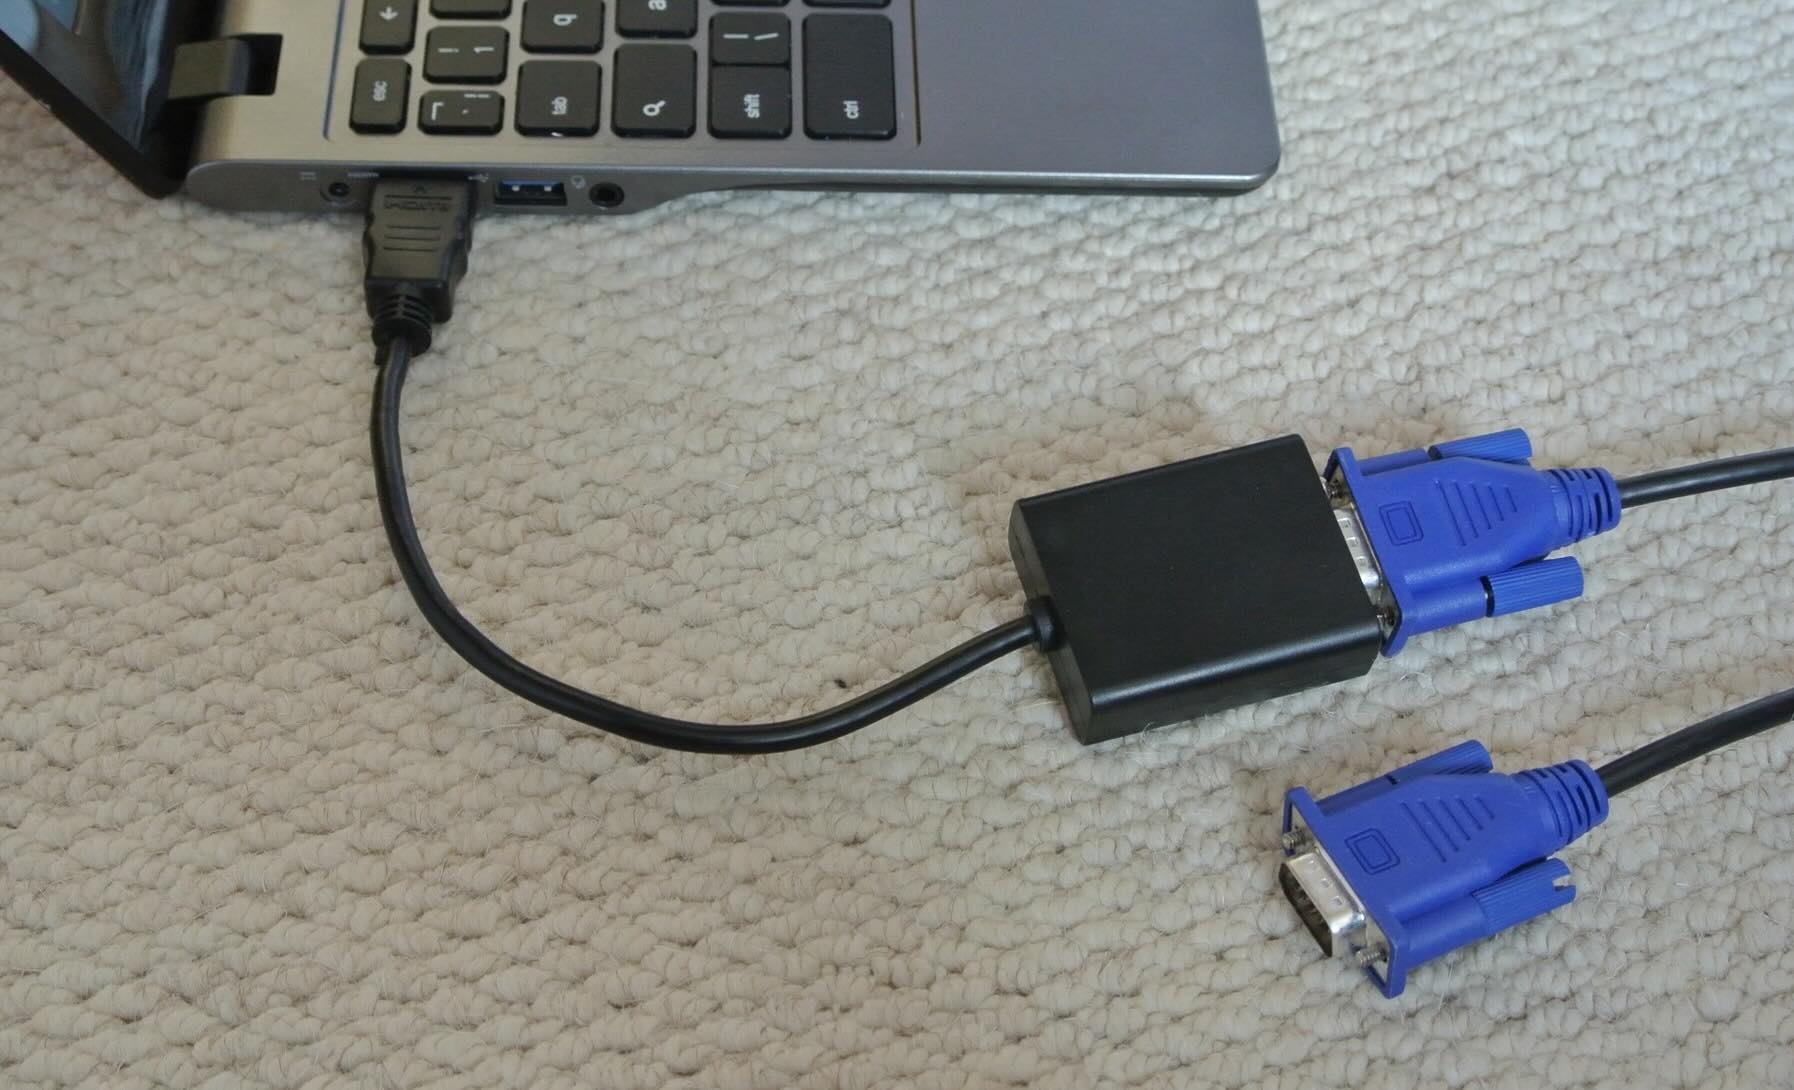
- HDMI Cable: If your projector has an HDMI input, and your MacBook Pro is equipped with an HDMI port, a standard HDMI cable will provide a straightforward connection. However, if your MacBook Pro features USB-C or Thunderbolt 3 ports, you'll need an HDMI adapter that matches the port type on your laptop.
- VGA Cable: Some projectors may have VGA inputs, especially in older models. If your projector only supports VGA, you'll need a VGA cable and a compatible adapter for your MacBook Pro. Look for a Mini DisplayPort to VGA adapter or a USB-C to VGA adapter, depending on your MacBook Pro's port configuration.
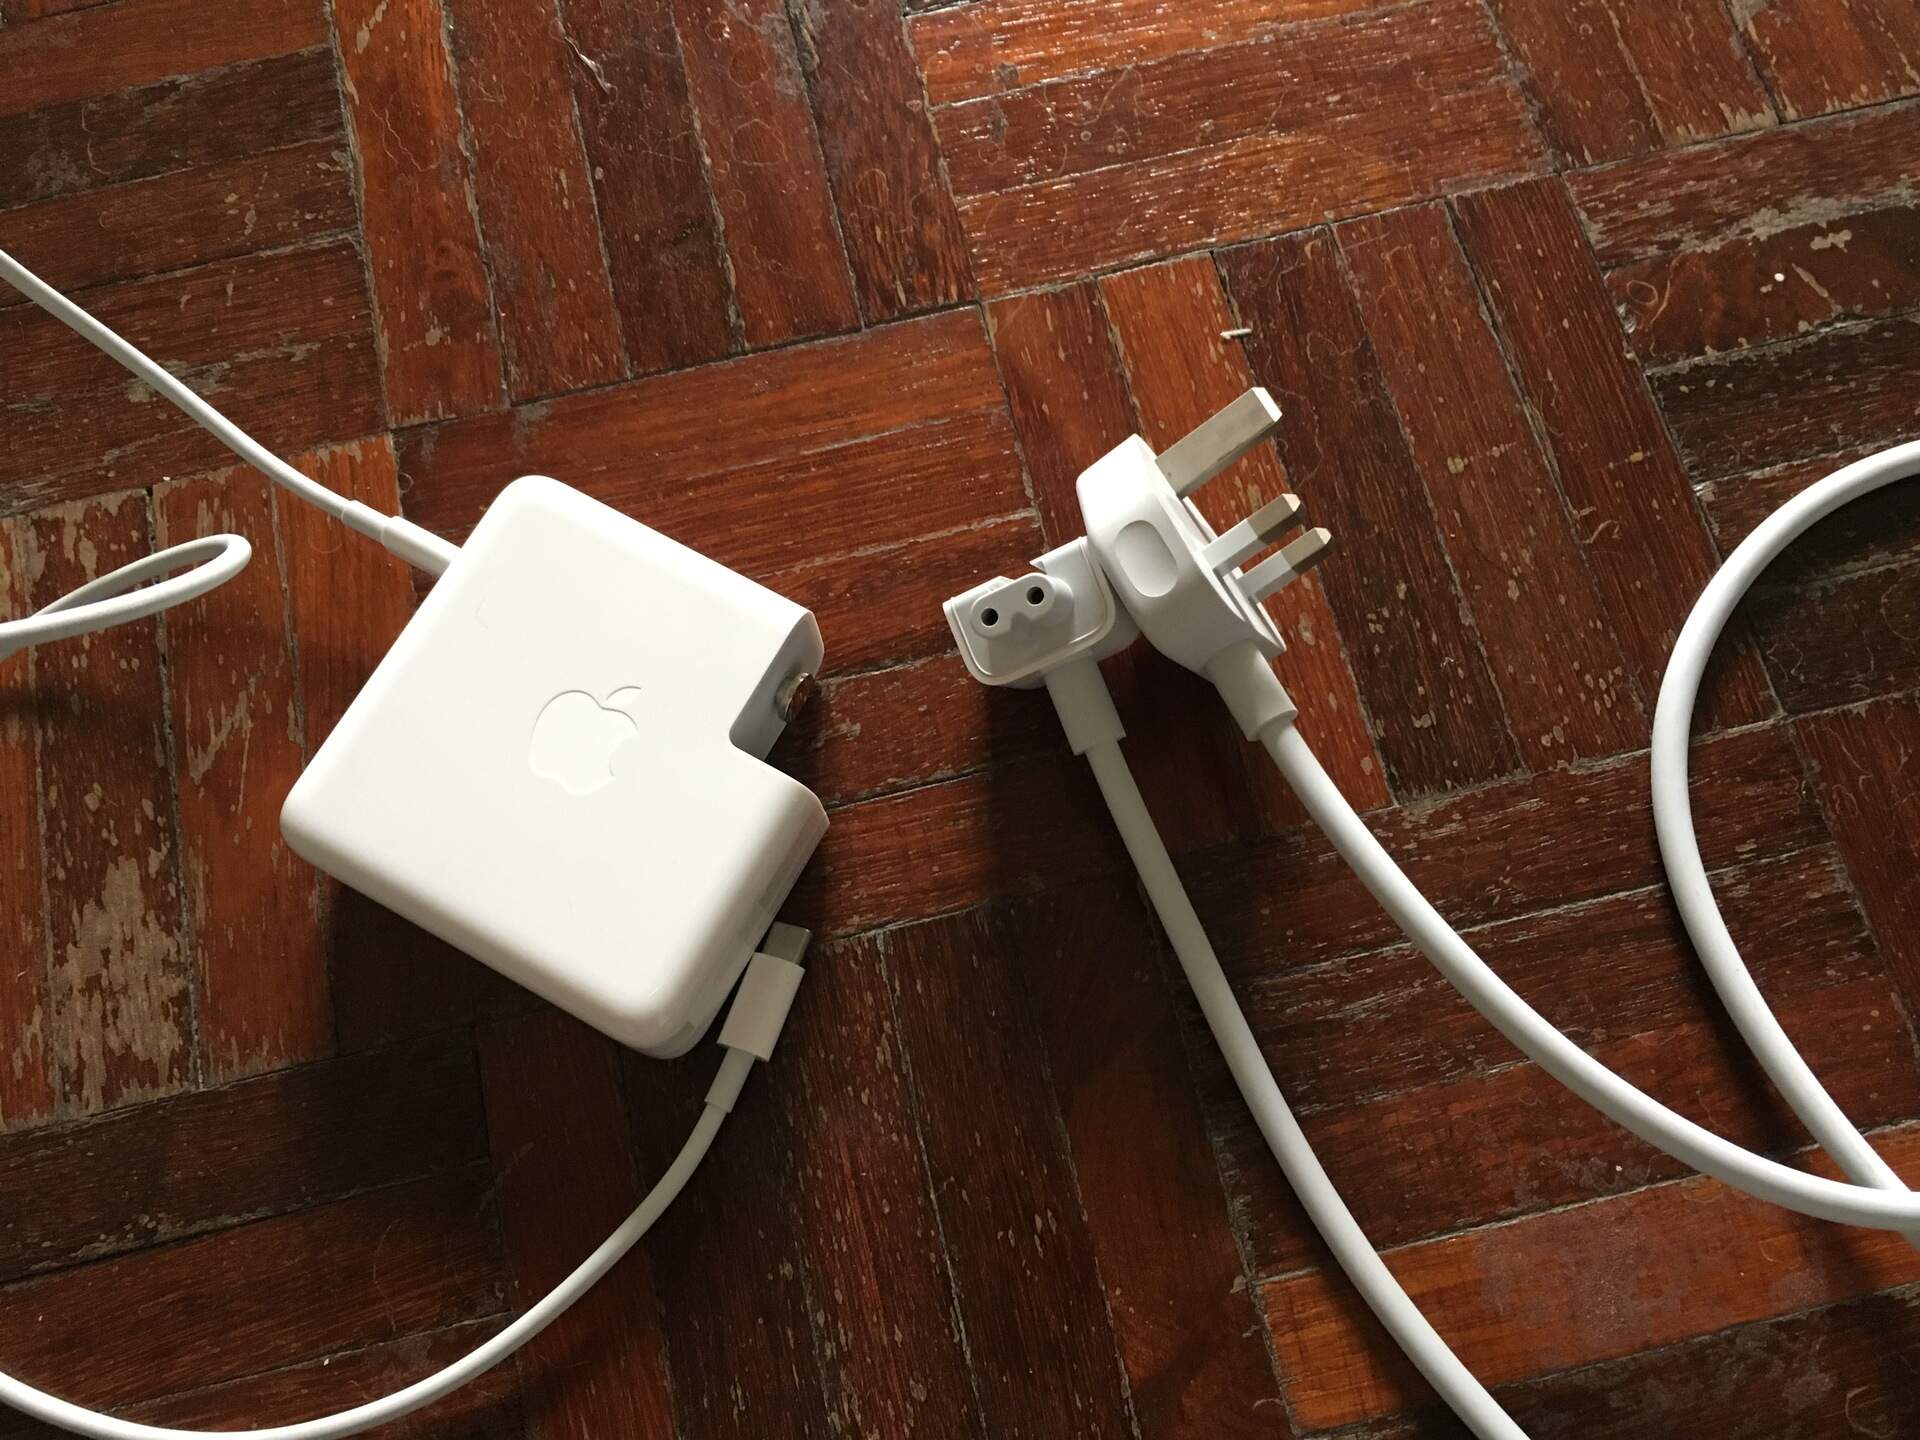
- USB-C or Thunderbolt 3 Adapter: If your MacBook Pro is equipped with USB-C or Thunderbolt 3 ports, you may need specific adapters to connect to the projector's HDMI, VGA, or other input ports. Ensure that you have the appropriate adapters to facilitate the connection.
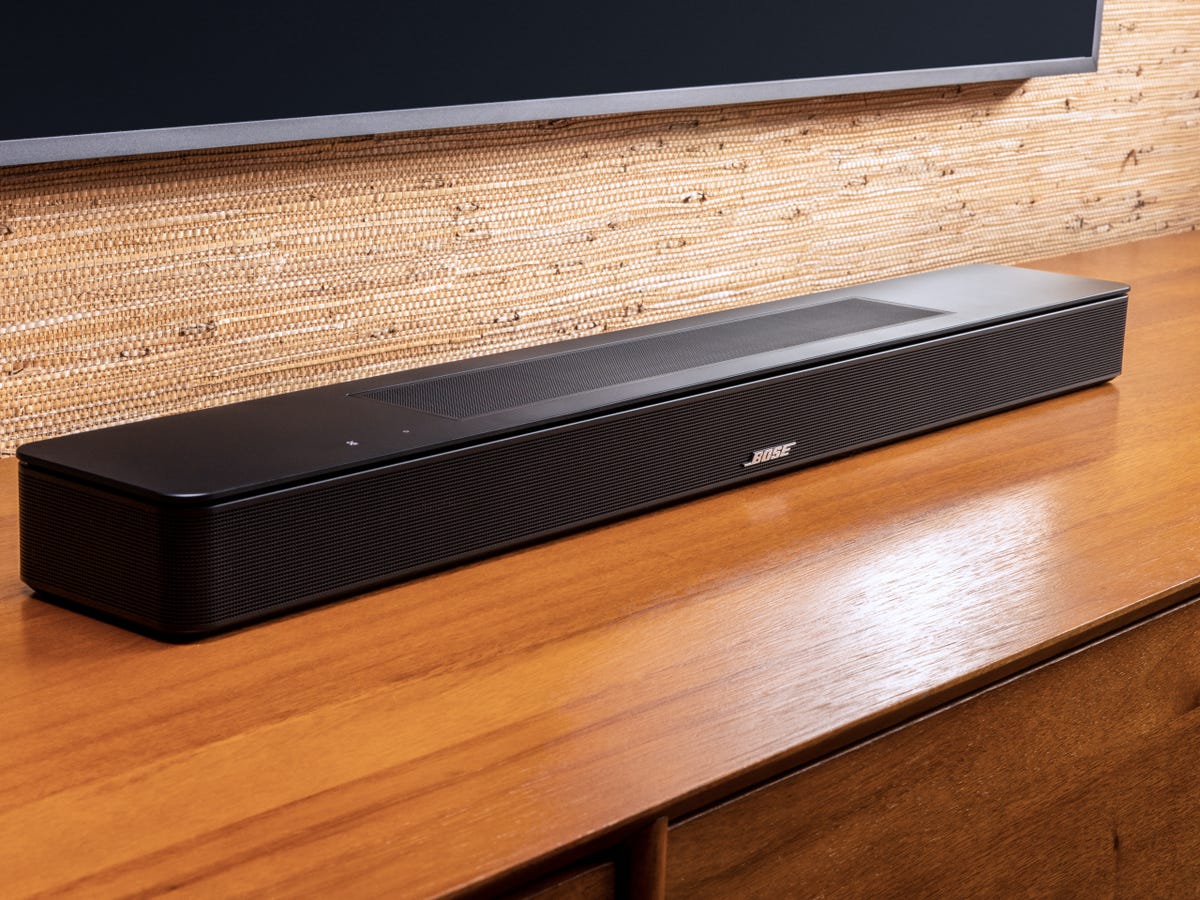
- Audio Cable (Optional): If you want to transmit audio from your MacBook Pro to the projector or an external sound system, you may need an audio cable, such as a 3.5mm stereo cable or a digital audio cable, depending on the available audio input options.
Once you've gathered the necessary cables and adapters based on the compatibility between your MacBook Pro and the projector, you're ready to proceed to the next step of physically connecting the devices. Having the right accessories at your disposal will ensure a smooth and reliable connection, setting the stage for a seamless multimedia experience.
Step 2: Connect the Projector to the MacBook Pro
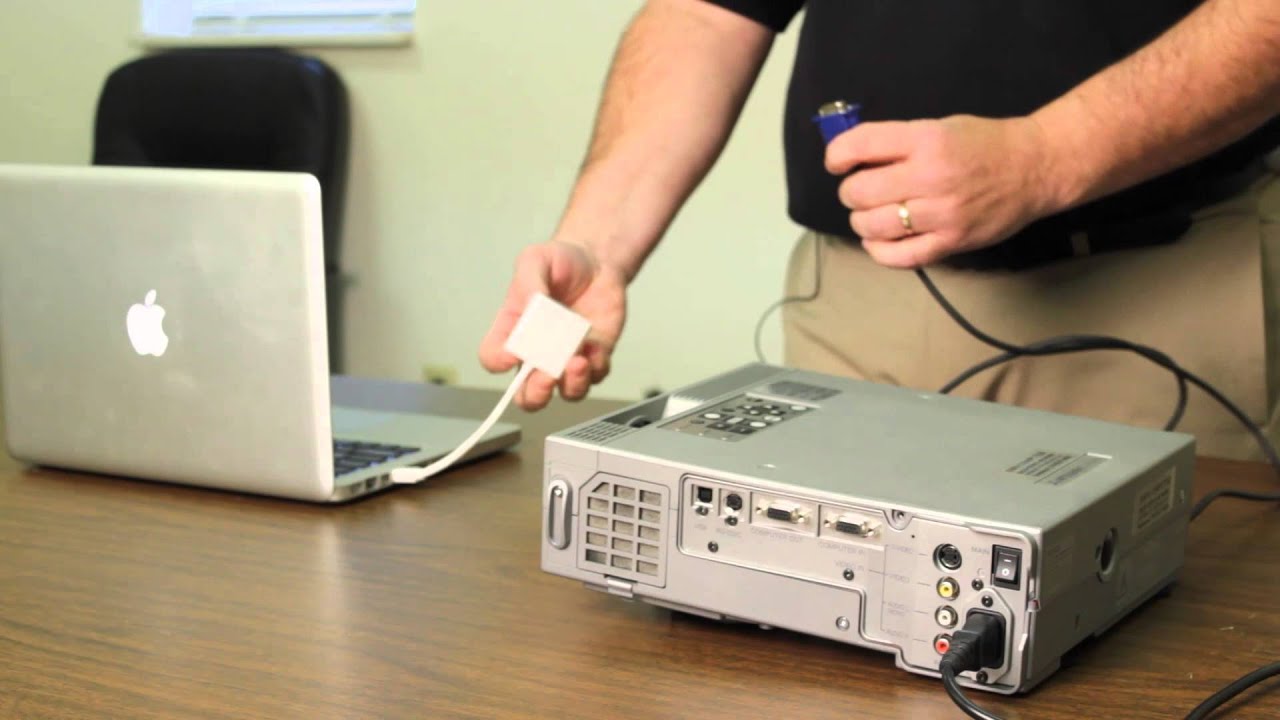
With the essential cables and adapters in hand, you're now ready to establish the physical connection between your MacBook Pro and the projector. Follow these steps to ensure a successful and secure connection:
- Power Off Both Devices: Before making any connections, power off your MacBook Pro and the projector to avoid potential electrical issues or data transfer interruptions.
- Identify the Ports: On your MacBook Pro, locate the appropriate ports for connecting to the projector. Depending on the model, you may have USB-C, Thunderbolt 3, HDMI, or Mini DisplayPort options. Similarly, identify the input ports on the projector, such as HDMI, VGA, or other available connections.
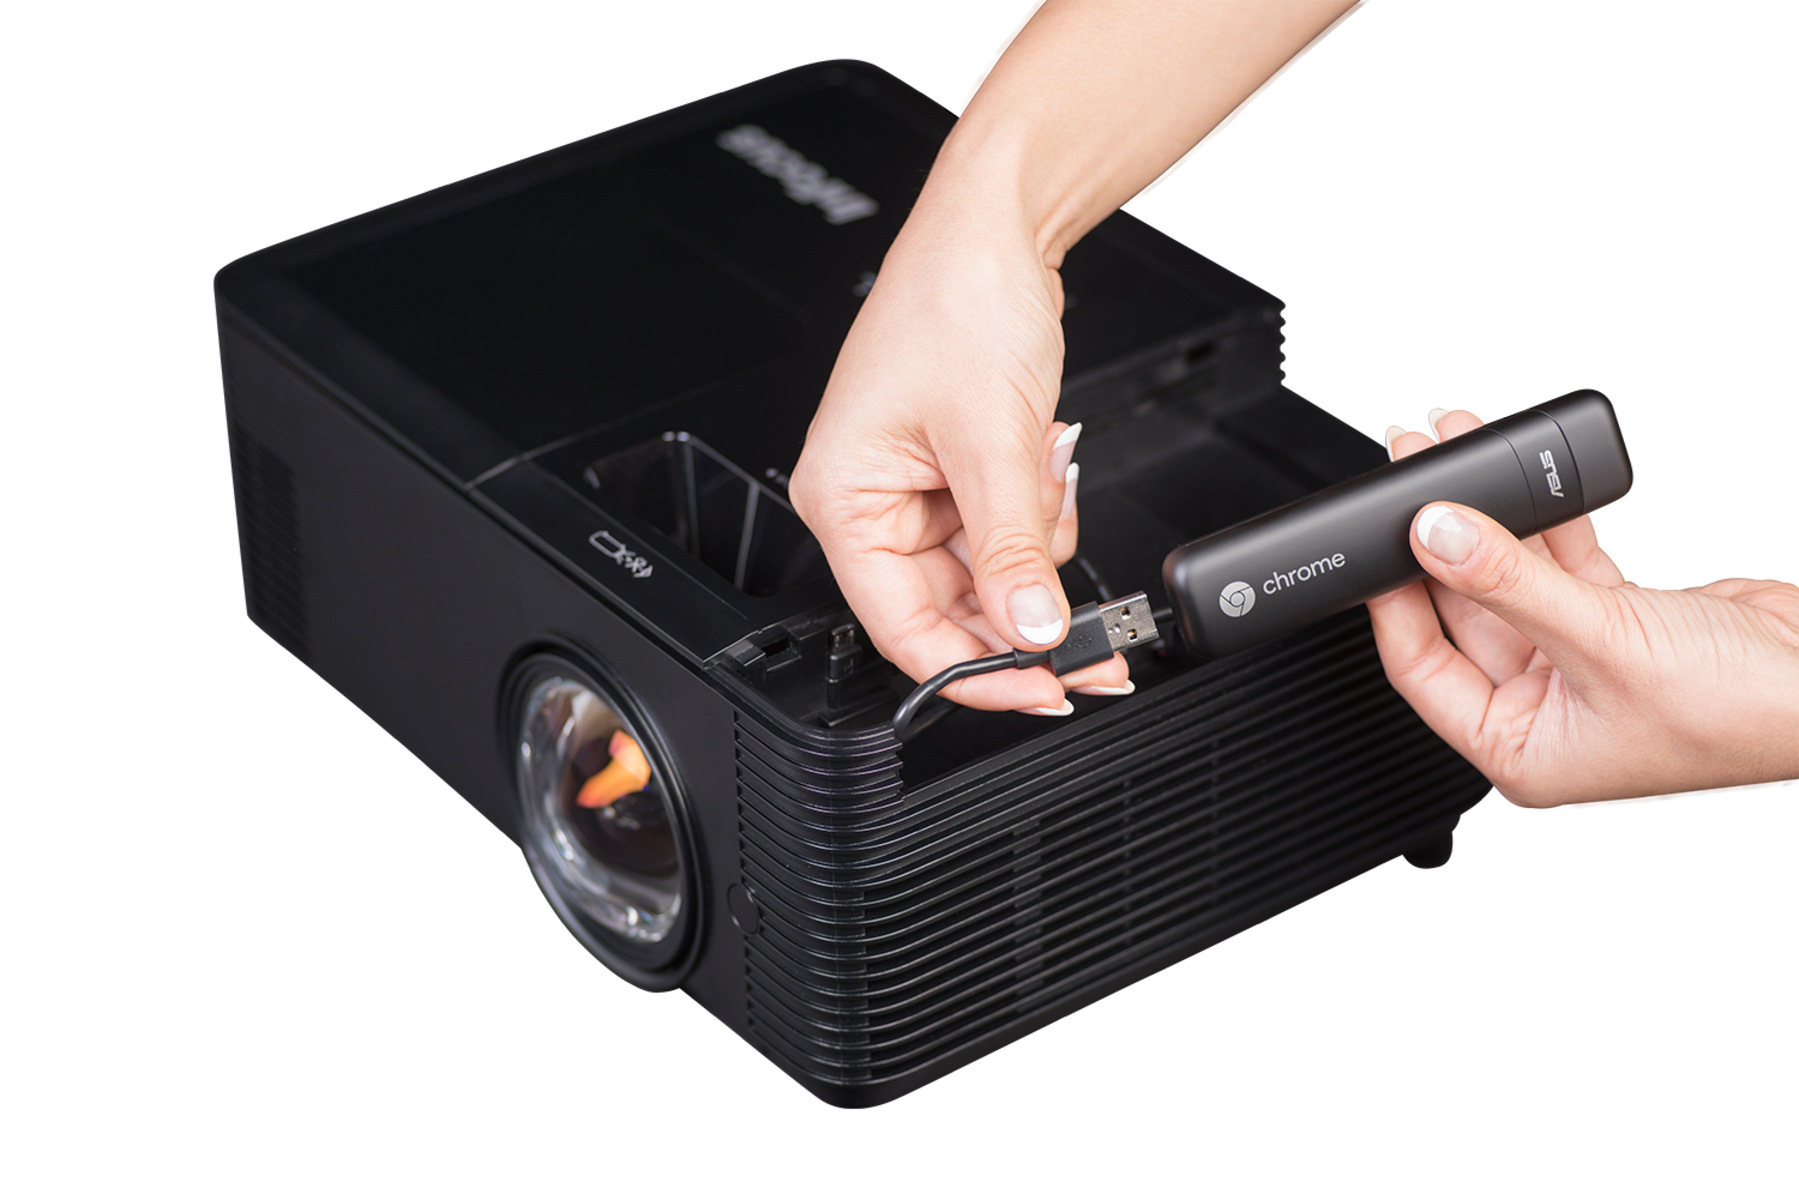
- Connect the Video Cable: Using the correct cable and adapter combination, connect one end to the corresponding port on your MacBook Pro and the other end to the input port on the projector. Ensure a snug fit for a stable connection.
- Optional: Connect the Audio Cable: If you wish to transmit audio from your MacBook Pro to the projector or an external sound system, connect the audio cable to the appropriate audio output on your laptop and the corresponding input on the projector or sound system.
- Power On and Configure the Projector: Turn on the projector and select the correct input source using the projector's remote control or on-screen menu. This ensures that the projector is ready to receive the signal from your MacBook Pro.
- Power On Your MacBook Pro: Once the physical connections are in place and the projector is set to the correct input source, power on your MacBook Pro. The system should automatically detect the external display and configure the settings accordingly.
Upon completing these steps, your MacBook Pro should be successfully connected to the projector, allowing you to share your screen or enjoy multimedia content on the larger display. If the connection isn't established as expected, refer to the troubleshooting tips in the next section for potential solutions.
Now that the physical connection is established, let's proceed to the next step, where we'll adjust the display settings on your MacBook Pro to optimize the visual output on the projector.
Use a compatible cable (such as HDMI or USB-C) to connect the projector to your MacBook Pro. Then, go to System Preferences > Displays and select the “Arrangement” tab to adjust the settings for the projector.
Step 3: Adjust Display Settings on the MacBook Pro
After successfully connecting your MacBook Pro to the projector, it's essential to configure the display settings to ensure optimal performance and visual output. By adjusting the display settings, you can customize the screen resolution, arrangement, and other parameters to suit your specific needs. Follow these steps to fine-tune the display settings on your MacBook Pro:
- Access System Preferences: Click on the Apple logo in the top-left corner of your MacBook Pro's screen and select “System Preferences” from the dropdown menu.
- Open Displays Preferences: Within the System Preferences window, locate and click on the “Displays” icon. This will open the display settings panel, where you can configure various aspects of the external display.
- Arrange Displays (If Needed): If you're using the projector as an extended display rather than mirroring your MacBook Pro's screen, you can arrange the displays to reflect their physical positioning. Drag and drop the display icons to match the actual layout, ensuring a seamless transition between screens.
- Adjust Resolution and Refresh Rate: In the Displays preferences panel, you can adjust the resolution and refresh rate for the external display. Select the optimal resolution that provides sharp and clear visuals on the projector, and adjust the refresh rate if necessary to enhance the viewing experience.
- Set Screen Mirroring or Extended Desktop: Depending on your usage scenario, you can choose to mirror the MacBook Pro's screen on the projector or extend the desktop to gain additional workspace. Use the “Arrangement” tab to configure screen mirroring or extended desktop mode according to your preferences.
- Customize Other Display Preferences: Explore additional display preferences, such as color calibration, brightness, and contrast settings, to ensure that the visual output on the projector meets your expectations. Fine-tune these settings based on the ambient lighting conditions and content being displayed.
By carefully adjusting the display settings on your MacBook Pro, you can optimize the visual output on the connected projector, whether you're delivering a presentation, watching a movie, or engaging in creative work. These adjustments allow you to tailor the display to your specific requirements, ensuring a seamless and immersive viewing experience.
With the display settings configured to your liking, you're now ready to make the most of your MacBook Pro and projector setup. In the next section, we'll explore troubleshooting tips to address potential issues that may arise during the connection process.
Step 4: Troubleshooting Tips
While connecting your MacBook Pro to a projector is generally a straightforward process, you may encounter occasional challenges that require troubleshooting to ensure a successful connection and optimal performance. Here are some common issues and troubleshooting tips to help you overcome potential obstacles:
- No Display on the Projector: If the projector doesn’t display the MacBook Pro’s screen, ensure that the physical connections are secure and that the projector is set to the correct input source. Additionally, try restarting the MacBook Pro while the projector is powered on to trigger the display detection process.
- Incorrect Screen Resolution: If the projector displays a distorted or blurry image, access the Displays preferences on your MacBook Pro and adjust the resolution to match the projector’s native resolution. This can significantly improve the visual clarity and quality.
- No Audio Output: If you’re unable to hear audio from the projector or external speakers, verify that the audio cable is properly connected and that the correct audio input source is selected on the projector. You can also check the Sound preferences on your MacBook Pro to ensure that the audio output is directed to the appropriate source.
- Intermittent Connection Loss: If the connection between the MacBook Pro and the projector is intermittently lost, inspect the cables and adapters for any signs of damage or wear. Consider using high-quality, shielded cables and adapters to minimize the risk of signal interference or disconnection issues.
- Compatibility Issues: In some cases, compatibility issues may arise due to the specific models of the MacBook Pro and the projector. Check for firmware updates for both devices to address potential compatibility issues and ensure seamless integration.
By applying these troubleshooting tips, you can address common issues that may arise when connecting your MacBook Pro to a projector, allowing you to enjoy a reliable and uninterrupted multimedia experience. If you encounter persistent issues that cannot be resolved through troubleshooting, consider seeking assistance from technical support or professional technicians to diagnose and resolve the underlying cause.
With these troubleshooting tips in your toolkit, you’ll be well-equipped to handle potential challenges and ensure a smooth and successful connection between your MacBook Pro and the projector.
Read more: What Power Adapter For Macbook Pro
Conclusion
Congratulations! You’ve successfully learned how to connect your MacBook Pro to a projector, unlocking a world of possibilities for sharing presentations, enjoying movies, and expanding your multimedia capabilities. By following the step-by-step guide provided in this comprehensive resource, you’ve gained the knowledge and confidence to seamlessly integrate your MacBook Pro with a projector, whether for professional or personal use.
Throughout this guide, you’ve discovered the importance of gathering the necessary cables and adapters to facilitate the connection, the process of physically connecting the devices, adjusting display settings for optimal performance, and troubleshooting common issues that may arise during the setup process. Armed with this knowledge, you’re well-prepared to harness the full potential of your MacBook Pro and projector combination.
As you embark on your journey of connecting and utilizing these devices, remember that versatility and adaptability are key. Whether you’re delivering a compelling presentation in a boardroom, hosting a movie night with friends, or enhancing your creative workflow, the ability to connect your MacBook Pro to a projector opens up a myriad of opportunities for sharing and enjoying multimedia content.
Should you encounter challenges along the way, such as display issues, audio connectivity problems, or compatibility concerns, refer back to the troubleshooting tips provided in this guide. By leveraging these insights, you can troubleshoot and resolve potential obstacles, ensuring a seamless and uninterrupted experience with your MacBook Pro and projector setup.
With your newfound expertise in connecting a MacBook Pro to a projector, you’re poised to elevate your multimedia experiences, captivate your audience, and immerse yourself in the vibrant world of visual content. Embrace the versatility and flexibility offered by this connectivity, and let your creativity and productivity thrive in diverse settings.
Now that you’ve mastered the art of connecting your MacBook Pro to a projector, it’s time to embark on your next multimedia adventure with confidence and enthusiasm. Whether it’s a captivating presentation, an immersive movie night, or a collaborative creative session, your MacBook Pro and projector stand ready to bring your vision to life on the big screen.
Frequently Asked Questions about How To Connect A Projector To MacBook Pro
Was this page helpful?
At Storables.com, we guarantee accurate and reliable information. Our content, validated by Expert Board Contributors, is crafted following stringent Editorial Policies. We're committed to providing you with well-researched, expert-backed insights for all your informational needs.

0 thoughts on “How To Connect A Projector To MacBook Pro”