Home>Technology>Smart Home Devices>How Do I Connect A Printer To My Macbook
Smart Home Devices
How Do I Connect A Printer To My Macbook
Modified: January 9, 2024
Learn how to easily connect a printer to your MacBook and start printing from your smart home devices hassle-free. Follow our simple guide!
(Many of the links in this article redirect to a specific reviewed product. Your purchase of these products through affiliate links helps to generate commission for Storables.com, at no extra cost. Learn more)
**
Introduction
**
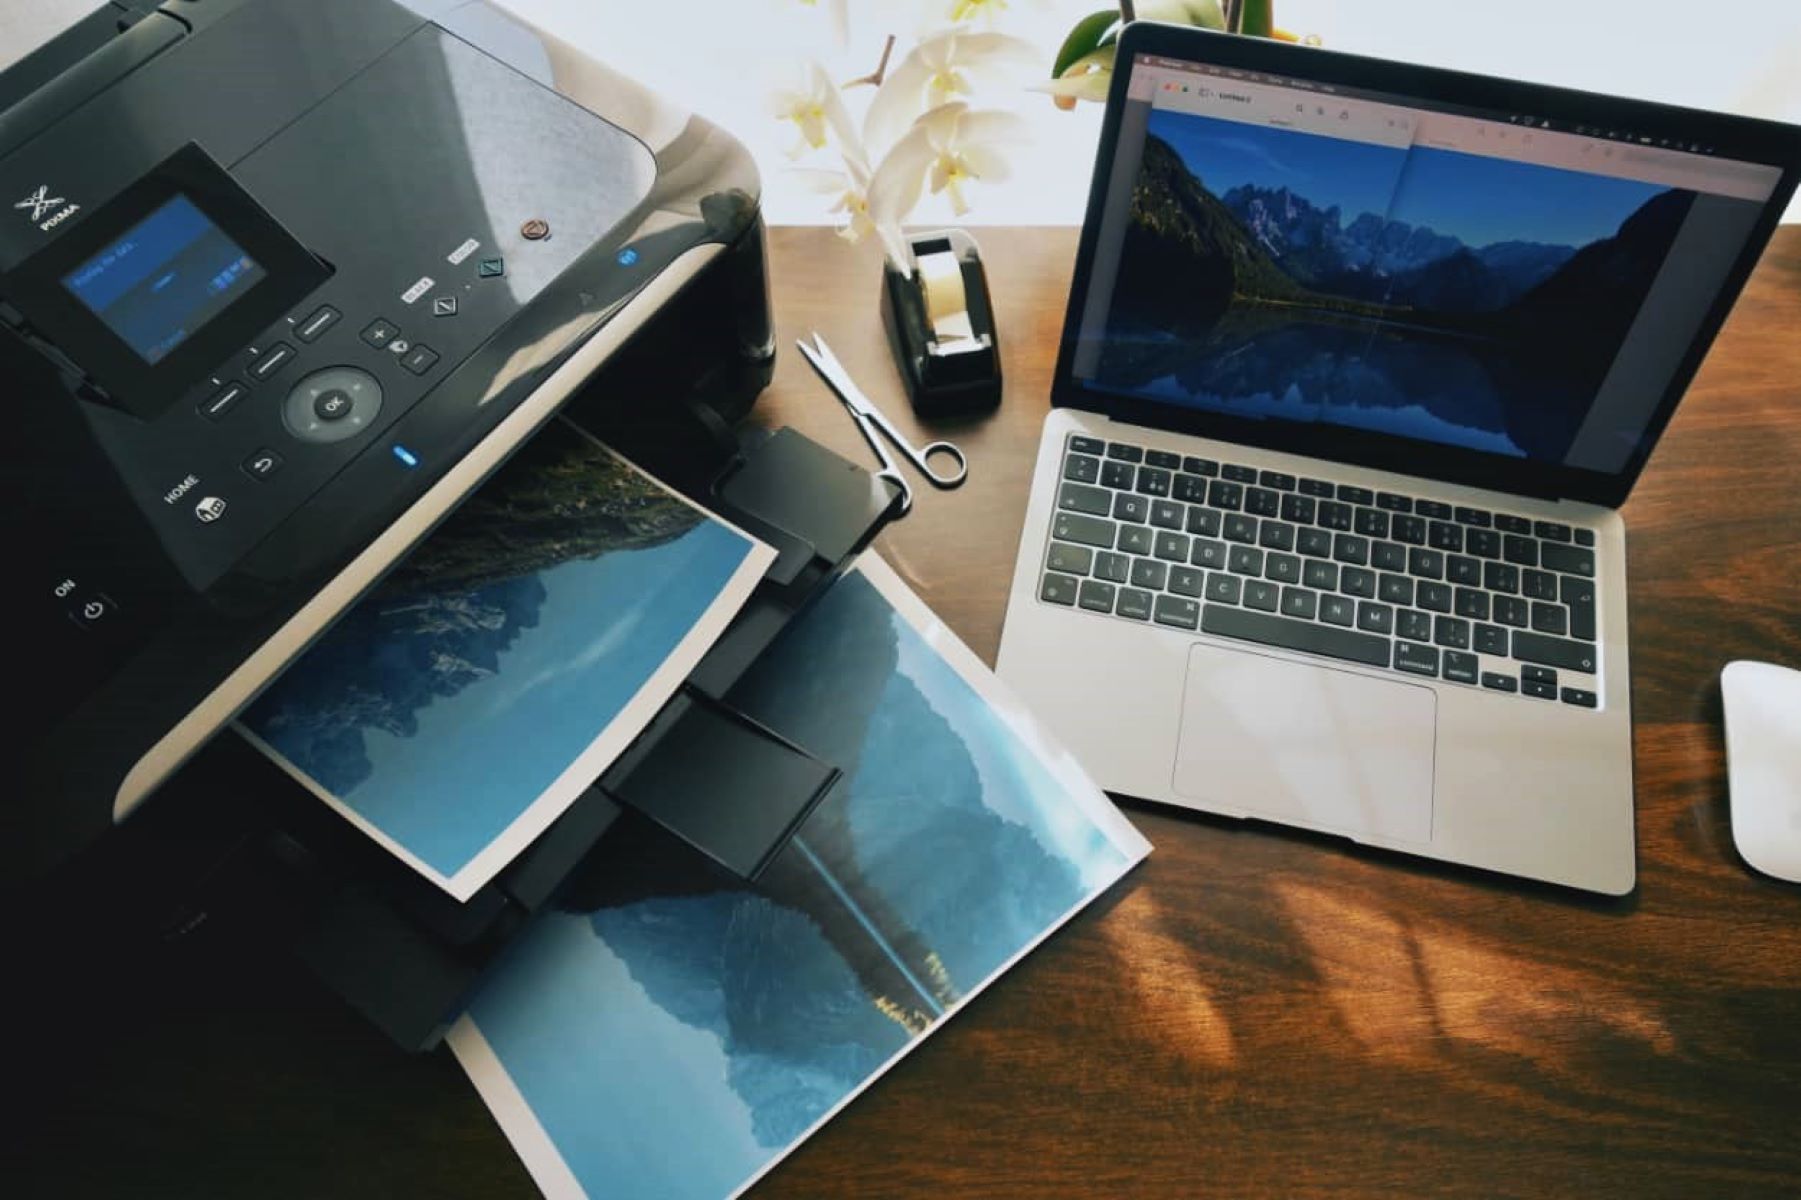
Welcome to the world of smart home devices, where the seamless integration of technology enriches our daily lives. In this article, we will delve into the process of connecting a printer to your Macbook, ensuring that you can effortlessly bring your digital creations to life in the physical realm. As we embark on this journey, rest assured that by the end, you will be equipped with the knowledge and confidence to seamlessly link your printer to your Macbook, transforming your digital endeavors into tangible masterpieces.
The process of connecting a printer to your Macbook may seem daunting at first, especially for those new to the realm of smart home devices. However, with the right guidance and a clear understanding of the necessary steps, you will find that this endeavor can be straightforward and rewarding. Whether you are a seasoned Macbook user or a newcomer to the Apple ecosystem, this guide will empower you to bridge the gap between your digital workspace and the physical realm.
In the following sections, we will explore the essential steps to connect a printer to your Macbook, ensuring that you can effortlessly bring your documents, photos, and creative projects to life with the touch of a button. From checking for compatibility to setting up the printer on your Macbook, each step is designed to provide clear and concise guidance, demystifying the process and empowering you to make the most of your printing capabilities.
So, without further ado, let's embark on this enlightening journey and unravel the seamless process of connecting a printer to your Macbook. By the end of this guide, you will be well-versed in the art of integrating your printer into your Macbook ecosystem, opening up a world of possibilities for effortless printing and creative expression.
**
Key Takeaways:
- Ensure your printer is compatible with your Macbook’s operating system by checking the manufacturer’s website. Install the printer software and connect the printer to your Macbook for seamless printing.
- Set up your printer on your Macbook by navigating to “System Preferences,” adding the printer, and customizing the settings. Enjoy effortless printing and creative expression with your Macbook and newly connected printer.
Read more: How Do I Connect My HP Printer To My Phone
Step 1: Check for Compatibility
**
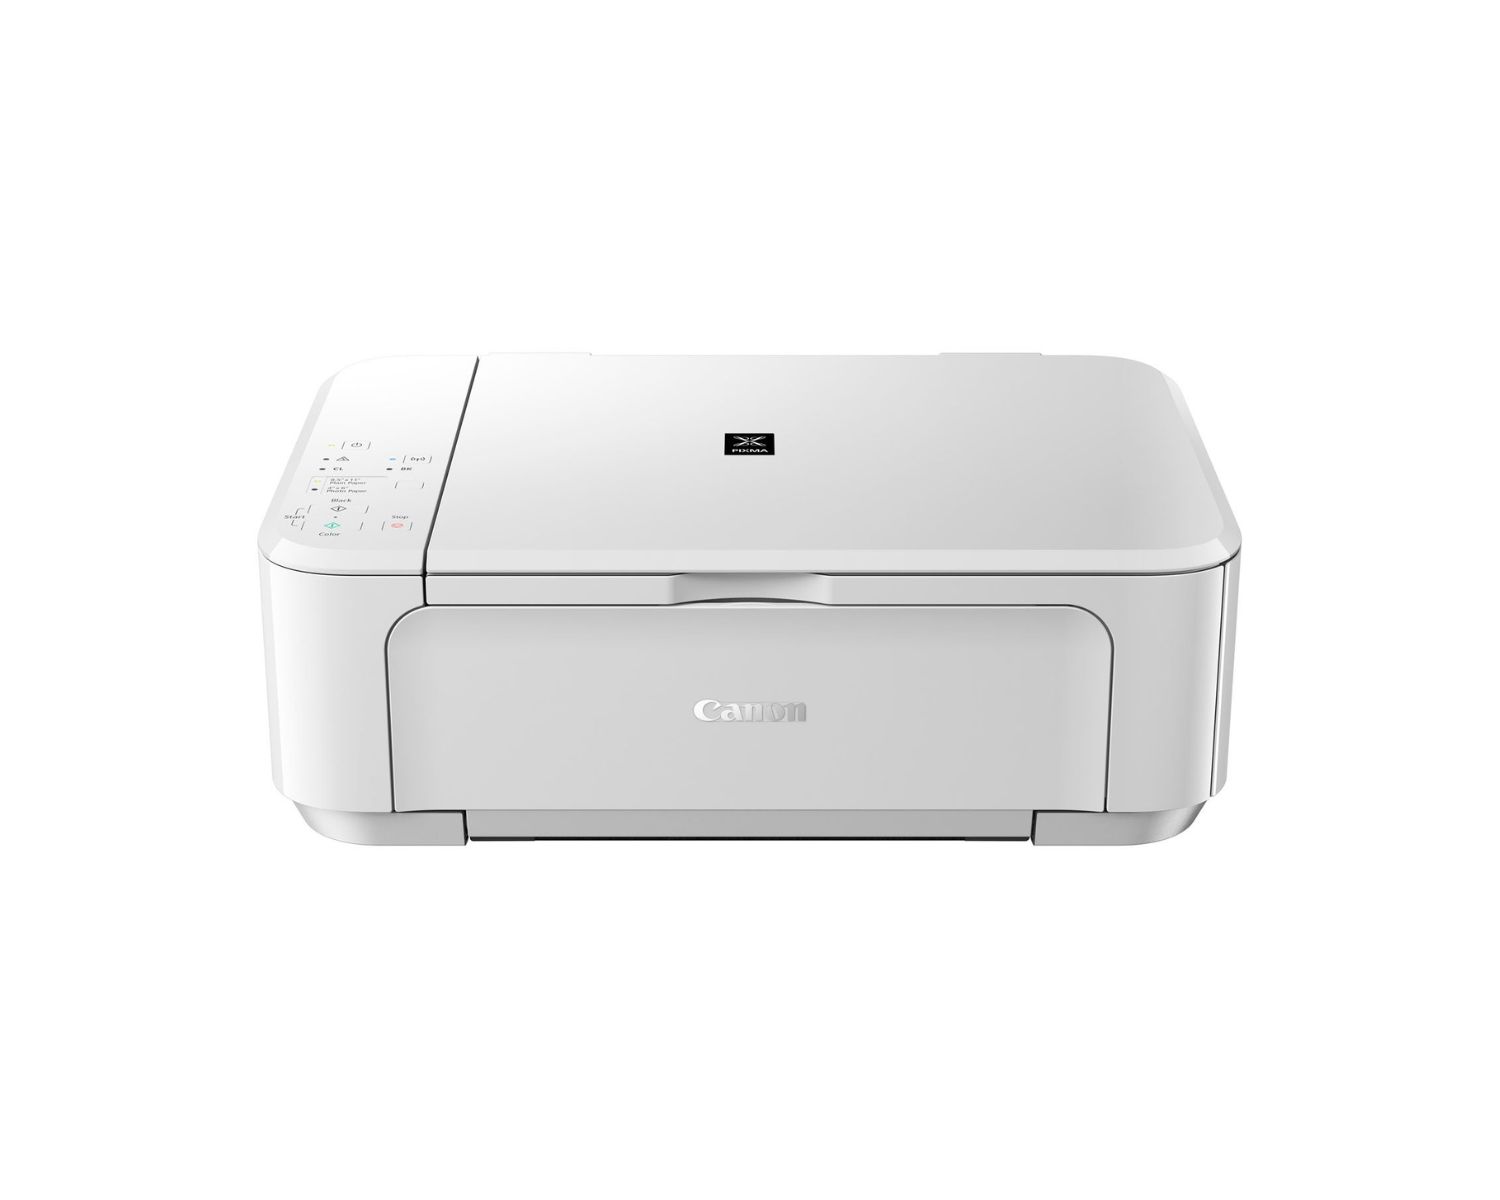
Before embarking on the journey of connecting your printer to your Macbook, it is crucial to ensure that the printer is compatible with your Macbook's operating system. This step is essential to avoid any potential compatibility issues that may arise during the installation and usage of the printer.
First and foremost, identify the make and model of your printer. This information is typically found on the printer itself or within its documentation. Once you have gathered the necessary details, visit the official website of the printer's manufacturer. Here, you can navigate to the support or downloads section, where you will find valuable information regarding the compatibility of the printer with various operating systems, including macOS.
Upon accessing the manufacturer's website, search for the specific model of your printer and review the system requirements. Pay close attention to the compatibility with the version of macOS running on your Macbook. Manufacturers often provide detailed compatibility information, including the minimum macOS version required for seamless functionality.
If you encounter any uncertainty regarding the compatibility of your printer with your Macbook, consider reaching out to the manufacturer's customer support for clarification. By verifying the compatibility of your printer with your Macbook's operating system, you can proceed with confidence, knowing that the foundation for a seamless connection has been securely established.
Once you have confirmed the compatibility of your printer with your Macbook, you are ready to proceed to the next step: installing the printer software. This pivotal step will lay the groundwork for integrating your printer into your Macbook ecosystem, setting the stage for effortless printing and enhanced productivity.
**
Step 2: Install Printer Software
**
With the compatibility of your printer and Macbook confirmed, the next crucial step is to install the printer software on your Macbook. This software, often referred to as printer drivers, is essential for enabling seamless communication between your Macbook and the printer, allowing you to harness the full capabilities of the device.
Begin by locating the installation disc that accompanied your printer. If an installation disc is not available, fret not, as most printer manufacturers offer the latest printer software for download on their official websites. Navigate to the support or downloads section of the manufacturer's website and search for the specific model of your printer. Here, you will find the latest printer software compatible with macOS, ready for download.
Once you have obtained the printer software, proceed to install it on your Macbook by following the provided instructions. The installation process typically involves running the installer package and following the on-screen prompts to complete the setup. During the installation, ensure that your Macbook is connected to the internet to allow for the retrieval of any additional updates or components required for optimal printer functionality.
After the installation is complete, restart your Macbook to finalize the software integration. This step is vital for ensuring that the printer software is seamlessly integrated into the operating system, ready to facilitate effortless printing from various applications and devices.
Upon successful installation and restart, your Macbook is now equipped with the necessary software to communicate with your printer effectively. This milestone brings you one step closer to harnessing the full potential of your printer within the Macbook ecosystem.
With the printer software installed, you are primed to proceed to the next step: connecting the printer to your Macbook. This pivotal stage will bridge the gap between your digital workspace and the tangible realm, empowering you to bring your digital creations to life with unparalleled ease and convenience.
**
Make sure your printer is compatible with Mac. Connect the printer to your Mac using a USB cable or through your Wi-Fi network. Install the printer software and drivers from the manufacturer’s website or using the Mac’s built-in printer setup.
Step 3: Connect the Printer
**
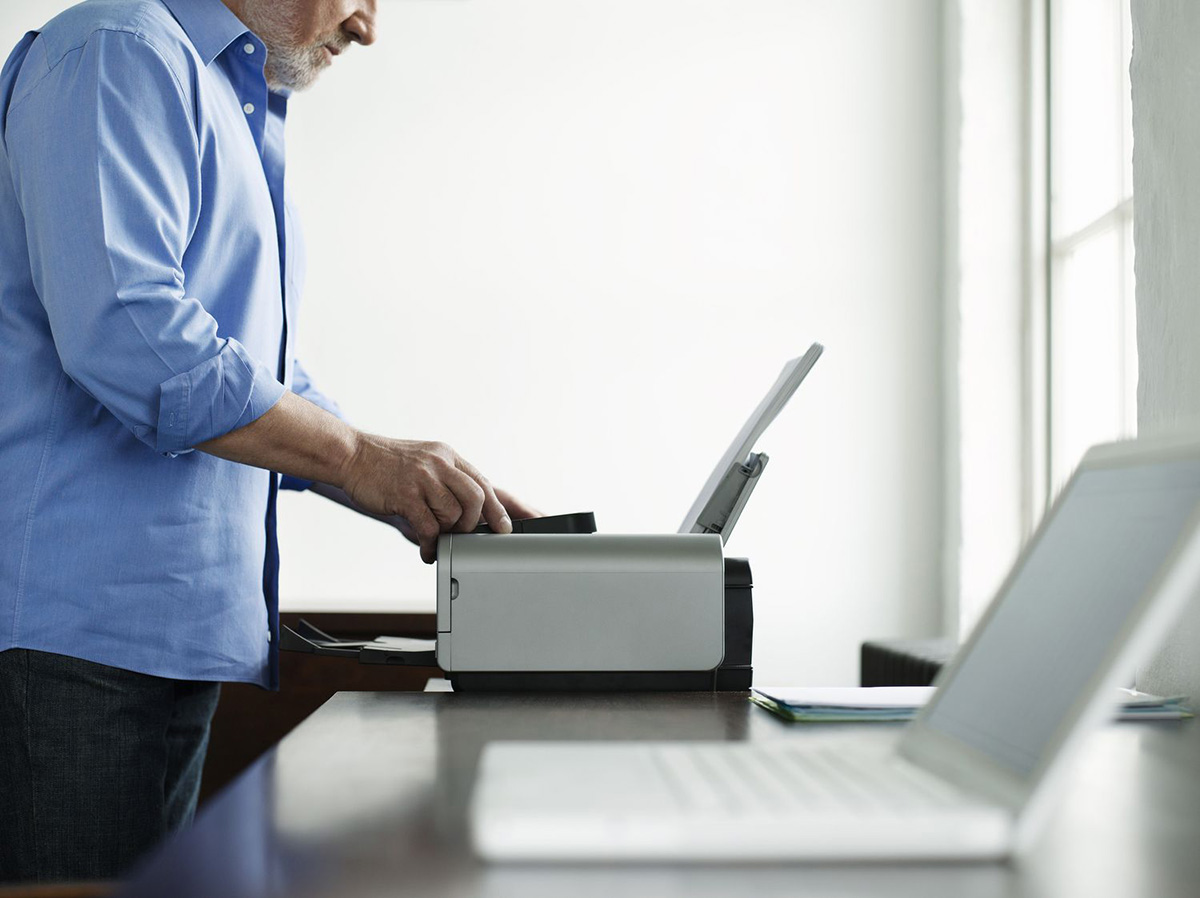
As you venture into the realm of connecting your printer to your Macbook, the pivotal step of physically linking the two devices awaits. This step involves establishing a physical connection between your printer and Macbook, laying the foundation for seamless communication and printing functionality.
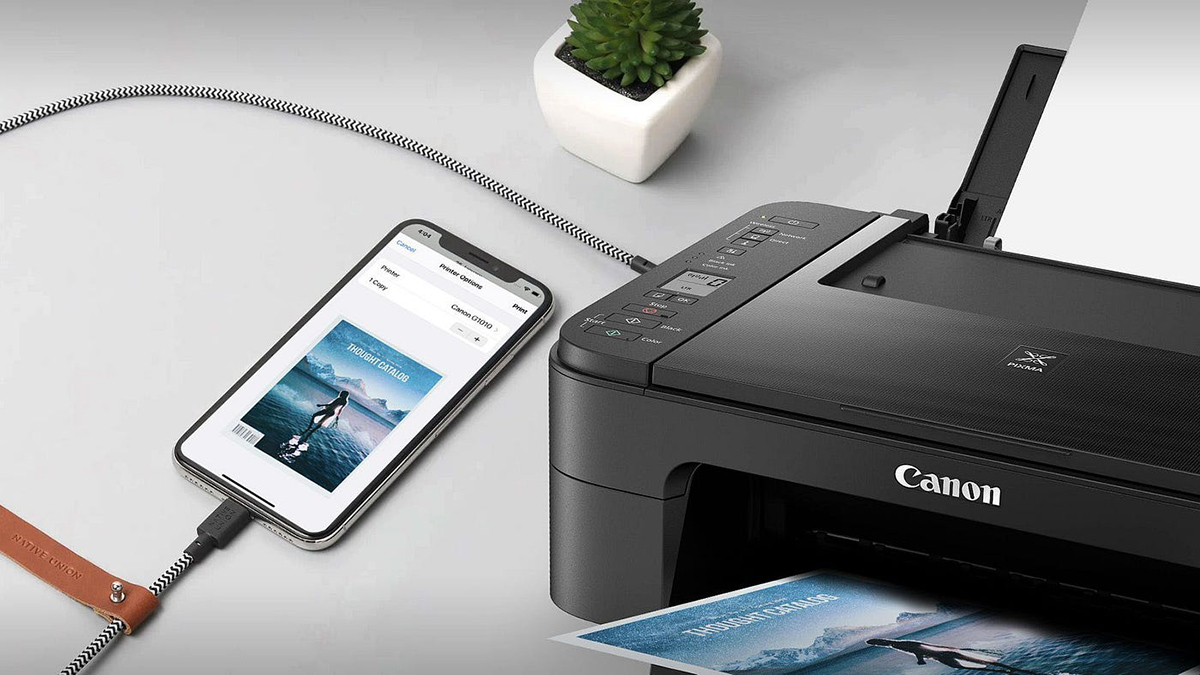
Begin by locating an available USB port on your Macbook. Most printers feature a USB cable for direct connection to your computer. If your printer utilizes a USB connection, simply connect one end of the USB cable to the printer and the other end to an available USB port on your Macbook. Once the connection is established, your Macbook will detect the printer, setting the stage for the next phase of the setup process.
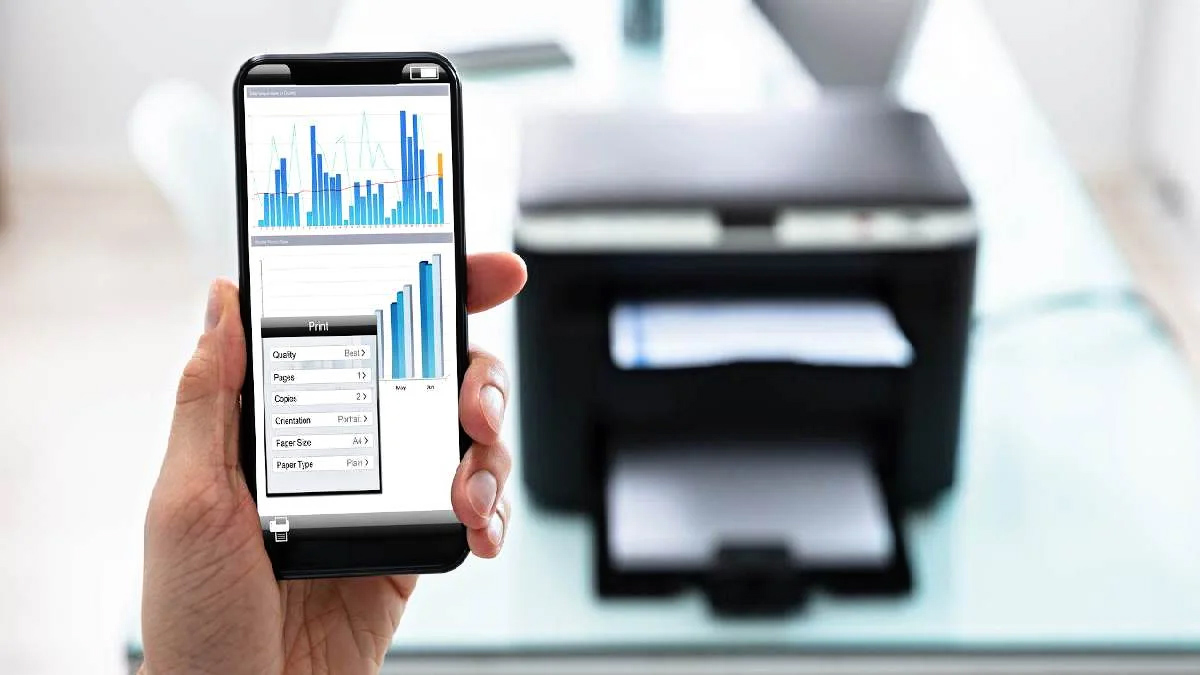
If your printer offers wireless connectivity, you can opt to connect it to your home network for wireless printing capabilities. Refer to your printer's documentation or the manufacturer's website for specific instructions on configuring the wireless connection. Once the printer is successfully connected to your home network, your Macbook can detect and communicate with the printer over the wireless connection, offering enhanced flexibility and convenience in printing.
After establishing the physical or wireless connection between your printer and Macbook, power on the printer and ensure that it is ready for use. Your Macbook will automatically detect the newly connected printer, preparing the groundwork for the final step of setting up the printer on your Macbook.
With the printer successfully connected to your Macbook, you are now poised to proceed to the next step: setting up the printer on your Macbook. This pivotal phase will enable your Macbook to recognize and utilize the printer seamlessly, empowering you to embark on a seamless printing journey with unparalleled ease and efficiency.
**
Step 4: Set Up the Printer on Your Macbook
**
With the printer physically connected or wirelessly linked to your Macbook, the final step of setting up the printer on your Macbook awaits. This crucial phase involves configuring your Macbook to recognize and utilize the connected printer, ensuring that you can effortlessly harness its printing capabilities across various applications and digital endeavors.
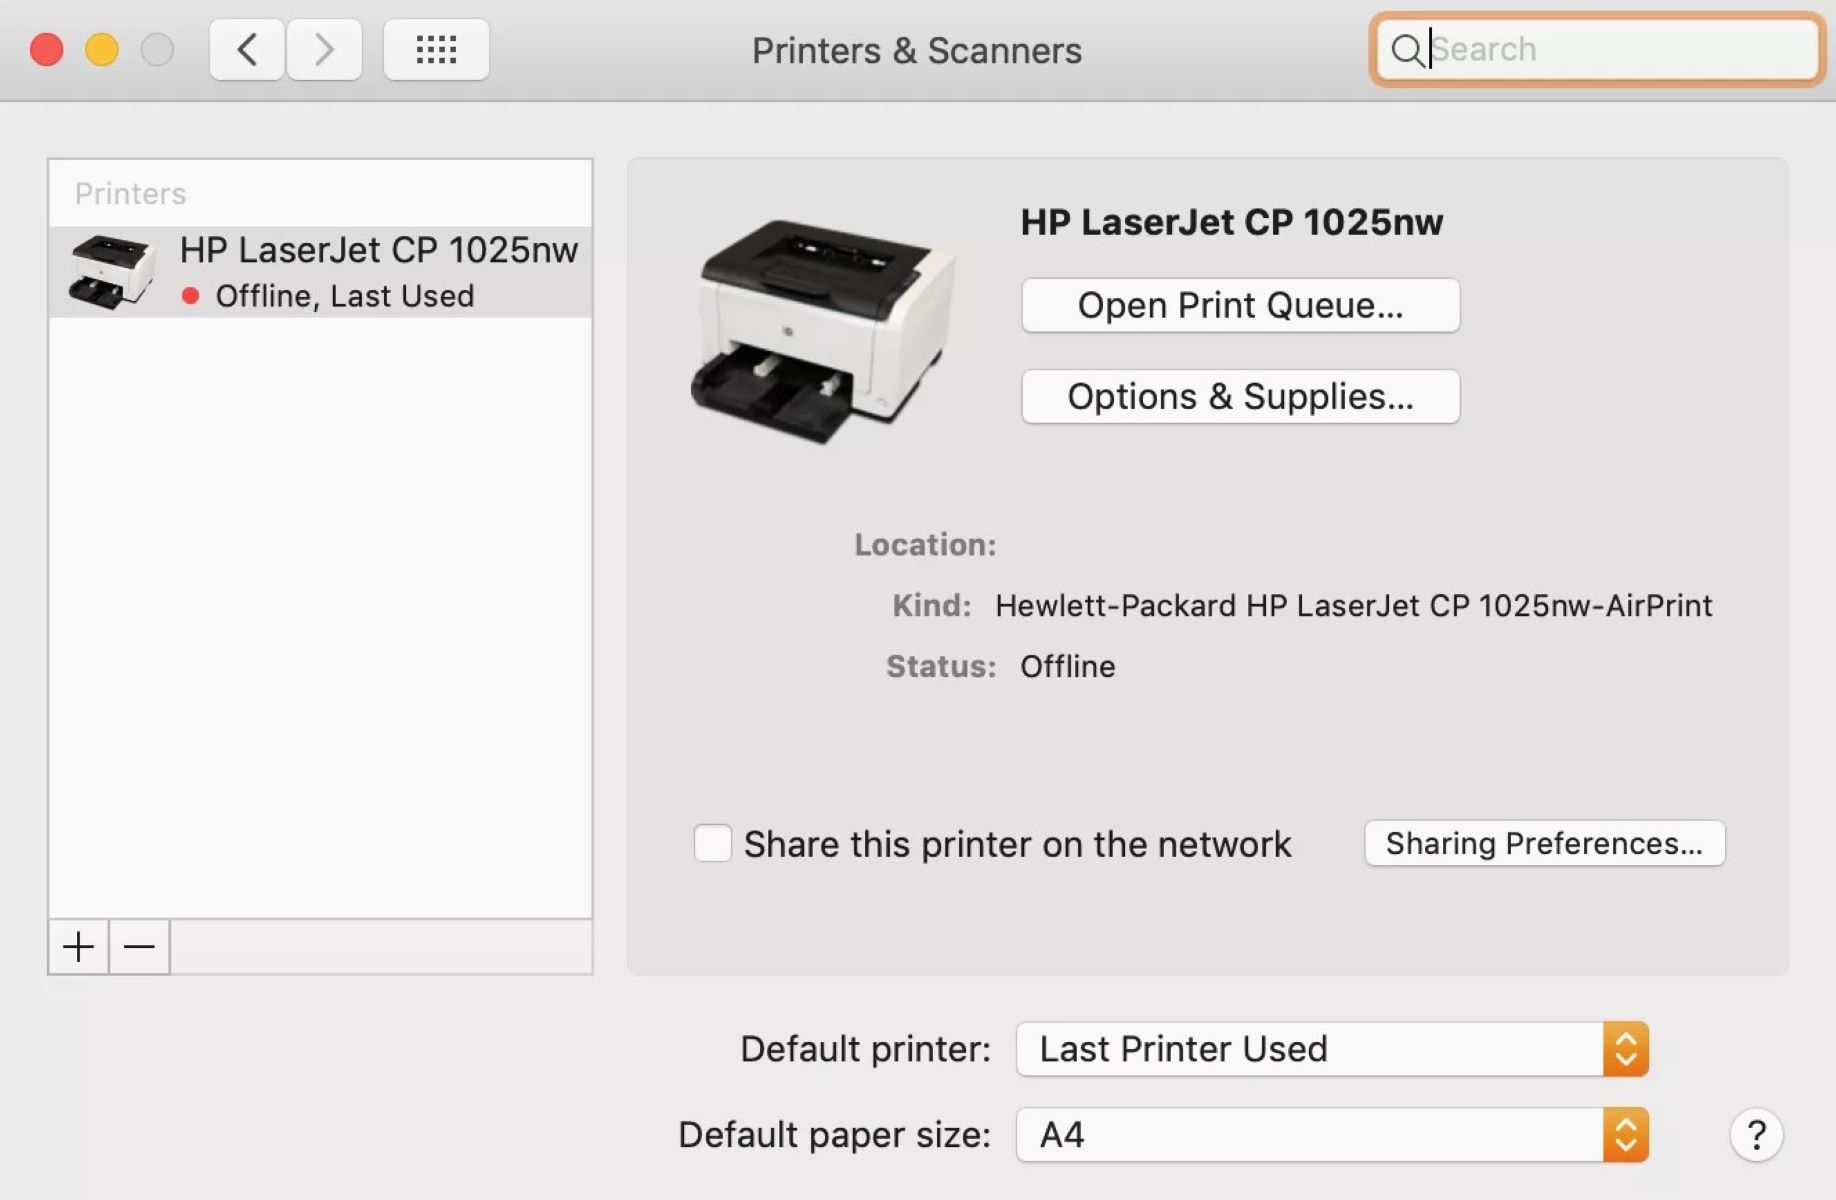
Commence the setup process by navigating to the “System Preferences” on your Macbook. This can be accessed from the Apple menu or the dock. Within the “System Preferences,” locate and click on the “Printers & Scanners” icon. Here, you will find a comprehensive overview of connected and available printers, along with the option to add a new printer.
Click on the “+” (plus) sign within the “Printers & Scanners” window to initiate the process of adding a new printer. Your Macbook will search for and detect the connected printer, displaying it in the list of available devices. Select the detected printer from the list to proceed with the setup.
Upon selecting the printer, your Macbook will automatically install the necessary drivers and software components, ensuring seamless integration and functionality. Once the installation process is complete, your printer will be listed within the “Printers & Scanners” window, signifying successful setup and recognition by your Macbook.
To further customize the printer settings, such as paper size, orientation, and print quality, select the printer from the list and navigate to the “Options & Supplies” or “Settings” section within the “Printers & Scanners” window. Here, you can fine-tune the printer settings to align with your preferences and printing requirements, enhancing the overall printing experience.
With the printer successfully set up on your Macbook, you are now poised to embark on a seamless printing journey, effortlessly bringing your digital creations to life with unparalleled ease and efficiency. Your Macbook is now fully equipped to communicate with and utilize the connected printer, opening up a world of possibilities for printing documents, photos, and creative projects.
As you revel in the successful setup of your printer on your Macbook, take a moment to appreciate the seamless integration and enhanced productivity that awaits. Your Macbook and printer stand ready to harmoniously collaborate, empowering you to unleash your creativity and bring your digital endeavors to life with the touch of a button.
**
Conclusion
**
Congratulations! You have successfully navigated the enlightening journey of connecting a printer to your Macbook, laying the groundwork for seamless printing and enhanced productivity within your digital workspace. As you reflect on the steps undertaken and the newfound capabilities at your disposal, take pride in the knowledge and confidence gained throughout this transformative process.
By diligently checking for compatibility, installing the essential printer software, connecting the printer to your Macbook, and setting it up within the system, you have unlocked a world of possibilities for effortless printing and creative expression. The seamless integration of your printer into your Macbook ecosystem marks a significant milestone, empowering you to bring your digital creations to life with unparalleled ease and convenience.
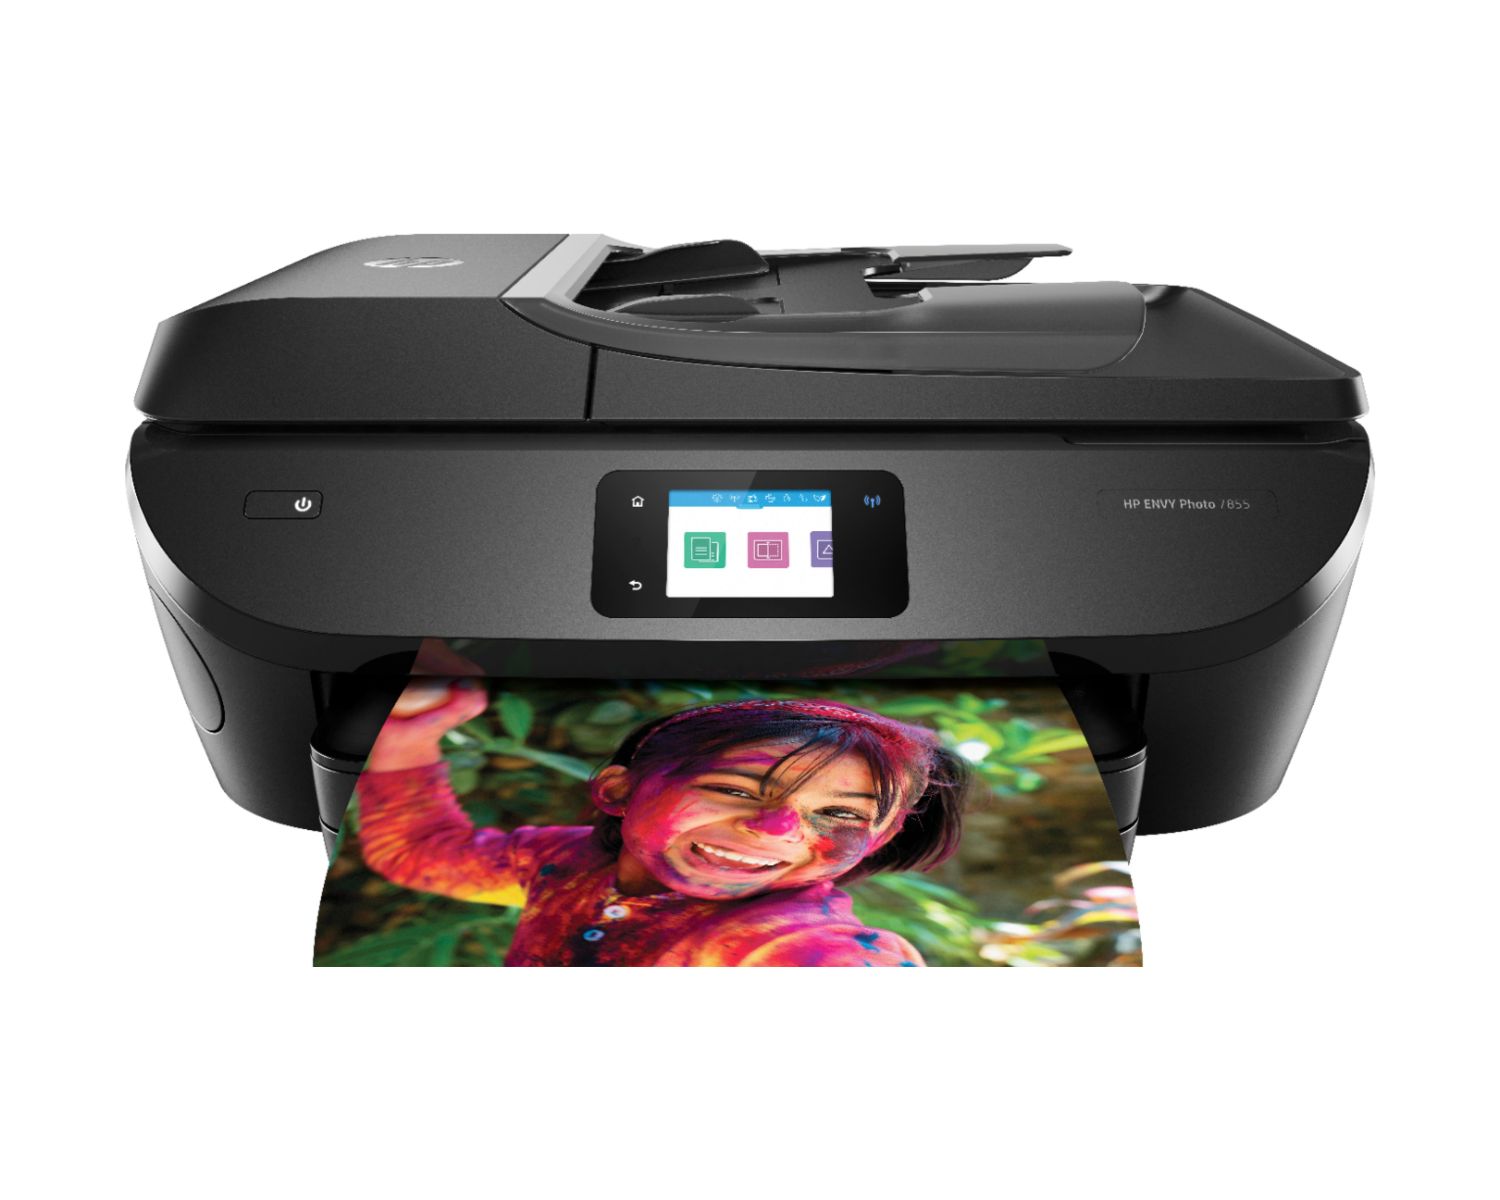
As you embark on your printing journey with your Macbook and newly connected printer, embrace the boundless potential that awaits. Whether you are crafting documents, immortalizing cherished memories through photo prints, or bringing your creative projects to fruition, your Macbook and printer stand as steadfast allies, ready to fulfill your printing needs with precision and efficiency.
With the printer seamlessly integrated into your Macbook ecosystem, take a moment to revel in the newfound harmony between your digital workspace and the tangible realm. The seamless communication and collaboration between your Macbook and printer exemplify the power of technology to enrich our daily lives, facilitating the seamless transformation of digital concepts into physical manifestations.
As you embark on your printing endeavors with renewed confidence and proficiency, remember the empowering journey that led you to this moment. The knowledge and skills acquired in connecting your printer to your Macbook serve as a testament to your ability to navigate the ever-evolving landscape of smart home devices, harnessing their capabilities to enhance your digital lifestyle.
In closing, may the seamless integration of your printer into your Macbook ecosystem serve as a testament to the transformative potential of technology. Embrace the newfound synergy between your digital workspace and the physical realm, and may your printing endeavors be imbued with efficiency, creativity, and the joy of bringing your digital creations to life with unparalleled ease.
Frequently Asked Questions about How Do I Connect A Printer To My Macbook
Was this page helpful?
At Storables.com, we guarantee accurate and reliable information. Our content, validated by Expert Board Contributors, is crafted following stringent Editorial Policies. We're committed to providing you with well-researched, expert-backed insights for all your informational needs.


0 thoughts on “How Do I Connect A Printer To My Macbook”