Home>Technology>Smart Home Devices>How To Connect Macbook To Brother Printer

Smart Home Devices
How To Connect Macbook To Brother Printer
Modified: January 18, 2024
Learn how to easily connect your Macbook to your Brother printer and start printing from your smart home devices. Streamline your printing process today!
(Many of the links in this article redirect to a specific reviewed product. Your purchase of these products through affiliate links helps to generate commission for Storables.com, at no extra cost. Learn more)
Introduction
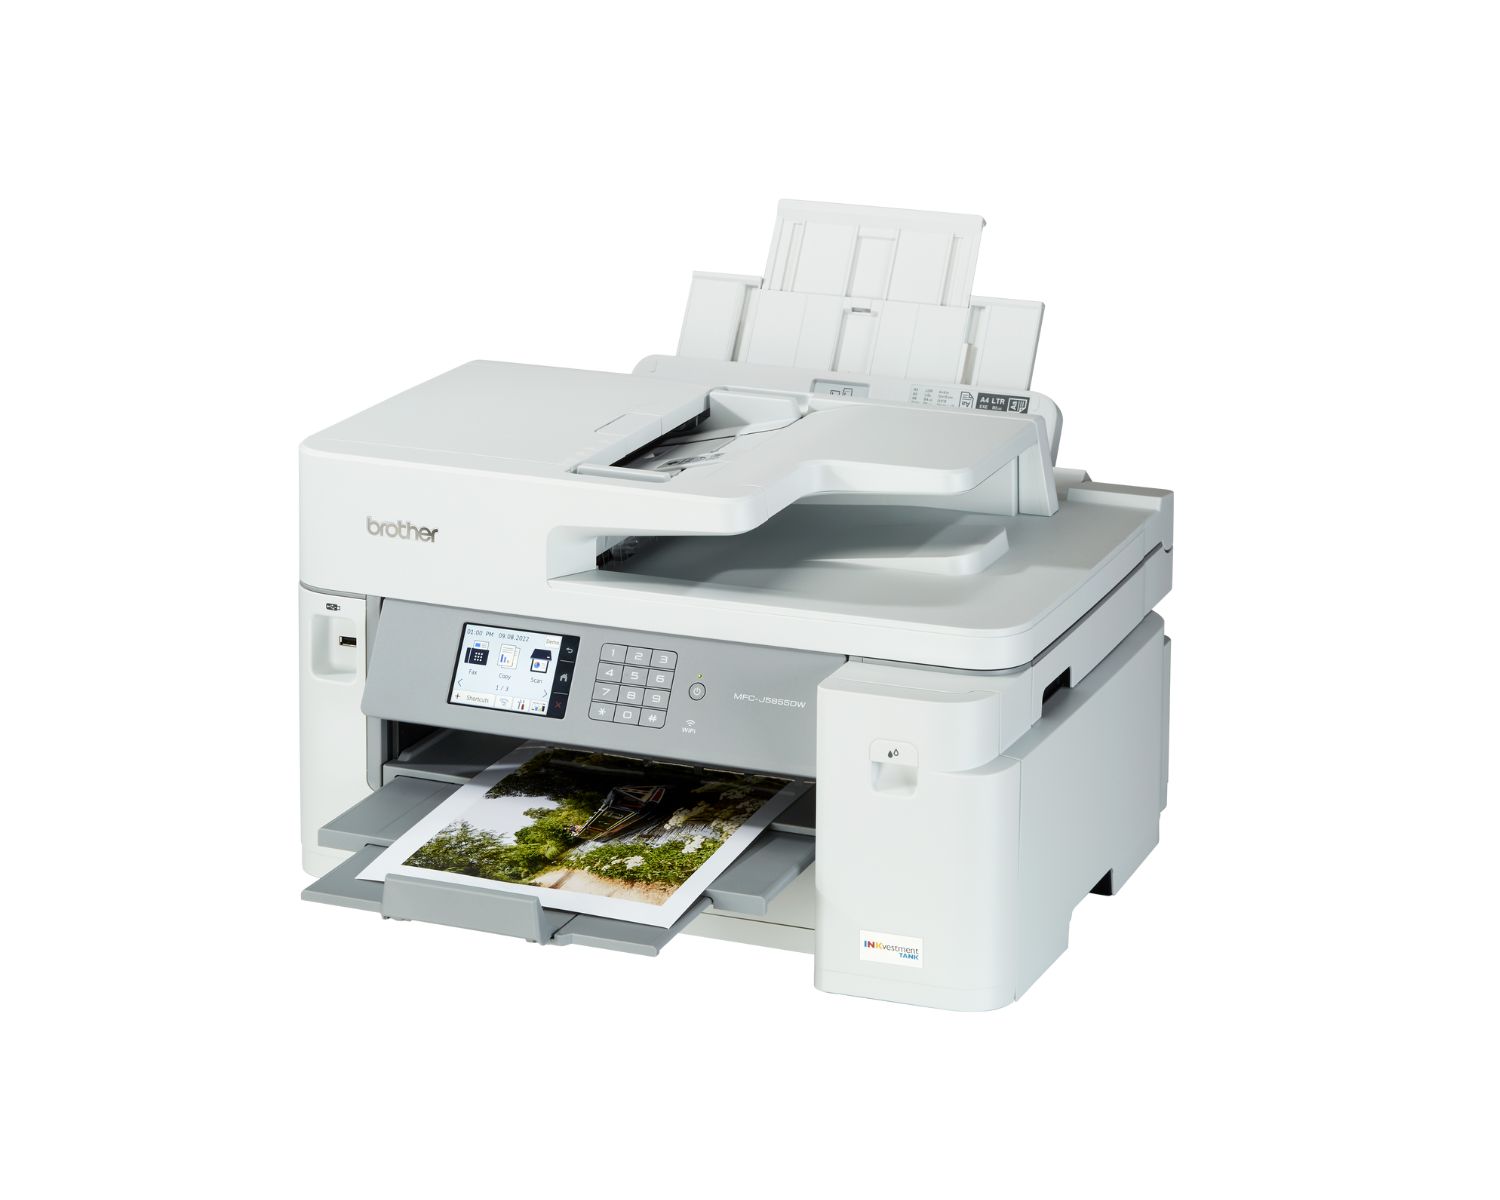
Welcome to the world of smart home devices, where convenience and efficiency converge to elevate our daily lives. In this comprehensive guide, we will delve into the seamless process of connecting your Macbook to a Brother printer. As technology continues to advance, the integration of devices within our homes has become increasingly prevalent, offering a myriad of benefits such as wireless printing, effortless document sharing, and enhanced productivity.
The ability to connect your Macbook to a Brother printer opens up a world of possibilities, allowing you to effortlessly print documents, photos, and more from the comfort of your home or office. Whether you are a student preparing assignments, a professional finalizing reports, or a creative individual bringing digital designs to life, the convenience of printing directly from your Macbook to a Brother printer is truly invaluable.
Throughout this guide, we will navigate the step-by-step process of connecting your Macbook to a Brother printer, ensuring that you are equipped with the knowledge and confidence to seamlessly integrate these devices. From checking compatibility to installing printer drivers and conducting a test print, each stage of the process will be meticulously explored, empowering you to harness the full potential of your smart home setup.
So, grab your Macbook, locate your Brother printer, and let's embark on this journey to seamlessly connect these devices. By the end of this guide, you will be well-versed in the art of Macbook-to-Brother-printer connectivity, poised to take full advantage of the convenience and efficiency it brings to your daily routine. Let's dive in and unlock the seamless printing capabilities that await!
Key Takeaways:
- Ensure your Macbook and Brother printer are compatible by checking the model, operating system, and connectivity options. This sets the stage for a smooth and hassle-free connection process.
- After installing the necessary printer drivers, connect your Macbook to the Brother printer using USB, wireless, or Ethernet options. Then, print a test page to verify seamless functionality.
Read more: How To Connect To A Brother Printer
Step 1: Check Compatibility
Before embarking on the process of connecting your Macbook to a Brother printer, it is essential to ensure that the devices are compatible. Compatibility between your Macbook and the Brother printer is crucial for a seamless and hassle-free connection. Here are the key steps to check compatibility:
- Identify Your Macbook Model: Start by identifying the model of your Macbook. This can typically be found by clicking on the Apple logo in the top-left corner of your screen, selecting “About This Mac,” and noting the specific model and year of your Macbook.
- Verify Operating System Compatibility: Once you have identified your Macbook model, ensure that it is running a compatible operating system with the Brother printer. Visit the official Brother website or refer to the printer’s manual to confirm the supported operating systems. Common operating systems include macOS Catalina, macOS Mojave, and macOS High Sierra.
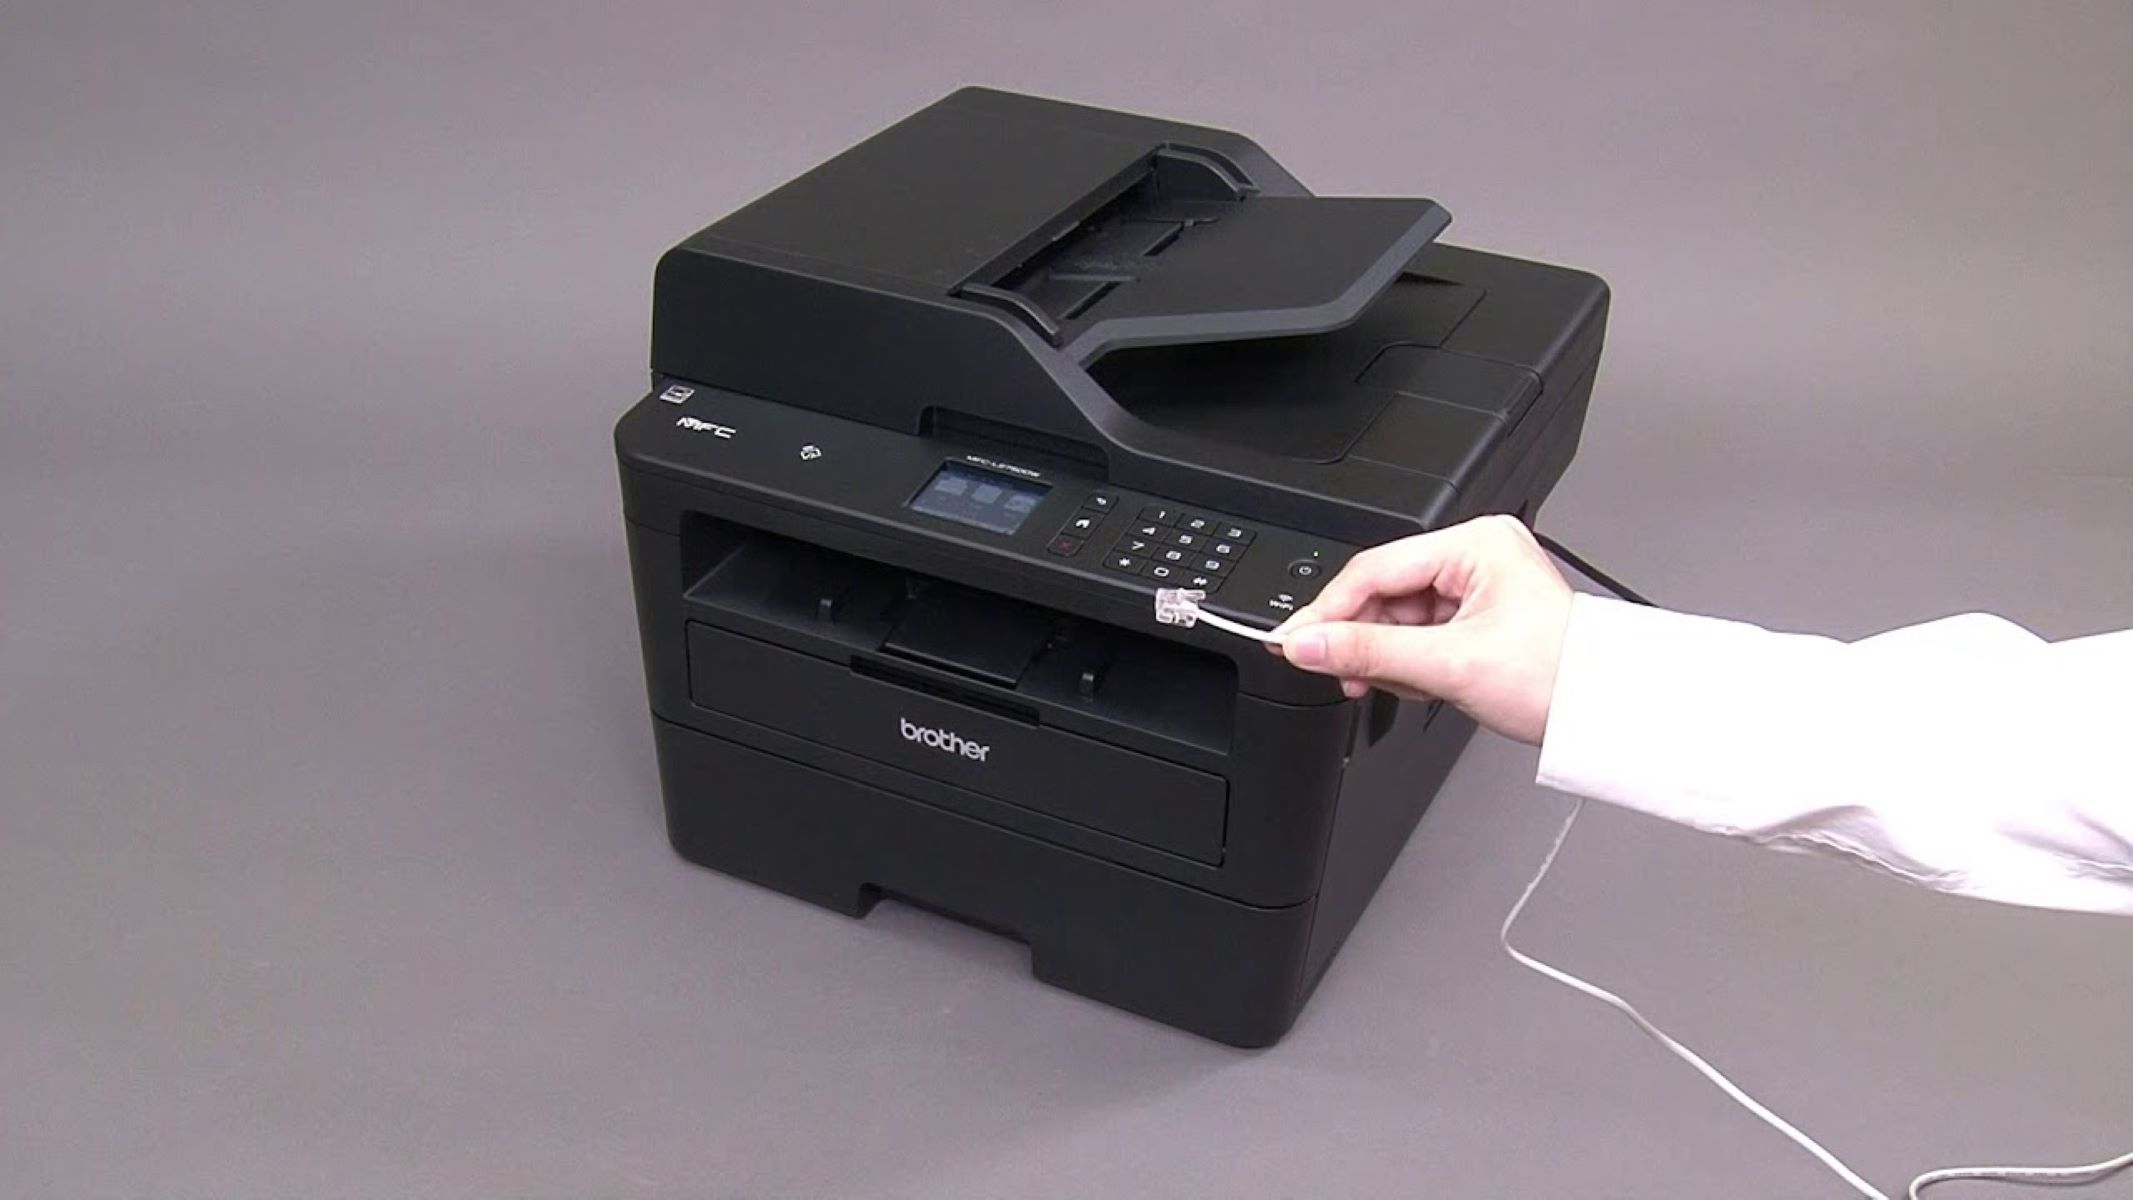
- Check Printer Connectivity Options: Determine the connectivity options available on your Brother printer. Whether it supports USB, Wi-Fi, or Ethernet connections, understanding the available options will help you prepare for the connection process with your Macbook.
By thoroughly checking the compatibility between your Macbook and the Brother printer, you can lay a solid foundation for a successful connection. This proactive approach ensures that the devices are well-matched, setting the stage for a seamless integration that enhances your printing experience.
Step 2: Install Printer Drivers
Installing the appropriate printer drivers on your Macbook is a pivotal step in facilitating the seamless connection to your Brother printer. Printer drivers serve as the bridge between your Macbook’s operating system and the specific model of the Brother printer, enabling smooth communication and functionality. Here’s how to install the necessary printer drivers:
- Visit the Brother Support Website: Navigate to the official Brother support website using your web browser. Look for the “Support” or “Downloads” section, where you can enter your specific printer model to access the corresponding drivers.
- Download the Correct Printer Driver: Locate the driver that corresponds to your Brother printer model and the version of macOS running on your Macbook. Ensure that you download the most up-to-date driver to benefit from the latest features and enhancements.
- Run the Driver Installation Package: Once the driver file is downloaded, open the installation package and follow the on-screen instructions to install the printer driver on your Macbook.
- Restart Your Macbook: After the installation is complete, it is advisable to restart your Macbook to ensure that the new printer driver is fully integrated into the operating system.
By installing the appropriate printer drivers, you are equipping your Macbook with the necessary software to communicate effectively with your Brother printer. This essential step lays the groundwork for a seamless and efficient printing experience, enabling you to harness the full capabilities of your Brother printer from your Macbook.
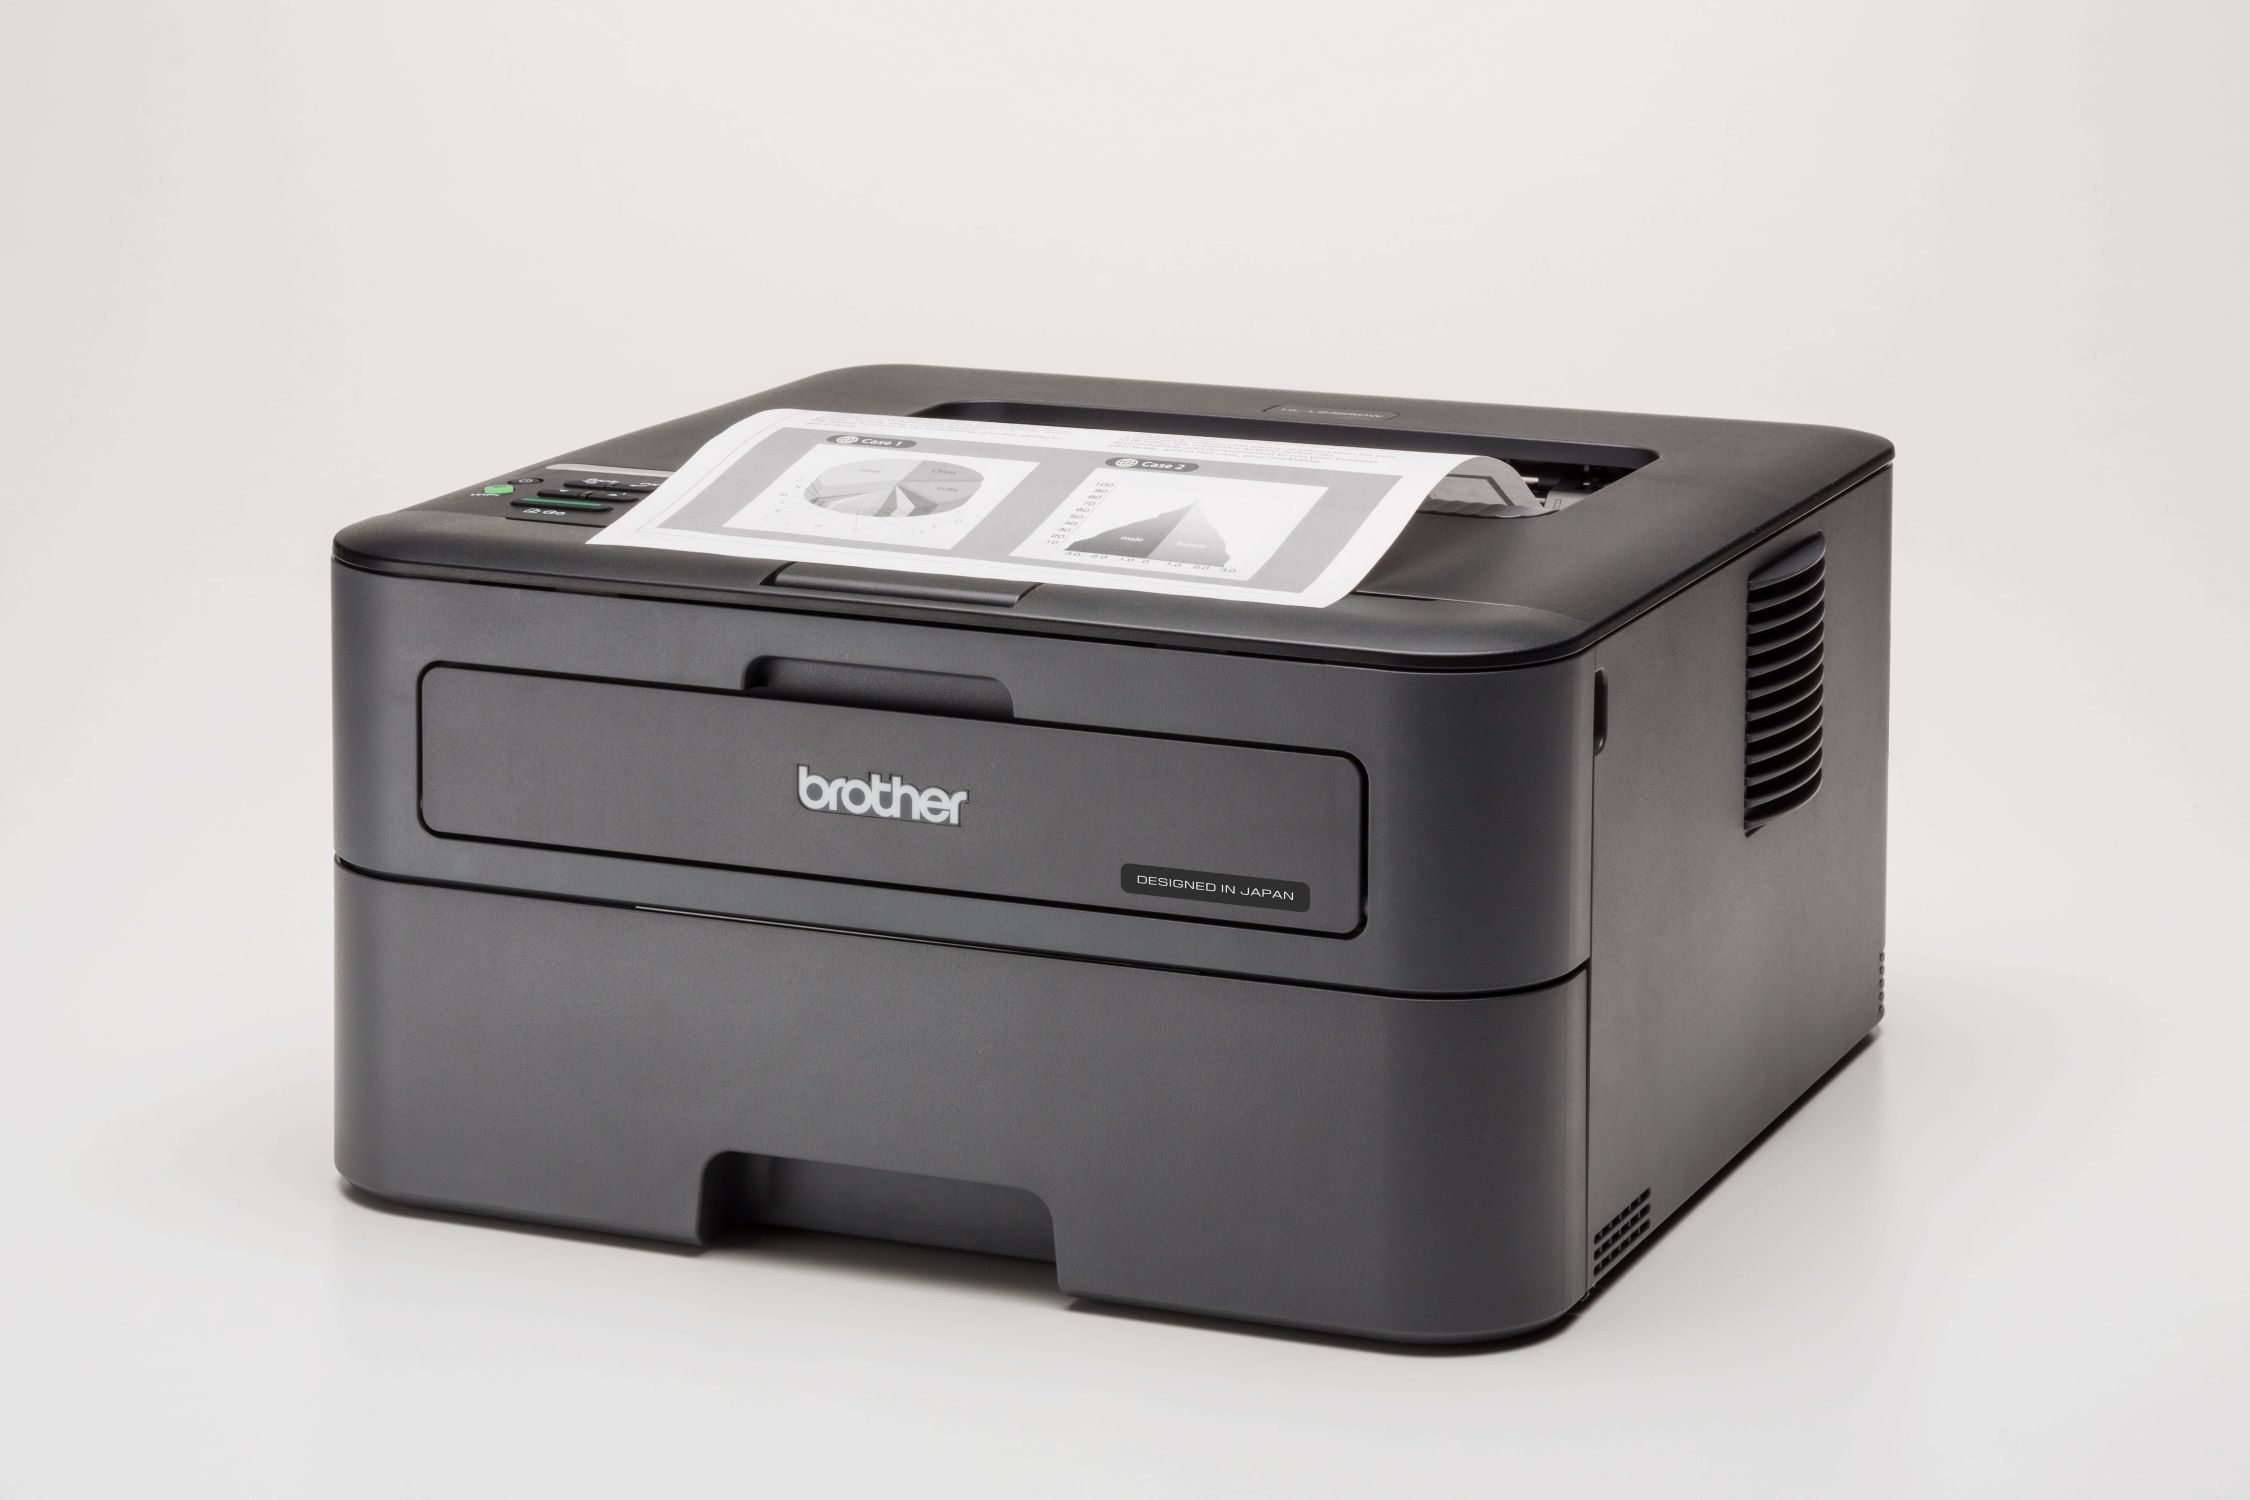
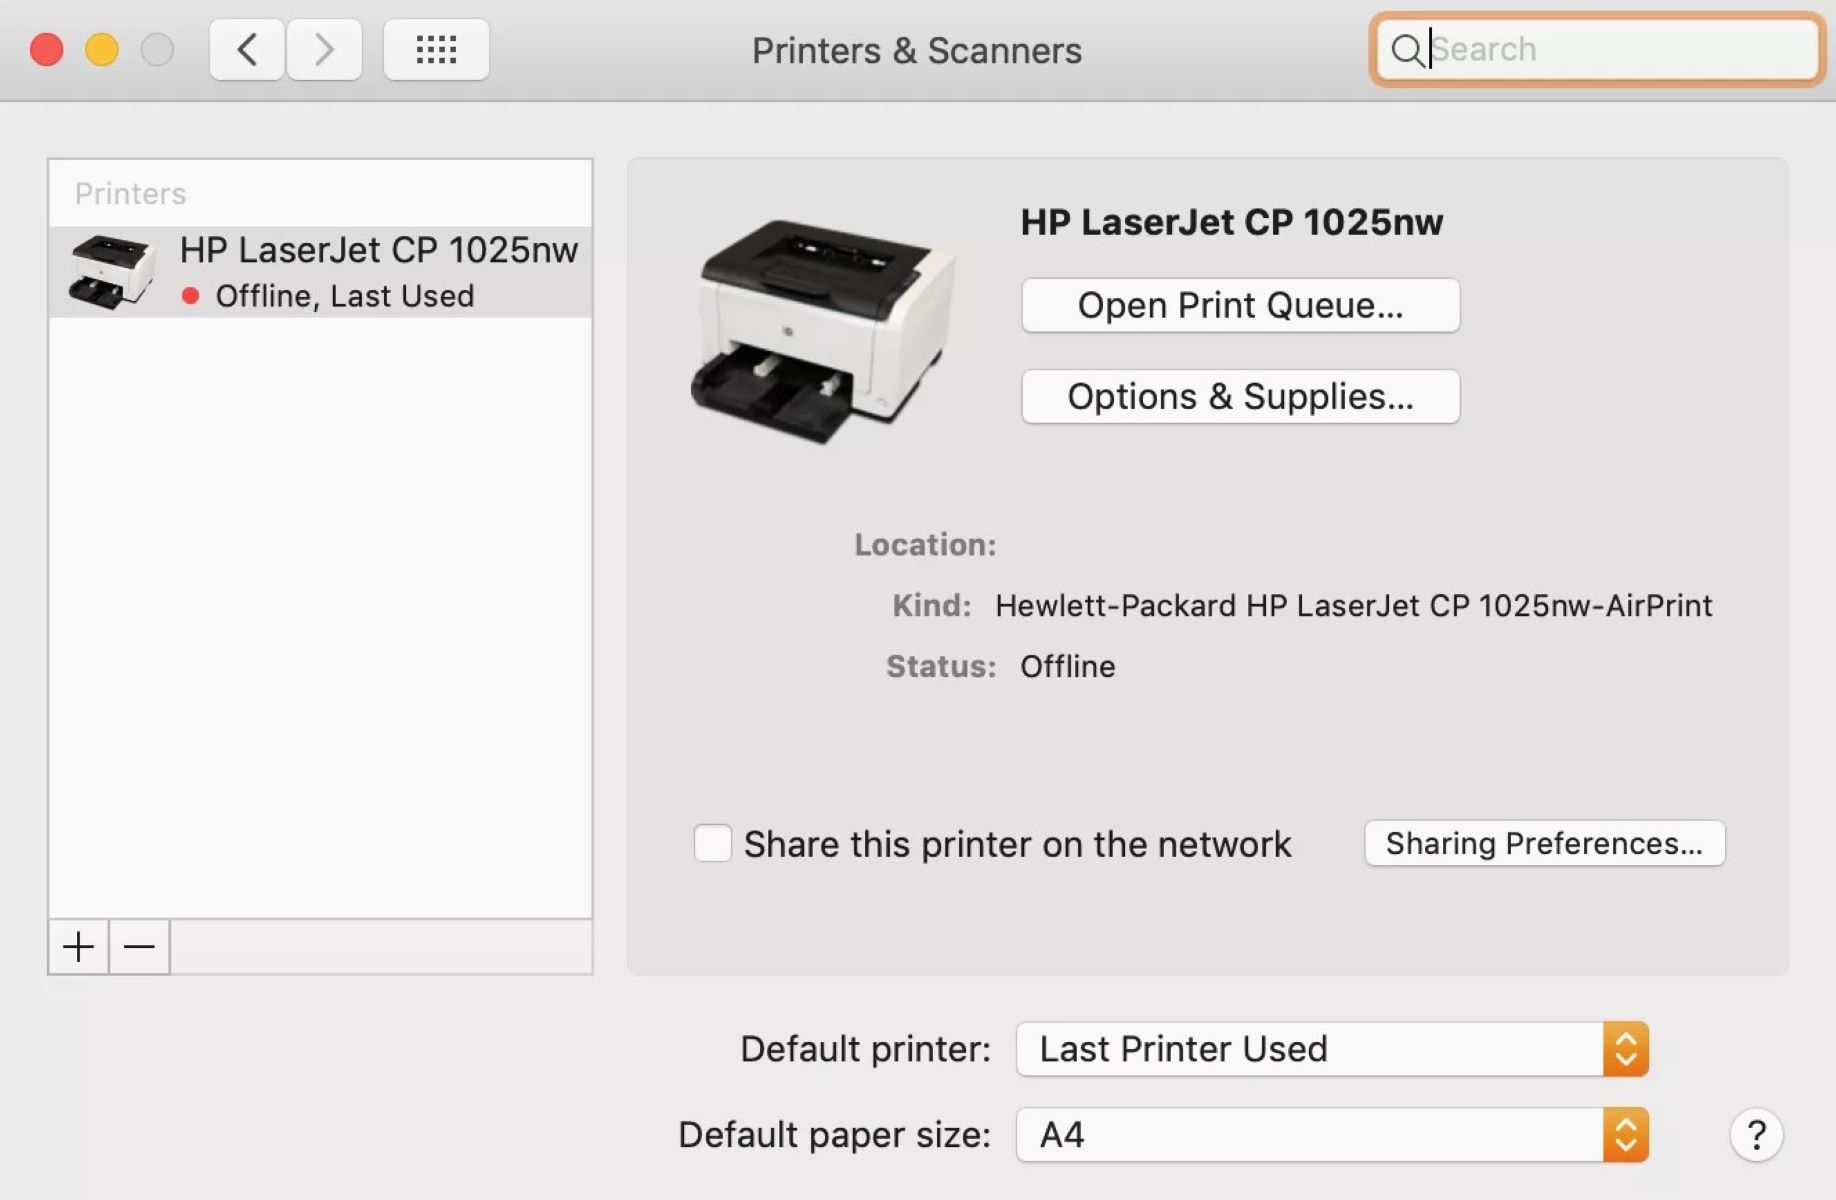
Make sure your Brother printer is connected to the same Wi-Fi network as your MacBook. Then, go to System Preferences, select Printers & Scanners, and click the “+” button to add your Brother printer. Select your printer from the list and follow the on-screen instructions to complete the setup.
Step 3: Connect Macbook to Printer
With the printer drivers successfully installed on your Macbook, the next step involves establishing a direct connection between your Macbook and the Brother printer. This process may vary depending on the connectivity options supported by your specific printer model. Here’s how to connect your Macbook to the printer:
- USB Connection: If your Brother printer supports USB connectivity, simply connect one end of the USB cable to the printer and the other end to an available USB port on your Macbook. The Macbook should automatically detect the printer, and you may proceed with the setup process.
- Wireless Connection: For wireless connectivity, ensure that your Brother printer is connected to the same Wi-Fi network as your Macbook. Access the Wi-Fi settings on the printer to configure the connection, and then navigate to the “System Preferences” on your Macbook to add the wireless printer.
- Ethernet Connection: If your printer supports Ethernet connectivity, connect one end of the Ethernet cable to the printer and the other end to an available Ethernet port or router. Your Macbook can then detect the printer on the network for setup.
Regardless of the connection method, it is important to follow the specific instructions provided in the printer’s manual for the initial setup. Once the connection is established, your Macbook will recognize the Brother printer, enabling you to proceed with printing documents, images, and other content seamlessly.
By connecting your Macbook to the Brother printer, you are unlocking the convenience of wireless printing and streamlined document management, enhancing your overall productivity and workflow.
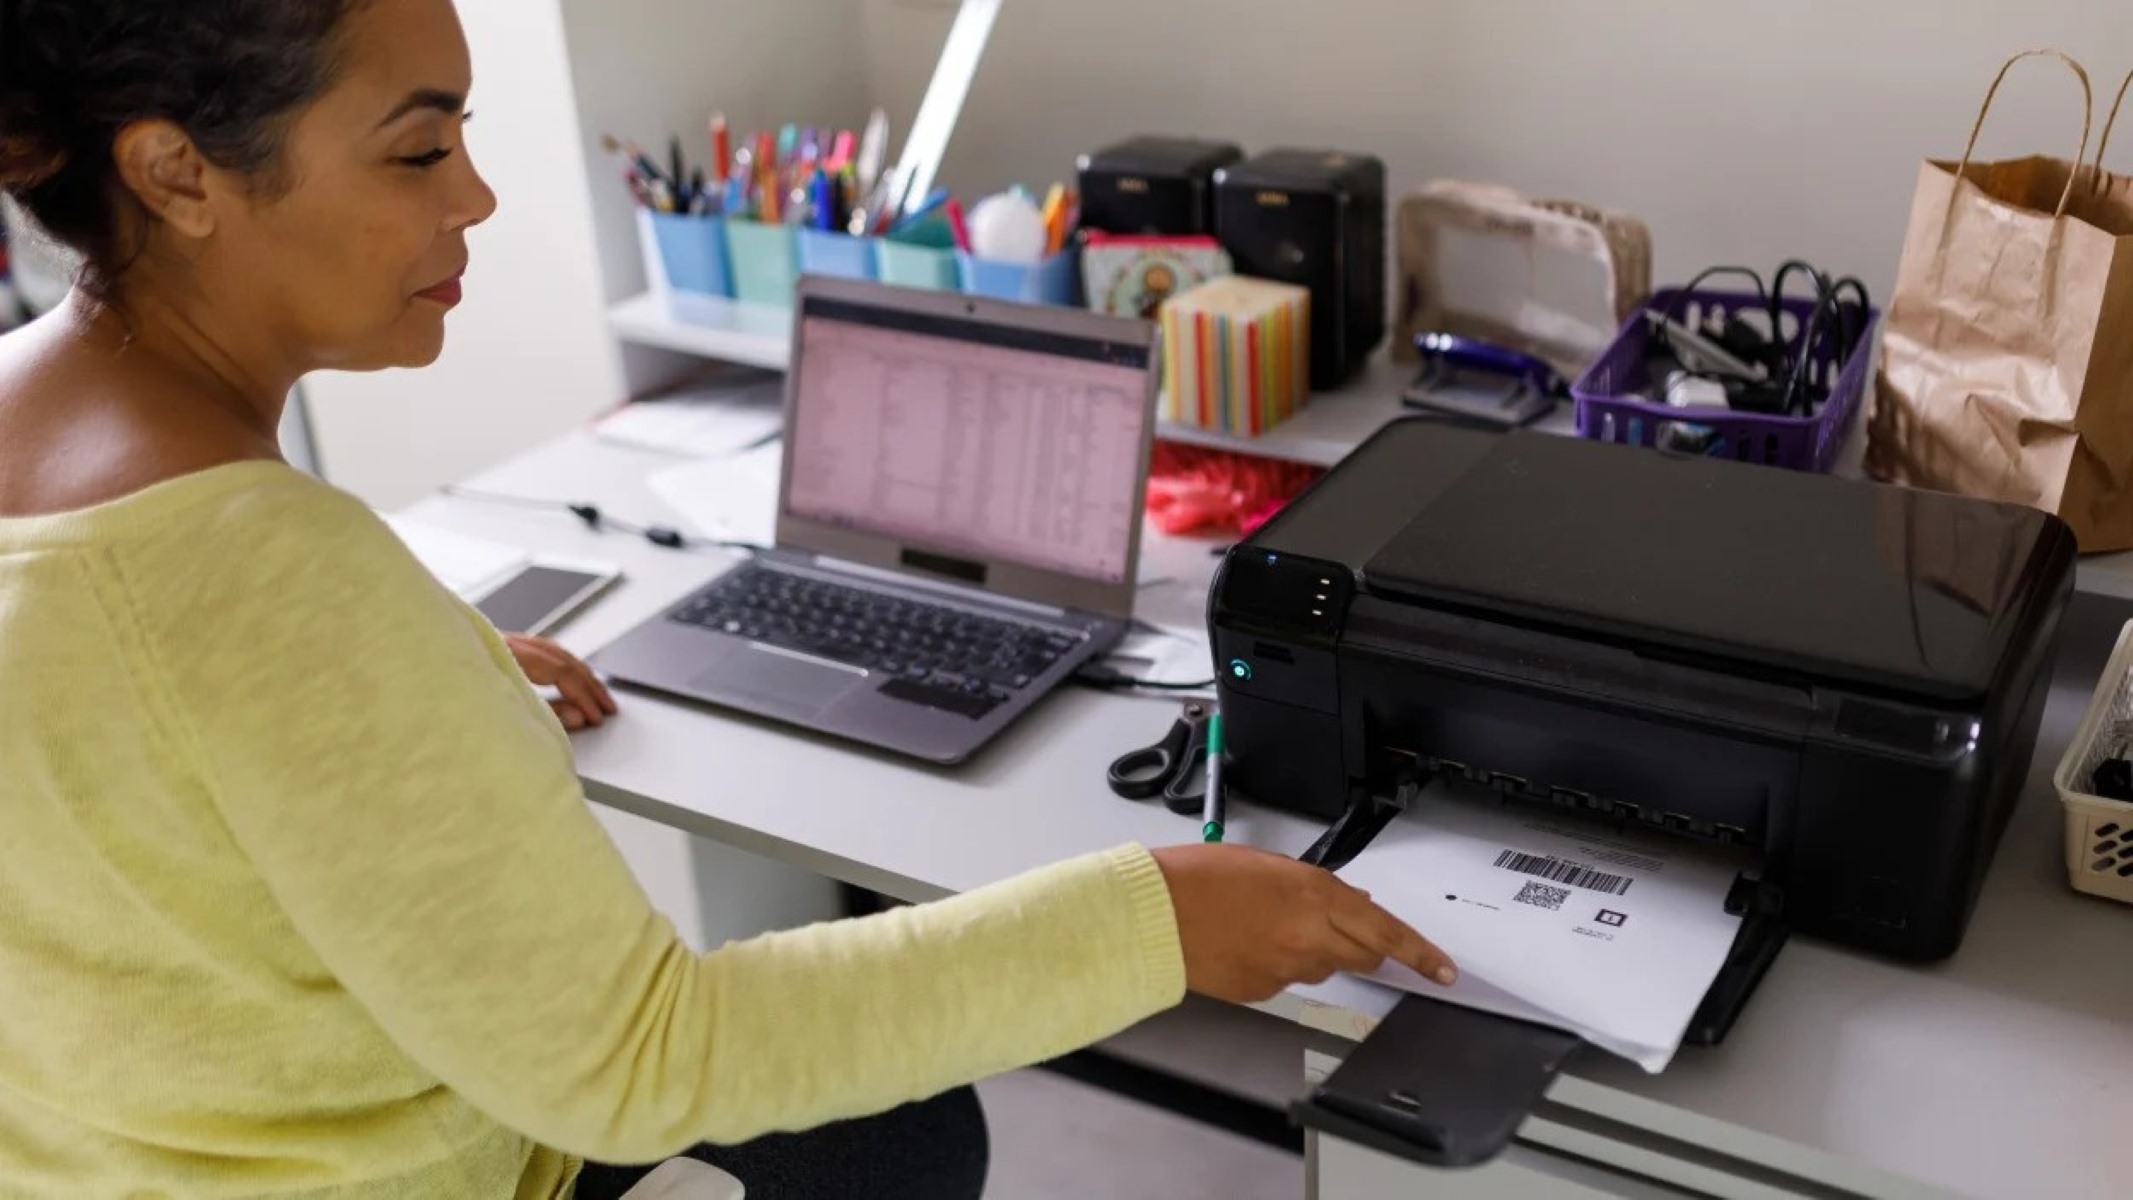
Step 4: Print a Test Page
After successfully connecting your Macbook to the Brother printer, it is highly recommended to print a test page to verify the functionality and alignment of the printing process. Printing a test page allows you to confirm that the communication between your Macbook and the printer is seamless, ensuring that you can produce high-quality prints without any issues. Here’s how to print a test page:
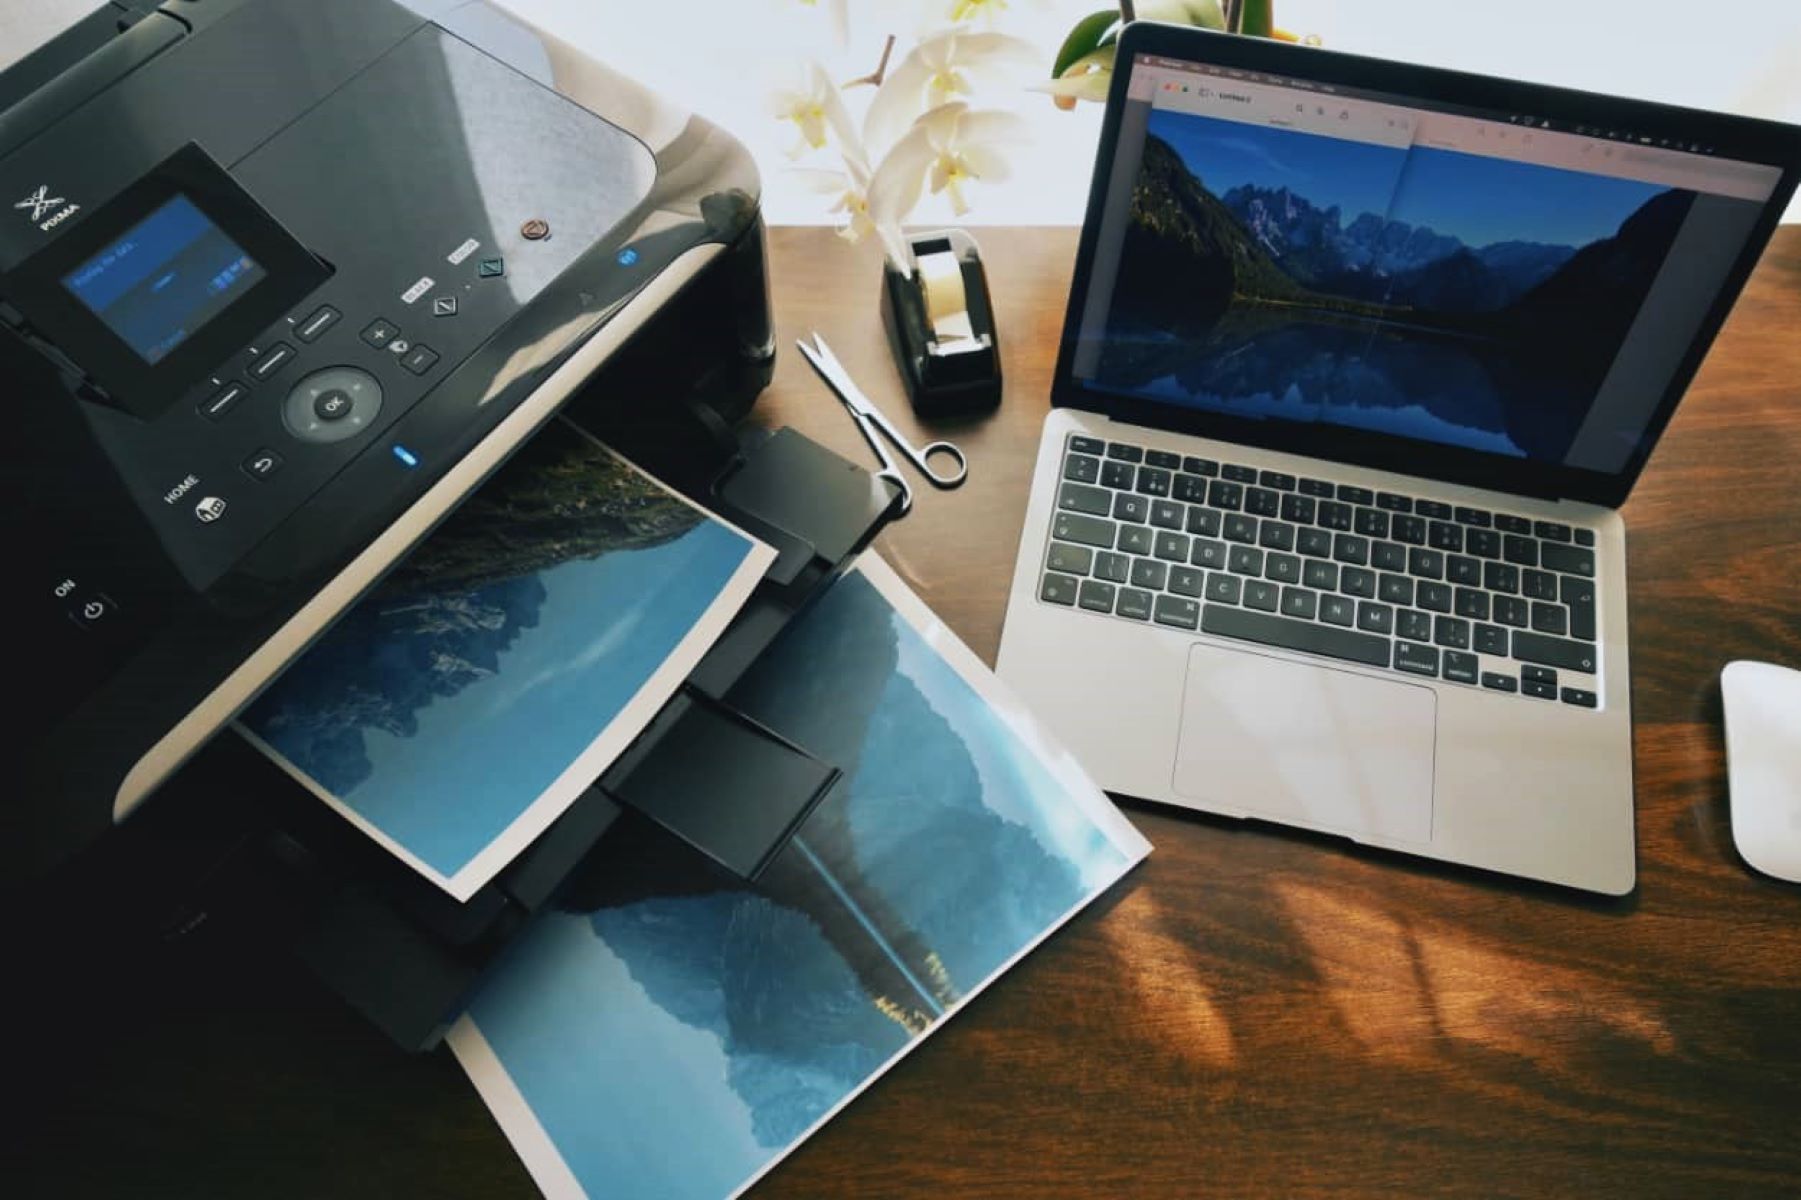
- Open a Document or Image: Start by opening a document or an image on your Macbook that you intend to print. This can be a simple text document, a colorful image, or any content that allows you to assess the printer’s performance.
- Access the Print Dialog: Once the document or image is open, access the print dialog by clicking on “File” and selecting “Print” from the dropdown menu. Alternatively, you can use the keyboard shortcut Command + P to quickly access the print options.
- Select the Brother Printer: In the print dialog, ensure that the Brother printer is selected as the designated printing device. You can adjust print settings such as paper size, orientation, and quality to suit your preferences.
- Initiate the Print Job: After confirming the print settings, proceed to initiate the print job by clicking on the “Print” button within the dialog. The Macbook will communicate with the Brother printer, and the test page will begin printing.
- Assess the Test Print: Once the test page is printed, carefully examine the output for clarity, color accuracy, and overall print quality. Ensure that the content is aligned correctly and that there are no issues with the printed output.
By printing a test page, you can ascertain that the connection between your Macbook and the Brother printer is functioning optimally, setting the stage for consistent and reliable printing in your smart home environment. This proactive approach allows you to address any potential issues early on, ensuring that your printing experience remains seamless and efficient.
Read more: How To Connect Canon Printer To Macbook
Conclusion
Congratulations! You have successfully navigated the process of connecting your Macbook to a Brother printer, unlocking a world of convenient and efficient printing capabilities within your smart home setup. By following the step-by-step guide outlined in this comprehensive overview, you have gained the knowledge and confidence to seamlessly integrate these devices, enhancing your overall productivity and workflow.
As technology continues to evolve, the seamless connectivity between your Macbook and the Brother printer exemplifies the power of smart home devices in simplifying everyday tasks. Whether you are printing essential documents, vibrant photographs, or creative projects, the ability to harness the printing capabilities directly from your Macbook offers unparalleled convenience and flexibility.
By checking compatibility, installing the necessary printer drivers, establishing the connection, and conducting a test print, you have laid a solid foundation for a seamless printing experience. The integration of these devices empowers you to effortlessly bring digital content to life in physical form, bridging the gap between the digital and physical realms with ease.
As you continue to explore the boundless potential of smart home devices, the seamless connection between your Macbook and the Brother printer serves as a testament to the transformative impact of technology on our daily lives. Embrace the convenience, efficiency, and versatility that this integration offers, and let your creativity and productivity flourish in the realm of digital-to-physical expression.
With your Macbook and Brother printer seamlessly connected, you are poised to embark on a journey of enhanced printing experiences, streamlined document management, and unparalleled convenience. Embrace the seamless connectivity and unlock the full potential of your smart home setup as you embark on this exciting digital printing adventure!
Frequently Asked Questions about How To Connect Macbook To Brother Printer
Was this page helpful?
At Storables.com, we guarantee accurate and reliable information. Our content, validated by Expert Board Contributors, is crafted following stringent Editorial Policies. We're committed to providing you with well-researched, expert-backed insights for all your informational needs.

0 thoughts on “How To Connect Macbook To Brother Printer”