Home>Technology>Home Entertainment Systems>How To Make A Overhead Projector
Home Entertainment Systems
How To Make A Overhead Projector
Modified: August 17, 2024
Learn how to create a DIY overhead projector for your home entertainment system with our step-by-step guide. Enhance your viewing experience today!
(Many of the links in this article redirect to a specific reviewed product. Your purchase of these products through affiliate links helps to generate commission for Storables.com, at no extra cost. Learn more)
Introduction
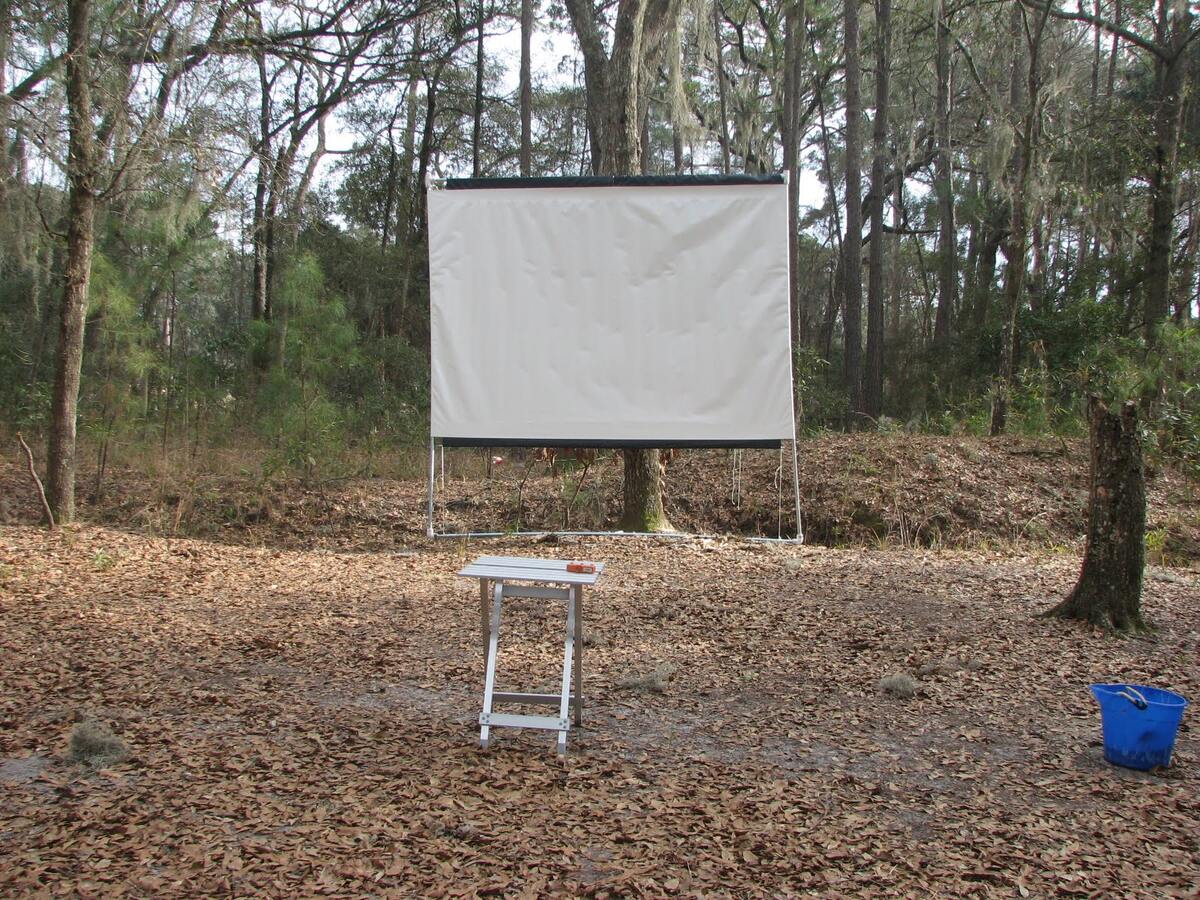
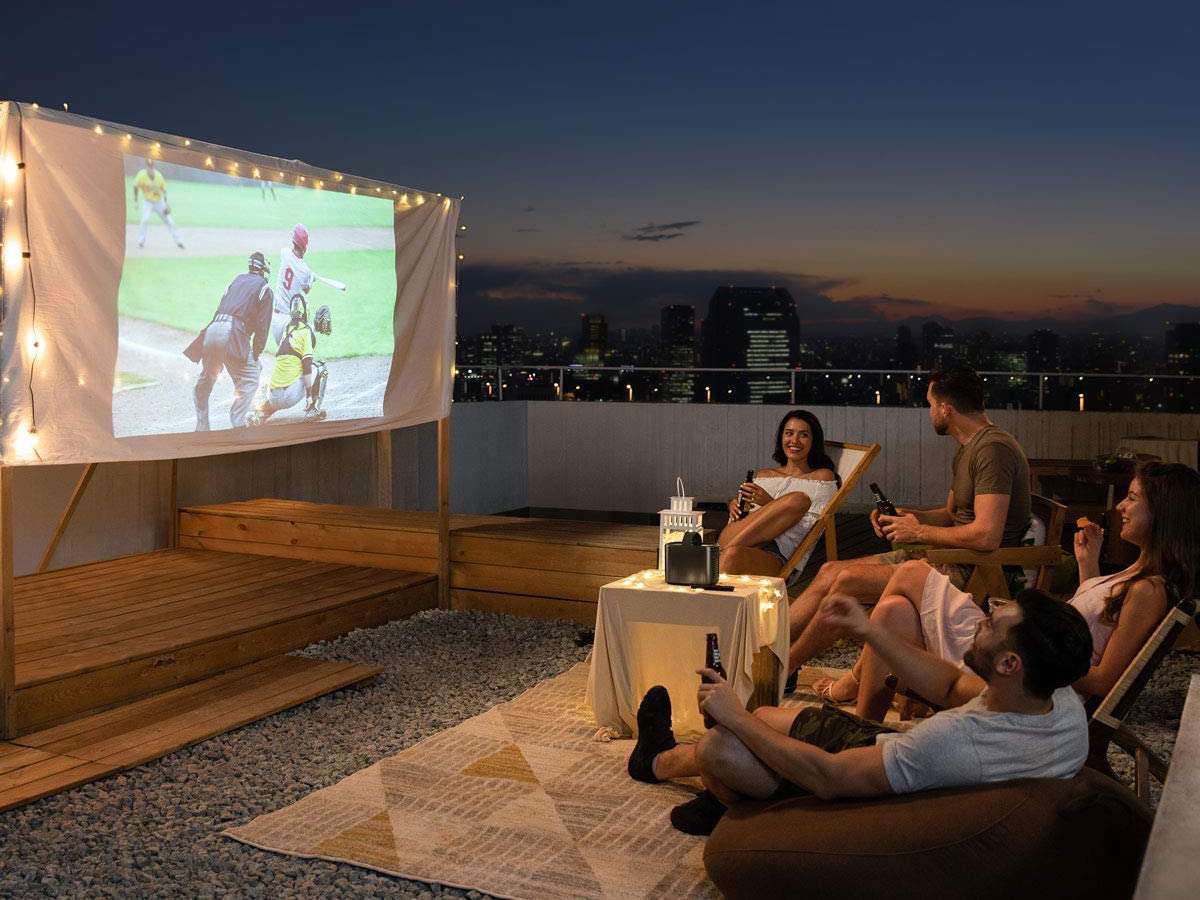
Welcome to the world of DIY overhead projectors! Imagine being able to display images, videos, or even handwritten notes from your smartphone or laptop onto a larger surface. With a homemade overhead projector, this becomes a reality. In this guide, we will explore the step-by-step process of creating your very own overhead projector using easily accessible materials and simple tools. Whether you're a teacher looking for an affordable way to engage your students or a movie enthusiast eager to host outdoor film nights, this DIY project offers an exciting opportunity to unleash your creativity and innovation.
The beauty of this endeavor lies in its blend of practicality and ingenuity. By repurposing a few basic items, you can construct a fully functional projector that rivals its commercial counterparts. Not only does this project foster a sense of accomplishment, but it also encourages resourcefulness and problem-solving skills. As we embark on this journey, prepare to delve into the realms of optics, light manipulation, and projection technology. You'll discover how everyday objects can be transformed into powerful tools for visual display, unlocking a world of possibilities for entertainment, education, and beyond.
Before we dive into the nitty-gritty details, it's essential to gather the necessary materials and set the stage for our creative endeavor. Once you've assembled the required components and found a suitable workspace, we can commence the construction process. Get ready to embark on a hands-on adventure that will culminate in the birth of your very own DIY overhead projector. Let's roll up our sleeves, ignite our imagination, and embark on this captivating DIY journey together.
Key Takeaways:
- Unleash Your Creativity: Build a DIY overhead projector using simple materials to display images and videos from your smartphone. Embrace hands-on learning and innovation while exploring the world of optics and projection technology.
- Transform Basic Materials: Turn a cardboard box, acrylic sheet, and a light source into a fully functional projector. Dive into DIY exploration, problem-solving, and the magic of visual storytelling with your homemade creation.
Materials Needed
Before embarking on your DIY overhead projector project, it’s crucial to gather the essential materials. By acquiring the following items, you’ll be well-equipped to bring your vision to life:
- Cardboard box: Select a sturdy, medium-sized box to form the foundation of the projector.
- Acrylic sheet: This transparent material will serve as the projector’s projection surface, enabling the display of images and videos.
- Smartphone or tablet: You’ll need a device to serve as the source of the content you wish to project.
- Light source: A bright, energy-efficient LED light or flashlight will provide the illumination necessary for projection.
- Fresnel lens: This specialized lens is crucial for focusing and magnifying the projected image, enhancing its clarity and brightness.
- Box cutter or utility knife: These tools will be used to cut and shape the cardboard box and acrylic sheet.
- Adhesive materials: Tape, glue, or any suitable adhesive will be required to secure components in place.
- Ruler and pencil: These basic tools will aid in accurate measurements and marking during the construction process.
- Scissors: Useful for cutting various materials to size, scissors are indispensable for this project.
- Optional: Black paint or adhesive black paper can be used to improve light absorption within the projector box.
With these materials at your disposal, you’ll be ready to embark on the exciting journey of building your own overhead projector. Once you’ve gathered these items, it’s time to roll up your sleeves and dive into the step-by-step construction process. Let’s transform these basic materials into a remarkable DIY projector that will illuminate your world with creativity and innovation.
Step 1: Preparing the Box
The initial phase of constructing your DIY overhead projector involves preparing the cardboard box to serve as the framework for the device. This foundational step sets the stage for the subsequent assembly and integration of crucial components. Follow these detailed instructions to ensure that your box is ready to house the inner workings of the projector:
- Select a Suitable Box: Choose a cardboard box that is spacious enough to accommodate the projection platform, light source, and other essential components. The box should be sturdy and well-constructed to provide stability and support for the projector’s structure.
- Remove the Flaps: Carefully open the top of the box and remove any flaps or unnecessary protrusions. This will create a clean, open space within the box, allowing for easy access during the construction process.
- Reinforce the Edges: Use adhesive tape or glue to reinforce the edges and corners of the box, ensuring that it remains robust and durable. This step is crucial for maintaining the structural integrity of the projector housing.
- Create an Opening: On one side of the box, carefully cut out a rectangular opening using a box cutter or utility knife. This aperture will serve as the projection window through which the images or videos will be displayed.
- Add a Support Stand (Optional): If desired, attach a stable support stand to the bottom of the box to facilitate positioning and stability during use. This stand can be crafted from additional cardboard or repurposed materials.
By meticulously preparing the cardboard box according to these guidelines, you will establish a solid foundation for the subsequent stages of projector assembly. This initial phase lays the groundwork for the seamless integration of the projection platform, light source, and optics, ultimately culminating in the creation of a functional and efficient DIY overhead projector.
Step 2: Cutting the Acrylic Sheet
With the cardboard box prepared as the structural base of the projector, the next pivotal step involves working with the acrylic sheet, which will serve as the projection surface. This phase demands precision and attention to detail to ensure the seamless integration of the acrylic sheet within the projector assembly. Follow these steps to expertly handle and cut the acrylic sheet:
- Measure and Mark: Lay the acrylic sheet on a flat, stable surface and use a ruler and pencil to mark the dimensions required for the projection surface. Ensure that the measurements align with the size of the rectangular opening in the cardboard box.
- Secure the Sheet: Use clamps or weights to secure the acrylic sheet in place, preventing movement during the cutting process. This will facilitate precise and controlled cutting, minimizing the risk of errors or damage to the material.
- Cut with Care: Employ a fine-toothed saw, scoring knife, or specialized acrylic cutter to carefully cut along the marked lines. Exercise patience and maintain a steady hand to achieve clean and accurate cuts, as acrylic can be prone to chipping or cracking if mishandled.
- Smooth the Edges: After cutting the acrylic sheet, utilize sandpaper or a fine file to smooth and refine the edges, ensuring a professional and polished finish. This step is crucial for enhancing the aesthetic appeal and safety of the projection surface.
- Test the Fit: Place the cut acrylic sheet into the rectangular opening of the cardboard box to verify that it fits snugly and aligns properly. Make any necessary adjustments to achieve a perfect fit within the projector housing.
By meticulously executing these steps, you will successfully prepare the acrylic sheet to function as the essential projection surface of your DIY overhead projector. This phase sets the stage for the integration of the light source and optics, bringing you one step closer to witnessing the magic of projected images and videos on a larger scale.
Step 3: Inserting the Light Source
As the construction of your DIY overhead projector progresses, the integration of a suitable light source takes center stage. The effective positioning and utilization of the light source are crucial for achieving vibrant and clear projections. Follow these detailed steps to expertly insert and position the light source within the projector assembly:
- Select the Light Source: Choose a bright and energy-efficient LED light or flashlight to serve as the illumination mechanism for the projector. Opt for a light source that emits a uniform and intense beam of light, ensuring optimal projection quality.
- Positioning Within the Box: Inside the cardboard box, identify a suitable location to position the light source. This area should be strategically aligned with the projection surface and allow for easy access to the light source for maintenance or replacement.
- Create a Mounting Platform (Optional): If necessary, fashion a secure mounting platform using cardboard or other materials to hold the light source in place within the box. This platform should provide stability and ensure that the light source remains fixed during operation.
- Secure the Light Source: Utilize adhesive materials or fasteners to securely affix the light source and its mounting platform within the designated area of the cardboard box. This step is essential for preventing movement or dislodging of the light source during use.
- Test the Illumination: Power on the light source to verify that it emits a strong and uniform beam of light. Assess its positioning and ensure that the light effectively illuminates the entire projection surface, laying the groundwork for crisp and vibrant image projection.
By meticulously following these steps, you will seamlessly integrate the light source into the projector assembly, setting the stage for the captivating display of images and videos. The successful positioning and utilization of the light source are pivotal milestones in the construction of your DIY overhead projector, bringing you closer to the realization of a functional and efficient projection system.
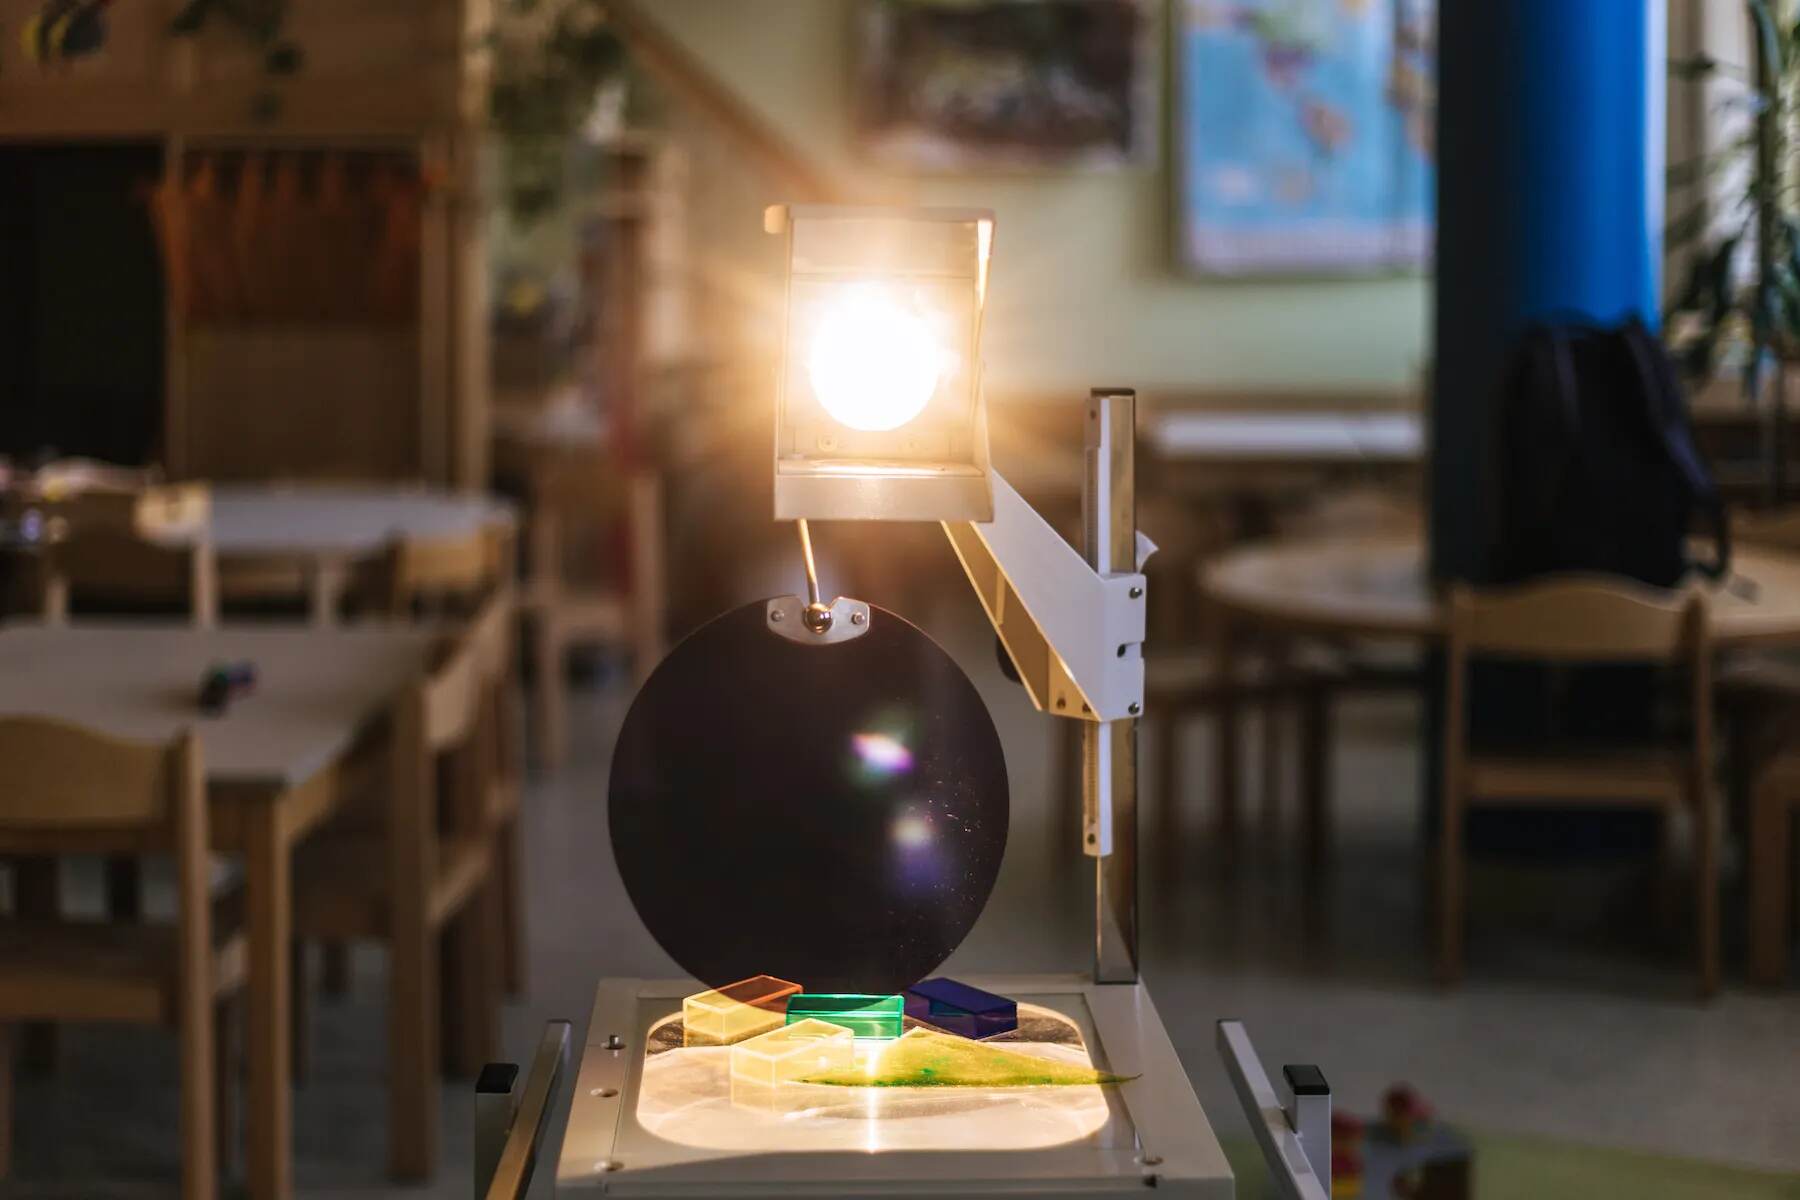
When making an overhead projector, make sure to use a bright light source, a transparent surface for projecting, and a stable base to hold everything together.
Read more: How Does An Overhead Projector Work
Step 4: Assembling the Projection Platform
With the foundational elements of the DIY overhead projector in place, the assembly of the projection platform marks a significant stride toward the realization of a fully functional projection system. This pivotal step involves integrating the projection surface, light source, and supporting components to create a cohesive platform for image display. Follow these detailed instructions to expertly assemble the projection platform:
- Position the Acrylic Sheet: Place the cut and refined acrylic sheet, which serves as the projection surface, securely within the rectangular opening of the cardboard box. Ensure that it fits snugly and aligns with the light source, setting the stage for seamless image projection.
- Align the Light Beam: Position the light source to ensure that its beam uniformly illuminates the entire surface of the acrylic sheet. This alignment is crucial for achieving consistent and vibrant image projection without distortion or dim areas.
- Stabilize the Projection Platform: Utilize additional support structures or materials to stabilize the projection platform within the cardboard box, minimizing movement and ensuring a steady and reliable foundation for image display.
- Integrate the Content Source: Connect your smartphone, tablet, or content source to the projector, aligning it with the projection platform to facilitate the transfer of images, videos, or presentations onto the acrylic sheet.
- Test the Projection: Power on the light source and initiate the projection process to verify that the assembled platform effectively displays the desired content. Assess the clarity, brightness, and alignment of the projected images, making any necessary adjustments for optimal performance.
By meticulously executing these steps, you will successfully assemble the projection platform, bringing together the essential components for image display and projection. This phase represents a crucial milestone in the construction of your DIY overhead projector, setting the stage for the captivating visualization of content on an enlarged scale.
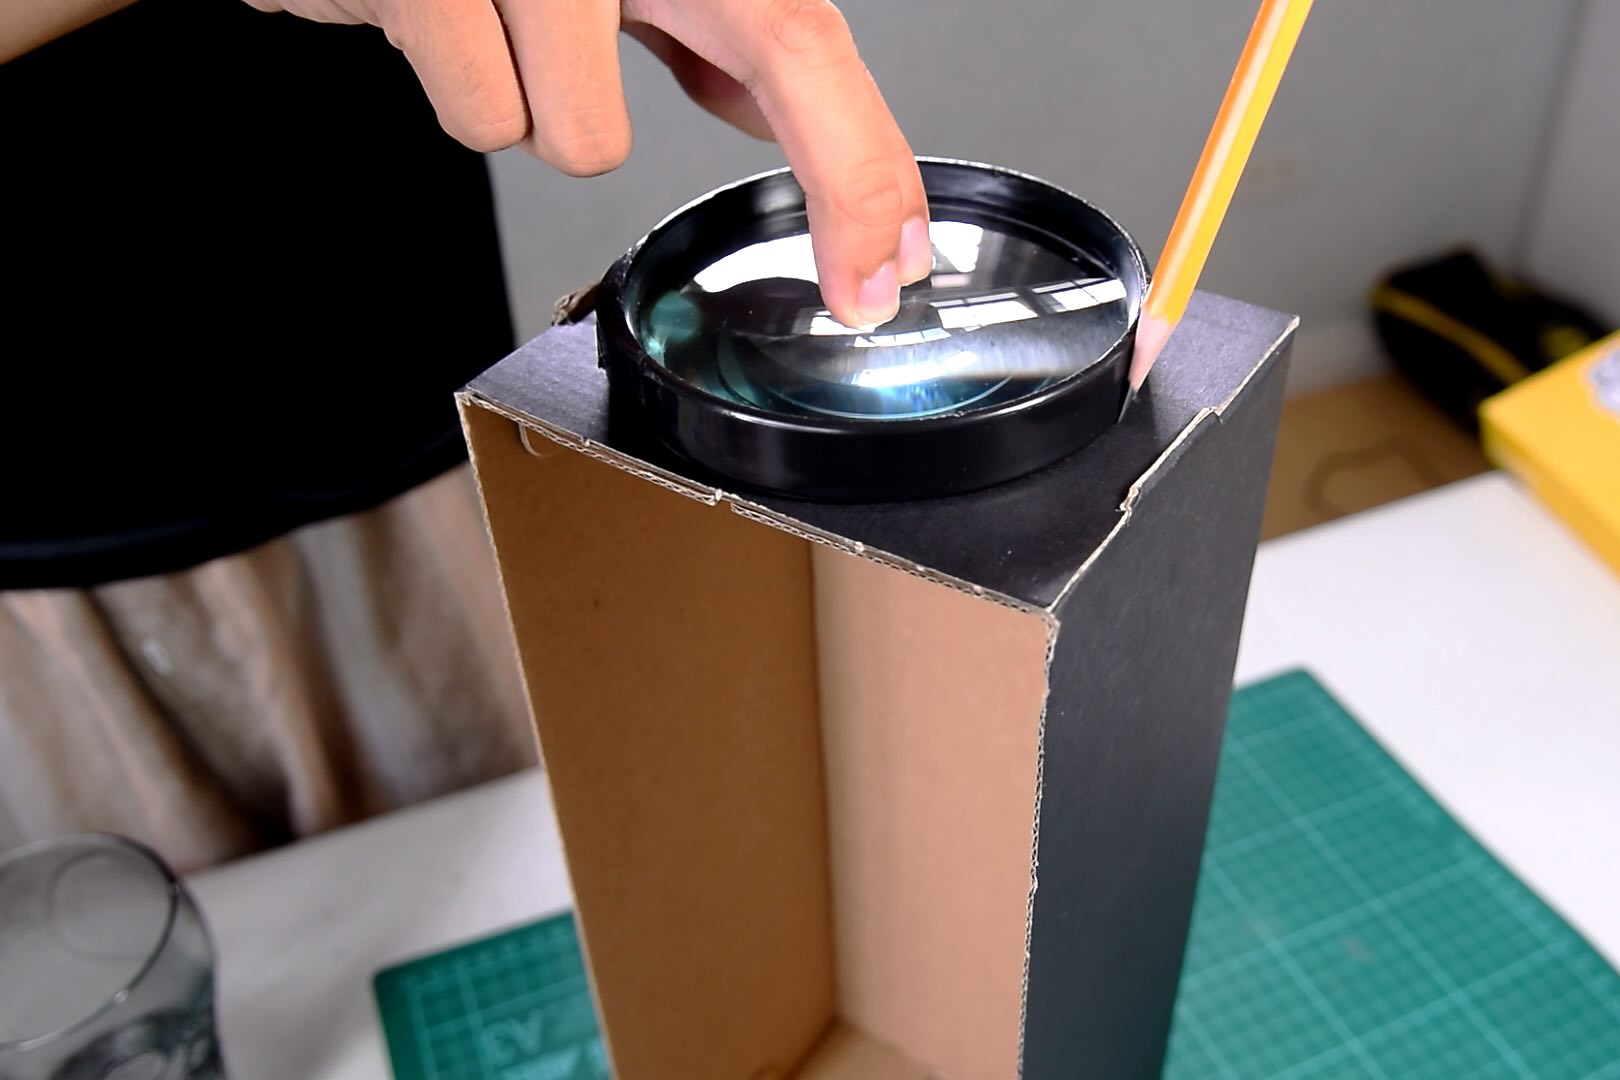
Step 5: Attaching the Fresnel Lens
The integration of a Fresnel lens into the DIY overhead projector represents a pivotal advancement in enhancing the quality and clarity of projected images. The Fresnel lens, renowned for its ability to focus and magnify light, plays a crucial role in optimizing the projection process. Follow these detailed steps to expertly attach the Fresnel lens and harness its optical prowess within the projector assembly:
- Select the Appropriate Lens: Choose a high-quality Fresnel lens with suitable dimensions to complement the size of the projection surface. Opt for a lens renowned for its optical clarity and light manipulation capabilities, ensuring exceptional performance in the projection system.
- Positioning the Lens: Carefully align the Fresnel lens with the projection surface, ensuring that it is positioned at the optimal focal distance to facilitate clear and magnified image projection. Secure the lens in place to maintain its precise alignment within the projector assembly.
- Mounting the Lens: Utilize a secure mounting mechanism, such as a custom frame or adjustable holder, to affix the Fresnel lens in its designated position. This mounting arrangement should provide stability and allow for fine adjustments to optimize the focus and clarity of projected images.
- Calibrating the Lens Angle: Fine-tune the angle and orientation of the Fresnel lens to achieve the desired focus and magnification of projected images. This meticulous calibration ensures that the lens optimally manipulates light, enhancing the sharpness and brightness of the projected content.
- Test the Enhanced Projection: Power on the light source and initiate the projection process to experience the transformative impact of the Fresnel lens. Evaluate the clarity, sharpness, and brightness of the projected images, reveling in the enhanced visual quality facilitated by the integrated lens.
By diligently following these steps, you will expertly attach the Fresnel lens, harnessing its optical capabilities to elevate the quality and impact of projected images. This phase represents a significant advancement in the construction of your DIY overhead projector, unlocking the potential for immersive and visually stunning projections that captivate and inspire.
Step 6: Final Adjustments
As you near the completion of your DIY overhead projector, the phase of final adjustments and refinements becomes instrumental in optimizing its performance and visual impact. This pivotal step involves fine-tuning various elements of the projector assembly to ensure seamless operation and exceptional image projection. Follow these detailed instructions to expertly execute the final adjustments:
- Optimize Light Source Positioning: Fine-tune the positioning and alignment of the light source to ensure uniform and consistent illumination of the projection surface. This optimization minimizes shadows and ensures vibrant and evenly lit projected images.
- Refine Lens Calibration: Meticulously adjust the angle and focal distance of the Fresnel lens to achieve optimal focus and magnification of projected content. This refinement enhances the clarity and sharpness of the images displayed by the projector.
- Stabilize Projection Platform: Secure all components of the projection platform, including the acrylic sheet, light source, and Fresnel lens, to minimize movement and ensure a stable foundation for image projection. This stabilization is crucial for consistent and reliable performance.
- Test and Fine-Tune Content Source Connectivity: Verify the seamless connectivity and functionality of your smartphone, tablet, or content source with the projector. Ensure that the transfer and display of images, videos, or presentations proceed smoothly and without technical glitches.
- Assess Image Clarity and Brightness: Power on the projector and initiate the projection process to assess the clarity, sharpness, and brightness of the displayed images. Make any necessary adjustments to optimize the visual impact and quality of the projected content.
By meticulously executing these final adjustments, you will fine-tune and optimize the performance of your DIY overhead projector, ensuring exceptional image projection and operational reliability. This phase represents the culmination of your creative endeavor, bringing you one step closer to experiencing the captivating visual display facilitated by your meticulously crafted projector.
Conclusion
Congratulations on successfully completing the construction of your very own DIY overhead projector! Through ingenuity, resourcefulness, and a hands-on approach, you have transformed basic materials into a powerful tool for visual display and projection. This creative endeavor has not only yielded a functional projector but has also fostered a deeper understanding of optics, light manipulation, and projection technology.
As you reflect on this immersive DIY journey, it’s essential to recognize the boundless potential of your homemade projector. Whether used for educational purposes, entertainment endeavors, or artistic pursuits, your DIY creation represents a gateway to innovative and engaging experiences. Embrace the versatility of your projector, exploring its potential to amplify presentations, host outdoor movie nights, or facilitate interactive learning environments.
Moreover, the process of building a DIY overhead projector has empowered you to think critically, problem-solve, and unleash your creativity. This hands-on project has provided invaluable insights into the principles of light, optics, and image projection, equipping you with practical knowledge and a sense of accomplishment.
As you embark on your journey with your newly constructed projector, remember the spirit of innovation and exploration that fueled its creation. Embrace opportunities to experiment, refine, and expand the capabilities of your DIY projector, unlocking new dimensions of visual expression and engagement.
By embarking on this captivating DIY endeavor, you have not only built a projector; you have cultivated a mindset of curiosity, creativity, and hands-on learning. Let your DIY overhead projector serve as a beacon of inspiration, igniting a passion for innovation and DIY exploration in your journey ahead.
Now, with your DIY overhead projector ready to illuminate the world with captivating visuals, the stage is set for an array of immersive experiences and creative endeavors. Embrace the transformative power of your handmade creation and revel in the magic of visual storytelling, education, and entertainment that it brings to life.
Frequently Asked Questions about How To Make A Overhead Projector
Was this page helpful?
At Storables.com, we guarantee accurate and reliable information. Our content, validated by Expert Board Contributors, is crafted following stringent Editorial Policies. We're committed to providing you with well-researched, expert-backed insights for all your informational needs.


0 thoughts on “How To Make A Overhead Projector”