Home>Technology>Smart Home Devices>How To Connect Brother Printer To Wi-Fi
Smart Home Devices
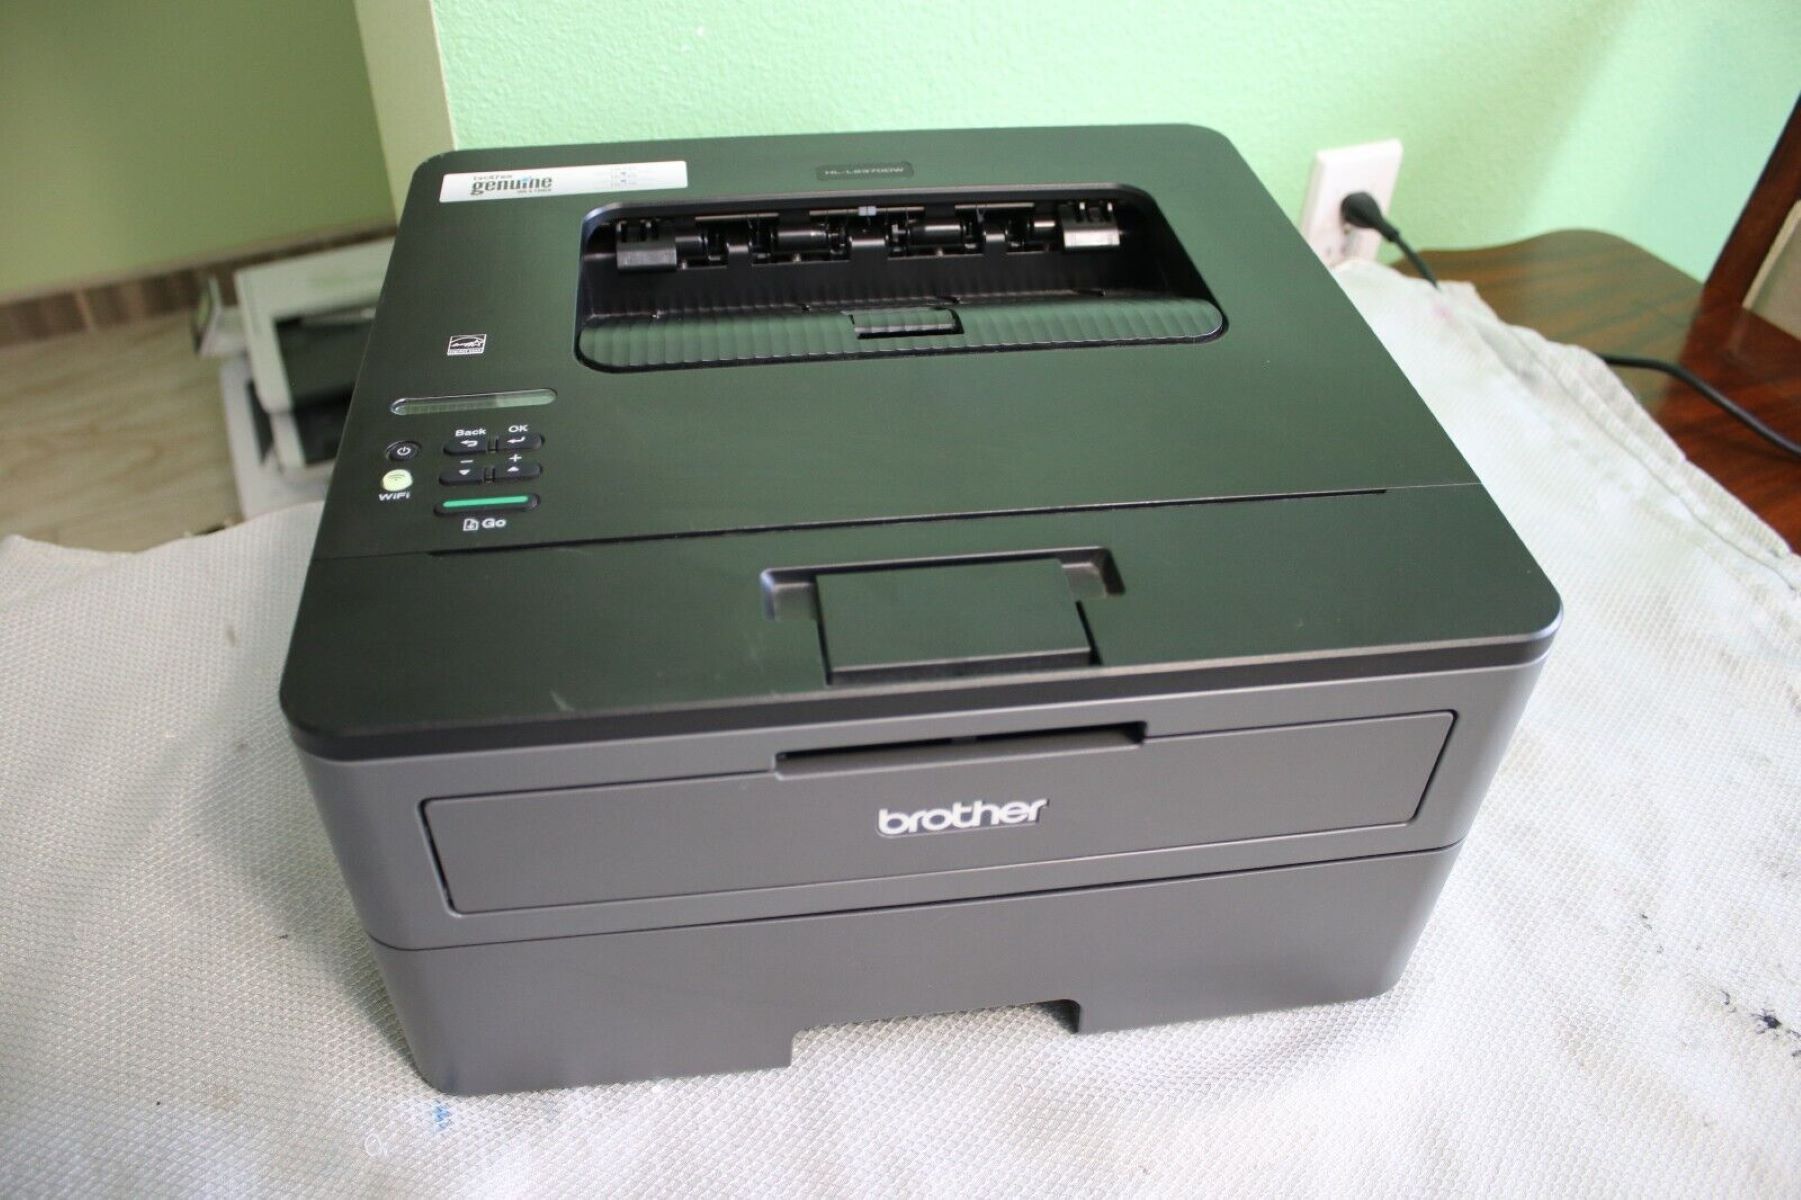
How To Connect Brother Printer To Wi-Fi
Modified: October 19, 2024
Learn how to easily connect your Brother printer to Wi-Fi for seamless integration with your smart home devices. Follow our step-by-step guide for a hassle-free setup.
(Many of the links in this article redirect to a specific reviewed product. Your purchase of these products through affiliate links helps to generate commission for Storables.com, at no extra cost. Learn more)
Introduction
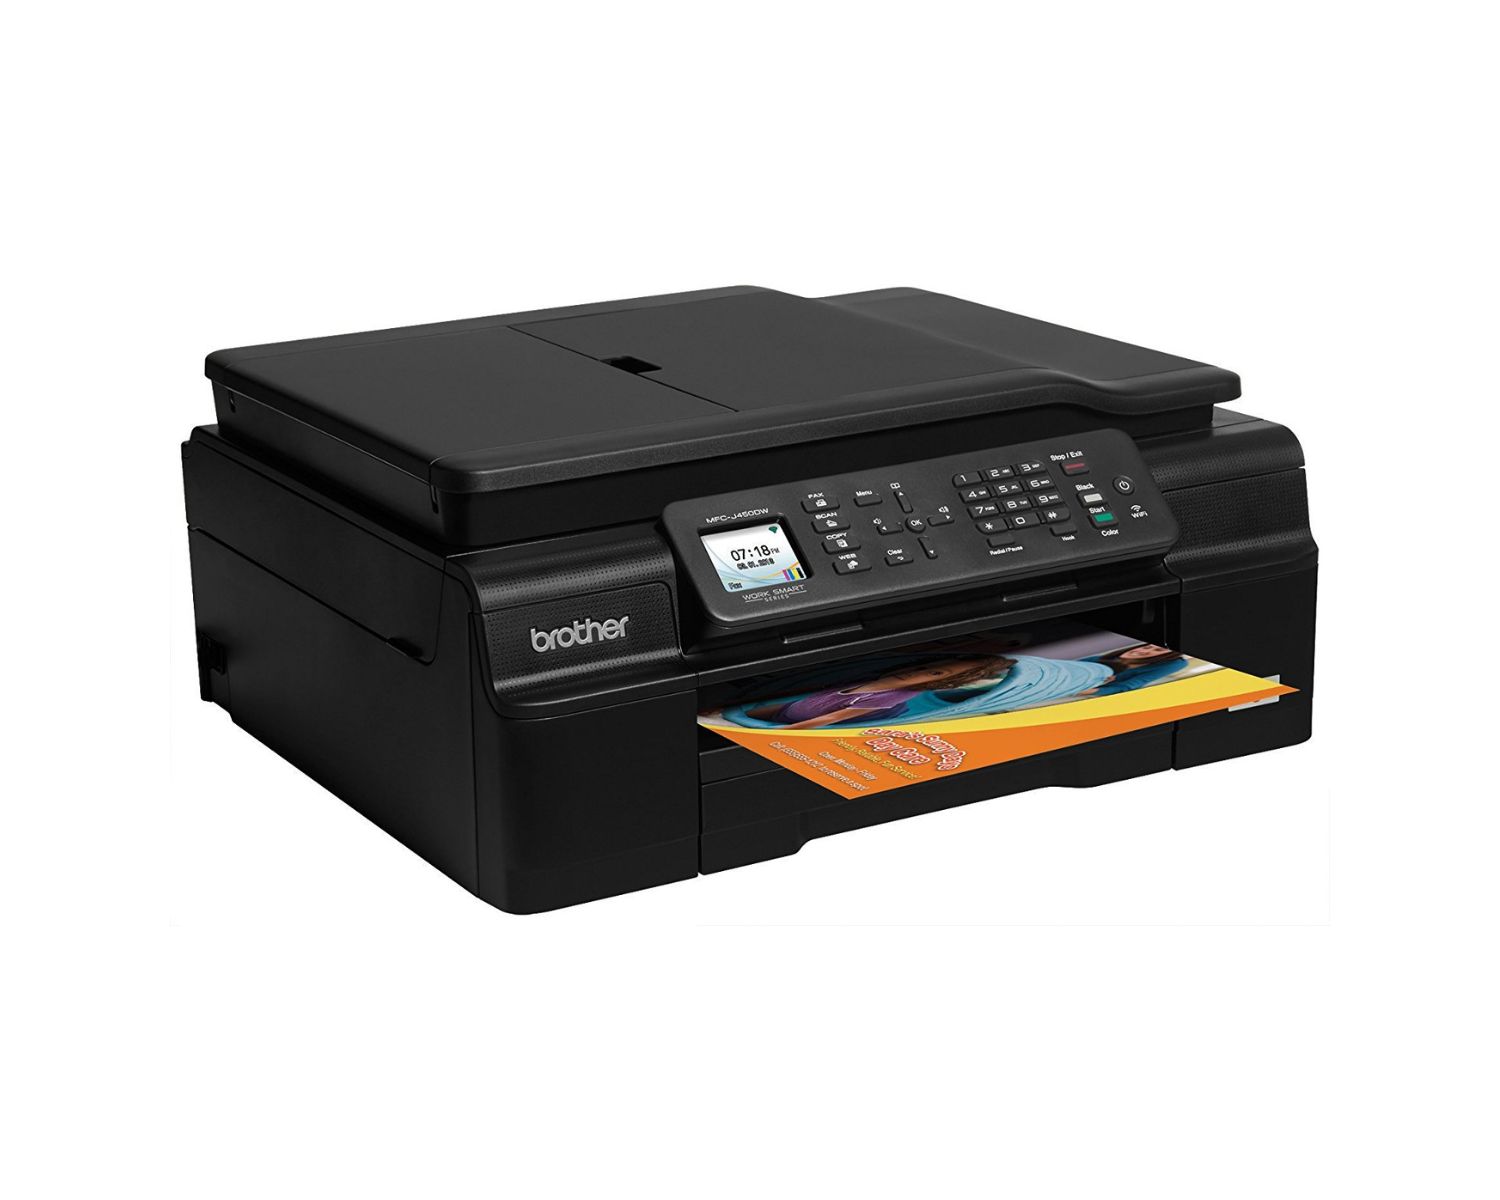
Setting up your Brother printer to connect to Wi-Fi can streamline your printing process, allowing you to print from any device connected to the same network. Whether you're working from home, running a small business, or simply seeking the convenience of wireless printing, this guide will walk you through the process of connecting your Brother printer to Wi-Fi. With clear and easy-to-follow steps, you'll soon be enjoying the flexibility and convenience that wireless printing offers.
Connecting your Brother printer to Wi-Fi enables seamless printing from laptops, desktops, smartphones, and tablets without the hassle of dealing with tangled cables or being confined to a specific location. By following the steps outlined in this guide, you'll be able to set up your printer to work wirelessly, making printing a more efficient and hassle-free experience.
Throughout this guide, we'll cover the essential steps to connect your Brother printer to Wi-Fi, ensuring that you can effortlessly print your documents, photos, and other materials from anywhere within the range of your Wi-Fi network. So, let's dive in and get your Brother printer connected to Wi-Fi, empowering you to print with ease and convenience.
Key Takeaways:
- Connecting your Brother printer to Wi-Fi is a simple process that allows you to print wirelessly from any device on the same network, making printing more convenient and efficient.
- After connecting your printer to Wi-Fi, installing the printer software on your devices enables seamless wireless printing, eliminating the need for physical connections and enhancing flexibility.
Read more: How To Connect Zebra Printer To Wi-Fi
Step 1: Check Your Printer
Before initiating the process of connecting your Brother printer to Wi-Fi, it’s crucial to ensure that your printer is ready for the setup. Here are the essential steps to check your printer:
- Power On: Start by ensuring that your Brother printer is powered on. Check that the power cable is securely connected to the printer and a power source.
- Display Panel: Take a look at the display panel of your printer. Ensure that there are no error messages or warnings displayed. If any issues are indicated, refer to the printer’s manual for troubleshooting guidance.
- Ink and Paper: Verify that there is sufficient ink or toner in your printer and that it has an adequate supply of paper. This ensures that your printer is ready to execute printing tasks once connected to Wi-Fi.
- Network Settings: Access the printer’s network settings to confirm whether it’s currently connected to a network. If it’s already connected, note down the network name (SSID) and password, as you’ll need this information during the Wi-Fi setup process.
By performing these checks, you can ensure that your Brother printer is in optimal condition for the Wi-Fi setup. Addressing any potential issues beforehand can help streamline the connection process and minimize interruptions. Once you’ve confirmed that your printer is ready, you can proceed to the next step of connecting it to your Wi-Fi network.
Step 2: Connect to Wi-Fi
Connecting your Brother printer to your Wi-Fi network is a straightforward process that involves accessing the printer’s settings and entering your network information. Here’s a step-by-step guide to help you connect your printer to Wi-Fi:
- Access Settings: Start by accessing the settings menu on your Brother printer. Depending on the model, this can typically be done using the printer’s control panel or touchscreen display.
- Network Setup: Navigate to the network setup or Wi-Fi setup option within the printer’s settings menu. Select the option to connect to a new network or modify the existing network settings.
- Choose Wi-Fi Network: Your printer will scan for available Wi-Fi networks. Once the list of networks is displayed, select your Wi-Fi network from the available options.
- Enter Network Password: If your Wi-Fi network is secured with a password, you’ll be prompted to enter the network password. Use the printer’s keypad or touchscreen to input the password, ensuring accuracy to successfully connect to the network.
- Confirm Connection: After entering the network password, your printer will attempt to connect to the Wi-Fi network. Once the connection is established, your printer will display a confirmation message or indicator to signify a successful connection.
Upon completing these steps, your Brother printer will be successfully connected to your Wi-Fi network, allowing you to print wirelessly from any device connected to the same network. This seamless connection enhances the flexibility and convenience of printing, enabling you to initiate print jobs from various devices without the need for direct physical connections.
By following these simple steps, you can enjoy the benefits of wireless printing, streamlining your printing process and enhancing overall efficiency in your home or office environment.
To connect your Brother printer to Wi-Fi, first ensure that your printer and Wi-Fi router are turned on. Then, navigate to the printer’s settings menu and select the option to connect to a wireless network. Follow the on-screen instructions to enter your Wi-Fi network’s name and password, and your printer should then be successfully connected to Wi-Fi.
Step 3: Install Printer Software
Once your Brother printer is successfully connected to your Wi-Fi network, the next crucial step is to install the printer software on the devices from which you intend to print. This software, often referred to as the printer driver, facilitates communication between your devices and the printer, enabling seamless printing. Here’s a guide to installing the printer software:
- Download Driver: Visit the official Brother website and navigate to the support or downloads section. Locate the appropriate printer driver for your specific printer model and the operating system of your device.
- Install Driver: Once the driver is downloaded, run the installer and follow the on-screen prompts to install the printer software on your device. Ensure that you select the wireless or network connection option during the installation process.
- Connect to Printer: When prompted, select the option to connect to a network printer. The installer will search for printers connected to the same Wi-Fi network, and your Brother printer should be detected.
- Complete Installation: Follow the remaining installation steps to complete the setup of the printer software on your device. Once the installation is finished, you can proceed to print a test page to verify the successful connection and functionality of your Brother printer.
By installing the printer software on your devices, you can effortlessly print documents, photos, and other materials directly to your Brother printer over the Wi-Fi network. This eliminates the need for cumbersome physical connections and enhances the flexibility of your printing setup.
With the printer software installed, you can enjoy the convenience of wireless printing from your computer, laptop, smartphone, or tablet, ensuring that your printing needs are efficiently met without the constraints of traditional wired setups.
Conclusion
Congratulations! You have successfully connected your Brother printer to your Wi-Fi network, paving the way for seamless wireless printing from your various devices. By following the steps outlined in this guide, you have empowered yourself to enjoy the flexibility and convenience of printing without the constraints of physical connections.
With your Brother printer now connected to Wi-Fi, you can effortlessly print documents, photos, and other materials from anywhere within the range of your Wi-Fi network. Whether you’re working from home, managing a small business, or simply seeking a more efficient printing setup, the wireless connectivity of your printer opens up a world of possibilities.
By ensuring that your printer is in optimal condition, connecting it to your Wi-Fi network, and installing the necessary printer software on your devices, you have established a reliable and versatile printing setup. This setup allows you to initiate print jobs from your computer, laptop, smartphone, or tablet with ease, streamlining your printing process and enhancing overall productivity.
Embrace the freedom of wireless printing and explore the myriad benefits it offers. Say goodbye to the limitations of traditional wired setups and embrace the convenience of printing from any corner of your home or office. With your Brother printer seamlessly integrated into your Wi-Fi network, you’re poised to experience a new level of printing efficiency and convenience.
As you embark on this wireless printing journey, remember that the steps outlined in this guide serve as a foundation for optimizing your printing experience. Explore the additional features and functionalities offered by your Brother printer and its accompanying software to further enhance your printing setup.
With your Brother printer connected to Wi-Fi, printing has never been more convenient. Enjoy the freedom to print from any device, anywhere within your Wi-Fi network, and experience a seamless and efficient printing process that aligns with your modern lifestyle.
Frequently Asked Questions about How To Connect Brother Printer To Wi-Fi
Was this page helpful?
At Storables.com, we guarantee accurate and reliable information. Our content, validated by Expert Board Contributors, is crafted following stringent Editorial Policies. We're committed to providing you with well-researched, expert-backed insights for all your informational needs.


0 thoughts on “How To Connect Brother Printer To Wi-Fi”